Installing a new kitchen sink can be a daunting task, but with the right instructions, it can be a smooth and successful process. In this article, we will provide you with the top 10 installation instructions for an Elkay kitchen sink to help you achieve a professional and functional kitchen upgrade.Elkay Kitchen Sink Installation Instructions


Elkay Kitchen Sink Installation Instructions


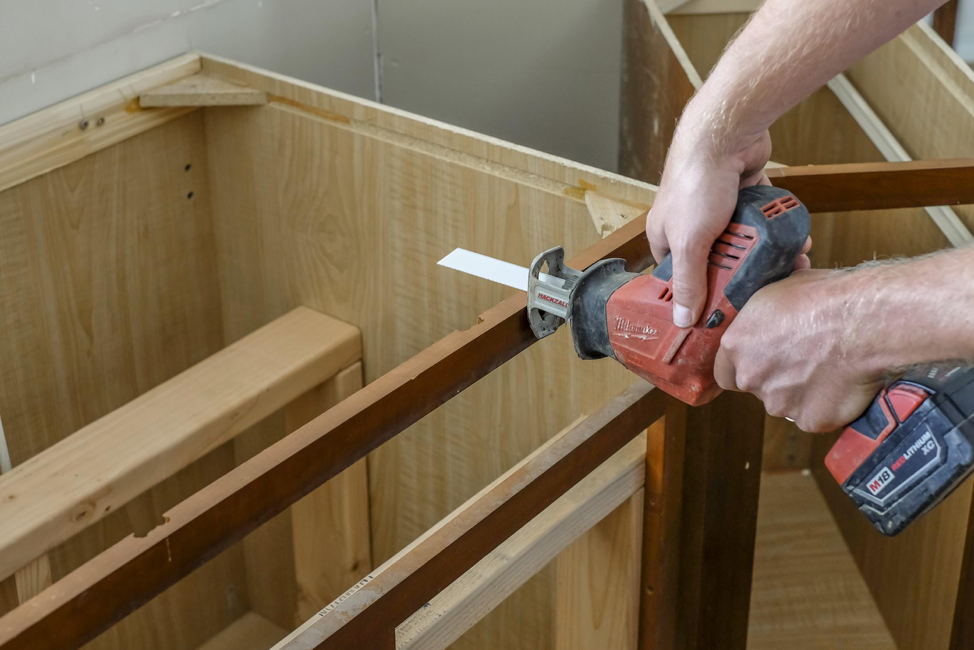
Before you begin the installation process, it is important to gather all the necessary tools and materials. These include a drill, screwdriver, plumber's putty, silicone sealant, and of course, your Elkay kitchen sink. Featured keyword: Elkay kitchen sinkHow to Install an Elkay Kitchen Sink


How to Install an Elkay Kitchen Sink
:no_upscale()/cdn.vox-cdn.com/uploads/chorus_asset/file/19495086/drain_0.jpg)


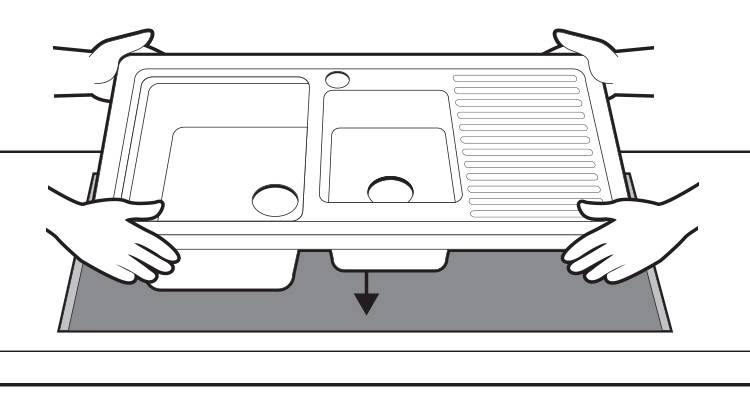
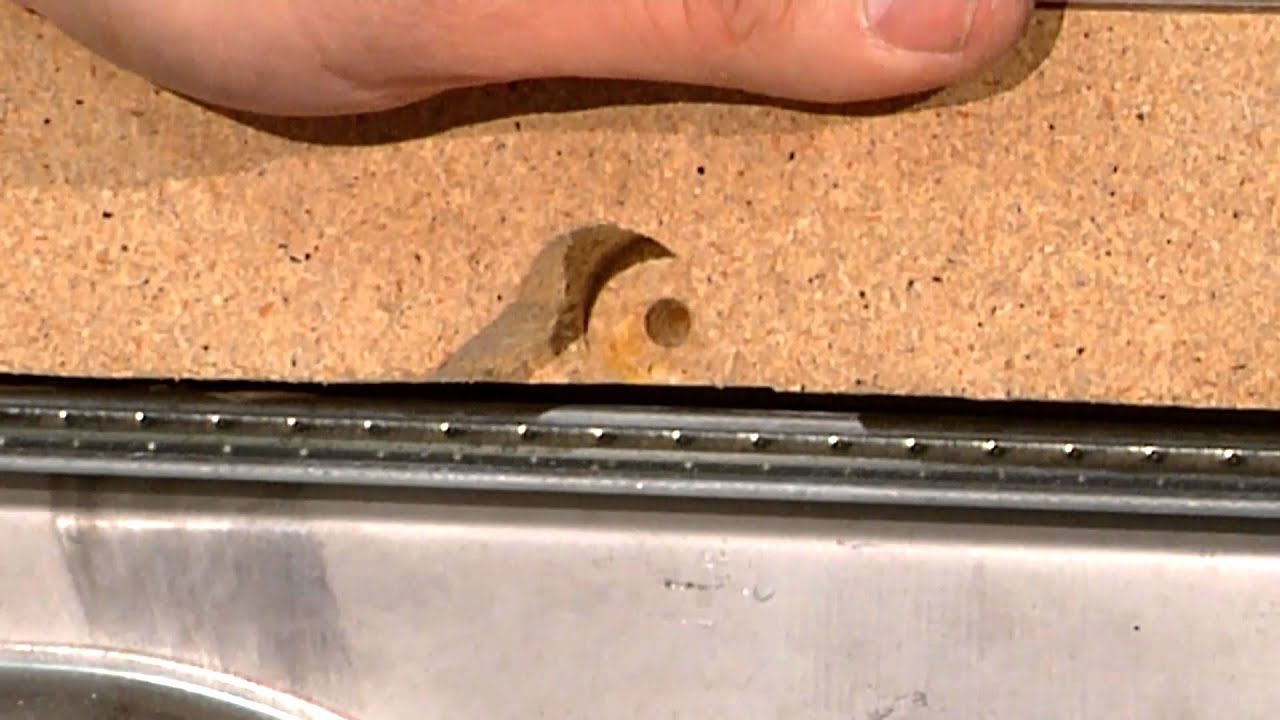
Step 1: Prepare the sink area by removing the old sink, faucet, and any remaining debris. Make sure the sink base cabinet is clean and dry. Step 2: Place the sink in the desired location and trace the outline onto the countertop. Use a jigsaw to cut along the outline and create a hole for the sink to fit into. Step 3: Apply a thin layer of plumber's putty around the edge of the sink and carefully place it into the hole. Secure the sink in place with clips or brackets if provided by the manufacturer. Featured keyword: Plumber's puttyStep-by-Step Guide for Installing an Elkay Kitchen Sink


Step-by-Step Guide for Installing an Elkay Kitchen Sink


Step 4: Install the faucet according to the manufacturer's instructions. Make sure to connect the water supply lines and check for any leaks. Step 5: Connect the drain to the sink and secure it in place. Apply silicone sealant around the edges to ensure a watertight seal. Step 6: Attach the garbage disposal unit (if applicable) and connect it to the drain and power supply. Featured keyword: Silicone sealantElkay Kitchen Sink Installation Tutorial


Elkay Kitchen Sink Installation Tutorial


Tip 1: Always double check the measurements before cutting the hole for the sink to ensure a perfect fit. Tip 2: Use a level to make sure the sink is installed evenly and avoid any pooling of water. Tip 3: Have a friend or family member assist you during the installation process for added support and ease. Featured keyword: Elkay kitchen sink installationEasy Elkay Kitchen Sink Installation Tips


Easy Elkay Kitchen Sink Installation Tips


If you are a DIY enthusiast, installing an Elkay kitchen sink can be a rewarding project. However, if you are unsure about any step of the process, it is always best to consult a professional plumber. Follow the manufacturer's instructions carefully and use the right tools and materials to ensure a successful installation. Featured keyword: DIY Elkay kitchen sink installationDIY Elkay Kitchen Sink Installation Guide


DIY Elkay Kitchen Sink Installation Guide


For visual learners, there are many helpful video tutorials available online that provide step-by-step instructions for installing an Elkay kitchen sink. These can be a great resource to supplement the written instructions provided by the manufacturer. Featured keyword: Elkay kitchen sink installation video tutorialElkay Kitchen Sink Installation Video Tutorial

Elkay Kitchen Sink Installation Video Tutorial
Tip 1: Always turn off the water supply before beginning the installation process. Tip 2: Use a template provided by the manufacturer to ensure the correct placement of the sink and faucet. Tip 3: Follow the installation instructions carefully to avoid any damage or mistakes. Featured keyword: Elkay kitchen sink installation tipsExpert Tips for Installing an Elkay Kitchen Sink
Expert Tips for Installing an Elkay Kitchen Sink


If you have misplaced the installation manual that came with your Elkay kitchen sink, do not worry. Most manufacturers have their manuals available for download on their website. It is important to refer to the specific manual for your sink model to ensure proper installation. Featured keyword: Elkay kitchen sink installation manualElkay Kitchen Sink Installation Manual


Elkay Kitchen Sink Installation Manual


Mistake 1: Not checking the measurements before cutting the hole for the sink. Mistake 2: Not securing the sink properly, resulting in leaks and potential damage. Mistake 3: Not following the manufacturer's instructions carefully, leading to improper installation and functionality. Featured keyword: Installing an Elkay kitchen sinkCommon Mistakes to Avoid When Installing an Elkay Kitchen Sink


Common Mistakes to Avoid When Installing an Elkay Kitchen Sink


How to Install Your Elkay Kitchen Sink: A Step-by-Step Guide

Preparing for the Installation
 Before beginning the installation process, it is important to gather all necessary tools and materials. You will need a screwdriver, adjustable wrench, plumber's putty, pipe wrench, and a bucket. Make sure to also have a level and measuring tape on hand to ensure that your sink is installed properly.
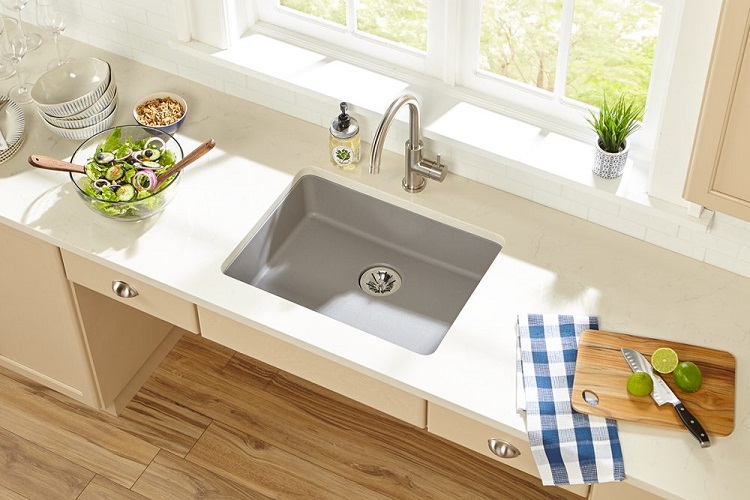
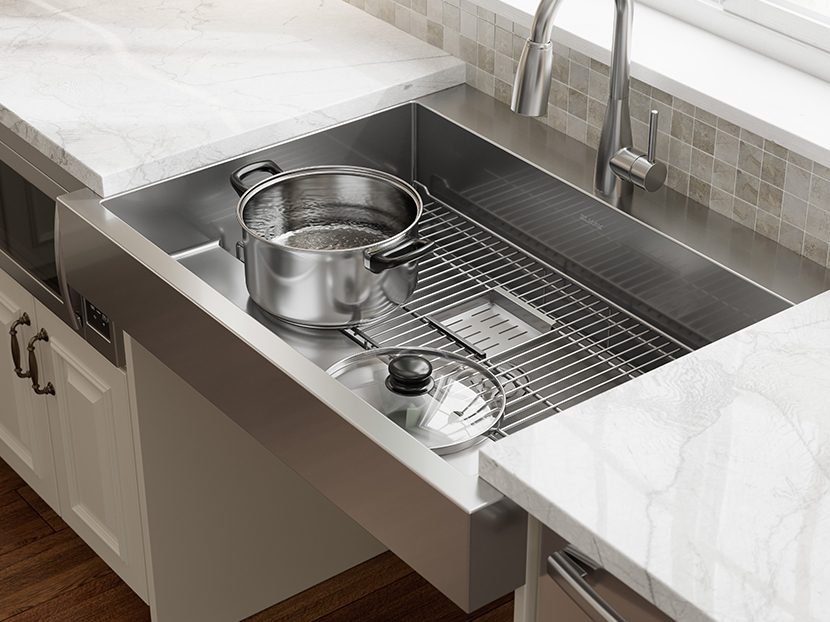
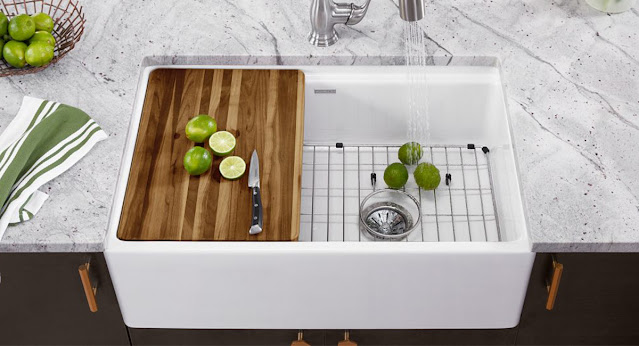
Elkay kitchen sinks
are designed to be installed in a variety of ways, including undermount, top mount, and flush mount. Make sure to choose the installation method that best fits your kitchen design and personal preference.
Before beginning the installation process, it is important to gather all necessary tools and materials. You will need a screwdriver, adjustable wrench, plumber's putty, pipe wrench, and a bucket. Make sure to also have a level and measuring tape on hand to ensure that your sink is installed properly.
Elkay kitchen sinks
are designed to be installed in a variety of ways, including undermount, top mount, and flush mount. Make sure to choose the installation method that best fits your kitchen design and personal preference.
Step 1: Measure and Mark
 The first step in installing your Elkay kitchen sink is to measure and mark the area where it will be installed. Use a level to ensure that the surface is even and use a pencil to mark the outline of the sink. If you are replacing an old sink, make sure to also measure the existing hole to ensure that your new sink will fit properly.
Step 2: Prepare the Sink
 Next, prepare the sink for installation by attaching any necessary clips or brackets. These will help secure the sink to the countertop and keep it in place. Refer to the manufacturer's instructions for specific guidelines on how to attach these pieces.
Step 3: Apply Plumber's Putty
 Apply a thin bead of plumber's putty around the edge of the sink's drain hole. This will create a watertight seal between the sink and the drain.
Step 4: Install the Sink
 Carefully lower the sink into the hole, making sure it is properly aligned with the marked outline. Once in place, use a screwdriver to tighten any clips or brackets that secure the sink to the countertop.
Step 5: Connect the Plumbing
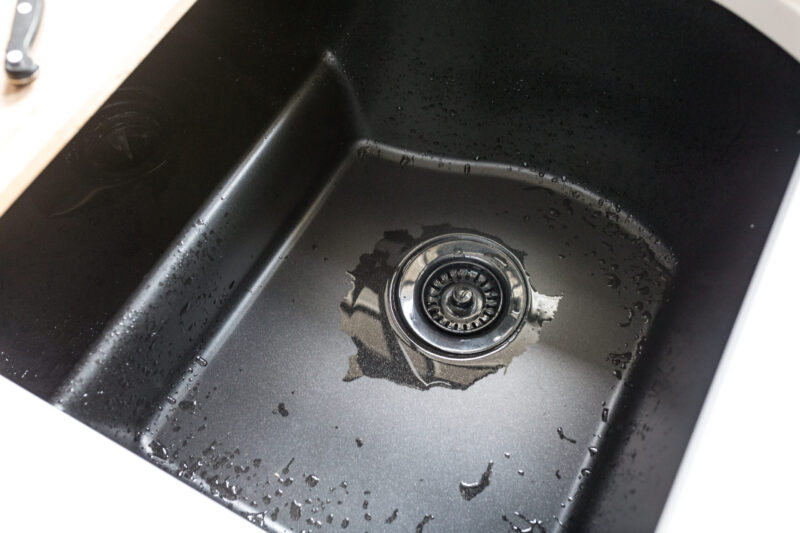 Using a pipe wrench, connect the plumbing to the sink's drain and water supply lines. Make sure all connections are secure and there are no leaks.
Step 6: Test for Leaks
 Once the sink is installed and the plumbing is connected, turn on the water supply and check for any leaks. If you notice any, tighten the connections as needed.
Step 7: Clean Up
 Wipe away any excess putty or debris from the sink and surrounding area. Give your new
Elkay kitchen sink
a thorough cleaning before using it for the first time.
Congratulations, you have successfully installed your Elkay kitchen sink! With proper installation and maintenance, your sink will provide years of functionality and style to your kitchen.
Wipe away any excess putty or debris from the sink and surrounding area. Give your new
Elkay kitchen sink
a thorough cleaning before using it for the first time.
Congratulations, you have successfully installed your Elkay kitchen sink! With proper installation and maintenance, your sink will provide years of functionality and style to your kitchen.