Installing a new kitchen sink basket may seem like a daunting task, but with the right tools and a little bit of know-how, it can be a simple and satisfying DIY project. Whether you're looking to update the look of your kitchen or need to replace a damaged sink basket, this step-by-step guide will walk you through the process.1. How to Install a Kitchen Sink Basket


1. How to Install a Kitchen Sink Basket


Before you begin, make sure you have all the necessary tools and materials. This includes a new sink basket, plumber's putty, a wrench, and a screwdriver. Once you have everything you need, follow these steps: Step 1: Start by removing the old sink basket. Use a wrench to loosen the nut that holds the basket in place. Once the nut is loose, you can use your hands to remove the basket from the sink. Step 2: Clean the area around the sink hole where the old basket was removed. Use a putty knife to scrape away any old plumber's putty or debris. Step 3: Take a small amount of plumber's putty and roll it into a thin, snake-like shape. Place the putty around the edge of the sink hole, making sure it is evenly distributed. Step 4: Place the new sink basket into the hole, pushing it down firmly to create a seal with the plumber's putty. Wipe away any excess putty with a damp cloth. Step 5: Underneath the sink, secure the basket in place by tightening the nut with a wrench. Make sure the basket is centered and level before fully tightening the nut. Step 6: Use a screwdriver to attach the drain pipe to the bottom of the sink basket. This will connect the sink to the plumbing below.2. Step-by-Step Guide for Installing a New Kitchen Sink Basket


2. Step-by-Step Guide for Installing a New Kitchen Sink Basket


Installing a kitchen sink basket may seem like a straightforward task, but there are a few tips and tricks that can make the process even easier: Tip 1: If your sink basket comes with a rubber gasket, place it between the basket and the sink before securing with the nut. This will create a tighter seal and prevent any leaks. Tip 2: Use a silicone-based plumber's putty instead of a clay-based putty. Silicone is more durable and will last longer, ensuring a better seal for your sink basket. Tip 3: When tightening the nut underneath the sink, use a towel or rubber glove to get a better grip on the basket. This will prevent it from moving out of place while you tighten the nut.3. DIY Kitchen Sink Basket Installation: Tips and Tricks


3. DIY Kitchen Sink Basket Installation: Tips and Tricks


While the process of installing a kitchen sink basket may seem simple enough, it is important to make sure it is done correctly. A properly installed sink basket will prevent leaks and ensure that your sink drains properly. It will also extend the lifespan of your sink and prevent any costly repairs in the future.4. The Importance of Properly Installing a Kitchen Sink Basket

.jpg)
4. The Importance of Properly Installing a Kitchen Sink Basket


To recap, here are the tools and materials you will need to install a new kitchen sink basket: - New sink basket - Plumber's putty - Wrench - Screwdriver5. Tools and Materials Needed for Installing a New Kitchen Sink Basket


5. Tools and Materials Needed for Installing a New Kitchen Sink Basket


While installing a kitchen sink basket may seem like a simple task, there are some common mistakes that can be easily avoided: Mistake 1: Not properly cleaning the area before installing the new basket. This can lead to leaks and a faulty seal. Mistake 2: Using too much plumber's putty. This can cause the putty to ooze out and create a messy installation. Mistake 3: Not tightening the nut enough. This can cause the basket to move out of place and lead to leaks.6. Common Mistakes to Avoid When Installing a Kitchen Sink Basket


6. Common Mistakes to Avoid When Installing a Kitchen Sink Basket


If you need to replace an old or damaged sink basket, the process is very similar to installing a new one. Follow the steps outlined above, making sure to remove the old basket first before installing the new one.7. How to Remove and Replace an Old Kitchen Sink Basket

7. How to Remove and Replace an Old Kitchen Sink Basket


If you're new to DIY projects, installing a kitchen sink basket is a great place to start. With the right tools and a little bit of patience, you can successfully complete this project and feel accomplished in your handy skills.8. Installing a Kitchen Sink Basket: A Beginner's Guide


8. Installing a Kitchen Sink Basket: A Beginner's Guide


Even with the best preparation and care, sometimes issues can arise during the installation process. Here are a few common problems and how to troubleshoot them: Issue 1: The sink basket is not level. Use a level to ensure the basket is straight before fully tightening the nut. Issue 2: The sink basket is leaking. Check to make sure the nut is fully tightened and that the plumber's putty is evenly distributed around the edge of the sink hole.9. Troubleshooting Common Issues During Kitchen Sink Basket Installation

9. Troubleshooting Common Issues During Kitchen Sink Basket Installation


While hiring a professional to install a new kitchen sink basket may seem like the easier option, it can also be costly. With the right tools and a little bit of know-how, DIY installation can save you money and give you a sense of accomplishment. However, if you are not confident in your DIY skills, it is always best to hire a professional to ensure the job is done correctly. Now that you have a thorough understanding of how to install a kitchen sink basket, you can confidently tackle this DIY project and improve the look and functionality of your kitchen sink. Remember to take your time and follow the steps carefully for a successful installation. Happy renovating!10. Professional vs. DIY: Which is the Best Option for Installing a New Kitchen Sink Basket?


10. Professional vs. DIY: Which is the Best Option for Installing a New Kitchen Sink Basket?


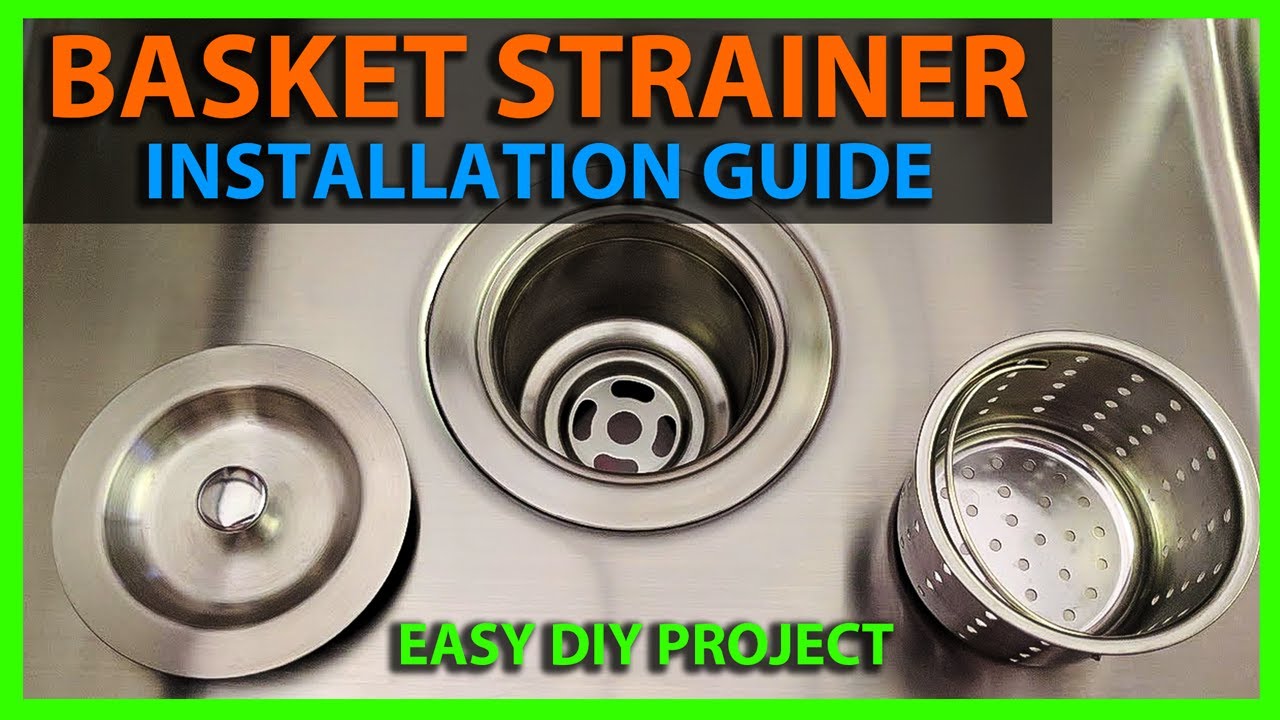
How to Install a New Kitchen Sink Basket: A Step-by-Step Guide

Introduction
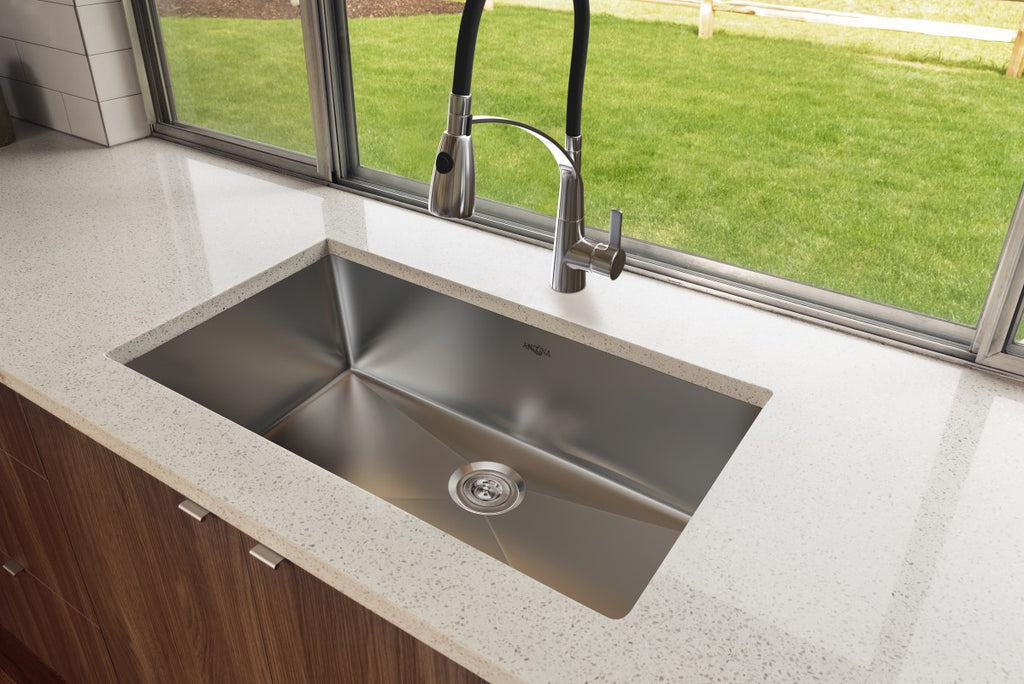
 When it comes to designing your dream home, the kitchen is often the heart of the house. It is a space where we cook, eat, and gather with family and friends. That's why it's important to have a functional and aesthetically pleasing kitchen, and one of the key elements to achieving this is by installing a new
kitchen sink basket
. This small but essential part of your sink not only helps with drainage but also adds to the overall look of your kitchen. In this article, we will guide you through the process of installing a new kitchen sink basket, so you can have a beautiful and efficient kitchen in no time.
When it comes to designing your dream home, the kitchen is often the heart of the house. It is a space where we cook, eat, and gather with family and friends. That's why it's important to have a functional and aesthetically pleasing kitchen, and one of the key elements to achieving this is by installing a new
kitchen sink basket
. This small but essential part of your sink not only helps with drainage but also adds to the overall look of your kitchen. In this article, we will guide you through the process of installing a new kitchen sink basket, so you can have a beautiful and efficient kitchen in no time.
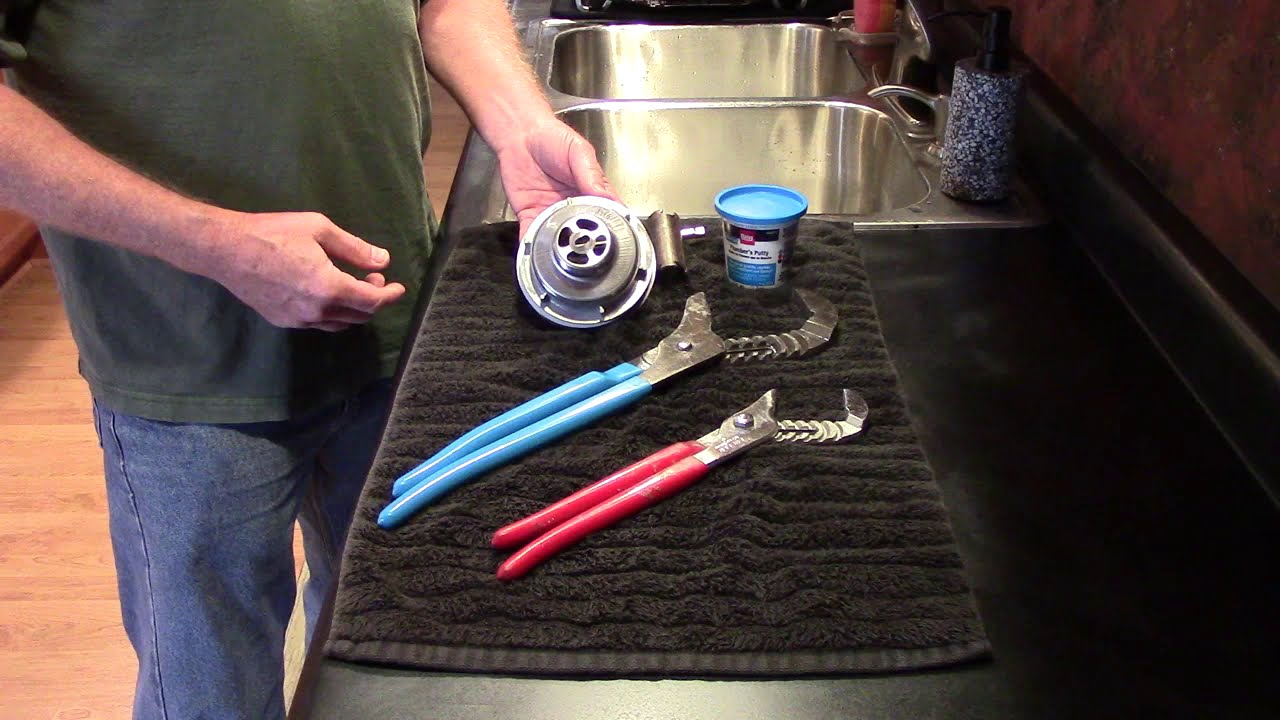
Step 1: Gather the necessary tools and materials
 Before you start the installation process, make sure you have all the tools and materials needed. This includes a new
kitchen sink basket
, a putty knife, plumber's putty, a wrench, and a silicone sealant. It's also helpful to have a bucket and some rags on hand in case of any spills or leaks.
Before you start the installation process, make sure you have all the tools and materials needed. This includes a new
kitchen sink basket
, a putty knife, plumber's putty, a wrench, and a silicone sealant. It's also helpful to have a bucket and some rags on hand in case of any spills or leaks.
Step 2: Remove the old sink basket
 If you are replacing an old sink basket, the first step is to remove it. Start by disconnecting the plumbing, including the drainpipe and garbage disposal if you have one. Then, use a wrench to unscrew the locknut and remove the old sink basket.
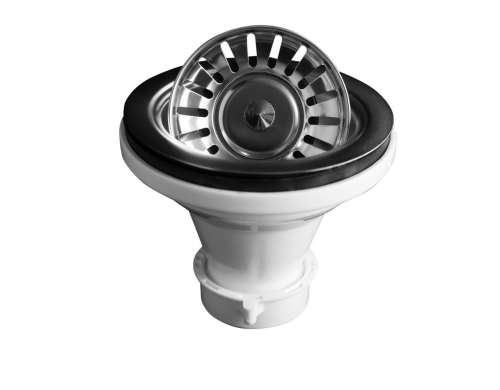
Step 3: Prepare the new sink basket
 Before installing the new sink basket, you need to prepare it by applying plumber's putty around the underside of the flange. This will create a watertight seal and prevent any leaks. Make sure to cover the entire flange evenly with the putty.
Step 4: Place the new sink basket
 Once the putty is applied, place the new sink basket into the sink opening from the top. Press down firmly to ensure it is secure and the putty creates a seal. Wipe off any excess putty that may have squeezed out from the sides.
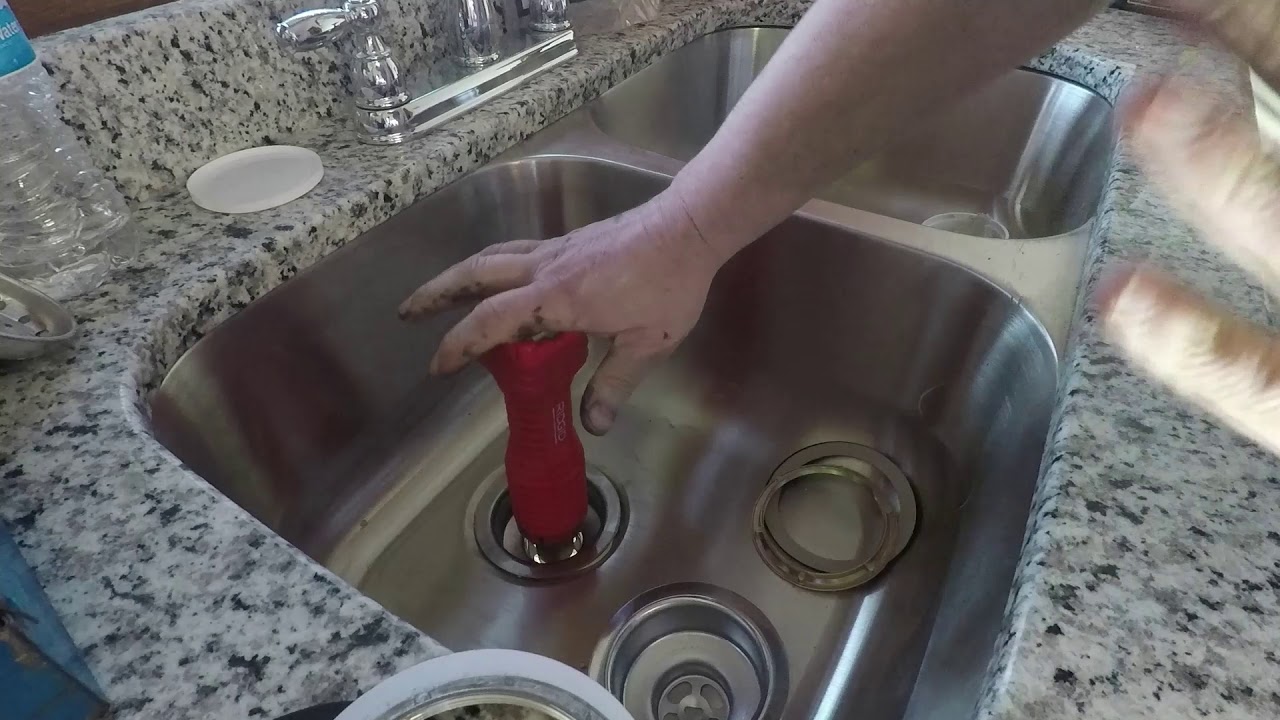
Step 5: Secure the locknut
 Underneath the sink, secure the locknut onto the sink basket by tightening it with a wrench. This will hold the sink basket in place and create a tight seal.
Step 6: Connect the plumbing
 Reconnect the plumbing that was disconnected in Step 2. This includes the drainpipe and garbage disposal, if applicable. Make sure all connections are secure and there are no leaks.
Step 7: Apply silicone sealant
 To further ensure a watertight seal, apply a thin layer of silicone sealant around the edge of the sink basket. This will prevent any water from leaking out of the sides.
Step 8: Clean up
 Finally, clean up any excess putty or silicone sealant that may have squeezed out during the installation process. Use a putty knife to scrape off any excess and wipe down the sink with a damp cloth.
Conclusion
 Installing a new kitchen sink basket may seem like a daunting task, but by following these simple steps, you can easily have it done in no time. Not only will it improve the functionality of your sink, but it will also add to the overall design of your kitchen. So, go ahead and give your kitchen a fresh new look by installing a new
kitchen sink basket
today!
Installing a new kitchen sink basket may seem like a daunting task, but by following these simple steps, you can easily have it done in no time. Not only will it improve the functionality of your sink, but it will also add to the overall design of your kitchen. So, go ahead and give your kitchen a fresh new look by installing a new
kitchen sink basket
today!


:max_bytes(150000):strip_icc()/SleeponLatex-b287d38f89374e4685ab0522b2fe1929.jpeg)
