If you're looking to install a Kohler bathroom sink drain with overflow, you've come to the right place. Kohler is known for its high-quality and durable bathroom fixtures, and their sink drains are no exception. In this guide, we'll walk you through the process of installing a Kohler bathroom sink drain with overflow, from gathering the necessary tools to completing the installation. Let's get started!1. Installing a Kohler Bathroom Sink Drain: A Step-by-Step Guide


Kohler Bathroom Sink Drain Installation


Before we dive into the installation process, let's take a closer look at what makes Kohler bathroom sink drains with overflow stand out. These drains are designed to prevent water from overflowing and flooding your bathroom, making them essential for any sink that is regularly used. They also have a sleek and modern design that adds a touch of elegance to your bathroom.2. All About Kohler Bathroom Sink Drains with Overflow


Kohler Bathroom Sink Drain with Overflow


Before you start installing your Kohler bathroom sink drain with overflow, make sure you have all the necessary tools on hand. These may include a wrench, pliers, screwdriver, plumbers putty, and silicone caulk. Additionally, it's always a good idea to have a bucket and some rags nearby to catch any water that may spill during the installation process.3. Get Your Tools Ready

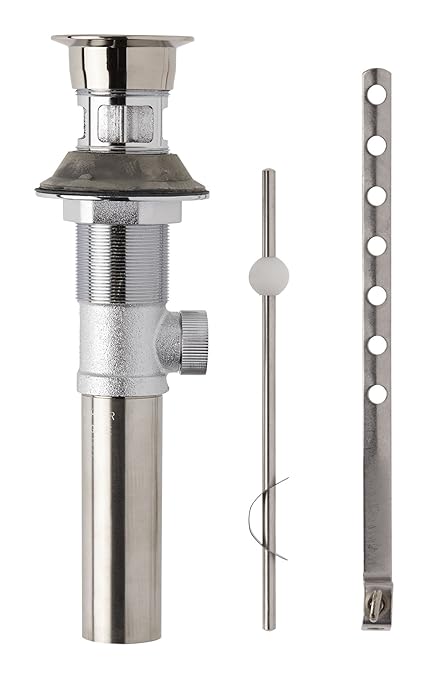
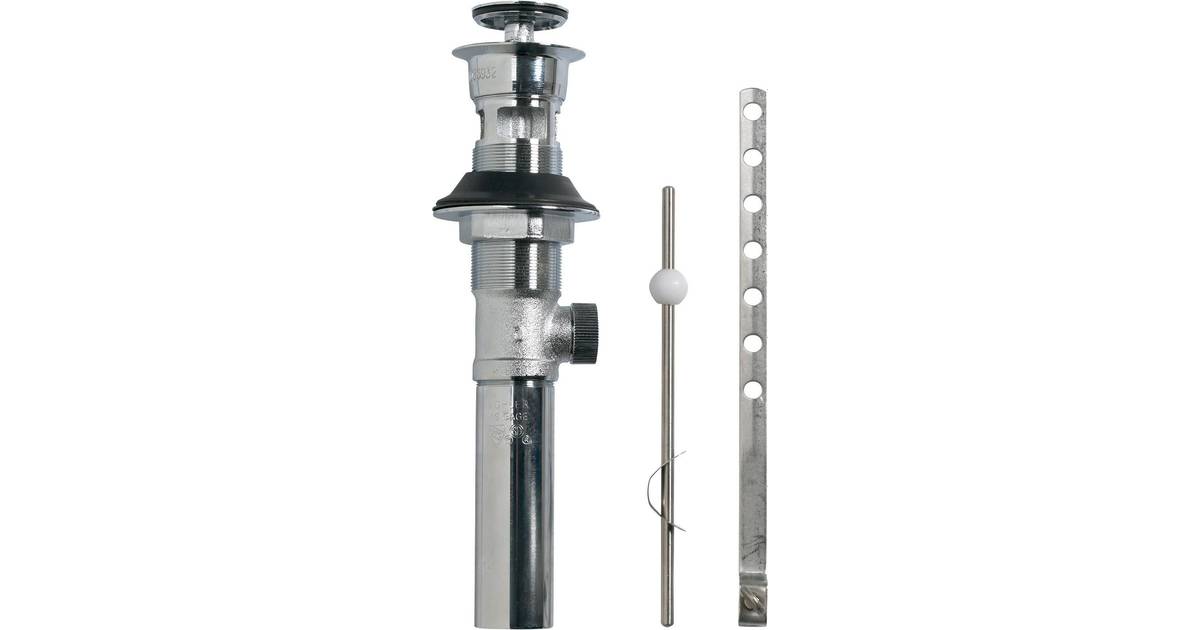
Kohler Bathroom Sink Drain Assembly


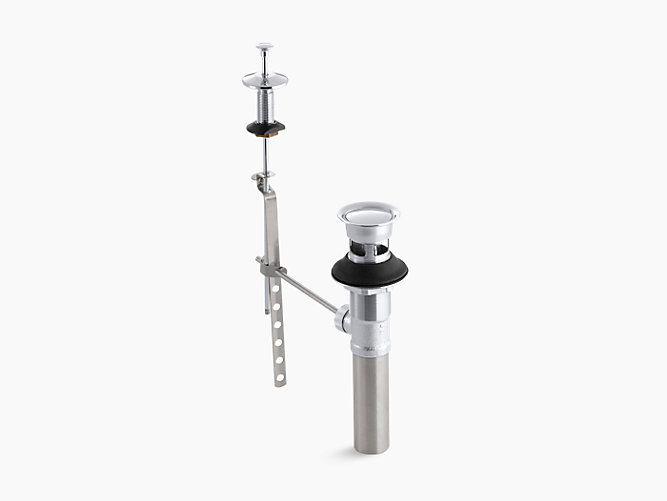
If you're replacing an old drain with your new Kohler bathroom sink drain with overflow, the first step is to remove the old drain. Use your wrench to loosen the nuts and remove the drain from the sink. Make sure to have your bucket and rags handy, as water may spill out during this process.4. Remove the Old Drain


Kohler Bathroom Sink Drain Replacement


Once the old drain is removed, clean the area where the new drain will be installed. Remove any old putty or caulk and make sure the surface is dry and clean. This will ensure a secure and tight fit for your new drain.5. Prepare the Sink


Kohler Bathroom Sink Drain Installation Guide


Next, take a small amount of plumbers putty and roll it into a thin rope. Place the putty around the bottom of the flange of your new Kohler bathroom sink drain. This will help create a watertight seal between the drain and the sink.6. Apply Plumbers Putty


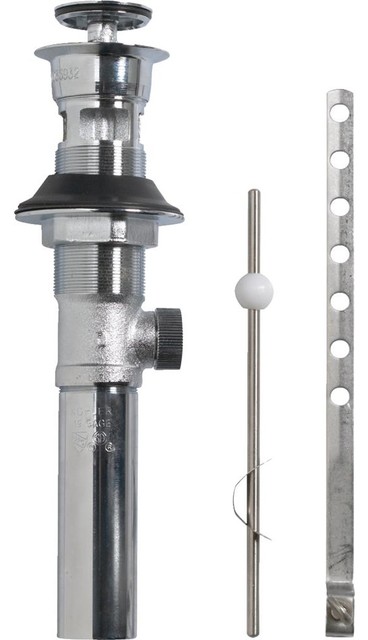
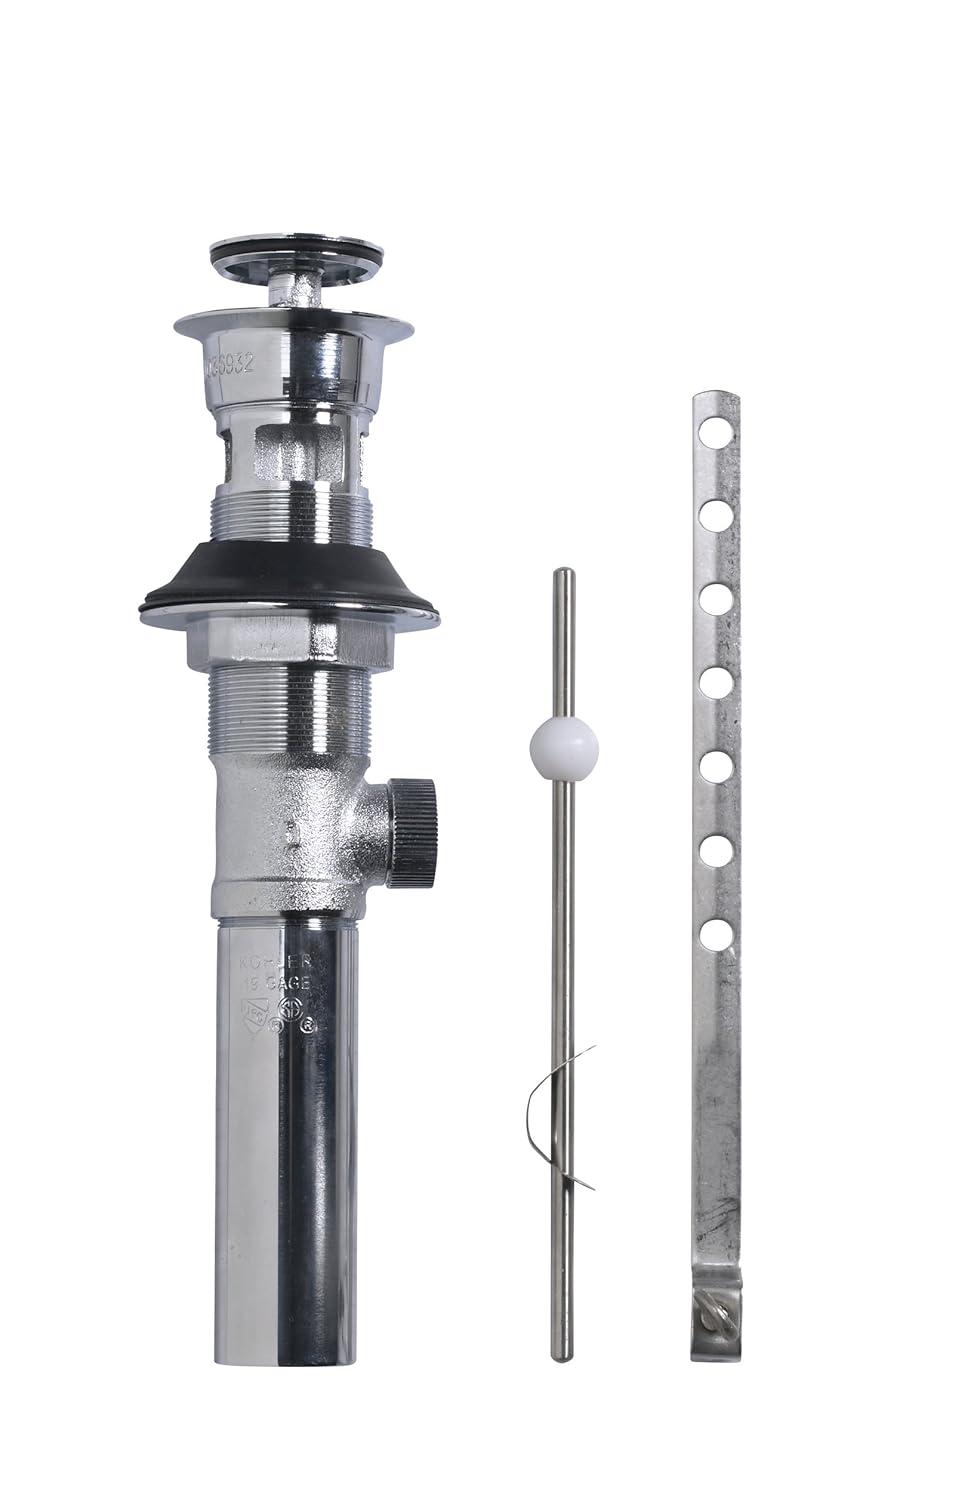
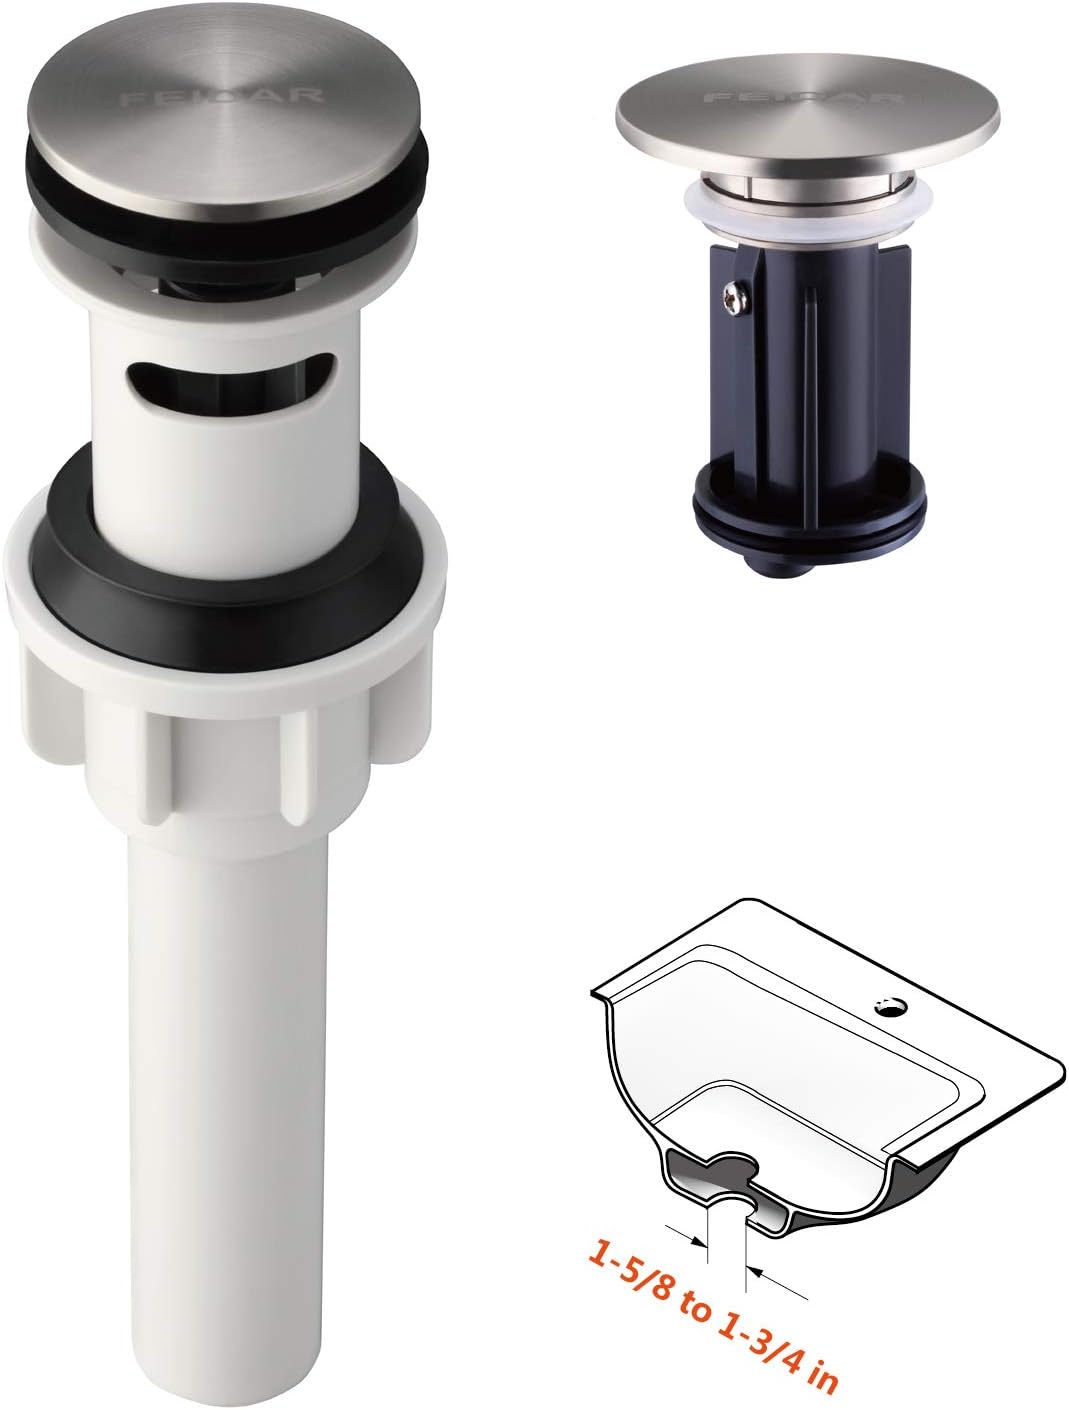
Kohler Bathroom Sink Drain Parts

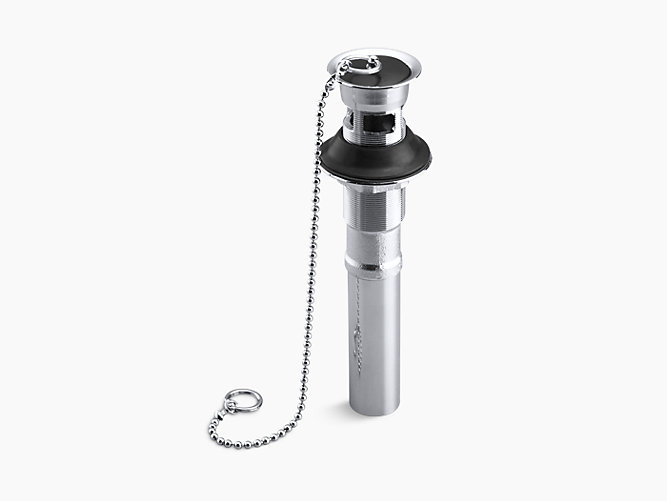
Insert the drain into the sink's drain hole and press down firmly. You may need to use a little force to push it down and make sure it is flush with the sink's surface. Wipe away any excess putty that may have squeezed out.7. Insert the Drain
Kohler Bathroom Sink Drain Installation Video


Underneath the sink, secure the drain in place by tightening the nuts with your wrench. Make sure the drain is straight and evenly tightened to prevent any leaks.8. Secure the Drain

Kohler Bathroom Sink Drain with Overflow Installation

To ensure a watertight seal, apply a thin line of silicone caulk around the edge of the drain where it meets the sink. Smooth out the caulk with your finger to create an even seal.9. Apply Silicone Caulk

How to Install a Kohler Bathroom Sink Drain with Overflow


:max_bytes(150000):strip_icc()/bathroom-sink-drain-installation-2718843-11-675b59e962dd4f69b510d5c9e1fd215f.jpg)
Once the caulk has dried, turn on the water and test your new drain. Check for any leaks and make sure the water is draining properly. Congratulations, you have successfully installed your Kohler bathroom sink drain with overflow! Now you can sit back, relax, and enjoy your new bathroom fixture.10. Test and Enjoy Your New Kohler Bathroom Sink Drain with Overflow


Step-by-Step Guide for Installing a Kohler Bathroom Sink Drain with Overflow


Why Choose a Kohler Bathroom Sink with Overflow?

Efficient and Stylish Design
 When it comes to designing your bathroom, every detail counts. From the tiles on the floor to the color of the walls, each element contributes to the overall look and functionality of the space. This is especially true for your bathroom sink, which is not only a functional fixture but also a key design element. This is where a Kohler bathroom sink with overflow comes in. With its efficient and stylish design, it is the perfect addition to your bathroom.
Prevent Overflow and Water Damage
 One of the main benefits of a Kohler bathroom sink with overflow is its ability to prevent overflow and potential water damage. The overflow feature allows excess water to drain out of the sink, preventing it from spilling onto your counter and causing damage. This is particularly useful if you have young children who may forget to turn off the faucet or if you tend to leave the water running while brushing your teeth.
Keep Your Sink Clean and Hygienic
 In addition to preventing water damage, the overflow feature also helps to keep your sink clean and hygienic. Without an overflow, excess water can pool in the sink, creating a breeding ground for bacteria and mold. The overflow ensures that any excess water is drained, keeping your sink and bathroom free from potential health hazards.
Wide Range of Designs and Finishes
 Kohler offers a wide range of bathroom sinks with overflow, ensuring that you can find the perfect fit for your bathroom design. From classic pedestal sinks to modern undermount sinks, there is a style for every taste. And with a variety of finishes to choose from, including chrome, brushed nickel, and bronze, you can easily match your sink to your existing hardware and fixtures.
Final Thoughts
 When it comes to installing a bathroom sink, a Kohler sink with overflow is a top choice for both functionality and design. With its ability to prevent overflow and water damage, keep your sink clean and hygienic, and a wide range of stylish options to choose from, it is the perfect addition to any bathroom. So why wait? Upgrade your bathroom with a Kohler bathroom sink with overflow today.