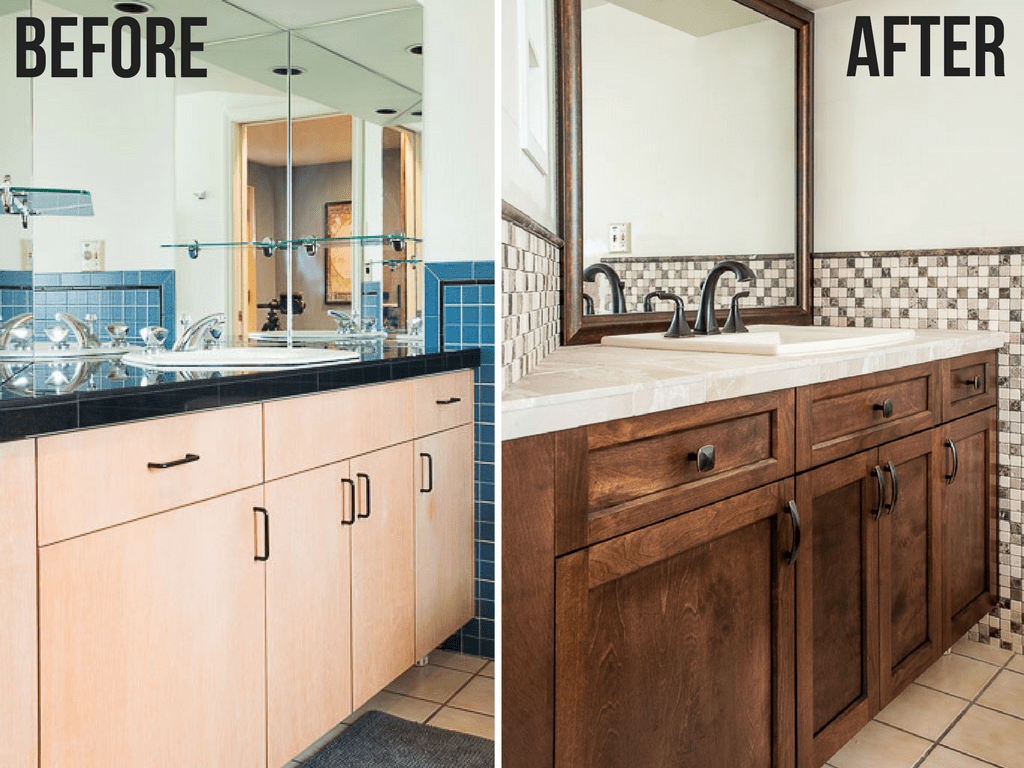
Installing a new bathroom vanity countertop can add style and functionality to your space. Whether you're looking to update your outdated countertop or simply want to give your bathroom a fresh new look, installing a bathroom vanity countertop is a project that can easily be done on your own. In this article, we'll guide you through the process of installing a bathroom vanity countertop, step-by-step. How to Install a Bathroom Vanity Countertop


How to Install a Bathroom Vanity Countertop

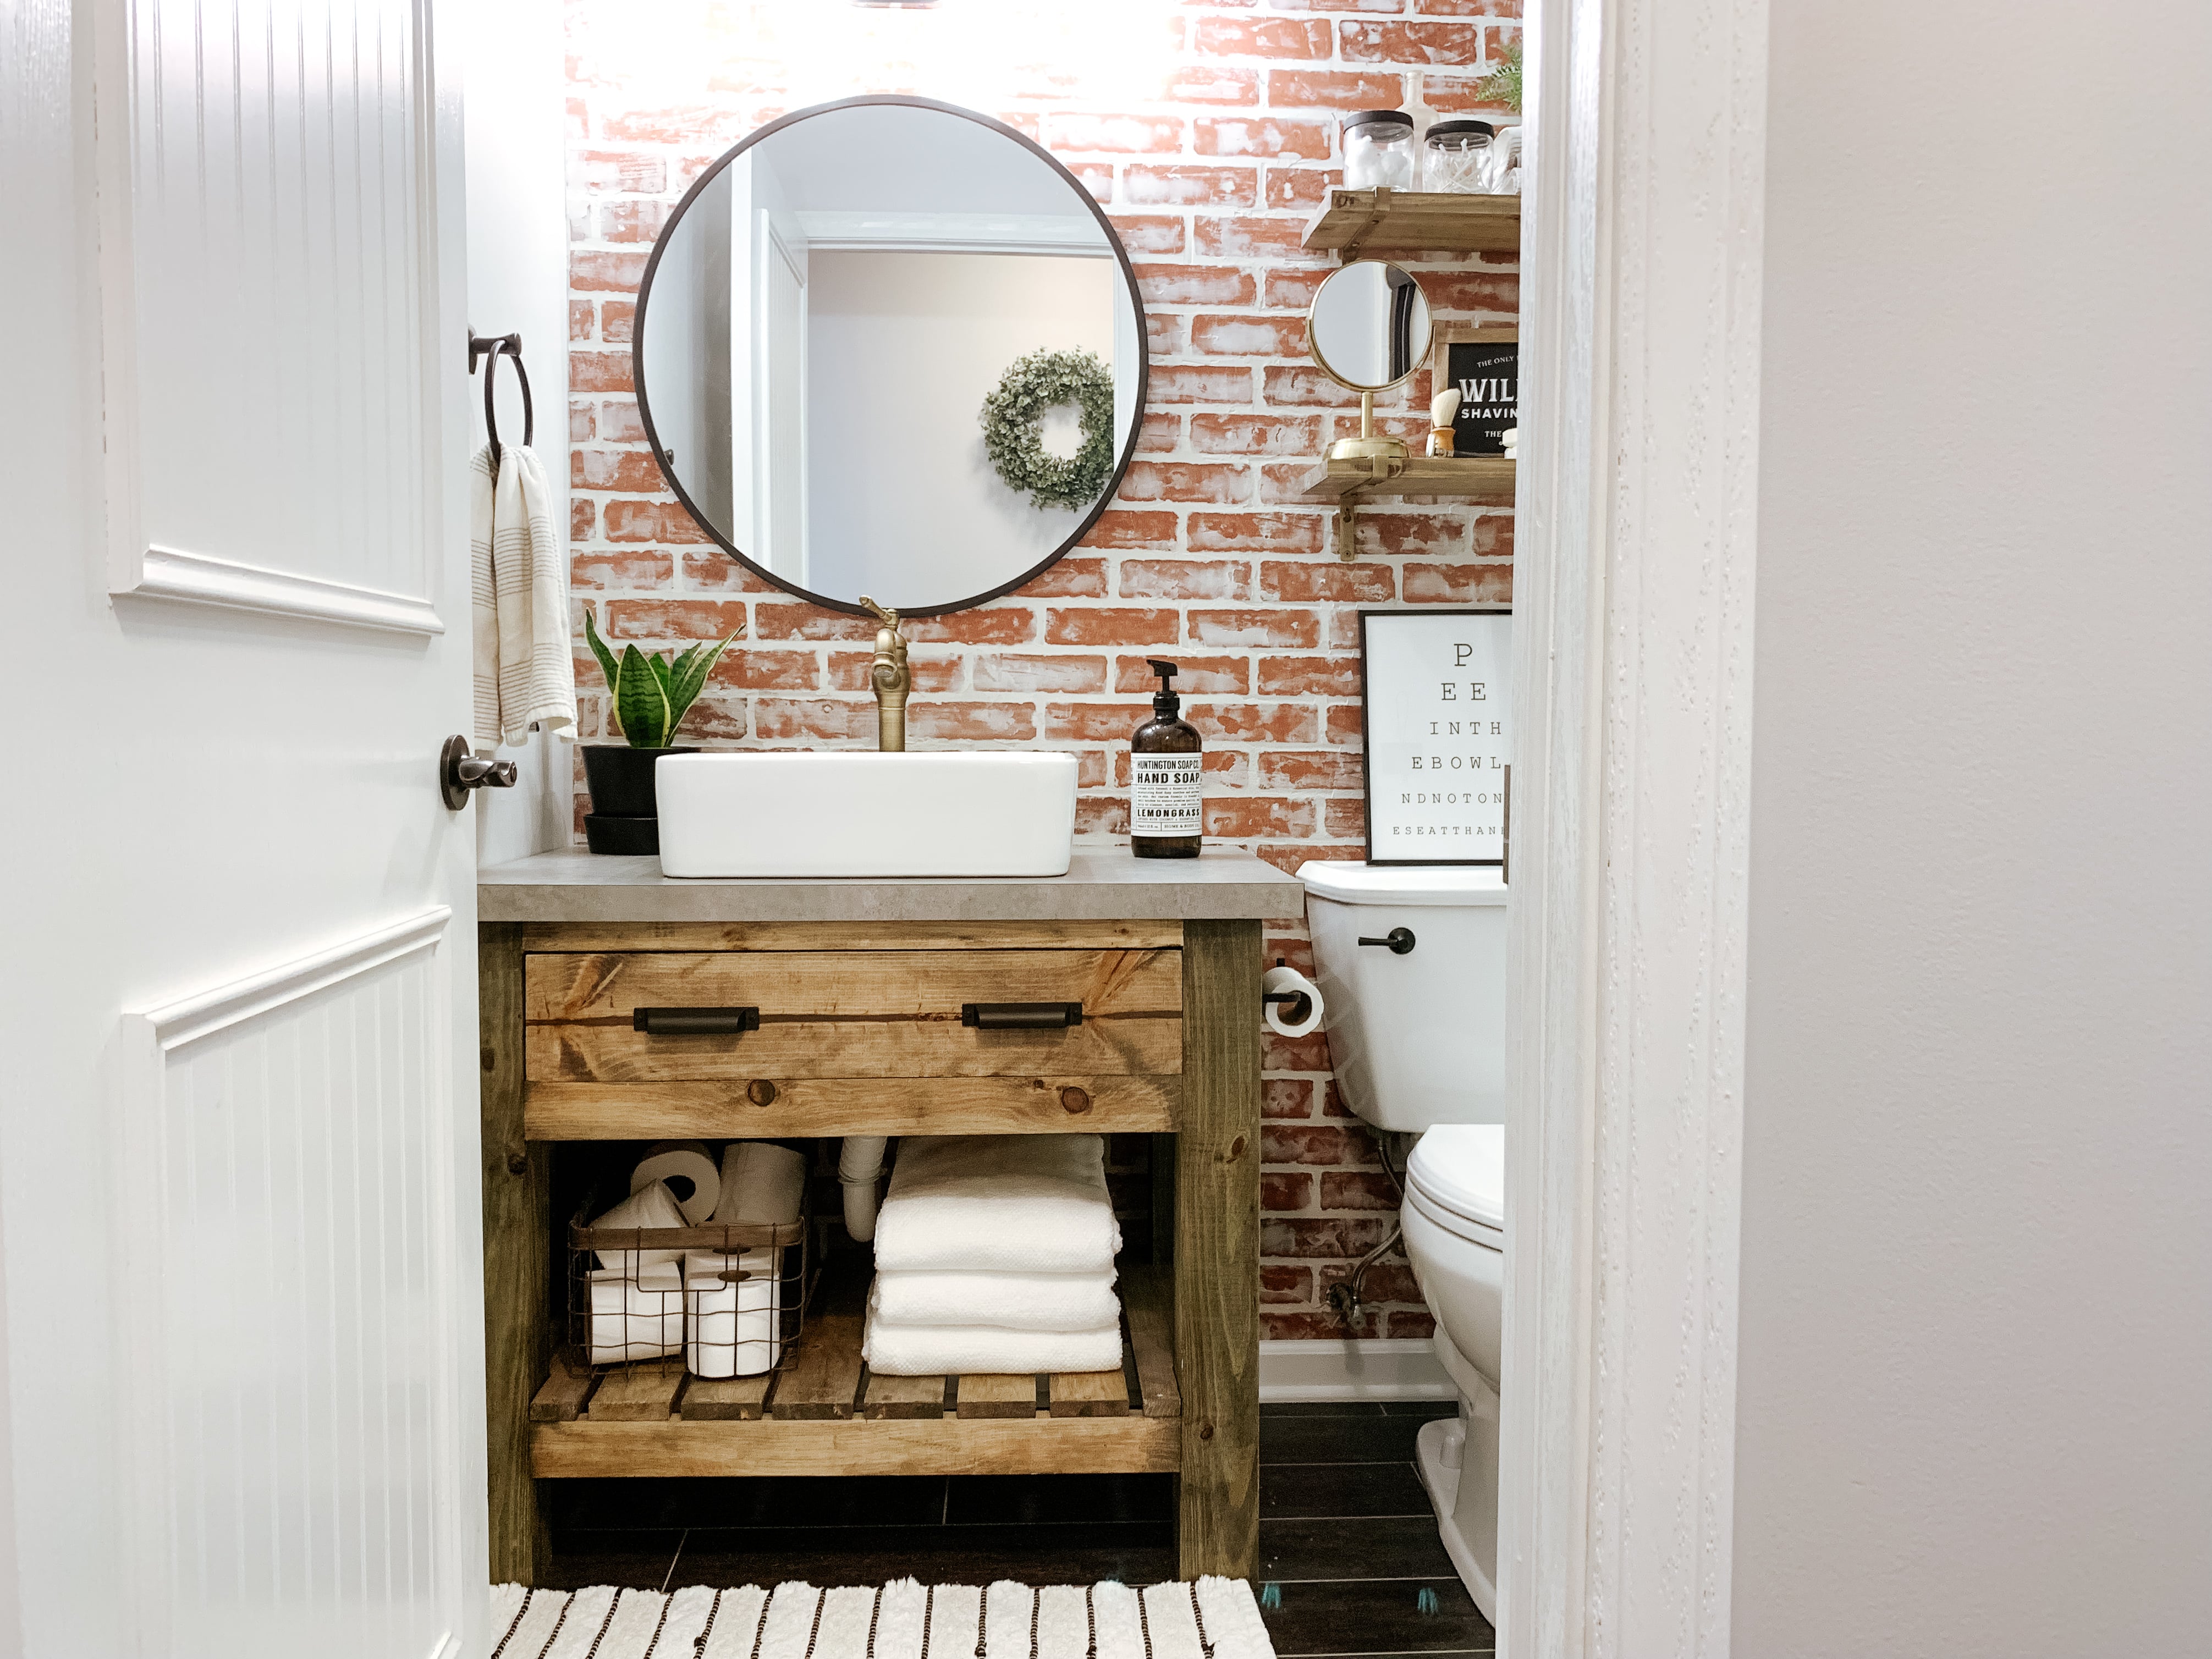
Installing a bathroom vanity countertop yourself can save you money and give you a sense of accomplishment. To start, gather all the necessary tools and materials. You'll need a new vanity countertop, sink, faucet, mounting brackets, silicone adhesive, caulk, and a drill. It's important to choose a vanity countertop that fits your space and complements your bathroom's overall design. Measure your space carefully and choose a countertop that will fit comfortably without any gaps. DIY Bathroom Vanity Countertop Installation


DIY Bathroom Vanity Countertop Installation
:max_bytes(150000):strip_icc()/build-something-diy-vanity-594402125f9b58d58ae21158.jpg)

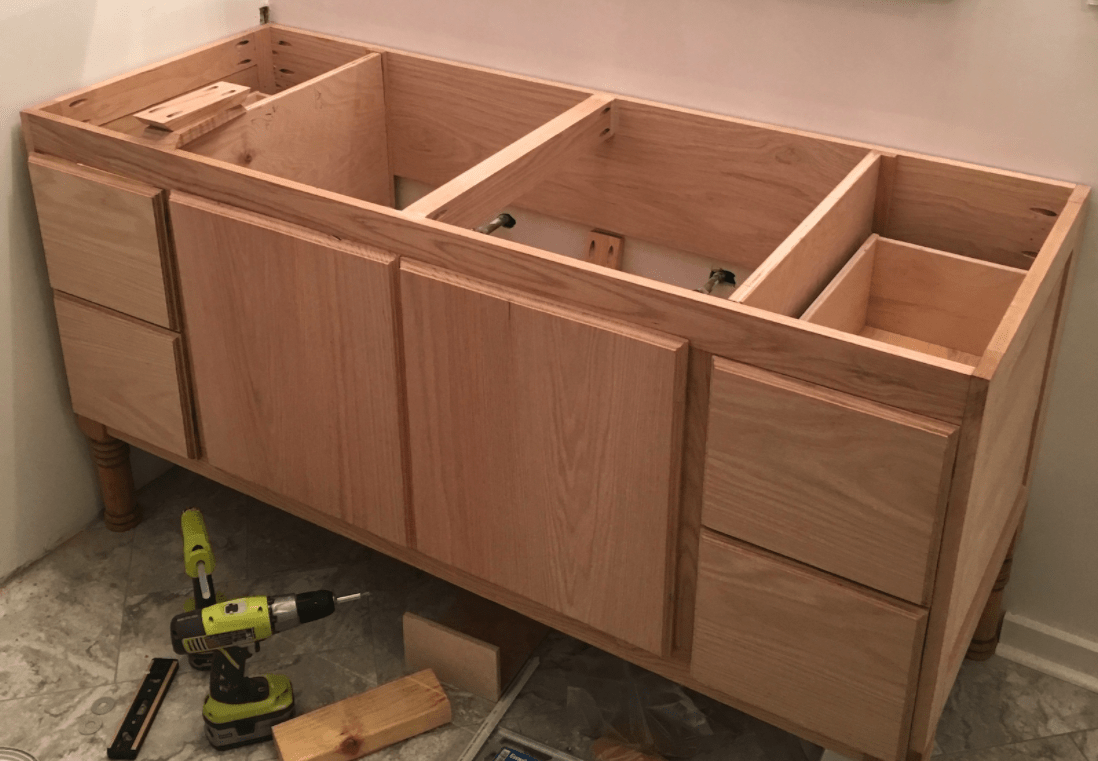

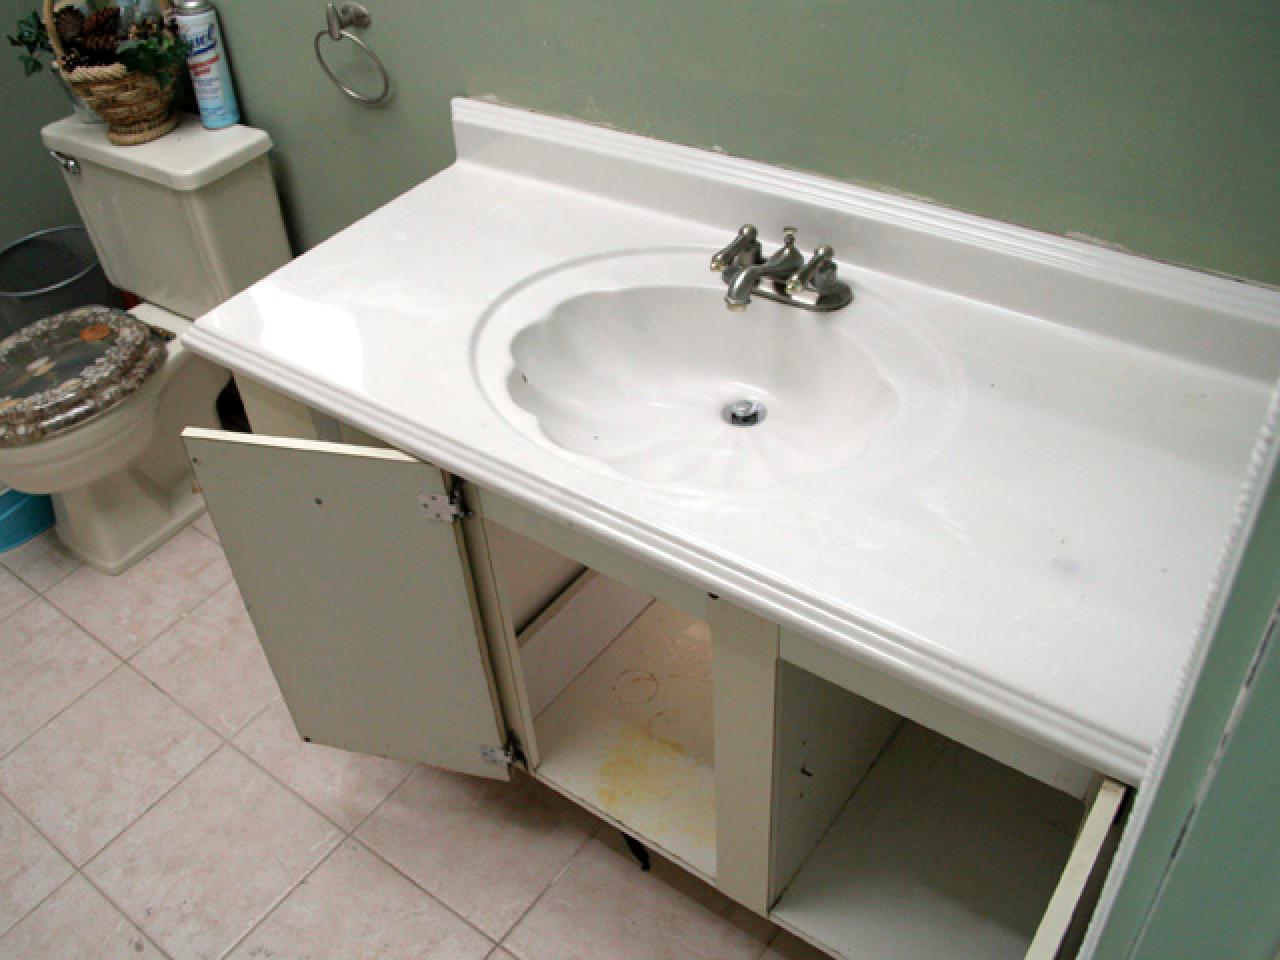
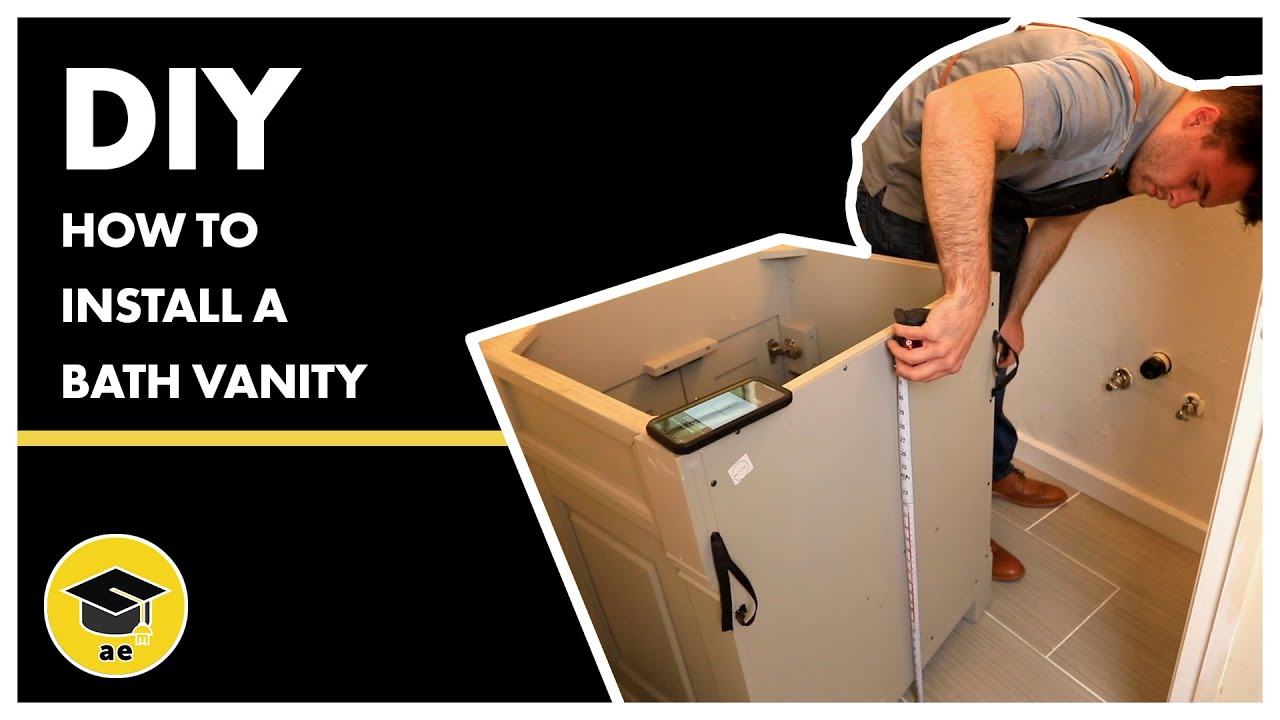
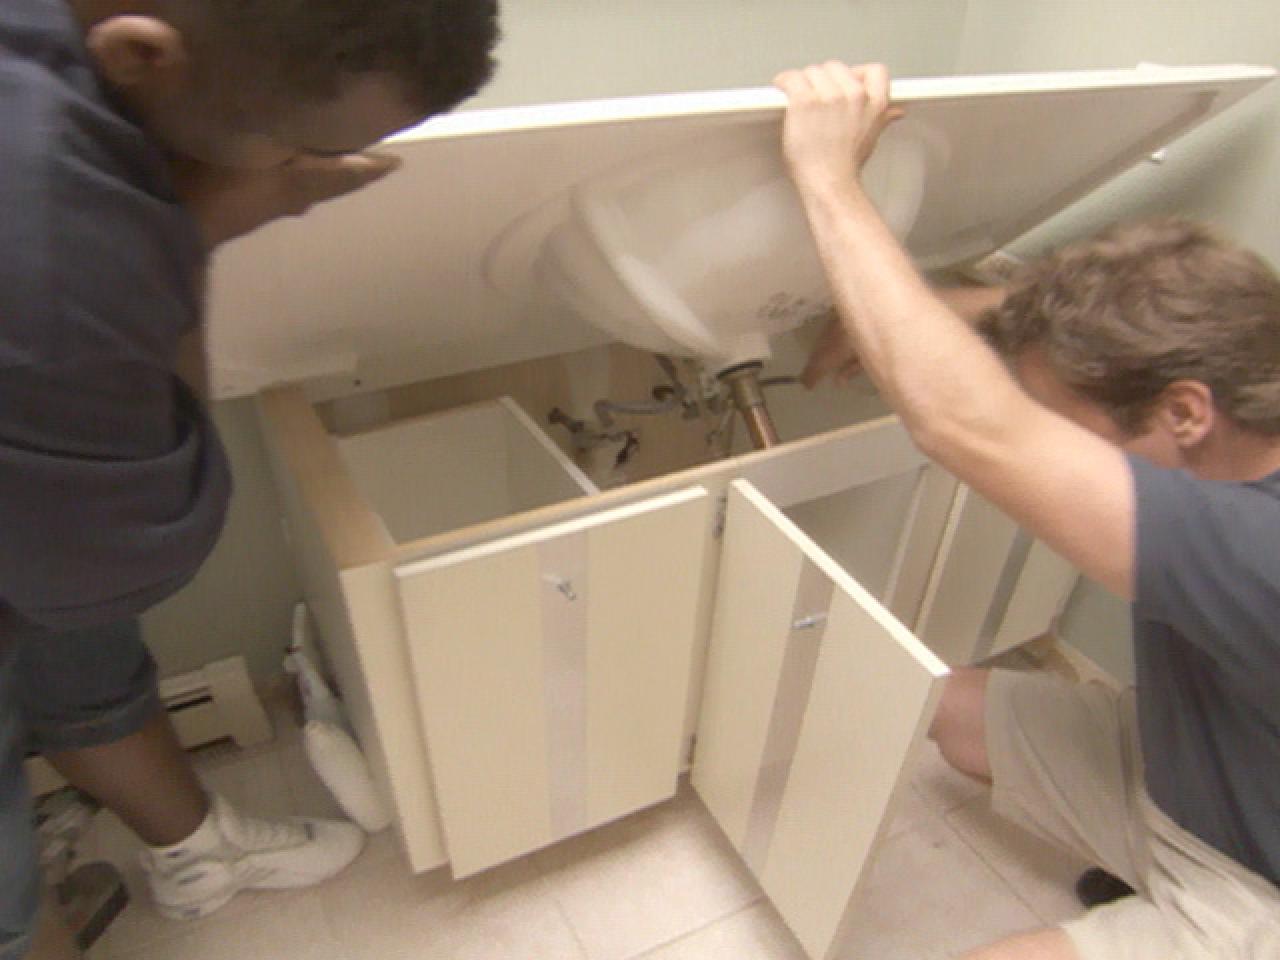
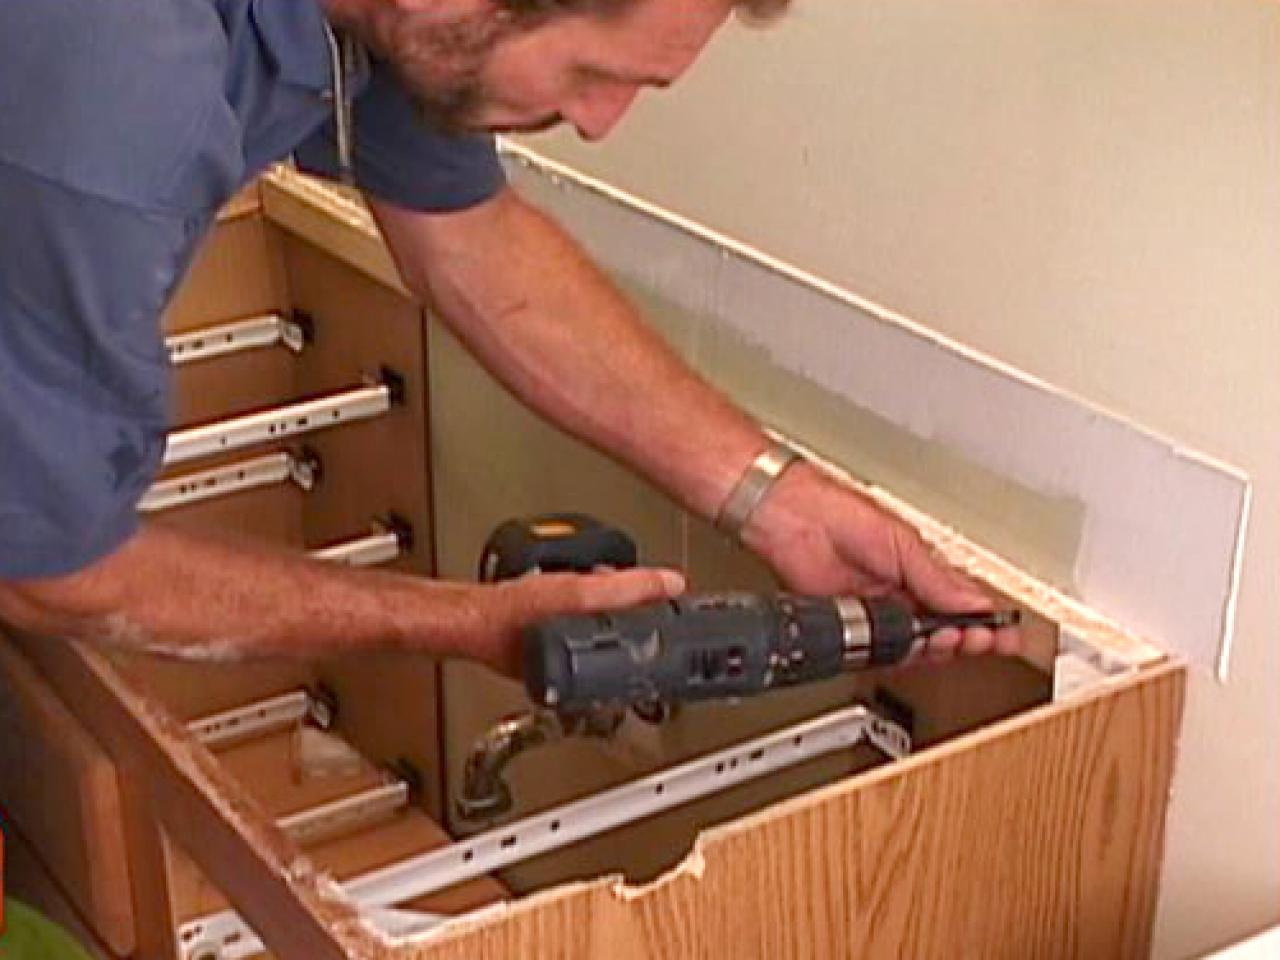
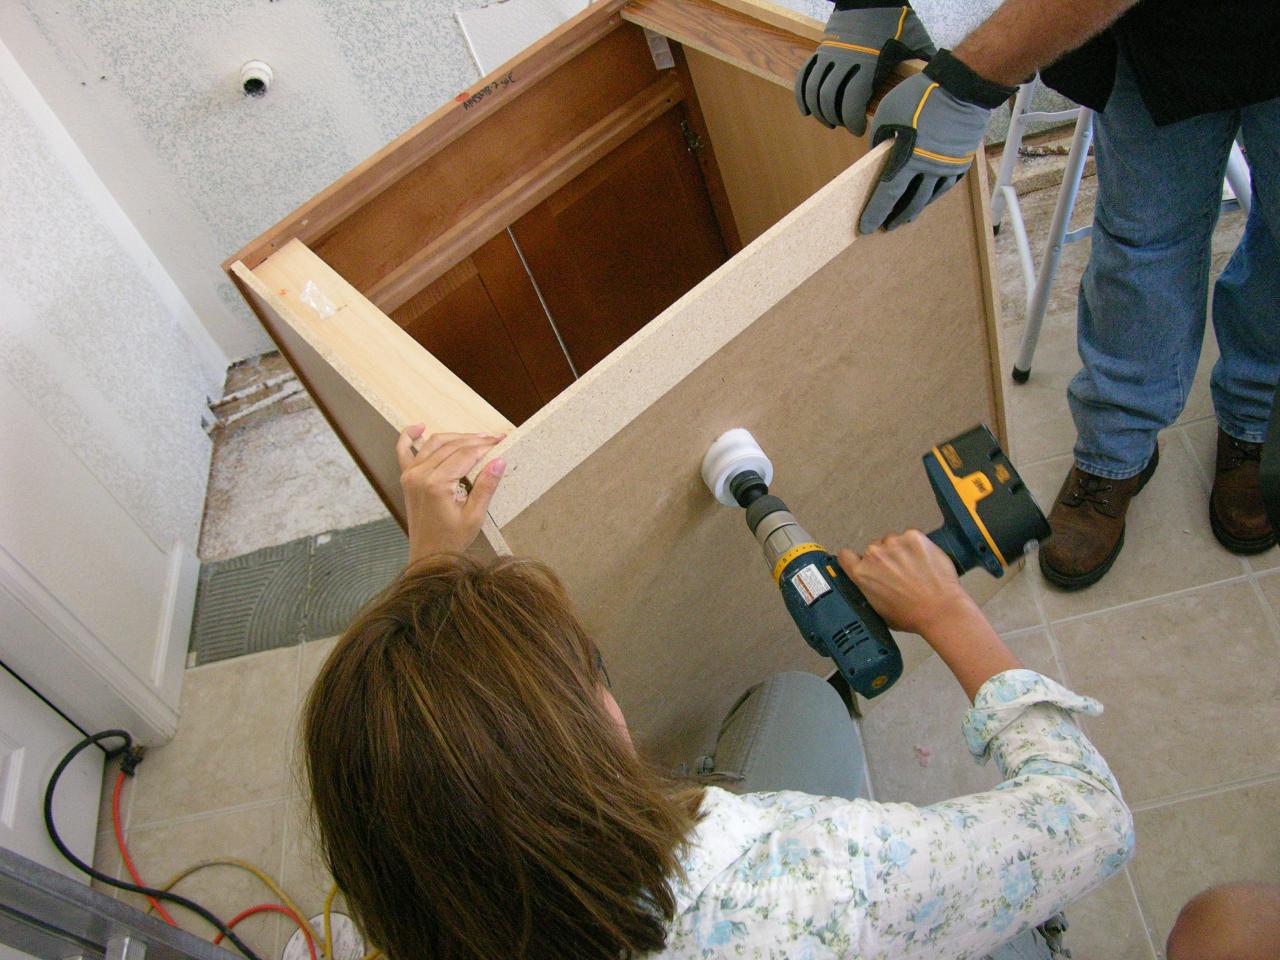
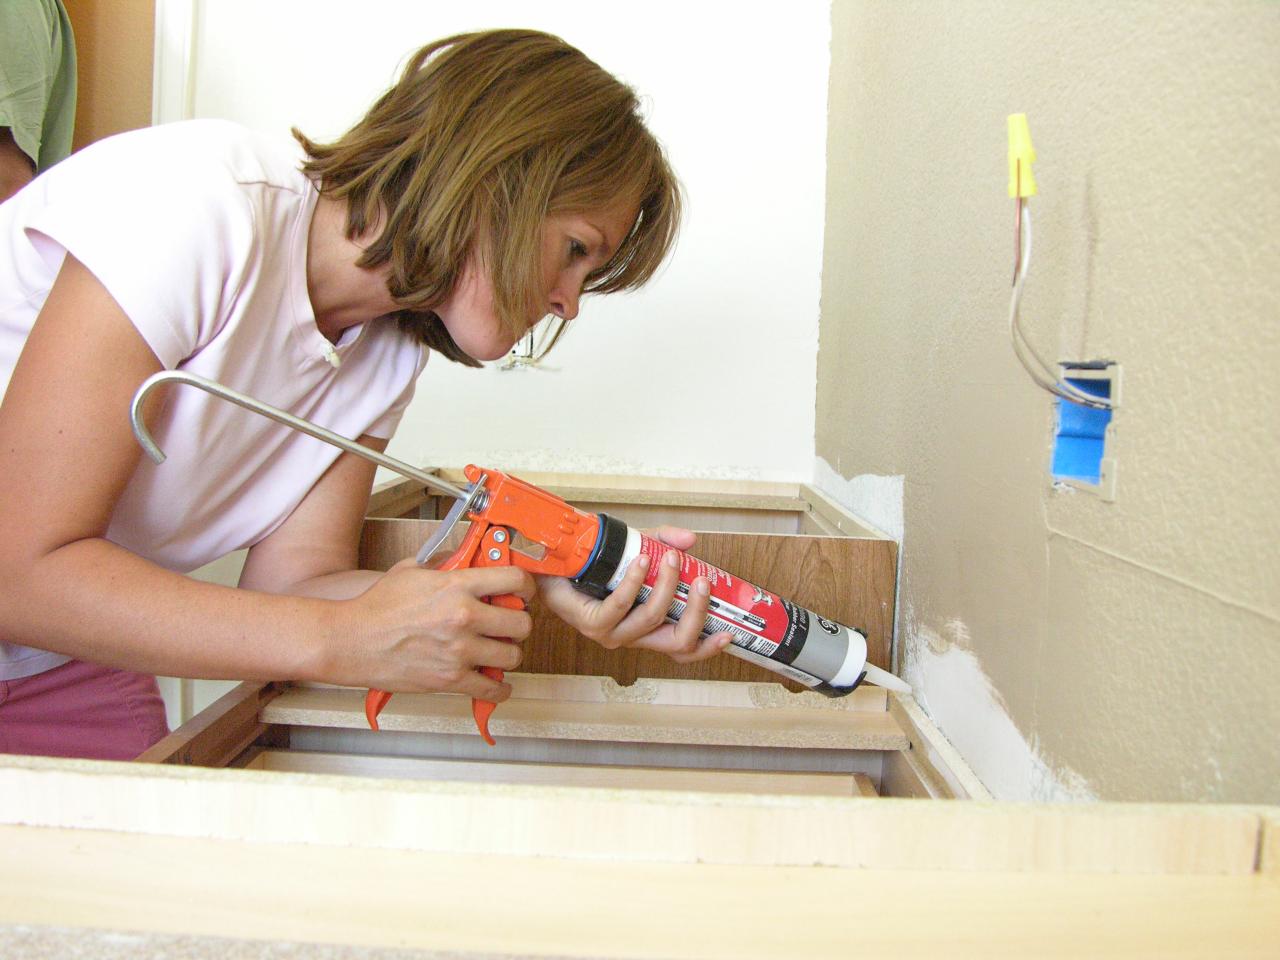
Step 1: Remove the old countertop. If you're replacing an existing countertop, start by turning off the water supply and disconnecting the plumbing. Then, use a utility knife to cut through the caulk and remove the old countertop. Step 2: Install the new sink and faucet. Follow the manufacturer's instructions to install the sink and faucet onto the countertop before installing it onto the vanity. This will make the installation process easier. Step 3: Position the new countertop onto the vanity. Once the sink and faucet are attached, carefully place the new countertop onto the vanity. Use a level to ensure that it's even and adjust as needed. Step 4: Secure the countertop. Use mounting brackets to secure the countertop onto the vanity. These brackets should be attached to the underside of the countertop and then drilled into the vanity. Step 5: Connect the plumbing. Reconnect the plumbing by attaching the water lines to the faucet and drain. Turn on the water supply and check for any leaks. Step 6: Apply silicone adhesive. To ensure a secure and waterproof seal, apply a thin line of silicone adhesive along the edges of the countertop where it meets the vanity. Step 7: Caulk the edges. Use caulk to seal any small gaps between the countertop and the wall. Smooth out the caulk with your finger or a caulking tool for a clean finish. Step-by-Step Guide for Installing a Bathroom Vanity Countertop


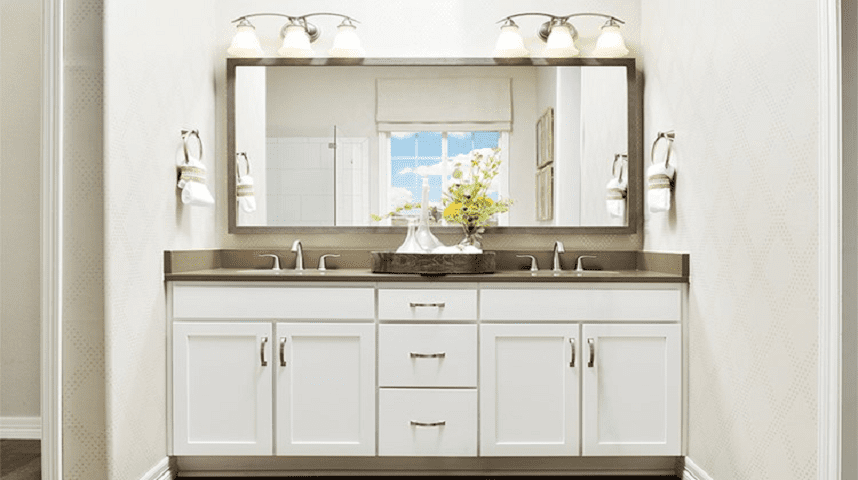
Step-by-Step Guide for Installing a Bathroom Vanity Countertop


:max_bytes(150000):strip_icc()/8_IMG_3767-56a4a2753df78cf772835b72.JPG)
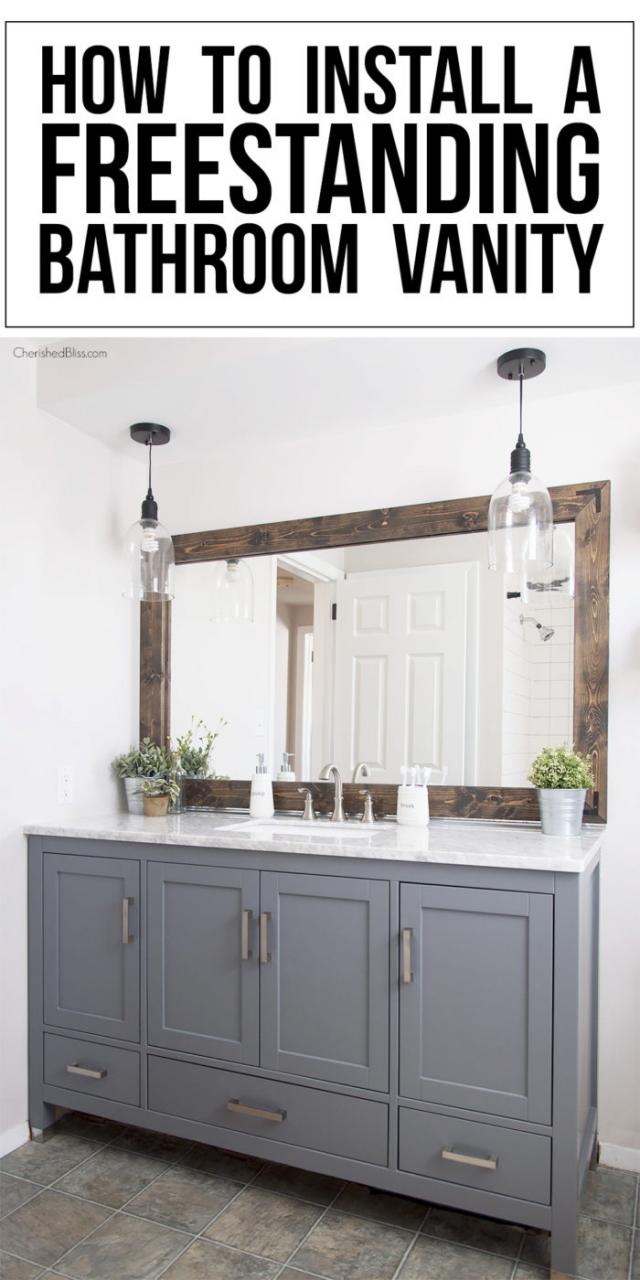
Tip #1: Before purchasing a new countertop, consider the overall style and design of your bathroom. Choose a countertop that will complement your existing decor. Tip #2: When measuring your space, be sure to account for any obstructions such as plumbing or electrical outlets. Tip #3: Use a level to ensure that your countertop is even and make any adjustments as needed before securing it in place. Tip #4: Don't forget to turn off the water supply before disconnecting any plumbing to avoid water damage. Tips for Installing a Bathroom Vanity Countertop


Tips for Installing a Bathroom Vanity Countertop


It's important to have the right tools for the job to ensure a successful installation. Here are some of the tools you'll need: - Drill Tools Needed for Installing a Bathroom Vanity Countertop
- Level
- Utility knife
- Silicone adhesive
- Caulk
- Mounting brackets


Tools Needed for Installing a Bathroom Vanity Countertop
:max_bytes(150000):strip_icc()/8_IMG_3767-56a4a2753df78cf772835b72.JPG)

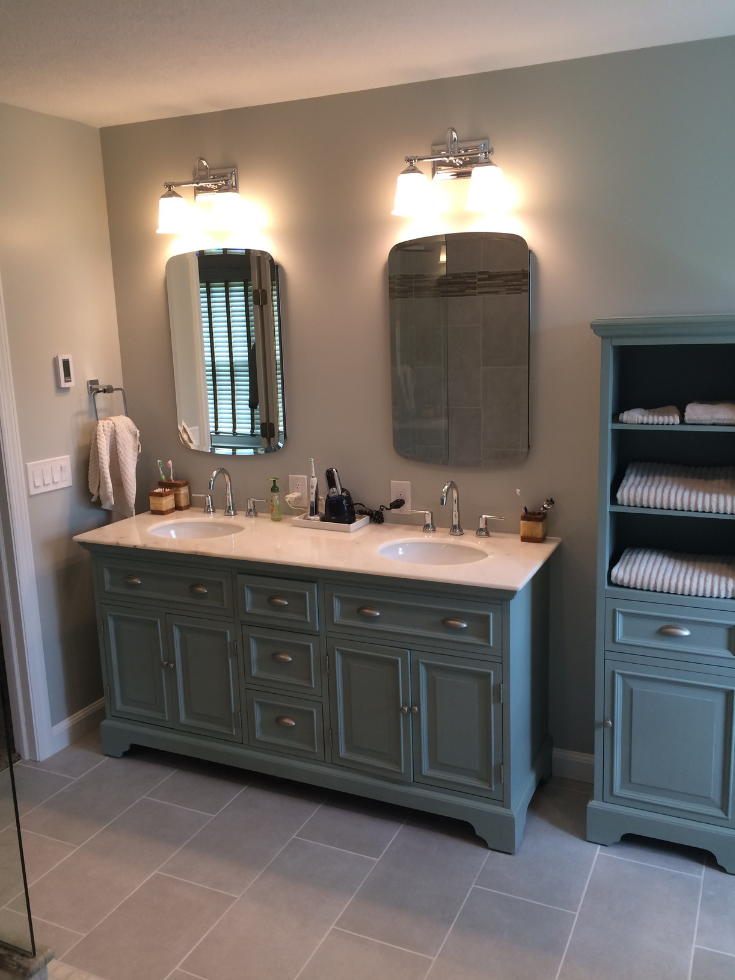
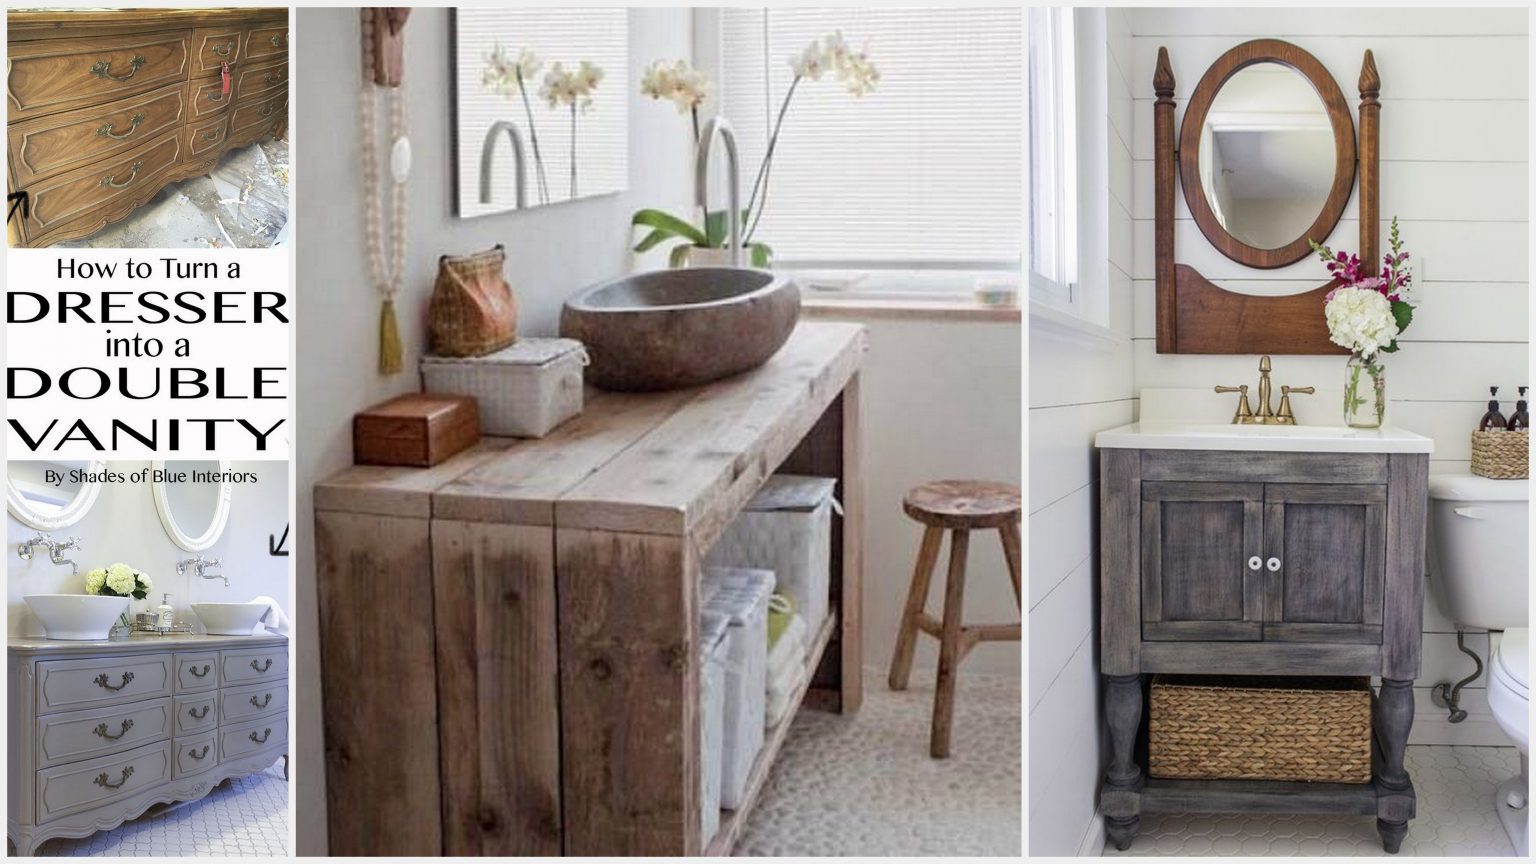
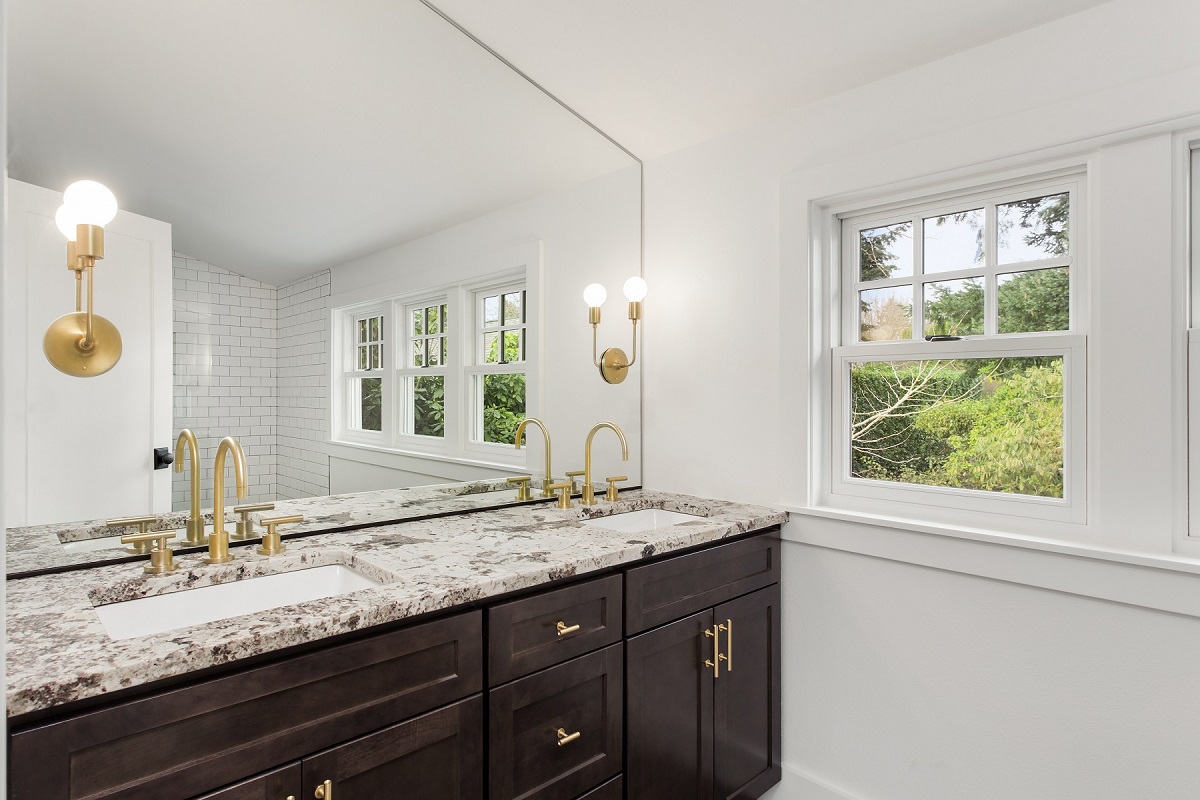
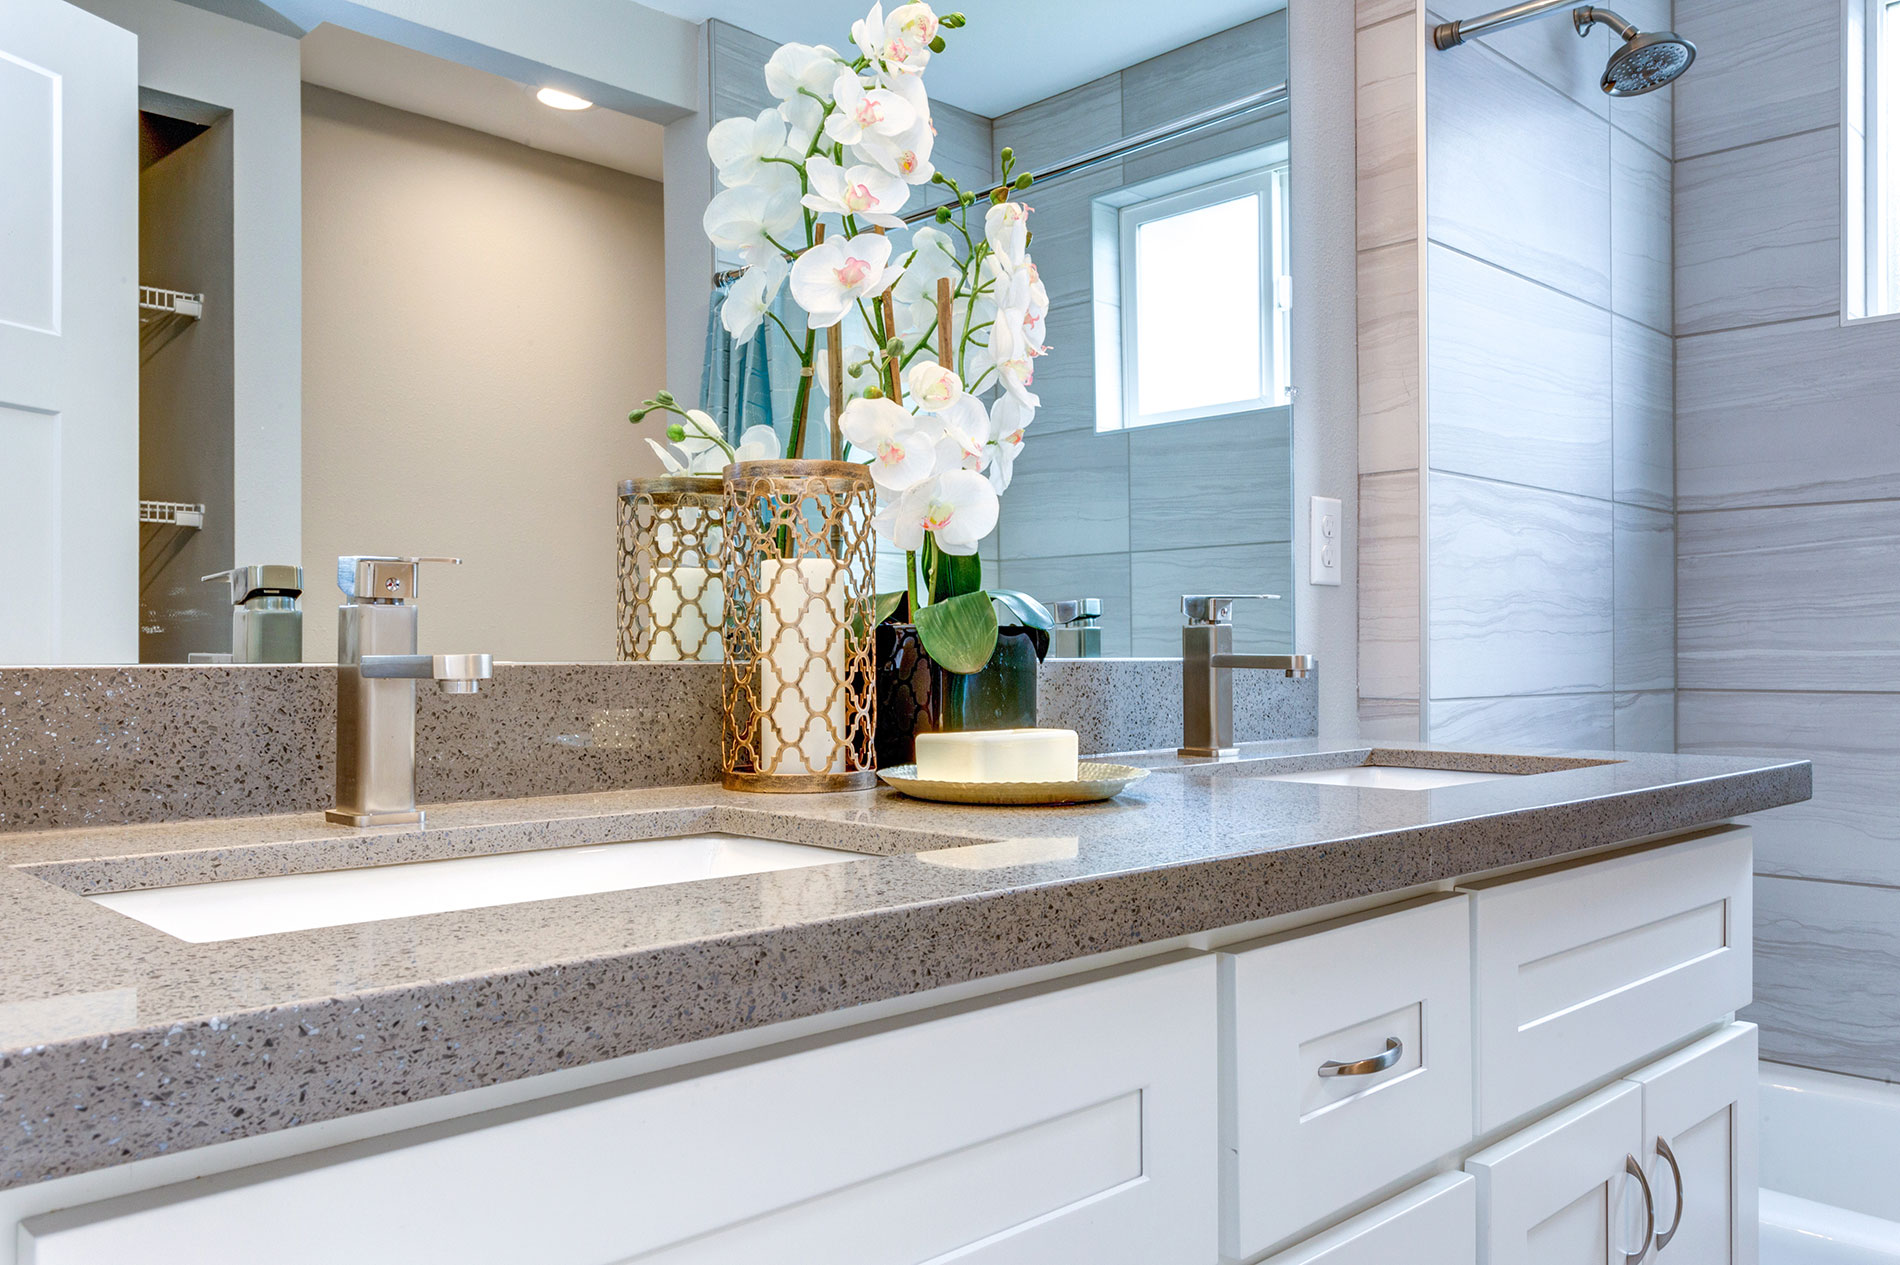
With so many options available, choosing the right bathroom vanity countertop can seem overwhelming. When making your selection, consider the size and layout of your bathroom, as well as your personal style and budget. Some popular materials for bathroom vanity countertops include granite, marble, quartz, and laminate. Choosing the Right Bathroom Vanity Countertop for Your Space


Choosing the Right Bathroom Vanity Countertop for Your Space


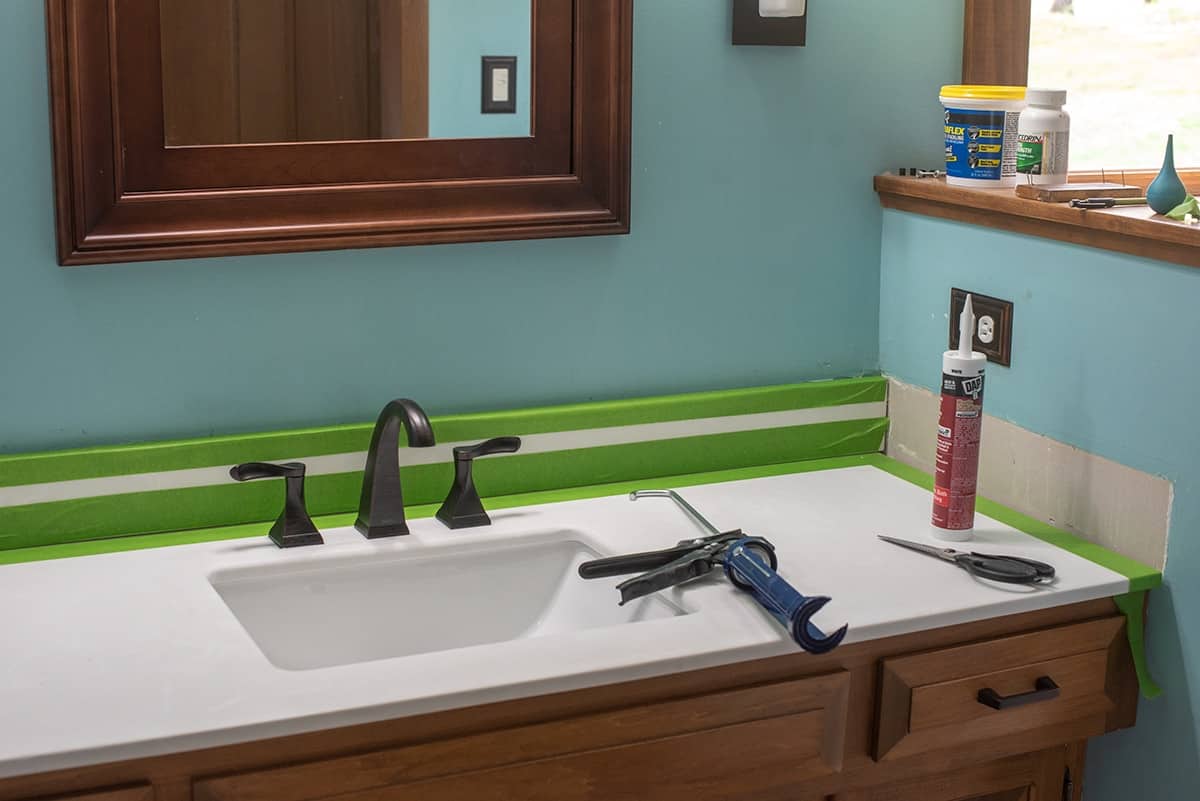
Mistake #1: Not taking accurate measurements. This can lead to a countertop that doesn't fit properly and gaps between the countertop and vanity. Mistake #2: Not turning off the water supply. This can result in water damage or flooding if a pipe is accidentally hit during the installation process. Mistake #3: Not using enough adhesive. This can cause the countertop to shift or become unsecured over time. Common Mistakes to Avoid When Installing a Bathroom Vanity Countertop


Common Mistakes to Avoid When Installing a Bathroom Vanity Countertop


If you're installing a custom countertop, you'll need to measure and cut it to fit your space. To do this, follow these steps: Step 1: Measure the space. Measure the length and width of your vanity and add an additional 1/4 inch to each measurement. This will account for any discrepancies and allow for a better fit. Step 2: Transfer the measurements to the countertop. Use a pencil to mark your measurements onto the countertop. Step 3: Cut the countertop. Use a circular saw or jigsaw to carefully cut along your markings. How to Measure and Cut a Bathroom Vanity Countertop

How to Measure and Cut a Bathroom Vanity Countertop


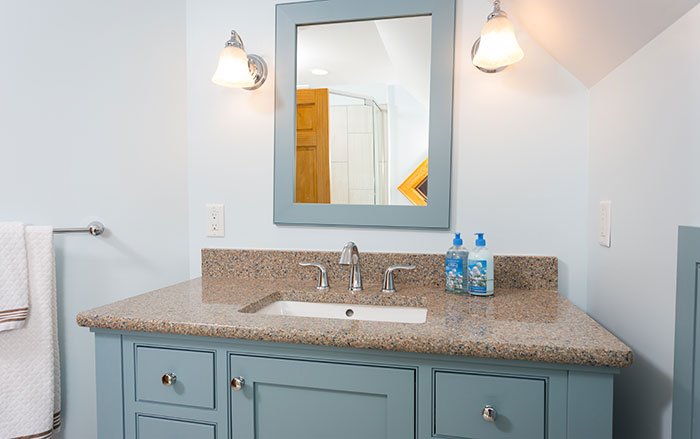
If you're looking to update your bathroom on a budget, there are a few ways you can save money on a new vanity countertop. Consider purchasing a pre-made countertop instead of a custom one, as this will be more cost-effective. You can also opt for less expensive materials such as laminate or tile instead of more expensive options like granite or marble. Installing a Bathroom Vanity Countertop on a Budget
Installing a Bathroom Vanity Countertop on a Budget

:max_bytes(150000):strip_icc()/8_IMG_3767-56a4a2753df78cf772835b72.JPG)
Issue #1: Uneven countertop. If your countertop is not level, adjust the mounting brackets or use shims to even it out. Issue #2: Gaps between the countertop and vanity. If there are gaps, use caulk to seal them and create a more secure and waterproof seal. Issue #3: Leaks in the plumbing. Make sure all connections are tight and secure and use plumber's tape to prevent any leaks. With this step-by-step guide and tips for installing a bathroom vanity countertop, you can easily give your bathroom a fresh new look without breaking the bank. Remember to take your time and measure carefully to ensure a successful installation. Troubleshooting Common Issues During Bathroom Vanity Countertop Installation


Troubleshooting Common Issues During Bathroom Vanity Countertop Installation


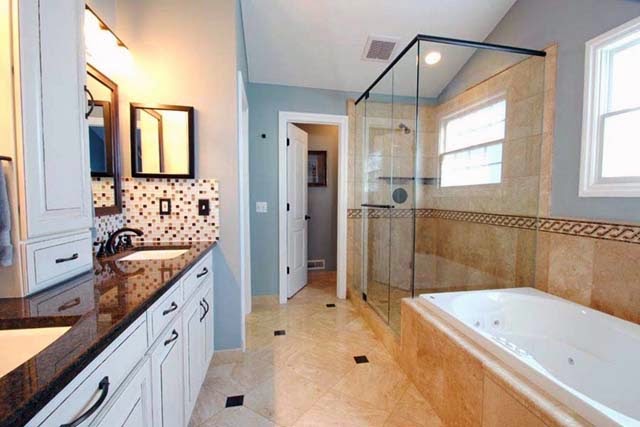
Why Choose a Bathroom Vanity Countertop?
:max_bytes(150000):strip_icc()/8_IMG_3767-56a4a2753df78cf772835b72.JPG)
Enhance Your Bathroom's Aesthetic and Functionality
 A bathroom vanity countertop is an essential element in any bathroom design. It not only adds to the overall aesthetic of the space but also serves a functional purpose. Having a countertop in your bathroom provides ample space for placing everyday items, such as toothbrushes, soap, and towels, making them easily accessible. It also acts as a foundation for your bathroom sink and storage cabinets, creating a cohesive and organized look.
Customization Options
 One of the main benefits of installing a bathroom vanity countertop is the ability to customize it to fit your specific design preferences. With a wide range of materials, colors, and styles to choose from, you can create a unique and personalized look for your bathroom. Whether you prefer a modern and sleek design or a more traditional and rustic aesthetic, there is a vanity countertop option that will suit your taste.
Durability and Easy Maintenance
 Bathroom vanity countertops are designed to withstand daily use and moisture, making them a durable and long-lasting choice for your bathroom. Materials like granite, quartz, and marble are resistant to water, scratches, and stains, ensuring your countertop stays looking like new for years to come. Additionally, these materials are easy to clean and maintain, making them a practical choice for busy households.
Increase Your Home's Value
 Investing in a bathroom vanity countertop can also increase the value of your home. A well-designed and functional bathroom is a desirable feature for potential buyers, and a beautiful vanity countertop can make a significant impact. It adds to the overall aesthetic of the bathroom, making it a more desirable and appealing space.
Conclusion
 In conclusion, a bathroom vanity countertop is a crucial element in any bathroom design. It enhances the aesthetic and functionality of the space, provides customization options, and adds value to your home. With its durability and easy maintenance, it is a practical and stylish addition to any bathroom. So, if you're looking to upgrade your bathroom, consider installing a vanity countertop for a beautiful and functional space. Contact a professional contractor or designer today to start creating your dream bathroom.