Are you tired of dealing with a leaky or broken bathroom sink stopper? Installing a new one may seem like a daunting task, but with the right tools and a little bit of know-how, it can be a quick and easy DIY project. In this guide, we will walk you through the step-by-step process of installing a bathroom sink stopper, so you can enjoy a fully functional and leak-free sink. How to Install a Bathroom Sink Stopper


How to Install a Bathroom Sink Stopper


Before you begin, make sure to gather all the necessary tools and materials. You will need a pair of pliers, a screwdriver, plumber's putty, and a new sink stopper assembly. You may also want to have a bucket and some towels handy in case of any spills. Bathroom Sink Stopper Installation Guide


Bathroom Sink Stopper Installation Guide


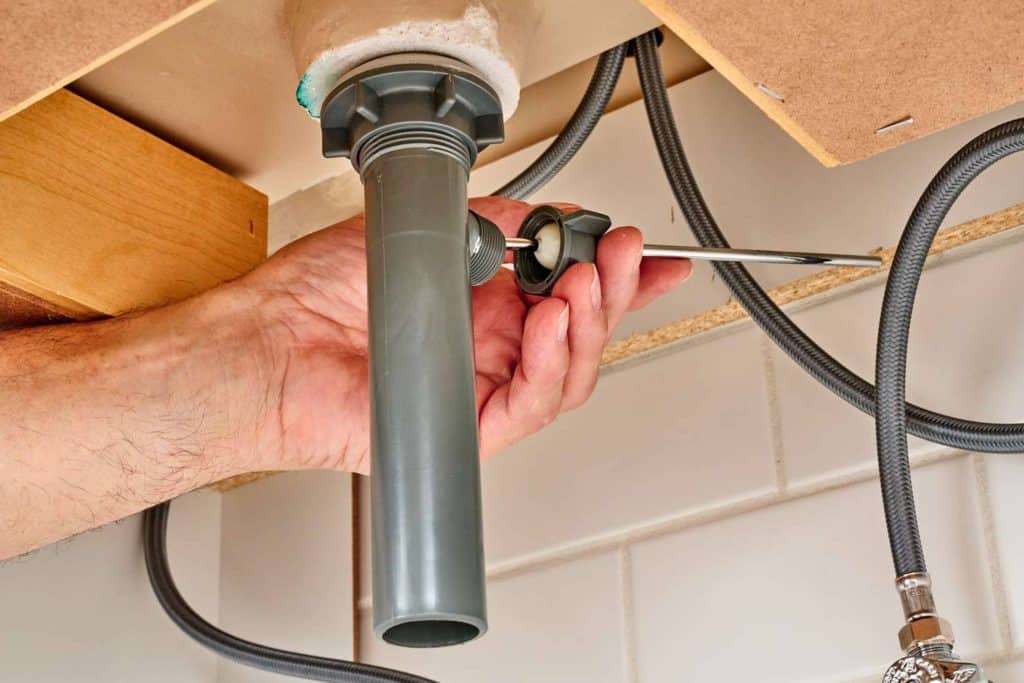
Step 1: Remove the old stopper. Start by taking out the old stopper assembly. This may require unscrewing it from the bottom of the sink or using pliers to loosen it. Once it is free, pull it out from the top of the sink. Step 2: Clean the area. Use a rag or sponge to clean the area where the old stopper was located. This will ensure a clean surface for the new stopper to be installed. Step 3: Prepare the new stopper. If your new stopper assembly comes with a flange, apply a thin layer of plumber's putty around the underside of it. This will create a watertight seal when installed. Step 4: Insert the new stopper. Place the new stopper into the drain opening, making sure the flange sits flush against the sink. If your stopper does not have a flange, skip this step. Step 5: Connect the linkage. The linkage is the mechanism that connects the stopper to the pivot rod under the sink. Follow the manufacturer's instructions for attaching the linkage to the stopper. Step 6: Adjust the stopper height. To ensure proper drainage, adjust the height of the stopper by tightening or loosening the linkage. The stopper should sit just below the drain opening when closed. Step 7: Test the stopper. Fill the sink with water and test the stopper by opening and closing it. Make any necessary adjustments to ensure a tight seal. Step 8: Clean up. Once you are happy with the installation, wipe away any excess plumber's putty and clean up any messes. Your new stopper is now ready to use! Step-by-Step Guide for Installing a Bathroom Sink Stopper


Step-by-Step Guide for Installing a Bathroom Sink Stopper


Installing a new bathroom sink stopper is a simple DIY project that can save you time and money. By following these steps, you can have a fully functional and leak-free sink in no time. DIY Bathroom Sink Stopper Installation


DIY Bathroom Sink Stopper Installation


With the right tools and a little bit of know-how, installing a bathroom sink stopper can be a quick and easy task. Follow our step-by-step guide for a stress-free installation process. Quick and Easy Bathroom Sink Stopper Installation


Quick and Easy Bathroom Sink Stopper Installation

A functioning sink stopper is essential for a properly functioning bathroom. By following our installation guide, you can have a fully operational sink in just a few simple steps. Installing a Sink Stopper in Your Bathroom

Installing a Sink Stopper in Your Bathroom

If your old sink stopper is constantly leaking or broken, replacing it with a new one is the best solution. By following our installation guide, you can easily replace your old stopper and enjoy a leak-free sink. Bathroom Sink Stopper Replacement and Installation


Bathroom Sink Stopper Replacement and Installation


When installing a bathroom sink stopper, there are a few tips to keep in mind to ensure a successful installation. These include using plumber's putty for a watertight seal and testing the stopper before cleaning up. Tips for Installing a Bathroom Sink Stopper


Tips for Installing a Bathroom Sink Stopper


/bathroom-sink-drain-installation-2718843-03-6fee5b9d9f7d475abfe06a95ddb1f695.jpg)
While installing a bathroom sink stopper may seem like a simple task, there are a few common mistakes to avoid to ensure a smooth installation process. These include not properly adjusting the stopper height and not using enough plumber's putty. Common Mistakes to Avoid When Installing a Bathroom Sink Stopper


Common Mistakes to Avoid When Installing a Bathroom Sink Stopper


If you encounter any issues during the installation process, don't panic. Our troubleshooting guide can help you identify and fix common problems such as a leaky stopper or difficulty adjusting the height. Troubleshooting Guide for Bathroom Sink Stopper Installation

Troubleshooting Guide for Bathroom Sink Stopper Installation

How to Install a Bathroom Sink Stopper: A Must-Have Addition to Your House Design
:max_bytes(150000):strip_icc()/bathroom-sink-drain-installation-2718843-07-2b728cbd5c994dc39179346f51bb6421.jpg)
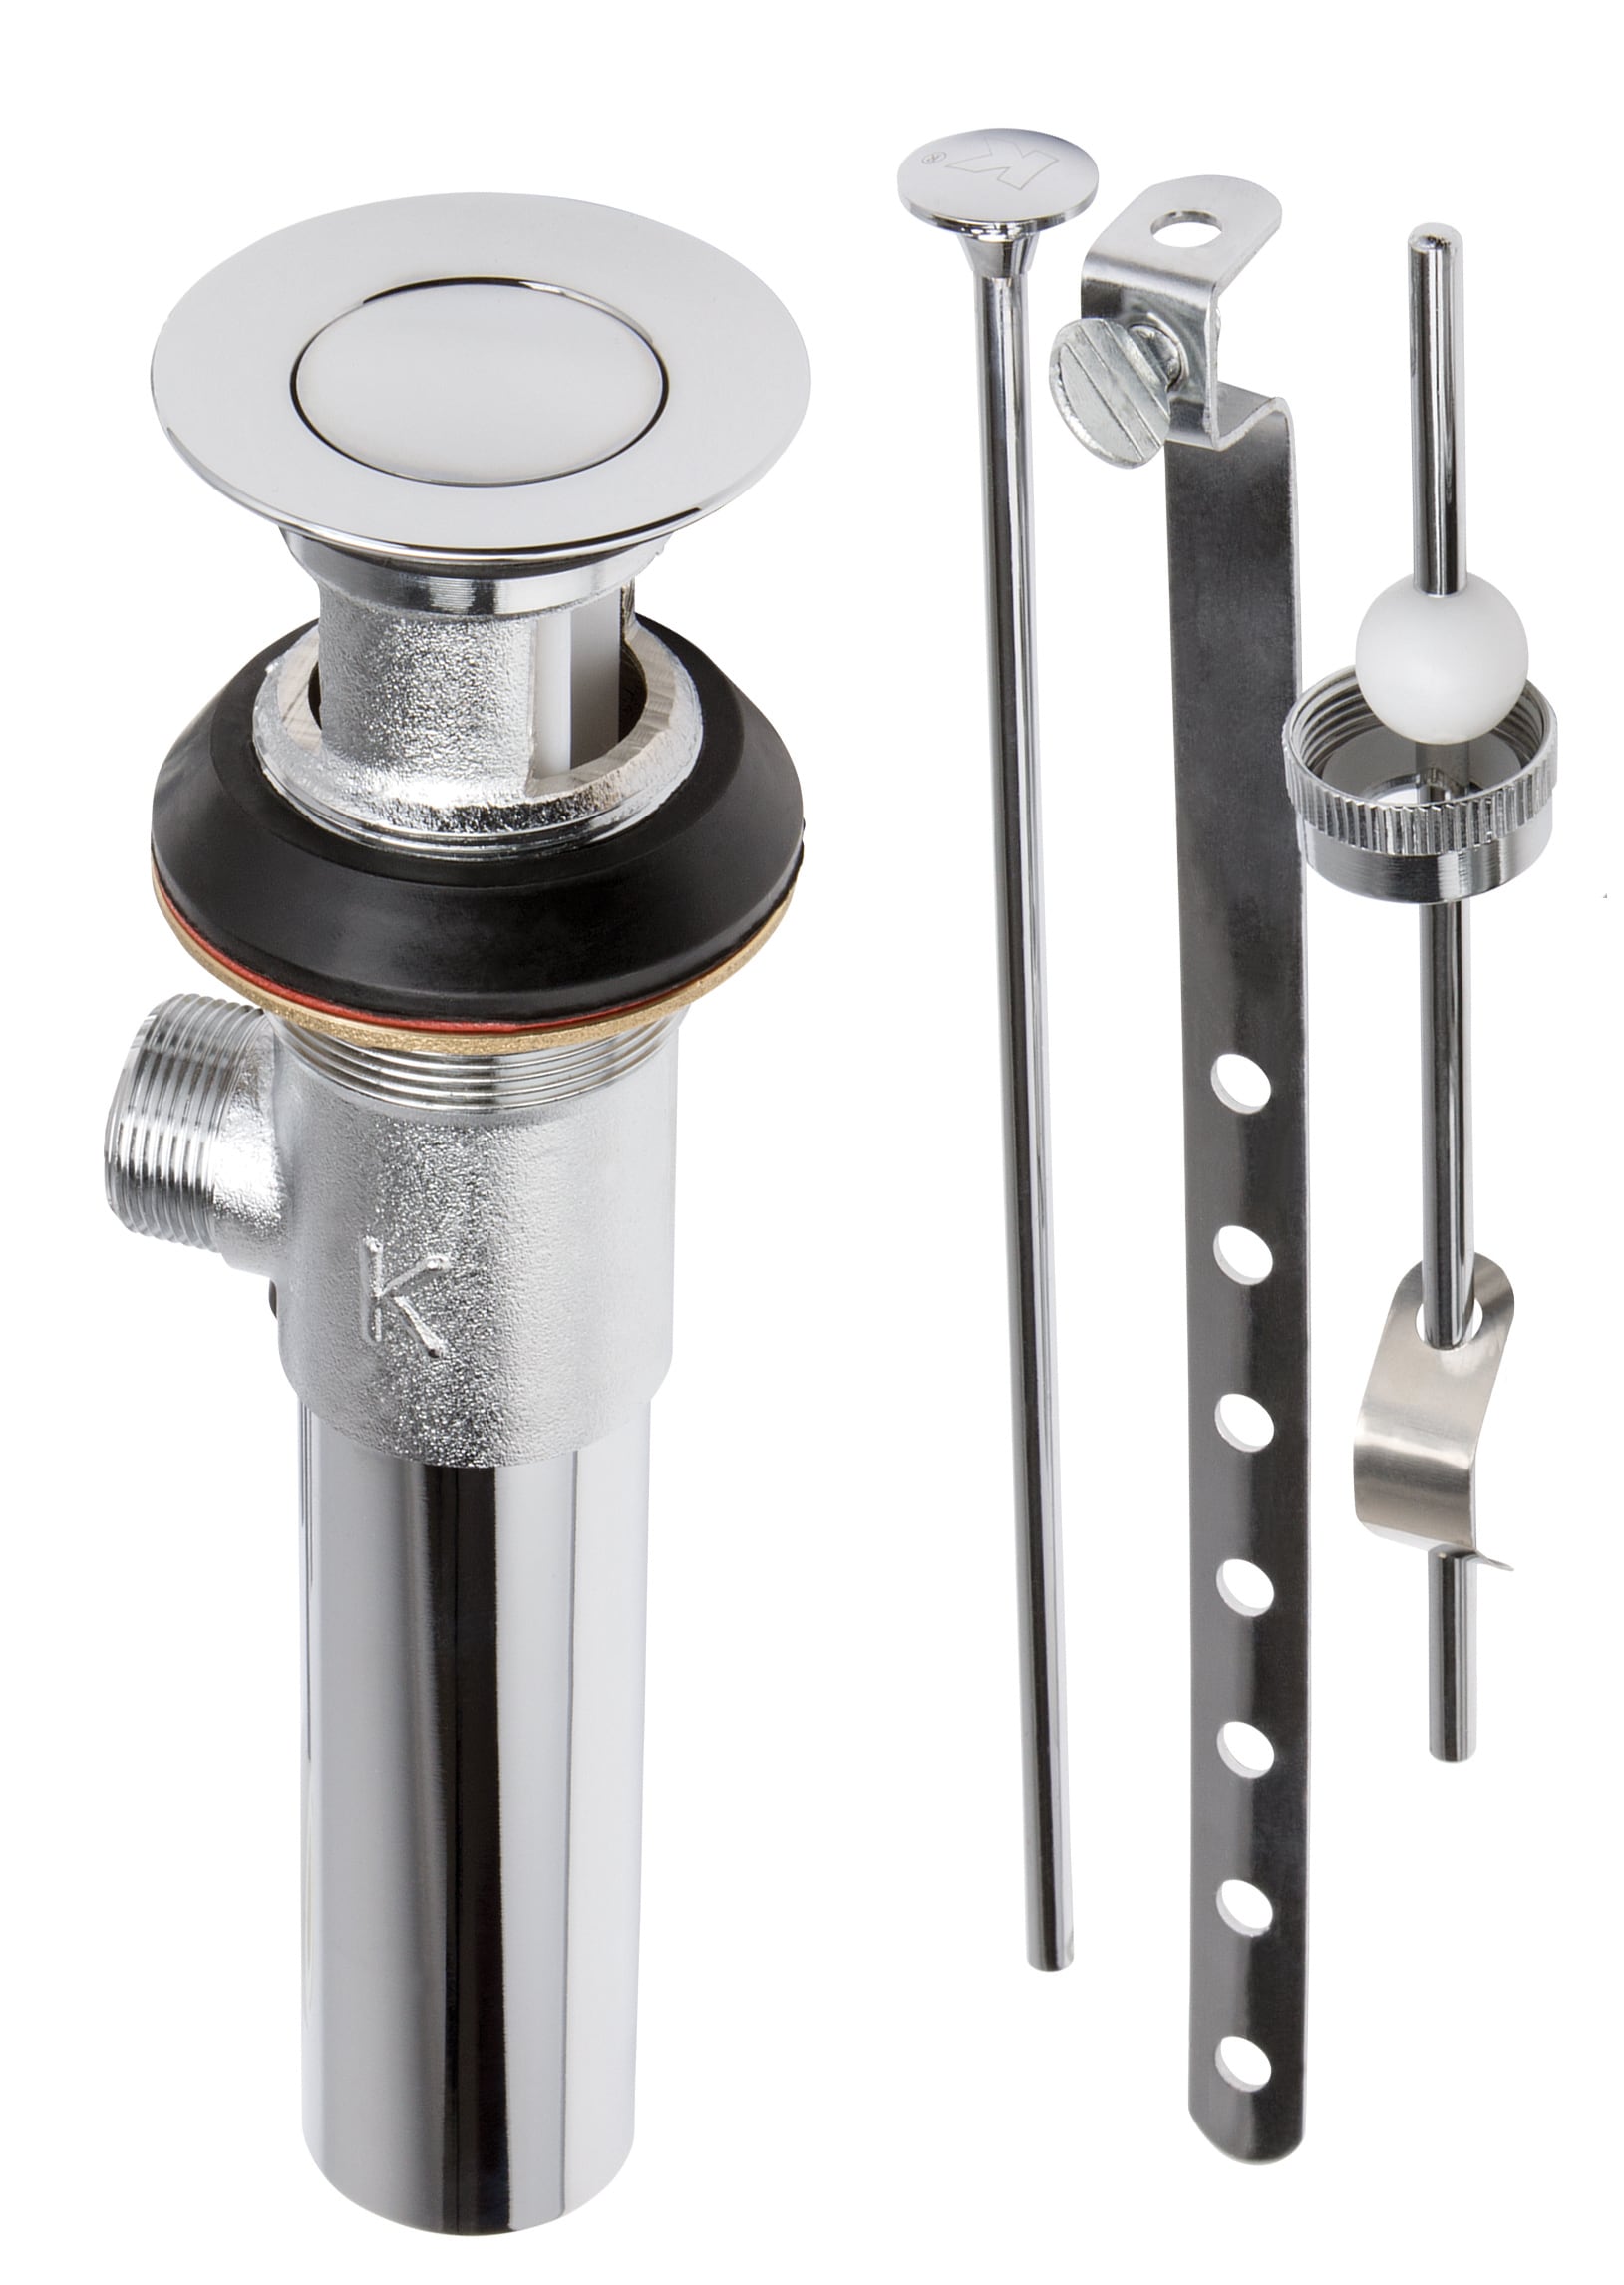
What is a Bathroom Sink Stopper?
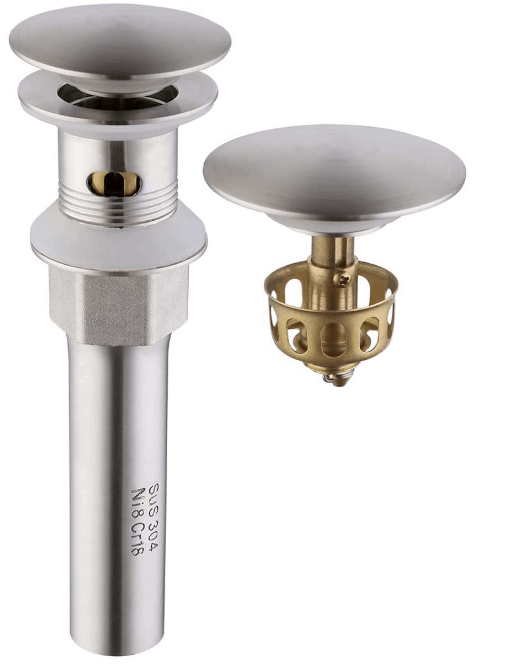
 A bathroom sink stopper is a small but essential component of your bathroom sink. It is a plug that sits in the drain, allowing you to fill the sink with water. Not only does it prevent water from draining out, but it also helps to keep your sink clean by catching debris and preventing it from clogging your pipes. If you have a bathroom sink without a stopper, it might be time to consider installing one to improve the functionality and aesthetics of your bathroom.
Step-by-Step Guide to Installing a Bathroom Sink Stopper
 Installing a bathroom sink stopper is a relatively simple process that can be done in just a few easy steps. Here's how:
Step 1:
Gather the necessary tools and materials
Before you begin, make sure you have all the tools and materials you will need. These include a new stopper, a wrench, plumber's putty, and a pair of pliers.
Step 2:
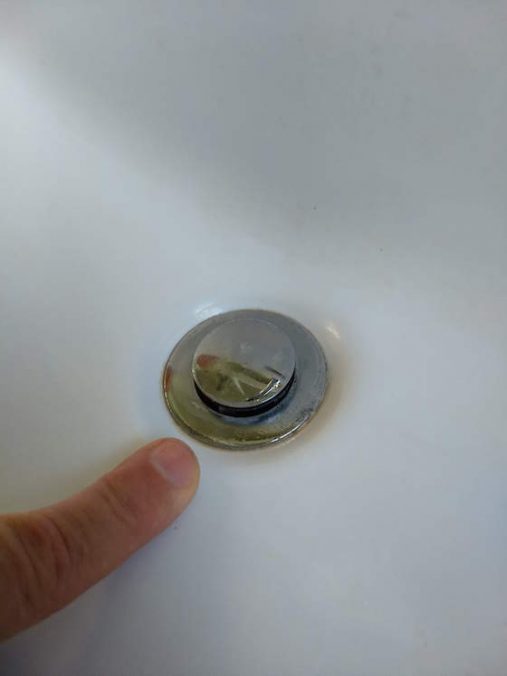
Remove the old stopper
If you already have a stopper in your sink, you will need to remove it before installing a new one. To do this, locate the pivot rod underneath the sink and unscrew the nut that holds it in place. Then, pull out the pivot rod and remove the old stopper.
Step 3:
Prepare the new stopper
Before installing your new stopper, you will need to prepare it by applying plumber's putty around the underside of the stopper's flange. This will create a tight seal and prevent any leaks.
Step 4:
Insert the new stopper
Place the new stopper into the sink's drain and push it down firmly. Make sure it is centered and level.
Step 5:
Reattach the pivot rod
Insert the pivot rod into the hole on the back of the drain pipe and secure it with the nut. Use pliers to tighten the nut and ensure a snug fit.
Step 6:
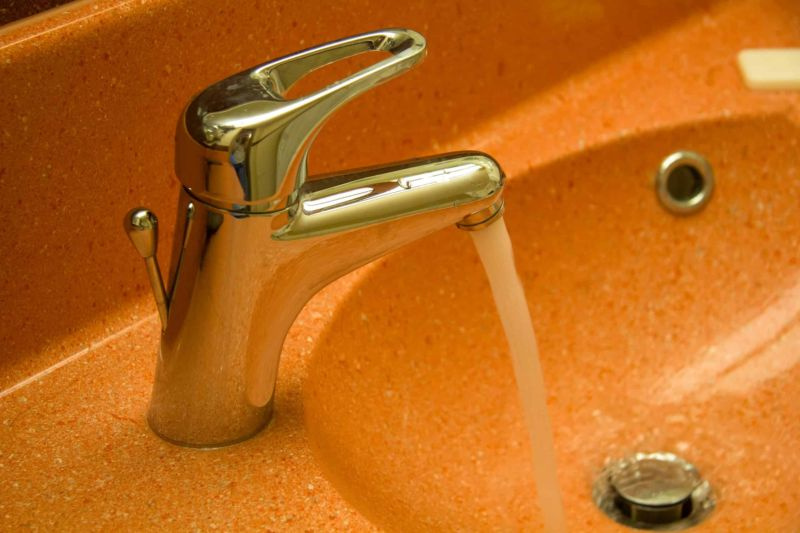
Test the stopper
Once you have installed the new stopper, test it by filling the sink with water and checking for any leaks. If everything looks good, you're all set!
Installing a bathroom sink stopper is a relatively simple process that can be done in just a few easy steps. Here's how:
Step 1:
Gather the necessary tools and materials
Before you begin, make sure you have all the tools and materials you will need. These include a new stopper, a wrench, plumber's putty, and a pair of pliers.
Step 2:
Remove the old stopper
If you already have a stopper in your sink, you will need to remove it before installing a new one. To do this, locate the pivot rod underneath the sink and unscrew the nut that holds it in place. Then, pull out the pivot rod and remove the old stopper.
Step 3:
Prepare the new stopper
Before installing your new stopper, you will need to prepare it by applying plumber's putty around the underside of the stopper's flange. This will create a tight seal and prevent any leaks.
Step 4:
Insert the new stopper
Place the new stopper into the sink's drain and push it down firmly. Make sure it is centered and level.
Step 5:
Reattach the pivot rod
Insert the pivot rod into the hole on the back of the drain pipe and secure it with the nut. Use pliers to tighten the nut and ensure a snug fit.
Step 6:
Test the stopper
Once you have installed the new stopper, test it by filling the sink with water and checking for any leaks. If everything looks good, you're all set!
Benefits of Installing a Bathroom Sink Stopper
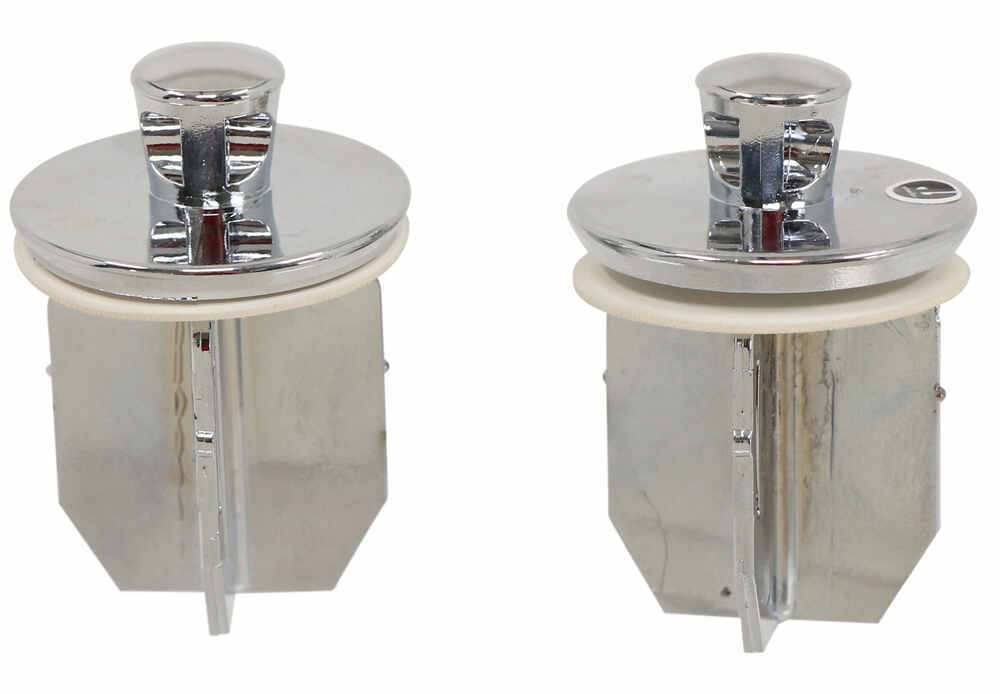
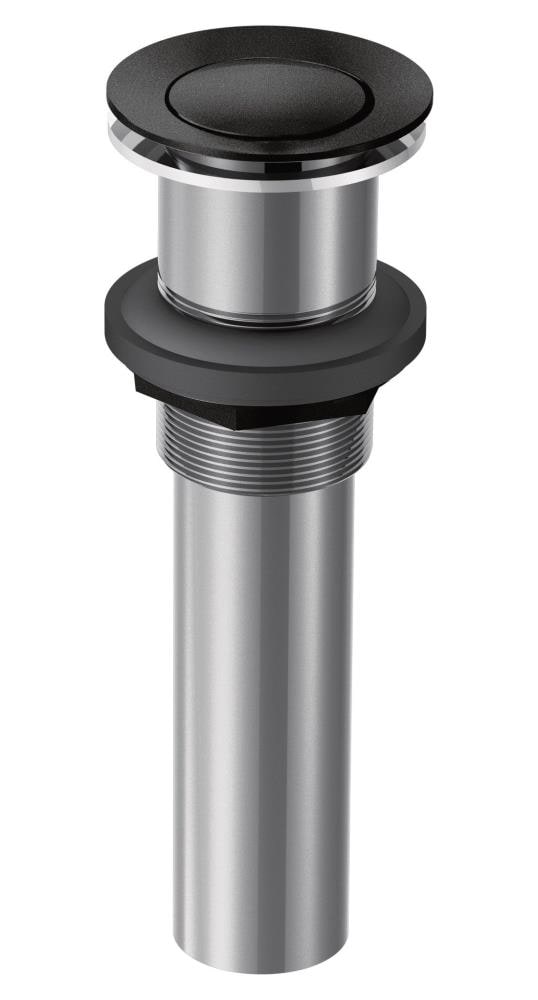
 Now that you know how to install a bathroom sink stopper, let's talk about why you should consider adding one to your sink. Besides preventing water from draining out and keeping your sink clean, a stopper also adds a touch of style to your bathroom. With a variety of designs and finishes available, you can choose one that complements your house design and adds a polished look to your bathroom.
In addition, installing a stopper also allows you to use your sink for tasks that require water to be held, such as washing your face or soaking small items. This can save you time and effort, as you won't have to constantly turn the faucet on and off.
Now that you know how to install a bathroom sink stopper, let's talk about why you should consider adding one to your sink. Besides preventing water from draining out and keeping your sink clean, a stopper also adds a touch of style to your bathroom. With a variety of designs and finishes available, you can choose one that complements your house design and adds a polished look to your bathroom.
In addition, installing a stopper also allows you to use your sink for tasks that require water to be held, such as washing your face or soaking small items. This can save you time and effort, as you won't have to constantly turn the faucet on and off.
Conclusion
 Adding a bathroom sink stopper is a simple and affordable way to improve the functionality and aesthetics of your bathroom. With just a few tools and easy-to-follow steps, you can install a stopper yourself and enjoy the benefits it brings. So, why not give it a try and upgrade your bathroom design today?