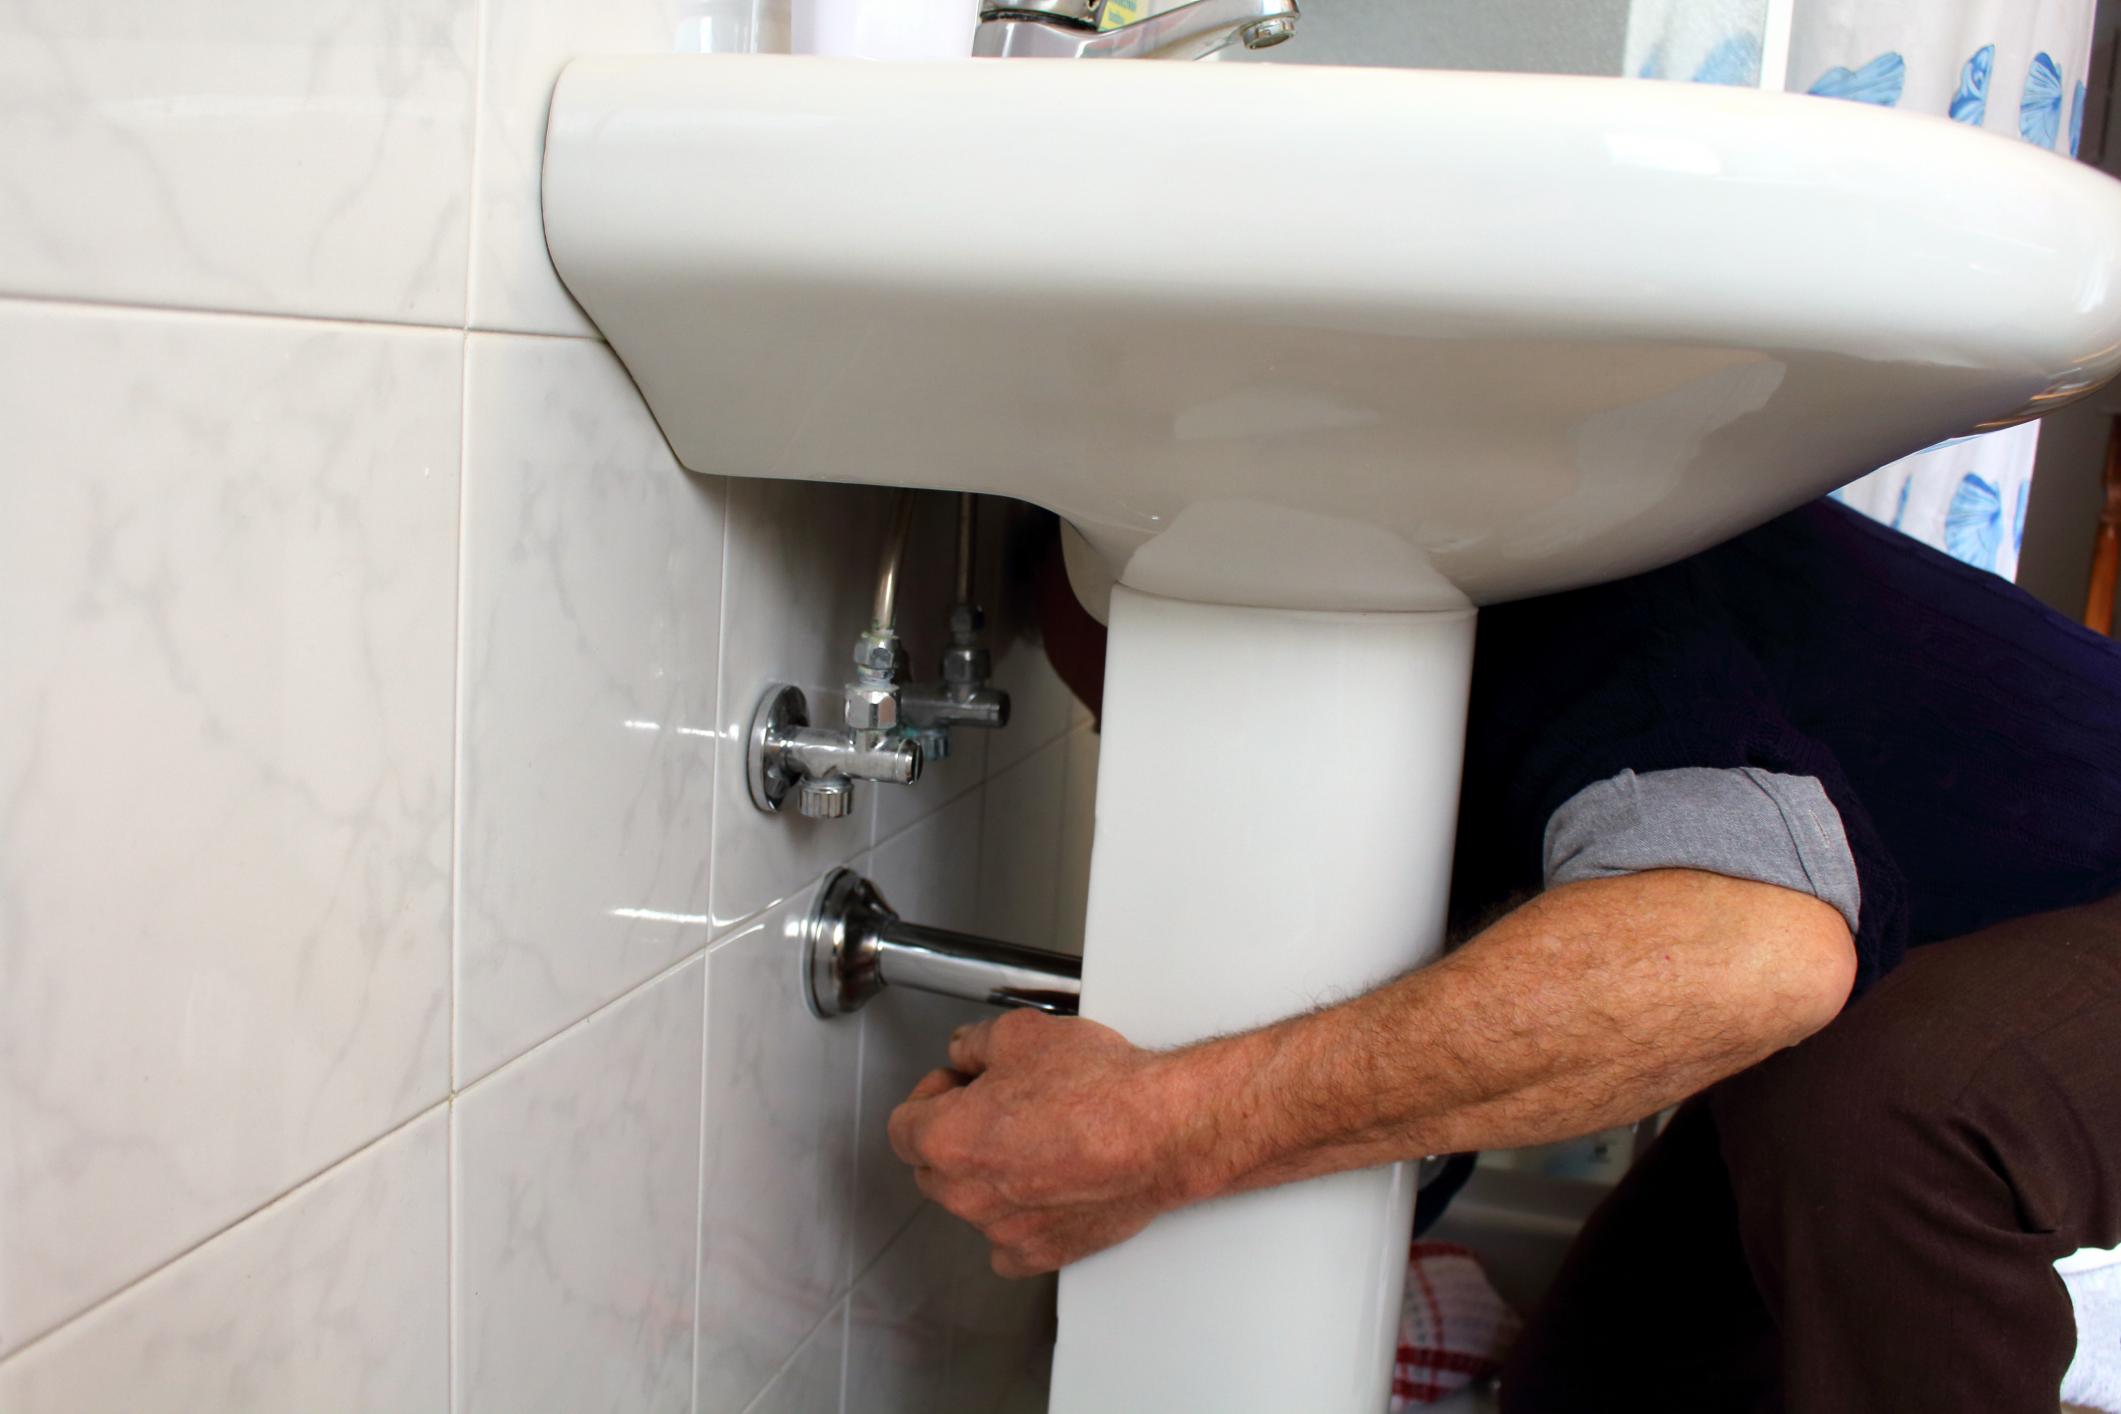
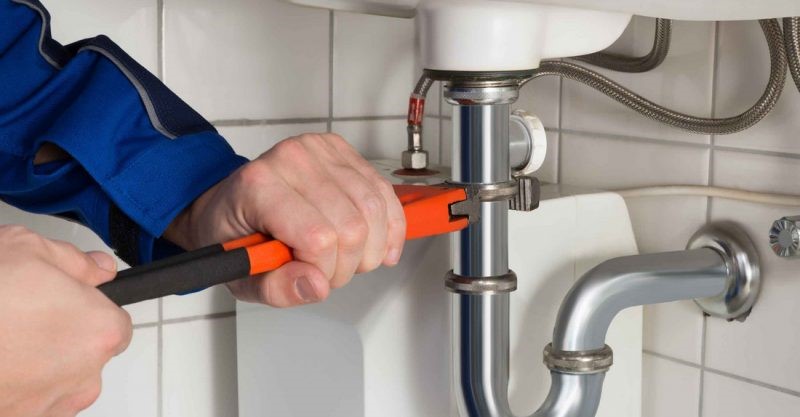
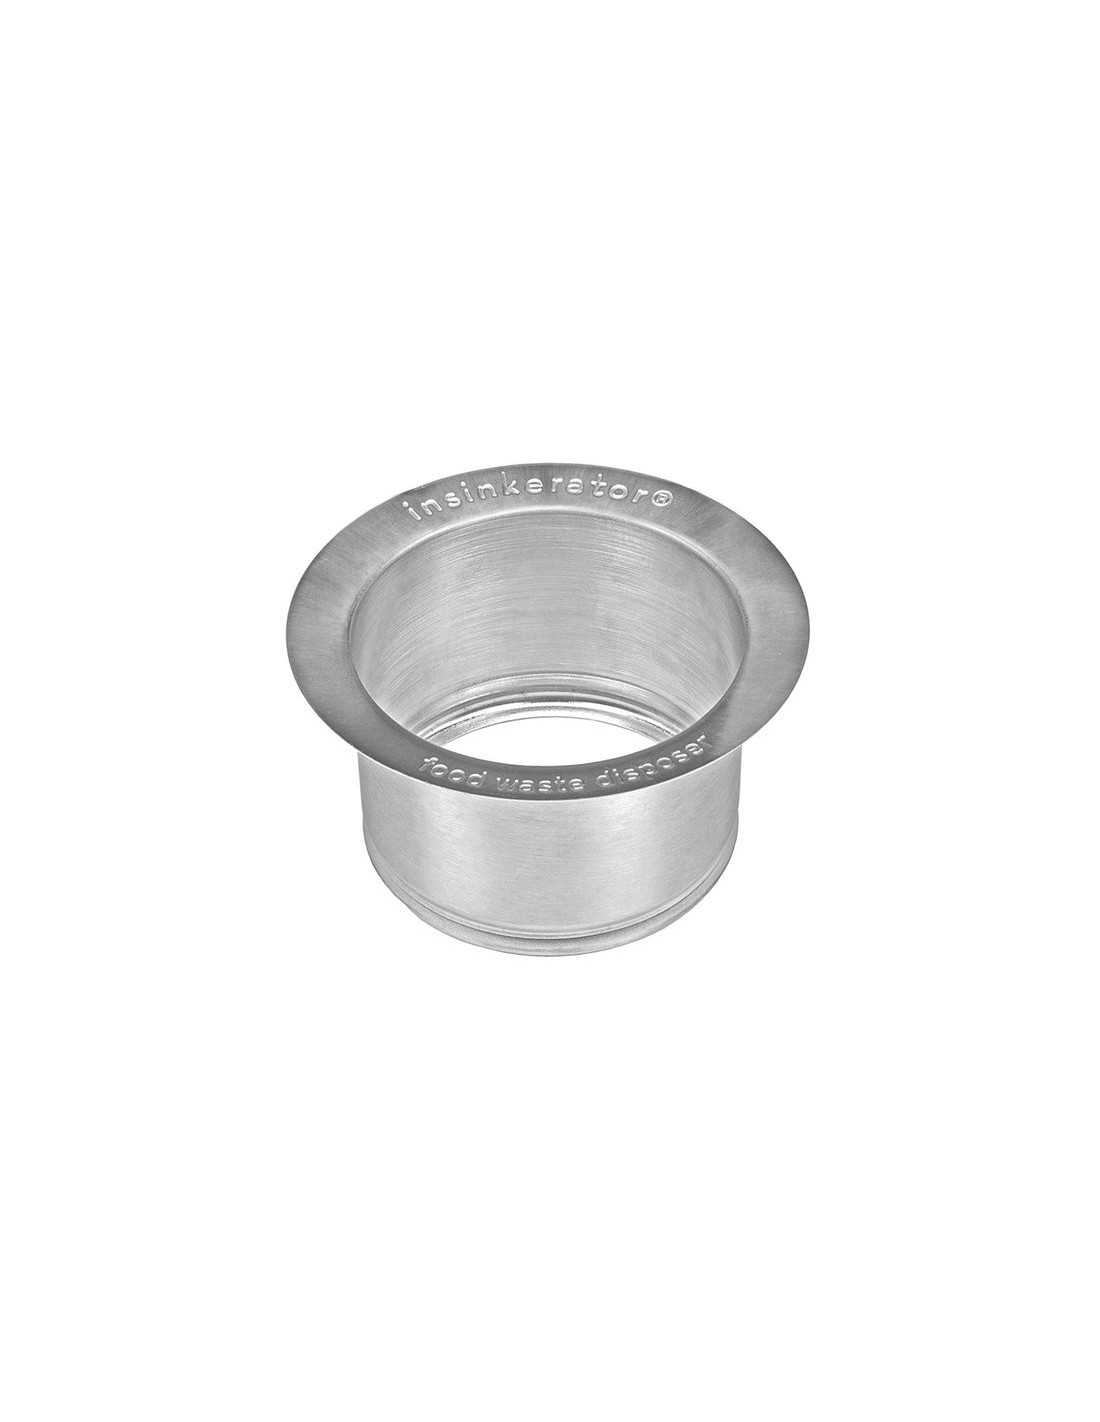
If you're looking to upgrade your bathroom or simply replace a damaged sink flange, you've come to the right place. Installing a bathroom sink flange may seem like a daunting task, but with the right tools and knowledge, it can be done easily and efficiently. In this article, we'll provide a step-by-step guide on how to install a bathroom sink flange, along with some useful tips and common mistakes to avoid. Let's get started!Install Bathroom Sink Flange
Before we begin, it's important to gather all the necessary tools and materials for the installation process. You'll need a sink flange, plumber's putty, a wrench, plumber's tape, silicone caulk, a screwdriver, and a hacksaw. Once you have everything ready, follow the steps below: Step 1: Prepare the Sink Area Start by turning off the water supply to the sink. Next, remove any old putty or caulk around the sink hole and clean the area thoroughly. Make sure the sink is dry before proceeding to the next step. Step 2: Apply Plumber's Putty Take a small amount of plumber's putty and roll it into a thin rope. Place the rope around the edge of the sink hole, making sure it's evenly distributed. This will create a watertight seal between the sink and the flange. Step 3: Attach the Flange Position the sink flange over the putty and press it down firmly. Use a wrench to tighten the mounting bolts, making sure the flange is securely in place. Wipe away any excess putty that may have squeezed out from the edges. Step 4: Install the Drain Take the rubber gasket and place it over the flange, followed by the cardboard friction ring. Next, insert the drain into the sink hole and secure it with the locknut. Use a wrench to tighten the locknut, but be careful not to over-tighten it as this may cause damage. Step 5: Connect the P-Trap Attach the P-trap to the bottom of the drain and the sink drain pipe using plumber's tape. Use a wrench to tighten the connections and make sure there are no leaks.How to Install a Bathroom Sink Flange
Now that the flange and drain are installed, it's time to finish off the installation process. Follow these final steps: Step 6: Apply Silicone Caulk Using a caulk gun, apply a thin bead of silicone caulk around the edges of the flange. This will create a waterproof seal and prevent any water from leaking into the cabinet below the sink. Step 7: Connect the Water Supply Turn the water supply back on and check for any leaks. If everything looks good, attach the sink stopper and test it by filling the sink with water and draining it. Step 8: Clean Up Wipe away any excess caulk and clean up the area around the sink. Now you can enjoy your newly installed bathroom sink flange!Bathroom Sink Flange Installation
For a visual guide, check out this step-by-step video tutorial on how to install a bathroom sink flange:Step-by-Step Guide to Installing a Bathroom Sink Flange
If you're feeling confident and have some DIY experience, installing a bathroom sink flange can be a fun and satisfying project. However, if you're not comfortable with plumbing tasks, it's always best to hire a professional to ensure the job is done correctly.DIY Bathroom Sink Flange Installation
To recap, here are the tools and materials you'll need for a successful bathroom sink flange installation:Tools Needed for Installing a Bathroom Sink Flange
Here are some helpful tips to keep in mind during the installation process:Tips for Installing a Bathroom Sink Flange
Avoid these common mistakes to ensure a successful bathroom sink flange installation:Common Mistakes to Avoid When Installing a Bathroom Sink Flange
For a comprehensive visual guide, check out this helpful video tutorial on how to install a bathroom sink flange:Video Tutorial: Installing a Bathroom Sink Flange
If you're not comfortable with DIY tasks or simply don't have the time, consider hiring a professional plumber to install your bathroom sink flange. They have the necessary experience and tools to ensure a smooth and efficient installation process. In conclusion, installing a bathroom sink flange may seem intimidating, but with the right tools and knowledge, it can be done easily and effectively. Remember to follow the steps outlined in this article, and don't hesitate to seek professional help if needed. Happy renovating!Professional Bathroom Sink Flange Installation Services
Installing a Bathroom Sink Flange: A Step-by-Step Guide

What is a Sink Flange?
 A sink flange is an essential component of any bathroom sink, as it connects the sink to the drain and helps to prevent leaks. It is a circular piece of metal or plastic with holes for the drain and mounting screws. The sink flange is usually located at the bottom of the sink, just above the drain opening.
Why is it Important to Install a Sink Flange?
 Installing a sink flange is crucial for a couple of reasons. First, it ensures a tight seal between the sink and the drain, preventing any water from leaking out. Second, it helps to support the weight of the sink and its contents, such as water and toiletries. Without a proper sink flange, the sink could become detached from the drain, causing it to tilt or even fall off the counter.
Tools and Materials Needed
 Before you begin installing a bathroom sink flange, make sure you have the following tools and materials on hand:
- Adjustable wrench
- Screwdriver
- Plumber's putty
- Silicone caulk
- Sink flange
- Sink drain
- Mounting screws
- Gasket
Step-by-Step Guide
 Now that you have all the necessary tools and materials, follow these steps to install a bathroom sink flange:
Step 1:
Start by turning off the water supply to the sink. This can usually be done by shutting off the valves located under the sink or turning off the main water supply to your house.
Step 2:
Next, remove the old sink drain and flange. You can do this by unscrewing the mounting screws and gently pulling the drain out of the sink.
Step 3:
Clean the area around the drain opening and remove any old putty or silicone caulk.
Step 4:
Roll a small amount of plumber's putty into a thin rope and place it around the edge of the drain opening.
Step 5:
Insert the new sink flange into the drain opening, making sure it is centered and level.
Step 6:
Place the gasket on top of the sink flange, followed by the sink drain.
Step 7:
Secure the drain in place by tightening the mounting screws with a screwdriver.
Step 8:
Wipe away any excess putty or caulk from around the drain opening.
Step 9:
Turn the water supply back on and check for any leaks. If you notice any, tighten the mounting screws further.
Step 10:
Finally, apply a bead of silicone caulk around the edge of the sink flange to create a watertight seal.
Conclusion
 Installing a bathroom sink flange may seem like a daunting task, but by following these simple steps, you can ensure a tight seal and proper support for your sink. Remember to use the right tools and materials, and take your time to ensure a proper installation. With a new sink flange in place, you can enjoy a leak-free and stable bathroom sink for years to come.


