SketchUp is an intuitive 3D modeling software used by thousands of people to create 3D designs for many things, from buildings to furniture. It's relatively easy to learn and use, so even if you don't have any experience working with 3D software, you can still take advantage of its features to create a basic tiny house. You can use SketchUp to create a floor plan for your tiny house, add furniture and accessories, and then turn your design into a photorealistic 3D model. Here's a brief guide on how to get started creating a tiny house with SketchUp. First, you'll need to download and install the latest version of SketchUp on your computer. Then, you'll need to create a new file for your design. Click on the File menu and then select New to get started. Next, you can use the drawing tools to create a basic floor plan for your tiny house. You can adjust the wall lengths and angles to create the perfect plan for your space. When you're happy with your design, you can use the push/pull tool to create the walls and floors. Once you have the walls and floor finished, it's time to start adding furniture and accessories. You can start with simple shapes, like a bed or a table. Or you can use the 3D Warehouse to search for and download models of more complex items, like couches and desks. Then, simply drag and drop the models into your tiny house. You can also use the camera tool to view your tiny house in a variety of angles. This can help you get a better idea of how your design will look in the end. You can also use the camera tool to give your tiny house a photorealistic look, using light, shadows, and other effects. Lastly, you can use the rendering tools in SketchUp to give your tiny house design a polished look. You can adjust the lighting, materials, and other effects to give your design the perfect finish. Creating a basic tiny house design is easy with SketchUp. With a few simple steps, you can turn your tiny house ideas into a gorgeous 3D model. With a few tweaks, you can also give your design a photorealistic look.How to Create a Basic Tiny House on SketchUp


How to Create a basic Tiny House on SketchUp


Designing a tiny house using SketchUp is not as complicated as one might think. Even if you are new to the 3D modeling world, SketchUp has the tools and features to help you create the perfect tiny house of your dreams. With its user-friendly rendering tools and its library of 3D models, SketchUp can help you create a beautiful, photorealistic tiny house design. To begin, start by downloading and installing the latest version of SketchUp on your computer. Then, create a new file for your design. Click on the File and select New to get started. Next, start to draw out the basic floor plan for your tiny house using the drawing tools. You can adjust the wall lengths and angles to create the look you're envisioning. When you're finished, use the push/pull tool to add the walls and floor. Once the floor plan is complete, you can start adding furniture and decor. You can begin with simple shapes, such as a bed or a couch, or you can search the 3D Warehouse to find more complex models, like a desk or a chair. When you've found the perfect model, drag and drop it into your tiny house. Use the camera tool to view your tiny house from different angles and get a sense of what it will look like in the end. You can also use the camera tool to give your tiny house a photorealistic look with the help of light, shadows, and other effects. Lastly, use the rendering tools in SketchUp to apply material, lighting, and other effects to give your design the perfect finish. With a few simple steps, you can use SketchUp to design a beautiful tiny house that looks just as good as the real thing.Tutorial on Designing a Tiny House in SketchUp


Tutorial on Designing a Tiny House in SketchUp
If you're looking to create your own tiny house design, SketchUp is the perfect tool for the job. This 3D modeling software is easy to use and can help you create a photorealistic tiny house design with just a few simple steps. Firstly, start by downloading and installing the latest version of SketchUp on your computer. Once it's installed, create a new file for your design and get started. Next, you'll need to create the basic floor plan for your tiny house. The drawing tools in SketchUp make this relatively simple to do. You can adjust the length and angles of the walls to get the exact look you're going for. When you're done, use the push/pull tool to create the walls and floor. Once the floor plan is finished, you can start adding furniture and decor items to your tiny house. You can start with simple items, like a bed or a table, or you can search through the 3D Warehouse to find more complex models, like a couch or a chair. Once you have found the perfect model, simply drag and drop the model into your tiny house. The camera tool in SketchUp is a great way to view your tiny house design from different angles and see what it will look like in the end. You can also use the camera tool to give your tiny house a photorealistic look with the help of light, shadows, and other effects. Lastly, use the rendering tools to apply textures, lights, shadows, and other effects to get the perfect finish. With a few simple steps, you can create a photorealistic tiny house design using SketchUp.Detailed Tutorial on Tiny House Design Using SketchUp


Detailed Tutorial on Tiny House Design Using SketchUp


If you want to create your own tiny house design, SketchUp is the ideal tool for the job. With its easy-to-use features and its library of 3D models, SketchUp can help you create a beautiful tiny house design in no time. One of the first things you'll need to do is create the basic floor plan for your tiny house. You can use the drawing tools to adjust the lengths of the walls and the angles of the corners to create a plan that works for your space. Once you're happy with the plan, use the push/pull tool to create the walls and floor. When it comes to furnishing your tiny house, you can use the 3D Warehouse to search for and download models of furniture and decor items. From beds to couches to desks, you can find it all in the 3D Warehouse. Once you have the perfect model, simply drag and drop the model into your tiny house. You can also use the camera tool to view your tiny house from different angles and get a better visual on how it will look in the end. You can also apply textures, lights, shadows, and other effects to give your tiny house a photorealistic look. Lastly, you can use the rendering tools to apply materials, lighting, and other effects to give your design the perfect finish. With a few simple steps, you can use SketchUp to create a tiny house that looks just as good as the real thing.Tiny House Design Ideas Using SketchUp


Tiny House Design Ideas Using SketchUp


Designing a tiny house using SketchUp is not as complicated as you might think. This intuitive 3D modeling software has all the tools and features you need to create a beautiful tiny house design. Here are some tips and tricks to help you get started. First, it's best to have a plan for your design before you get started. Sketch out your floor plan on paper or create a mockup in SketchUp. This will help you visualize the space and make it easier to create the plan in SketchUp. Once you have your plan in place, you can use the drawing tools to create the walls and floor. When you're finished, use the push/pull tool to add the walls and floor. You can also use the camera tool to view your tiny house from various angles and get a better sense of how it will look in the end. When it comes to adding furniture and decor items, you can either create them in SketchUp or search the 3D Warehouse for models of more complex items. The 3D Warehouse has an extensive library of both simple and complex models that you can drag and drop directly into your tiny house. Once your tiny house is finished, you can use the rendering tools to give it a photorealistic look. You can adjust the lighting, materials, and other effects to get the perfect finish. With these tips and tricks, you can easily create a beautiful tiny house design using SketchUp.Tips and Tricks for Designing a Tiny House on SketchUp


Tips and Tricks for Designing a Tiny House on SketchUp


Creating a 3D model of a tiny house design with SketchUp is surprisingly simple. All you need is a basic understanding of the software and its features and you'll be able to design a beautiful tiny house in no time. First, start by downloading and installing the latest version of SketchUp on your computer. Then, create a new file for your design. Click on the File and select New to get started. Next, use the drawing tool to create the basic floor plan for your tiny house. You can adjust the lengths and angles of the walls to get the perfect look for your space. When you're finished, use the push/pull tool to add the walls and floor. Once the floor plan is complete, you can start adding furniture and decor. You can either use the 3D Warehouse to search for and download models of furniture and decor, or you can create them from scratch in SketchUp. When you find the perfect item, simply drag and drop the model into your tiny house. Next, use the camera tool to view your tiny house from different angles and get a sense of how it will look in the end. You can also use the camera tool to give your tiny house a photorealistic look with the help of light, shadows, and other effects. Lastly, use the rendering tools to apply textures, lights, shadows, and other effects to give your tiny house design the perfect finish. With a few simple steps, you can create a beautiful tiny house design using SketchUp.House Designs with SketchUp: Step-by-Step Tutorial


House Designs with SketchUp: Step-by-Step Tutorial


Creating a 3D model of a tiny house using SketchUp is a simple and fun process. With its easy-to-use features and library of 3D models, SketchUp can help you create a beautiful 3D model of a tiny house in no time. First, download and install the latest version of SketchUp on your computer. Then, create a new file for your design and get started. Next, start to draw out the basic floor plan for your tiny house using the drawing tools. You can adjust the wall lengths and angles to create a plan that works for your space. When you're finished, use the push/pull tool to create the walls and floor. Once your floor plan is complete, it's time to start adding furniture and decor. You can start with simple shapes, such as a bed or a couch, or you can search the 3D Warehouse to find more complex models, like a desk or a chair. When you find the perfect model, simply drag and drop the model into your tiny house. You can also use the camera tool to view your tiny house from different angles and see what it will look like in the end. You can also use the camera tool to give your tiny house a photorealistic look with the help of light, shadows, and other effects. Lastly, use the rendering tools to apply textures, lights, shadows, and other effects to give your tiny house a polished look. With a few simple steps, you can create a beautiful 3D model of a tiny house using SketchUp.Creating a 3D Model of a Tiny House Using SketchUp


Creating a 3D Model of a Tiny House Using SketchUp


Designing a tiny house with SketchUp is not as complicated as one might think. With its intuitive tools and features, SketchUp makes it easy to create a 3D model of a tiny house design in no time. To get started, download and install the latest version of SketchUp on your computer. Then, create a new file for your design and get started. Next, use the drawing tools to create the basic floor plan for your tiny house. You can adjust the wall lengths and angles to create a plan that works for your space. When you're done, use the push/pull tool to add the walls and floor. Once your floor plan is finished, you can start adding furniture and decor. You can either create simple shapes in SketchUp, or you can search the 3D Warehouse to find more complex models. When you find the perfect model, simply drag and drop the model into your tiny house. You can also use the camera tool to view your tiny house from different angles and get a better visual on how it will look in the end. You can also use the camera tool to apply textures, lights, shadows, and other effects to give your tiny house a photorealistic look. Lastly, use the rendering tools to apply materials, lighting, and other effects to get the perfect finish. With a few simple steps, you can use SketchUp to design a beautiful tiny house.Designing a Tiny House with SketchUp


Designing a Tiny House with SketchUp


If you're looking to create a tiny house design, SketchUp can help you create a photorealistic 3D model. All you need is an understanding of the software and its features and you'll be able to design a beautiful tiny house in no time. To begin, start by downloading and installing the latest version of SketchUp on your computer. Once it's installed, create a new file for your design and get started. Next, use the drawing tool to create the basic floor plan for your tiny house. You can adjust the length and angles of the walls to get the exact look you're going for. When you're done, use the push/pull tool to add the walls and floor. When it comes to furnishing your tiny house, you can use the 3D Warehouse to search for and download models of furniture and decor items. From beds to couches to desks, you can find just about anything in the 3D Warehouse. Once you have the perfect model, simply drag and drop the model into your tiny house. You can also use the camera tool to view your tiny house from various angles and get a better sense of how it will look in the end. You can also apply textures, lights, shadows, and other effects to give your tiny house a photorealistic look. Lastly, use the rendering tools to apply materials, lighting, and other effects to give your design the perfect finish. With a few simple steps, you can use SketchUp to create a beautiful tiny house design.Detailed SketchUp Tutorial for Tiny House Design


Detailed SketchUp Tutorial for Tiny House Design
Step-by-Step Guide to Designing a Tiny House on SketchUp
 If you're looking for an efficient and relatively user-friendly way to design a tiny house, SketchUp is a great tool. With that in mind, let's take a look at a step-by-step guide to designing a tiny house on SketchUp.
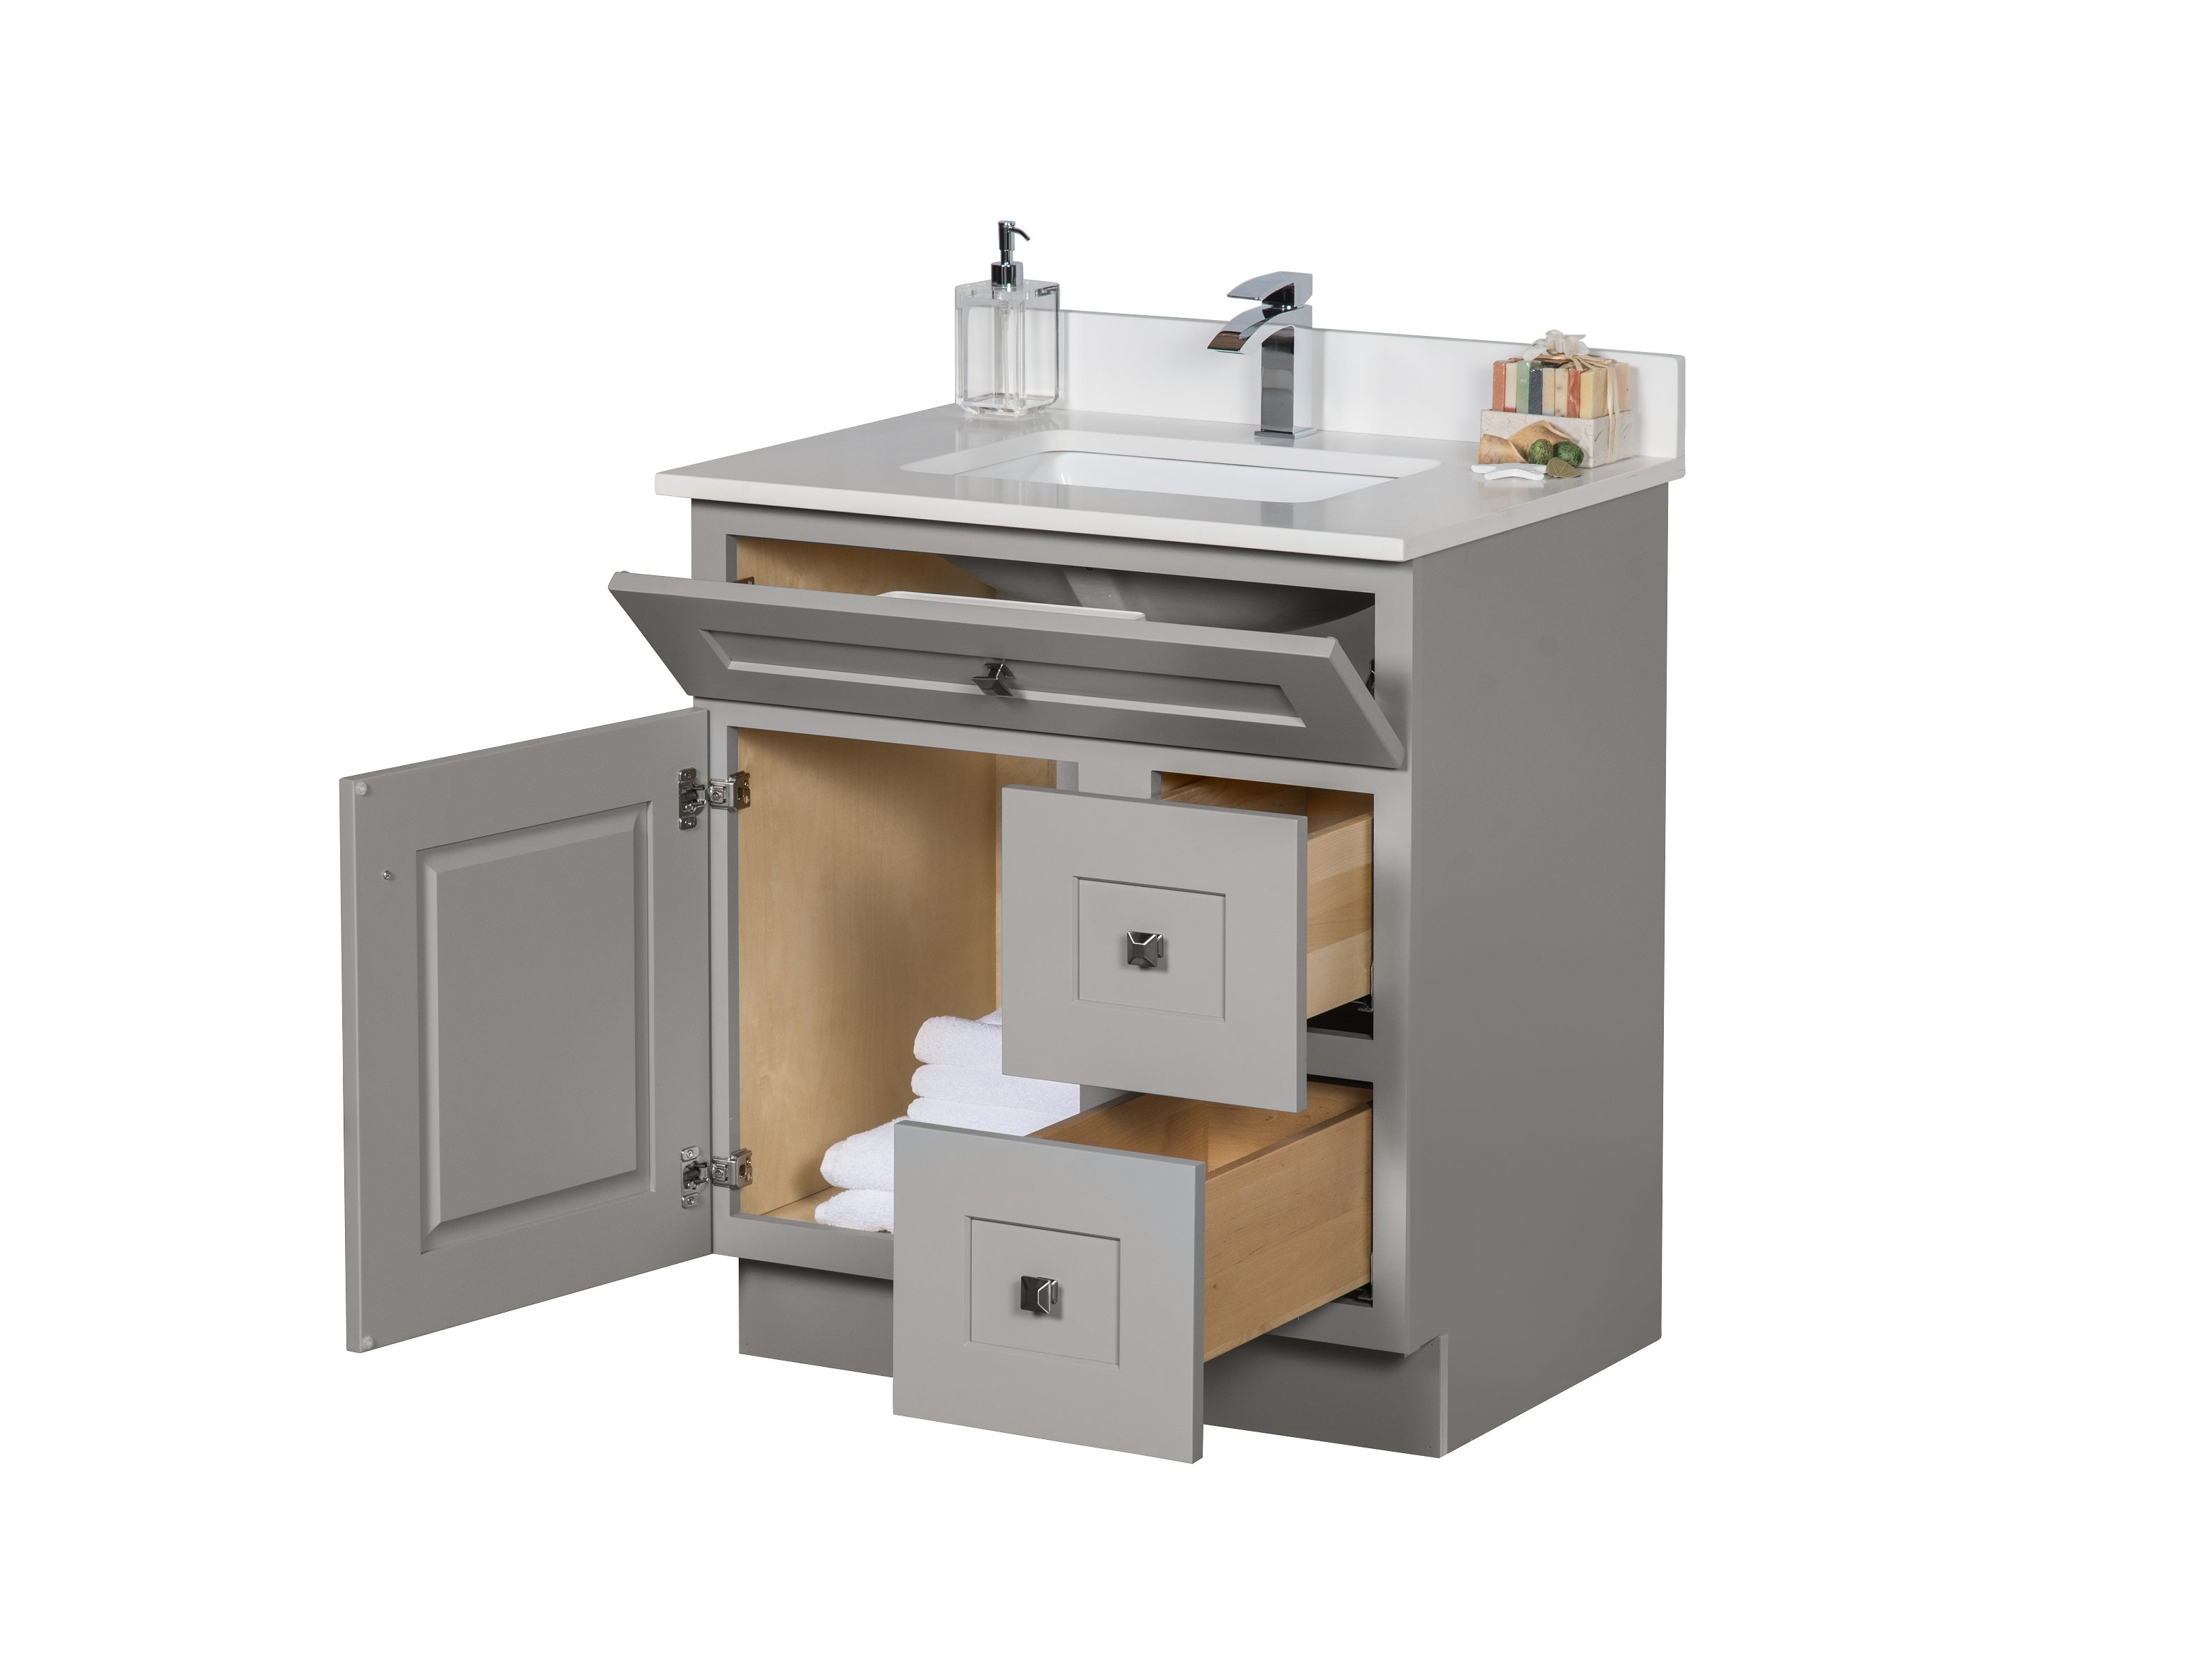
Step 1: Design the Tiny House Structure
 The first step in designing a tiny house on SketchUp is to design the structure. Start with the basics, like the walls, ceiling and floor. Include any major features like built-in furniture or shelves. After that, move onto any doors, windows, and architectural features like trims or posts. This is a good time to add in any cabinetry or storage that you may want to include.
Step 2: Prepare the Exterior
 Once the main structure is designed, you can start to work on the exterior of the house. Start by drawing in the roof. You can then draw in any features such as dormers or a chimney. Finally, you can customize the exterior with siding, windows, trim, and other elements of your choice.
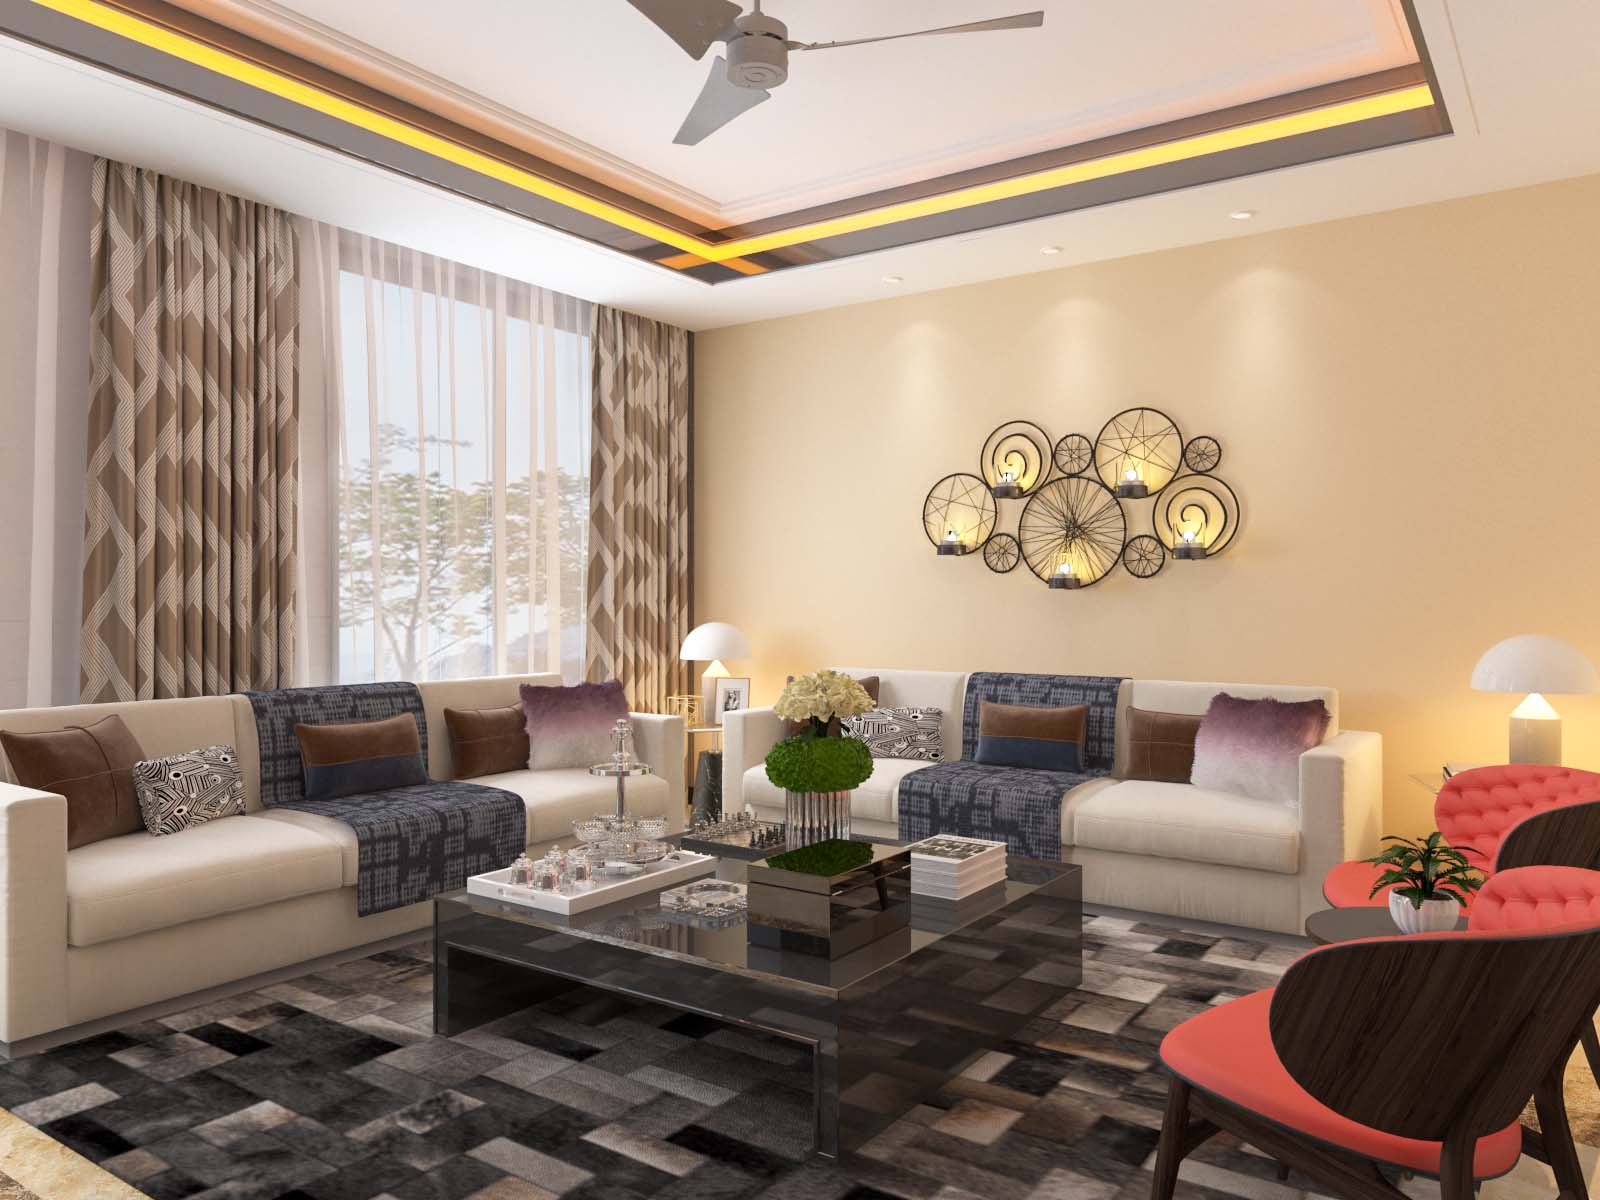
Step 3: Design the Interior
 Now it's time to move onto the interior. Begin by designing your furniture. You can also add any shelves, built-ins, countertops, tiling, or other custom details.
Step 4: Add Finishing Touches
 Finally, you can add the finishing touches to complete your tiny house design. If you have a rendering program, you can draw in landscaping elements to complete the look. You can also add in lighting fixtures, hardware, wallpaper, accent pieces, and anything else that you want to include.
Step 5: Save Your Design
Once your design is complete, save it to make sure you don't lose it. You can continue to go back and make edits if you need to.
With these steps, you can easily create your own tiny house design on SketchUp. What's great about this program is that even if you have no prior experience, you can still design a great looking tiny house.