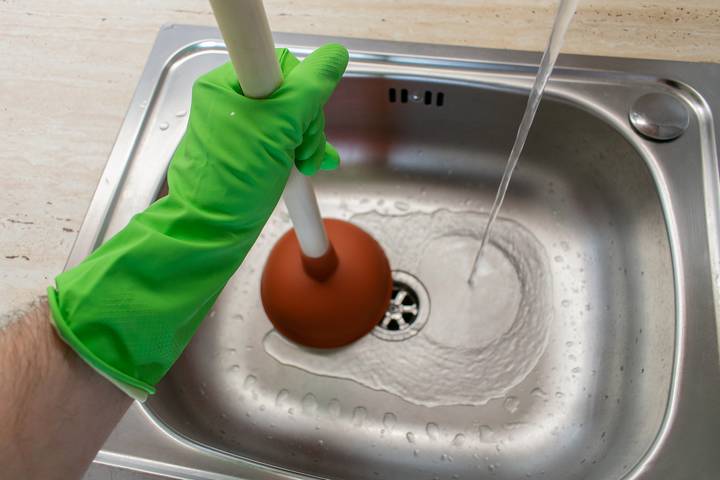
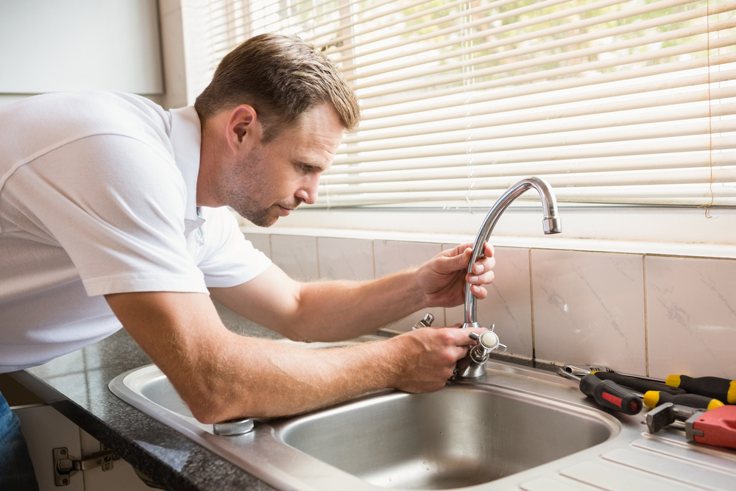
If you've noticed water pooling around your kitchen sink, chances are you have a leaky seal. This can be a frustrating and messy problem, but luckily, it's a fairly simple fix. By following a few steps, you can have your kitchen sink properly sealed in no time. To start, make sure to turn off the water supply to your sink before beginning any repairs. This will prevent any further water damage and make the process easier. Once the water is off, you can begin assessing the seal and determining the best course of action. If the leak is coming from a visible crack or hole in the seal, you can use a sealant or plumber's putty to patch it up. Simply apply the product according to the instructions and allow it to dry completely before turning the water back on. In some cases, the seal may be too damaged or worn to repair. In this situation, it's best to replace the entire seal. This may require removing the sink and reinstalling it, but it will ensure a strong and long-lasting seal.1. How to Fix a Leaky Kitchen Sink


1. How to Fix a Leaky Kitchen Sink


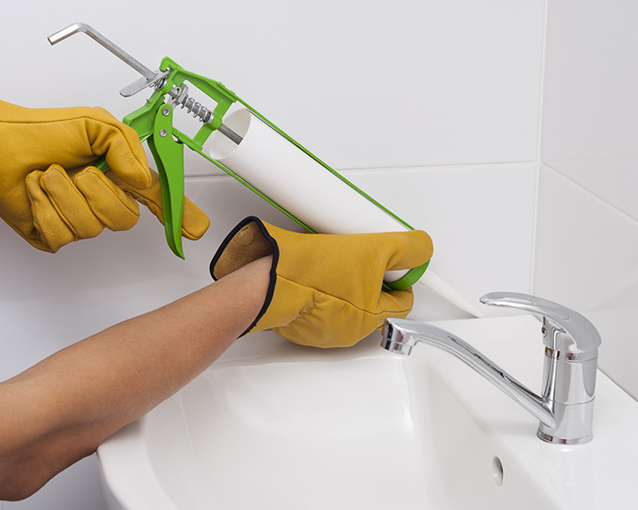
Sealing a kitchen sink is a simple DIY project that can save you time and money. The first step is to thoroughly clean the area around the sink to ensure a strong bond for the seal. Use a mild cleaner and a scrub brush to remove any grime or residue. Next, apply a bead of sealant or plumber's putty around the edge of the sink. Be sure to cover any visible cracks or gaps in the seal. Then, carefully place the sink back into the counter, making sure it is level and aligned properly. Use a cloth to wipe away any excess sealant that may have squeezed out. Allow the seal to dry completely before turning the water back on. This may take several hours, so be patient. Once the seal is dry, turn the water on and check for any leaks. If everything looks good, you have successfully sealed your kitchen sink!2. DIY: How to Seal a Kitchen Sink


2. DIY: How to Seal a Kitchen Sink


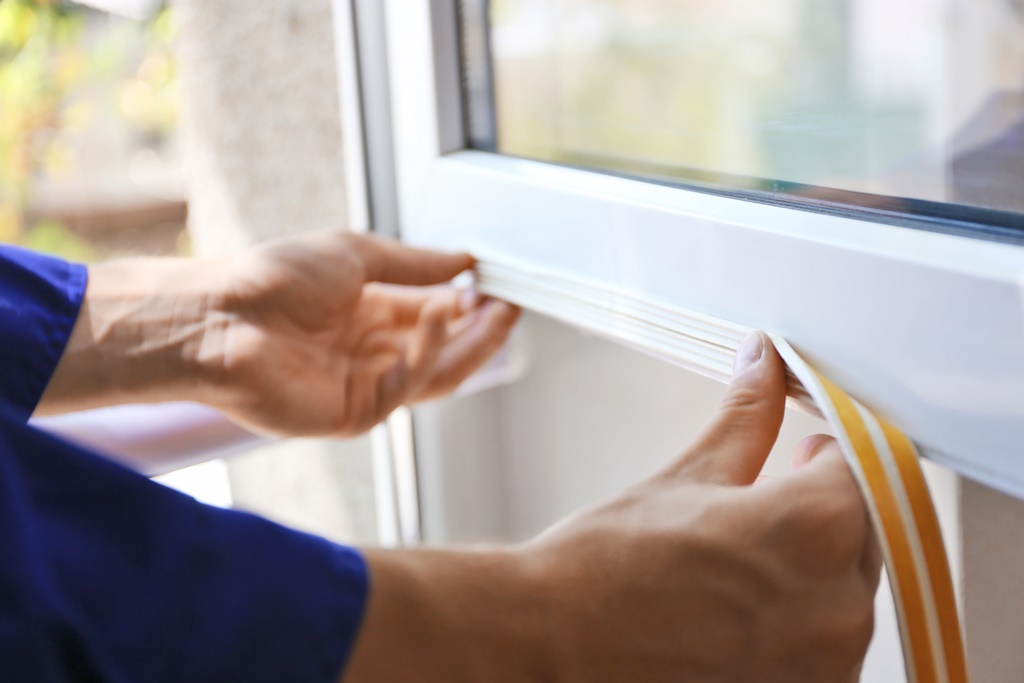
For minor leaky seals, a quick and easy repair can save you time and hassle. One option is to use waterproof tape, which can be found at most hardware stores. Measure and cut a piece of tape to fit the damaged area, and then apply it directly over the leak. Smooth out any air bubbles and press firmly to ensure a strong bond. If the leak is more severe, you may need to use a waterproof sealant or plumber's putty instead. These products can be applied directly to the damaged area and will create a strong and durable seal. Be sure to follow the instructions for the best results. With these quick and easy repair options, you can have your kitchen sink sealed and leak-free in no time.3. Quick and Easy Kitchen Sink Seal Repair


3. Quick and Easy Kitchen Sink Seal Repair


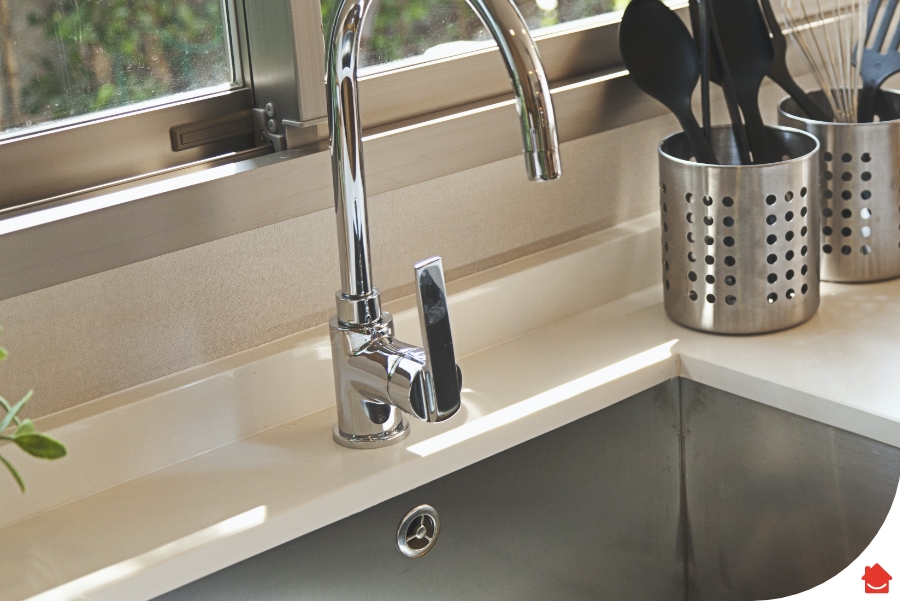
Properly sealing your kitchen sink is an important task that can prevent costly water damage and potential health hazards. A strong seal around your sink will prevent water from leaking into the cabinets and causing rot or mold growth. It will also keep out any debris or bacteria that may be present in the sink drain. In addition to preventing damage and health issues, a strong seal will also help maintain the structural integrity of your sink. Without a proper seal, water can seep into the surrounding materials, causing them to warp or weaken. This can lead to a sagging sink or even a complete collapse. By taking the time to properly seal your kitchen sink, you are protecting your home and your health in the long run.4. The Importance of Properly Sealing Your Kitchen Sink


4. The Importance of Properly Sealing Your Kitchen Sink


There are several factors that can contribute to a loose or leaky seal around your kitchen sink. One of the most common causes is age and wear and tear. Over time, the sealant or putty used to secure the sink can deteriorate, leading to gaps and cracks that allow water to leak through. Another common cause is improper installation. If the sink was not installed correctly, it may not have a strong enough seal to prevent leaks. This is why it's important to hire a professional or follow proper installation instructions when setting up a new sink. Finally, movement or shifting of the sink can also cause a loose seal. This can happen if the counter or cabinets underneath the sink are not sturdy enough to support its weight. Over time, this movement can cause the seal to break down and lead to leaks.5. Common Causes of a Loose Kitchen Sink Seal


5. Common Causes of a Loose Kitchen Sink Seal


Fixing a leaky seal around your kitchen sink may seem like a daunting task, but by following these step-by-step instructions, you can easily tackle the problem. Step 1: Turn off the water supply to the sink. Step 2: Thoroughly clean the area around the sink with a mild cleaner and scrub brush. Step 3: Assess the damage to the seal and determine if it can be repaired or needs to be replaced. Step 4: If repairing, use a sealant or plumber's putty to fill in any gaps or cracks in the seal. Step 5: If replacing, remove the sink and old sealant, and then reinstall the sink with a new seal. Step 6: Allow the seal to dry completely before turning the water back on. Step 7: Check for leaks and make any necessary adjustments. By following these steps, you can have a strong and secure seal around your kitchen sink in no time.6. Step-by-Step Guide to Fixing a Seal Around Your Kitchen Sink


6. Step-by-Step Guide to Fixing a Seal Around Your Kitchen Sink


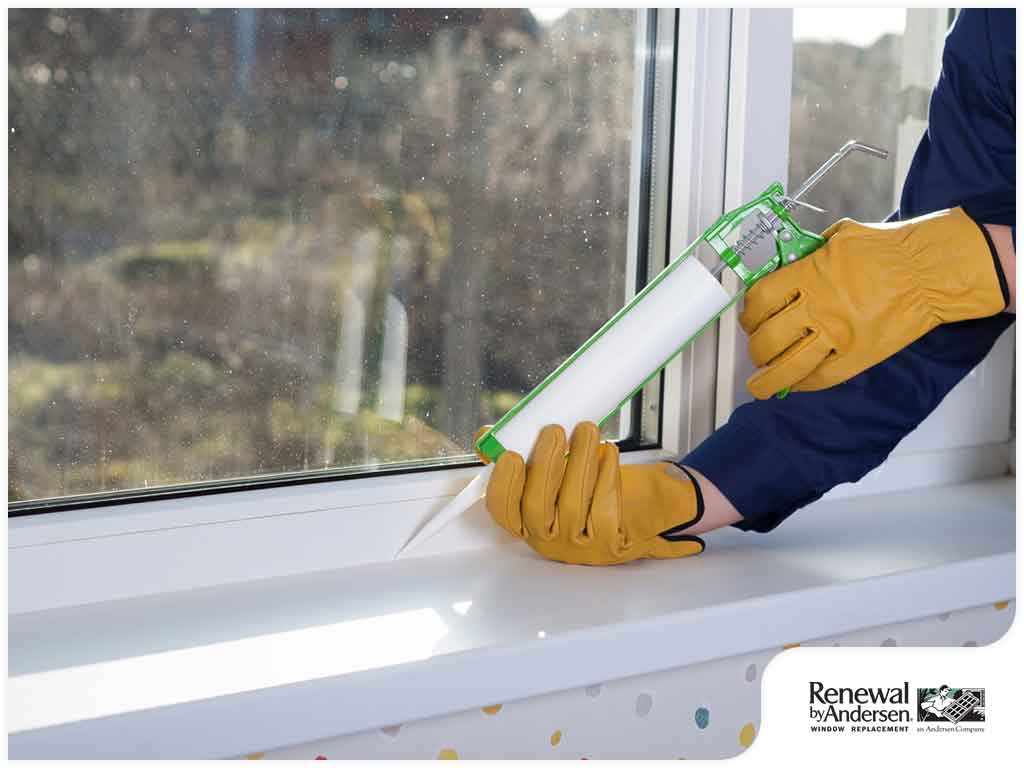
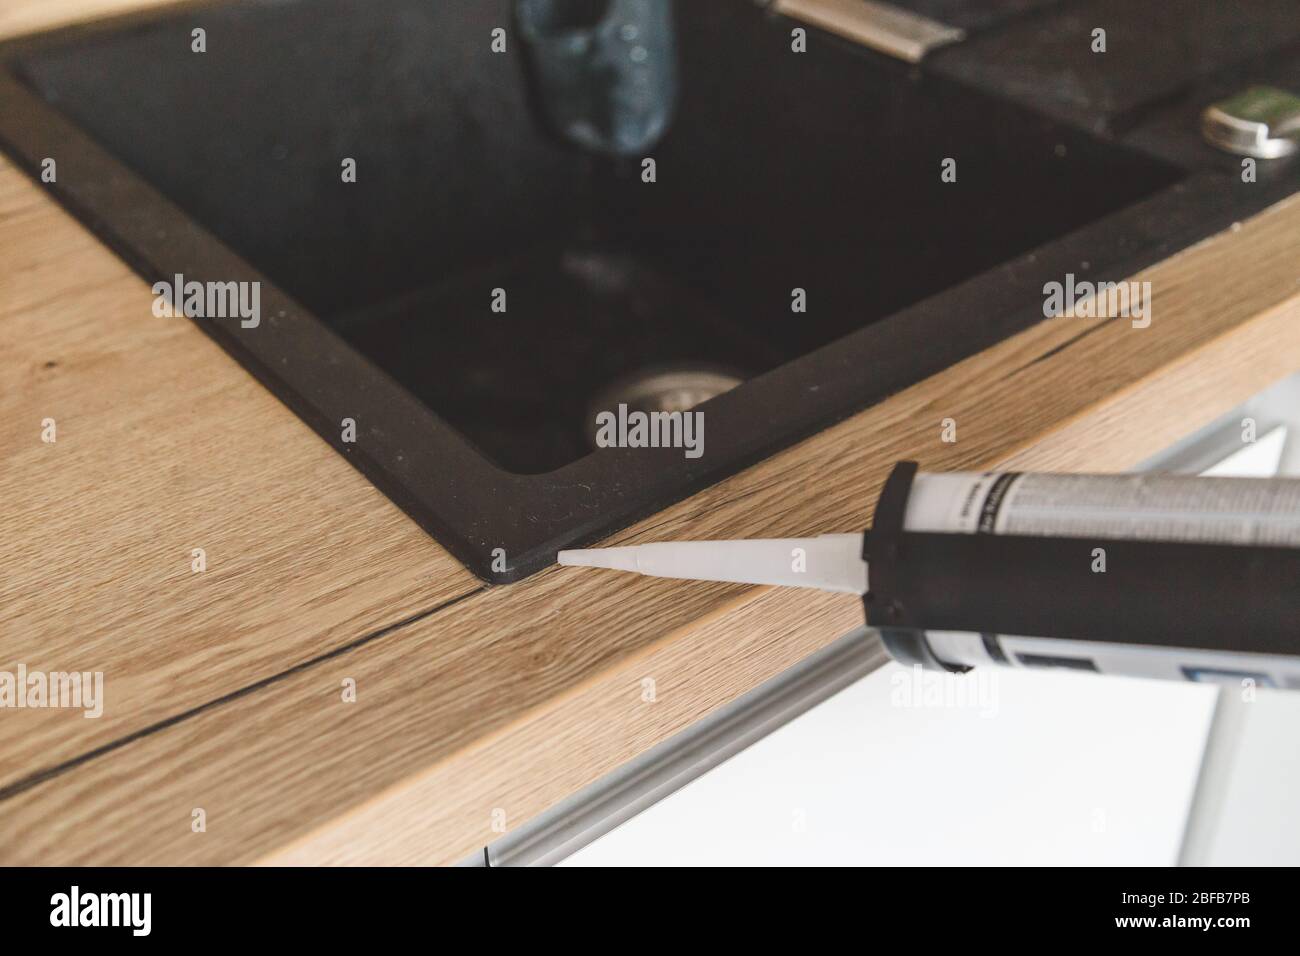
When it comes to sealing a kitchen sink, there are several products to choose from. Some popular options include silicone sealant, plumber's putty, and waterproof tape. Silicone sealant is a flexible and watertight option that can be easily applied and is resistant to mold and mildew. Plumber's putty is a soft and pliable option that can be molded to fit any gap or crack in the seal. Waterproof tape is a quick and easy fix for minor leaks. It's important to choose a high-quality product that is specifically designed for sealing sinks. This will ensure a strong and long-lasting seal.7. Best Products for Sealing a Kitchen Sink


7. Best Products for Sealing a Kitchen Sink


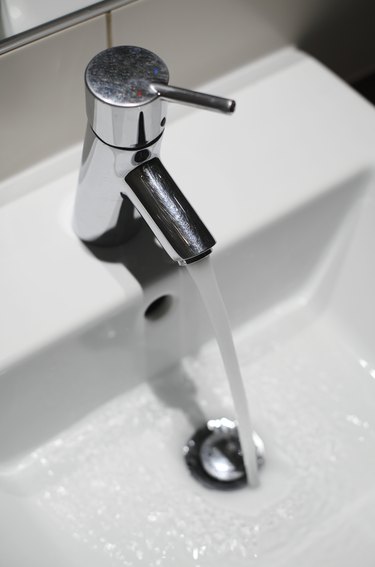
It's important to regularly check the seal around your kitchen sink for any signs of damage or wear. Some common indicators that your seal may need to be replaced include visible cracks or gaps, water pooling around the sink, or a musty odor coming from the sink drain. If you notice any of these signs, it's best to address the issue as soon as possible before it leads to more serious problems.8. How to Tell if Your Kitchen Sink Seal Needs to be Replaced


8. How to Tell if Your Kitchen Sink Seal Needs to be Replaced
To prevent future issues with your kitchen sink seal, it's important to properly maintain it. This includes regularly cleaning the area around the sink to prevent buildup of grime or debris. It's also a good idea to periodically check for any signs of wear and tear and address them promptly. Additionally, be mindful of how you use your sink. Avoid placing heavy objects on it, and don't use it as a cutting board or place for hot pots and pans. These actions can put unnecessary strain on the seal and cause it to deteriorate more quickly.9. Tips for Maintaining a Strong Seal Around Your Kitchen Sink


9. Tips for Maintaining a Strong Seal Around Your Kitchen Sink

:max_bytes(150000):strip_icc()/Basic-kitchen-sink-types-1821207_color_rev-0b539306b9ef4236a136624ad2a89a4c.jpg)


When it comes to fixing a kitchen sink seal, the best option will depend on the severity of the issue and your level of expertise. For minor leaks or cracks, a DIY approach may be sufficient and cost-effective. However, for more serious issues or if you are unsure of your abilities, it's best to hire a professional to ensure the job is done correctly. Overall, a strong and properly sealed kitchen sink is crucial for maintaining a functional and healthy kitchen. By following these tips and techniques, you can easily fix and maintain your kitchen sink seal for years to come.10. Professional vs. DIY: Which is the Best Option for Fixing a Kitchen Sink Seal?


10. Professional vs. DIY: Which is the Best Option for Fixing a Kitchen Sink Seal?


Why Fixing the Seal Around Your Kitchen Sink is Essential for a Well-Designed Home

Ensuring Functionality and Aesthetics
 When it comes to designing a house, every detail matters. From the color of the walls to the furniture placement, every aspect contributes to the overall aesthetic and functionality of the home. One commonly overlooked area that can greatly affect both the look and function of a kitchen is the seal around the kitchen sink.
A properly sealed sink not only prevents leaks and water damage, but it also adds to the overall design and cleanliness of the space.
When it comes to designing a house, every detail matters. From the color of the walls to the furniture placement, every aspect contributes to the overall aesthetic and functionality of the home. One commonly overlooked area that can greatly affect both the look and function of a kitchen is the seal around the kitchen sink.
A properly sealed sink not only prevents leaks and water damage, but it also adds to the overall design and cleanliness of the space.
Preventing Water Damage
 One of the main reasons why fixing the seal around your kitchen sink is important is to prevent water damage. Over time, the sealant around the sink can deteriorate, causing water to seep through and potentially damage the surrounding cabinets or flooring. This can lead to expensive repairs and can even compromise the structural integrity of your home.
Regularly checking and fixing the seal around your sink can save you from the hassle and cost of dealing with water damage in the future.
One of the main reasons why fixing the seal around your kitchen sink is important is to prevent water damage. Over time, the sealant around the sink can deteriorate, causing water to seep through and potentially damage the surrounding cabinets or flooring. This can lead to expensive repairs and can even compromise the structural integrity of your home.
Regularly checking and fixing the seal around your sink can save you from the hassle and cost of dealing with water damage in the future.
Enhancing the Look of Your Kitchen
 Aside from functionality, the seal around your kitchen sink also plays a role in the overall appearance of your kitchen. A damaged or discolored seal can make your sink look old and unkempt, even if the rest of your kitchen is well-designed. By fixing the seal, you can give your kitchen a much-needed facelift and
add a touch of freshness and cleanliness to the space.
Aside from functionality, the seal around your kitchen sink also plays a role in the overall appearance of your kitchen. A damaged or discolored seal can make your sink look old and unkempt, even if the rest of your kitchen is well-designed. By fixing the seal, you can give your kitchen a much-needed facelift and
add a touch of freshness and cleanliness to the space.
Improving Hygiene and Cleanliness
 A damaged seal around your kitchen sink can also pose a hygiene issue. Water can seep through the gaps and accumulate, creating a breeding ground for bacteria and mold. This can be a health hazard for you and your family, especially if you use the sink for food preparation.
By fixing the seal, you can ensure that your sink is properly sealed and prevent any potential health risks.
In conclusion, fixing the seal around your kitchen sink is crucial for both the functionality and aesthetics of your home. Not only does it prevent water damage and improve the overall look of your kitchen, but it also promotes hygiene and cleanliness. Don't overlook this small but important detail in your house design and make sure to regularly check and fix the seal around your kitchen sink.
A damaged seal around your kitchen sink can also pose a hygiene issue. Water can seep through the gaps and accumulate, creating a breeding ground for bacteria and mold. This can be a health hazard for you and your family, especially if you use the sink for food preparation.
By fixing the seal, you can ensure that your sink is properly sealed and prevent any potential health risks.
In conclusion, fixing the seal around your kitchen sink is crucial for both the functionality and aesthetics of your home. Not only does it prevent water damage and improve the overall look of your kitchen, but it also promotes hygiene and cleanliness. Don't overlook this small but important detail in your house design and make sure to regularly check and fix the seal around your kitchen sink.