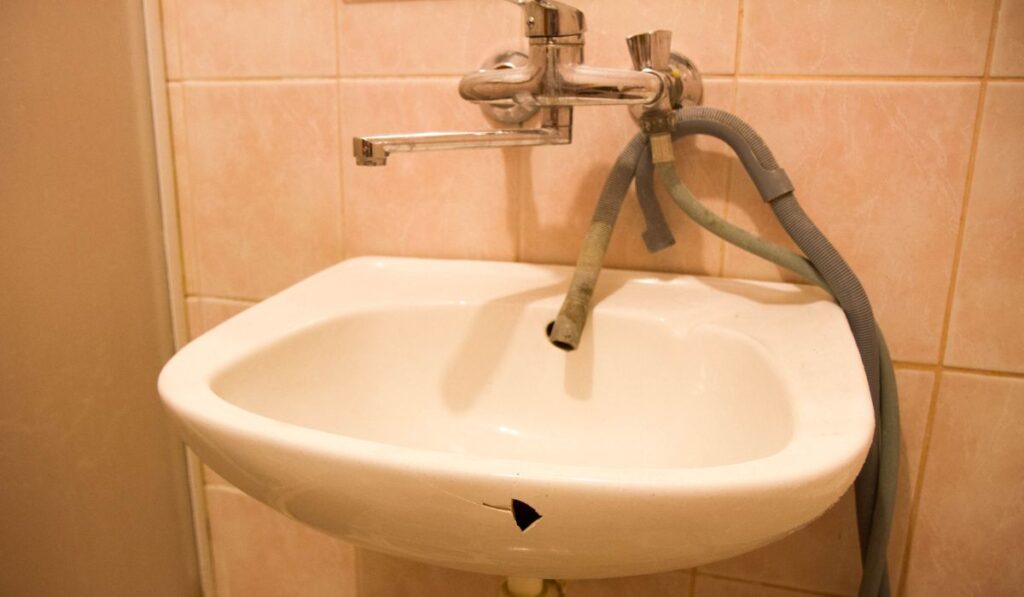
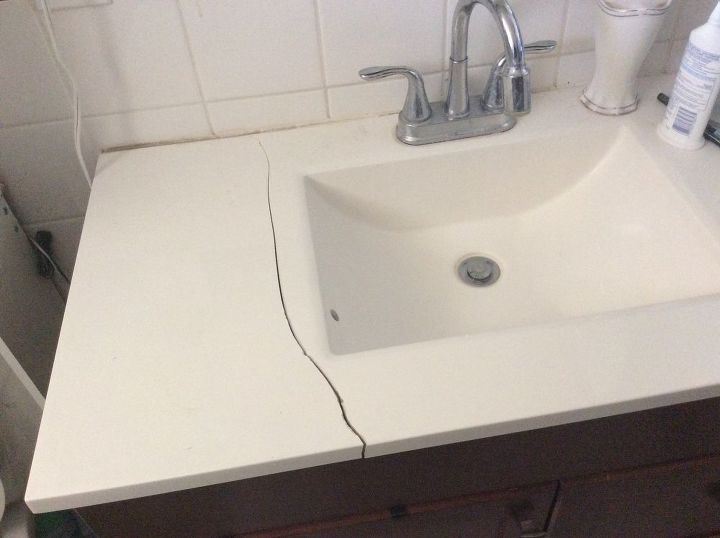
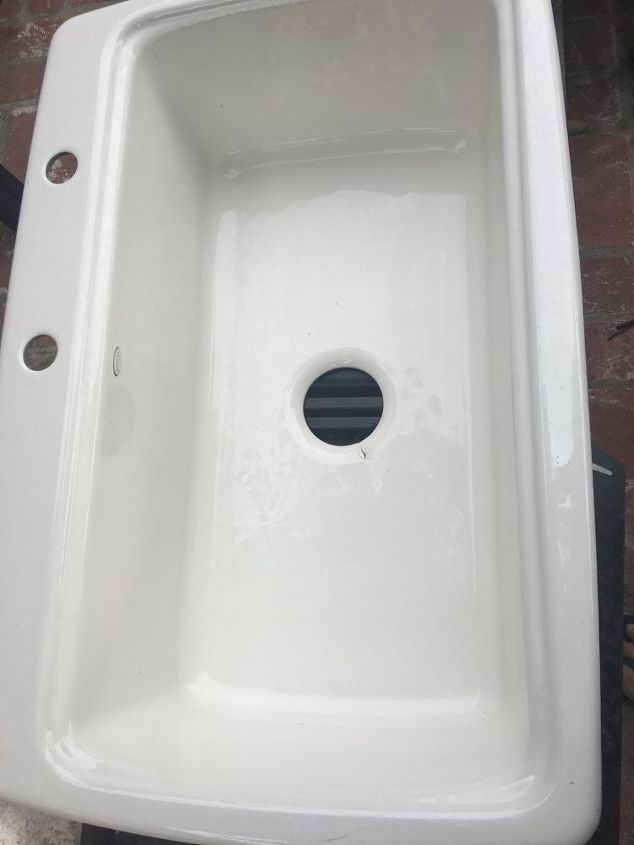
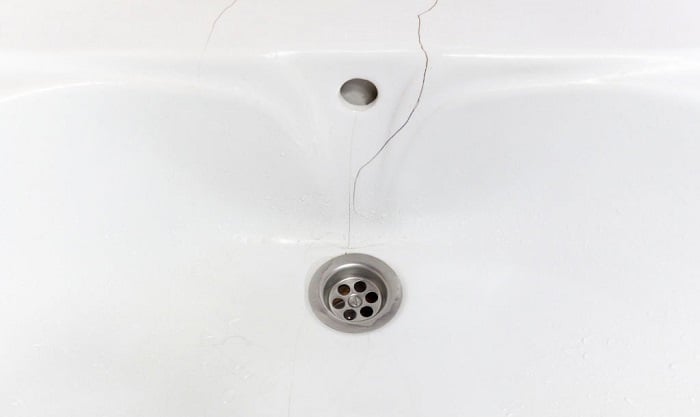
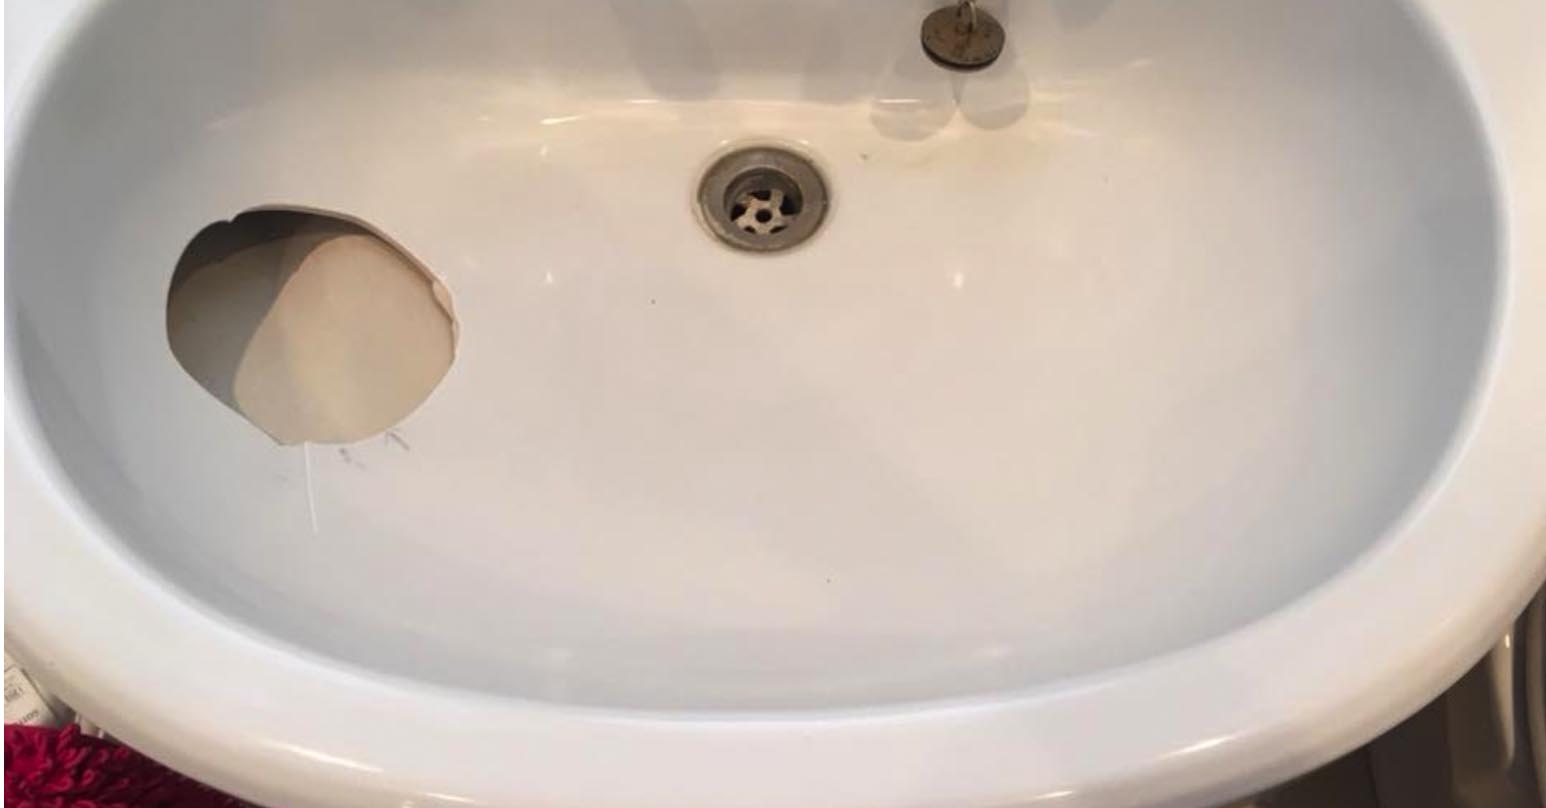
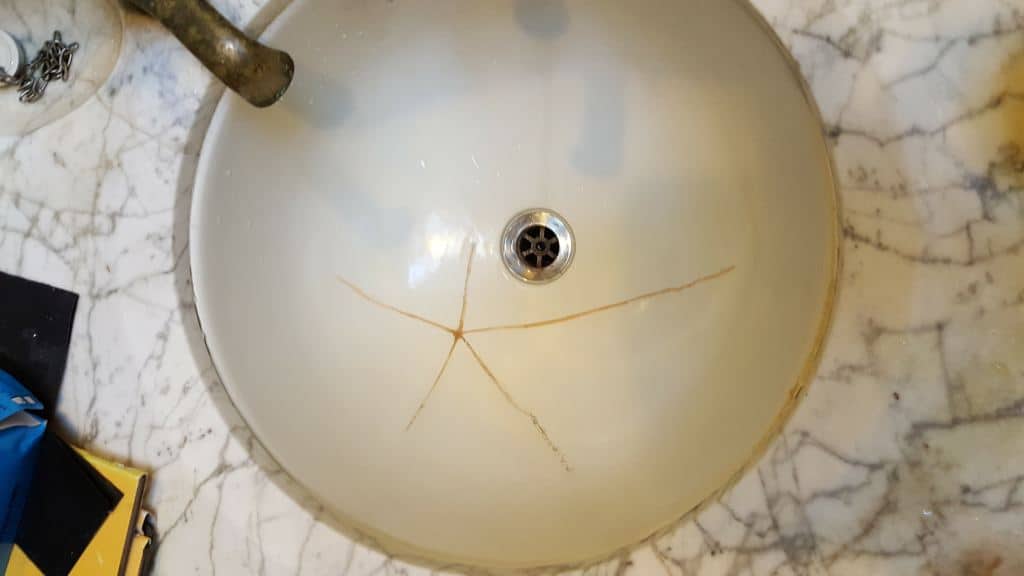
If you have noticed a crack in your bathroom sink, don't panic. The first step to fixing a cracked bathroom sink is to identify the severity and location of the crack. Is the crack small or large? Is it in the bowl of the sink or on the rim? This will help determine the best method for repairing the crack.1. Identifying the Crack


Fixing a Cracked Bathroom Sink


Before you begin the repair process, make sure you have all the necessary materials. This may include epoxy adhesive, sandpaper, a putty knife, and a cloth for cleaning. You may also need a drill if the crack is large and needs to be drilled to prevent further spreading.2. Gather Your Materials


How to Repair a Broken Bathroom Sink


Before any repairs can be made, the cracked area must be thoroughly cleaned. Use a cloth and warm water to clean the area, making sure to remove any dirt or debris. If the crack is near the drain, use a mild cleaner to ensure the area is completely clean.3. Clean the Area


DIY Bathroom Sink Repair


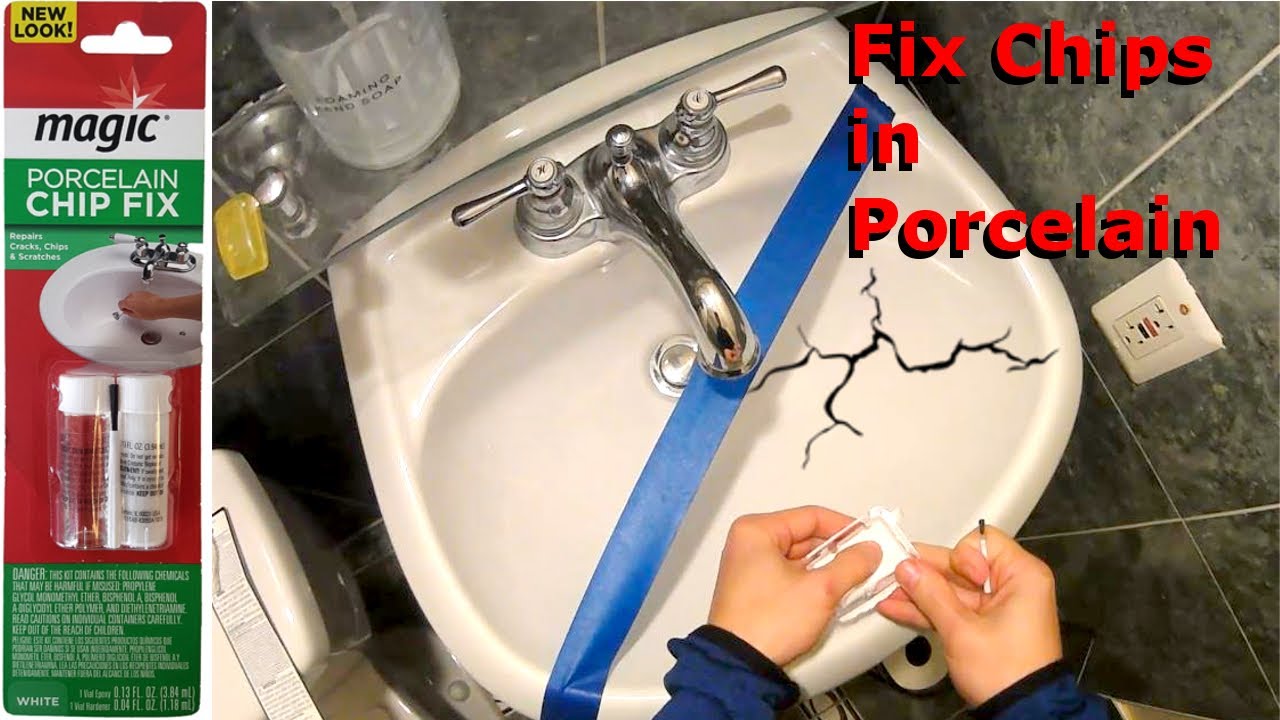
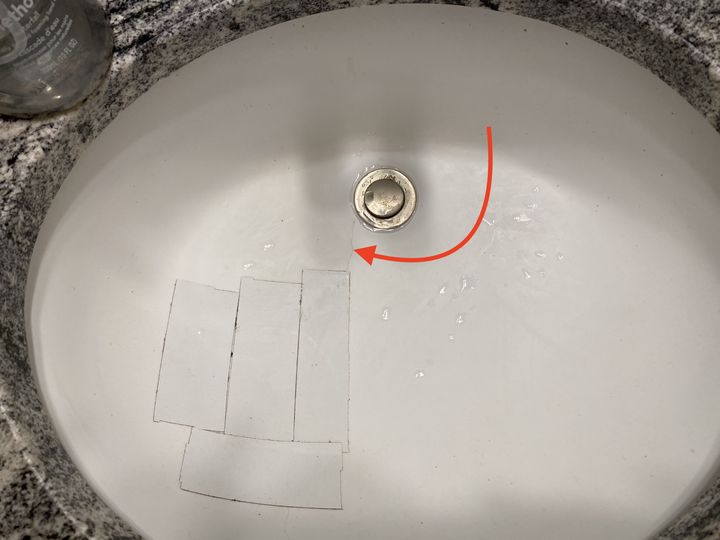
For small cracks, an epoxy adhesive can be used to fill and seal the crack. Make sure to use an epoxy that is specifically designed for use on sinks and is waterproof. Apply the epoxy to the crack, using a putty knife to smooth it out and ensure it is evenly distributed.4. Fill the Crack


Tips for Fixing a Cracked Sink


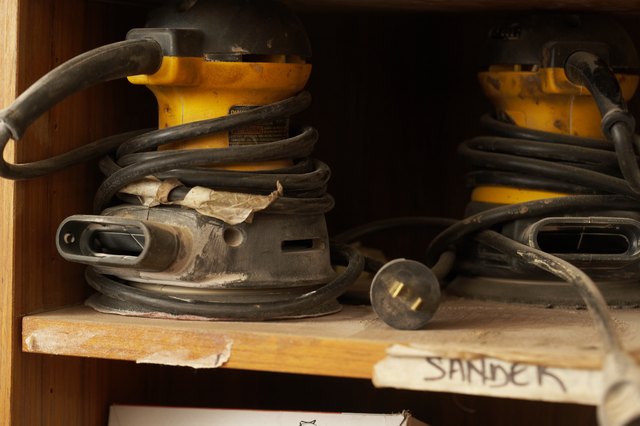
Once the epoxy has dried, use sandpaper to smooth down the area. This will ensure the repair is flush with the rest of the sink and will also help to blend in the color.5. Sand Down the Area


Steps to Fix a Broken Bathroom Sink


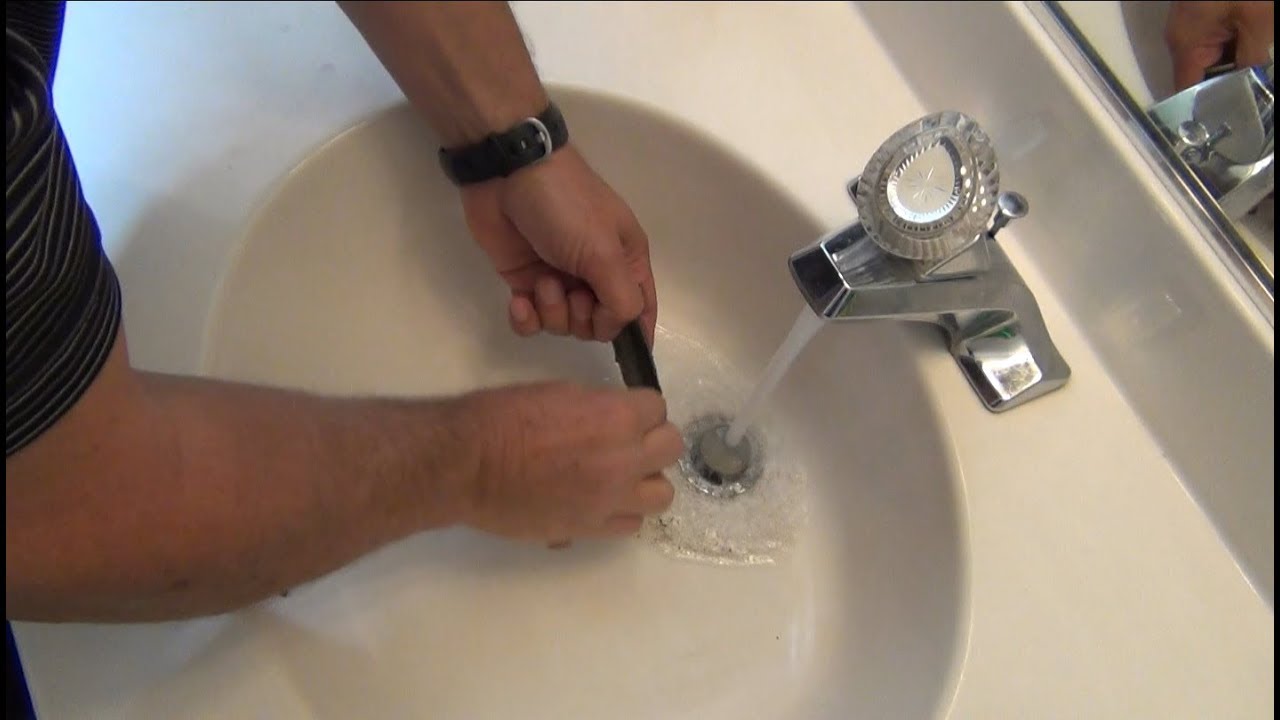
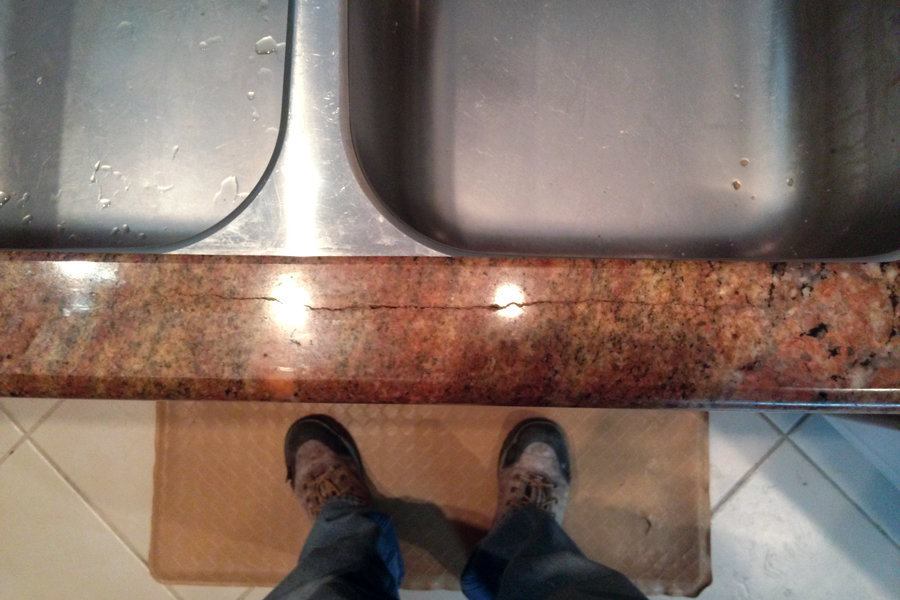
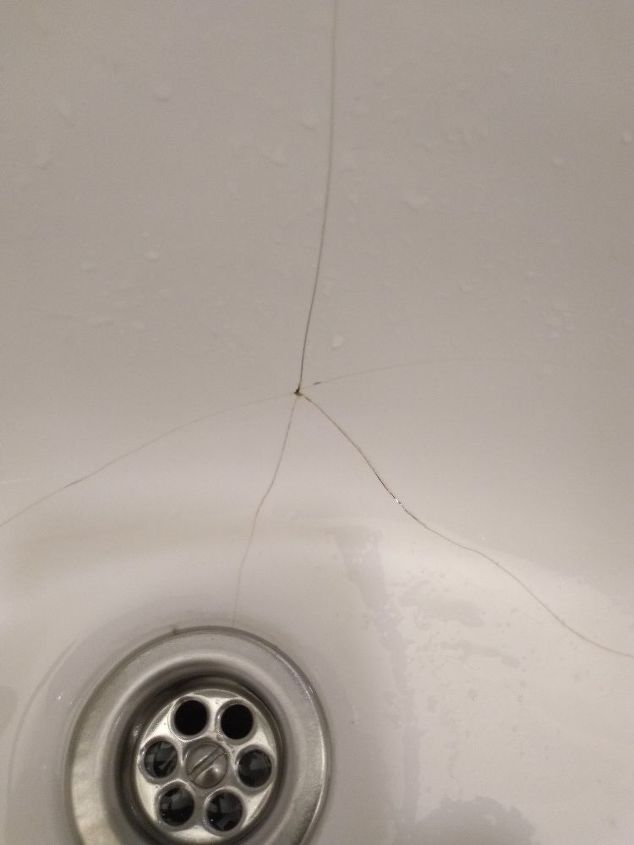
If the crack in your sink is large, it may need to be drilled to prevent further spreading. Use a drill with a small drill bit to create holes at the end of the crack. This will stop the crack from spreading any further.6. Drill Holes for Large Cracks


Repairing a Cracked Sink


For larger cracks, epoxy can still be used to repair the damage. However, instead of just filling the crack, you will need to apply the epoxy to both sides of the crack. This will create a stronger bond and prevent the crack from spreading.7. Apply Epoxy to Large Cracks


How to Fix a Broken or Cracked Bathroom Sink

Once the epoxy has dried, use sandpaper to smooth down the repair. If the crack was large and required drilling, make sure to sand down the holes as well. This will create a seamless repair that is barely noticeable.8. Sand and Smooth the Repair


Bathroom Sink Crack Repair


Once the repair has been completed, make sure to clean the sink thoroughly. This will remove any leftover debris or dust from the sanding process. You may also want to apply a sealant to the sink to protect the repair and prevent any future damage.9. Clean and Seal the Sink


Easy Bathroom Sink Repair


To prevent cracks from occurring in the future, make sure to use your sink with care. Avoid dropping heavy objects or using harsh chemicals on the surface. Also, be sure to clean your sink regularly to remove any buildup or residue that can weaken the material over time.10. Prevention for the Future

Fixing a Damaged Bathroom Sink


How to Fix a Broken Cracked Bathroom Sink
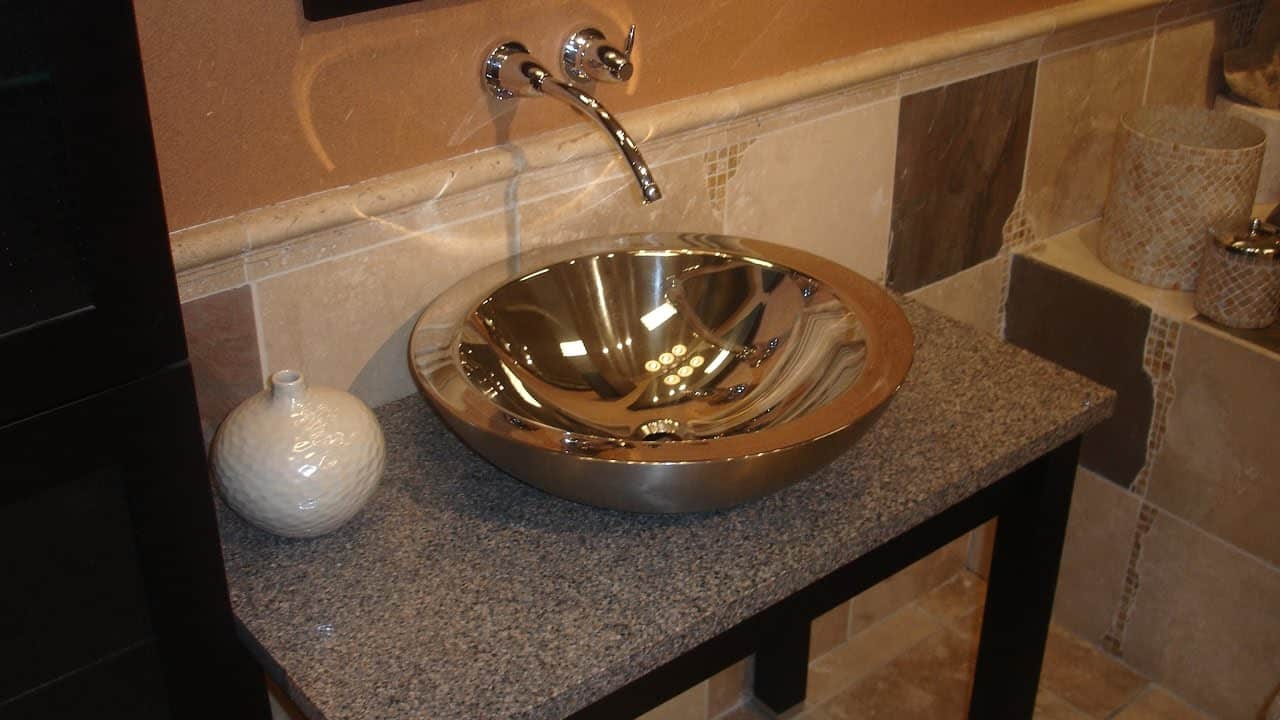
Maintaining a Functional and Beautiful Bathroom
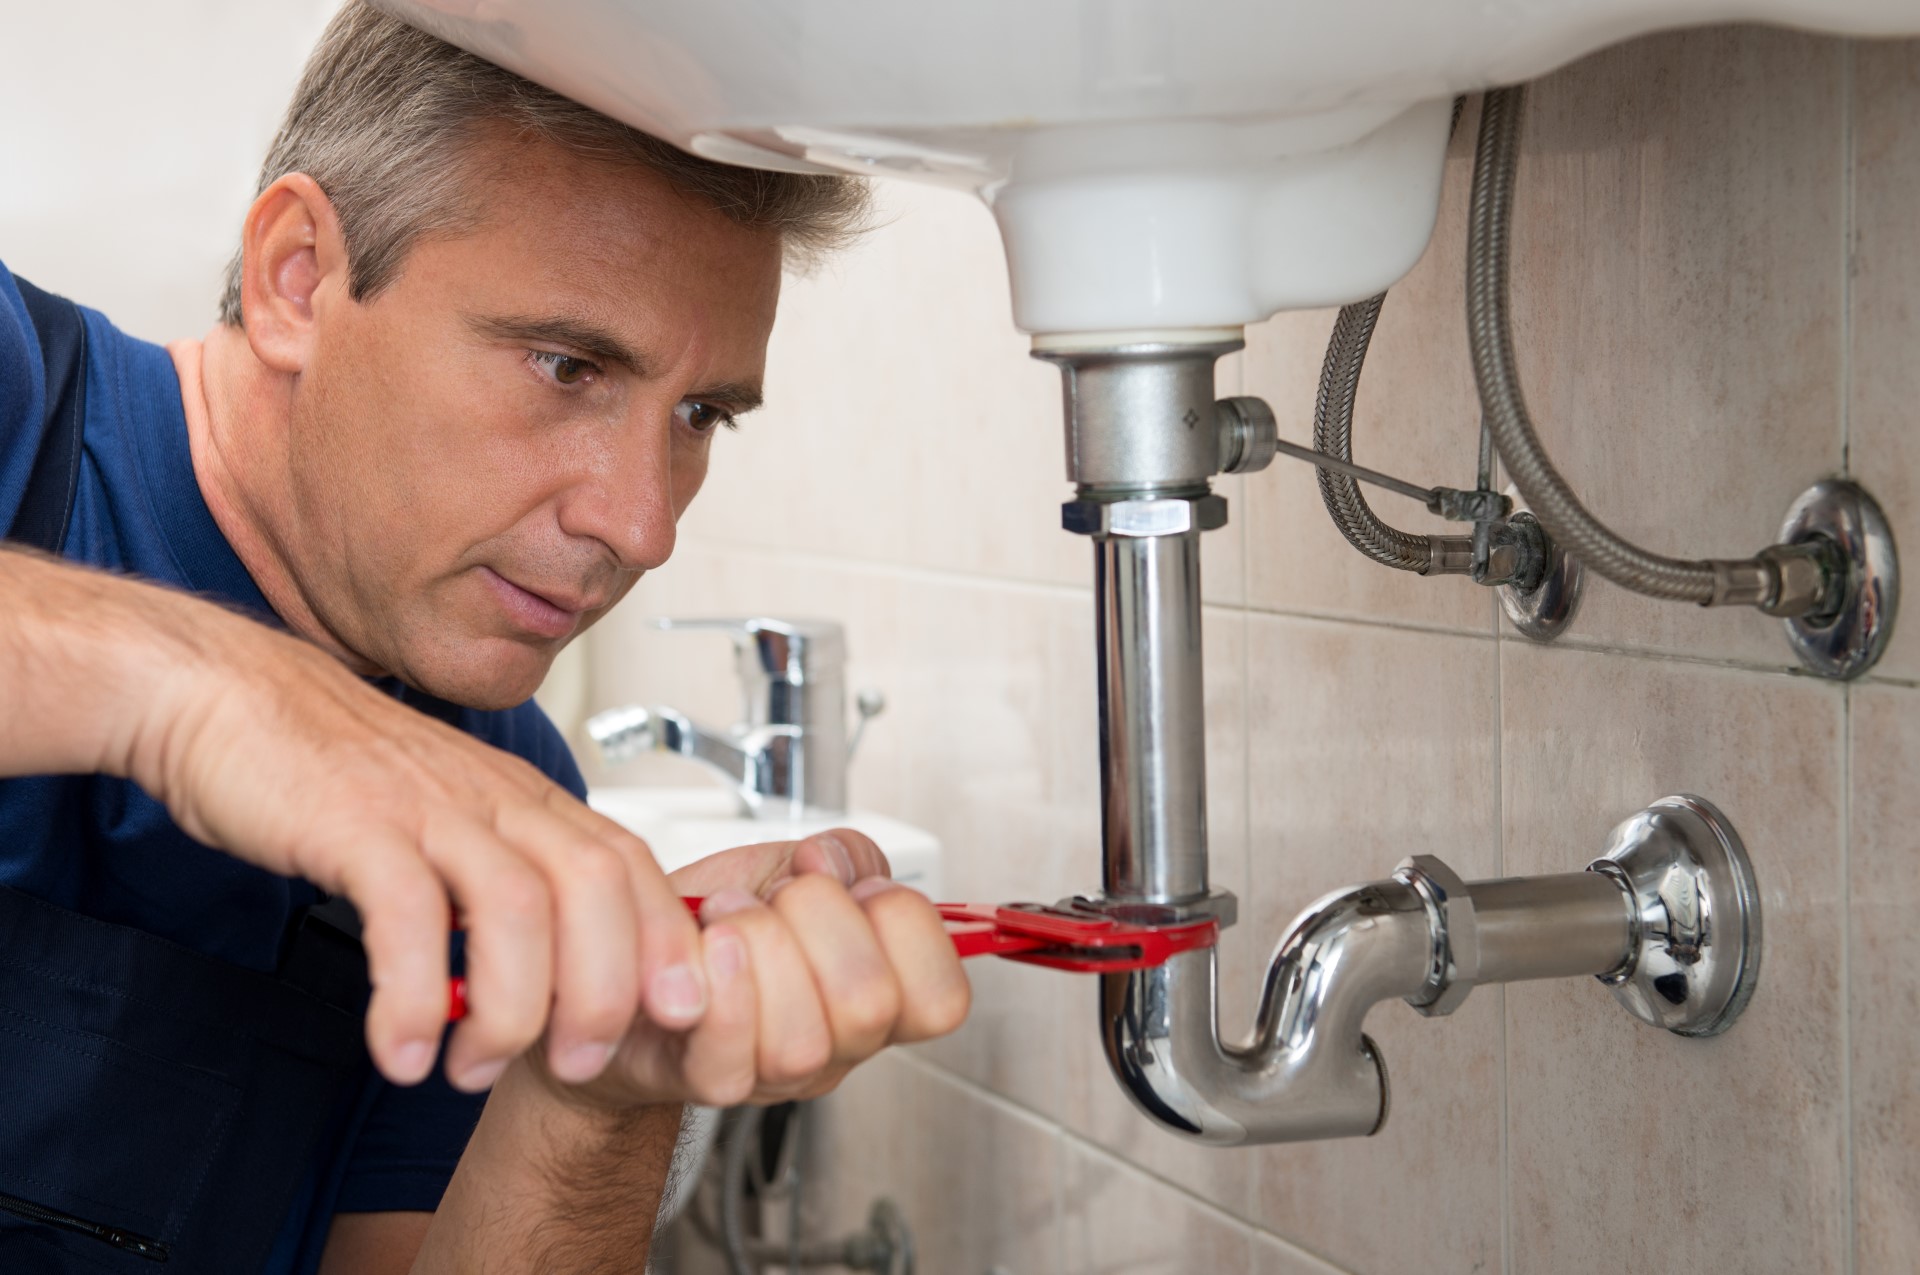
 If you have a broken or cracked bathroom sink, it can be a major inconvenience and an eyesore. Not only does it affect the functionality of your bathroom, but it can also decrease the overall aesthetic appeal of your space. However, fixing a broken or cracked bathroom sink doesn't have to be a daunting task. With the right tools and techniques, you can easily repair and restore your sink to its former glory.
Assess the Damage
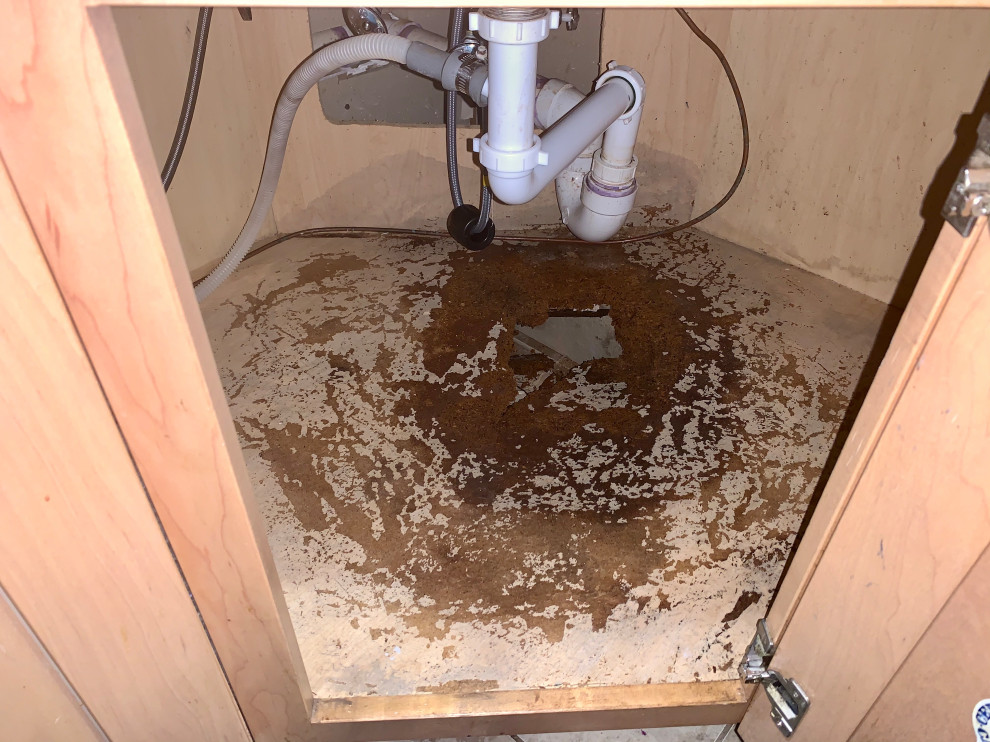
Before you start any repairs, it's important to assess the damage to your bathroom sink. Is it a small crack or a larger break? Is the sink still securely attached to the countertop or has it become loose? These factors will determine the level of repair needed and the materials required. Make sure to also check for any leaks or damage to the plumbing underneath the sink.
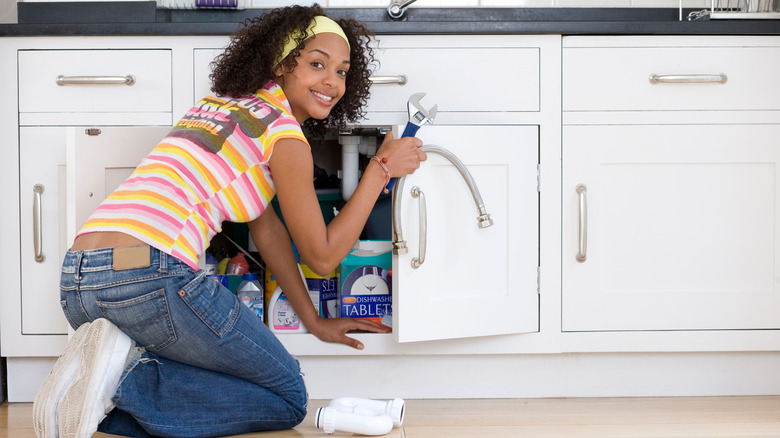
Gather Your Tools and Materials
Once you have assessed the damage, gather all the necessary tools and materials for the repair. This may include epoxy or putty for filling cracks, a drill and screws for securing a loose sink, and sandpaper for smoothing out rough edges. Make sure to also have safety gear such as gloves and goggles to protect yourself during the repair process.
Fixing a Cracked Sink
For small cracks, you can use an epoxy or putty specifically designed for repairing sinks. Apply the product to the crack and smooth it out with a putty knife. Allow it to dry according to the product instructions. Once dry, sand down any rough edges and reapply the product if necessary. For larger cracks, it may be necessary to replace the sink altogether.
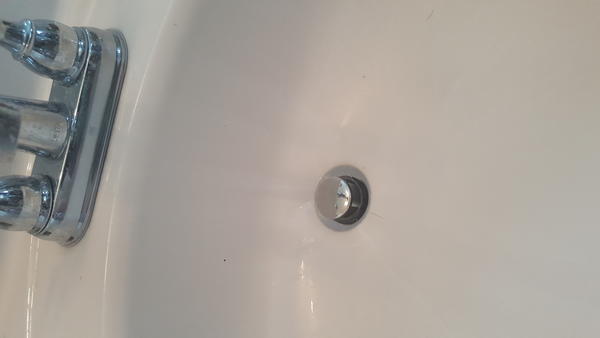
Securing a Loose Sink
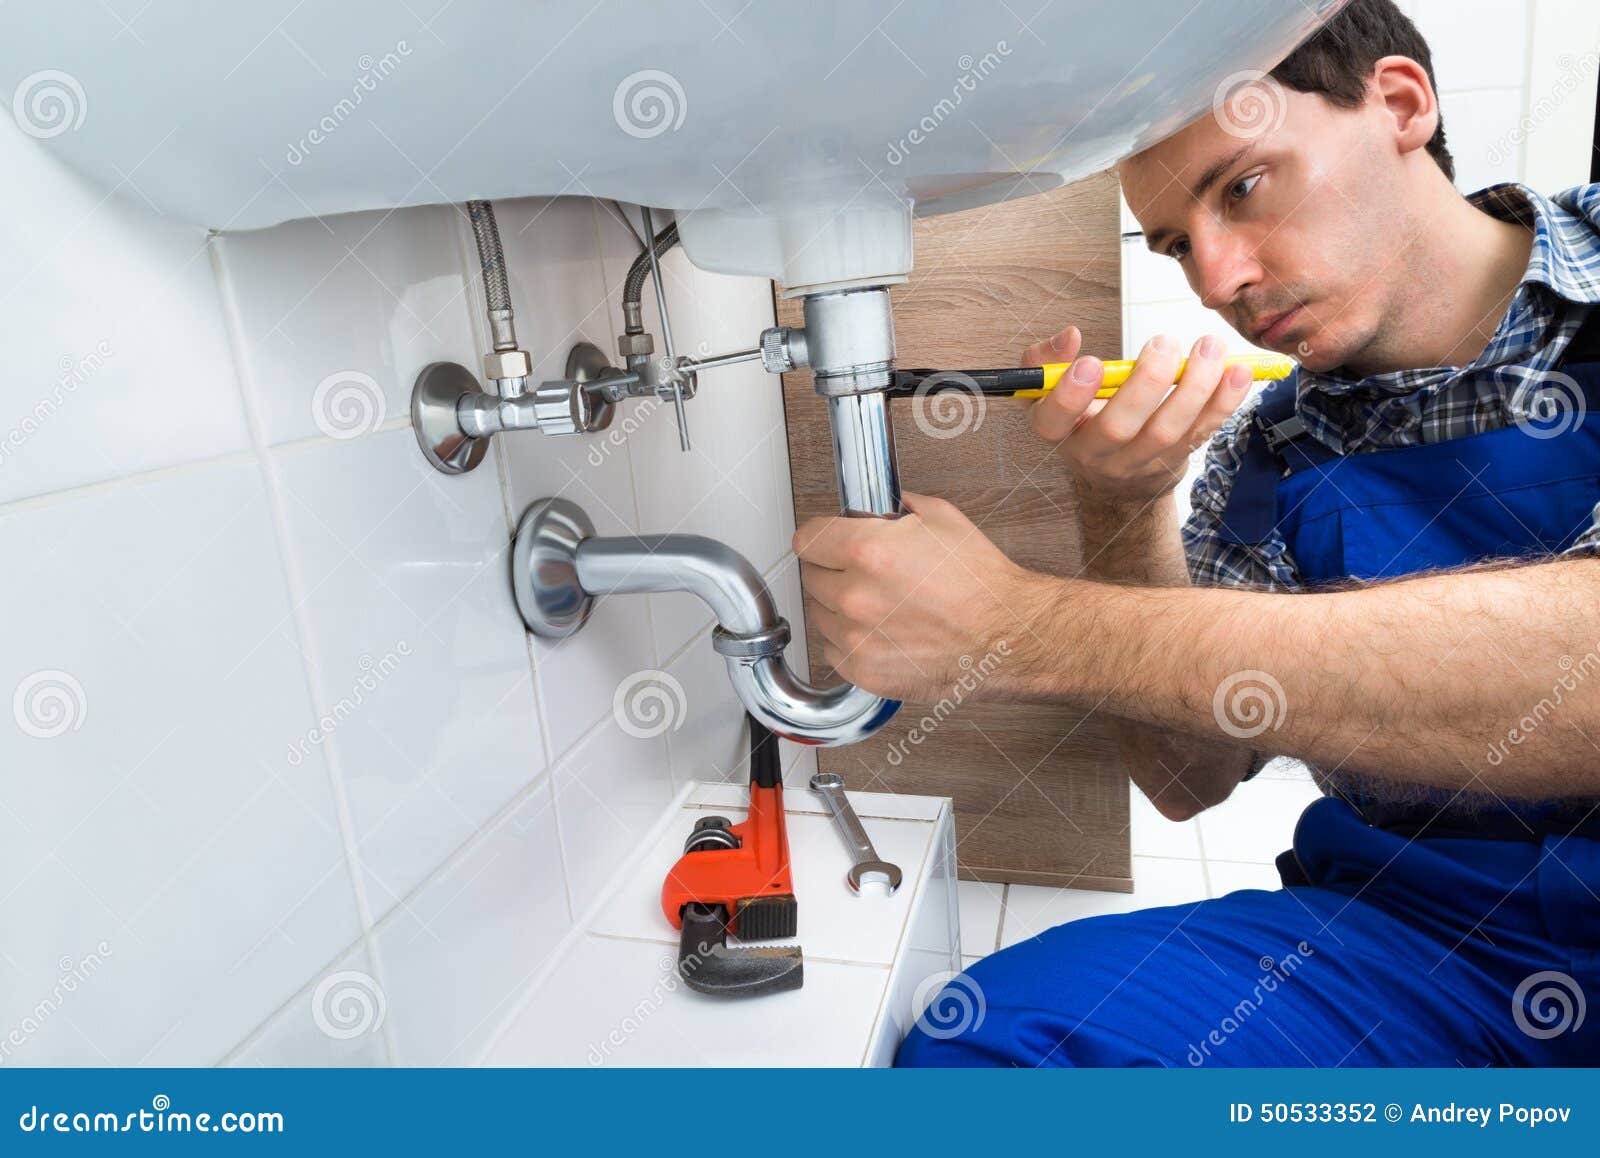
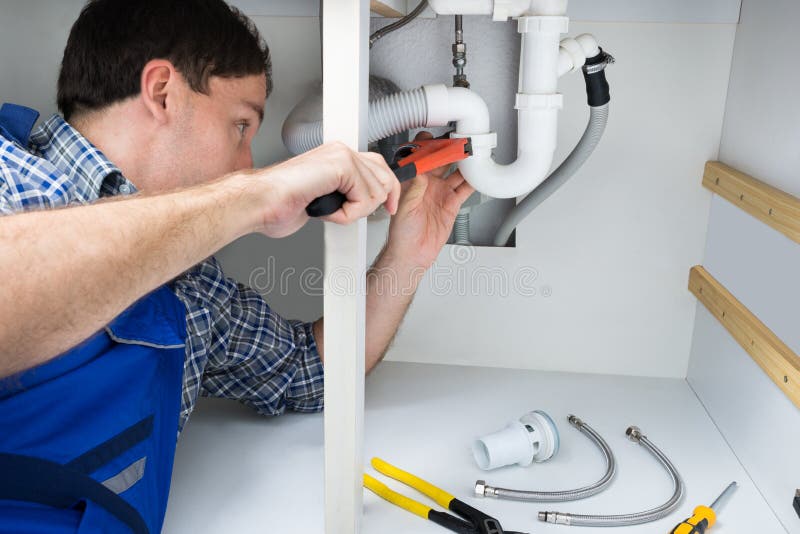
If your sink has become loose from the countertop, you can easily secure it with a drill and screws. First, remove the sink from the countertop and clean the area thoroughly. Then, drill new holes for the screws if needed and reattach the sink to the countertop with the screws. Make sure to also check and tighten any loose plumbing connections.
Preventing Future Damage
To prevent future damage to your bathroom sink, make sure to use it properly and avoid placing heavy objects on it. You can also apply a sealant to the sink to protect it from water damage and stains. Regularly check for any leaks or damage and address them promptly to avoid further issues.
Conclusion
A broken or cracked bathroom sink doesn't have to be a permanent problem. With the right tools and techniques, you can easily fix and restore your sink to its original condition. Remember to assess the damage, gather the necessary tools and materials, and take proper precautions to prevent future damage. With these steps, you can maintain a functional and beautiful bathroom for years to come.
If you have a broken or cracked bathroom sink, it can be a major inconvenience and an eyesore. Not only does it affect the functionality of your bathroom, but it can also decrease the overall aesthetic appeal of your space. However, fixing a broken or cracked bathroom sink doesn't have to be a daunting task. With the right tools and techniques, you can easily repair and restore your sink to its former glory.
Assess the Damage
Before you start any repairs, it's important to assess the damage to your bathroom sink. Is it a small crack or a larger break? Is the sink still securely attached to the countertop or has it become loose? These factors will determine the level of repair needed and the materials required. Make sure to also check for any leaks or damage to the plumbing underneath the sink.
Gather Your Tools and Materials
Once you have assessed the damage, gather all the necessary tools and materials for the repair. This may include epoxy or putty for filling cracks, a drill and screws for securing a loose sink, and sandpaper for smoothing out rough edges. Make sure to also have safety gear such as gloves and goggles to protect yourself during the repair process.
Fixing a Cracked Sink
For small cracks, you can use an epoxy or putty specifically designed for repairing sinks. Apply the product to the crack and smooth it out with a putty knife. Allow it to dry according to the product instructions. Once dry, sand down any rough edges and reapply the product if necessary. For larger cracks, it may be necessary to replace the sink altogether.
Securing a Loose Sink
If your sink has become loose from the countertop, you can easily secure it with a drill and screws. First, remove the sink from the countertop and clean the area thoroughly. Then, drill new holes for the screws if needed and reattach the sink to the countertop with the screws. Make sure to also check and tighten any loose plumbing connections.
Preventing Future Damage
To prevent future damage to your bathroom sink, make sure to use it properly and avoid placing heavy objects on it. You can also apply a sealant to the sink to protect it from water damage and stains. Regularly check for any leaks or damage and address them promptly to avoid further issues.
Conclusion
A broken or cracked bathroom sink doesn't have to be a permanent problem. With the right tools and techniques, you can easily fix and restore your sink to its original condition. Remember to assess the damage, gather the necessary tools and materials, and take proper precautions to prevent future damage. With these steps, you can maintain a functional and beautiful bathroom for years to come.