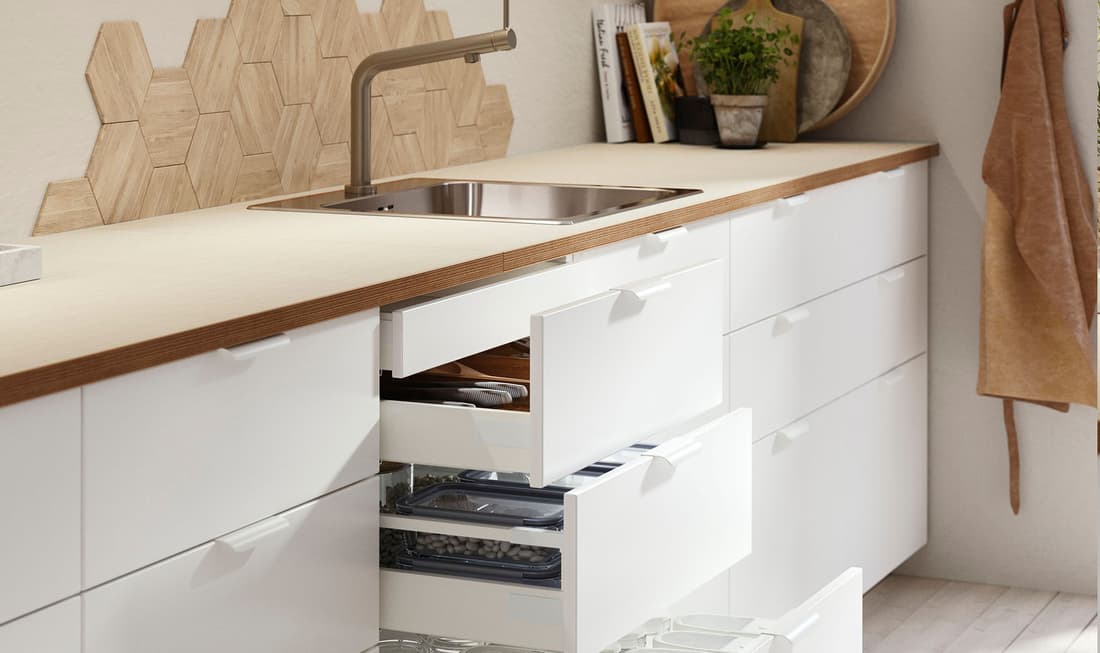
Are you ready to give your kitchen a fresh and modern look? Look no further than IKEA kitchen cabinets. Not only are they stylish and affordable, but they are also easy to install. Follow these 11 steps to learn how to install your very own IKEA kitchen cabinets and transform your space. How to Install IKEA Kitchen Cabinets


How to Install IKEA Kitchen Cabinets


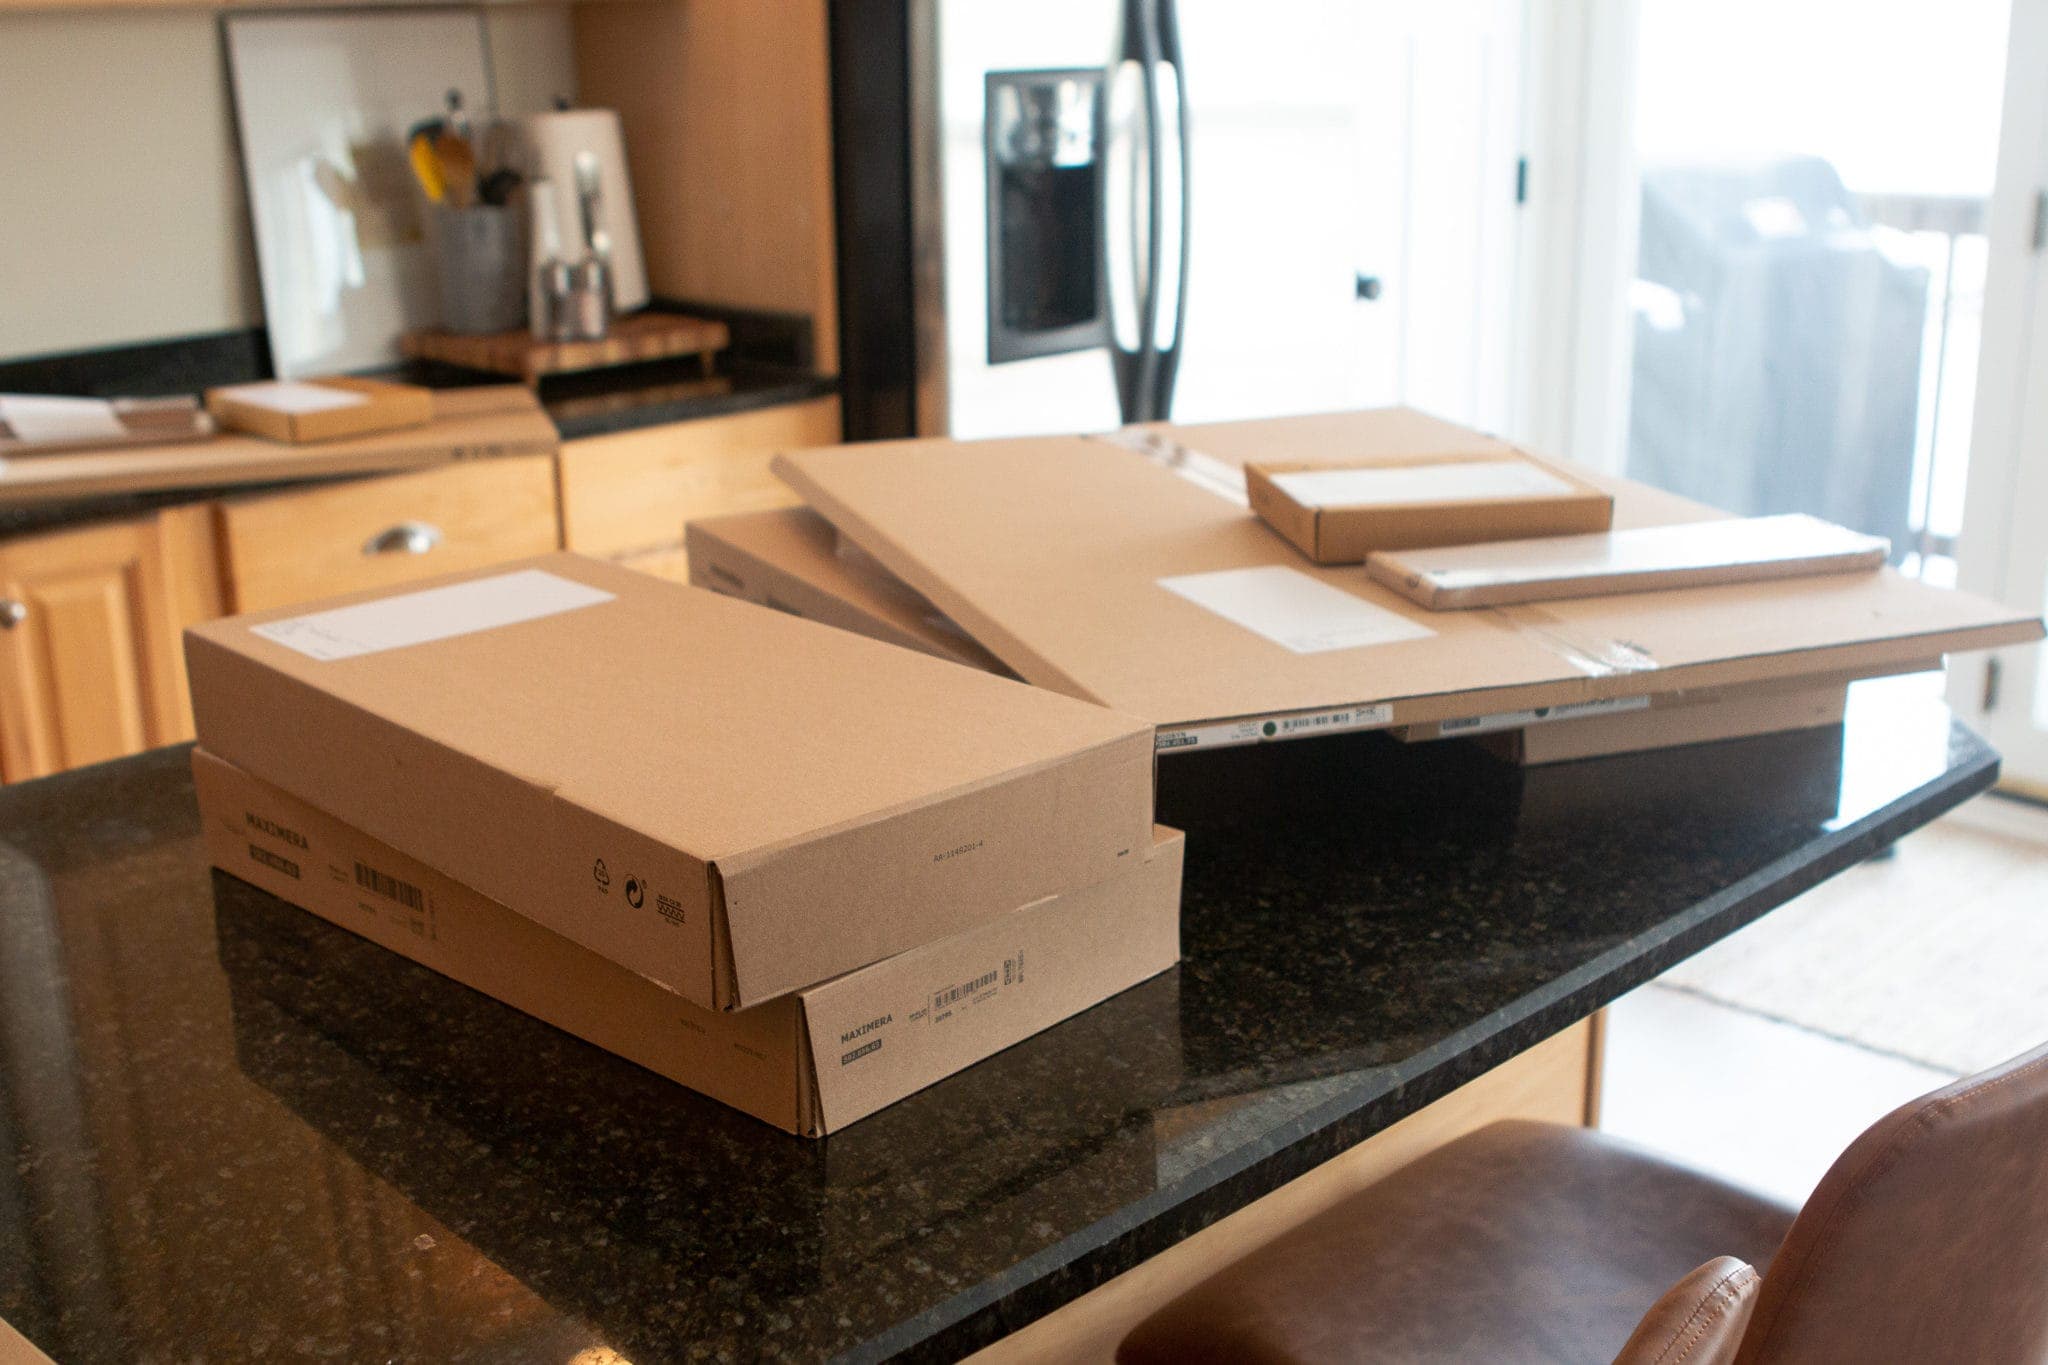


The first step to installing IKEA kitchen cabinets is to gather all your supplies. You will need your chosen IKEA cabinets, a drill, screws, a measuring tape, a level, and a pencil. It's also helpful to have a friend or family member to assist with the installation. Step 1: Gather Your Supplies


How to Install IKEA Kitchen Cabinets: 11 Steps (with Pictures)
Before you begin installing your cabinets, it's essential to measure the space carefully and create a plan. Use a measuring tape to determine the layout and dimensions of your kitchen. Then, use IKEA's kitchen planner tool to create a 3D model of your kitchen and design the layout of your cabinets. Step 2: Measure and Plan


How to Install IKEA Cabinets


Next, it's time to remove any old cabinets or fixtures from your kitchen. Make sure to turn off the power and water supply before disconnecting any appliances or fixtures. Use a screwdriver to remove the old cabinets from the walls carefully. Step 3: Remove Old Cabinets


How to Install IKEA Cabinets - YouTube


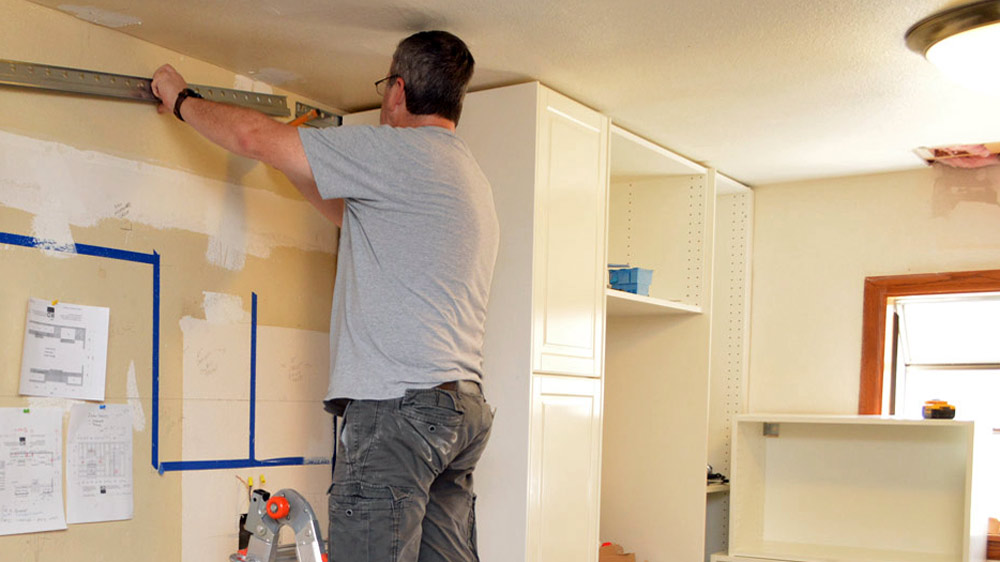
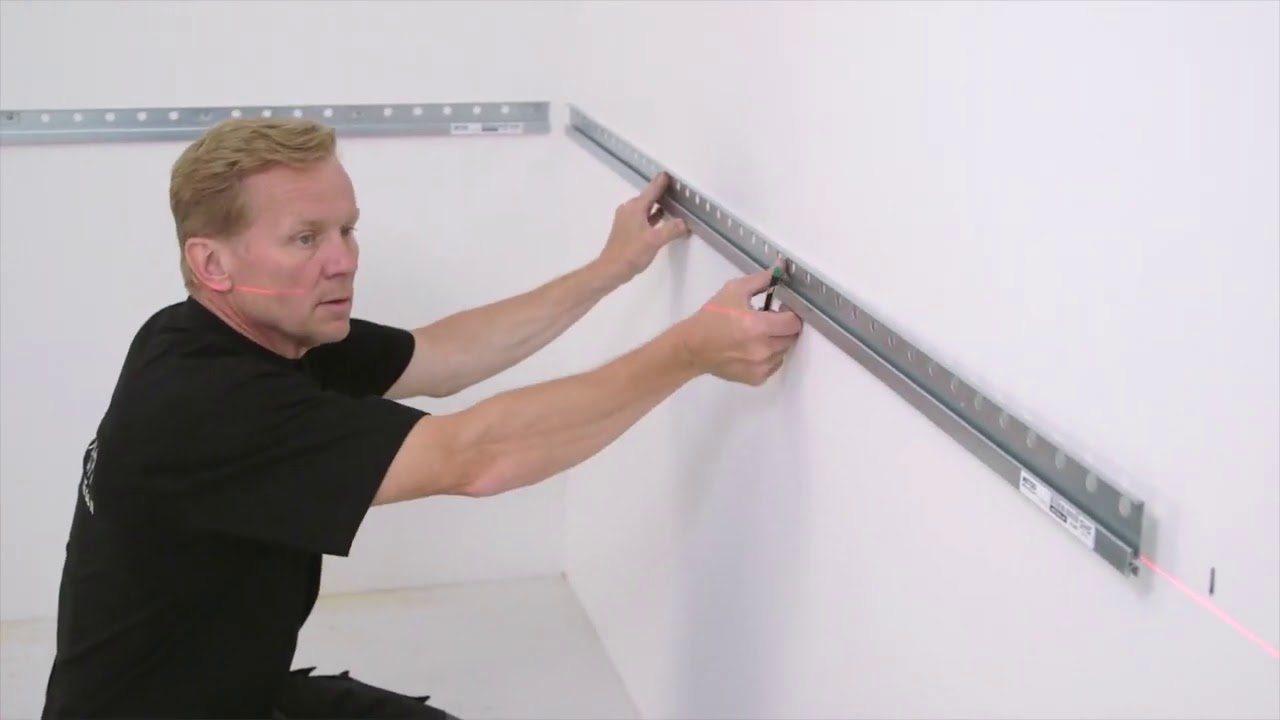
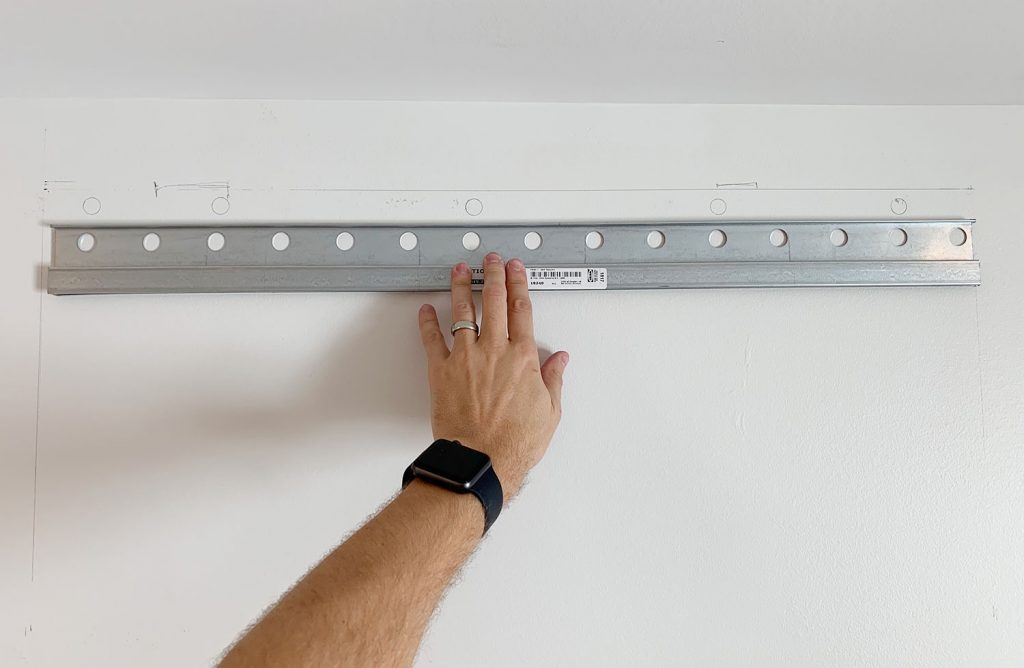
One of the unique features of IKEA kitchen cabinets is the suspension rail system. This allows you to hang the cabinets on the wall without using any visible screws. Measure and mark the placement of the suspension rail on the wall and use a level to ensure it is straight. Then, use a drill to attach the rail to the wall studs. Step 4: Install Suspension Rail


How to Install IKEA Cabinets - The DIY Playbook


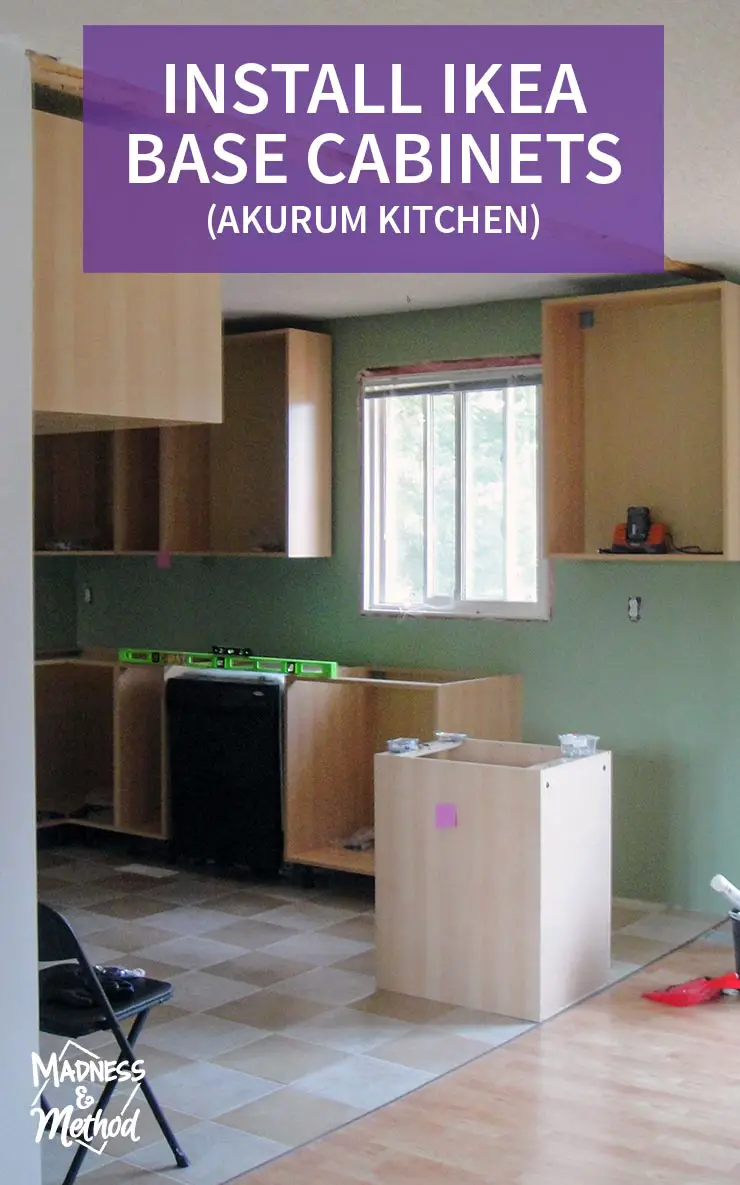
While the suspension rail is drying, start assembling your cabinets. Each IKEA cabinet comes with easy-to-follow instructions for assembly. Make sure to follow them carefully to ensure your cabinets are sturdy and secure. Step 5: Assemble Cabinets


How to Install IKEA Cabinets - The DIY Playbook

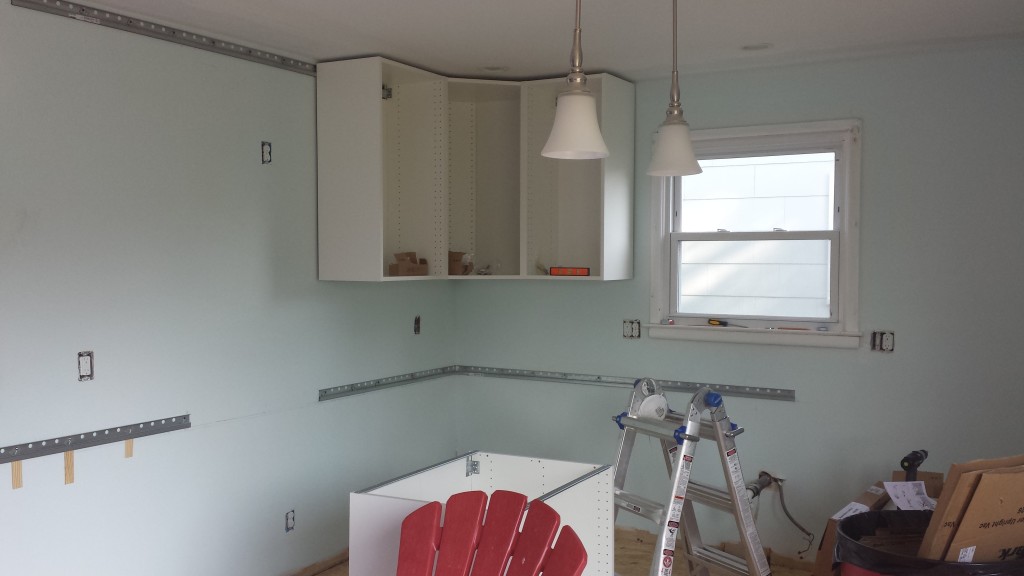
With the assistance of your friend or family member, hang the upper cabinets on the suspension rail. Use a level to ensure they are straight, and then use screws to secure them to the wall. Repeat this process for each upper cabinet. Step 6: Hang Upper Cabinets
How to Install IKEA Cabinets - The DIY Playbook
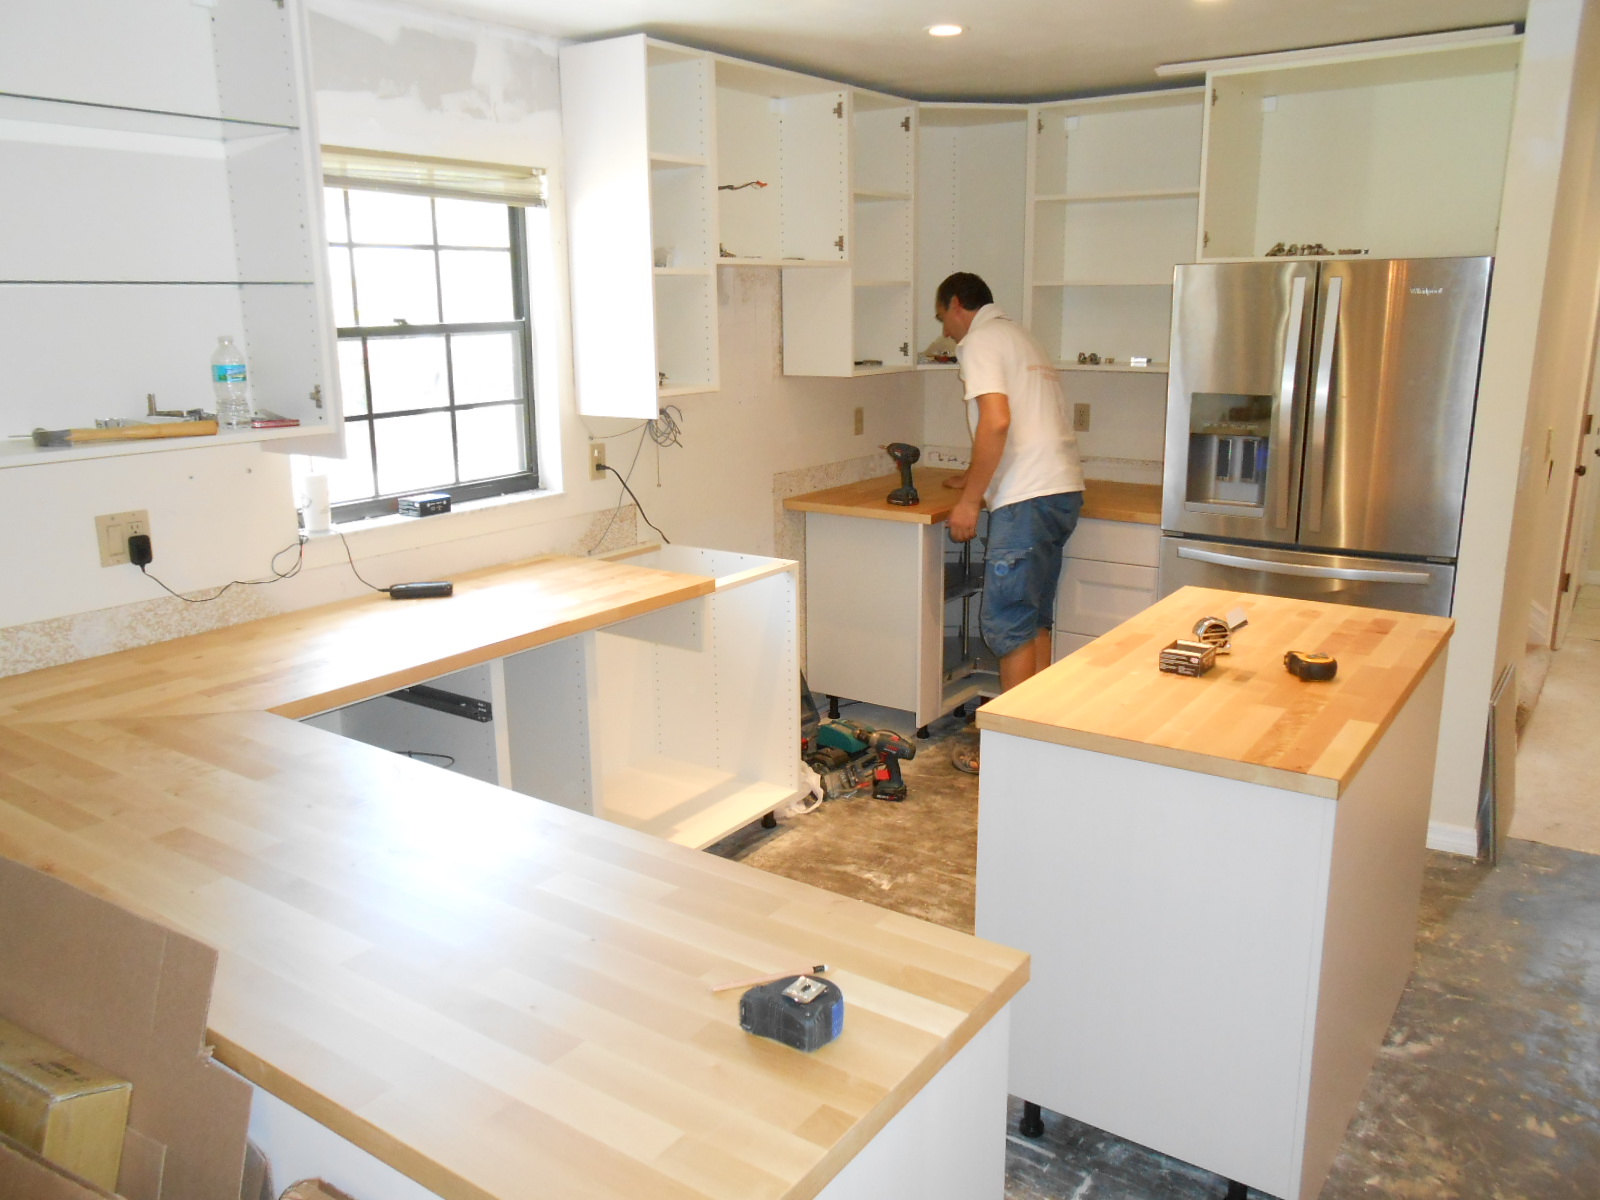
Next, it's time to install the lower cabinets. Use a measuring tape and level to ensure they are evenly spaced and aligned. Use screws to secure them to the wall and to each other. Step 7: Install Lower Cabinets
How to Install IKEA Cabinets - The DIY Playbook
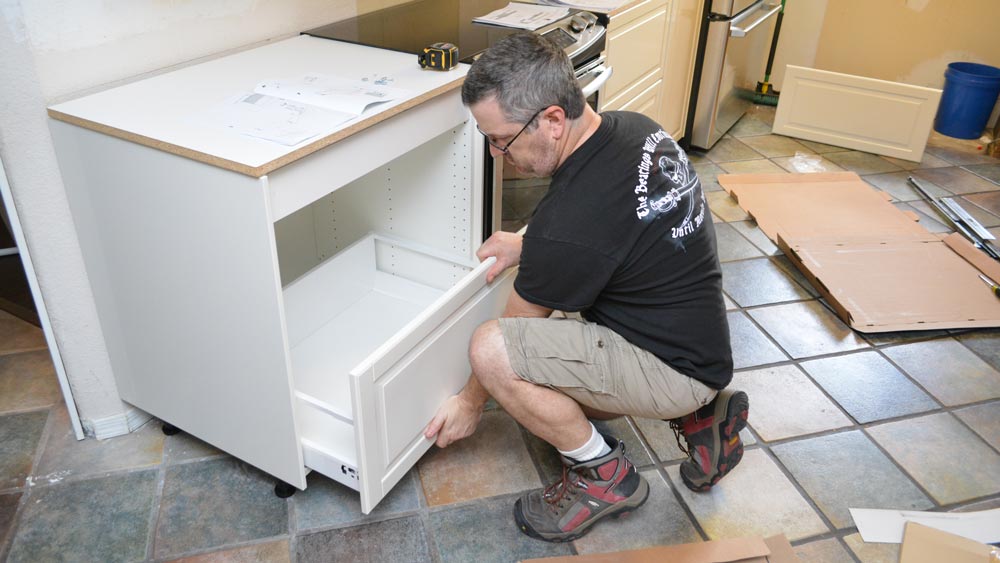
Once all the cabinets are installed, it's time to add the doors and drawers. Follow the instructions carefully to ensure they are properly installed and aligned. Step 8: Add Doors and Drawers


How to Install IKEA Cabinets - The DIY Playbook
With the cabinets in place, it's time to install the countertop. This can be done using IKEA's pre-made countertop options or by customizing your own. Use a saw to cut the countertop to fit your space and secure it to the cabinets using screws. Step 9: Install Countertop


How to Install IKEA Cabinets - The DIY Playbook

Fitting IKEA Kitchen Wall Cabinet: A Step-by-Step Guide for a Functional and Stylish Kitchen
Introduction
 When it comes to kitchen design, one of the key elements that can make or break the overall look and functionality is the cabinets. And if you're a fan of modern, affordable and customizable furniture, then
IKEA
is the go-to brand for your kitchen cabinet needs. In this article, we will focus on
fitting IKEA kitchen wall cabinets
and provide you with a step-by-step guide to achieve a functional and stylish kitchen.
When it comes to kitchen design, one of the key elements that can make or break the overall look and functionality is the cabinets. And if you're a fan of modern, affordable and customizable furniture, then
IKEA
is the go-to brand for your kitchen cabinet needs. In this article, we will focus on
fitting IKEA kitchen wall cabinets
and provide you with a step-by-step guide to achieve a functional and stylish kitchen.
Step 1: Plan and Measure
 Before beginning the installation process, it is crucial to have a clear plan and accurate measurements. Take note of the dimensions of your kitchen and the space you have available for the wall cabinets. This will help you determine the size and layout of the cabinets you will need. It is also important to consider the placement of other kitchen elements such as appliances, countertops, and backsplash to ensure that the cabinets will not obstruct them.
Step 2: Gather Tools and Materials
 To successfully install IKEA kitchen wall cabinets, you will need the following tools and materials: a measuring tape, a level, a drill, a screwdriver, a pencil, a stud finder, and the cabinet installation kit provided by IKEA. Make sure to have all these items ready before starting the installation process.
Step 3: Install the Suspension Rail
 The suspension rail is a crucial part of fitting IKEA kitchen wall cabinets as it provides support and stability. Use a stud finder to locate the studs in the wall and mark them with a pencil. Then, using the provided screws, attach the suspension rail to the wall. Make sure it is level and securely attached to the studs.
Step 4: Assemble the Cabinets
 Next, it's time to assemble the cabinets. Carefully follow the instructions provided by IKEA to ensure that the cabinets are put together correctly. Once assembled, place the cabinets on the suspension rail and attach them to the wall using the provided screws.
Step 5: Adjust and Secure the Cabinets
 After attaching the cabinets, use the adjustable legs to make sure they are level and secure. This step is crucial to avoid any future problems with the cabinets. Then, using the included cabinet installation kit, secure the cabinets to each other and to the wall.
Step 6: Install Doors and Hardware
 Lastly, install the cabinet doors and hardware according to the instructions provided by IKEA. This is where you can add your personal touch and choose the style and color of doors and hardware that best suits your kitchen design.
In Conclusion
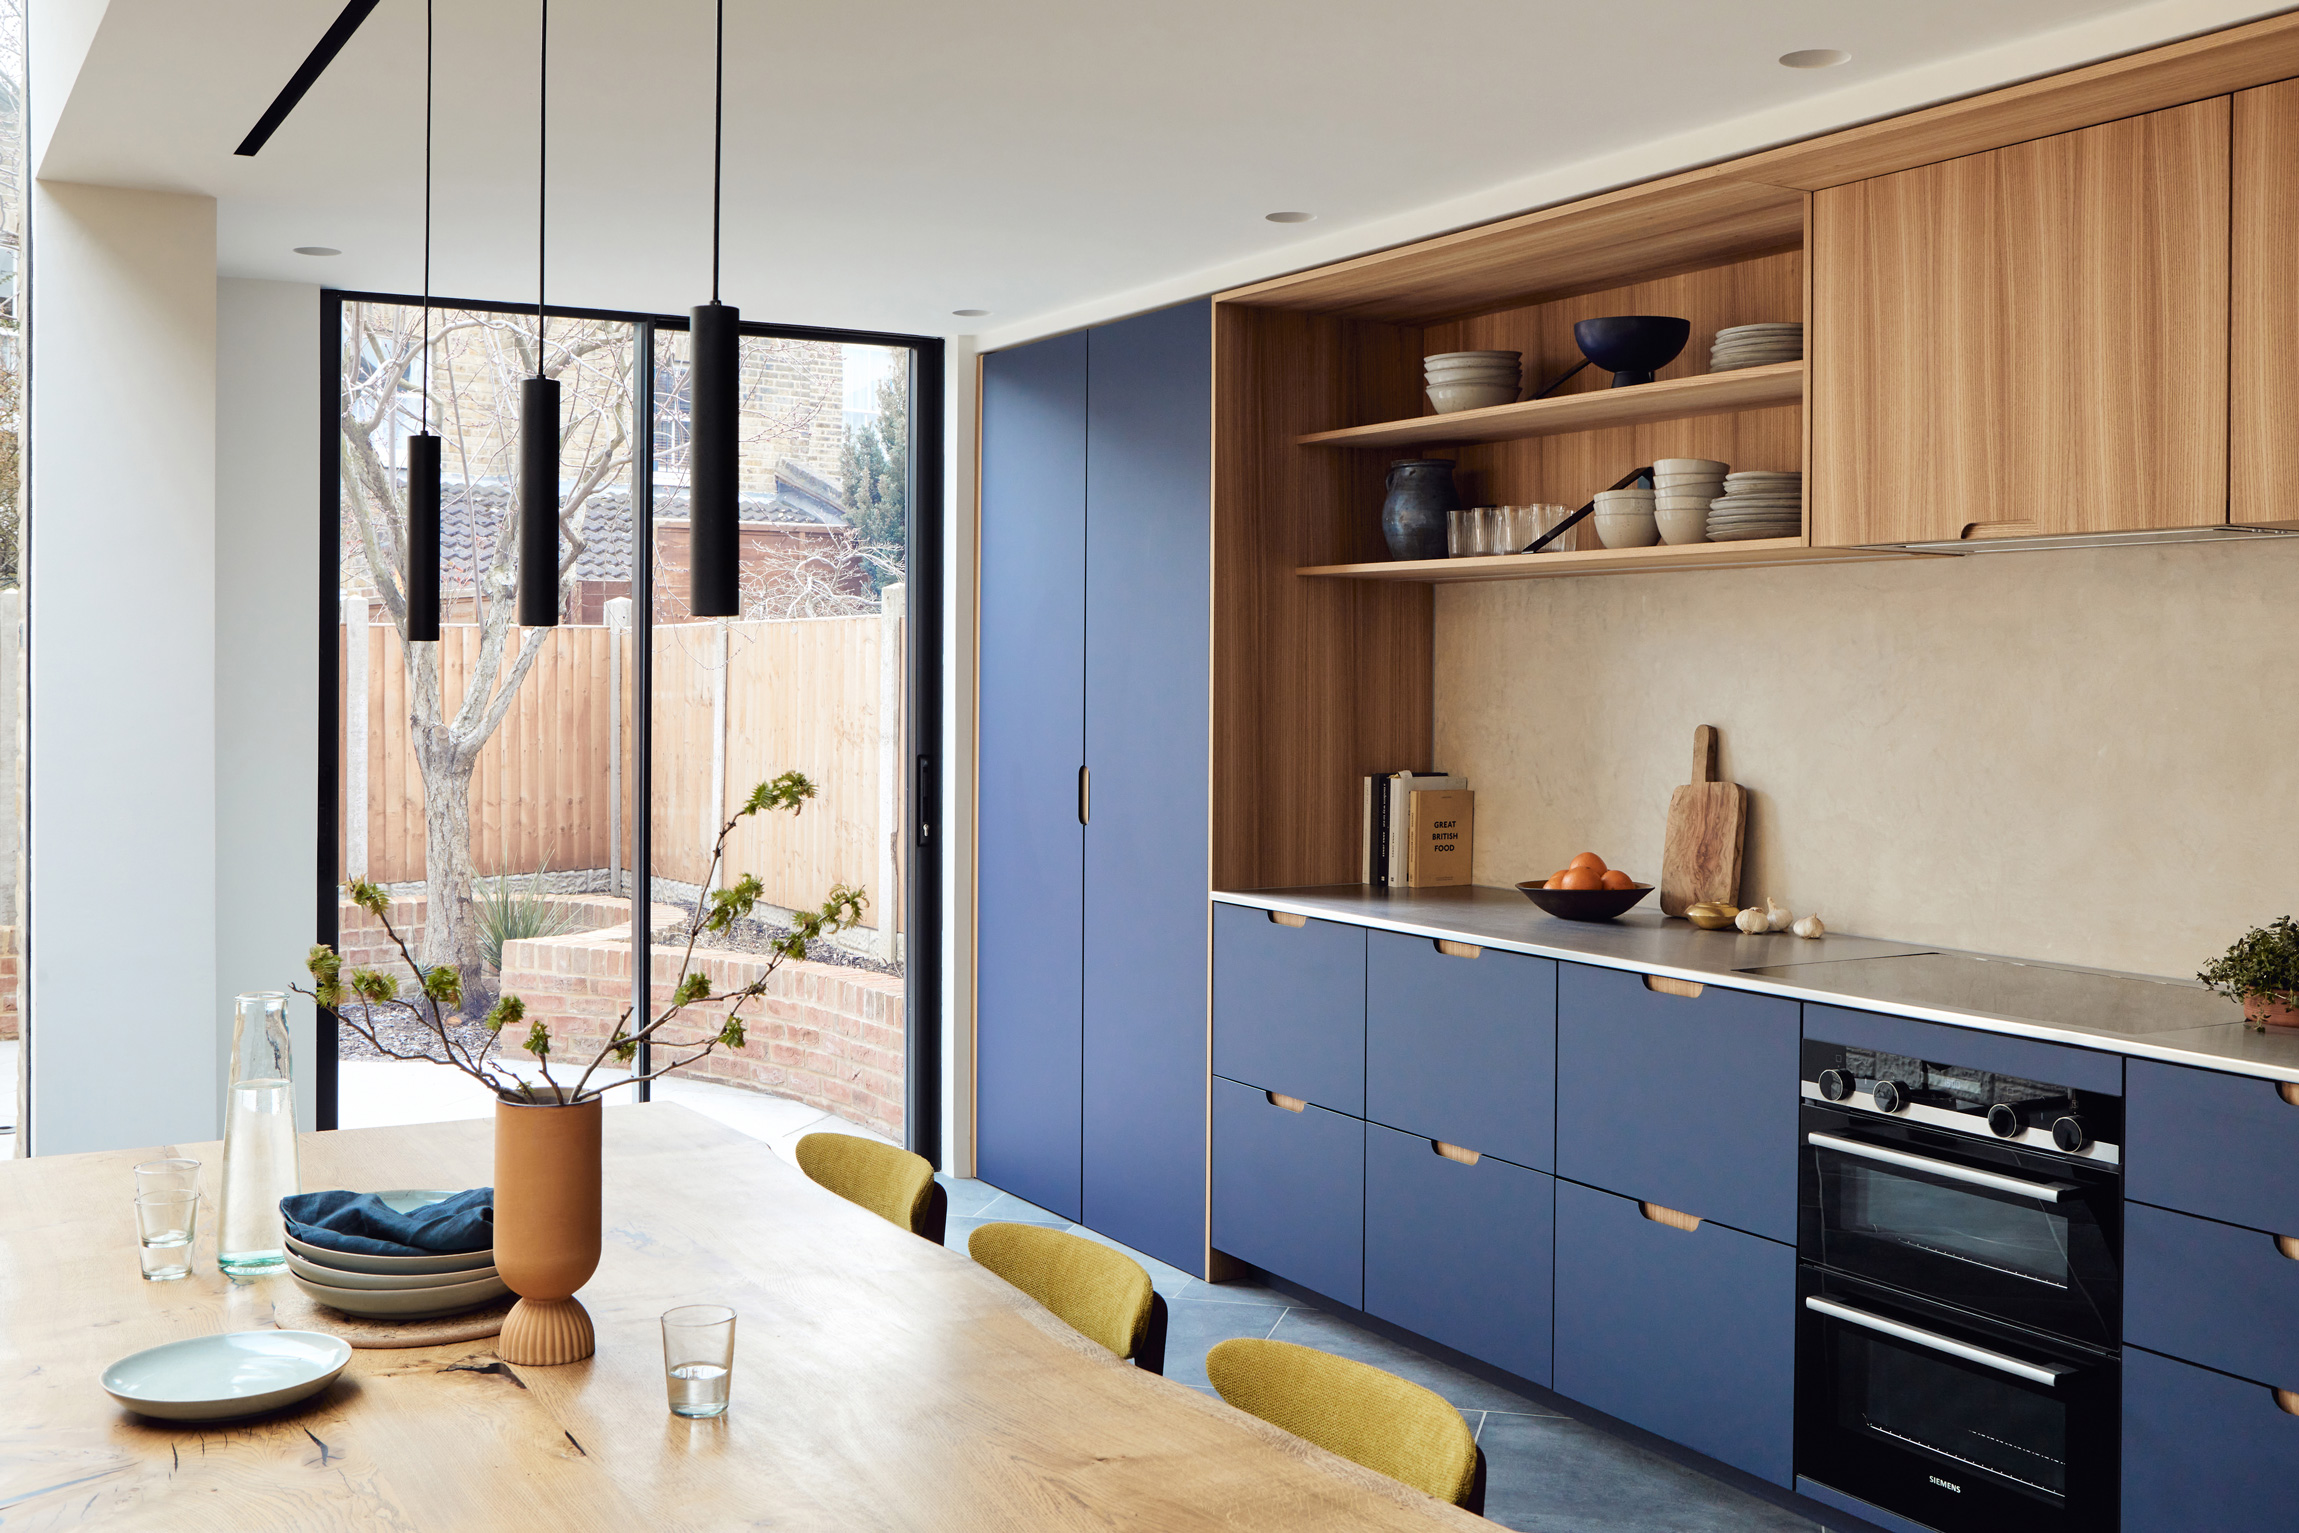
 Fitting IKEA kitchen wall cabinets may seem like a daunting task, but by following these simple steps, you can achieve a functional and stylish kitchen that reflects your personal style. Remember to plan and measure carefully, gather all necessary tools and materials, and follow the instructions provided by IKEA for a successful installation. With IKEA's affordable and customizable options, you can create the kitchen of your dreams without breaking the bank. So go ahead and give your kitchen a makeover with IKEA kitchen wall cabinets.