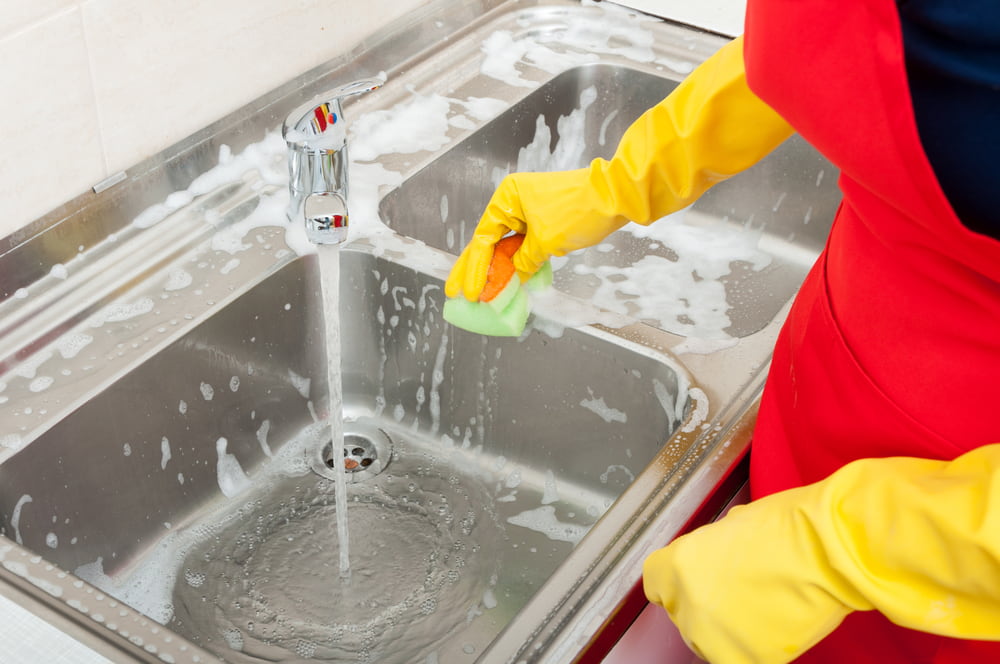
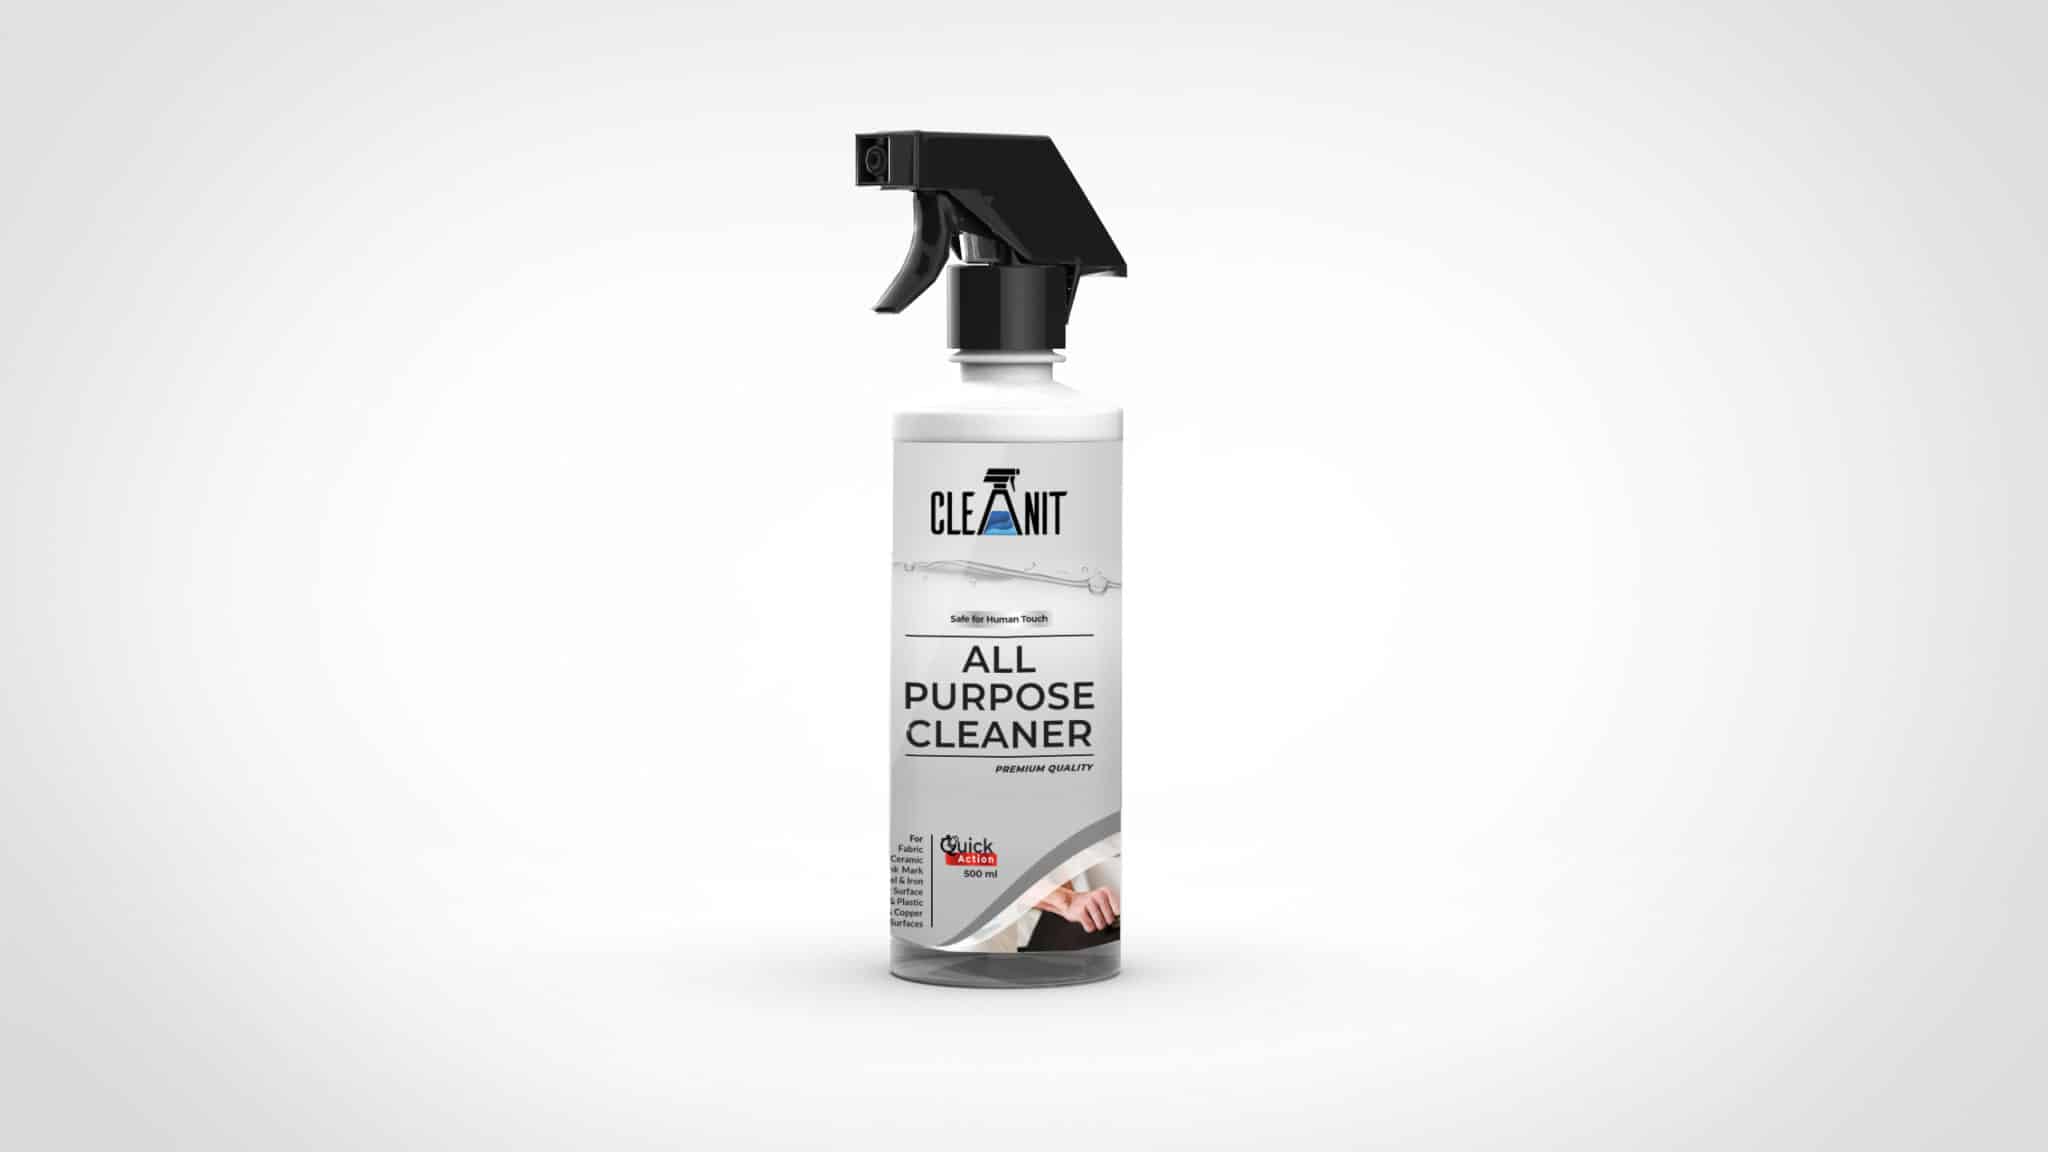
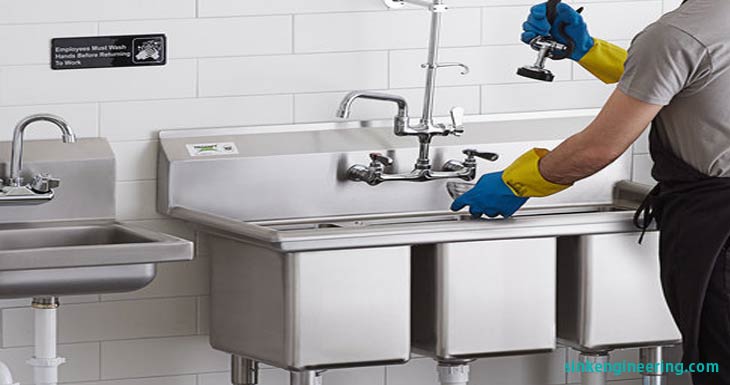
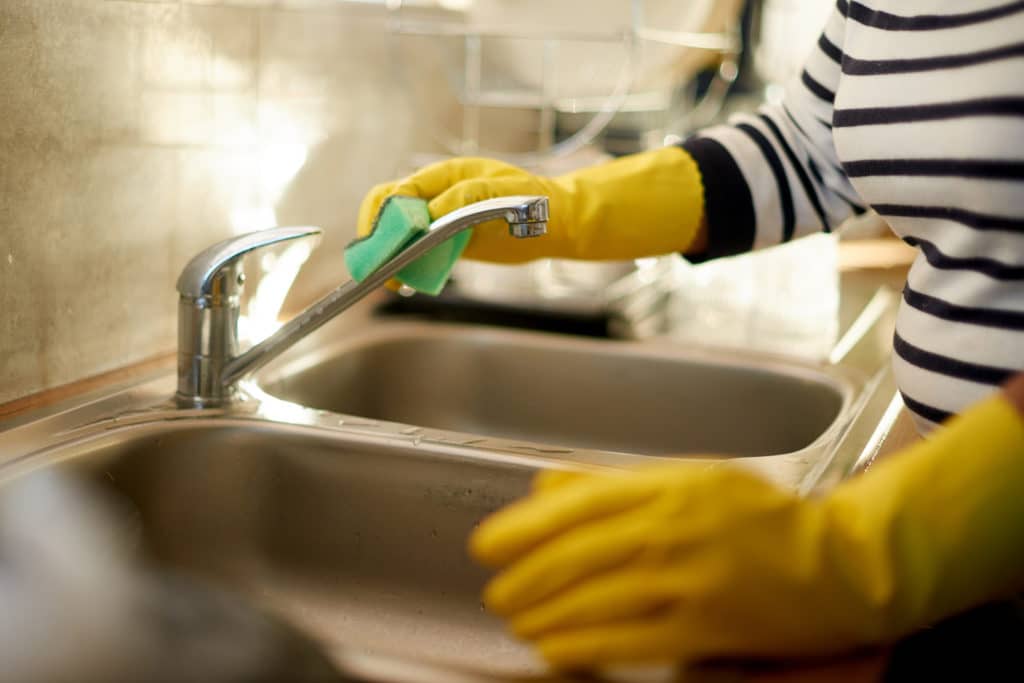
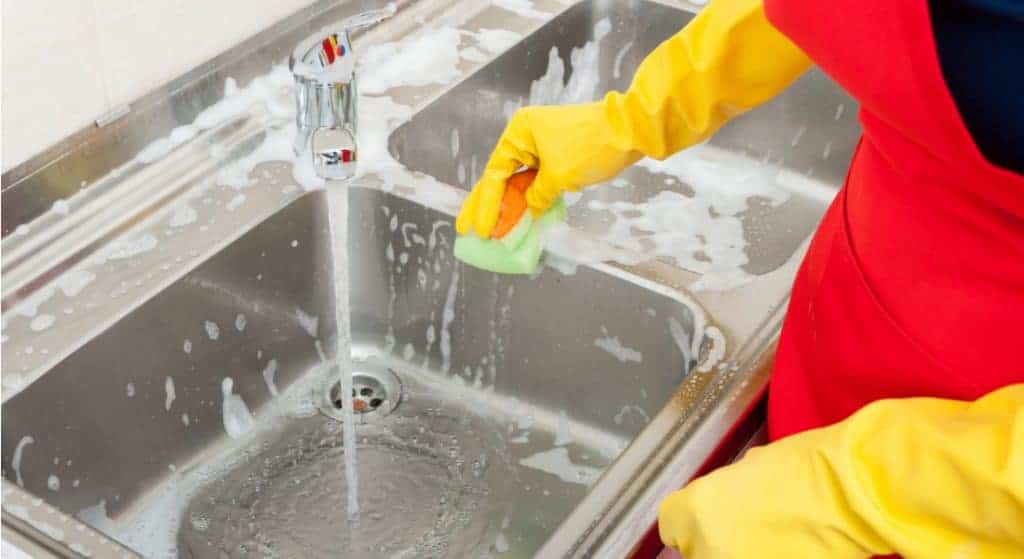
If you're getting ready to caulk your kitchen sink, the first step is to ensure that it's clean and free of any dirt or grime. Start by using an all-purpose cleaner to wipe down the entire sink, including the edges and corners. This will help to remove any surface dirt and make the caulk adhere better.1. Wipe down sink with all-purpose cleaner


1. Wipe down sink with all-purpose cleaner
/Tablewipe-GettyImages-468525932-3ada1758b9b44c10a4784f05d828d348.jpg)


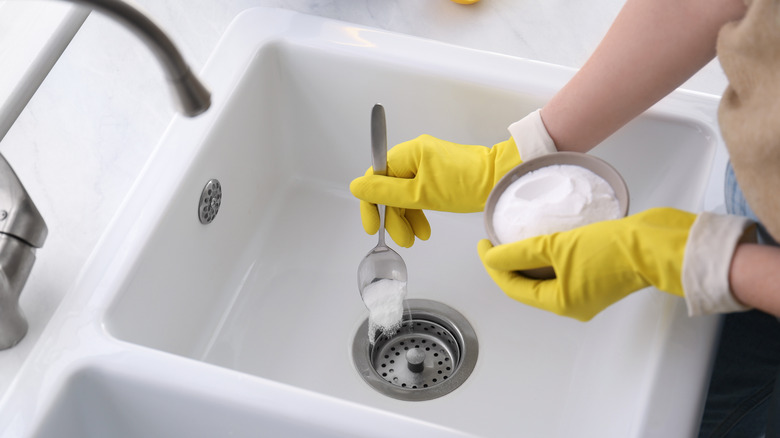
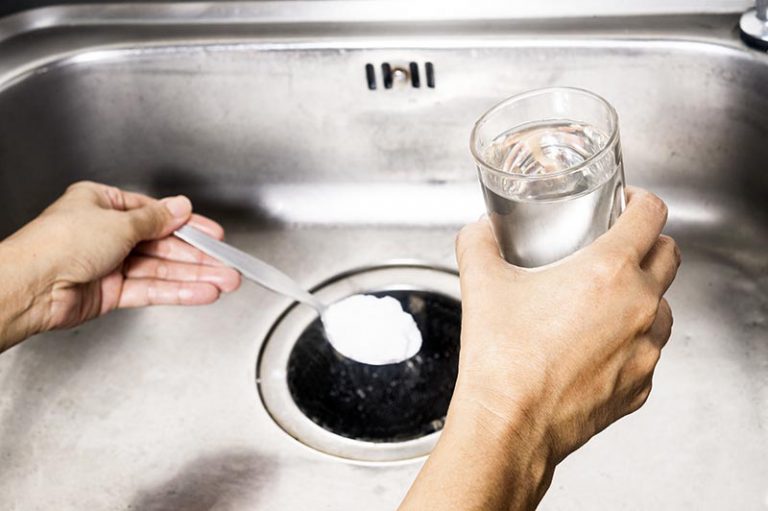
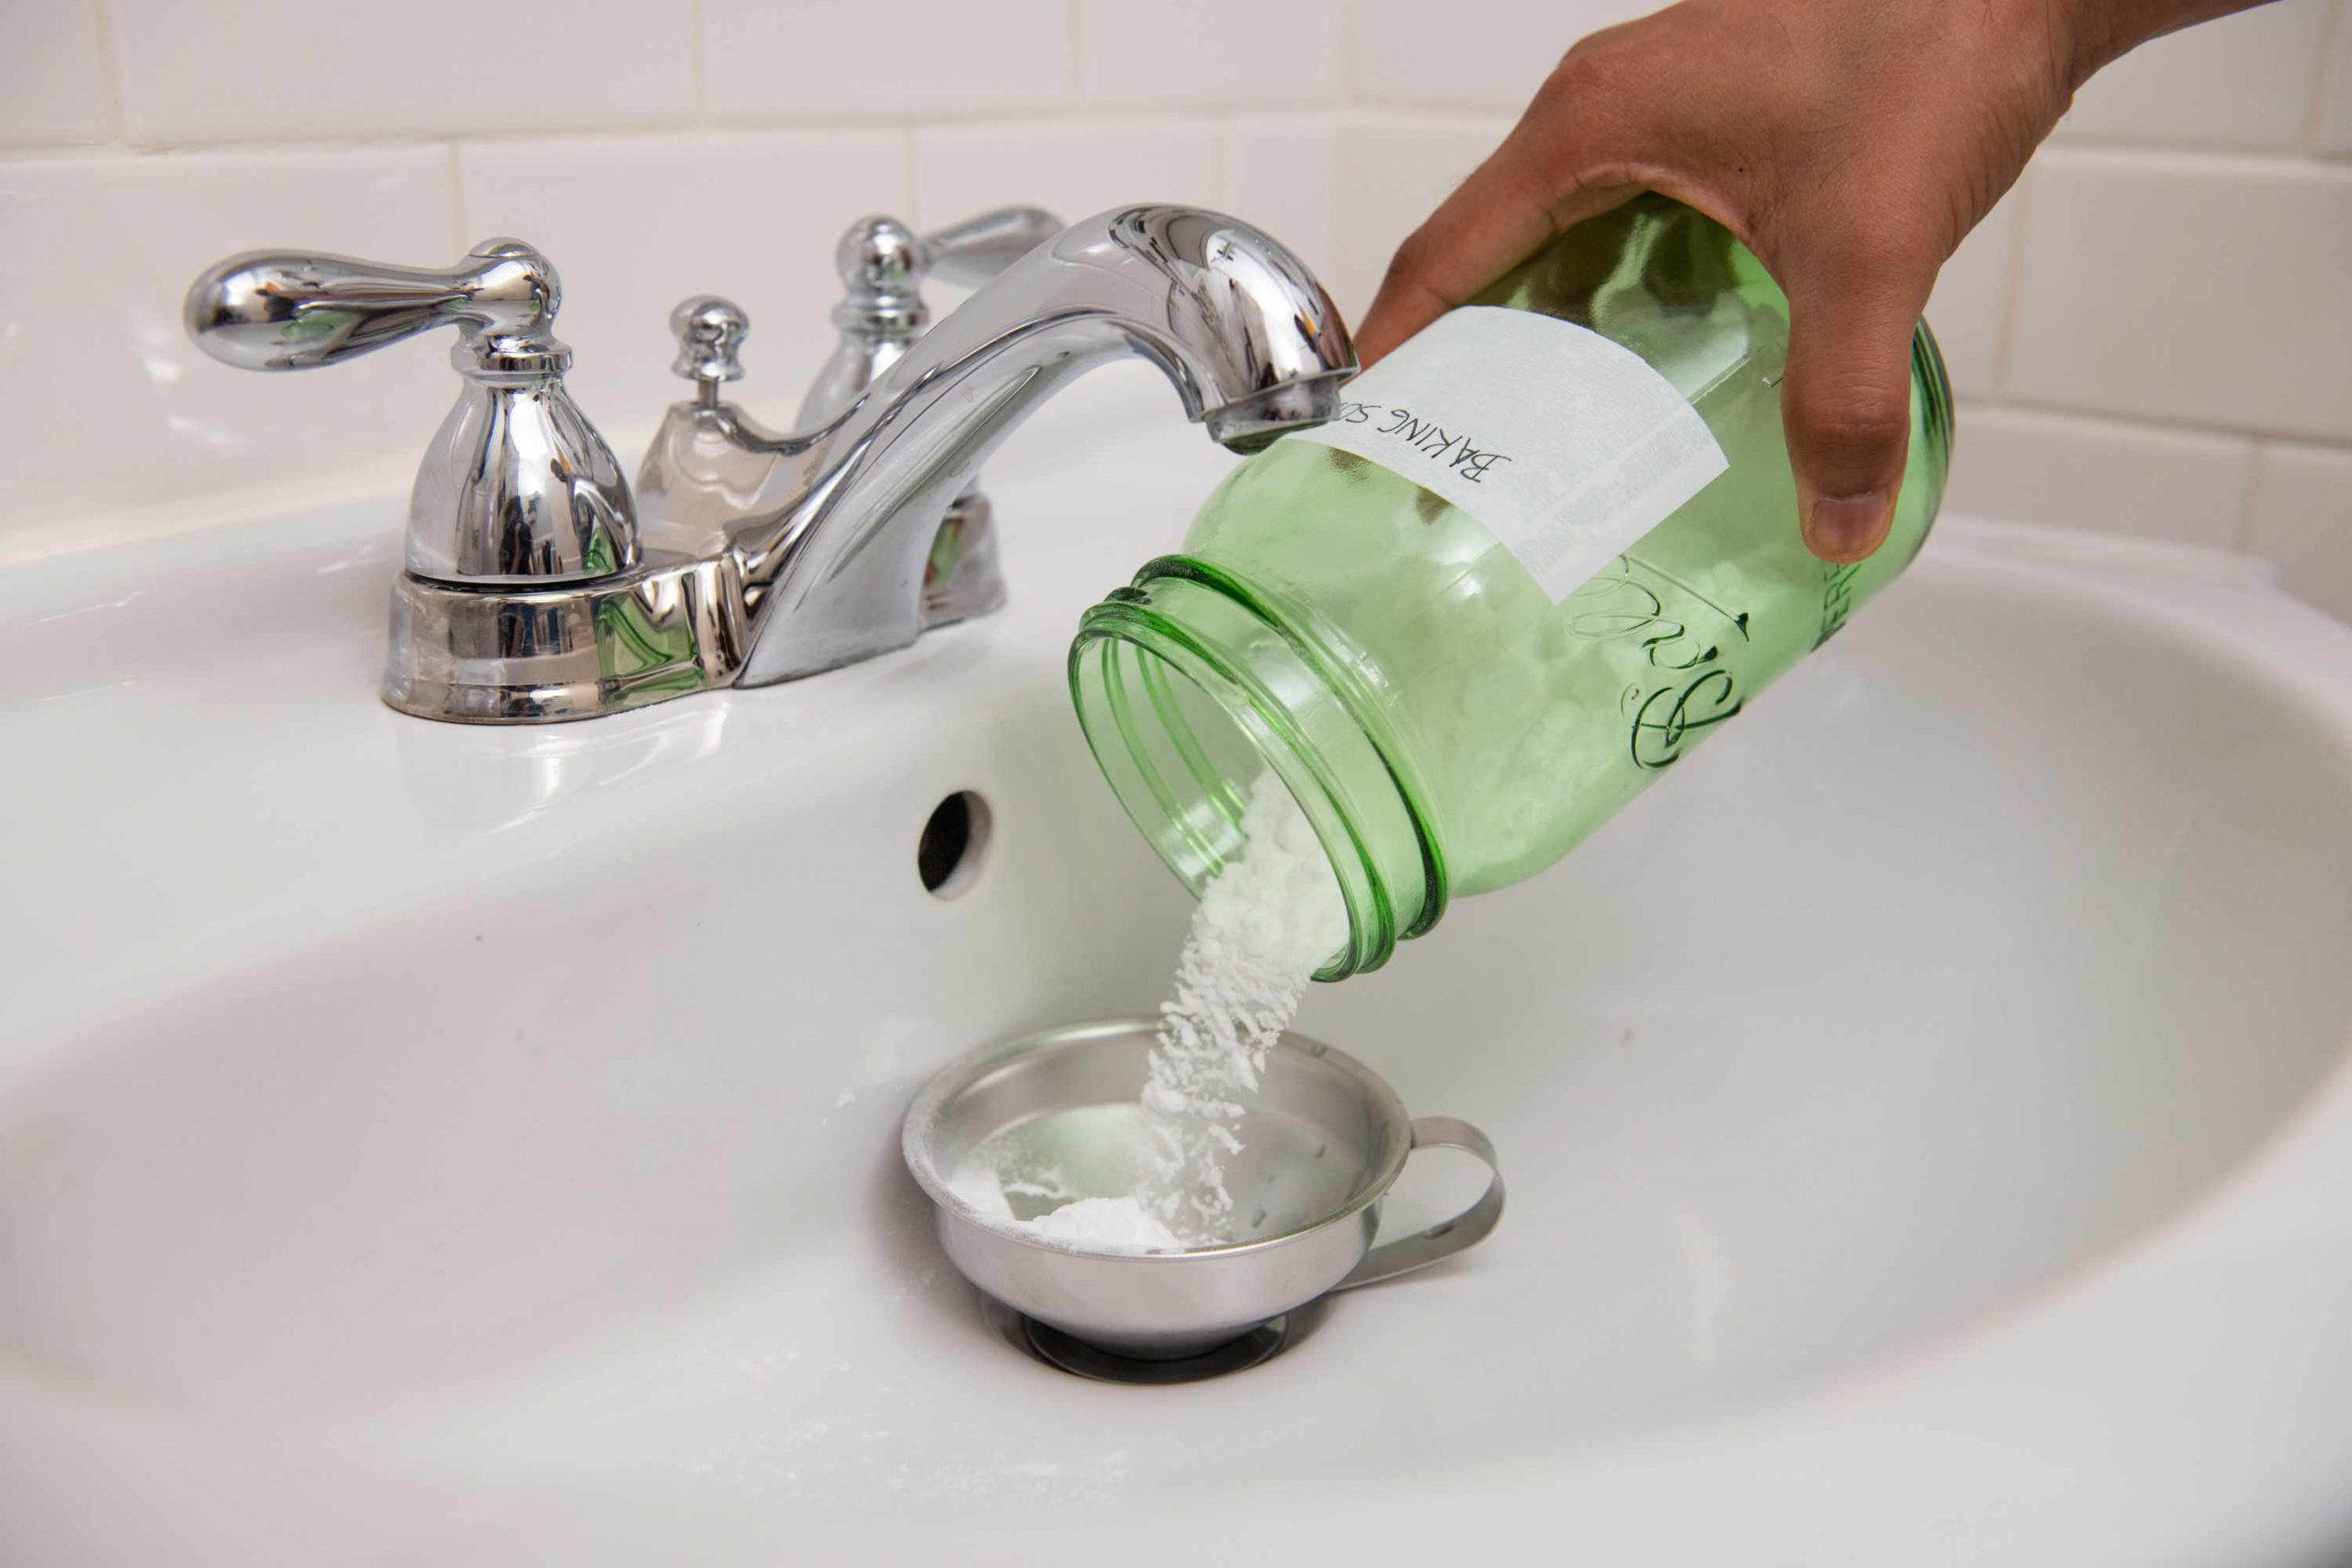
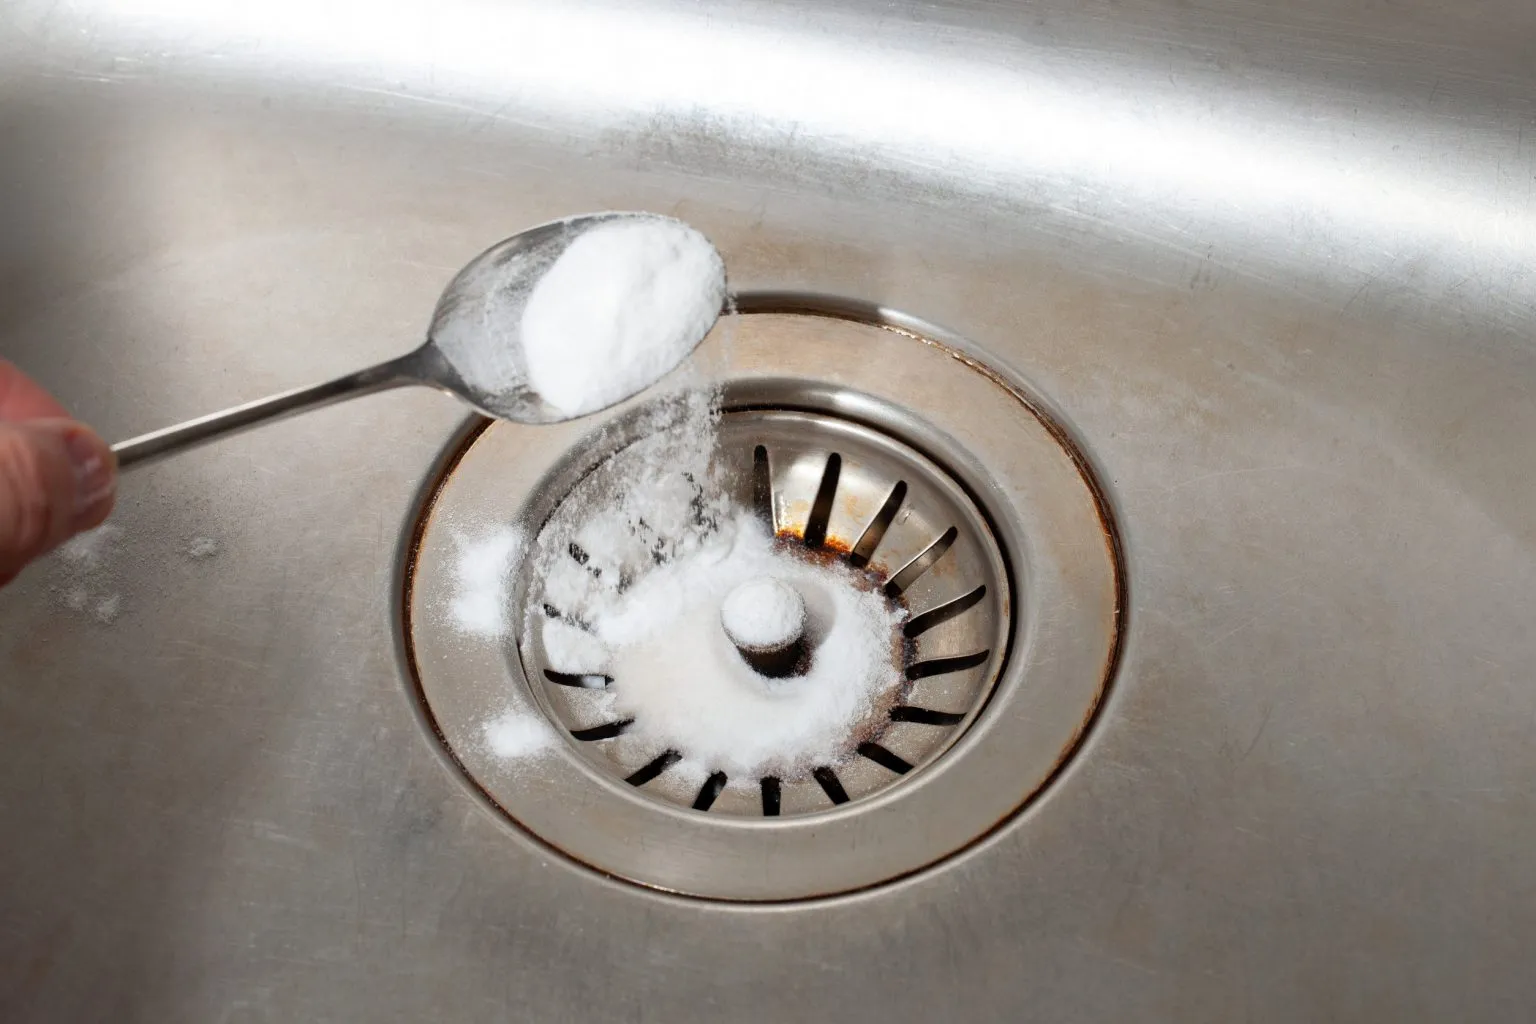
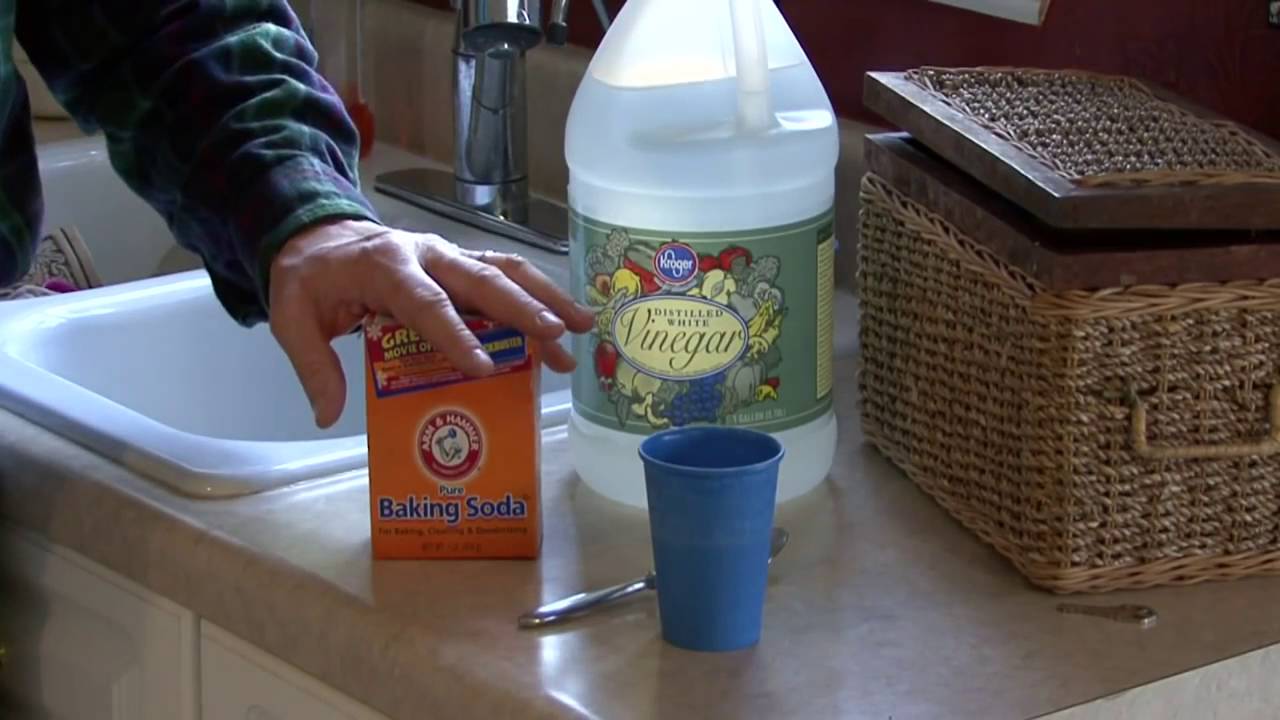
For a more thorough clean, mix equal parts baking soda and vinegar to create a paste. Use a sponge or cloth to scrub the sink with this mixture, paying extra attention to any stubborn stains or buildup. The baking soda will help to break down grease and grime while the vinegar disinfects and deodorizes.2. Scrub sink with baking soda and vinegar
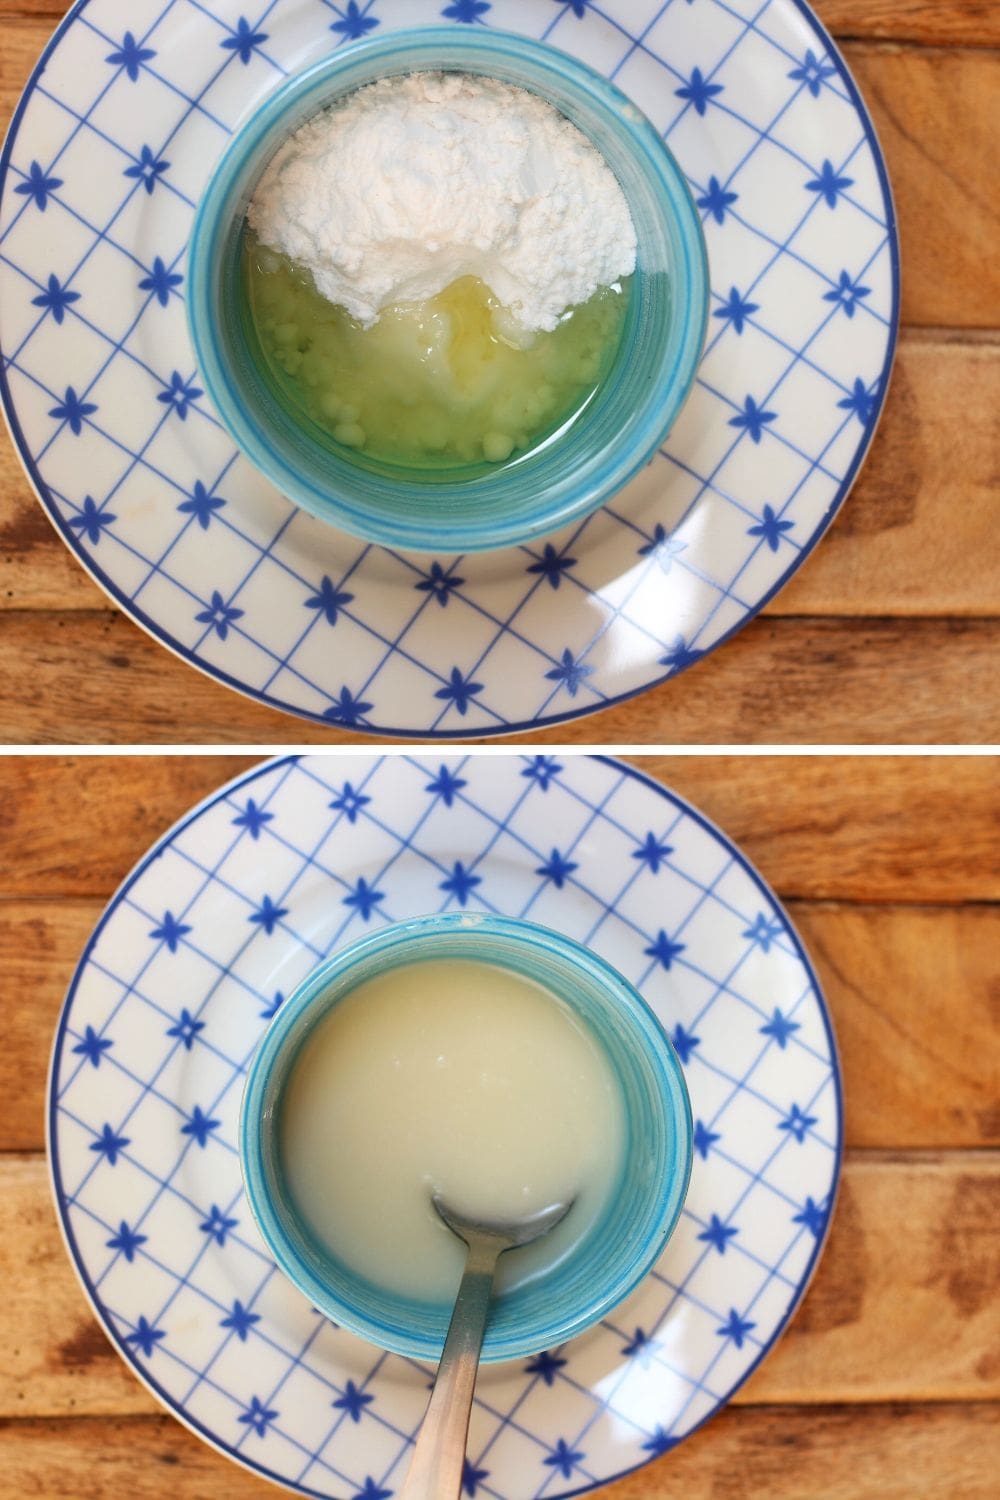


2. Scrub sink with baking soda and vinegar


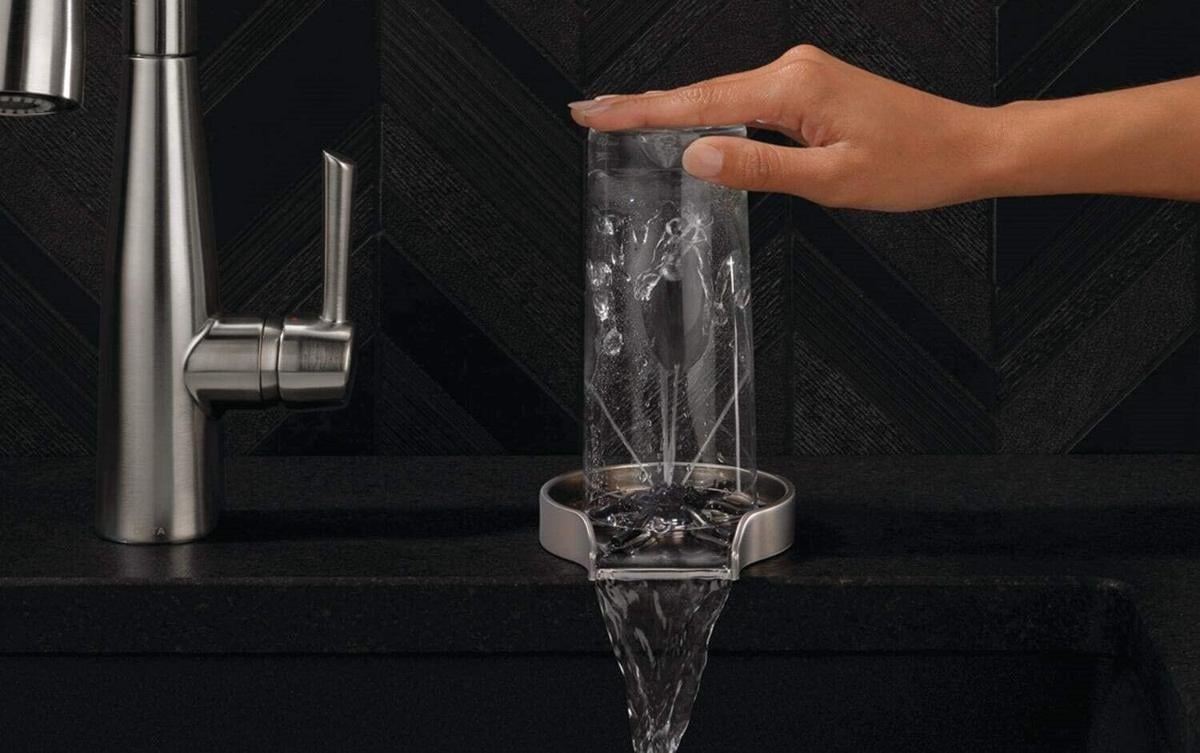
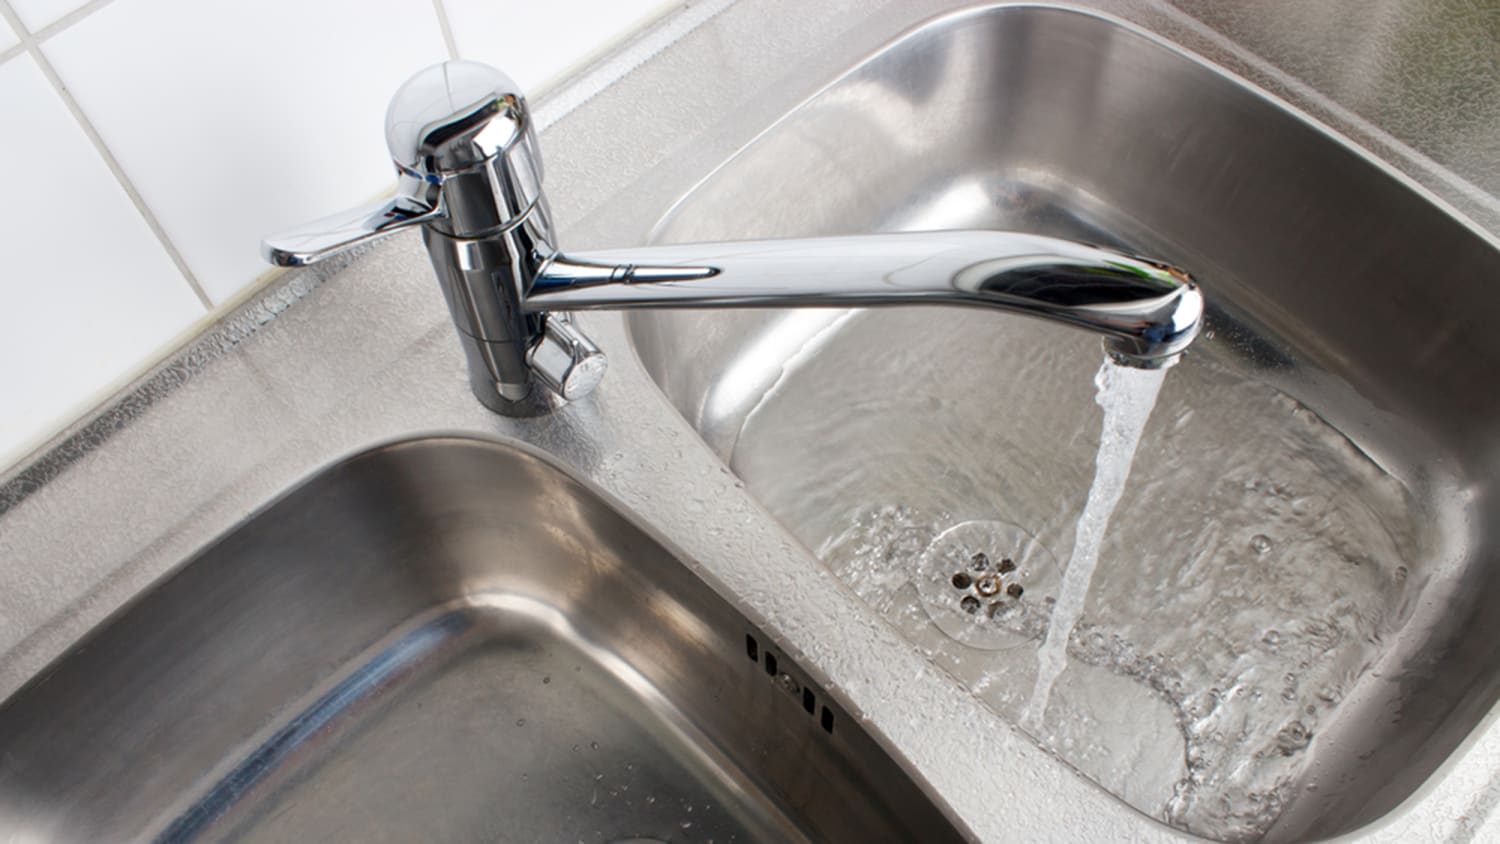
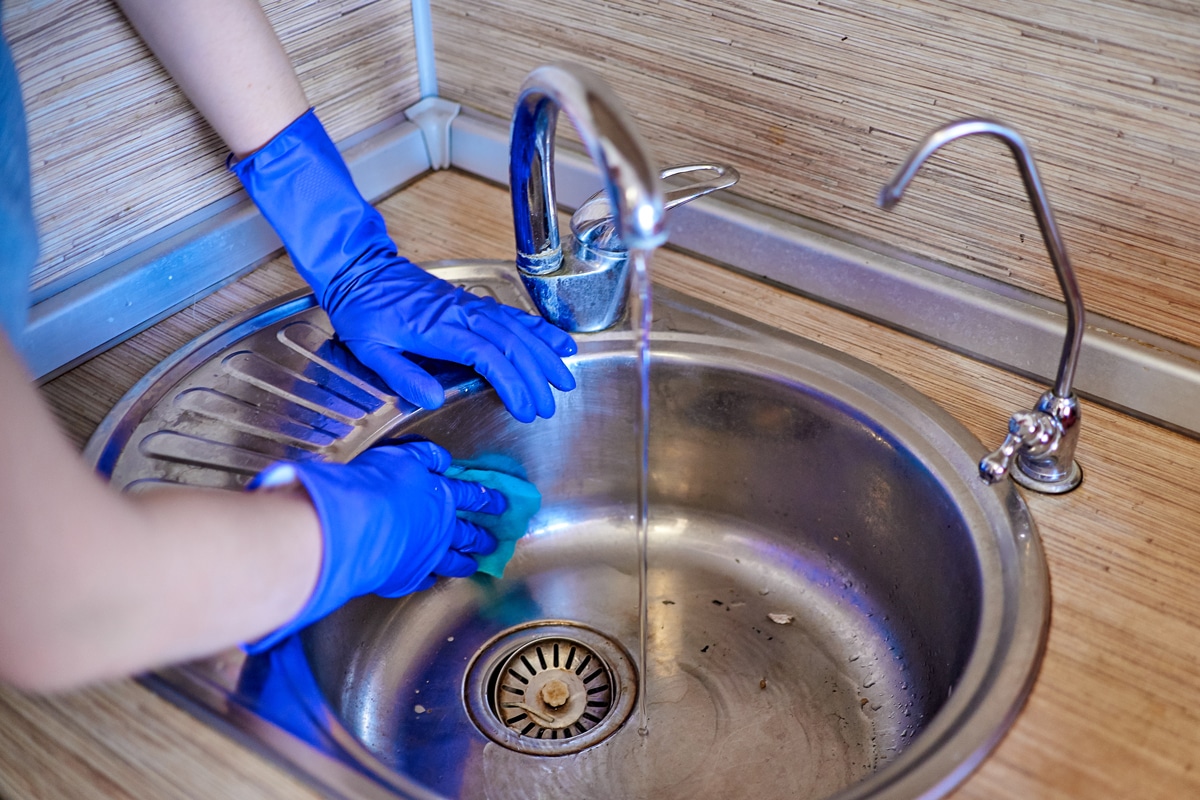
After scrubbing the sink, make sure to rinse it thoroughly with water. This will remove any residue from the cleaning products and leave your sink looking shiny and clean.3. Rinse sink thoroughly


3. Rinse sink thoroughly


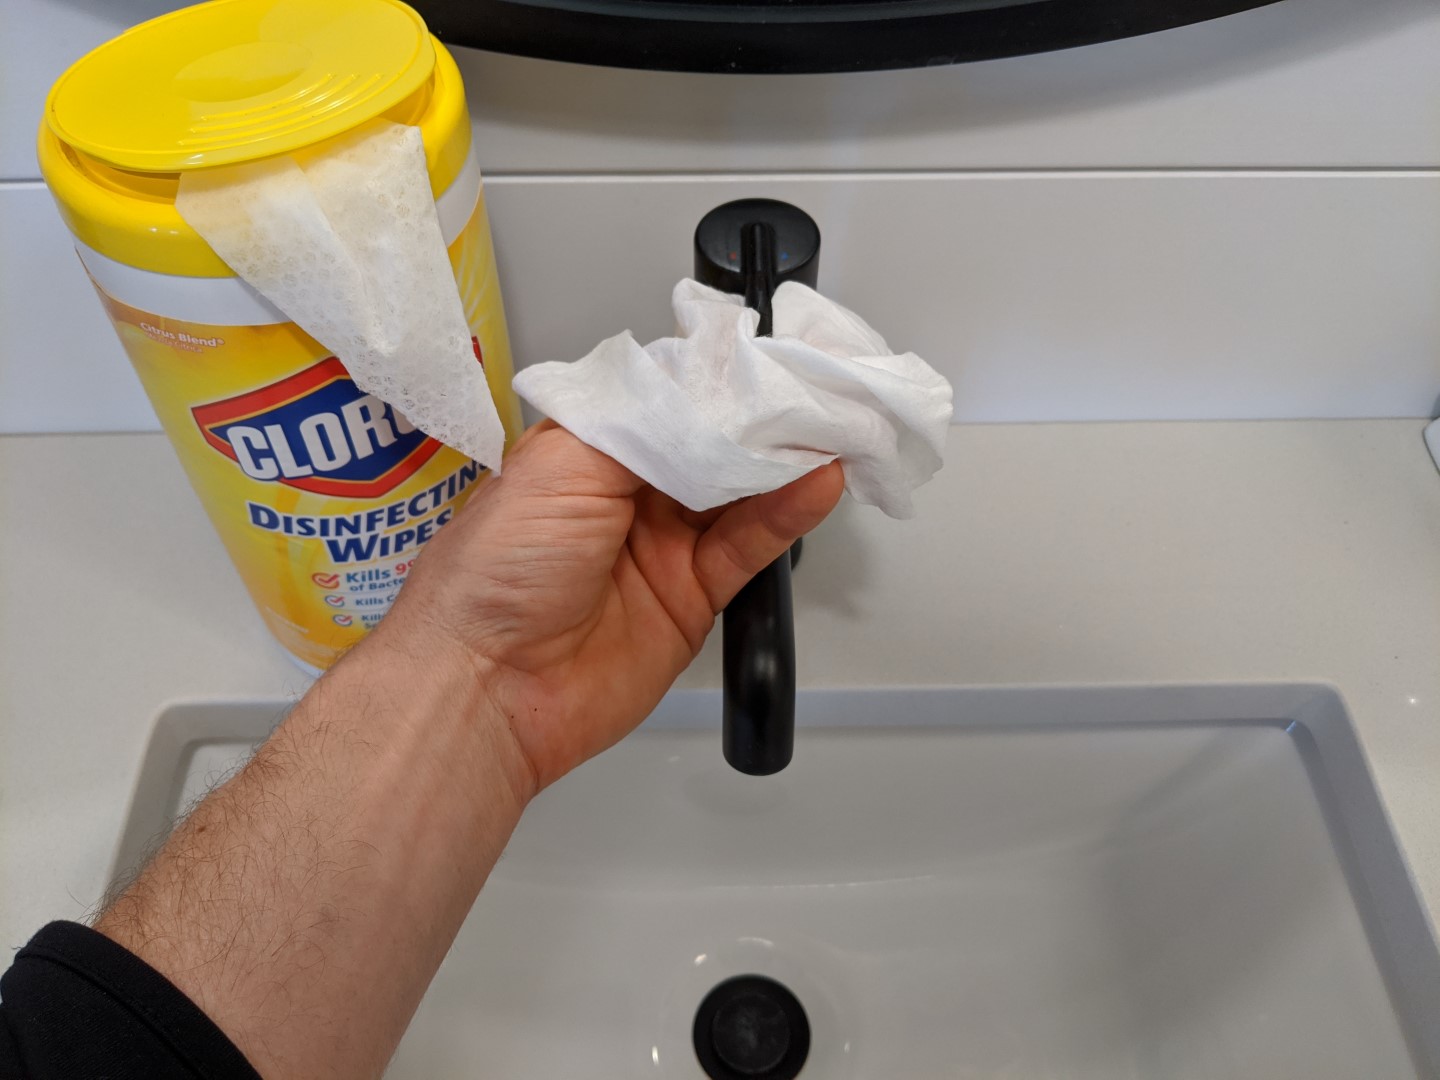
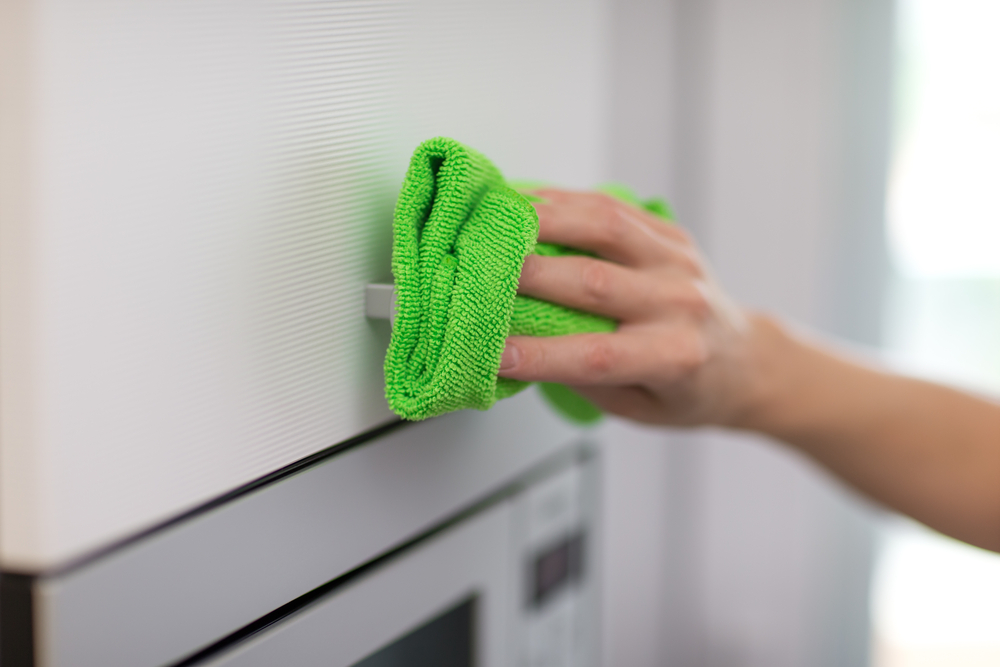
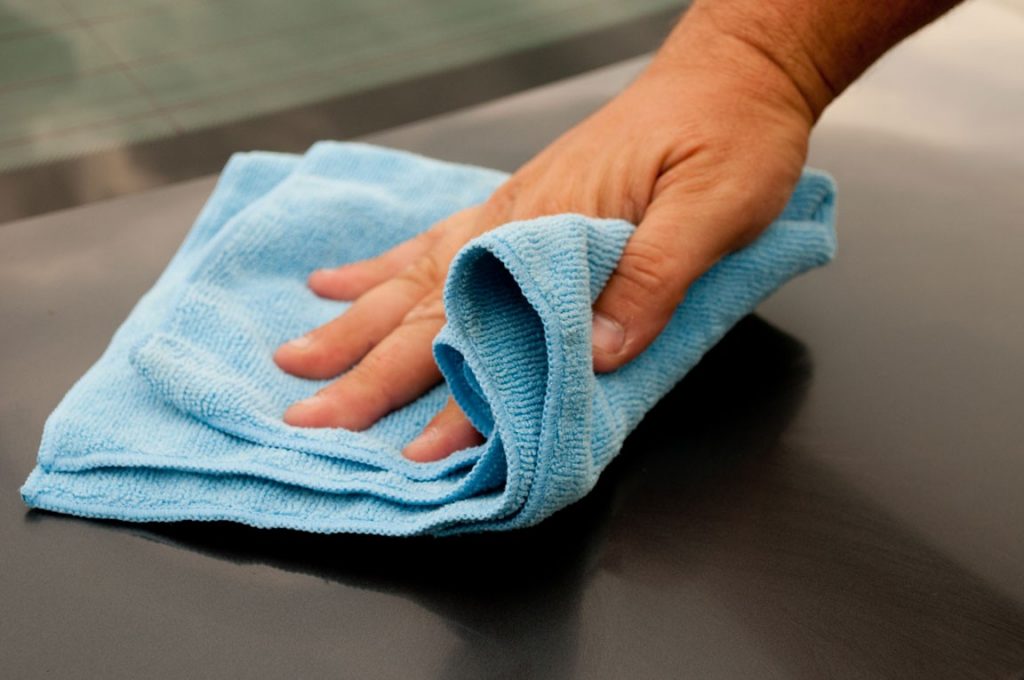
Before applying caulk, it's important to make sure that the sink is completely dry. Use a clean cloth to dry the sink, paying extra attention to the edges and corners where water may collect.4. Dry sink with clean cloth


4. Dry sink with clean cloth


:max_bytes(150000):strip_icc()/order-for-dish-washing-1900439-10-4e8fe318734043228c4b71a2543f44f8.jpg)


If there are any hard-to-reach areas or stubborn grime that the all-purpose cleaner and baking soda mixture couldn't remove, use a toothbrush to gently scrub away the remaining debris. This will ensure that the surface is completely clean and ready for caulk.5. Remove any remaining debris or grime with a toothbrush


5. Remove any remaining debris or grime with a toothbrush


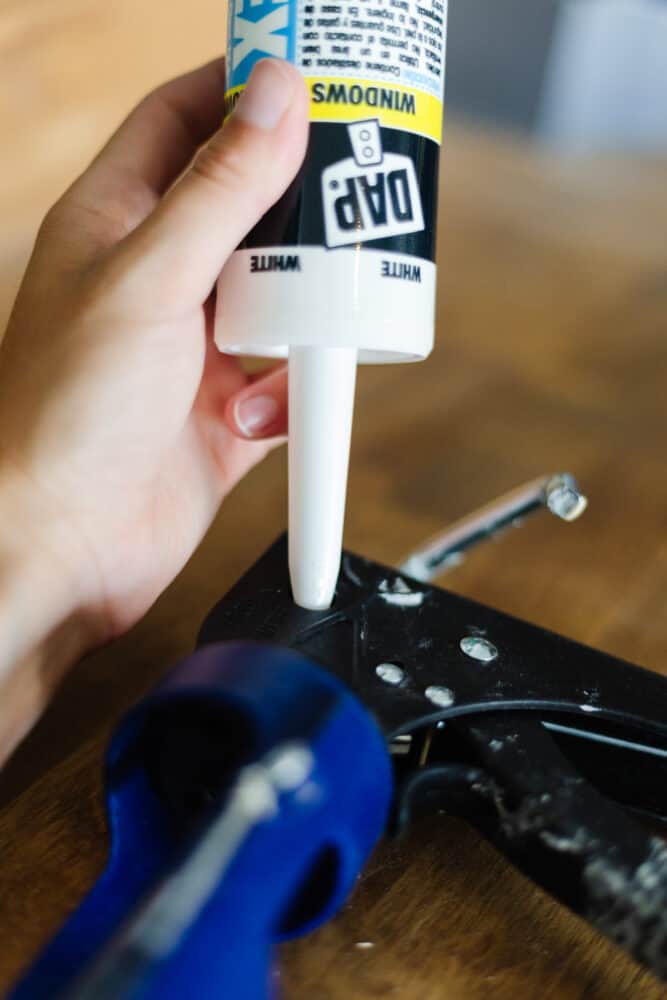
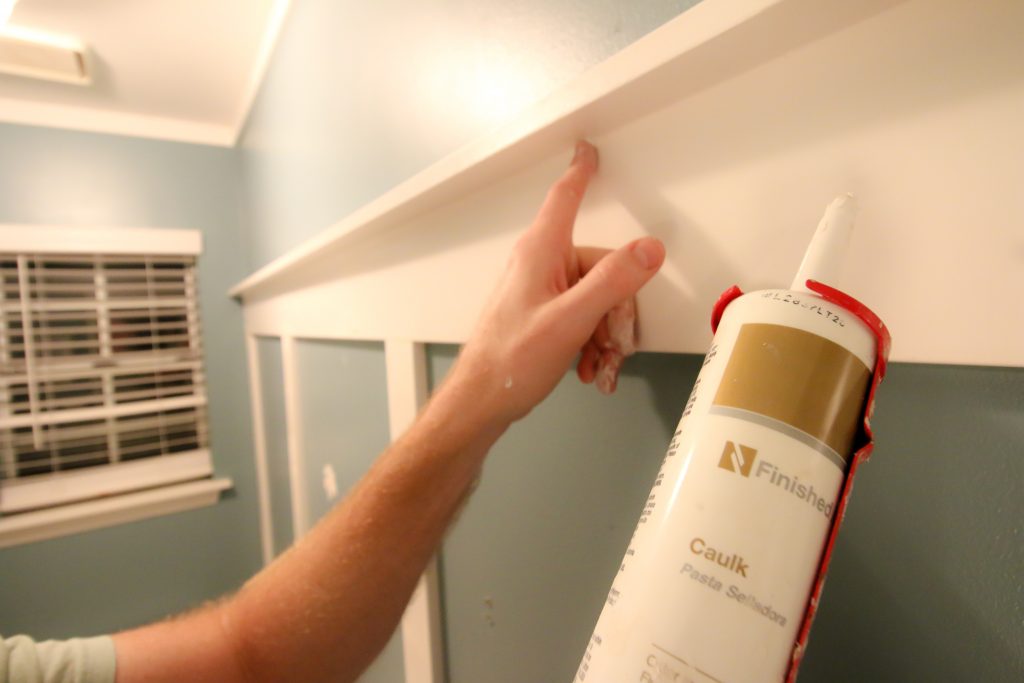
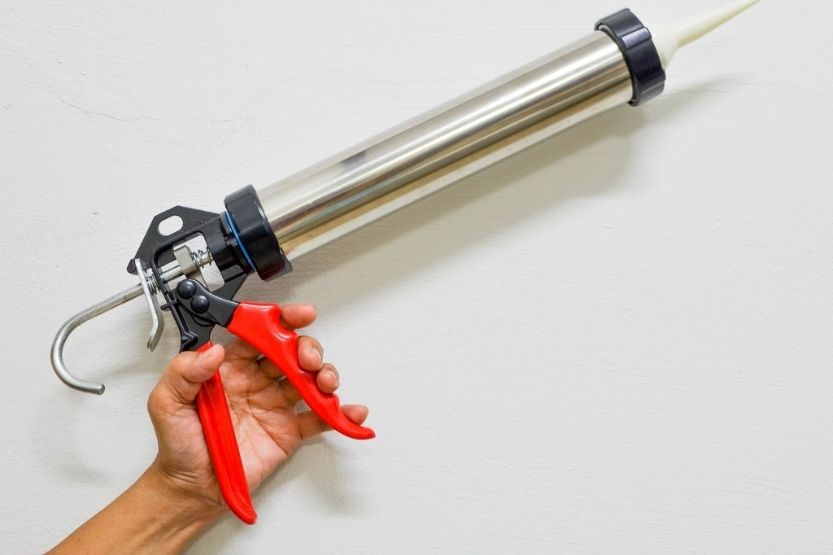
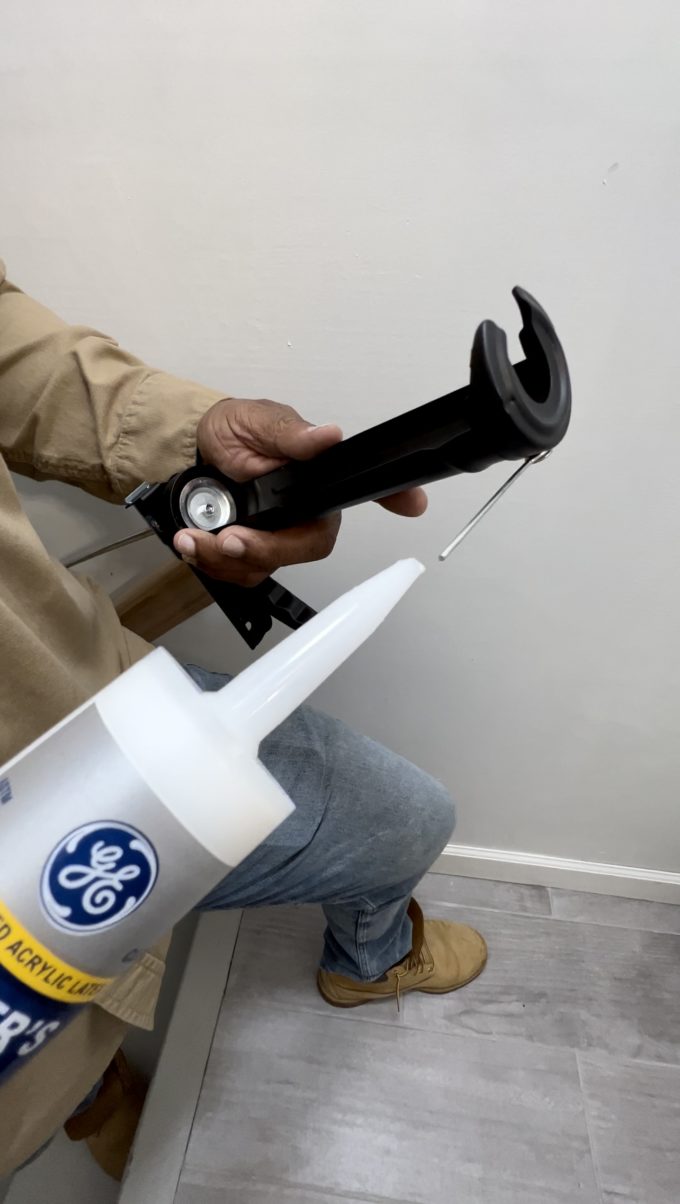
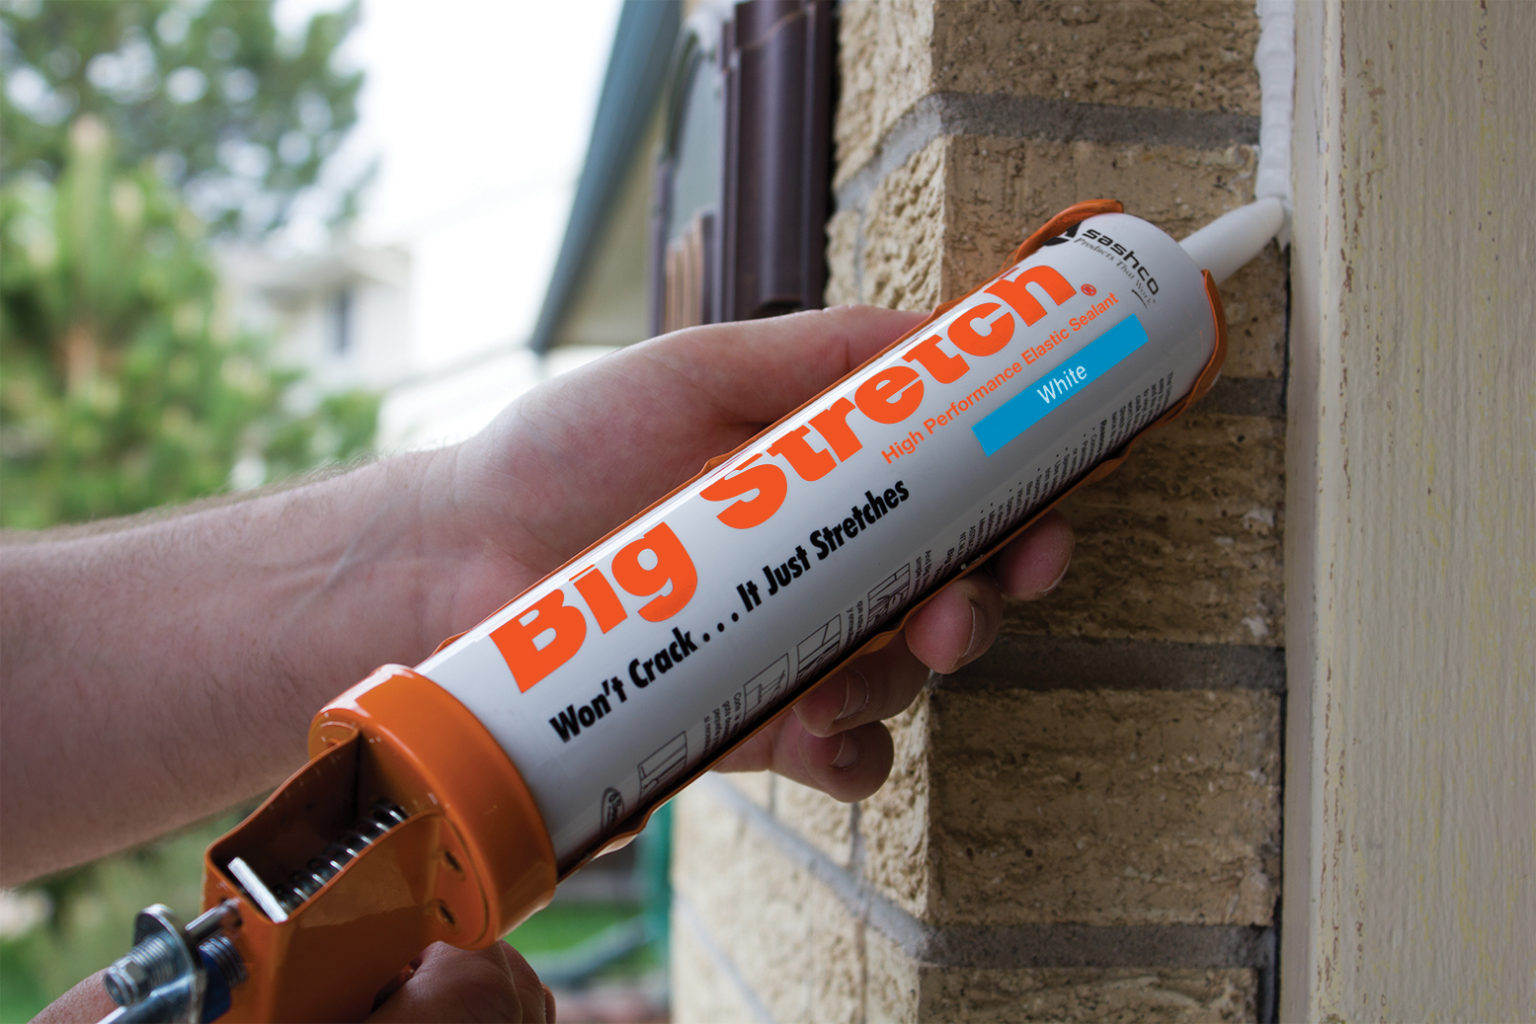
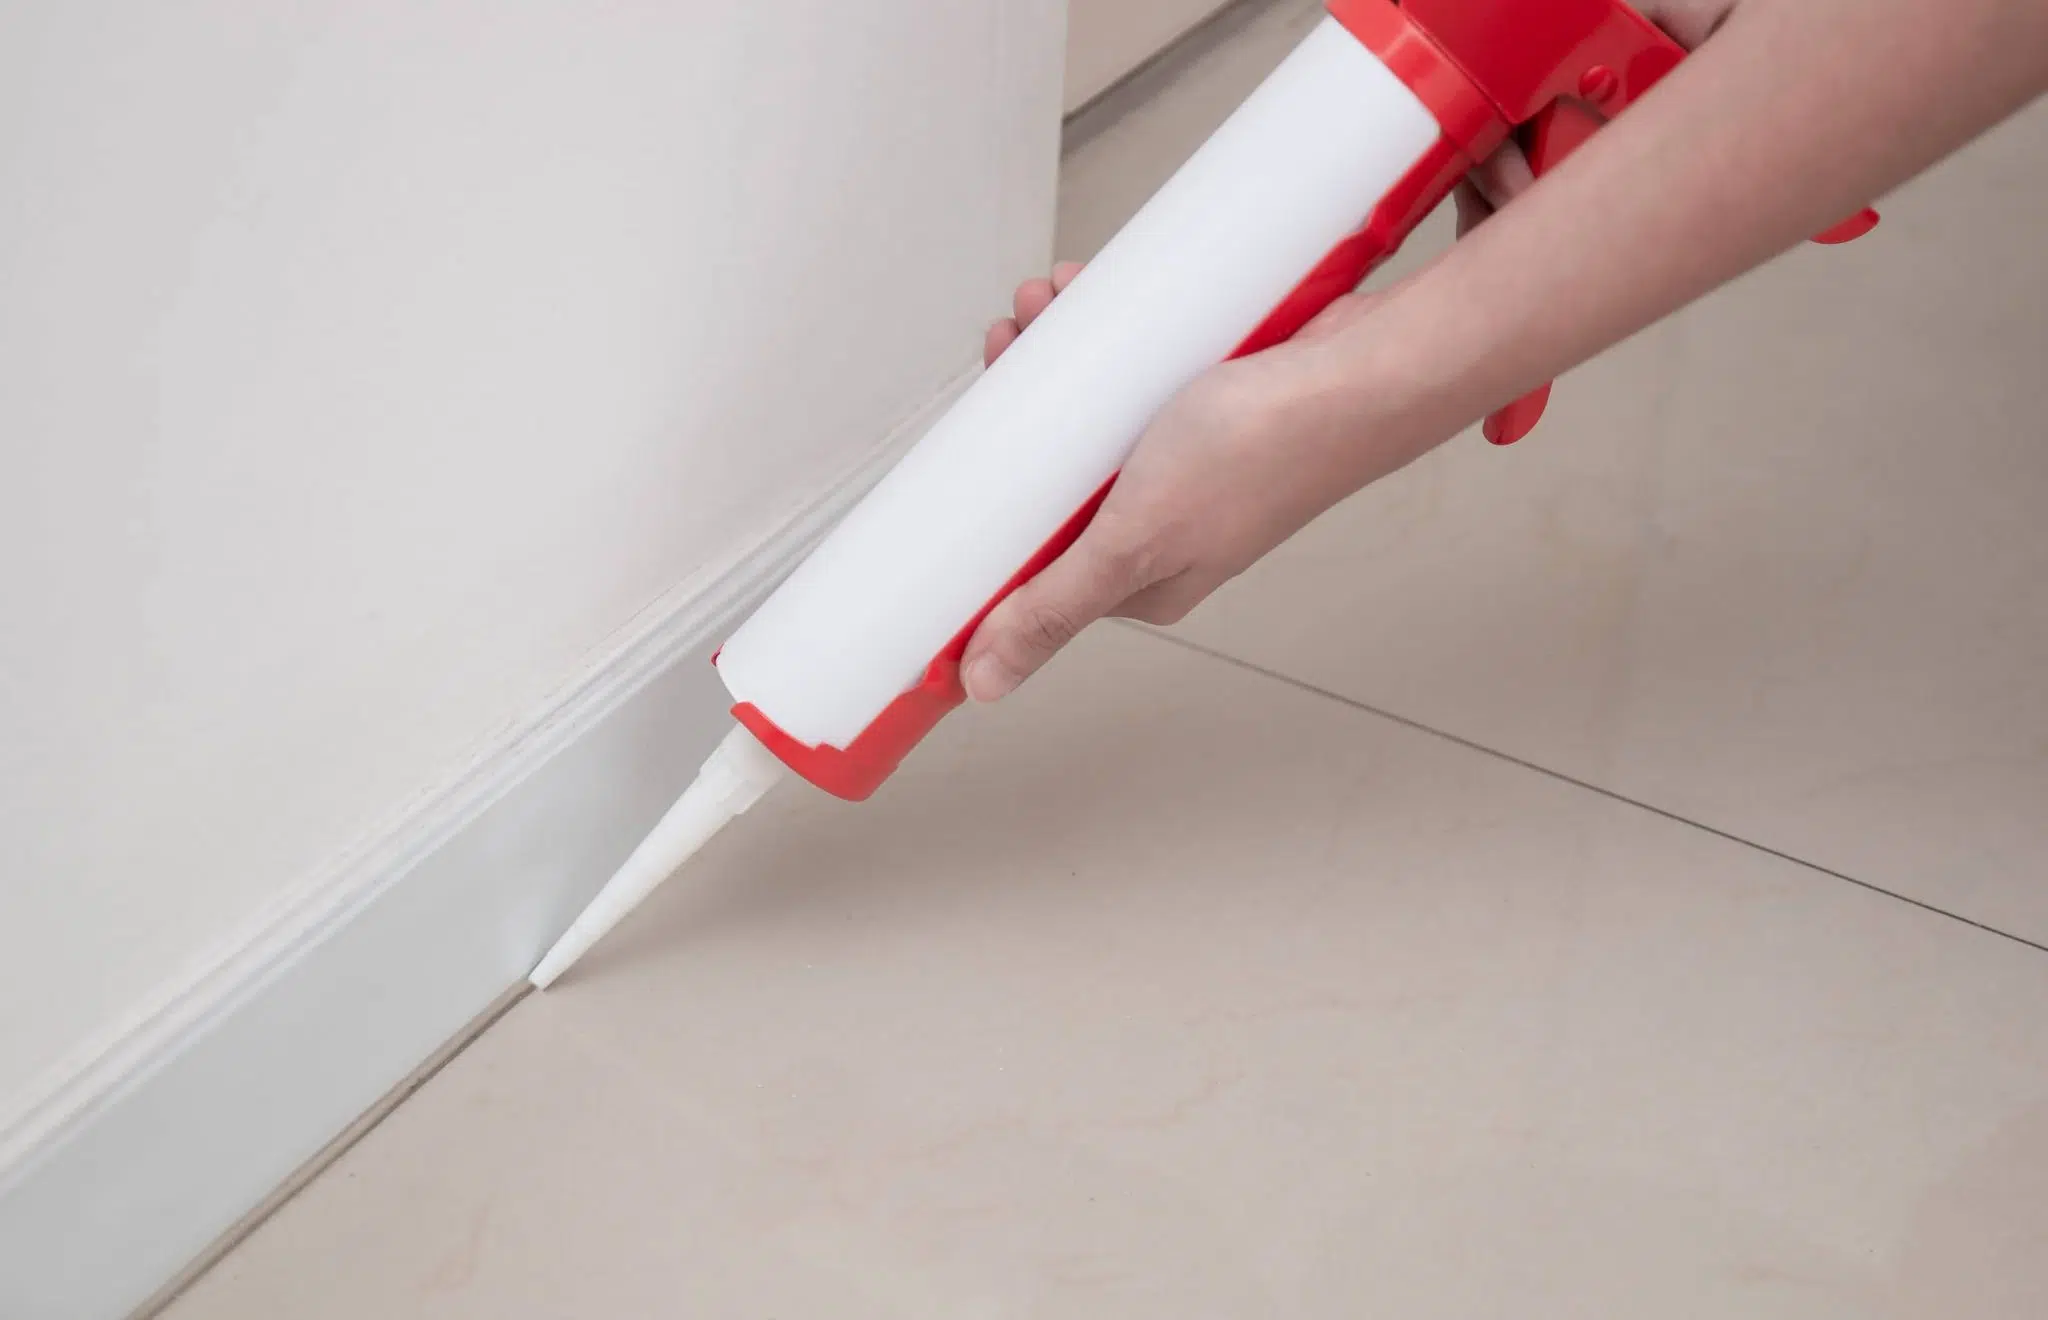
Now it's time to apply the caulk! Using a caulking gun, carefully apply a thin and even line of caulk around the edges of the sink. Make sure to cover any gaps or cracks to create a watertight seal.6. Apply caulk around edges of sink


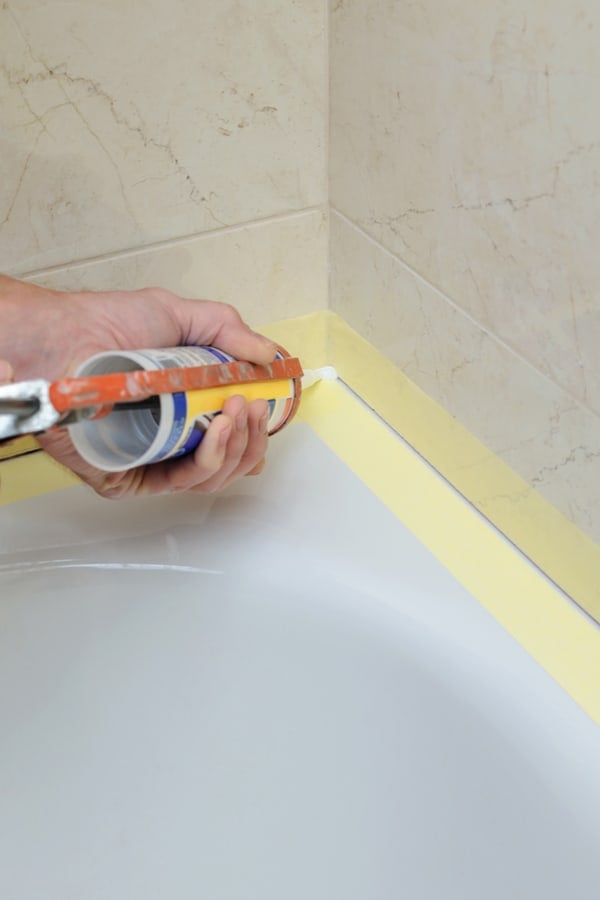
6. Apply caulk around edges of sink


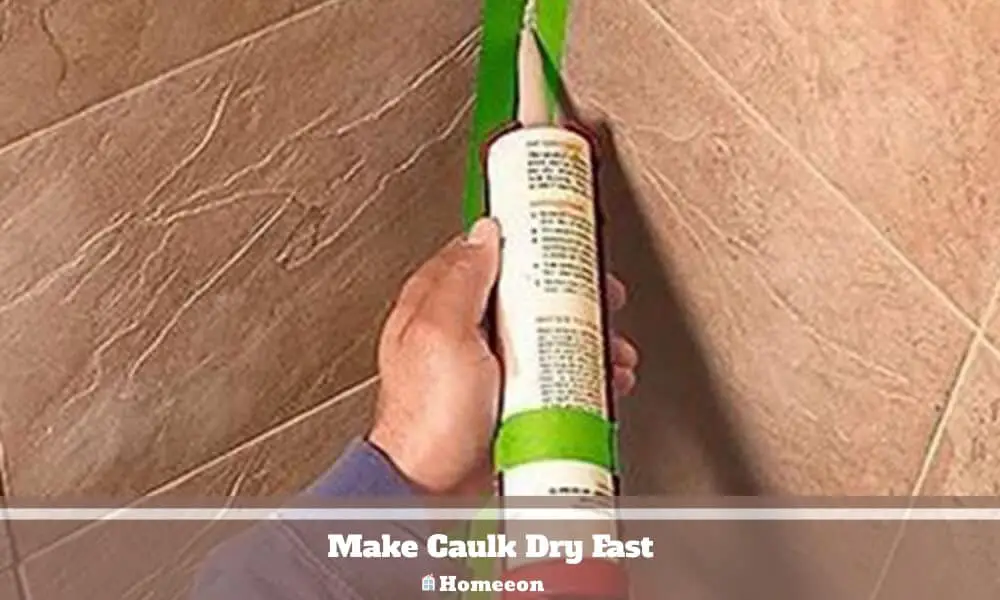
After applying the caulk, use a caulk tool or your finger to smooth out the bead of caulk. This will help to create a clean and professional-looking finish. Make sure to wipe off any excess caulk from the tool or your finger as you go.7. Smooth caulk with a caulk tool or finger


7. Smooth caulk with a caulk tool or finger


:max_bytes(150000):strip_icc()/caulk-removal-tool-56ec7f1b3df78ce5f83535fe.jpg)
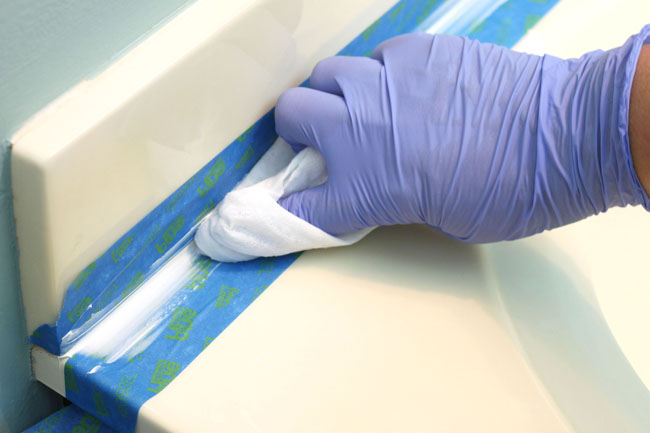


Once you have a smooth and even line of caulk around the sink, use a damp cloth to wipe away any excess caulk. This will help to create a neat and tidy appearance and prevent any caulk from drying in unwanted areas.8. Wipe away excess caulk with a damp cloth


8. Wipe away excess caulk with a damp cloth


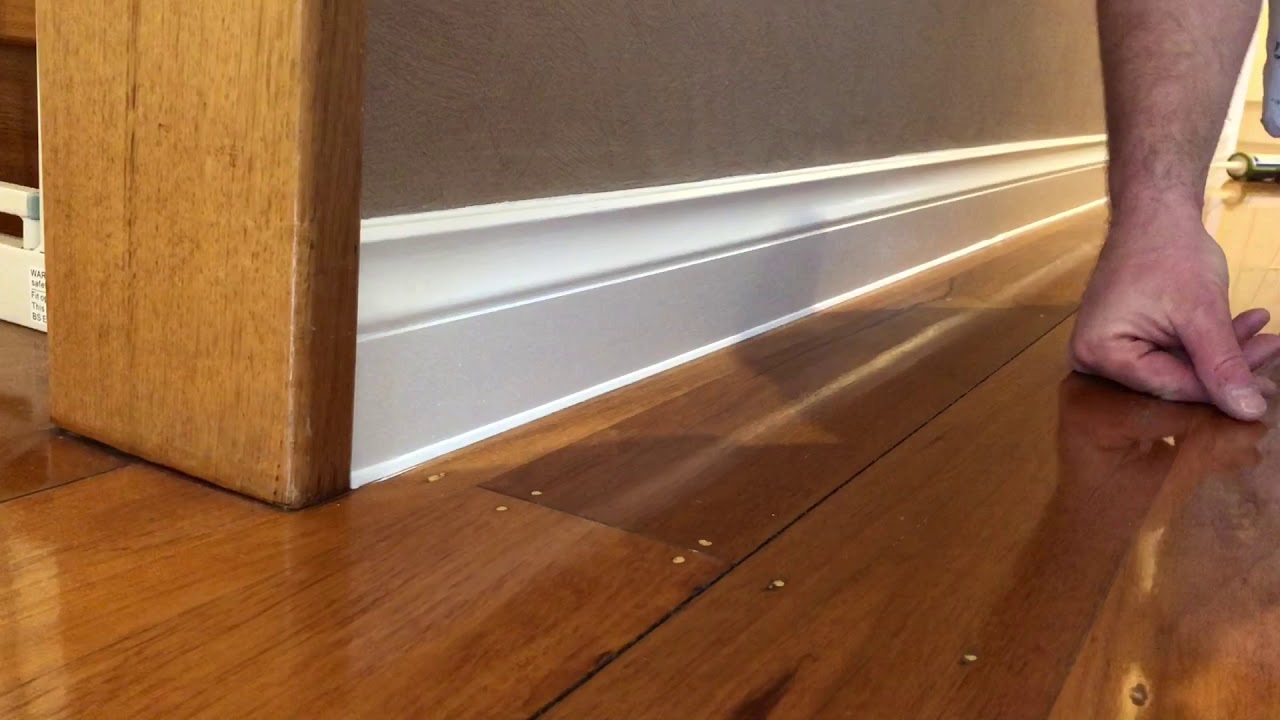
It's important to let the caulk dry completely before using the sink again. This can take anywhere from 24-48 hours, depending on the type of caulk used. Make sure to read the instructions on the caulk packaging for specific drying times.9. Let caulk dry completely


9. Let caulk dry completely


:max_bytes(150000):strip_icc()/how-to-remove-old-caulk-1824827-04-c71b38e1f79142e3b7b6656a81cdcdbb.jpg)


Congratulations, your kitchen sink is now caulked and clean! Not only does this improve the appearance of your sink and kitchen, but it also helps to prevent water damage and keeps your sink in good condition. Remember to regularly clean and maintain your caulked sink to ensure it stays in top shape for years to come.10. Enjoy your newly caulked and clean kitchen sink!


10. Enjoy your newly caulked and clean kitchen sink!


The Importance of a Final Clean to Your Kitchen Sink Before Caulking

Why Caulking is Crucial for Maintaining a Clean and Functional Kitchen
 As homeowners, we all know the importance of maintaining a clean and functional kitchen. It is the heart of our home where we cook, eat, and gather with our loved ones. And one of the most used and often overlooked areas of the kitchen is the sink. Over time, the caulk around the sink can become dirty, cracked, and moldy, making it an eyesore and a potential breeding ground for bacteria. This is why caulking is crucial for not only maintaining a clean and aesthetically pleasing kitchen but also for ensuring its functionality.
Final Clean: The Key Step Before Caulking
Before you can start caulking, it is essential to give your kitchen sink a final clean. This step is often overlooked, but it is crucial for achieving a long-lasting and professional-looking caulk job. The final clean removes any dirt, grime, or old caulk residue that may interfere with the adhesion of the new caulk. It also ensures a smooth surface for the new caulk to adhere to, resulting in a more secure and durable seal.
As homeowners, we all know the importance of maintaining a clean and functional kitchen. It is the heart of our home where we cook, eat, and gather with our loved ones. And one of the most used and often overlooked areas of the kitchen is the sink. Over time, the caulk around the sink can become dirty, cracked, and moldy, making it an eyesore and a potential breeding ground for bacteria. This is why caulking is crucial for not only maintaining a clean and aesthetically pleasing kitchen but also for ensuring its functionality.
Final Clean: The Key Step Before Caulking
Before you can start caulking, it is essential to give your kitchen sink a final clean. This step is often overlooked, but it is crucial for achieving a long-lasting and professional-looking caulk job. The final clean removes any dirt, grime, or old caulk residue that may interfere with the adhesion of the new caulk. It also ensures a smooth surface for the new caulk to adhere to, resulting in a more secure and durable seal.
Steps for a Final Clean to Your Kitchen Sink
 To achieve the best results for your final clean, follow these simple steps:
Step 1: Remove Any Old Caulk
Start by removing any old caulk residue from around your kitchen sink. You can use a caulk removal tool or a putty knife to scrape off the old caulk gently. Be careful not to scratch the surface of your sink.
Step 2: Clean the Surface
Next, use a mild detergent or a dedicated kitchen cleaner to clean the surface of your sink thoroughly. Be sure to remove any food particles, grease, or soap scum that may have built up over time. Rinse the sink with clean water and dry it with a clean cloth.
Step 3: Use a Degreaser
To ensure a clean surface, use a degreaser to remove any stubborn grease or grime. Apply the degreaser to the sink and let it sit for a few minutes before scrubbing it with a non-abrasive sponge.
Step 4: Rinse and Dry
Once you have scrubbed the sink with the degreaser, rinse it with clean water and dry it with a towel. Be sure to remove all traces of the degreaser as it can interfere with the adhesion of the caulk.
To achieve the best results for your final clean, follow these simple steps:
Step 1: Remove Any Old Caulk
Start by removing any old caulk residue from around your kitchen sink. You can use a caulk removal tool or a putty knife to scrape off the old caulk gently. Be careful not to scratch the surface of your sink.
Step 2: Clean the Surface
Next, use a mild detergent or a dedicated kitchen cleaner to clean the surface of your sink thoroughly. Be sure to remove any food particles, grease, or soap scum that may have built up over time. Rinse the sink with clean water and dry it with a clean cloth.
Step 3: Use a Degreaser
To ensure a clean surface, use a degreaser to remove any stubborn grease or grime. Apply the degreaser to the sink and let it sit for a few minutes before scrubbing it with a non-abrasive sponge.
Step 4: Rinse and Dry
Once you have scrubbed the sink with the degreaser, rinse it with clean water and dry it with a towel. Be sure to remove all traces of the degreaser as it can interfere with the adhesion of the caulk.
The Benefits of a Final Clean Before Caulking
 By following these simple steps for a final clean, you can benefit in the following ways:
1. A More Durable Seal
A clean surface ensures better adhesion of the new caulk, resulting in a more durable seal that can withstand daily wear and tear.
2. Aesthetically Pleasing Results
A final clean removes any dirt, grime, or old caulk residue, resulting in a clean and visually appealing caulk job that will enhance the overall look of your kitchen.
3. Improved Functionality
A clean caulked sink is less likely to develop mold or mildew, ensuring better functionality and hygiene in your kitchen.
By following these simple steps for a final clean, you can benefit in the following ways:
1. A More Durable Seal
A clean surface ensures better adhesion of the new caulk, resulting in a more durable seal that can withstand daily wear and tear.
2. Aesthetically Pleasing Results
A final clean removes any dirt, grime, or old caulk residue, resulting in a clean and visually appealing caulk job that will enhance the overall look of your kitchen.
3. Improved Functionality
A clean caulked sink is less likely to develop mold or mildew, ensuring better functionality and hygiene in your kitchen.
Final Thoughts
 In conclusion, a final clean is a crucial step in the caulking process that should not be overlooked. By following the simple steps outlined above, you can achieve a professional-looking and long-lasting caulk job that will keep your kitchen sink clean and functional for years to come. So, before you reach for the caulk gun, be sure to give your sink the final clean it deserves.