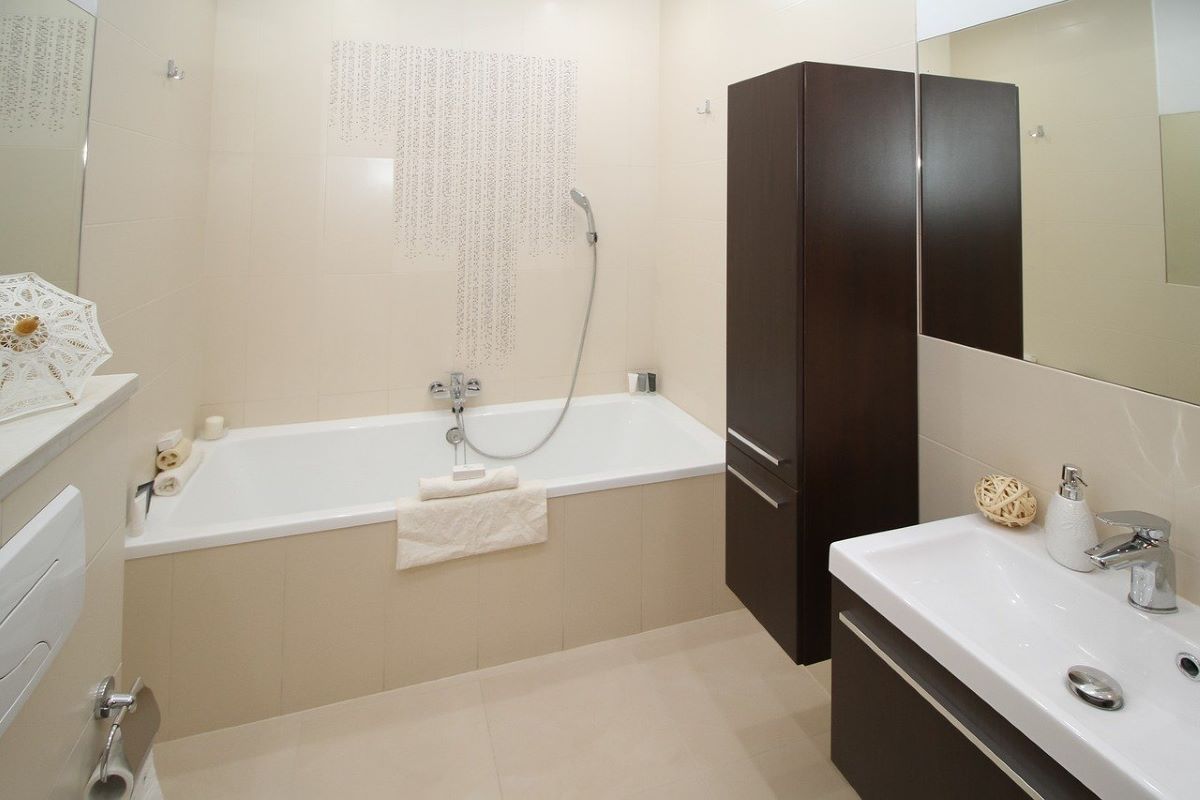
Are you looking to give your bathroom vanity a new look without breaking the bank? Tiling may be the perfect solution for you. Not only is it a cost-effective option, but it also adds a touch of elegance and style to any bathroom. If you are a DIY enthusiast, tiling your bathroom vanity can be a fun and rewarding project. To help you achieve a successful result, we have compiled a list of 10 tips to follow when tackling this project.DIY Tiling Bathroom Vanity: 10 Tips for a Successful Project


DIY Tiling Bathroom Vanity: 10 Tips for a Successful Project

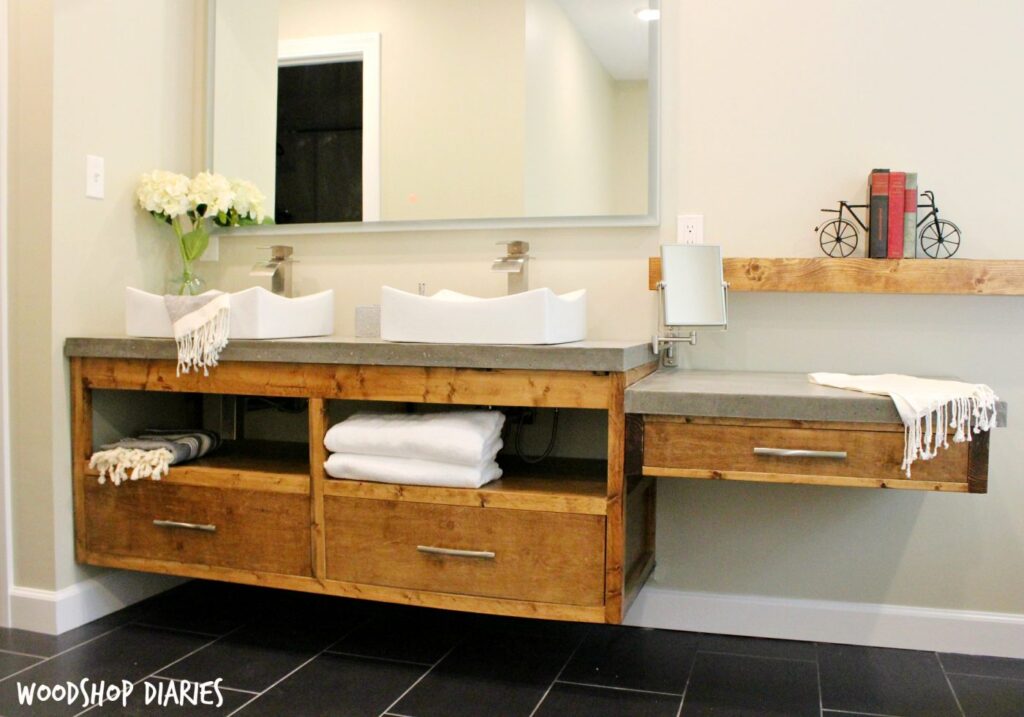
:max_bytes(150000):strip_icc()/build-something-diy-vanity-594402125f9b58d58ae21158.jpg)
/cherry-diy-bathroom-vanity-594414da5f9b58d58a099a36.jpg)


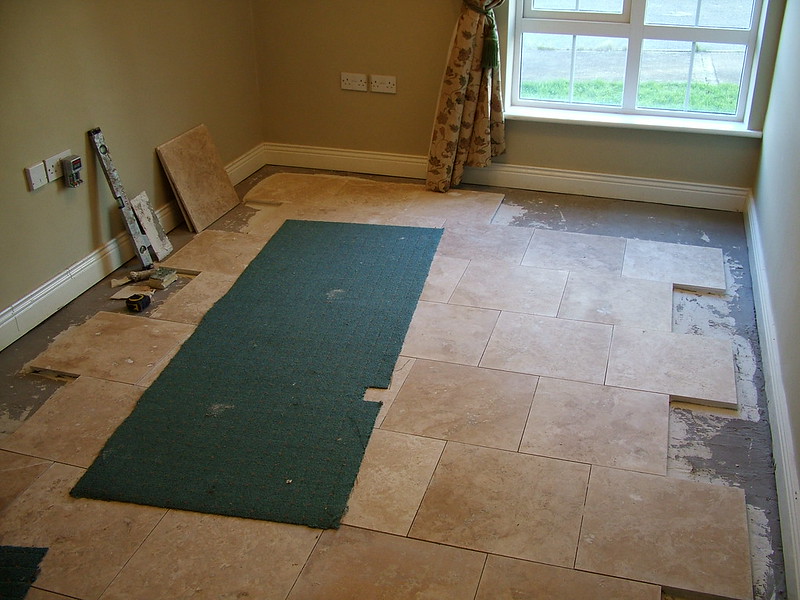
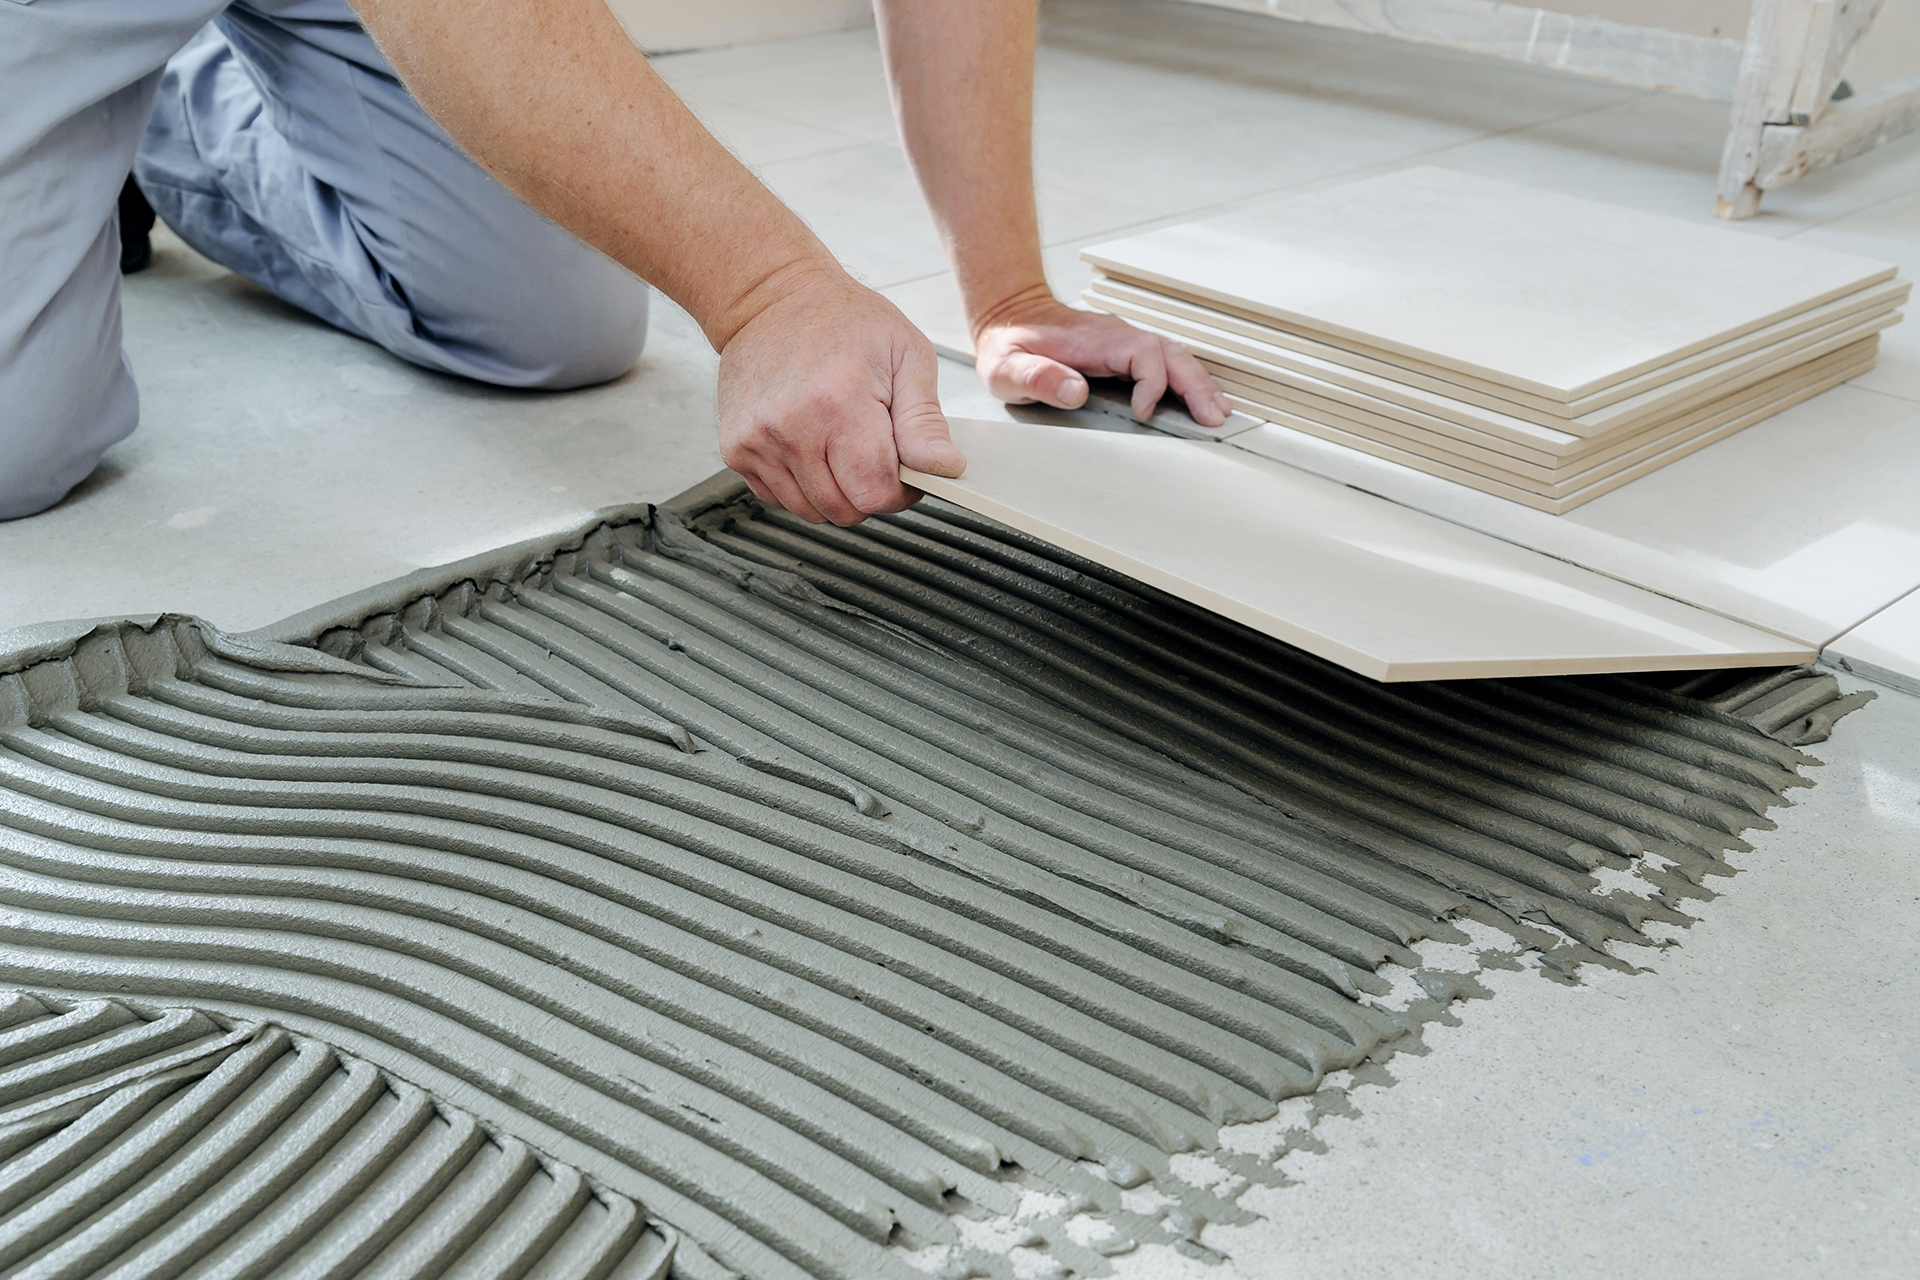
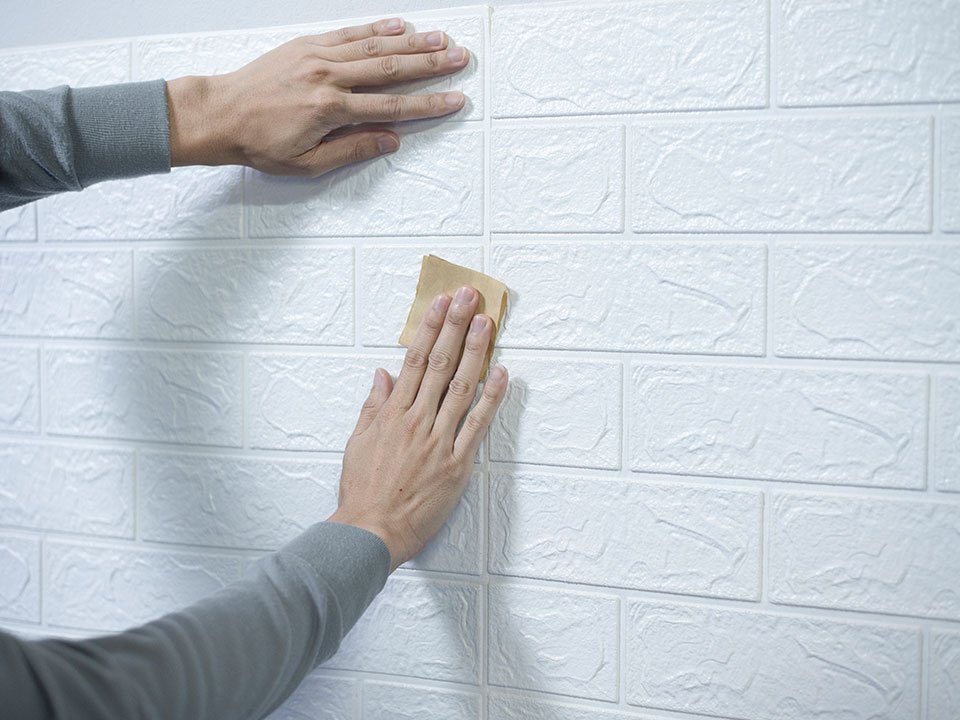
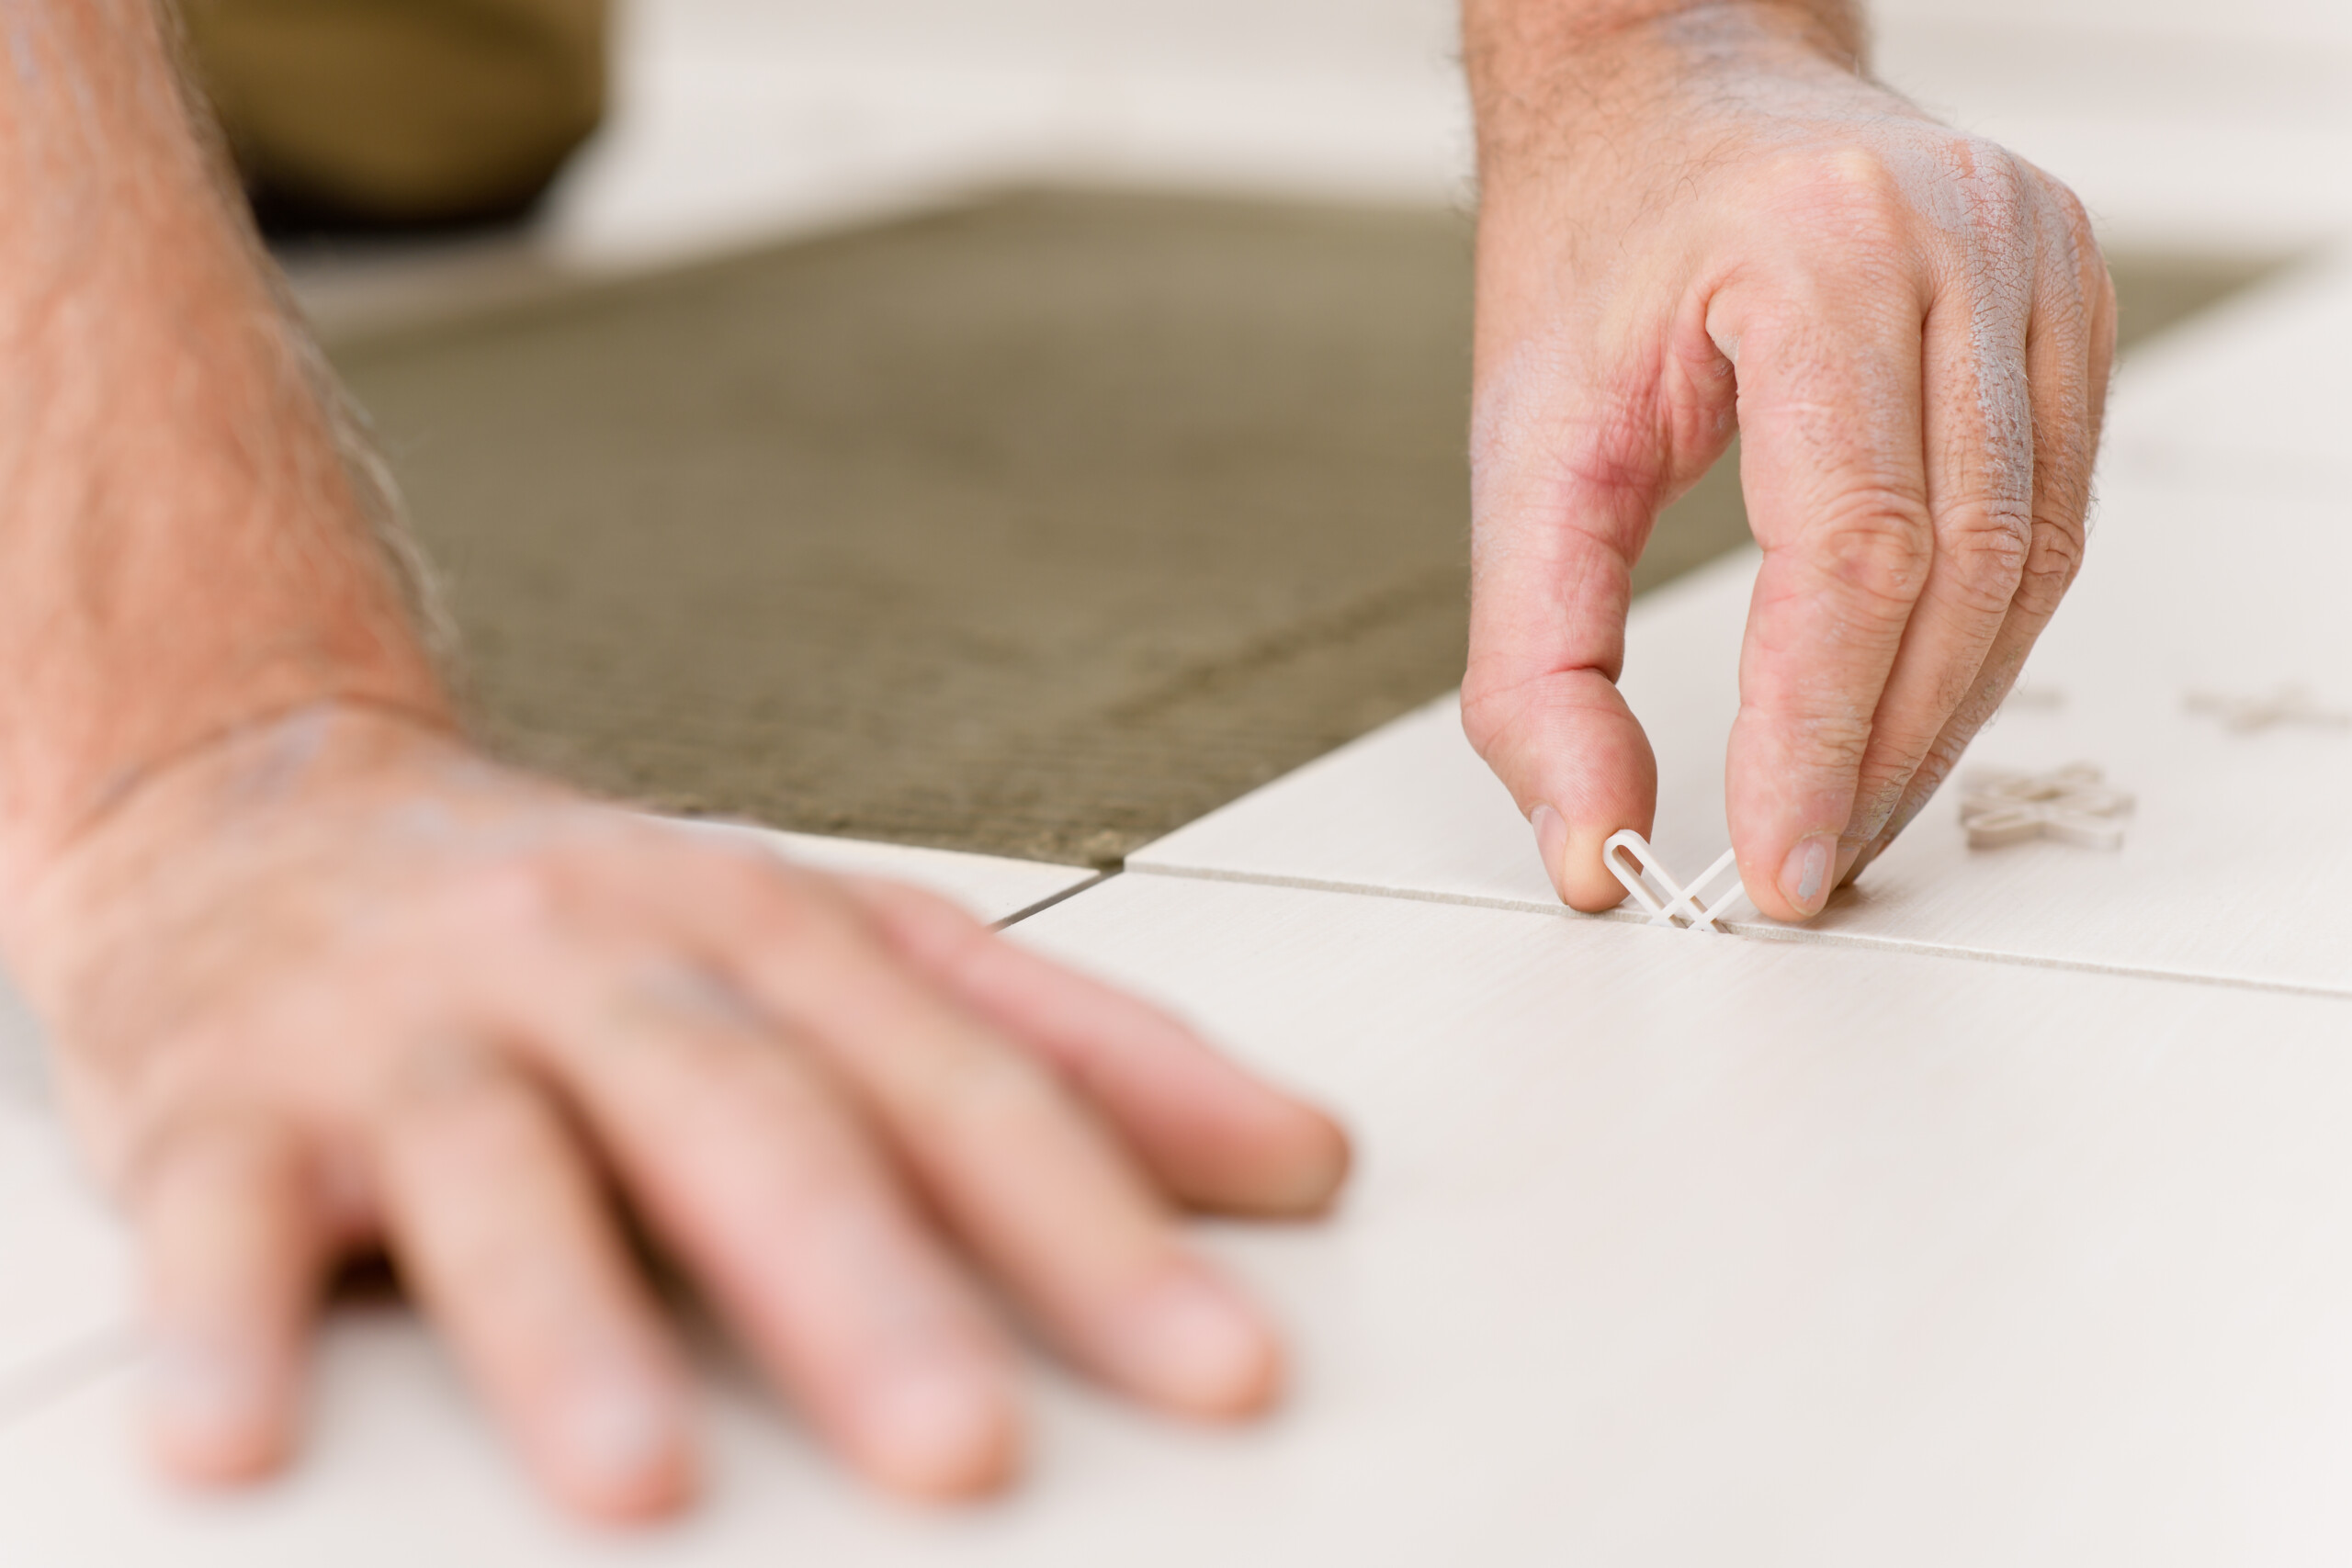
Before you start tiling, it is important to have a plan in place. This includes choosing the right tiles, measuring the vanity area, and having all the necessary tools and materials on hand. Once you have a solid plan, follow these steps for a smooth tiling process: Step 1: Prepare the surface by cleaning and sanding it to create a smooth and even base for the tiles. Step 2: Measure the space and mark the center point. This will help you create a symmetrical layout for the tiles. Step 3: Mix the thin-set mortar according to the manufacturer's instructions. Apply it to the surface using a notched trowel. Step 4: Lay the tiles in place, starting from the center and working your way outwards. Use spacers to ensure even spacing between the tiles. Step 5: Cut any tiles to fit around edges or corners using a tile cutter or wet saw. Step 6: Allow the tiles to set for the recommended time before removing the spacers and grouting the tiles. Step 7: Apply grout using a grout float, making sure to fill all the spaces between the tiles. Step 8: Wipe away excess grout with a damp sponge and let it dry for 24 hours. Step 9: Seal the grout and tiles to protect them from moisture and stains. Step 10: Finally, install new fixtures and hardware to complete the look of your newly tiled bathroom vanity.How to Tile a Bathroom Vanity: A Step-by-Step Guide


How to Tile a Bathroom Vanity: A Step-by-Step Guide


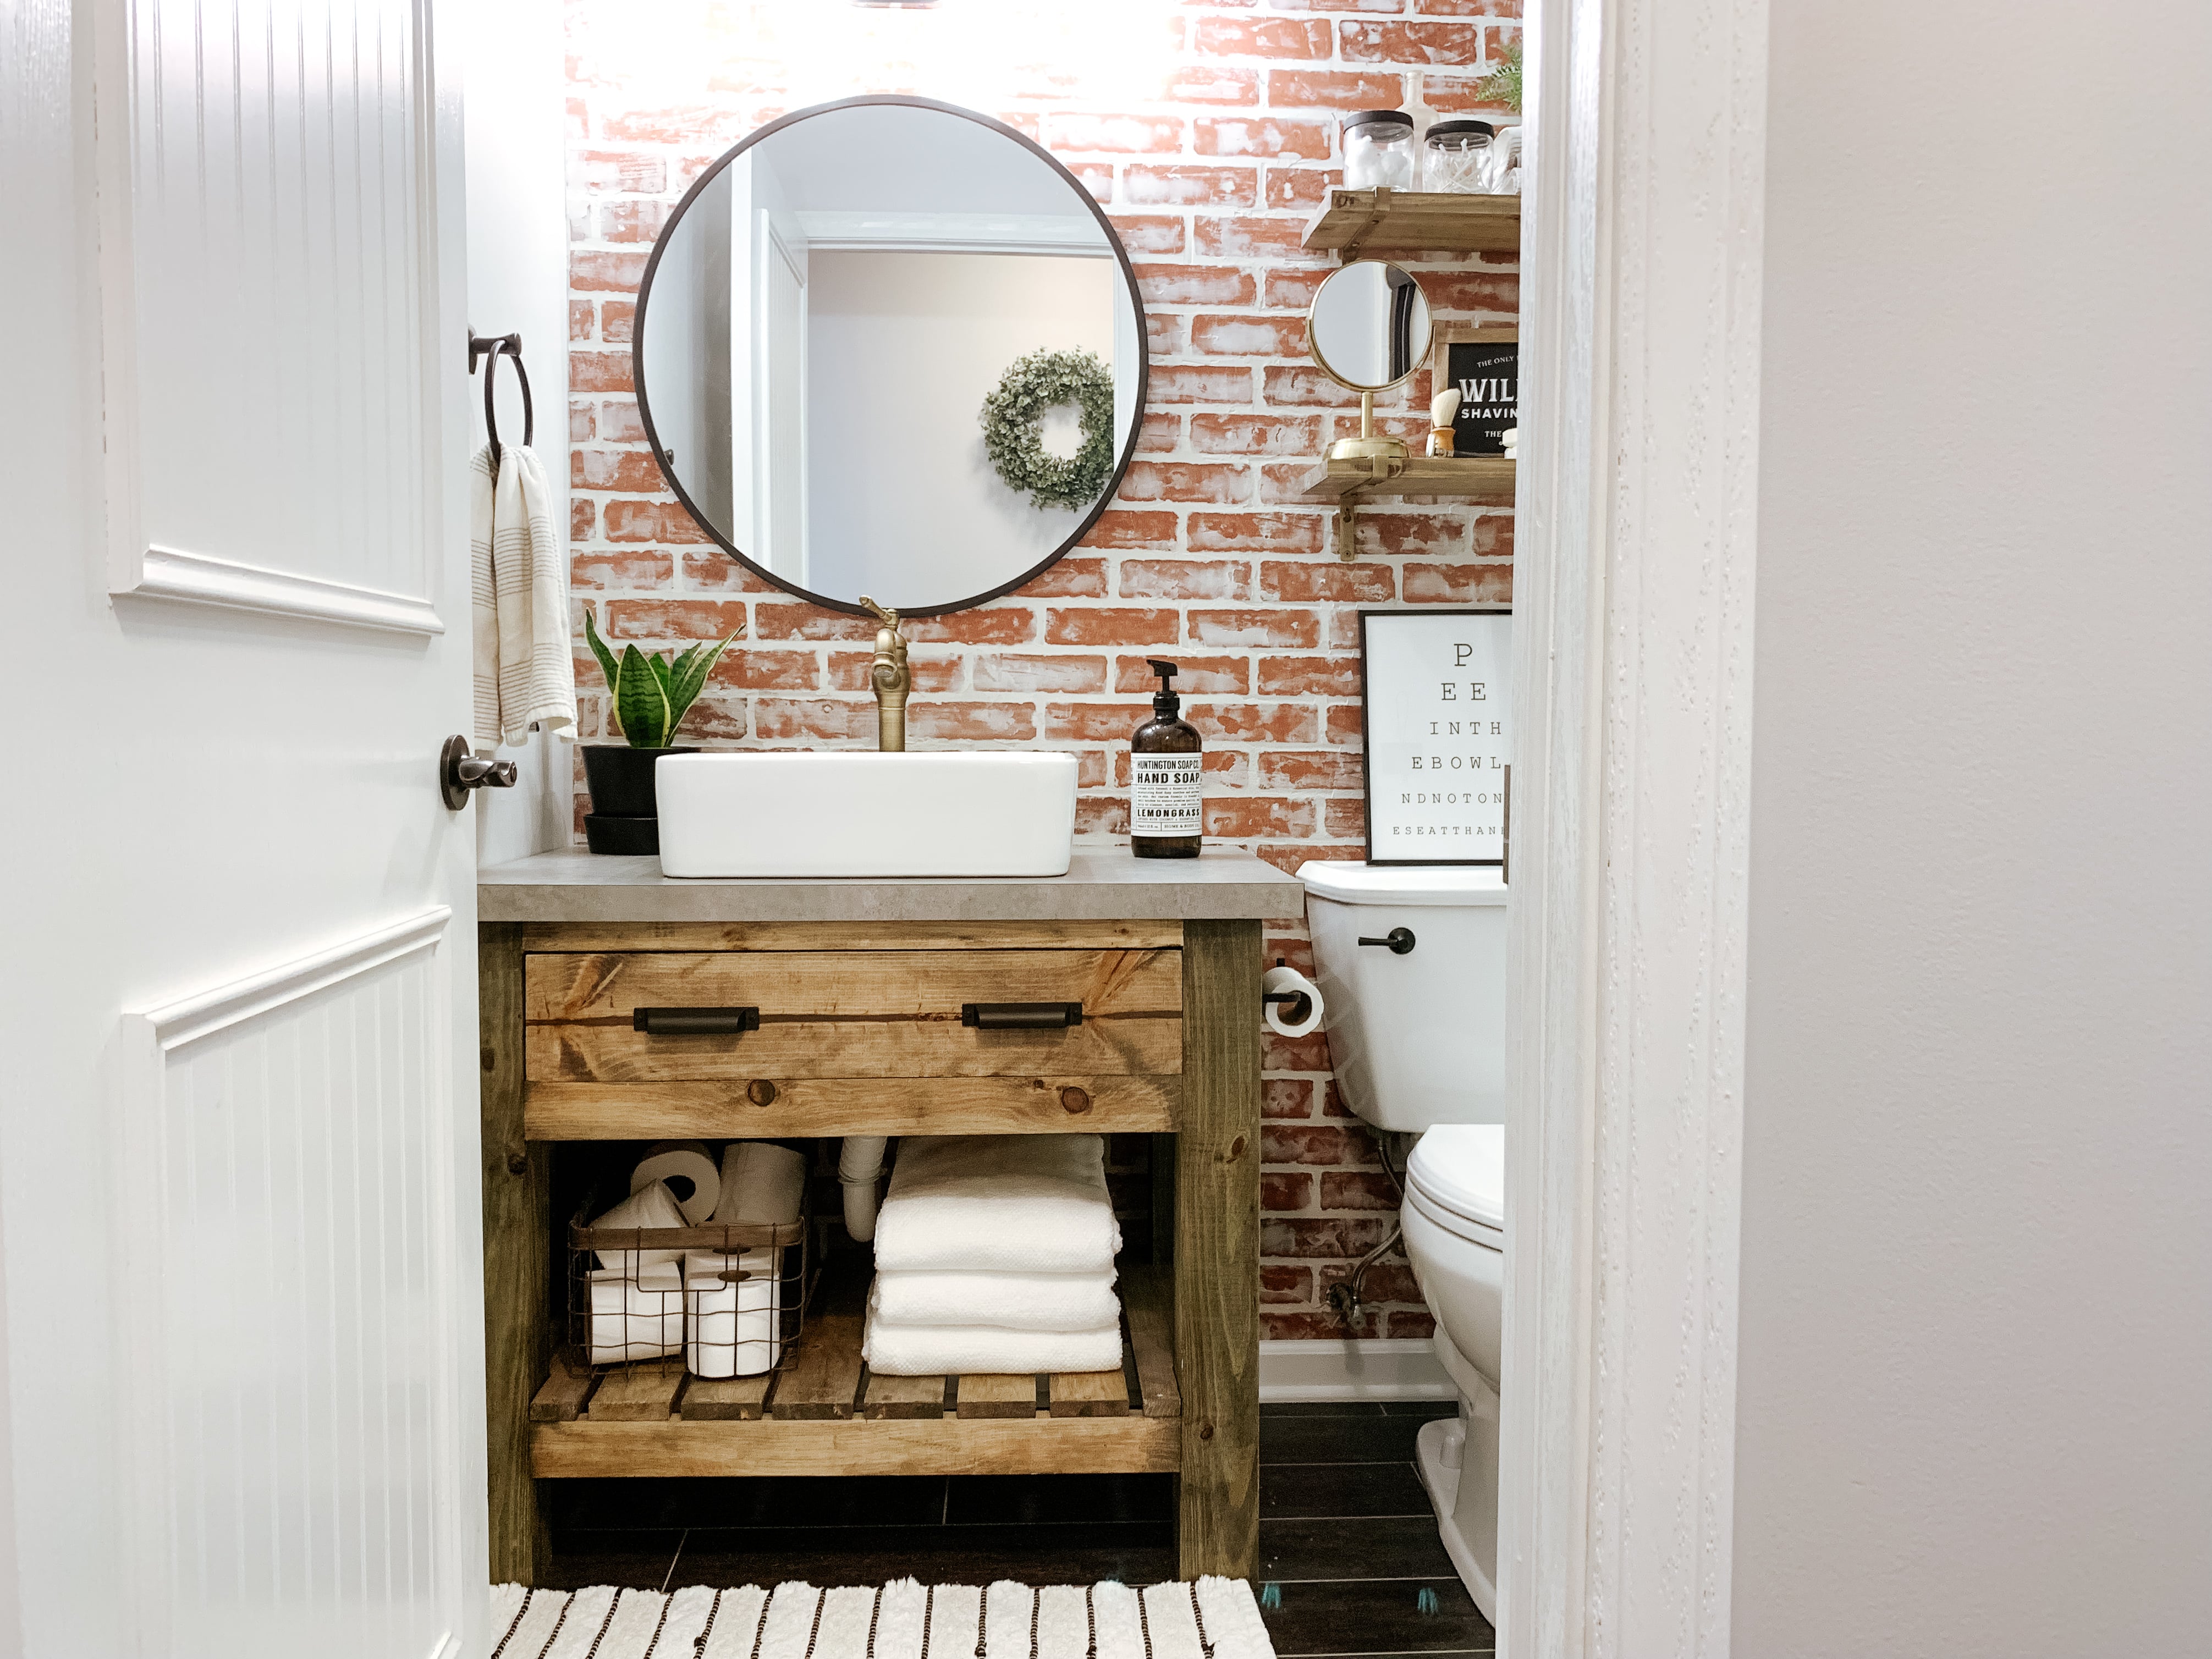
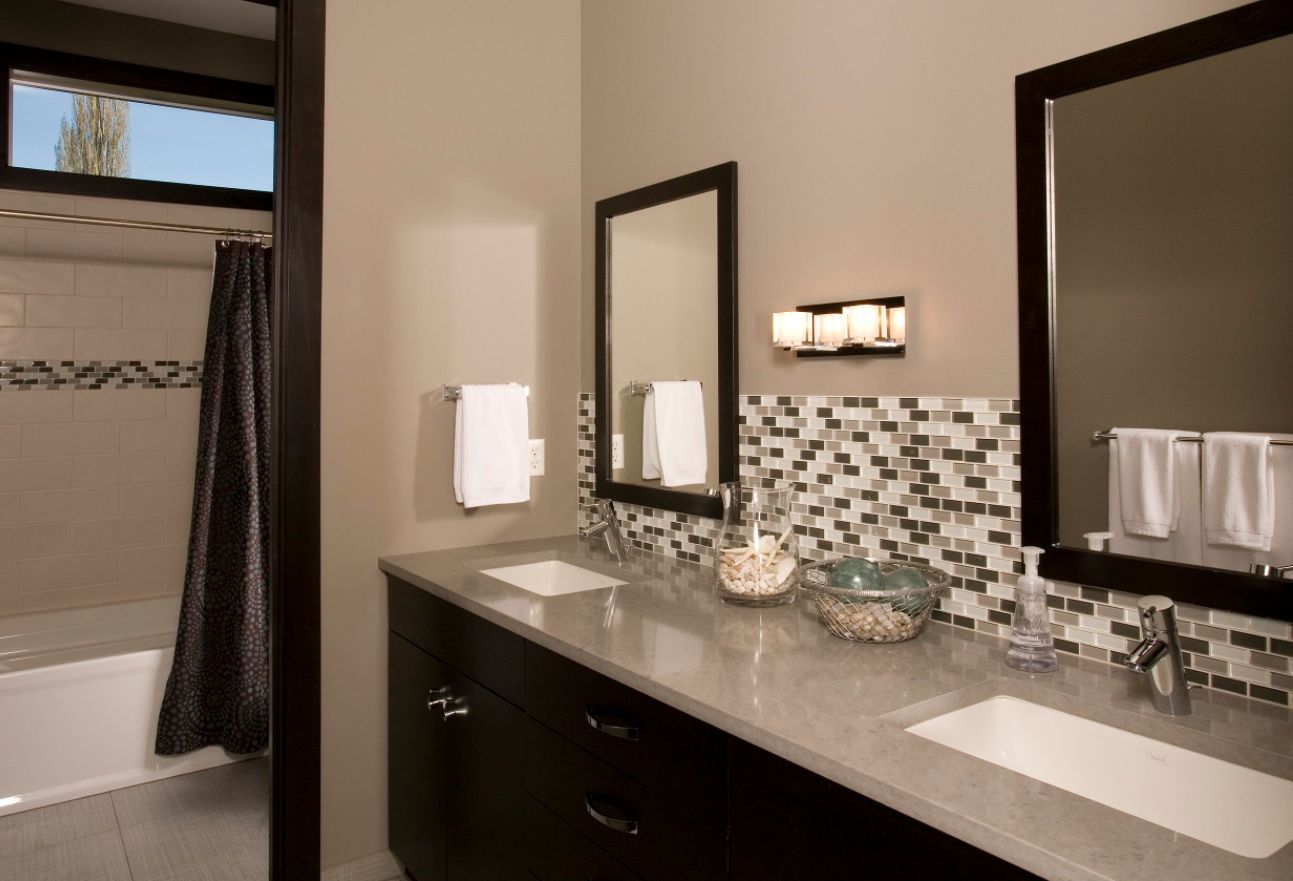
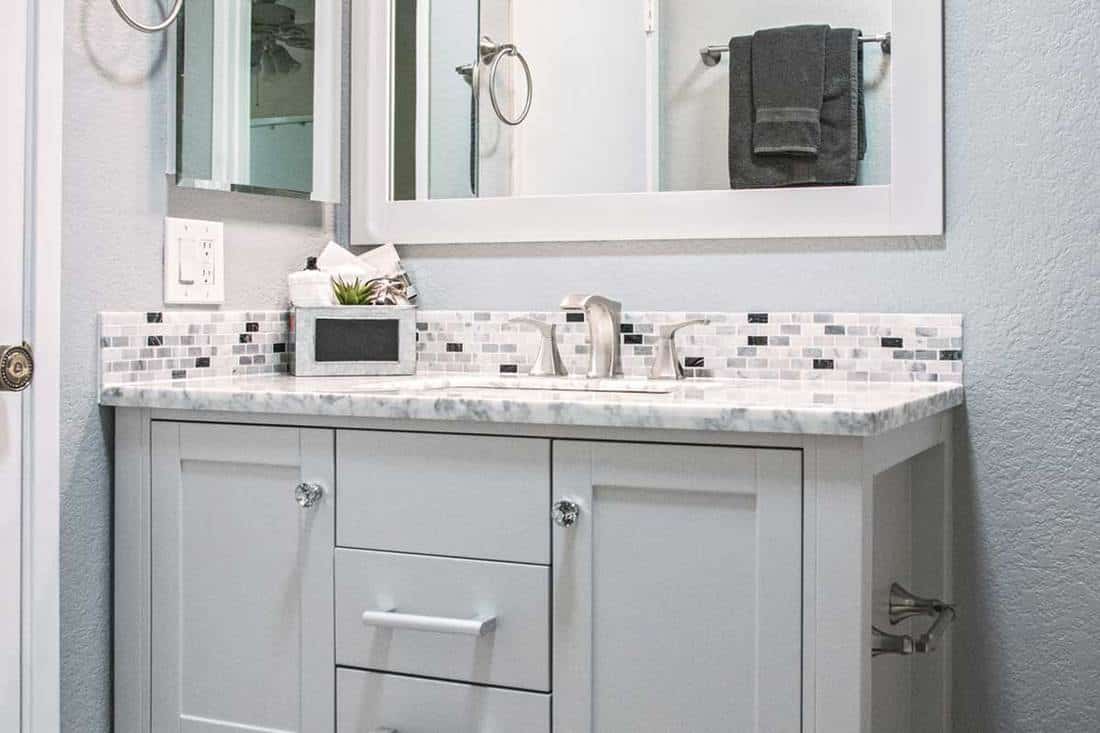
If your bathroom vanity is looking outdated and worn, a tiled countertop can give it a completely new look. Tiling the countertop is a simple and inexpensive way to transform your vanity and elevate the entire bathroom. Choose tiles that complement your existing bathroom decor and follow the same steps as mentioned above to tile the countertop. You can also consider adding a mosaic pattern or a border of accent tiles to make your vanity stand out.DIY Bathroom Vanity Makeover with Tiled Countertop


DIY Bathroom Vanity Makeover with Tiled Countertop


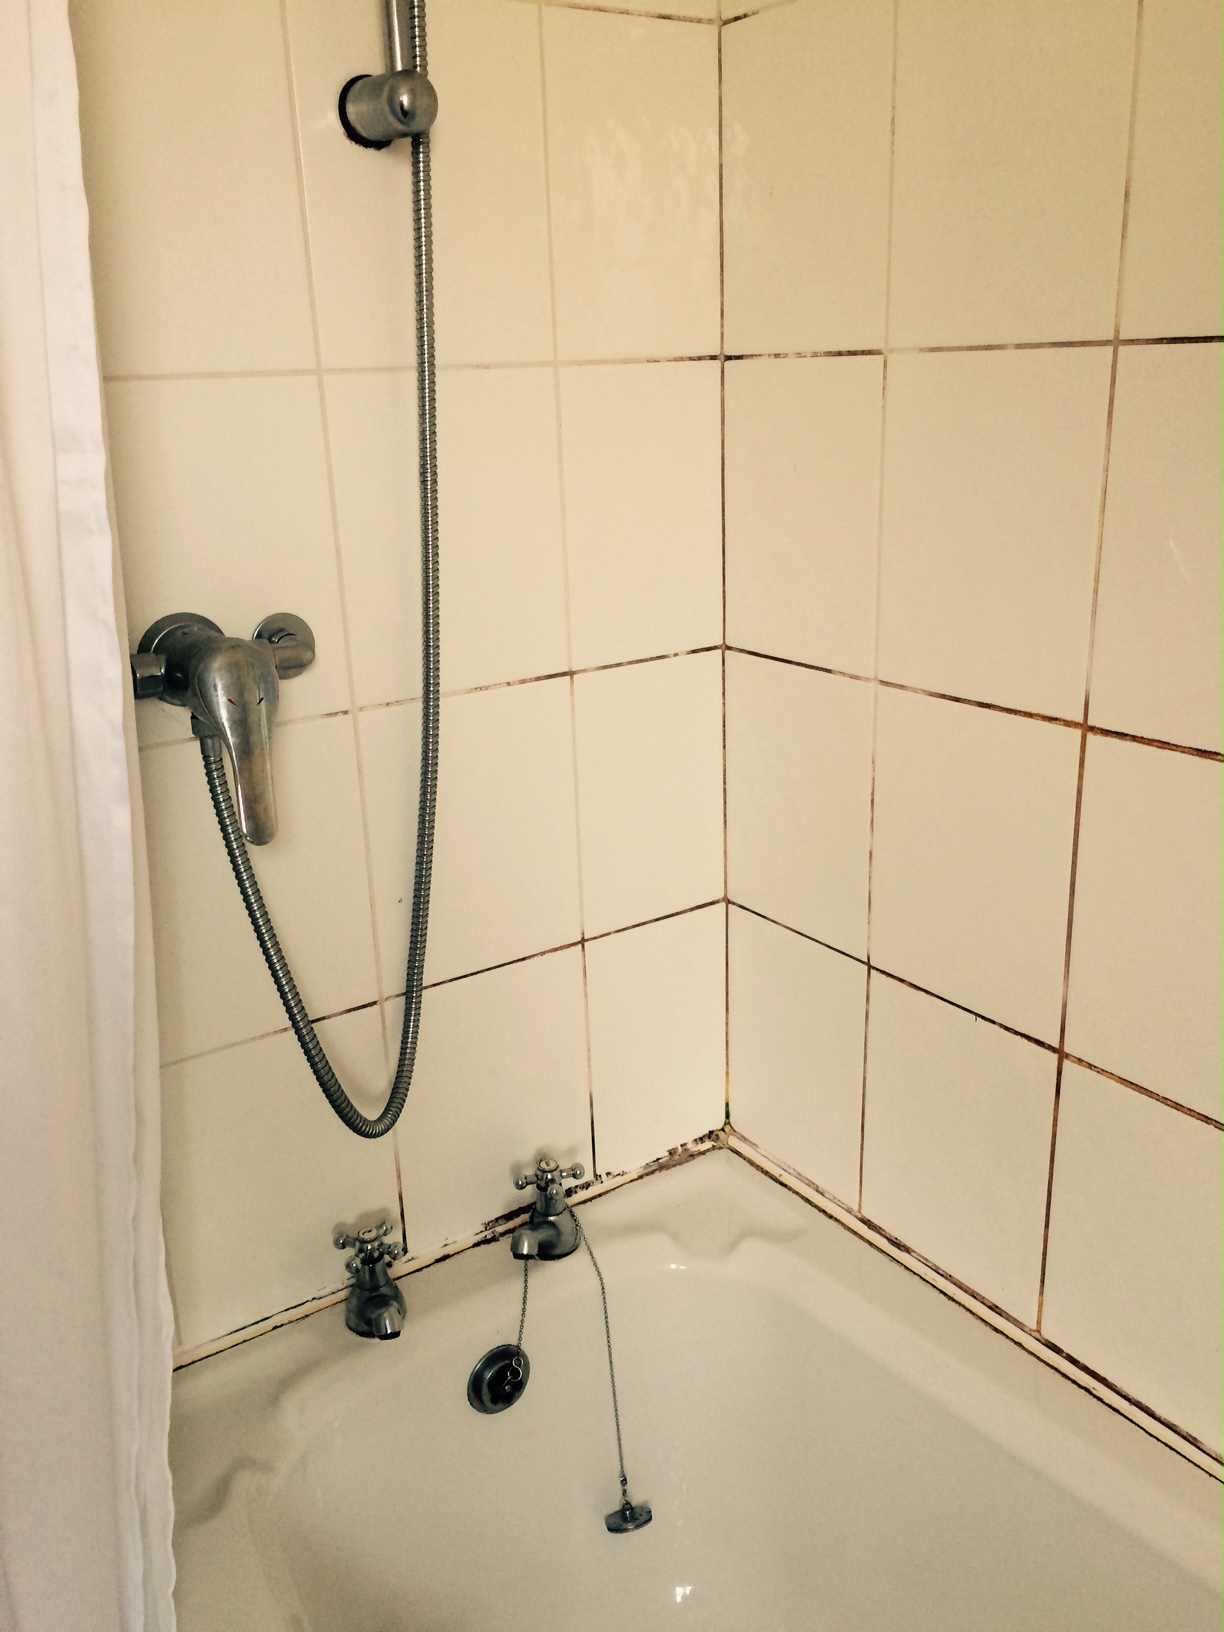
While tiling a bathroom vanity may seem like a straightforward task, there are some common mistakes that DIYers make. Here are the top five mistakes to avoid: Mistake 1: Not properly preparing the surface before tiling, which can lead to uneven tiles and a weak base. Mistake 2: Not using spacers, resulting in crooked and unevenly spaced tiles. Mistake 3: Using the wrong type of tile adhesive, which can cause tiles to loosen and fall off over time. Mistake 4: Not sealing the tiles and grout, leaving them vulnerable to moisture and stains. Mistake 5: Rushing the process and not allowing enough time for the tiles to set and the grout to dry properly.Top 5 Tiling Mistakes to Avoid in Your Bathroom Vanity Project


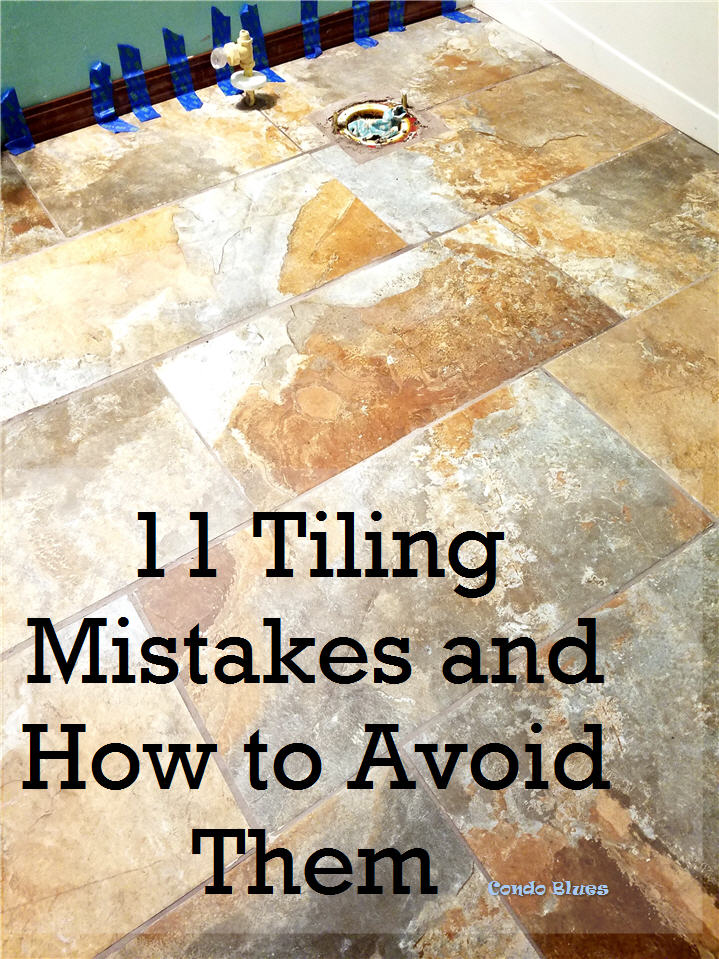
Top 5 Tiling Mistakes to Avoid in Your Bathroom Vanity Project
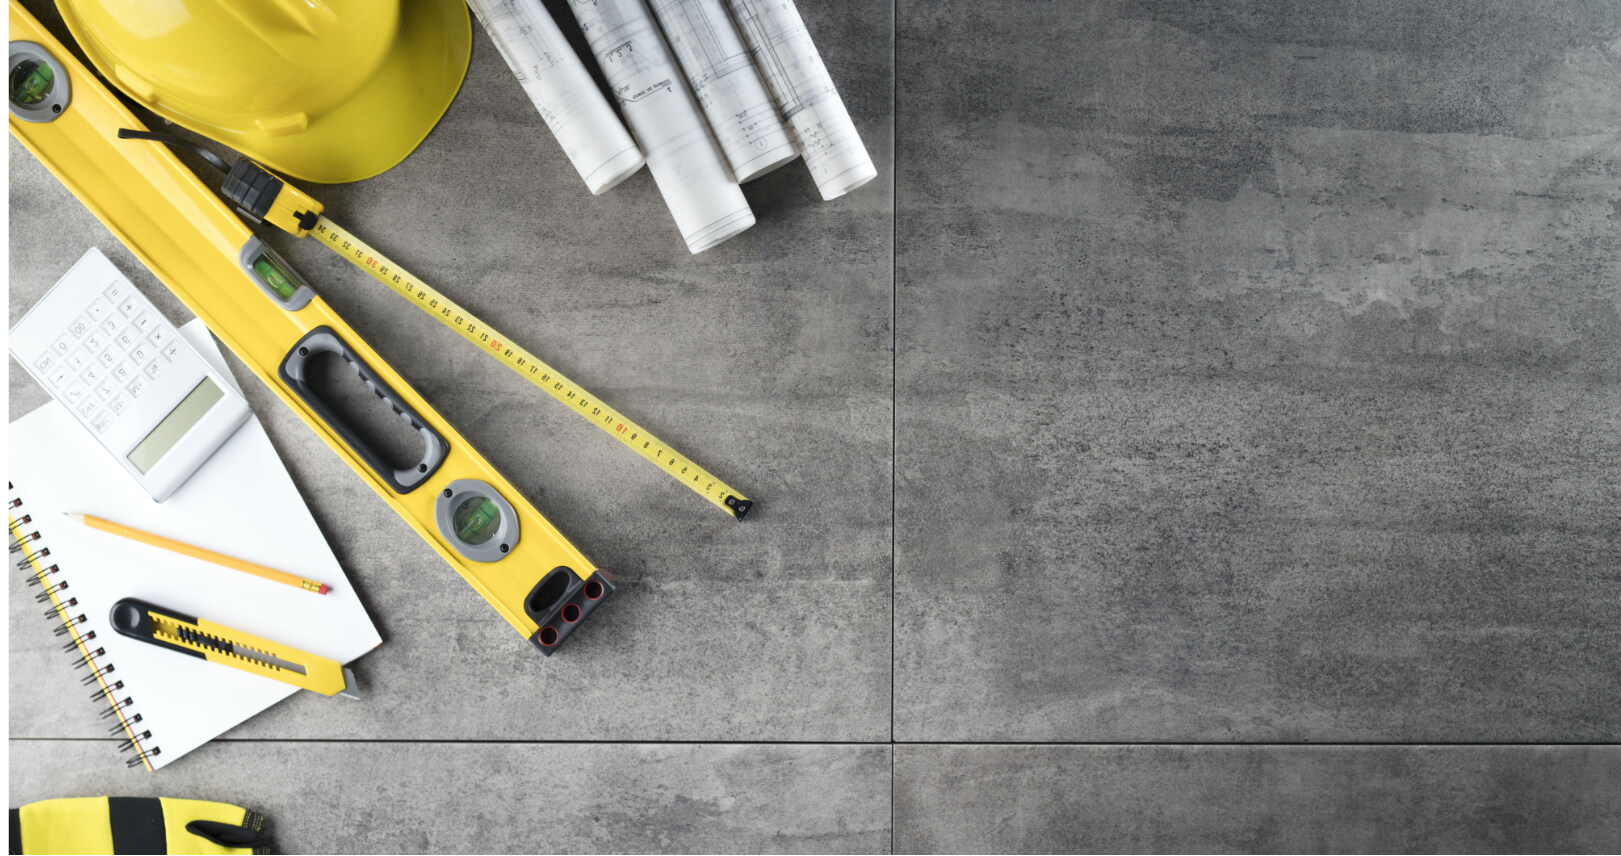


Before starting your tiling project, make sure you have all the necessary tools and materials on hand. These include: Tools: Notched trowel, tile cutter or wet saw, grout float, sponge, level, measuring tape. Materials: Tiles, thin-set mortar, grout, sealer, spacers, and any necessary hardware or fixtures.DIY Tiling Tools and Materials for a Bathroom Vanity


DIY Tiling Tools and Materials for a Bathroom Vanity


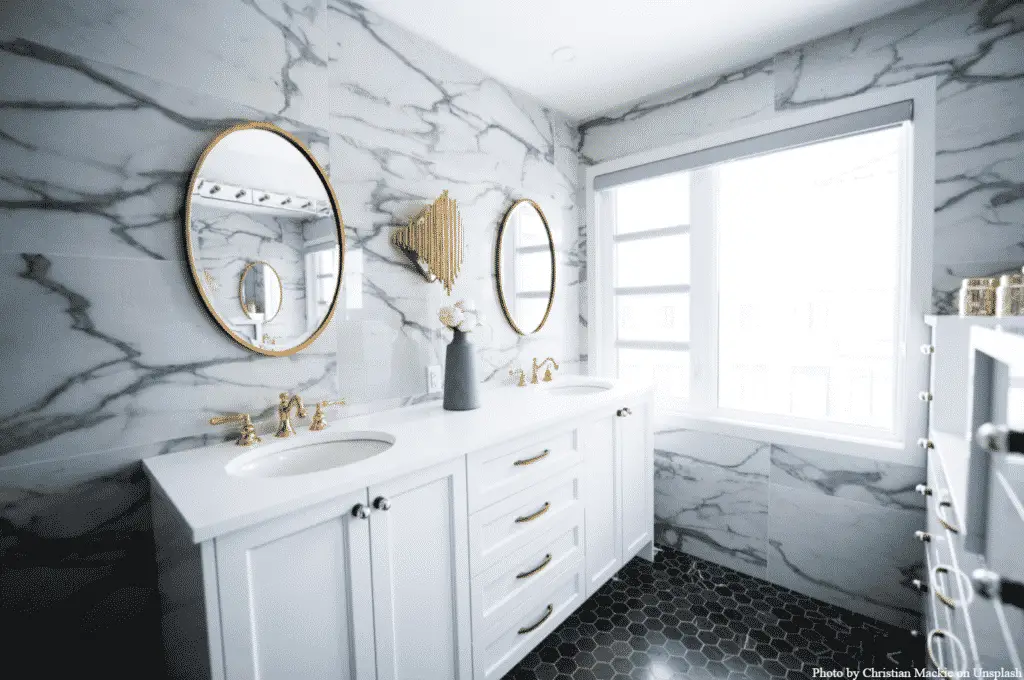
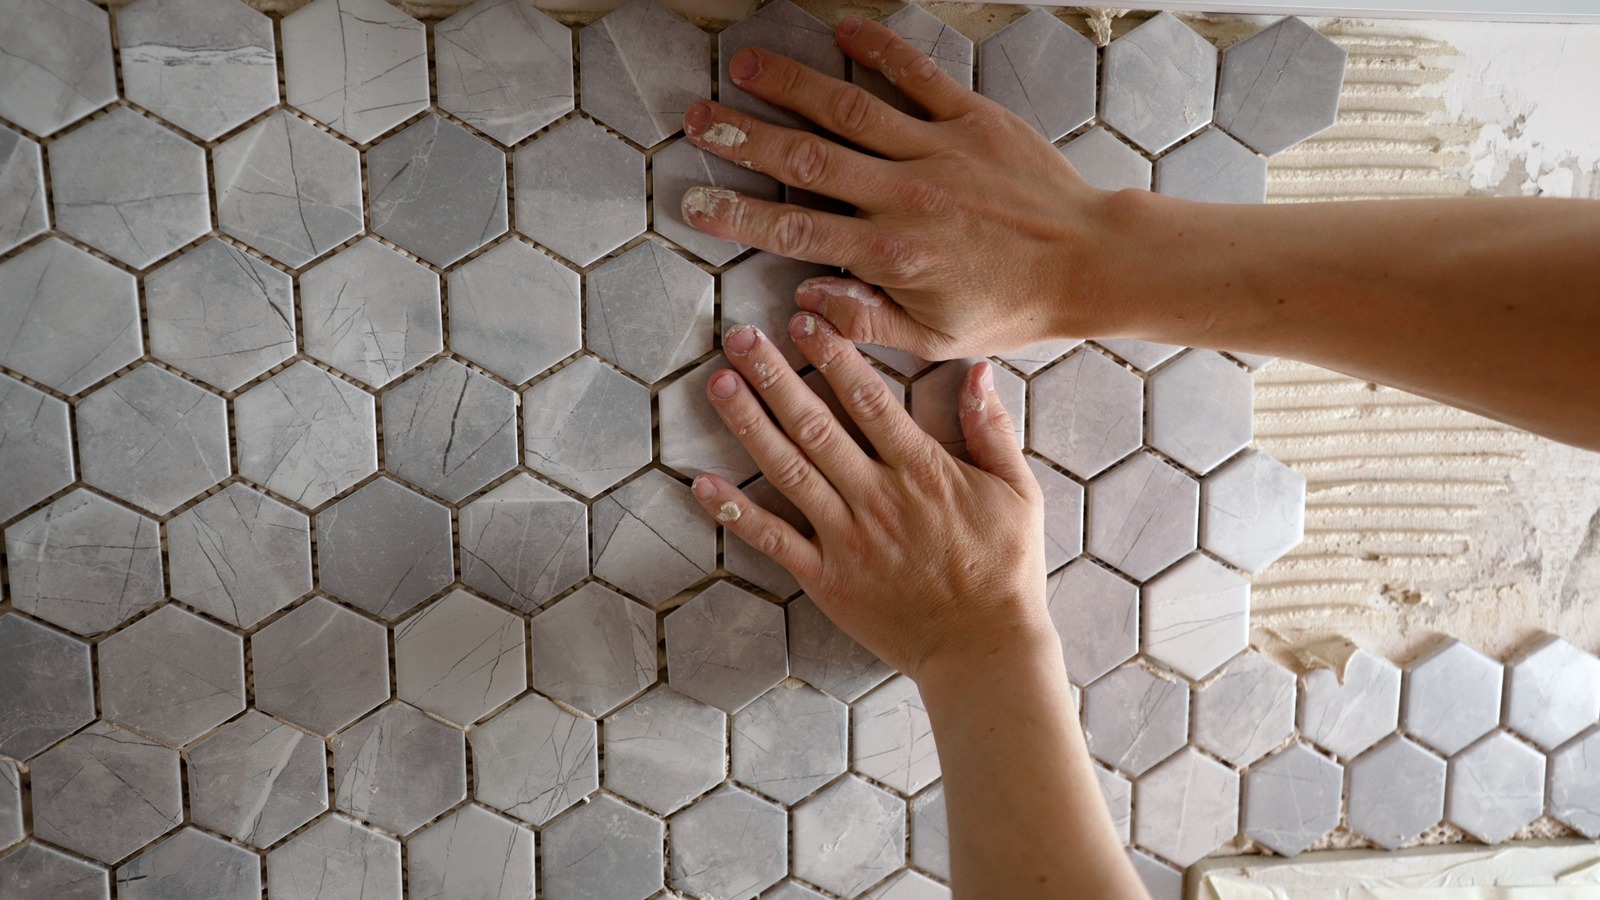
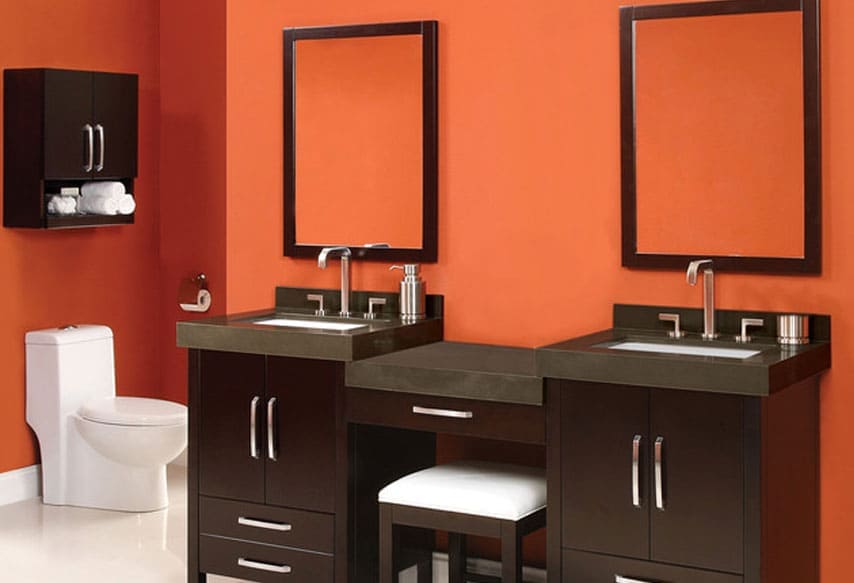
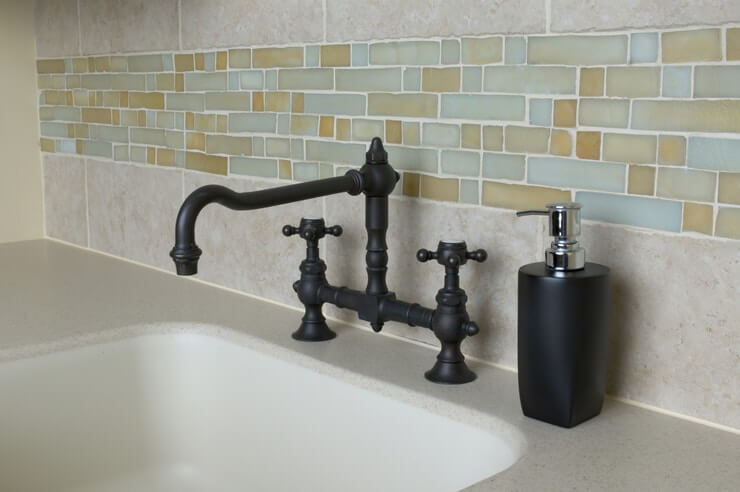
Choosing the right tiles for your bathroom vanity can be overwhelming with so many options available. Consider the style and color scheme of your bathroom when choosing tiles. For a classic and timeless look, opt for neutral colors and simple patterns. If you want to add a pop of color or texture, consider using accent tiles or creating a mosaic design. It is also important to choose tiles that are suitable for bathroom use, as they will be exposed to moisture and humidity. Porcelain and ceramic tiles are popular choices for bathroom vanity tiling due to their durability and water-resistance.How to Choose the Right Tiles for Your Bathroom Vanity


How to Choose the Right Tiles for Your Bathroom Vanity


While tiling a bathroom vanity can be a fun and rewarding DIY project, it may not be for everyone. If you are not confident in your tiling skills or do not have the necessary tools and materials, it may be best to hire a professional. A professional tiler will have the expertise and experience to ensure a flawless and long-lasting result. However, if you are up for the challenge and have the necessary skills and resources, tiling your bathroom vanity can save you money and give you a sense of accomplishment.DIY Tiling vs Hiring a Professional for Your Bathroom Vanity


DIY Tiling vs Hiring a Professional for Your Bathroom Vanity


:max_bytes(150000):strip_icc()/Showertileinstall-GettyImages-499630724-a1f505d9fc4240c5a1347aeb4738891d.jpg)

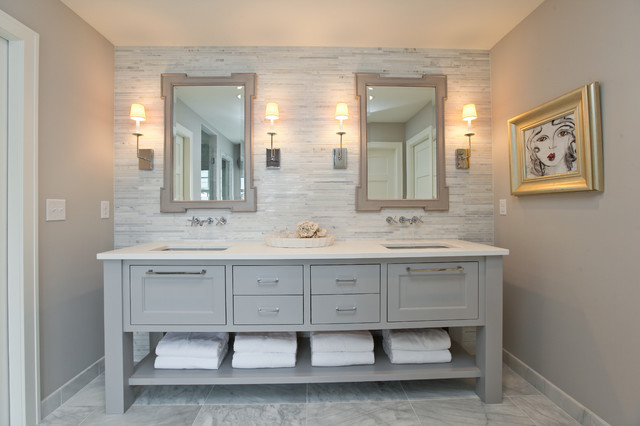
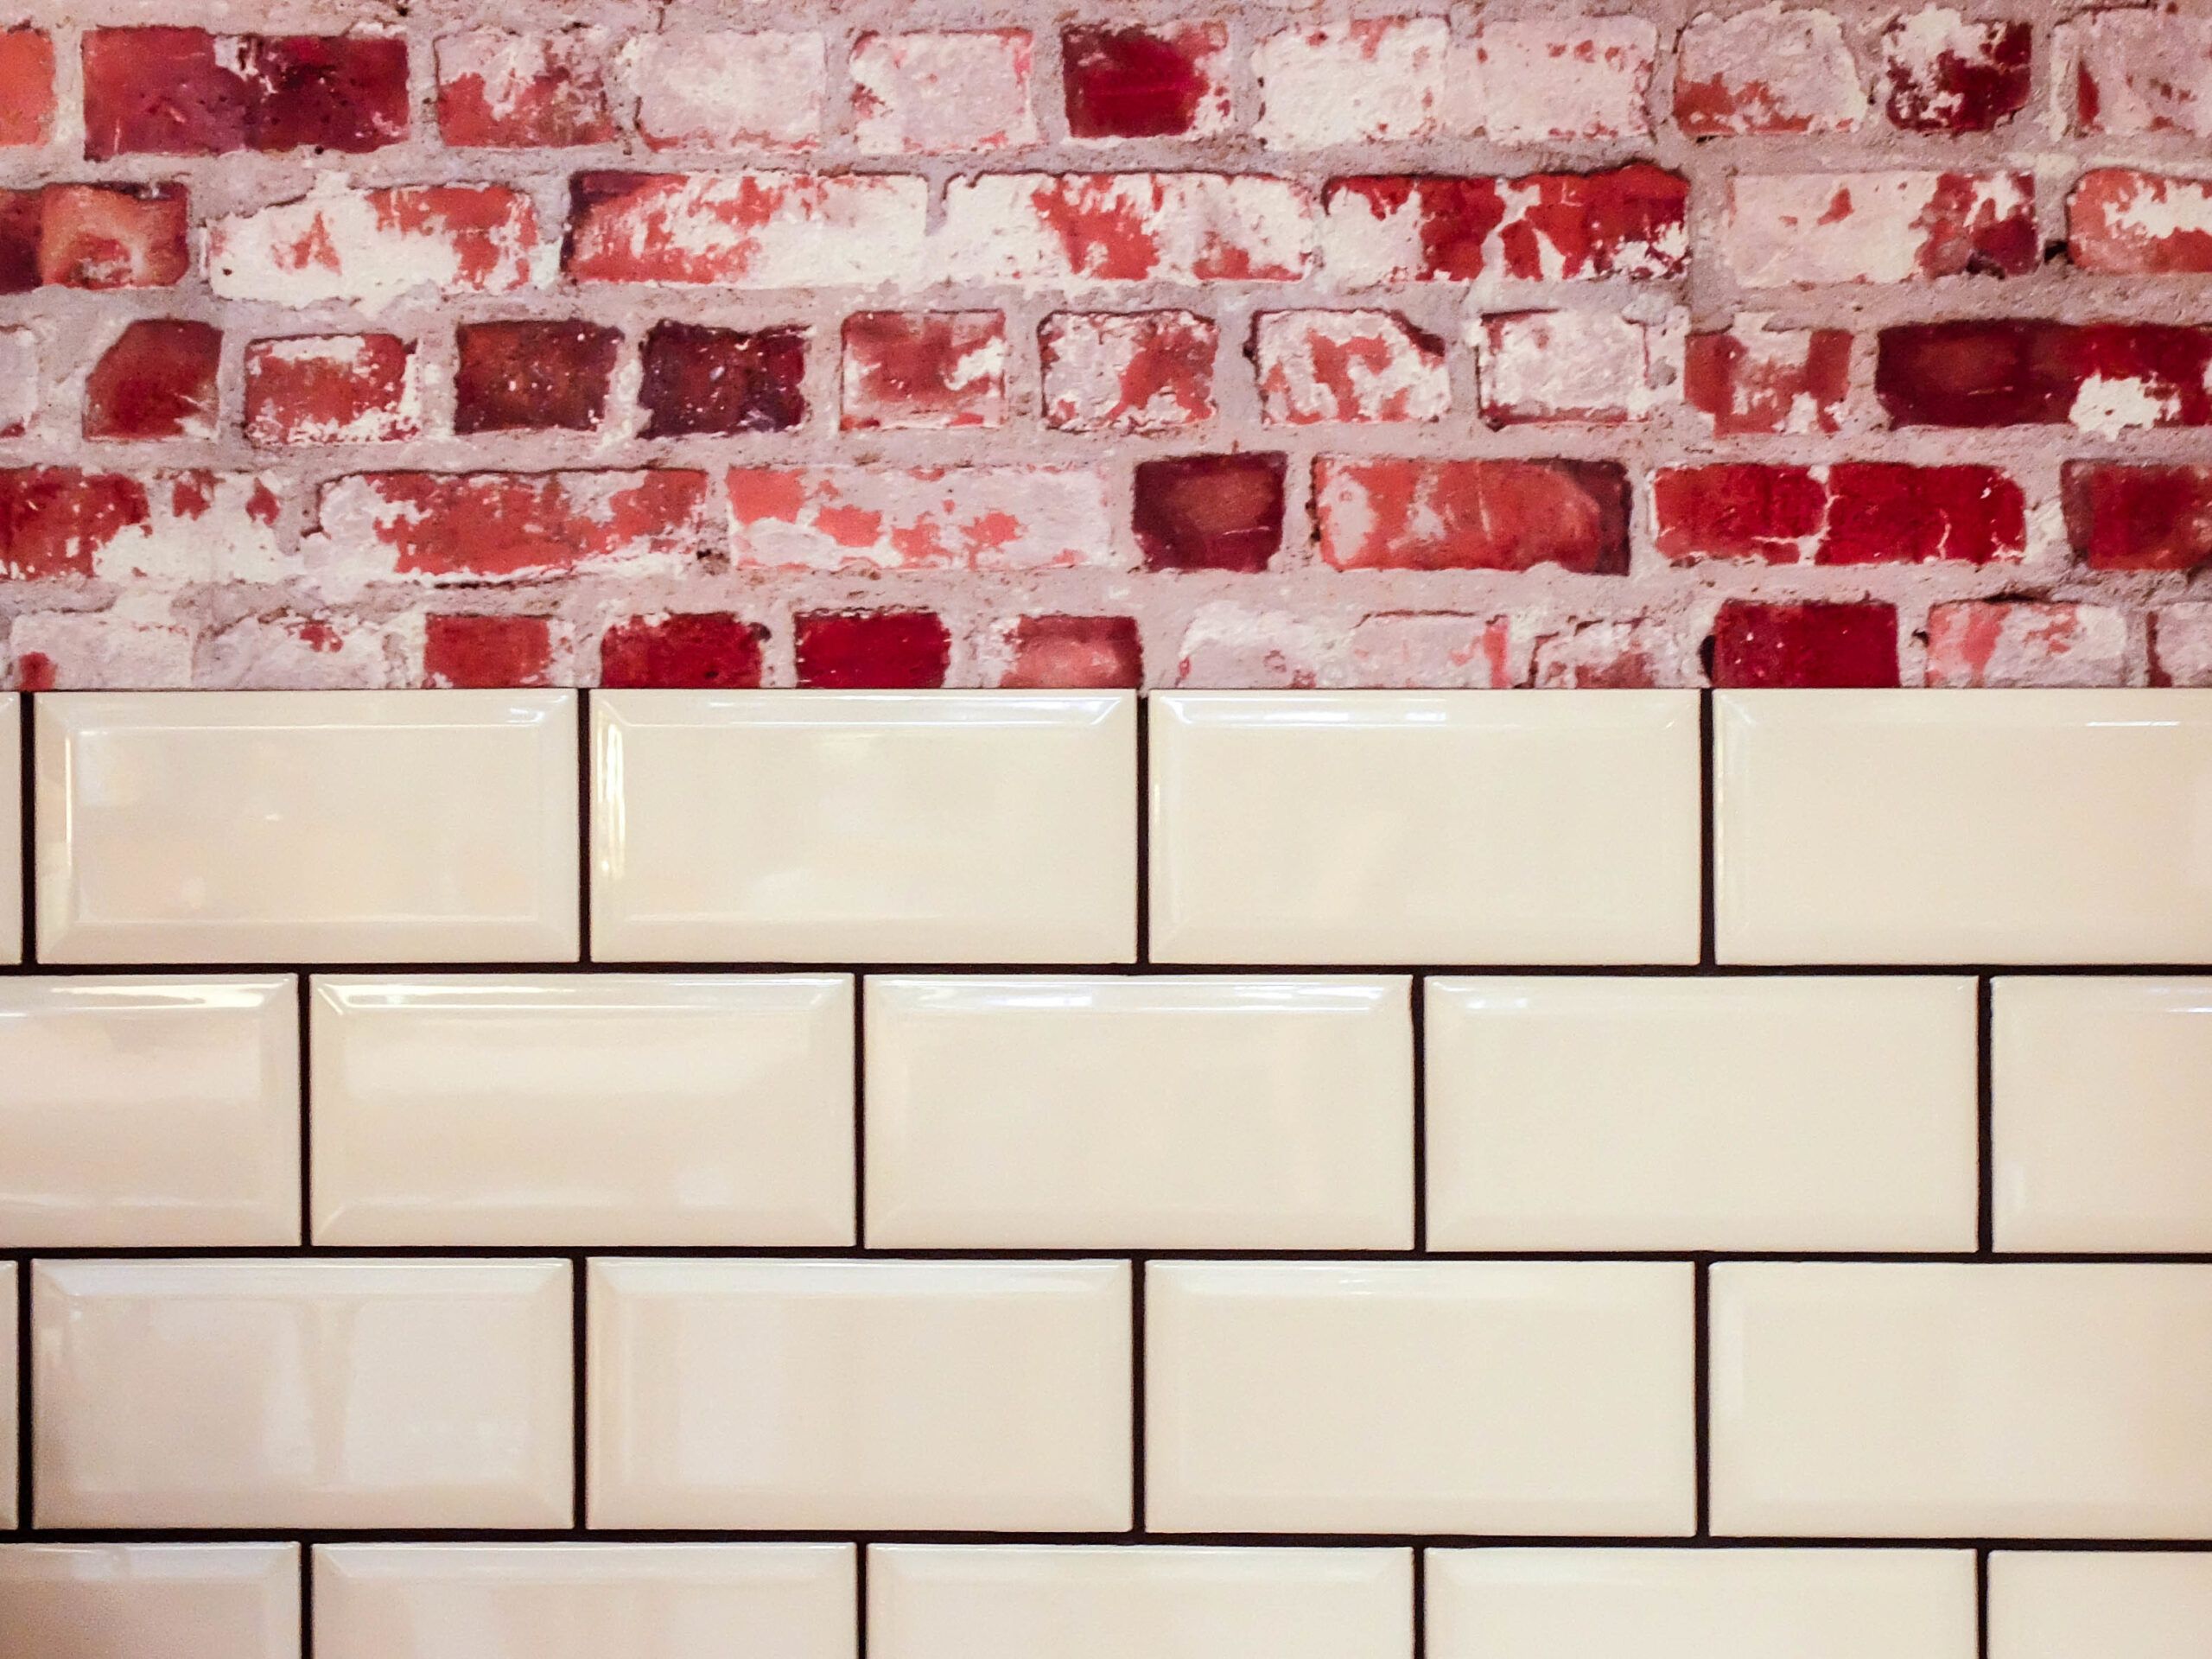
A backsplash is a great way to add a personal touch to your bathroom vanity and protect the wall from water and stains. Here are 10 creative ideas for tiling your bathroom vanity backsplash: 1. Subway tiles: Classic and timeless, subway tiles are a popular choice for bathroom backsplashes. 2. Mosaic tiles: Add a pop of color and texture with intricate mosaic tiles. 3. Geometric tiles: Create a modern and eye-catching backsplash with geometric tiles in different shapes and sizes. 4. Marble tiles: For a luxurious and elegant look, opt for marble tiles. 5. Herringbone pattern: Create a unique and visually appealing backsplash with tiles laid in a herringbone pattern. 6. Glass tiles: Reflect light and add a touch of glamour with glass tiles in various colors and finishes. 7. Penny tiles: These small, circular tiles can create a fun and playful look in your bathroom. 8. Wood-look tiles: Get the look of wood without the maintenance by using wood-look tiles for your backsplash. 9. Hexagonal tiles: Create a honeycomb effect with hexagonal tiles in a variety of colors and finishes. 10. Metallic tiles: Add a touch of sophistication and glamour with metallic or mirrored tiles.10 Creative Ideas for Tiling Your Bathroom Vanity Backsplash


10 Creative Ideas for Tiling Your Bathroom Vanity Backsplash


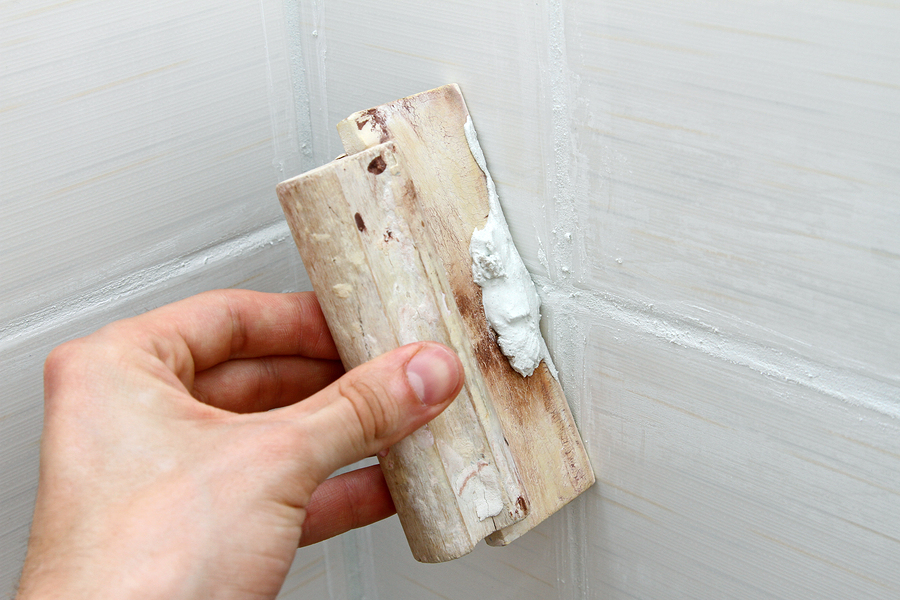
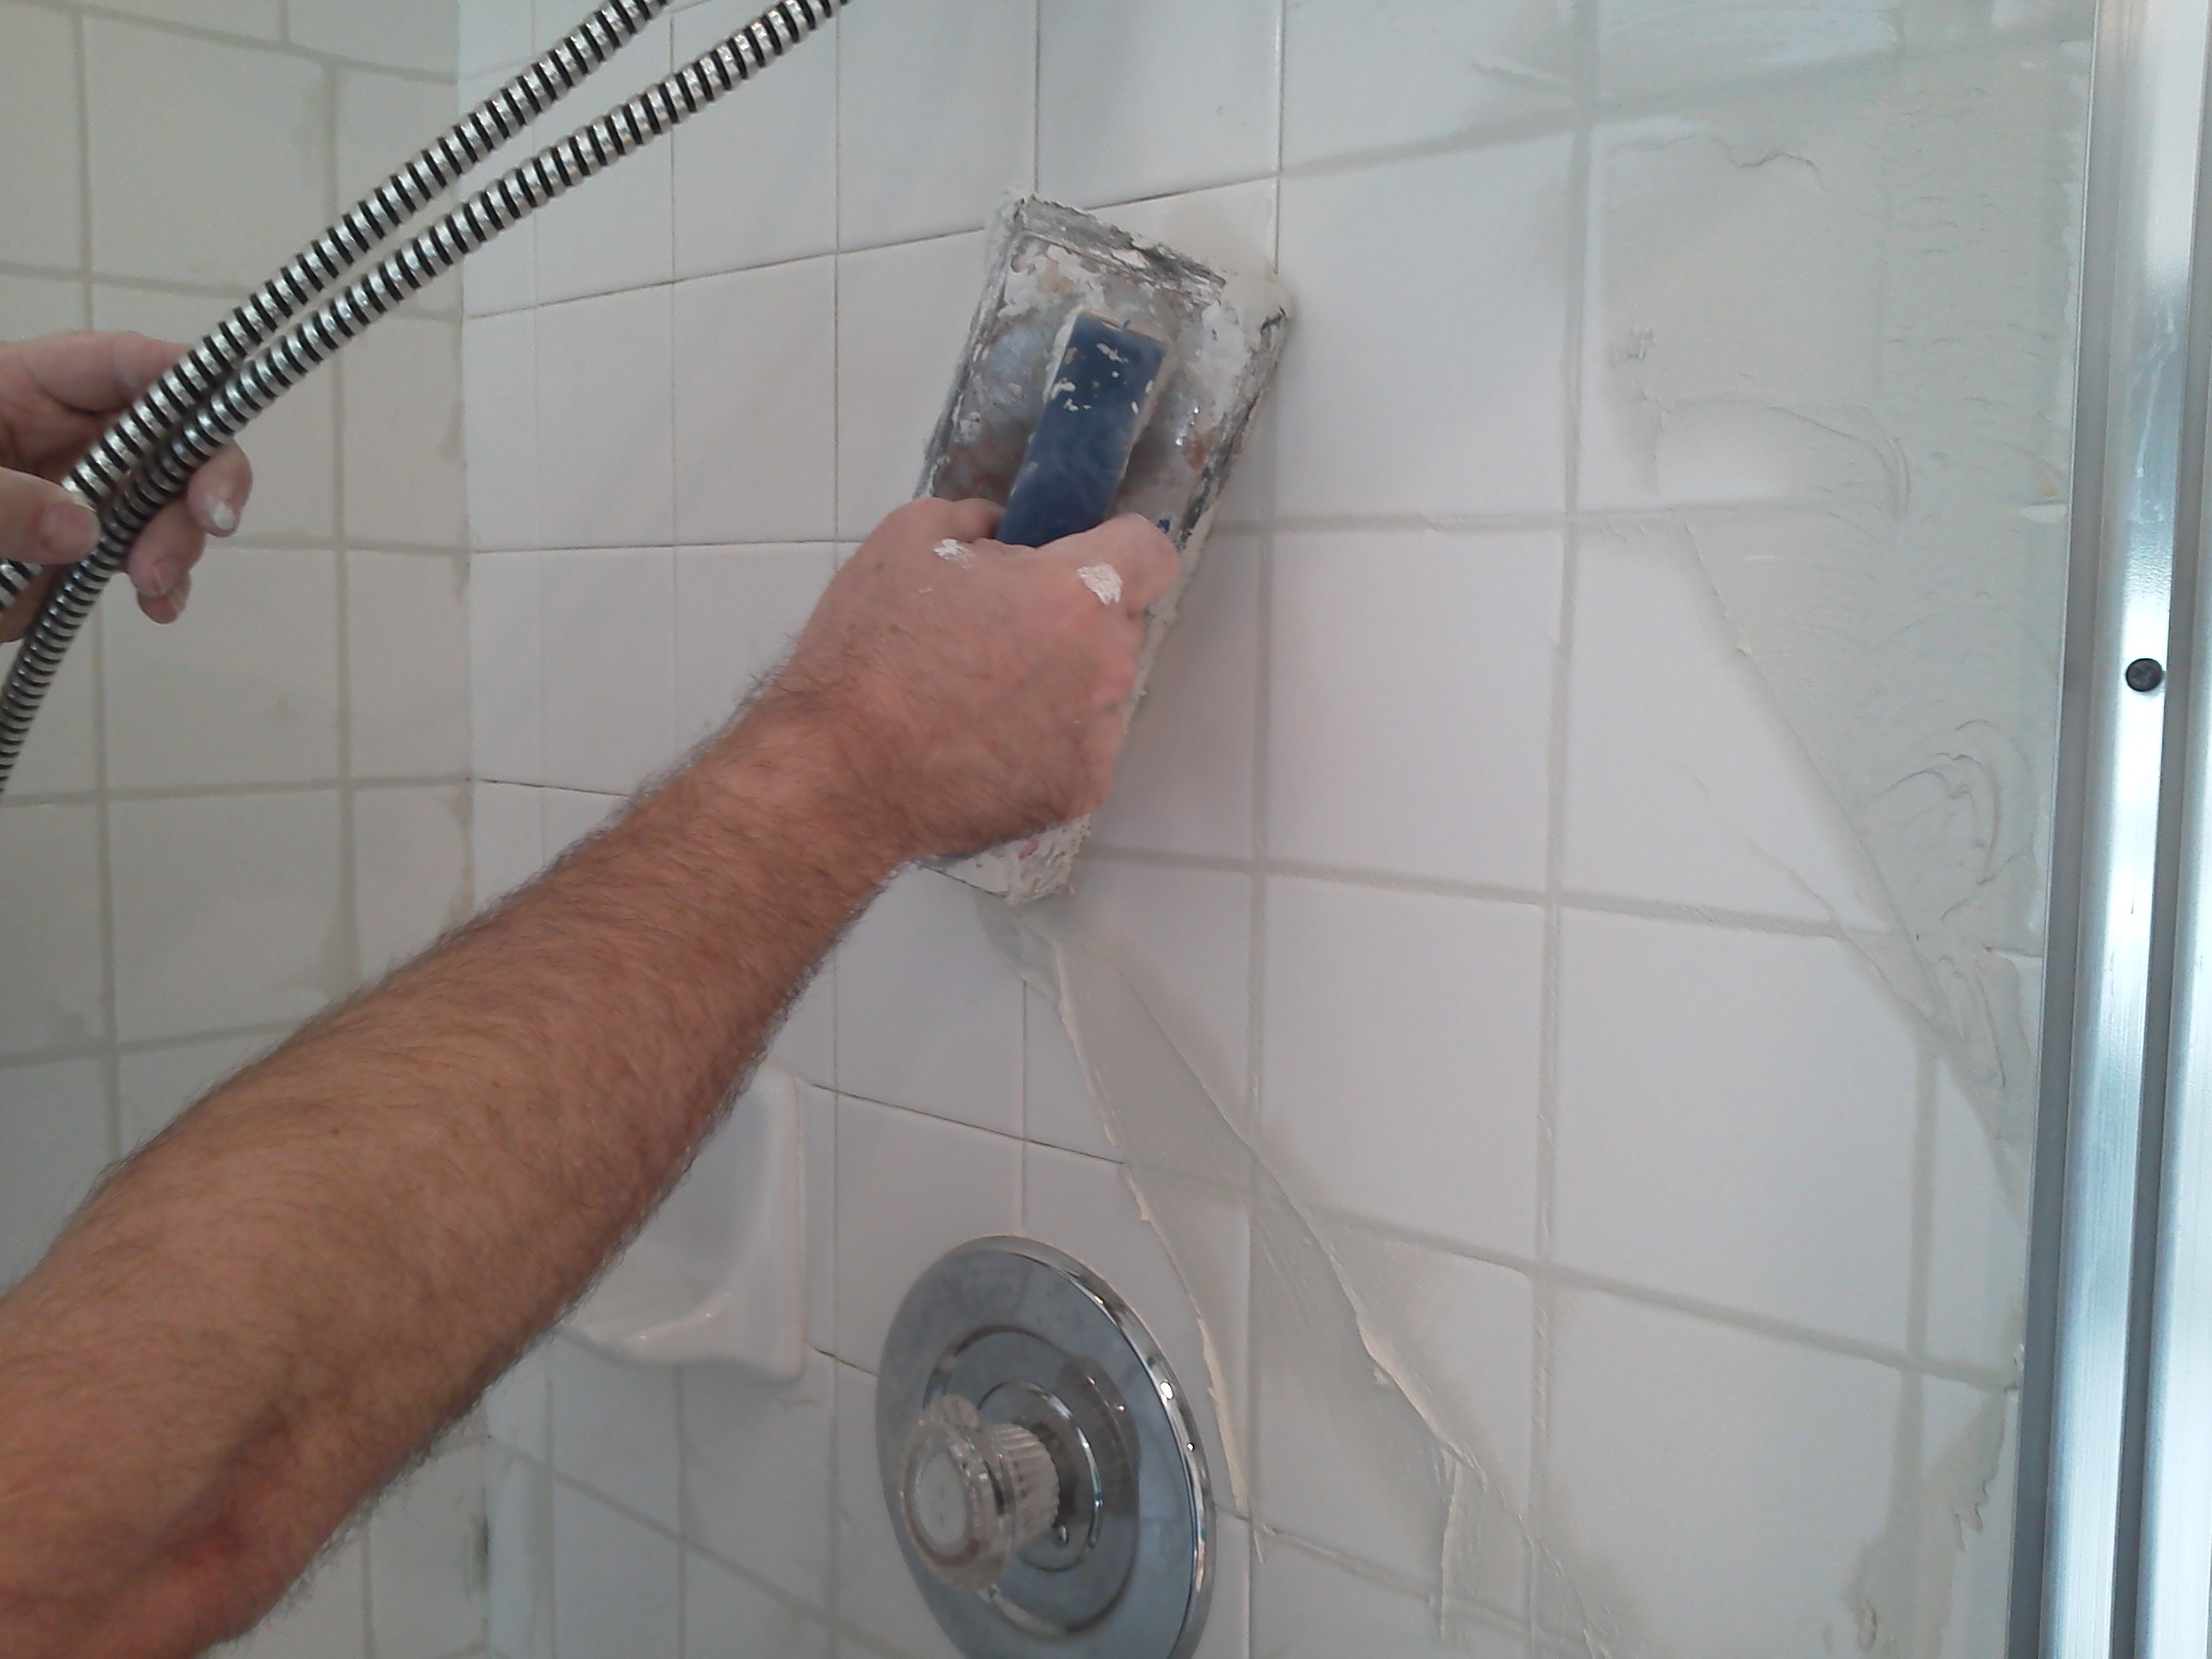
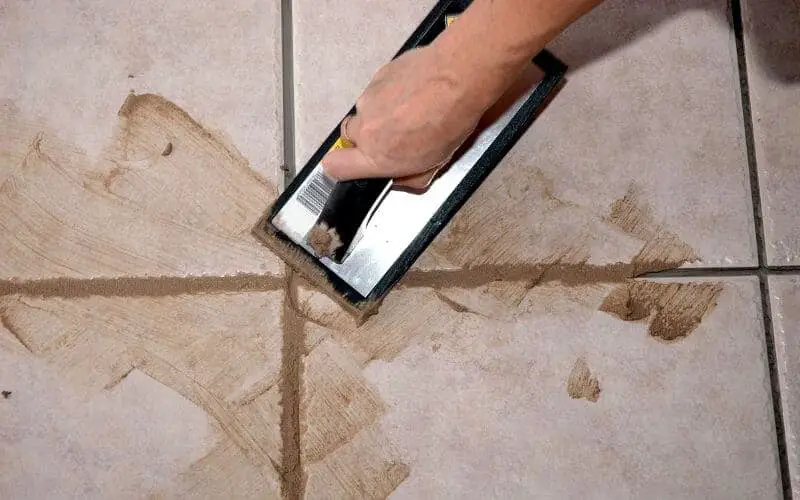
Grouting and sealing are the final steps in tiling your bathroom vanity and are crucial for a professional finish. Follow these steps to grout and seal your tiles: Step 1: Mix the grout according to the manufacturer's instructions. Step 2: Apply the grout using a grout float, making sure to fill all the gaps between the tiles. Step 3: Wipe away excess grout with a damp sponge, being careful not to remove too much grout from the joints. Step 4: Let the grout dry for 24 hours before sealing. Step 5: Apply a sealant to the grout and tiles to protect them from moisture and stains.How to Grout and Seal Your Tiled Bathroom Vanity for a Professional Finish


How to Grout and Seal Your Tiled Bathroom Vanity for a Professional Finish


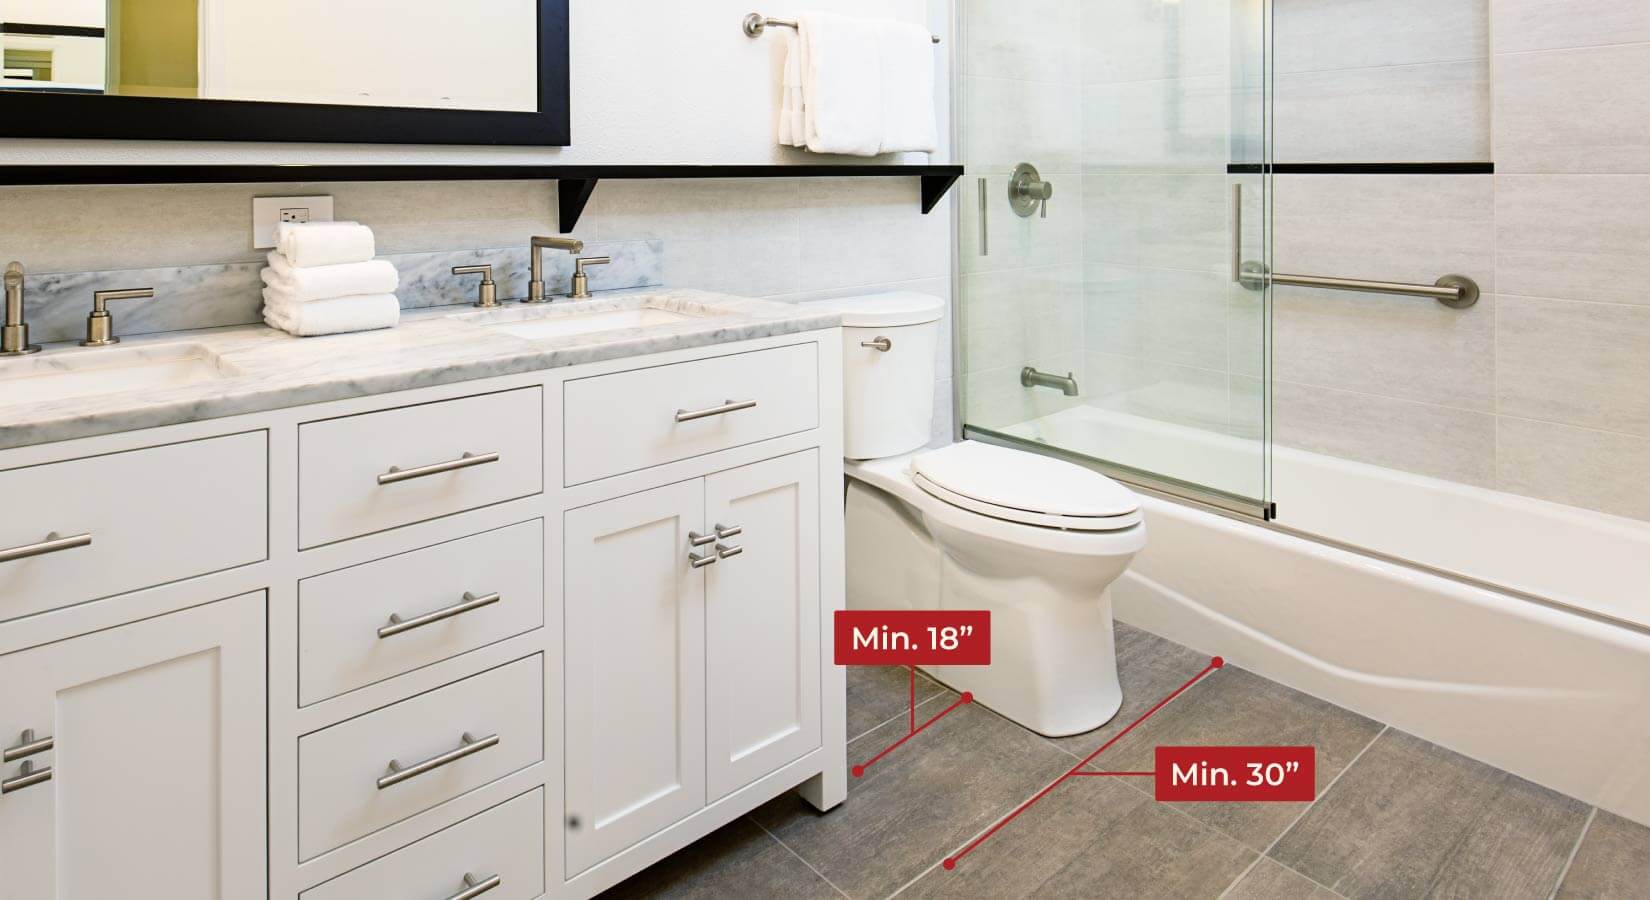
Tiling a small bathroom vanity can be a bit trickier than a larger one, but with the right approach, you can achieve a stunning result. Here are a few tips to keep in mind when tiling a small bathroom vanity: 1. Use larger tiles: Larger tiles can make a small vanity appear bigger and more spacious. 2. Choose light colors: Light-colored tiles can reflect light and make a small space feel brighter and more open. 3. Use a simple layout: Stick to a simple layout without too many patterns or accents to avoid overwhelming a small space. 4. Consider using a tile border: A tile border or accent can add interest and depth to a small vanity without overpowering the space. 5. Be mindful of grout lines: Using smaller grout lines can make a small vanity look cluttered. Opt for wider grout lines to create a clean and seamless look.DIY Tiling Tips for a Small Bathroom Vanity


DIY Tiling Tips for a Small Bathroom Vanity
:max_bytes(150000):strip_icc()/build-something-diy-vanity-594402125f9b58d58ae21158.jpg)


How to Transform Your Bathroom Vanity with DIY Tiling
:max_bytes(150000):strip_icc()/build-something-diy-vanity-594402125f9b58d58ae21158.jpg)
Why Tiling Your Bathroom Vanity is a Great DIY Project
 When it comes to house design, the bathroom often gets overlooked. However, it is one of the most used rooms in the house and deserves just as much attention as any other space. A bathroom vanity is a central element in any bathroom, and it can make or break the overall aesthetic. By tiling your bathroom vanity, you can instantly elevate the look and feel of your bathroom while also adding a personal touch. Not to mention, it is a budget-friendly and achievable DIY project that anyone can take on.
The Benefits of DIY Tiling
 Tiling your bathroom vanity may seem like a daunting task, but the benefits far outweigh any initial hesitation. Not only will it give your bathroom a fresh and updated look, but it also allows you to customize the design to your liking. Additionally, tiling is a durable and waterproof solution for your vanity, making it a practical choice for a bathroom setting. Plus, by doing it yourself, you can save money on labor costs and have the satisfaction of completing a project on your own.
Step-by-Step Guide to DIY Tiling Your Bathroom Vanity
 Now that you understand the advantages of tiling your bathroom vanity, let's dive into the step-by-step process.
Firstly
, gather all the necessary tools and materials, including tiles, adhesive, grout, spacers, and a tile cutter.
Next
, prepare the surface of your vanity by cleaning and sanding it to ensure proper adhesion.
Then
, measure and cut the tiles to fit your vanity, using a tile cutter or scoring tool.
After that
, apply adhesive to the back of the tiles and carefully place them onto the vanity.
Make sure
to use spacers to keep an even gap between the tiles.
Once
the tiles are set, remove the spacers and
proceed
to apply grout between the tiles.
Finally
, wipe away any excess grout and allow it to dry for at least 24 hours before using your newly tiled bathroom vanity.
Now that you understand the advantages of tiling your bathroom vanity, let's dive into the step-by-step process.
Firstly
, gather all the necessary tools and materials, including tiles, adhesive, grout, spacers, and a tile cutter.
Next
, prepare the surface of your vanity by cleaning and sanding it to ensure proper adhesion.
Then
, measure and cut the tiles to fit your vanity, using a tile cutter or scoring tool.
After that
, apply adhesive to the back of the tiles and carefully place them onto the vanity.
Make sure
to use spacers to keep an even gap between the tiles.
Once
the tiles are set, remove the spacers and
proceed
to apply grout between the tiles.
Finally
, wipe away any excess grout and allow it to dry for at least 24 hours before using your newly tiled bathroom vanity.
Customization and Design Options
 One of the best parts about DIY tiling your bathroom vanity is the endless possibilities for customization and design. You can choose from a variety of tile materials, colors, and patterns to create a unique look that reflects your personal style. You can also mix and match different tiles or create a mosaic design for a more intricate and eye-catching finish. The options are endless, and you have the creative freedom to make your bathroom vanity a statement piece in your home.
In Conclusion
 Tiling your bathroom vanity is a fantastic DIY project that can transform your bathroom and add value to your home. With the right tools, materials, and a bit of patience, you can achieve a professional-looking result without breaking the bank. So why not give your bathroom vanity the attention it deserves and take on this fun and rewarding project? Your bathroom will thank you.