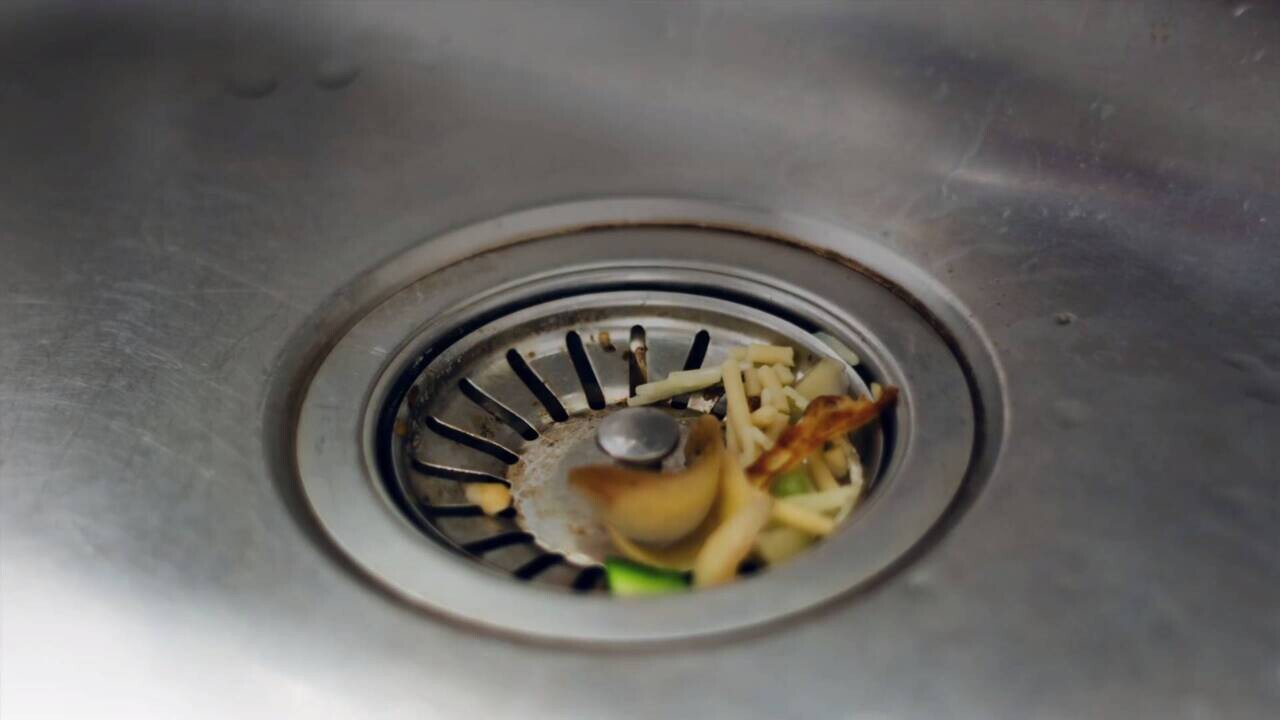
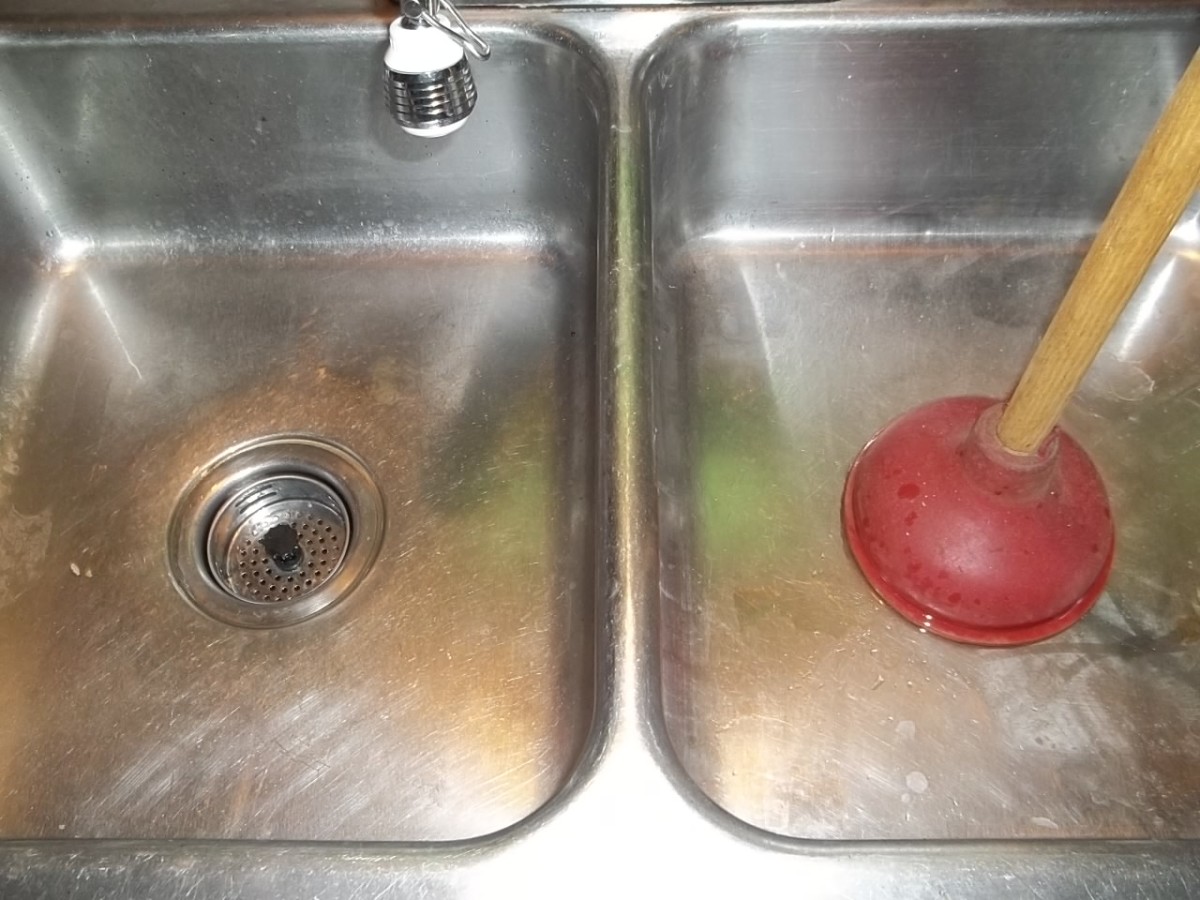
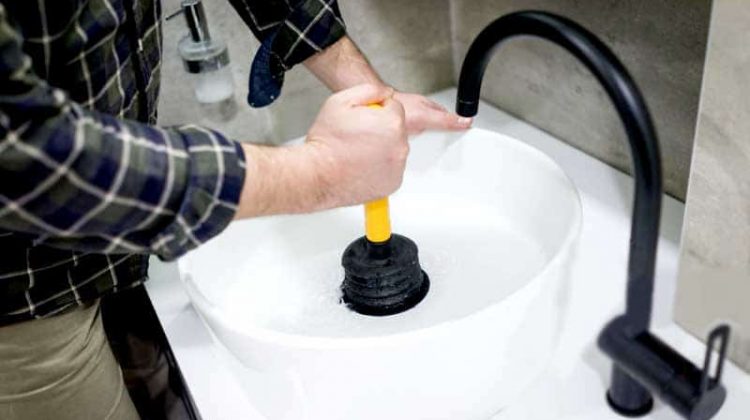
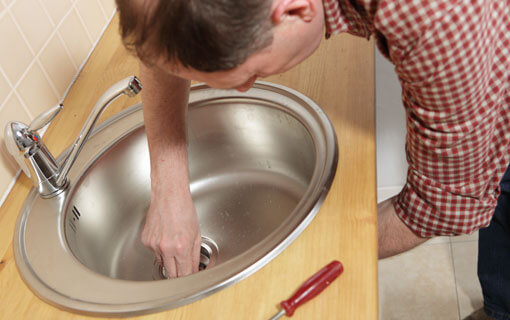
Dealing with a clogged kitchen sink drain can be a major inconvenience, but luckily, it's a problem that can easily be fixed with a little DIY know-how. Instead of calling a plumber and spending money on professional services, try following these simple steps to unclog your kitchen sink drain yourself. First, start by removing any visible debris from the drain, such as food scraps or hair. You can use a pair of tweezers or a small tool like a drain snake to pull out any blockages. Then, pour a pot of boiling water down the drain to help loosen and break up any remaining clogs. If the boiling water doesn't do the trick, try using a mixture of equal parts baking soda and vinegar. Pour the mixture down the drain and let it sit for a few minutes before following it up with more hot water. The chemical reaction between the baking soda and vinegar can help dissolve stubborn clogs. For tougher clogs, you may need to use a plunger. Make sure to cover the drain opening with the plunger and create a seal before plunging up and down. This can help dislodge and break up any blockages in the pipes. If none of these methods work, you may need to use a drain auger or call a professional plumber for assistance. However, by following these DIY steps, you can save time and money while successfully unclogging your kitchen sink drain.1. How to Unclog a Kitchen Sink Drain | DIY


1. How to Unclog a Kitchen Sink Drain


Over time, the drain in your kitchen sink can become damaged or worn out, causing leaks and other issues. Instead of calling a plumber and spending money on repairs, you can try fixing the problem yourself with some DIY skills. The first step in DIY kitchen sink drain repair is to identify the issue. If you notice a leak, it's important to determine where the leak is coming from. You may need to remove the drain cover and inspect the pipes underneath to find the source of the leak. Once you've identified the problem, you can make the necessary repairs. This may involve replacing damaged pipes or tightening loose connections. You can find replacement parts at your local hardware store and follow online tutorials for step-by-step instructions on how to make the repairs. It's important to take caution and follow safety guidelines when attempting DIY repairs on your kitchen sink drain. If you're unsure or uncomfortable with the process, it's best to call a professional plumber for assistance.2. DIY Kitchen Sink Drain Repair


DIY


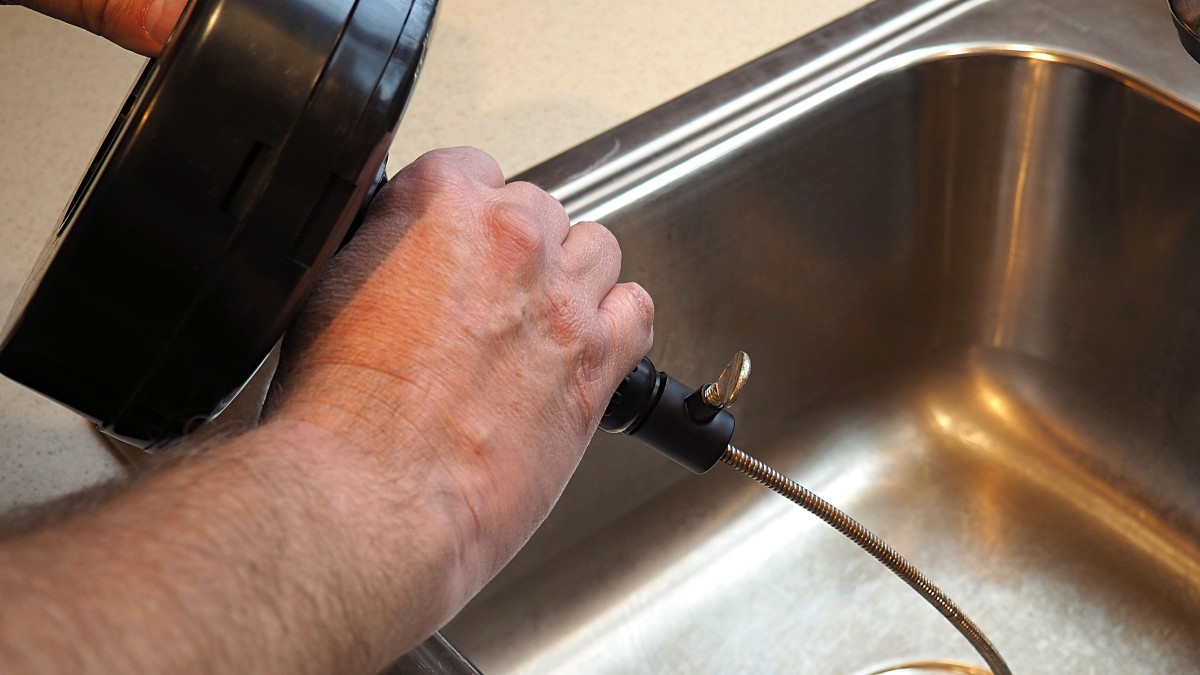
If you're renovating your kitchen or simply upgrading your sink, you may need to install a new drain. While this may seem like a daunting task, it's actually a DIY project that can be easily accomplished with the right tools and instructions. Start by purchasing a new drain assembly that is compatible with your sink and plumbing system. Next, follow the instructions provided with the assembly to properly install it in your sink. This may involve removing the old drain and installing the new one with the necessary seals and connections. Once you've installed the new drain, test it by running water through it and checking for any leaks. If everything looks good, you can continue with your kitchen renovation or enjoy your upgraded sink.3. DIY Kitchen Sink Drain Installation


2. DIY Kitchen Sink Drain Repair


/how-to-install-a-sink-drain-2718789-hero-b5b99f72b5a24bb2ae8364e60539cece.jpg)
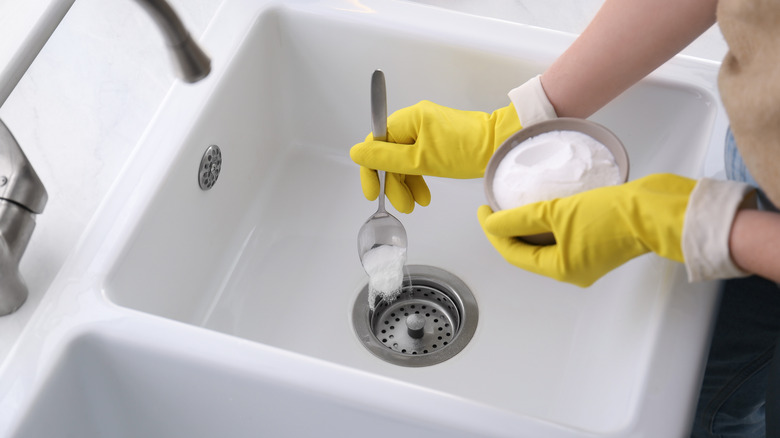
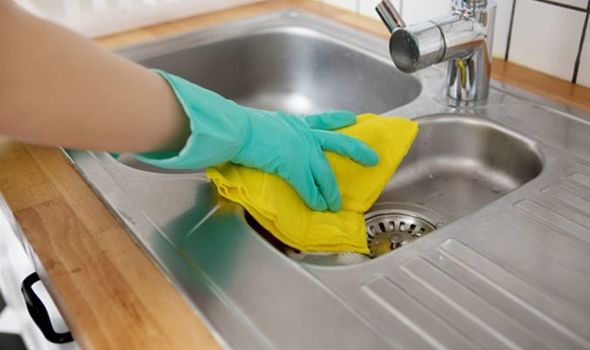
Regularly cleaning your kitchen sink drain is important for preventing clogs and maintaining a healthy plumbing system. Instead of using harsh chemicals, you can opt for DIY methods to clean your drain in a safe and eco-friendly way. One popular method is using a mixture of baking soda and vinegar. Simply pour some baking soda down the drain, followed by vinegar, and let it sit for a few minutes. Then, rinse with hot water to help remove any buildup and odors. You can also use a mixture of lemon juice and salt to clean and deodorize your drain. Pour the mixture down the drain and let it sit for a few minutes before rinsing with hot water. This method can also help remove grease and grime from your drain. Regularly cleaning your kitchen sink drain can help prevent clogs and keep your plumbing in good condition. It's an easy DIY task that can be done with natural ingredients found in your kitchen pantry.4. DIY Kitchen Sink Drain Cleaning


3. DIY Kitchen Sink Drain Installation
:max_bytes(150000):strip_icc()/how-to-install-a-sink-drain-2718789-hero-24e898006ed94c9593a2a268b57989a3.jpg)


If your kitchen sink drain is beyond repair, you may need to replace it with a new one. While this may seem like a job for a professional plumber, it's actually a DIY task that can save you money and give you a sense of accomplishment. Start by purchasing a new drain assembly that is compatible with your sink and plumbing system. Then, follow the instructions provided with the assembly to properly remove the old drain and install the new one. This may involve using tools like a wrench or pliers to remove and tighten connections. Once the new drain is installed, make sure to test it for any leaks and make necessary adjustments. With some basic DIY skills, you can successfully replace your kitchen sink drain and avoid the cost of hiring a plumber.5. DIY Kitchen Sink Drain Replacement


4. DIY Kitchen Sink Drain Cleaning
:strip_icc()/how-to-clean-a-bathroom-sink-drain-01-c728294c8bee42428afdf3e69f449279.jpg)


In addition to regular cleaning, it's important to perform some maintenance tasks on your kitchen sink drain to keep it in good condition. This can prevent clogs and other issues that may require costly repairs. One simple DIY maintenance task is to regularly pour boiling water down the drain to help break up and flush away any buildup. You can also use a mixture of baking soda and vinegar to keep your drain clean and fresh. It's also a good idea to use a mesh drain strainer to catch any food scraps or debris before they go down the drain. This can help prevent clogs and keep your drain free-flowing. By incorporating these DIY maintenance tasks into your routine, you can keep your kitchen sink drain in good condition and avoid any major problems in the future.6. DIY Kitchen Sink Drain Maintenance


5. DIY Kitchen Sink Drain Replacement


A leaky kitchen sink drain can be a nuisance and can also cause damage to your cabinets and flooring. But before calling a plumber, you can try repairing the leak yourself with some basic DIY skills. Start by identifying the source of the leak. It may be coming from a loose connection or a damaged pipe. Tighten any loose connections and replace any damaged parts if necessary. If the leak persists, you may need to use a pipe wrench or pliers to remove the drain and replace it with a new one. Make sure to follow the instructions provided with the new drain assembly to properly install it and prevent any future leaks.7. DIY Kitchen Sink Drain Leak Repair

6. DIY Kitchen Sink Drain Maintenance


If your kitchen sink drain stopper is not working properly, you may need to replace it. This is a simple DIY task that can save you money and restore the functionality of your sink. Start by removing the old stopper and inspecting it for any damage. If it's damaged, you can purchase a replacement stopper at your local hardware store. Then, follow the instructions provided with the new stopper to properly install it in your sink. Make sure to test the new stopper to ensure it's working properly and can effectively stop water from going down the drain. With some basic DIY skills, you can easily replace a faulty kitchen sink drain stopper.8. DIY Kitchen Sink Drain Stopper Replacement


7. DIY Kitchen Sink Drain Leak Repair


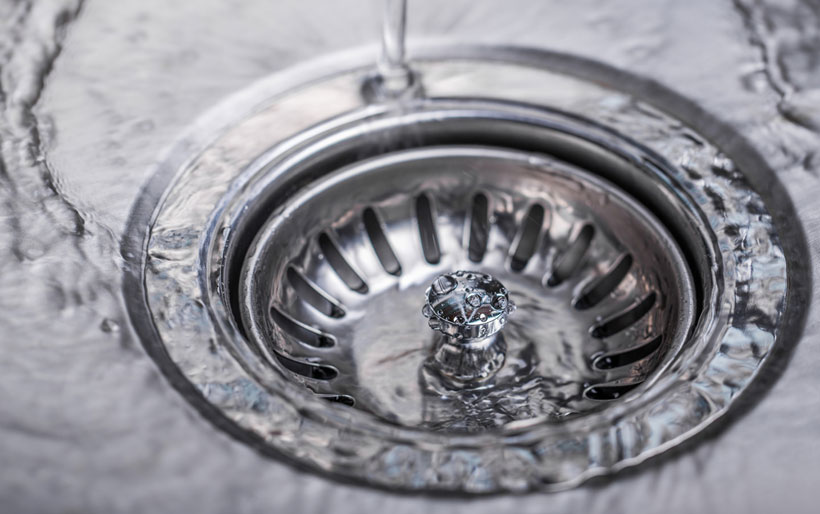
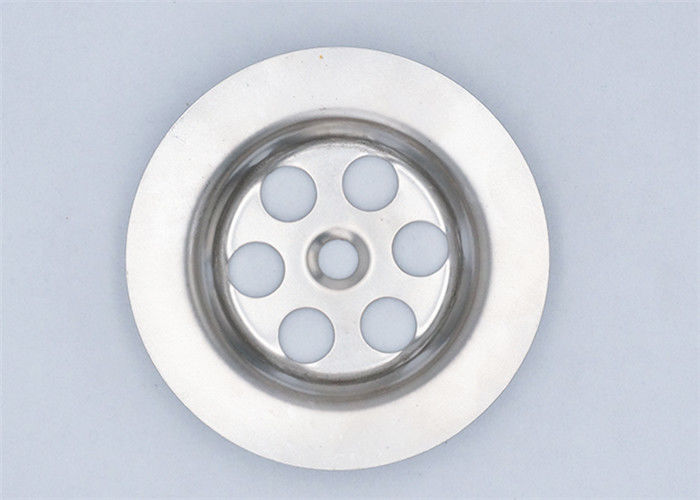
Installing a strainer in your kitchen sink drain can help catch food scraps and prevent clogs. This is a simple DIY project that can be done in a matter of minutes with just a few tools. Start by purchasing a strainer that is compatible with your sink and drain. Then, remove the drain cover and clean any debris from the opening. Place the strainer over the opening and secure it by tightening the nut underneath. Make sure to test the strainer by running water through it and checking for any leaks. This DIY project can save you from having to deal with clogs and expensive repairs in the future.9. DIY Kitchen Sink Drain Strainer Installation


8. DIY Kitchen Sink Drain Stopper Replacement


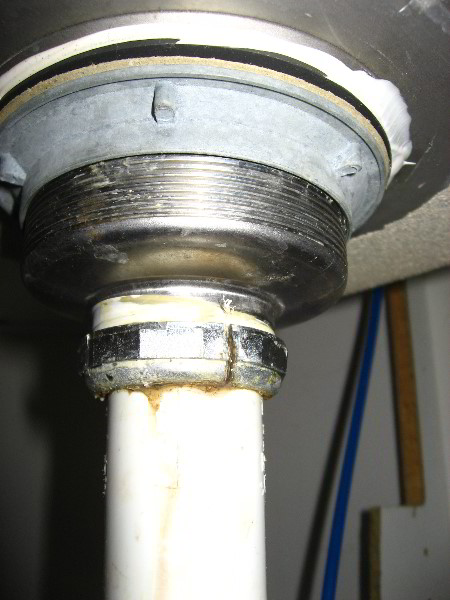
If you notice a leak coming from one of the pipes under your kitchen sink, you may need to repair or replace the damaged pipe. This is a DIY task that can be easily accomplished with some basic tools and skills. Start by identifying the damaged pipe and determining the cause of the leak. You may need to tighten connections or replace the pipe altogether. Use a pipe wrench or pliers to remove the damaged pipe and install a new one with the necessary seals and connections. Make sure to test the new pipe for any leaks and make necessary adjustments. With some DIY know-how, you can successfully repair a damaged kitchen sink drain pipe and avoid the cost of hiring a professional plumber.10. DIY Kitchen Sink Drain Pipe Repair


9. DIY Kitchen Sink Drain Strainer Installation

/how-to-install-a-sink-drain-2718789-hero-24e898006ed94c9593a2a268b57989a3.jpg)


Why DIY Kitchen Sink Drain is the Perfect Addition to Your House Design

Efficiency and Cost Savings
 One of the main benefits of doing a DIY kitchen sink drain is the efficiency and cost savings it provides. By tackling the project yourself, you can save on the cost of hiring a professional plumber. Plus, you have the freedom to choose the materials and design that best fit your budget and style. This can result in significant cost savings compared to hiring someone to do the job for you. Additionally, a DIY kitchen sink drain is a quick and easy project that can be completed in a matter of hours, making it a convenient and cost-effective solution for any homeowner.
Customization and Personalization
 Another advantage of DIY kitchen sink drain is the ability to customize and personalize your design. When hiring a professional, you may be limited to the options they offer or the materials they prefer to use. However, by doing it yourself, you have the freedom to choose from a wide range of designs, materials, and finishes. This allows you to create a unique and personalized look that reflects your personal style and taste. You can also add special features such as a built-in soap dispenser or a garbage disposal to make your kitchen sink more functional and efficient.
Increase Home Value
 A well-designed and functional kitchen is a major selling point for any house. By incorporating a DIY kitchen sink drain into your house design, you can increase the value of your home. A modern and stylish sink can instantly upgrade the look of your kitchen and make it more appealing to potential buyers. Moreover, a functional and properly installed sink can also prevent any water damage or leaks, which can be a major turn-off for buyers.
Final Thoughts
 In conclusion, a DIY kitchen sink drain is a practical and cost-effective addition to any house design. It offers efficiency, customization, and a potential increase in home value. With the right tools and materials, this project can be completed in no time, allowing you to enjoy a stylish and functional kitchen sink in your home. So why not give it a try and see the difference it can make in your daily life and the value of your home.