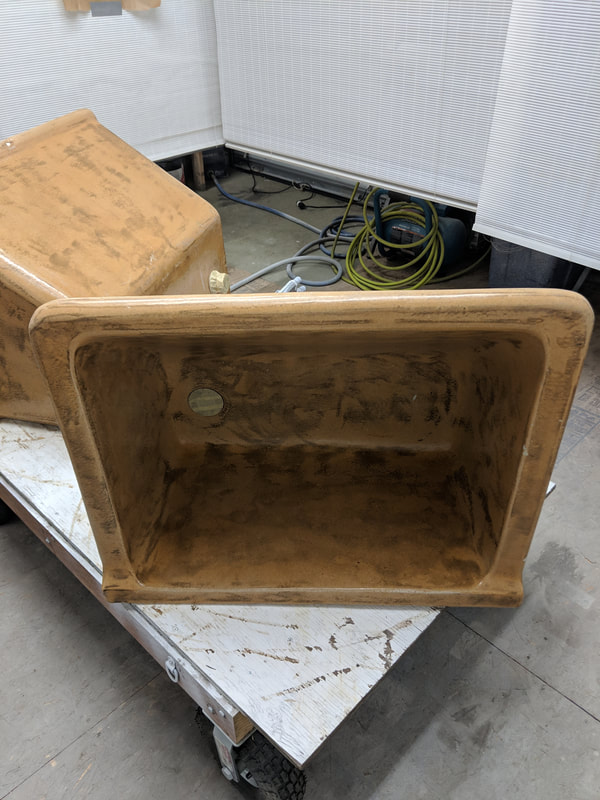
If you're looking to add some rustic charm to your kitchen, a copper sink is the perfect addition. Not only does it add a touch of elegance, but it's also a durable and practical choice for a busy kitchen. Plus, with a little DIY know-how, you can easily install a copper sink yourself and save some money in the process. To begin with, you'll need to remove your old sink and prepare the area for the new one. Make sure to measure the space accurately and choose a sink that fits well. You'll also need to install the necessary plumbing and supports for the sink. Once these preparations are done, it's time to install the sink itself. Start by applying a bead of silicone sealant around the edge of the sink and carefully lower it into place. Make sure it's level and secure before attaching the mounting clips. Finally, connect the plumbing and turn on the water to check for any leaks. With a little patience and attention to detail, you'll have a beautiful copper sink installed in no time.1. How to Install a Copper Kitchen Sink


1. How to Install a Copper Kitchen Sink


Keeping your copper sink clean and shiny is essential to maintain its beauty and prevent corrosion. While there are many commercial cleaners available, you can easily make your own DIY copper sink cleaner with just a few household ingredients. A simple and effective cleaner can be made by mixing equal parts of lemon juice and baking soda to form a paste. Apply the paste to your sink and let it sit for a few minutes before scrubbing with a soft cloth. Rinse thoroughly and dry with a clean cloth to reveal a sparkling sink. For tougher stains, you can mix equal parts of white vinegar and salt to form a paste. Apply this to the stain and let it sit for a few minutes before scrubbing and rinsing. Repeat if necessary until the stain is gone. With these simple DIY cleaners, your copper sink will always look as good as new.2. DIY Copper Sink Cleaner


2. DIY Copper Sink Cleaner


:max_bytes(150000):strip_icc()/how-to-clean-a-copper-sink-4767276-07-7281ad15196b40cbaf08187520d8ba72.jpg)


:max_bytes(150000):strip_icc()/how-to-clean-a-copper-sink-4767276-05-a54b0d47425048cb89ccb81cc5bc868d.jpg)
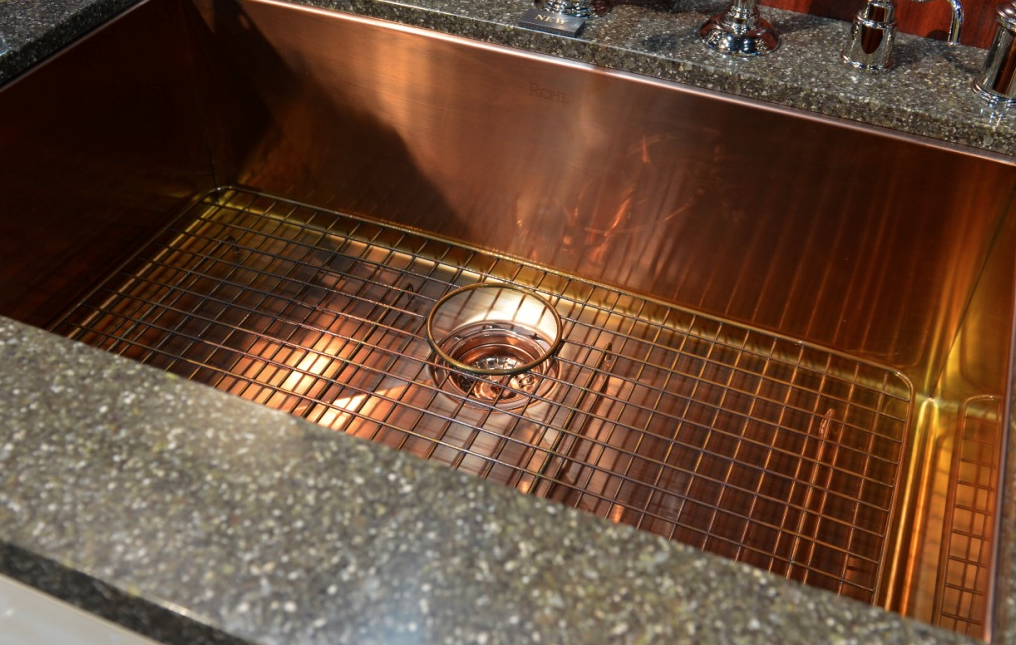
Aside from the aesthetic appeal, there are many practical benefits to choosing a copper sink for your kitchen. Copper is a naturally antibacterial material, making it a hygienic choice for the kitchen. It is also incredibly durable and can withstand high temperatures and heavy use without showing signs of wear and tear. Another advantage of a DIY copper sink is the customization options it offers. You can choose from various styles, sizes, and finishes to match your kitchen's design and your personal preference. Plus, with a little DIY effort, you can save money and have a one-of-a-kind sink that adds character to your kitchen.3. The Benefits of a DIY Copper Kitchen Sink


3. The Benefits of a DIY Copper Kitchen Sink


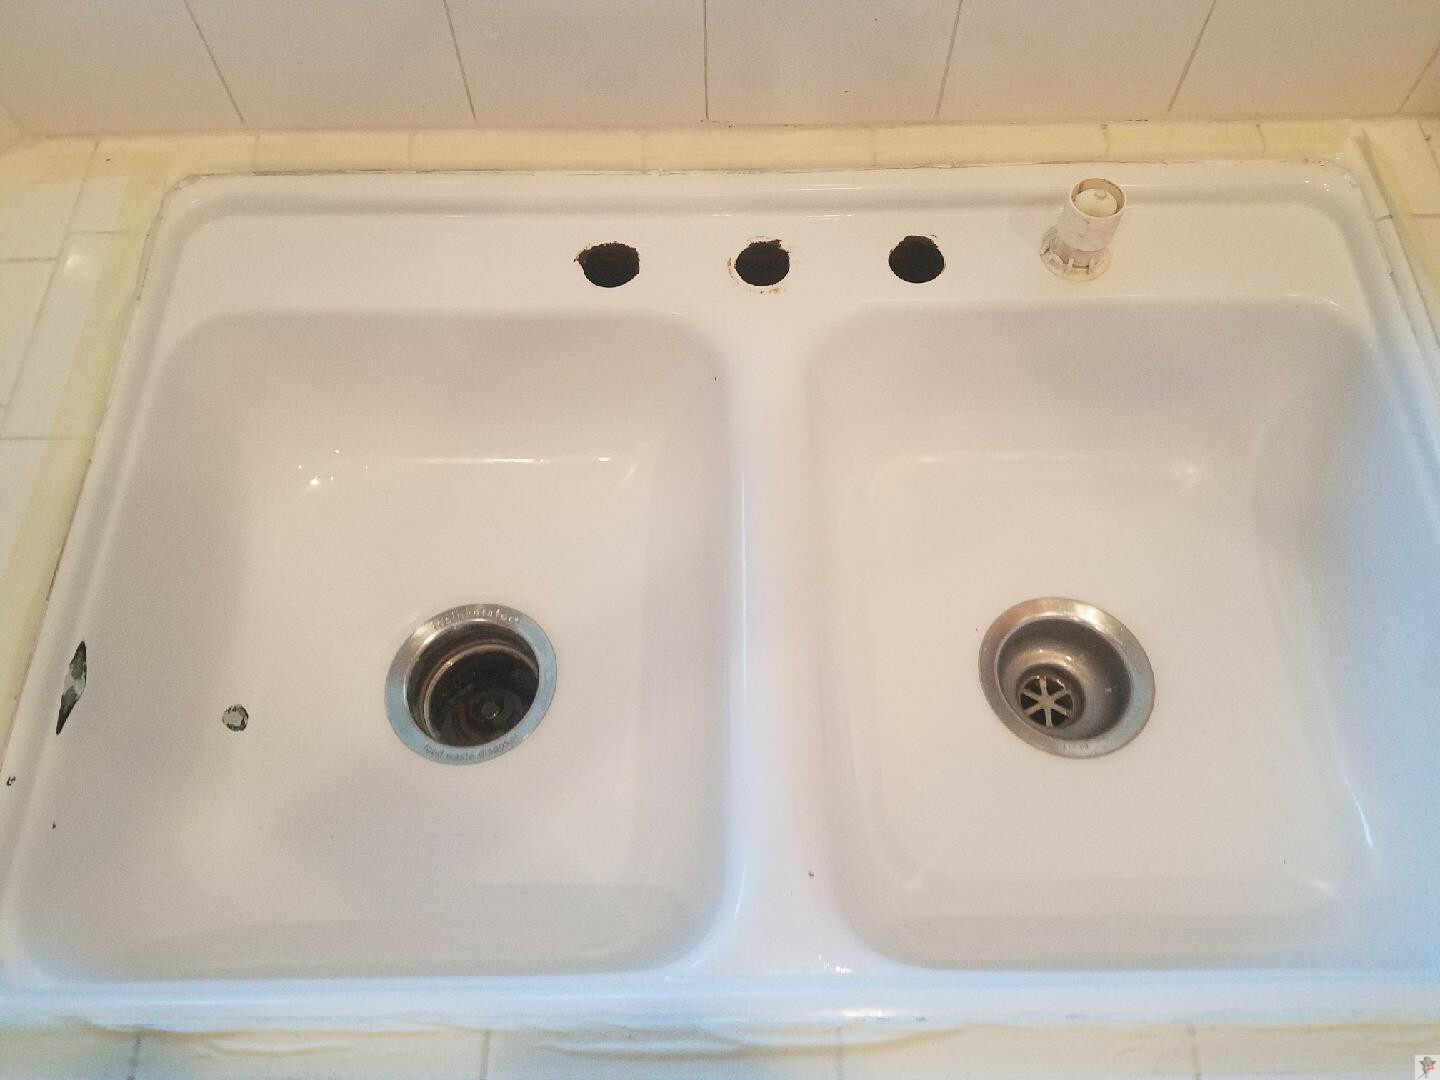
Installing a copper sink may seem like a daunting task, but with the right tools and techniques, it can be a straightforward DIY project. Here is a step-by-step guide to help you through the process. First, remove your old sink and prepare the area for the new one. Measure the space accurately and choose a sink that fits well. Next, install the necessary plumbing and supports for the sink. Then, apply a bead of silicone sealant around the edge of the sink and carefully lower it into place. Secure the sink with mounting clips and connect the plumbing. Finally, turn on the water to check for any leaks and make any necessary adjustments. With these simple steps, you'll have a beautiful copper sink installed in your kitchen in no time.4. DIY Copper Sink Installation Guide


4. DIY Copper Sink Installation Guide


If you're feeling adventurous and want to take on a bigger DIY challenge, you can try making your own copper sink from scratch. While it may be a time-consuming project, the end result will be a unique and beautiful sink that you can proudly say you made yourself. To make a DIY copper sink, you'll need a copper sheet, a sink template, a soldering iron, and some basic tools. Begin by tracing the template onto the copper sheet and cutting it out. Then, bend the sheet into the desired shape and solder the seams together. Finally, add a patina finish to give your sink a beautiful aged look. With patience and attention to detail, you can create a stunning copper sink that will be the centerpiece of your kitchen.5. How to Make a DIY Copper Sink from Scratch


5. How to Make a DIY Copper Sink from Scratch


To keep your copper sink looking its best, it's important to maintain it properly. Here are a few tips to help you keep your sink in top condition. Regularly clean your sink with a mild soap and water solution to remove any dirt or grime. Avoid using harsh chemicals or abrasives that can damage the finish. Also, make sure to dry the sink thoroughly after each use to prevent water spots and staining. To maintain the patina finish, you can use a commercial copper cleaner or make your own DIY cleaner with equal parts of lemon juice and salt. Apply the cleaner with a soft cloth and rinse thoroughly with water. Finally, dry the sink with a clean cloth to reveal a beautiful and shiny finish.6. DIY Copper Sink Maintenance Tips


6. DIY Copper Sink Maintenance Tips


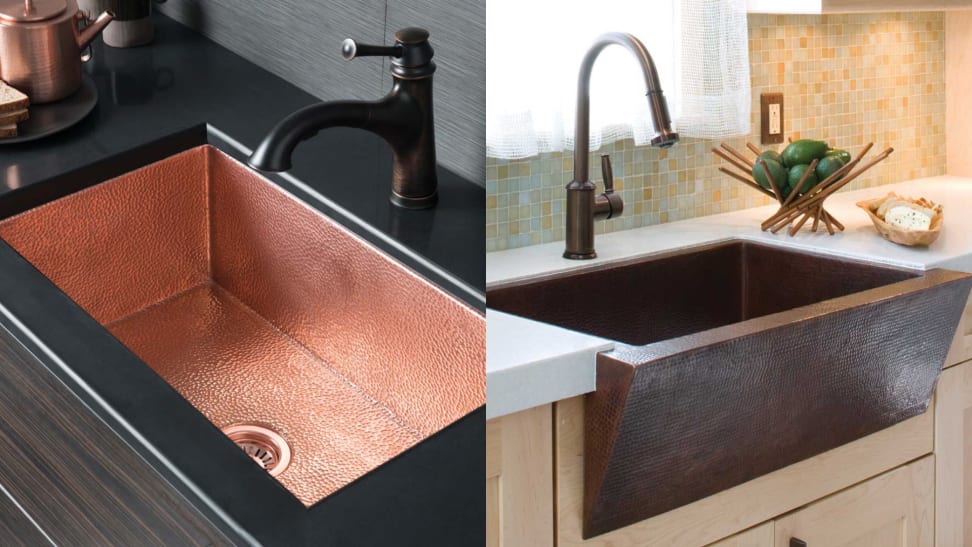

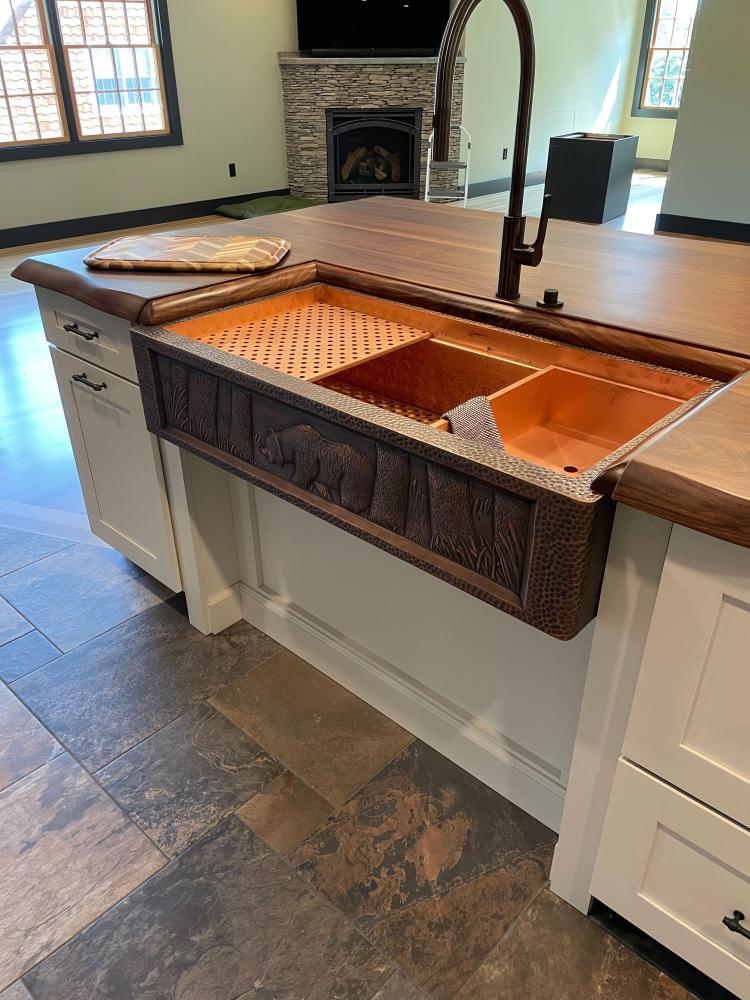
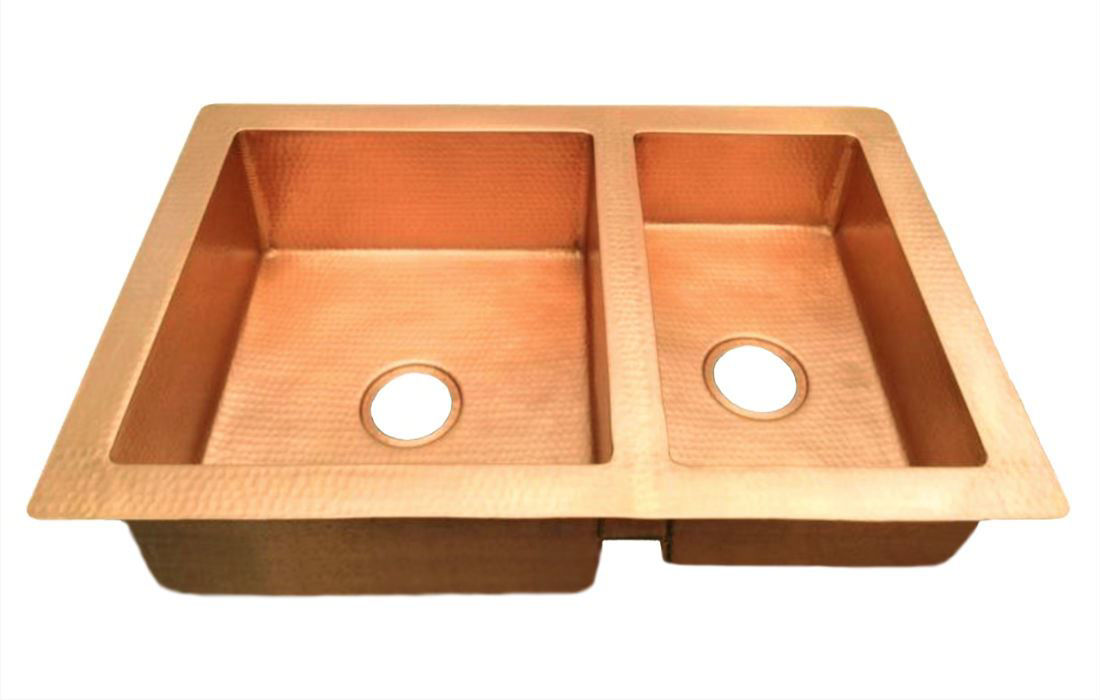
Copper sinks come in various styles and designs, making them a versatile choice for any kitchen. Here are a few DIY copper sink ideas to inspire you. A hammered copper sink adds a touch of texture and character to your kitchen. You can also opt for a smooth and sleek finish for a more modern look. Additionally, you can choose from various shapes and sizes, such as farmhouse, undermount, or drop-in sinks. Consider your kitchen's overall style and choose a sink that complements it perfectly.7. The Best DIY Copper Sink Ideas for Your Kitchen


7. The Best DIY Copper Sink Ideas for Your Kitchen


If your copper sink starts to show signs of wear and tear, there are a few DIY techniques you can use to refinish it and make it look as good as new. If the sink has scratches or stains, you can sand them out with fine grit sandpaper and then apply a patina finish to blend in with the rest of the sink. For a more significant restoration, you can use a copper polish to remove any tarnish and bring back the shine. Lastly, if the sink has a dull appearance, you can use a metal polish to restore its luster.8. DIY Copper Sink Refinishing Techniques
8. DIY Copper Sink Refinishing Techniques

When it comes to choosing a DIY copper sink, there are a few things to consider to ensure you make the right decision. First, think about the style and design of your kitchen. A farmhouse sink would fit well in a rustic kitchen, while a sleek undermount sink would be better suited for a modern kitchen. Next, consider the size and shape of the sink, making sure it fits well in your countertop space. Also, think about the type of copper finish you prefer, whether it's a natural patina or a polished shine. Lastly, make sure to choose a sink that fits your budget and offers good quality and durability.9. How to Choose the Right DIY Copper Sink for Your Kitchen

9. How to Choose the Right DIY Copper Sink for Your Kitchen
If your copper sink gets damaged, don't worry, as there are a few DIY repair techniques you can use to fix it. For minor scratches or stains, you can use fine grit sandpaper to sand them out and then apply a patina finish to blend in. For more significant damage, such as dents or cracks, you can use a copper epoxy to fill in the damaged area and then sand it down to create a smooth surface. With these simple DIY repairs, your copper sink will look as good as new in no time.10. DIY Copper Sink Repair Guide

10. DIY Copper Sink Repair Guide

Why Choose a DIY Copper Kitchen Sink for Your Home

The Beauty and Durability of Copper
 When it comes to kitchen design, the sink is often an overlooked element. However, choosing the right sink can make a big impact on the overall look and functionality of your kitchen. One popular choice for homeowners is a
DIY copper kitchen sink
. Not only does it add a touch of warmth and elegance to any kitchen, but it also offers many practical benefits.
Copper is a timeless material that has been used in various forms of design for centuries. Its warm and rich color adds a touch of luxury to any space. When it comes to a kitchen sink, copper adds a unique and eye-catching element that can elevate the entire design of the room.
DIY copper kitchen sinks
come in a variety of styles and finishes, from smooth and shiny to rustic and hammered, providing options for any design aesthetic.
In addition to its beauty, copper is also a durable and long-lasting material. It is resistant to corrosion and does not rust, making it a practical choice for a kitchen sink.
DIY copper kitchen sinks
are also known for their antibacterial properties, making them a hygienic choice for a busy kitchen. Furthermore, copper is a malleable material, allowing for unique and custom designs that can fit any kitchen space.
When it comes to kitchen design, the sink is often an overlooked element. However, choosing the right sink can make a big impact on the overall look and functionality of your kitchen. One popular choice for homeowners is a
DIY copper kitchen sink
. Not only does it add a touch of warmth and elegance to any kitchen, but it also offers many practical benefits.
Copper is a timeless material that has been used in various forms of design for centuries. Its warm and rich color adds a touch of luxury to any space. When it comes to a kitchen sink, copper adds a unique and eye-catching element that can elevate the entire design of the room.
DIY copper kitchen sinks
come in a variety of styles and finishes, from smooth and shiny to rustic and hammered, providing options for any design aesthetic.
In addition to its beauty, copper is also a durable and long-lasting material. It is resistant to corrosion and does not rust, making it a practical choice for a kitchen sink.
DIY copper kitchen sinks
are also known for their antibacterial properties, making them a hygienic choice for a busy kitchen. Furthermore, copper is a malleable material, allowing for unique and custom designs that can fit any kitchen space.
A Sustainable and Eco-Friendly Choice
 Nowadays, many homeowners are looking for ways to make their homes more sustainable and environmentally friendly. Choosing a
DIY copper kitchen sink
is a great way to achieve this goal. Copper is a natural and renewable resource that can be easily recycled and reused. By choosing a copper sink for your kitchen, you are reducing your carbon footprint and contributing to a more sustainable future.
Additionally, copper has natural antimicrobial properties, which means it does not require harsh chemicals for cleaning. This makes it a safer and more eco-friendly option for your home. With proper care and maintenance, a
DIY copper kitchen sink
can last for decades, making it a more sustainable choice compared to other materials.
Nowadays, many homeowners are looking for ways to make their homes more sustainable and environmentally friendly. Choosing a
DIY copper kitchen sink
is a great way to achieve this goal. Copper is a natural and renewable resource that can be easily recycled and reused. By choosing a copper sink for your kitchen, you are reducing your carbon footprint and contributing to a more sustainable future.
Additionally, copper has natural antimicrobial properties, which means it does not require harsh chemicals for cleaning. This makes it a safer and more eco-friendly option for your home. With proper care and maintenance, a
DIY copper kitchen sink
can last for decades, making it a more sustainable choice compared to other materials.
The Versatility of Copper
 One of the best things about choosing a
DIY copper kitchen sink
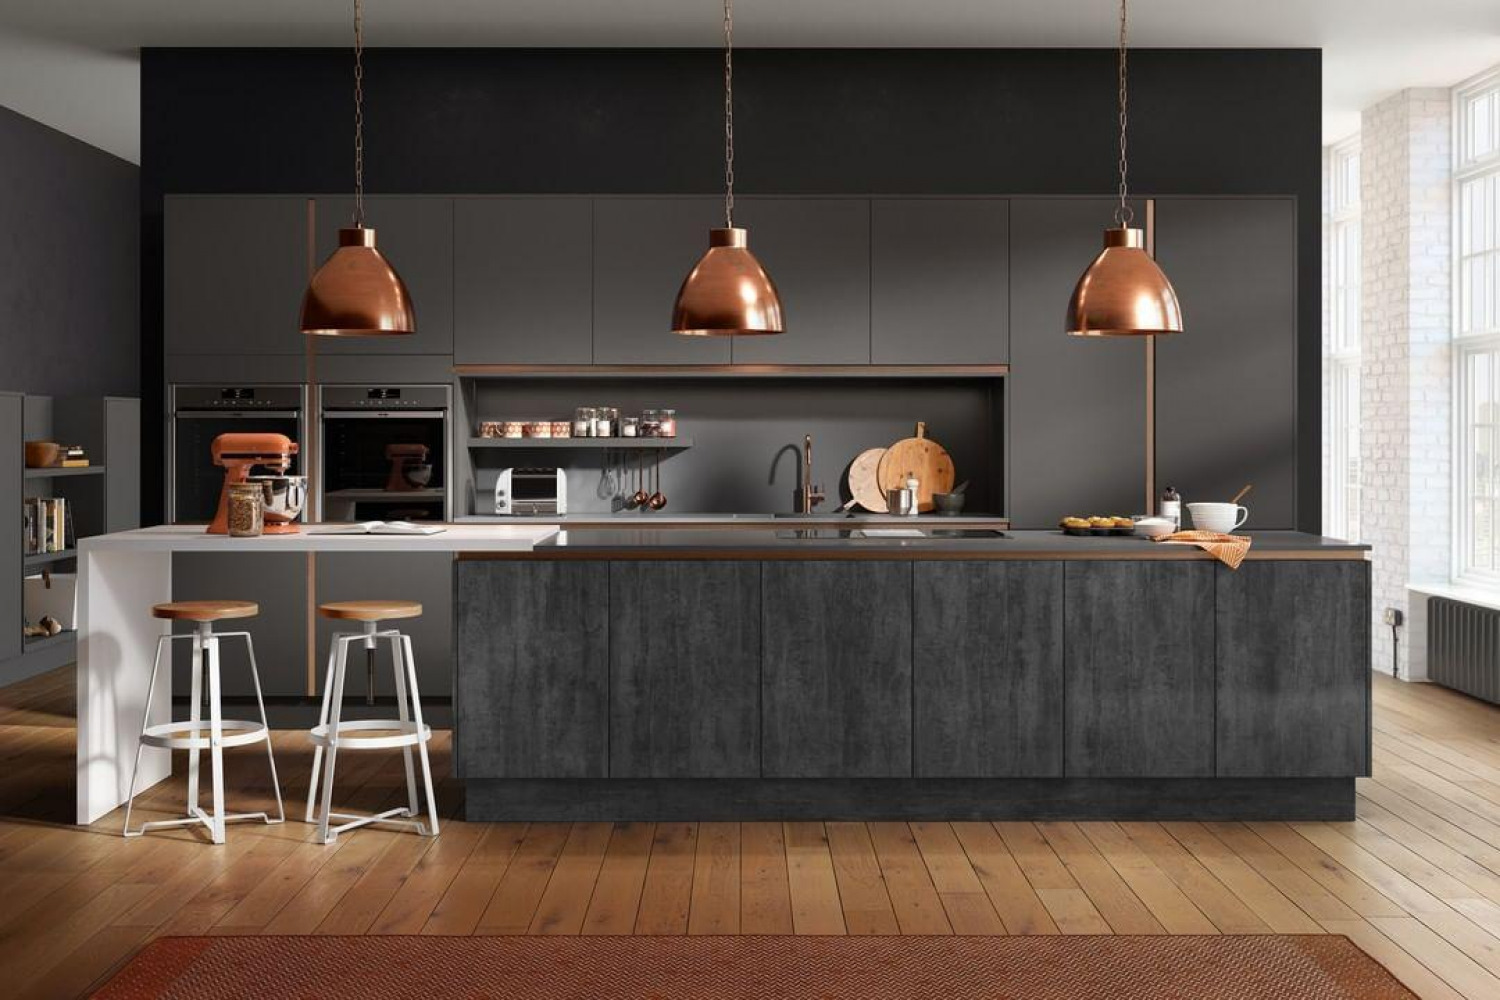
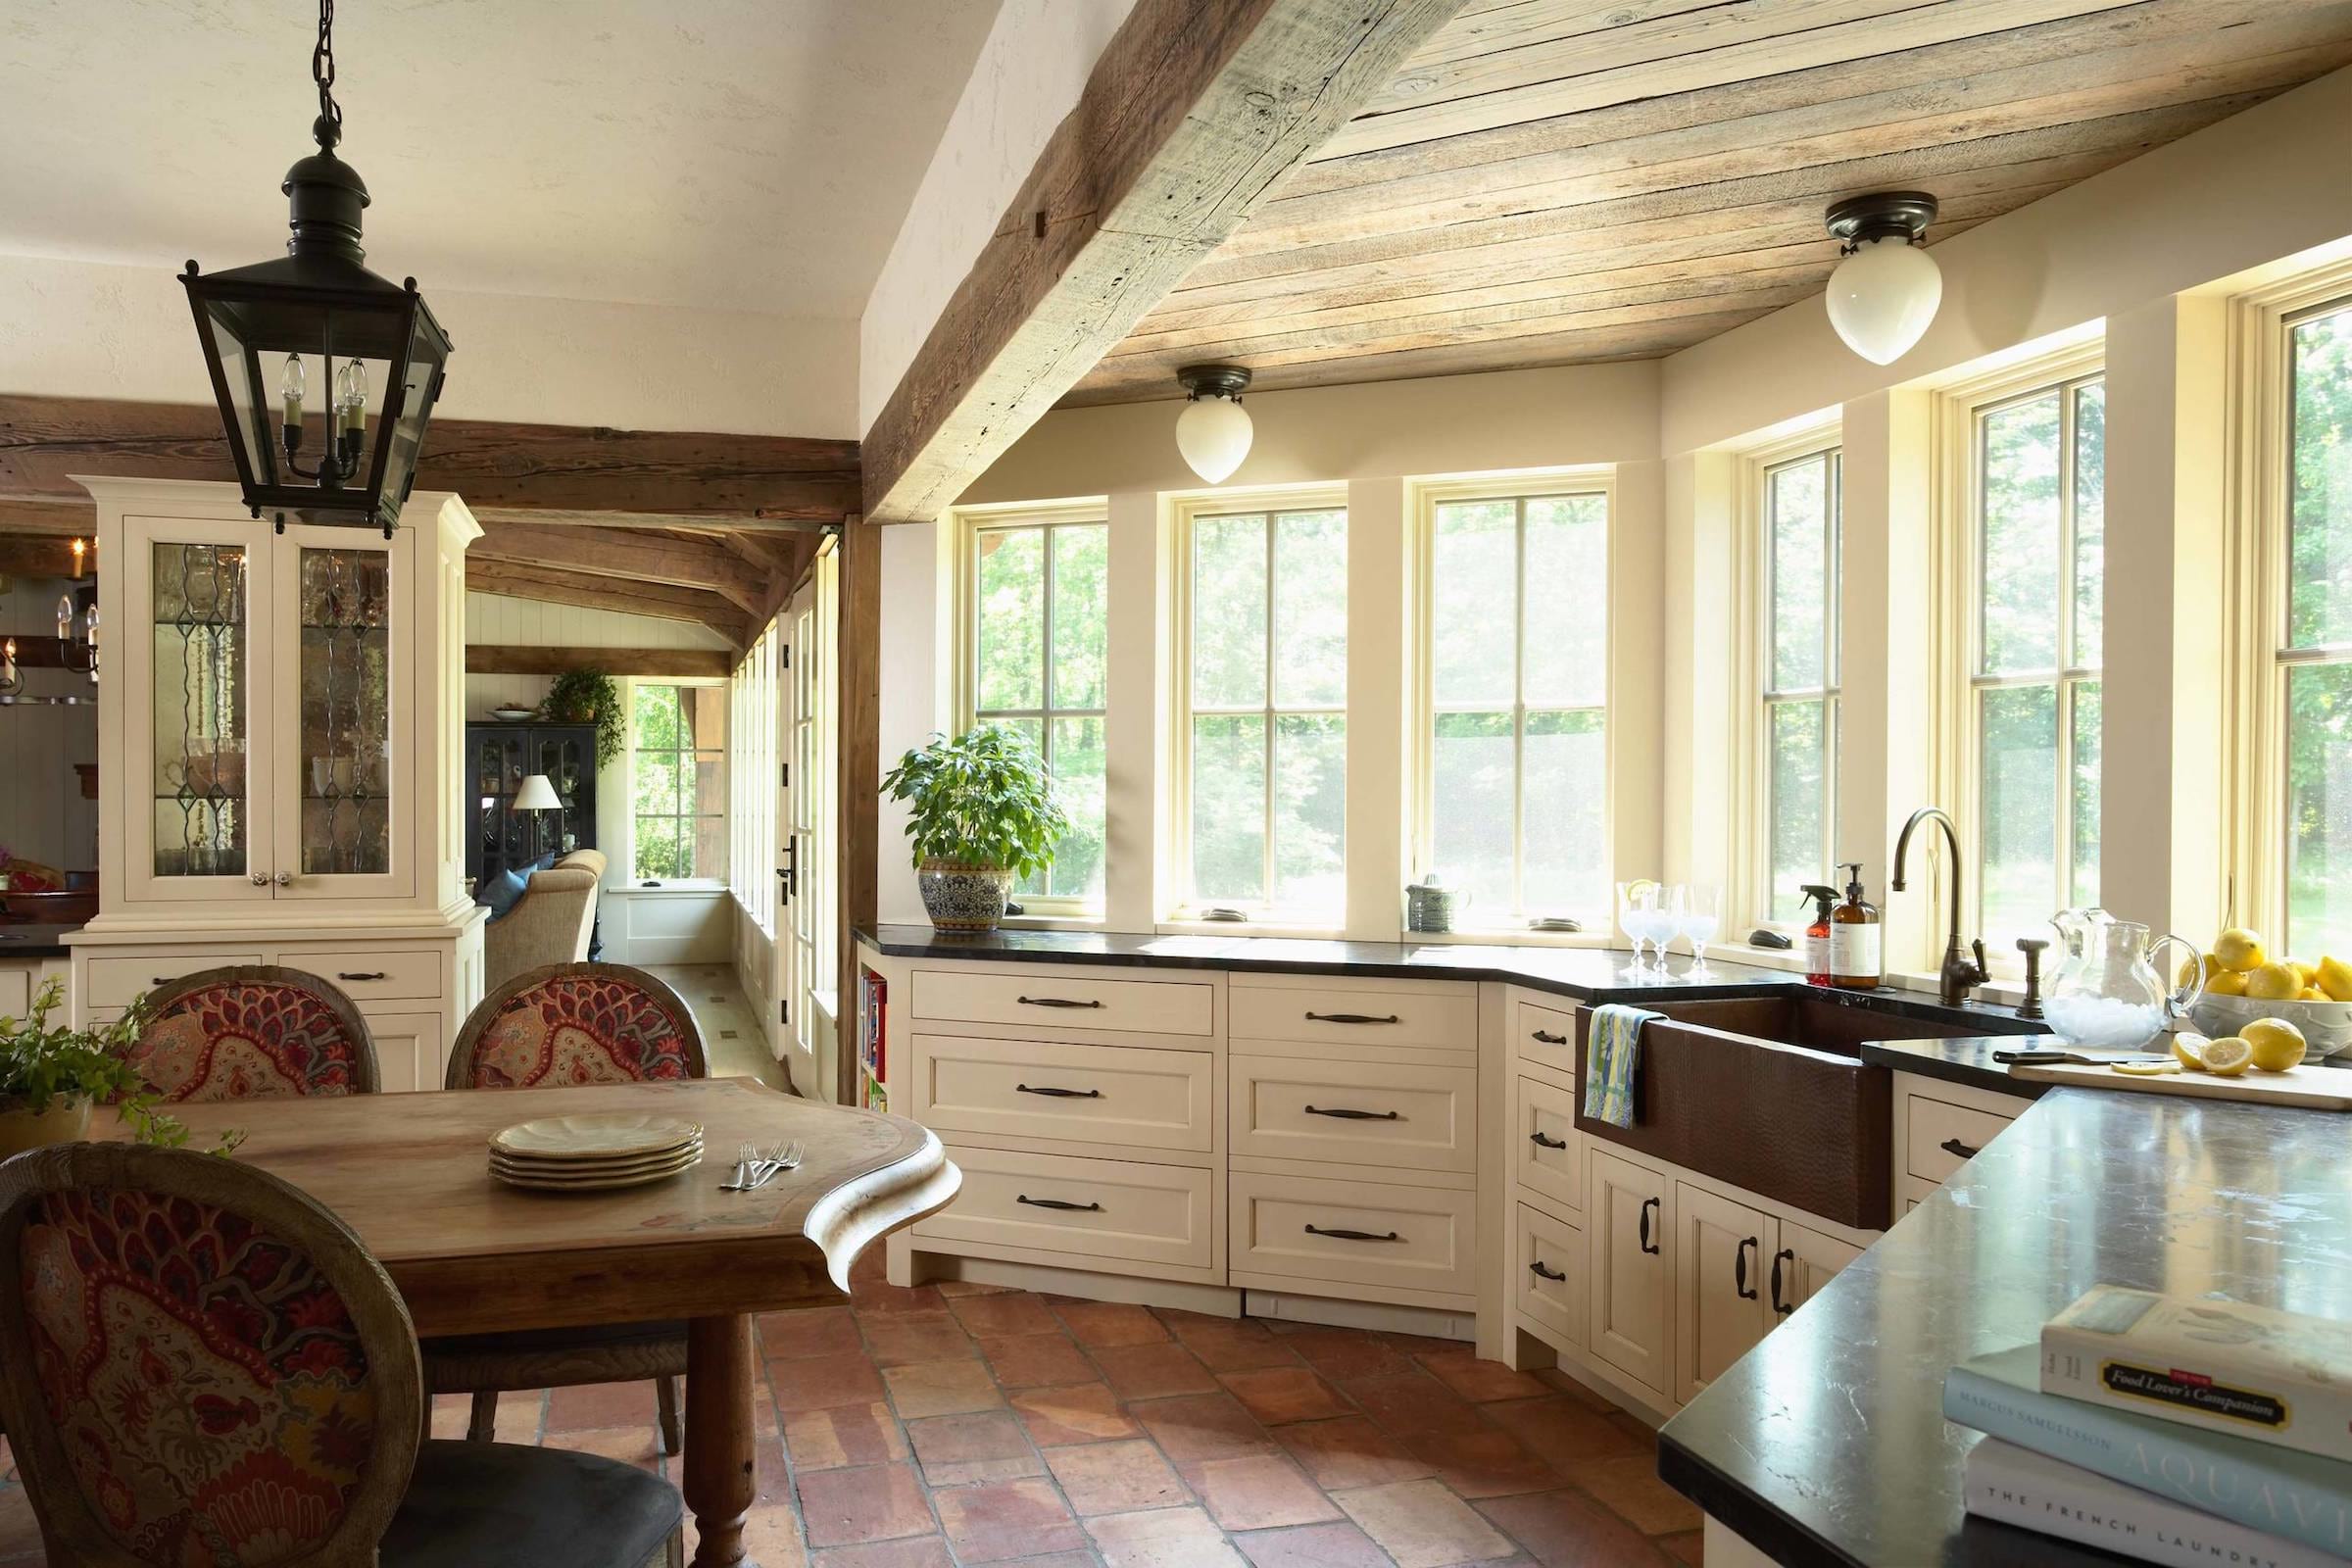
is its versatility. Copper can blend seamlessly with a variety of kitchen styles, from traditional to modern. It can also be paired with different types of countertops, such as granite, marble, or wood, to create a stunning and cohesive look.
Furthermore, copper is a low-maintenance material that does not require frequent polishing or sealing. With just a simple wipe down, it can maintain its shine and beauty for years to come. This makes it a practical choice for busy homeowners who want a beautiful and functional kitchen.
In conclusion, a
DIY copper kitchen sink
is a great addition to any home. Its beauty, durability, sustainability, and versatility make it a popular choice among homeowners. With its unique and elegant design, it can elevate the look and feel of any kitchen. Consider choosing a
DIY copper kitchen sink
for your next kitchen renovation project and enjoy its many benefits for years to come.
One of the best things about choosing a
DIY copper kitchen sink
is its versatility. Copper can blend seamlessly with a variety of kitchen styles, from traditional to modern. It can also be paired with different types of countertops, such as granite, marble, or wood, to create a stunning and cohesive look.
Furthermore, copper is a low-maintenance material that does not require frequent polishing or sealing. With just a simple wipe down, it can maintain its shine and beauty for years to come. This makes it a practical choice for busy homeowners who want a beautiful and functional kitchen.
In conclusion, a
DIY copper kitchen sink
is a great addition to any home. Its beauty, durability, sustainability, and versatility make it a popular choice among homeowners. With its unique and elegant design, it can elevate the look and feel of any kitchen. Consider choosing a
DIY copper kitchen sink
for your next kitchen renovation project and enjoy its many benefits for years to come.