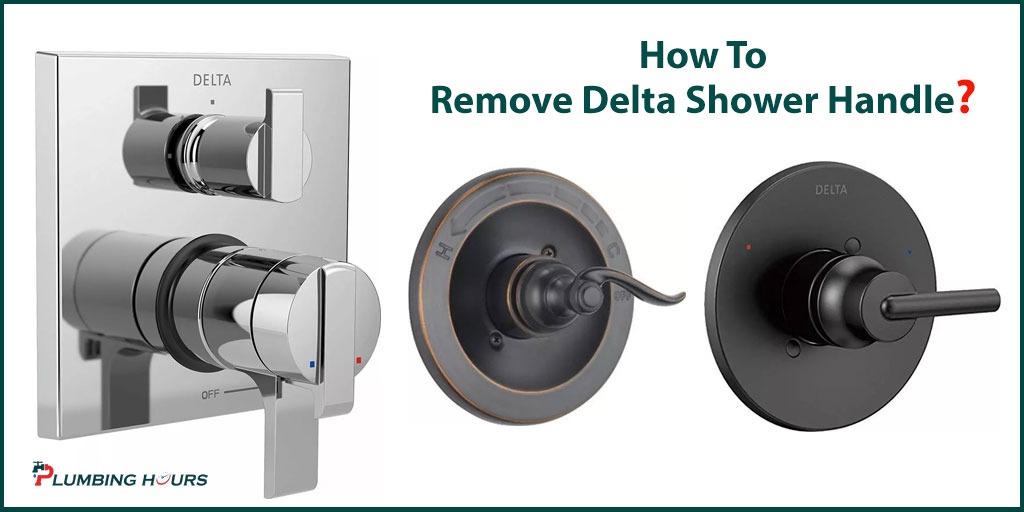
Are you tired of struggling with a faulty or outdated bathroom sink handle? Removing a Delta bathroom sink handle may seem like a daunting task, but with the right tools and techniques, it can be a simple and straightforward process. In this article, we will guide you through the steps of removing your Delta bathroom sink handle, providing tips and troubleshooting advice along the way. Delta Bathroom Sink Handle Removal

Delta Bathroom Sink Handle Removal


Before beginning the removal process, it is important to gather all necessary tools and materials. You will need a screwdriver, pliers, and possibly an Allen wrench, depending on the type of handle you have. It is also helpful to have a towel or cloth nearby in case of any spills. How to Remove a Delta Bathroom Sink Handle


How to Remove a Delta Bathroom Sink Handle


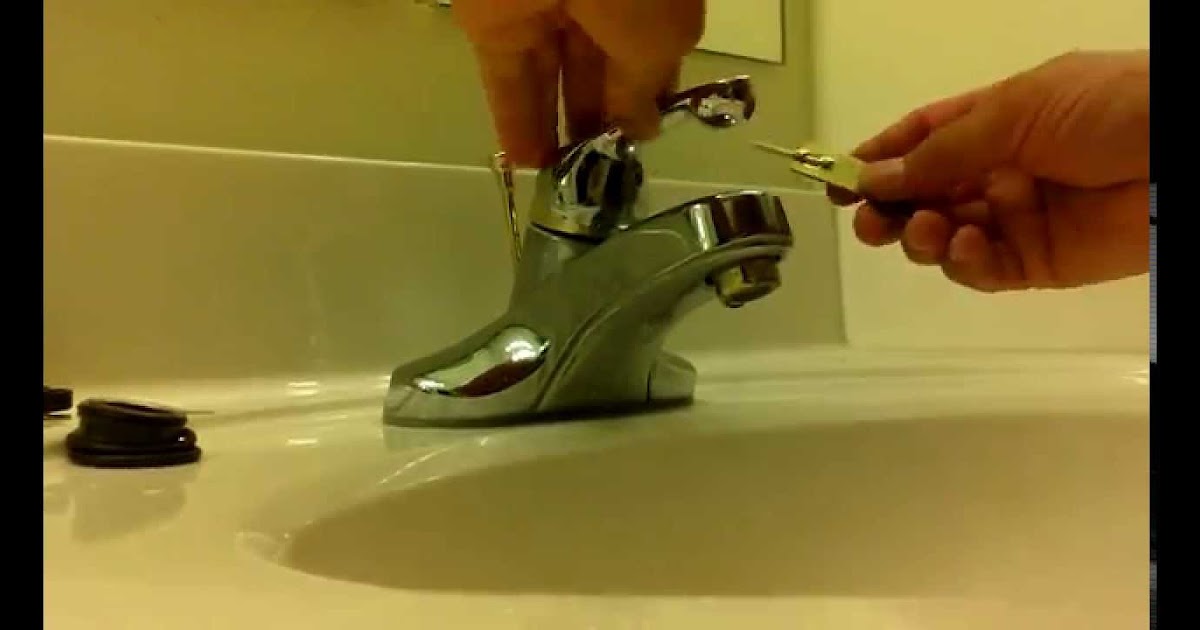
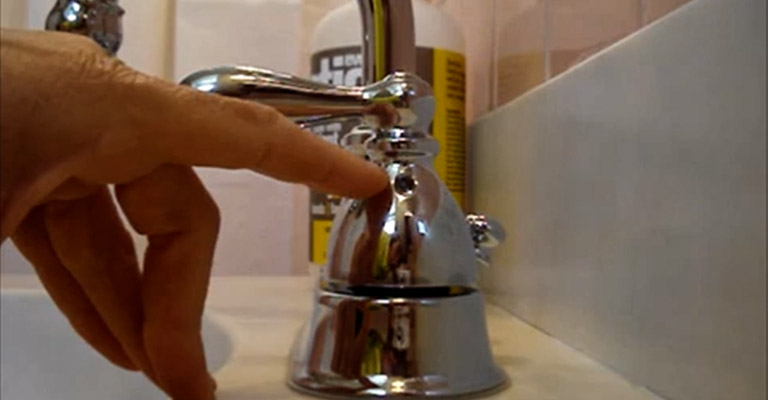
First, locate the set screw on the underside of the handle. This screw is typically hidden beneath a decorative cover or cap, so you may need to use a small flathead screwdriver to pry it off. Once the screw is exposed, use your screwdriver to loosen and remove it. Next, you will need to remove the handle from the faucet. This can be done by gently pulling or twisting the handle until it comes off. If the handle is stuck, you may need to use pliers to help loosen it. Be careful not to damage the handle or the faucet while doing this. Delta Bathroom Sink Handle Removal Instructions


Delta Bathroom Sink Handle Removal Instructions


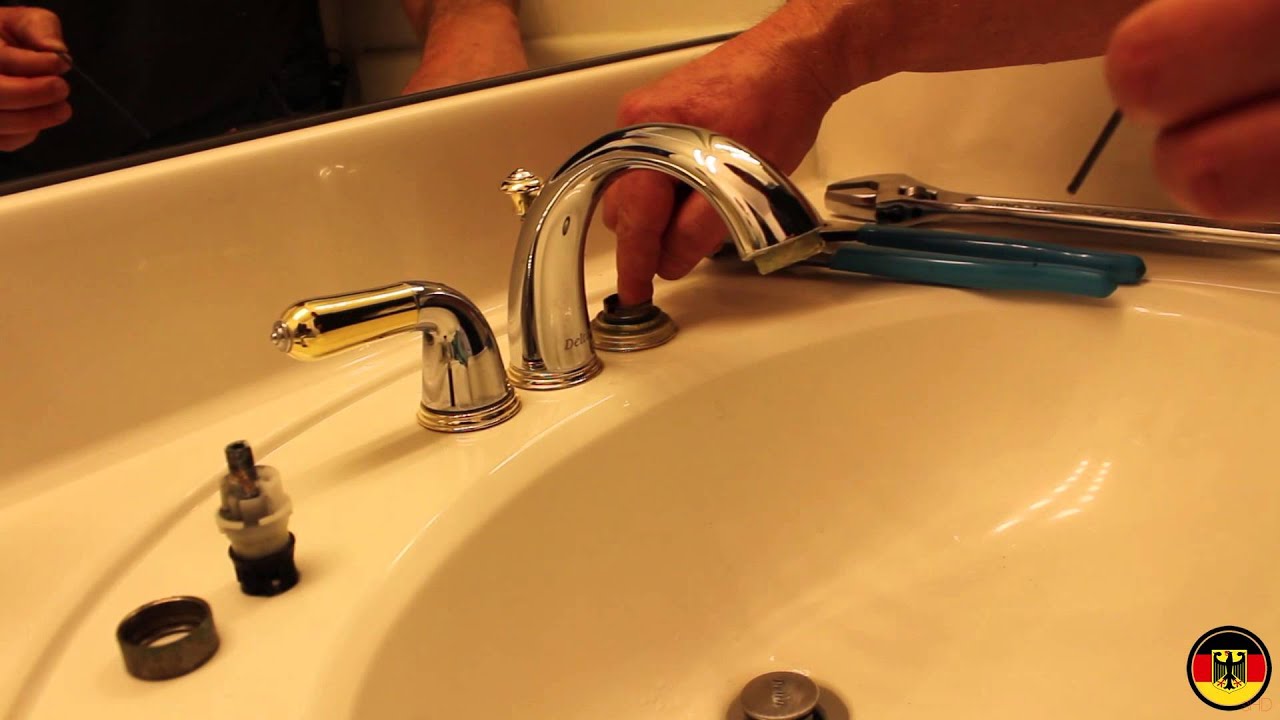
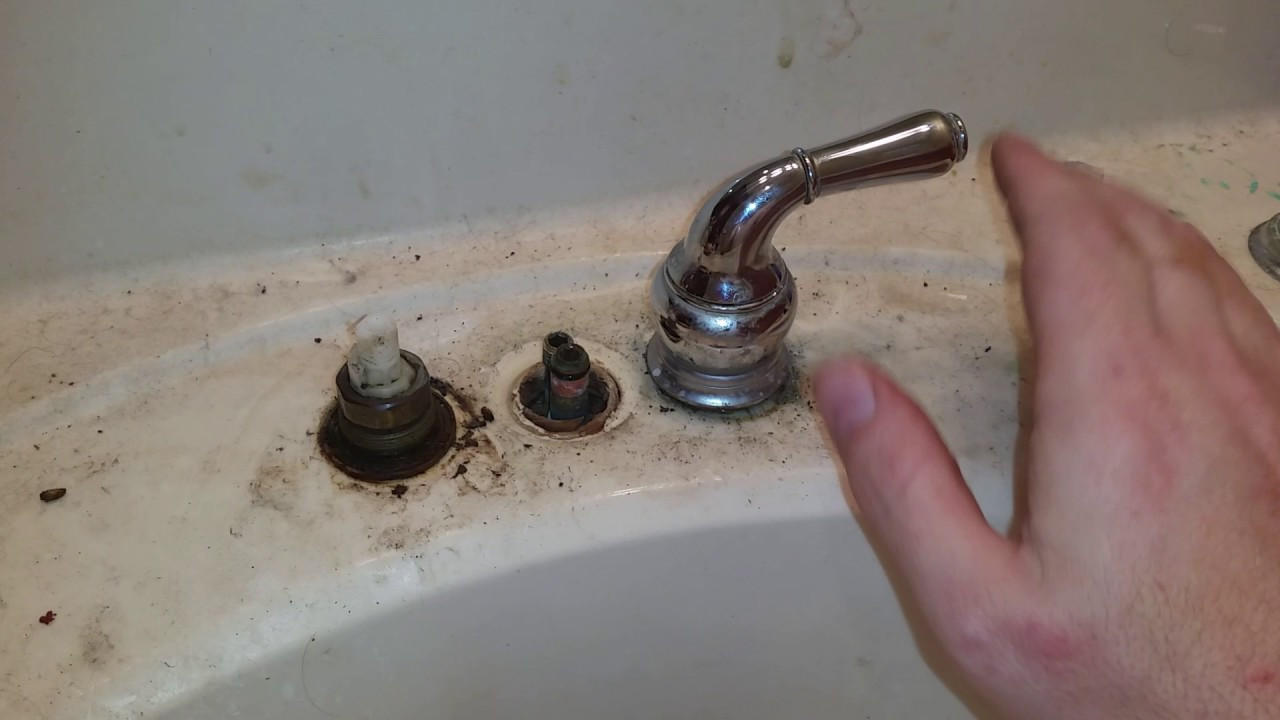
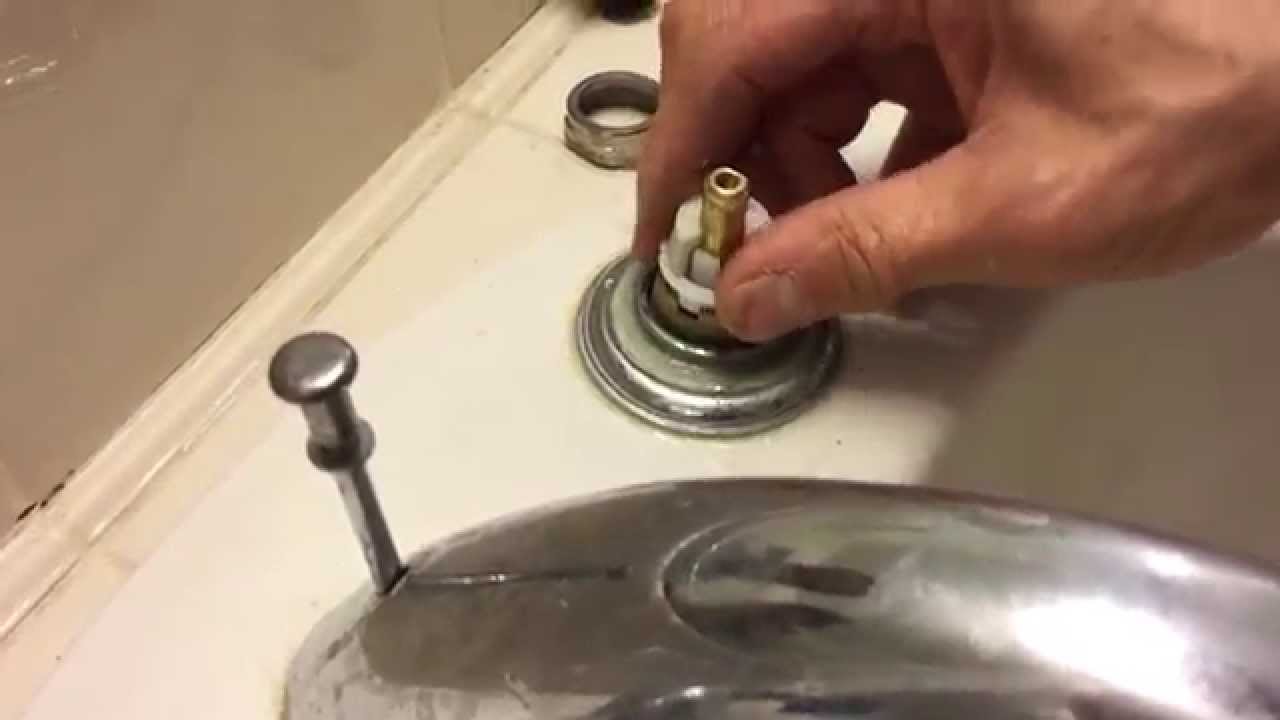
Once the handle is removed, you will see the stem of the faucet exposed. This is the part that controls the flow of water. Use your pliers to grip the top of the stem and twist it counterclockwise to loosen it. Be sure to hold onto the base of the faucet with your other hand to prevent any damage. Once the stem is loose, pull it out of the faucet. You may need to wiggle it back and forth a bit to loosen it completely. If the stem is still stuck, you can use a small amount of lubricant to help loosen it. Removing a Delta Bathroom Sink Handle

Removing a Delta Bathroom Sink Handle


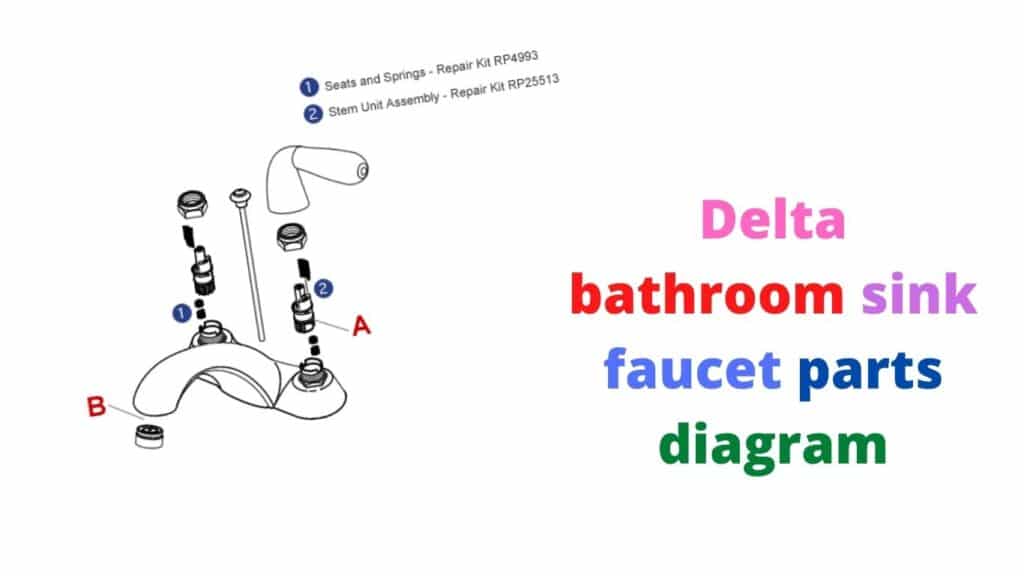
After removing the stem, you will see the valve cartridge beneath it. This is the part that controls the water temperature. Use your pliers to grip the top of the cartridge and twist it counterclockwise to remove it from the faucet. If the cartridge is difficult to remove, you may need to use an Allen wrench to loosen it. Insert the wrench into the small hole on the top of the cartridge and turn it counterclockwise to loosen it. Once the cartridge is loose, pull it out of the faucet. Delta Bathroom Sink Handle Removal Guide
Delta Bathroom Sink Handle Removal Guide

Now that all the components have been removed, you can clean the faucet and handle pieces with warm soapy water. This is also a good time to inspect the pieces for any damage or wear and tear. If any parts are damaged, you may need to replace them before reassembling the handle. Once everything is clean and dry, you can reassemble the handle in the reverse order. Place the valve cartridge back into the faucet and twist it clockwise to secure it. Then, insert the stem back into the faucet and twist it clockwise to tighten it. Finally, place the handle back onto the stem and tighten the set screw. Step-by-Step Delta Bathroom Sink Handle Removal

Step-by-Step Delta Bathroom Sink Handle Removal


If you encounter any difficulties during the removal process, here are a few tips to help you troubleshoot: Delta Bathroom Sink Handle Removal Tips
Delta Bathroom Sink Handle Removal Tips


Removing a Delta bathroom sink handle is a DIY project that can save you time and money. With the right tools and techniques, you can easily remove and replace your handle without the need for a plumber. DIY Delta Bathroom Sink Handle Removal


DIY Delta Bathroom Sink Handle Removal


If you encounter any difficulties during the removal process, it is always best to consult a professional plumber. They will have the knowledge and experience to troubleshoot any issues and ensure that the handle is properly removed and replaced. Troubleshooting Delta Bathroom Sink Handle Removal

Troubleshooting Delta Bathroom Sink Handle Removal


One common mistake in Delta bathroom sink handle removal is using too much force, which can result in damage to the handle or faucet. It is important to use the correct tools and techniques to avoid any mishaps. Another mistake is not properly cleaning and inspecting the handle pieces before reassembling them. This can lead to issues with the handle not functioning properly or leaking. Take the time to thoroughly clean and inspect all parts before reassembling. By following these steps and tips, you can successfully remove your Delta bathroom sink handle and have a functioning and updated faucet in no time. Remember to always be cautious and consult a professional if needed. Happy DIY-ing! Common Mistakes in Delta Bathroom Sink Handle Removal
Common Mistakes in Delta Bathroom Sink Handle Removal

Introduction to Delta Bathroom Sink Handle Removal

Understanding Your Delta Bathroom Sink Handle
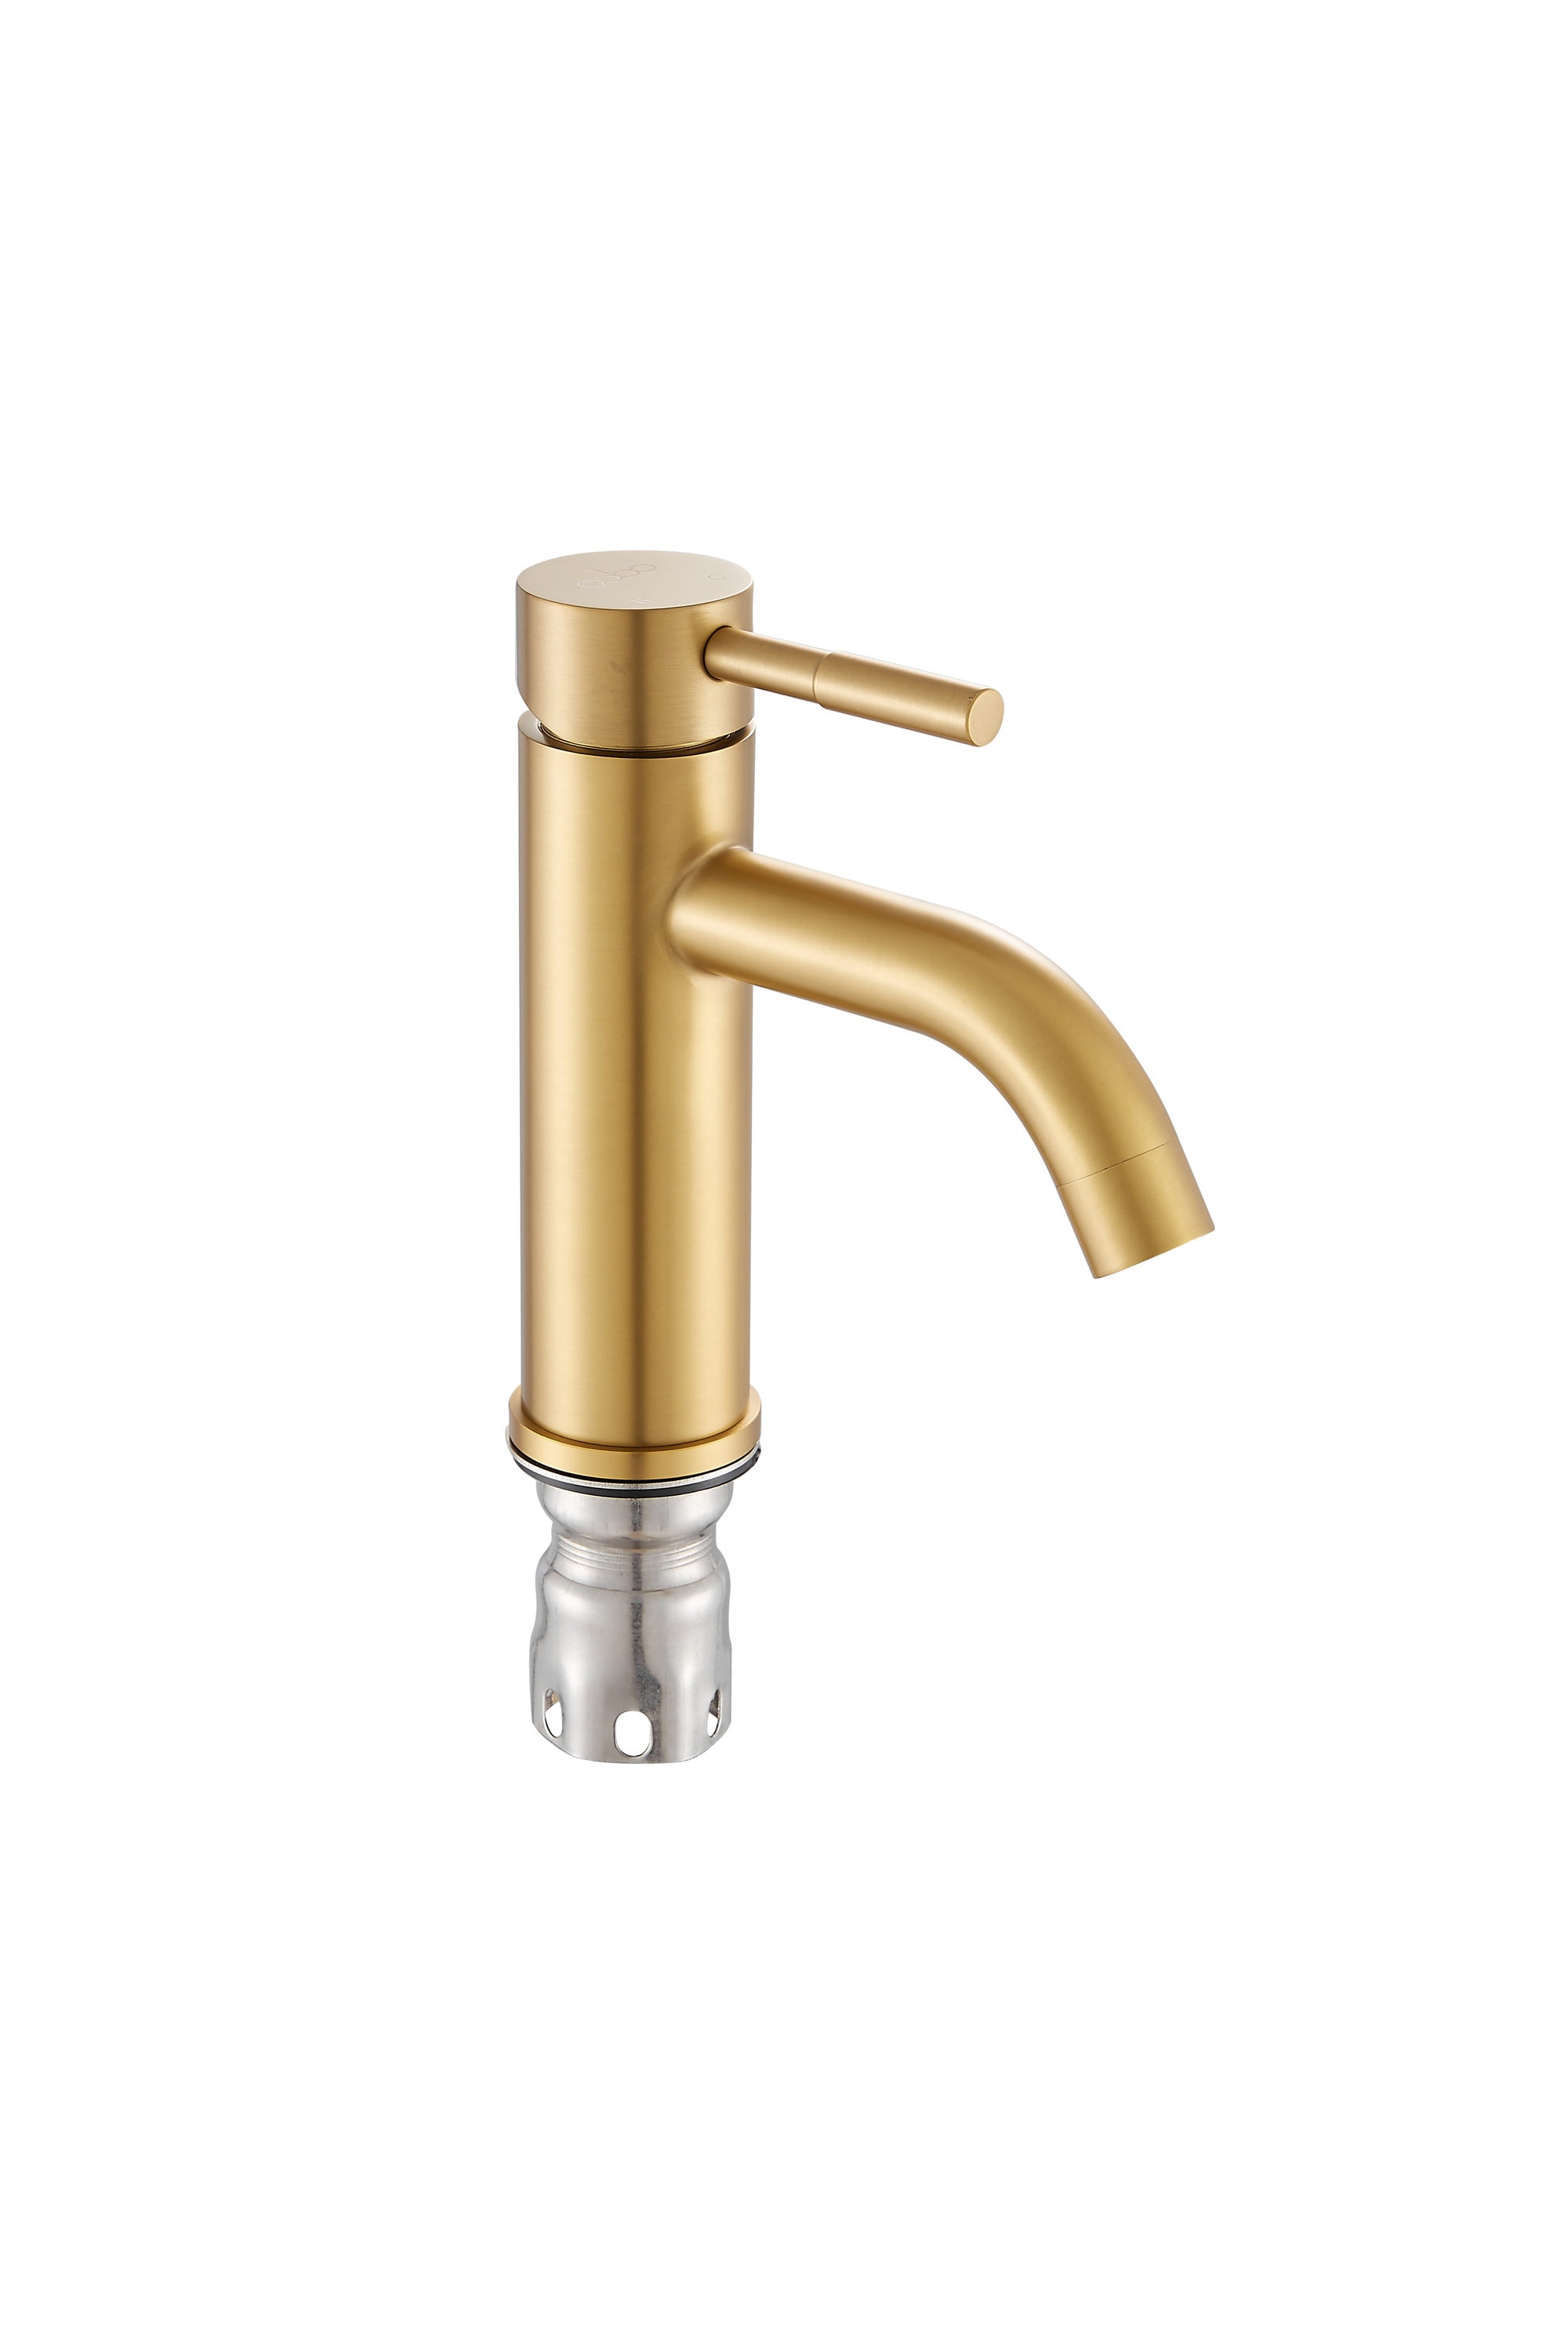
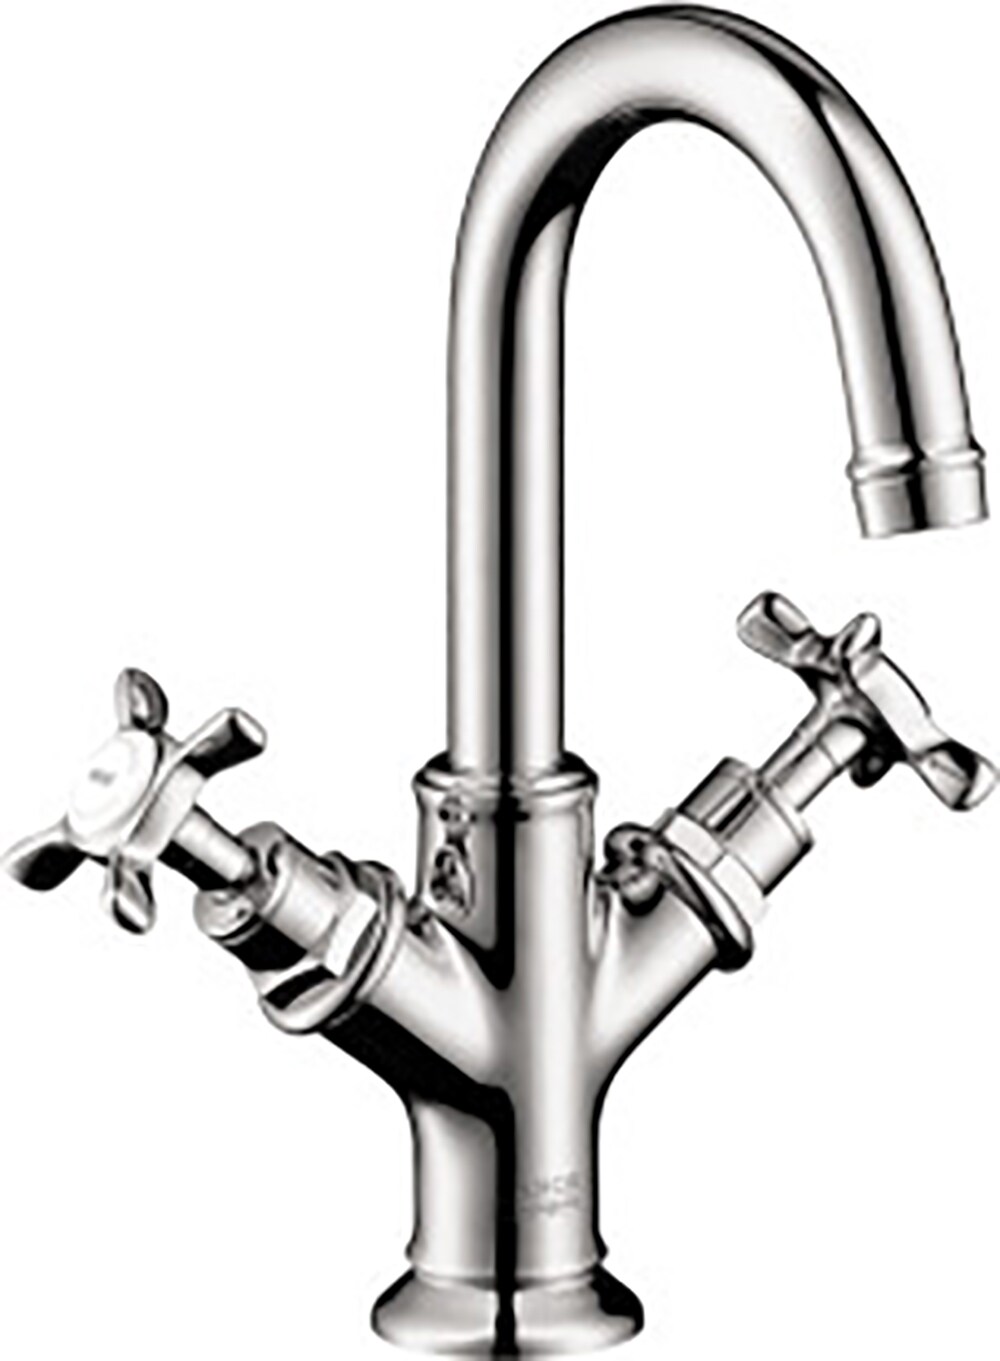
 Your bathroom sink is one of the most frequently used fixtures in your home. Therefore, it is important to ensure that all its components are functioning properly. One crucial part of your bathroom sink is the handle, which allows you to control the flow and temperature of the water. If you have a Delta bathroom sink handle, you may need to remove it at some point for cleaning, repair, or replacement. This article will guide you on how to properly remove your Delta bathroom sink handle.
Tools and Materials Needed
 Before starting the process, make sure you have all the necessary tools and materials. This will save you time and frustration. The tools you will need include a screwdriver, pliers, and an Allen wrench. You may also need a small flathead screwdriver if your Delta bathroom sink handle has a cap. Additionally, you will need a towel or cloth to protect your sink and a bucket to catch any excess water.
Step-by-Step Guide for Delta Bathroom Sink Handle Removal
 Now that you have all the necessary tools and materials, let’s dive into the process of removing your Delta bathroom sink handle.
1. Turn off the water supply - Before starting any work on your bathroom sink, make sure to turn off the water supply. This will prevent any accidental water damage and give you a clean work area.
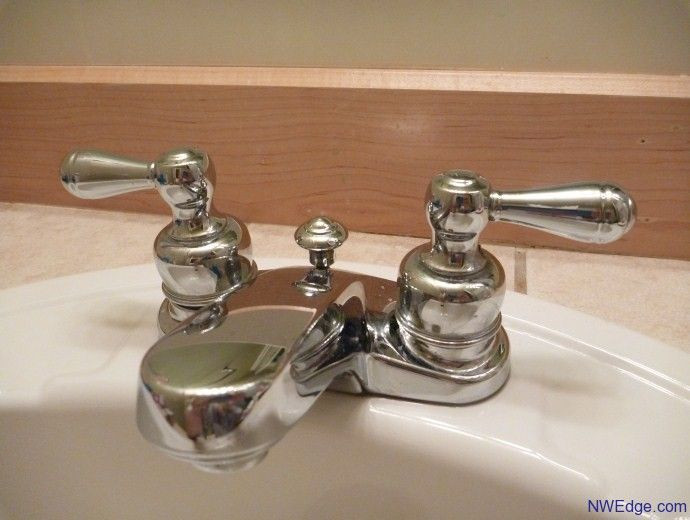
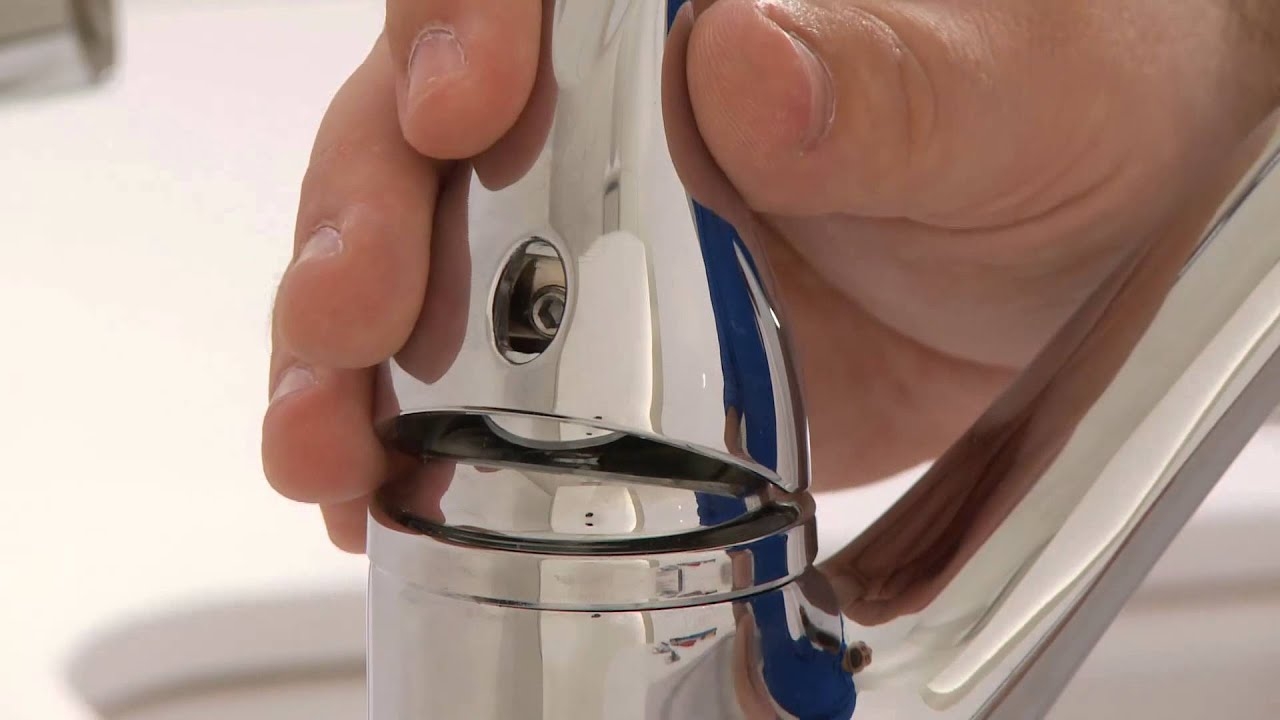
2. Locate the set screw - Look for a small set screw on the base of your Delta bathroom sink handle. This is usually located on the back or side of the handle.
3. Remove the set screw - Use an Allen wrench to loosen and remove the set screw. You may need to use pliers if the screw is too tight.
4. Remove the handle - Once the set screw is removed, you can easily pull the handle off the faucet. If your handle has a cap, use a small flathead screwdriver to pop it off before pulling the handle off.
5. Inspect the cartridge - With the handle removed, you can now access the cartridge. Inspect it for any damage or wear and tear. If necessary, this is the time to replace it.
6. Replace the handle - Once you have completed any repairs or replacements, you can put the handle back in place. Simply reverse the steps above, starting with sliding the handle back onto the faucet.
Now that you have all the necessary tools and materials, let’s dive into the process of removing your Delta bathroom sink handle.
1. Turn off the water supply - Before starting any work on your bathroom sink, make sure to turn off the water supply. This will prevent any accidental water damage and give you a clean work area.
2. Locate the set screw - Look for a small set screw on the base of your Delta bathroom sink handle. This is usually located on the back or side of the handle.
3. Remove the set screw - Use an Allen wrench to loosen and remove the set screw. You may need to use pliers if the screw is too tight.
4. Remove the handle - Once the set screw is removed, you can easily pull the handle off the faucet. If your handle has a cap, use a small flathead screwdriver to pop it off before pulling the handle off.
5. Inspect the cartridge - With the handle removed, you can now access the cartridge. Inspect it for any damage or wear and tear. If necessary, this is the time to replace it.
6. Replace the handle - Once you have completed any repairs or replacements, you can put the handle back in place. Simply reverse the steps above, starting with sliding the handle back onto the faucet.
Conclusion
 Removing your Delta bathroom sink handle may seem like a daunting task, but with the right tools and knowledge, it can be a simple and quick process. Regularly cleaning and maintaining your bathroom sink handle will ensure its longevity and functionality. If you encounter any difficulties or need further assistance, it is always best to consult a professional plumber.