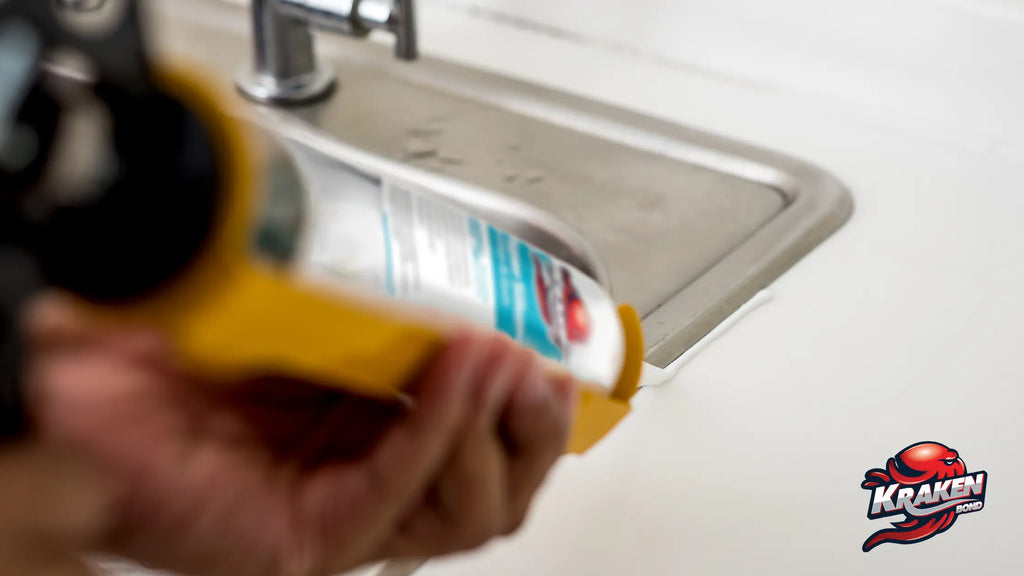
If you're looking to give your kitchen a clean and polished look, one easy way to do so is by applying clear caulk to your kitchen sink. Not only does it help to seal any gaps or cracks, but it also provides a sleek finish that can make your sink look brand new. Start by gathering all the necessary materials, including clear caulk, a caulk gun, a putty knife, and a damp cloth. Make sure to clean the area around your sink thoroughly before beginning the application process. Next, using the caulk gun, apply a thin and even line of clear caulk along the edges of your kitchen sink. Use the putty knife to smooth out the caulk and remove any excess. You can also use your finger to smooth out the caulk for a more precise finish. Let the caulk dry for at least 24 hours before using your sink again. This will ensure that the caulk has fully cured and will provide a strong seal for your sink.1. How to Apply Clear Caulk to a Kitchen Sink


1. How to Apply Clear Caulk to a Kitchen Sink


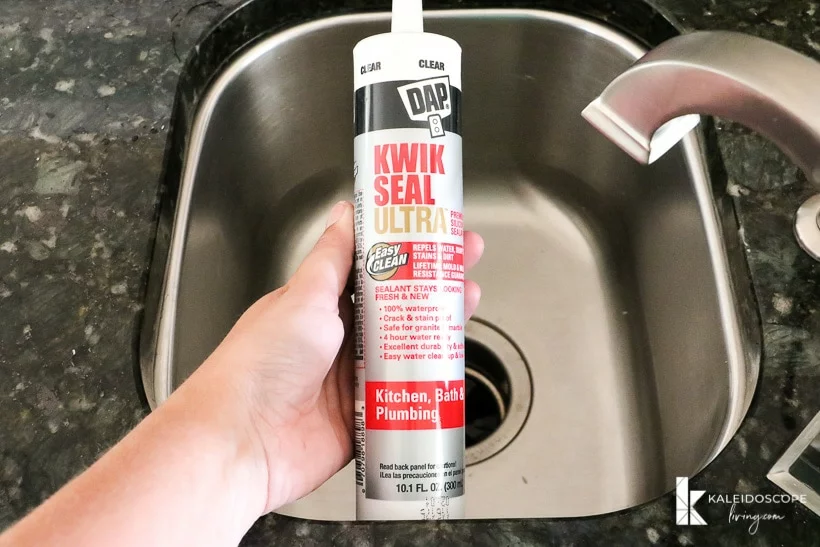

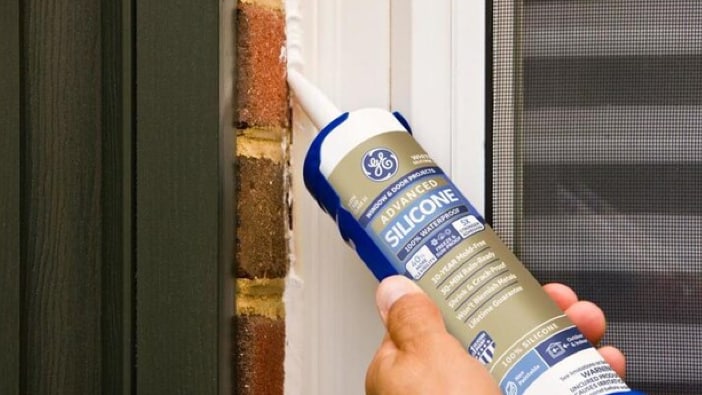
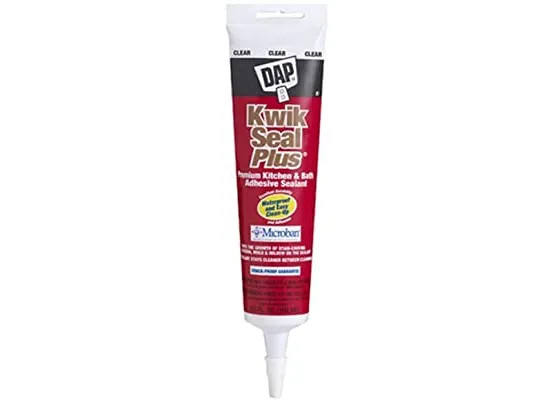
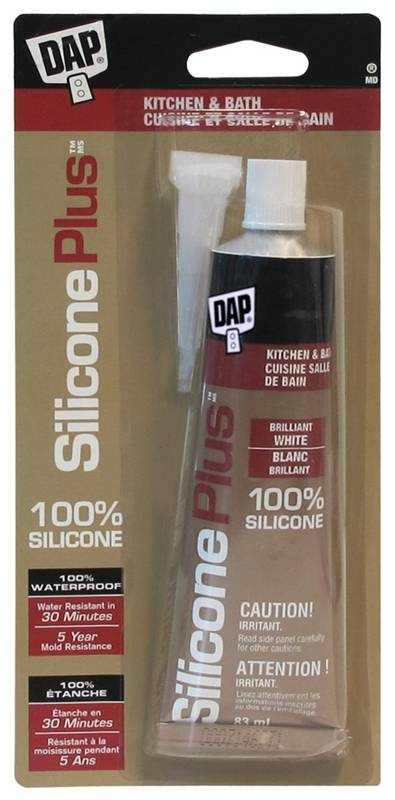
When it comes to choosing the best clear caulk for your kitchen sink, there are a few factors to consider. The first is the type of caulk - there are silicone, latex, and hybrid options available. Silicone is the most durable and water-resistant, making it a popular choice for kitchen sinks. Another factor to consider is the brand and quality of the caulk. Look for trusted brands that have good reviews and ratings from other users. It's also important to consider the color of the caulk - make sure it is a clear and transparent option for the best finish. Some recommended clear caulk options for kitchen sinks include GE Silicone II Kitchen and Bath Caulk, Dap 08660 Silicone Caulk, and Loctite Polyseamseal Tub and Tile Adhesive Caulk.2. Best Clear Caulk for Kitchen Sink


2. Best Clear Caulk for Kitchen Sink


If you're new to applying clear caulk to your kitchen sink, here is a step-by-step guide to help you through the process: Step 1: Clean the area around your sink to ensure there is no dirt or debris that could affect the caulk's adhesion. Step 2: Cut the tip of the caulk tube at a 45-degree angle using a utility knife. This will allow for a smoother application. Step 3: Load the caulk tube into the caulk gun and squeeze the trigger to start the flow of caulk. Step 4: Apply a thin and even line of caulk along the edges of your kitchen sink, using the caulk gun as a guide. Step 5: Use a putty knife or your finger to smooth out the caulk and remove any excess. Wipe away any excess caulk with a damp cloth. Step 6: Let the caulk dry for at least 24 hours before using your sink again.3. Step-by-Step Guide for Clear Caulking a Kitchen Sink


3. Step-by-Step Guide for Clear Caulking a Kitchen Sink


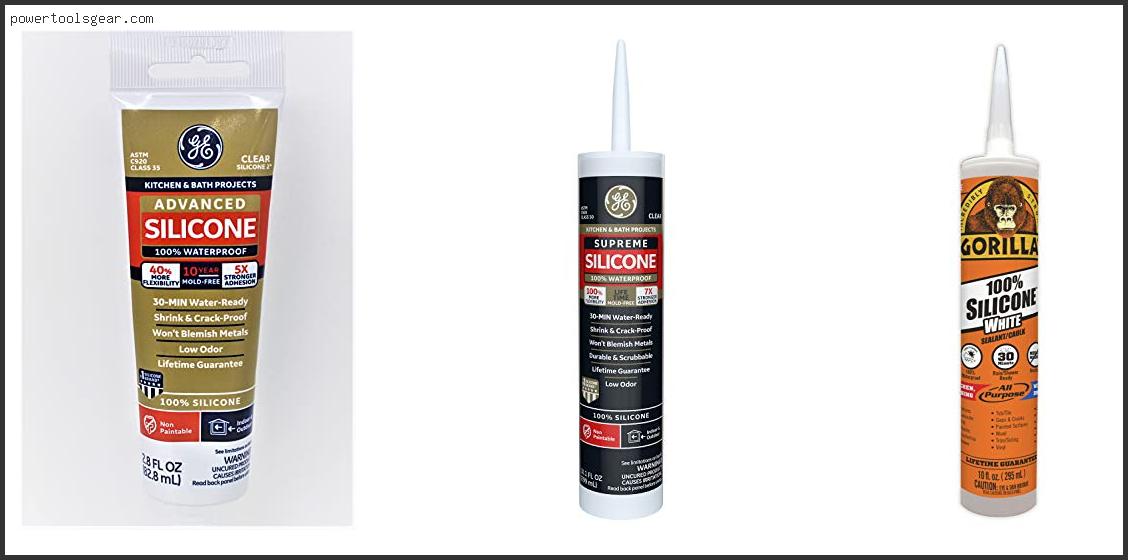
When it comes to top-rated clear caulk for kitchen sinks, the GE Silicone II Kitchen and Bath Caulk stands out as a popular choice. This caulk is 100% silicone, making it highly durable and water-resistant. It also has a fast-drying formula that allows for a 30-minute water exposure and a 24-hour full cure time. Other highly rated options include Dap 08660 Silicone Caulk and Loctite Polyseamseal Tub and Tile Adhesive Caulk, both of which offer strong adhesion and a waterproof seal.4. Top Rated Clear Caulk for Kitchen Sink


4. Top Rated Clear Caulk for Kitchen Sink


While clear caulk may seem like a straightforward product, there are a few things to consider when choosing the right one for your kitchen sink. Here are some tips to keep in mind: - Look for 100% silicone caulk for the most durable and long-lasting seal. - Check the label to ensure the caulk is suitable for use in kitchens and bathrooms. - Consider the color - clear caulk is the best option for kitchen sinks to maintain a seamless and clean finish. - Read reviews and ratings from other users to get an idea of the quality and effectiveness of the caulk.5. Tips for Choosing the Right Clear Caulk for Your Kitchen Sink


5. Tips for Choosing the Right Clear Caulk for Your Kitchen Sink


If your kitchen sink already has clear caulk that needs to be replaced, you'll need to remove the old caulk first. Here's how to do it: Step 1: Use a caulk removal tool or a utility knife to carefully scrape away the old caulk. Step 2: Once the majority of the caulk is removed, use a caulk remover or rubbing alcohol to dissolve any leftover residue. Step 3: Thoroughly clean and dry the area before applying new caulk.6. How to Remove Old Clear Caulk from a Kitchen Sink


6. How to Remove Old Clear Caulk from a Kitchen Sink

When it comes to caulk for kitchen sinks, clear caulk is usually the preferred option. This is because it provides a seamless and unnoticeable finish, unlike white caulk, which can be more noticeable and may not match the color of your sink. Additionally, clear caulk is generally more durable and water-resistant, making it a better choice for a kitchen sink, which is constantly exposed to water and moisture.7. Clear Caulk vs. White Caulk for Kitchen Sink: Which is Better?

7. Clear Caulk vs. White Caulk for Kitchen Sink: Which is Better?


Clear caulk plays a vital role in maintaining the integrity and appearance of your kitchen sink. Not only does it help to seal any gaps or cracks, but it also prevents water from seeping in and causing damage to your sink and countertop. It also provides a clean and polished finish, making your sink look brand new and adding to the overall aesthetic of your kitchen.8. The Importance of Clear Caulk for a Kitchen Sink


8. The Importance of Clear Caulk for a Kitchen Sink


It is recommended to re-caulk your kitchen sink every 1-2 years, depending on the condition of the caulk. If you notice any cracks, gaps, or discolouration, it may be time to reapply caulk to ensure the seal remains strong and effective. Regularly checking and maintaining your caulk can also prevent any potential water damage or mold growth, which can be costly to repair.9. How Often Should You Re-Caulk Your Kitchen Sink?


9. How Often Should You Re-Caulk Your Kitchen Sink?


While applying clear caulk to a kitchen sink may seem like a simple task, there are a few common mistakes to avoid for a successful application: - Not cleaning the area properly before applying caulk. - Applying too much caulk, which can result in a messy and uneven finish. - Not smoothing out the caulk properly, leaving behind excess or uneven caulk lines. - Not allowing the caulk to fully dry before using the sink, which can affect its effectiveness. With the right materials and techniques, applying clear caulk to your kitchen sink can be an easy and effective way to improve the appearance and functionality of your kitchen. Follow these tips and guidelines to achieve a professional-looking finish that will last for years to come.10. Common Mistakes to Avoid When Applying Clear Caulk to a Kitchen Sink


10. Common Mistakes to Avoid When Applying Clear Caulk to a Kitchen Sink


Why Clear Caulk is Essential for a Beautiful Kitchen Sink

The Importance of Clean and Clear Caulk
 One often overlooked aspect of kitchen design is the caulk used around the sink. While it may seem like a small detail, the type and condition of caulk can make a significant impact on the overall appearance of your kitchen. Clear caulk, in particular, is essential for creating a clean and polished look in your kitchen. Here's why.
Prevents Mold and Mildew Growth
The kitchen is a high moisture area, making it prone to mold and mildew growth. When caulk is not properly applied or is of poor quality, it can allow water to seep in and create the perfect breeding ground for these unsightly and potentially harmful substances. Clear caulk is designed to resist moisture and prevent mold and mildew growth, keeping your kitchen sink and surrounding areas clean and healthy.
Creates a Seamless Look
Clear caulk is virtually invisible, allowing your kitchen sink to seamlessly blend in with the surrounding countertops and backsplash. This creates a more cohesive and aesthetically pleasing appearance in your kitchen. It also allows your sink to be the focal point, rather than the caulk lines interrupting the overall design.
Easy to Clean
Caulk can be a magnet for dirt, grime, and food particles, especially when it's not clear. Clear caulk, on the other hand, is not as noticeable and can make cleaning around your sink much easier. It also resists staining, so your kitchen sink will maintain its pristine look for longer.
Long-Lasting Durability
Quality clear caulk is made to withstand the daily wear and tear of a busy kitchen. It is flexible, allowing it to expand and contract with temperature changes, preventing cracks and gaps from forming. This not only keeps your sink looking great but also helps to maintain its functionality.
One often overlooked aspect of kitchen design is the caulk used around the sink. While it may seem like a small detail, the type and condition of caulk can make a significant impact on the overall appearance of your kitchen. Clear caulk, in particular, is essential for creating a clean and polished look in your kitchen. Here's why.
Prevents Mold and Mildew Growth
The kitchen is a high moisture area, making it prone to mold and mildew growth. When caulk is not properly applied or is of poor quality, it can allow water to seep in and create the perfect breeding ground for these unsightly and potentially harmful substances. Clear caulk is designed to resist moisture and prevent mold and mildew growth, keeping your kitchen sink and surrounding areas clean and healthy.
Creates a Seamless Look
Clear caulk is virtually invisible, allowing your kitchen sink to seamlessly blend in with the surrounding countertops and backsplash. This creates a more cohesive and aesthetically pleasing appearance in your kitchen. It also allows your sink to be the focal point, rather than the caulk lines interrupting the overall design.
Easy to Clean
Caulk can be a magnet for dirt, grime, and food particles, especially when it's not clear. Clear caulk, on the other hand, is not as noticeable and can make cleaning around your sink much easier. It also resists staining, so your kitchen sink will maintain its pristine look for longer.
Long-Lasting Durability
Quality clear caulk is made to withstand the daily wear and tear of a busy kitchen. It is flexible, allowing it to expand and contract with temperature changes, preventing cracks and gaps from forming. This not only keeps your sink looking great but also helps to maintain its functionality.
How to Apply Clear Caulk to Your Kitchen Sink
 To achieve a beautiful and long-lasting caulk job around your kitchen sink, follow these simple steps:
Gather Your Supplies
You will need clear caulk, a caulk gun, a putty knife, and a damp cloth.
Clean the Area
Ensure that the area around your kitchen sink is clean and dry before applying caulk. Remove any old or damaged caulk with a putty knife and wipe the area with a damp cloth to remove any remaining residue.
Load the Caulk Gun
Load the clear caulk into the caulk gun and cut the tip at a 45-degree angle.
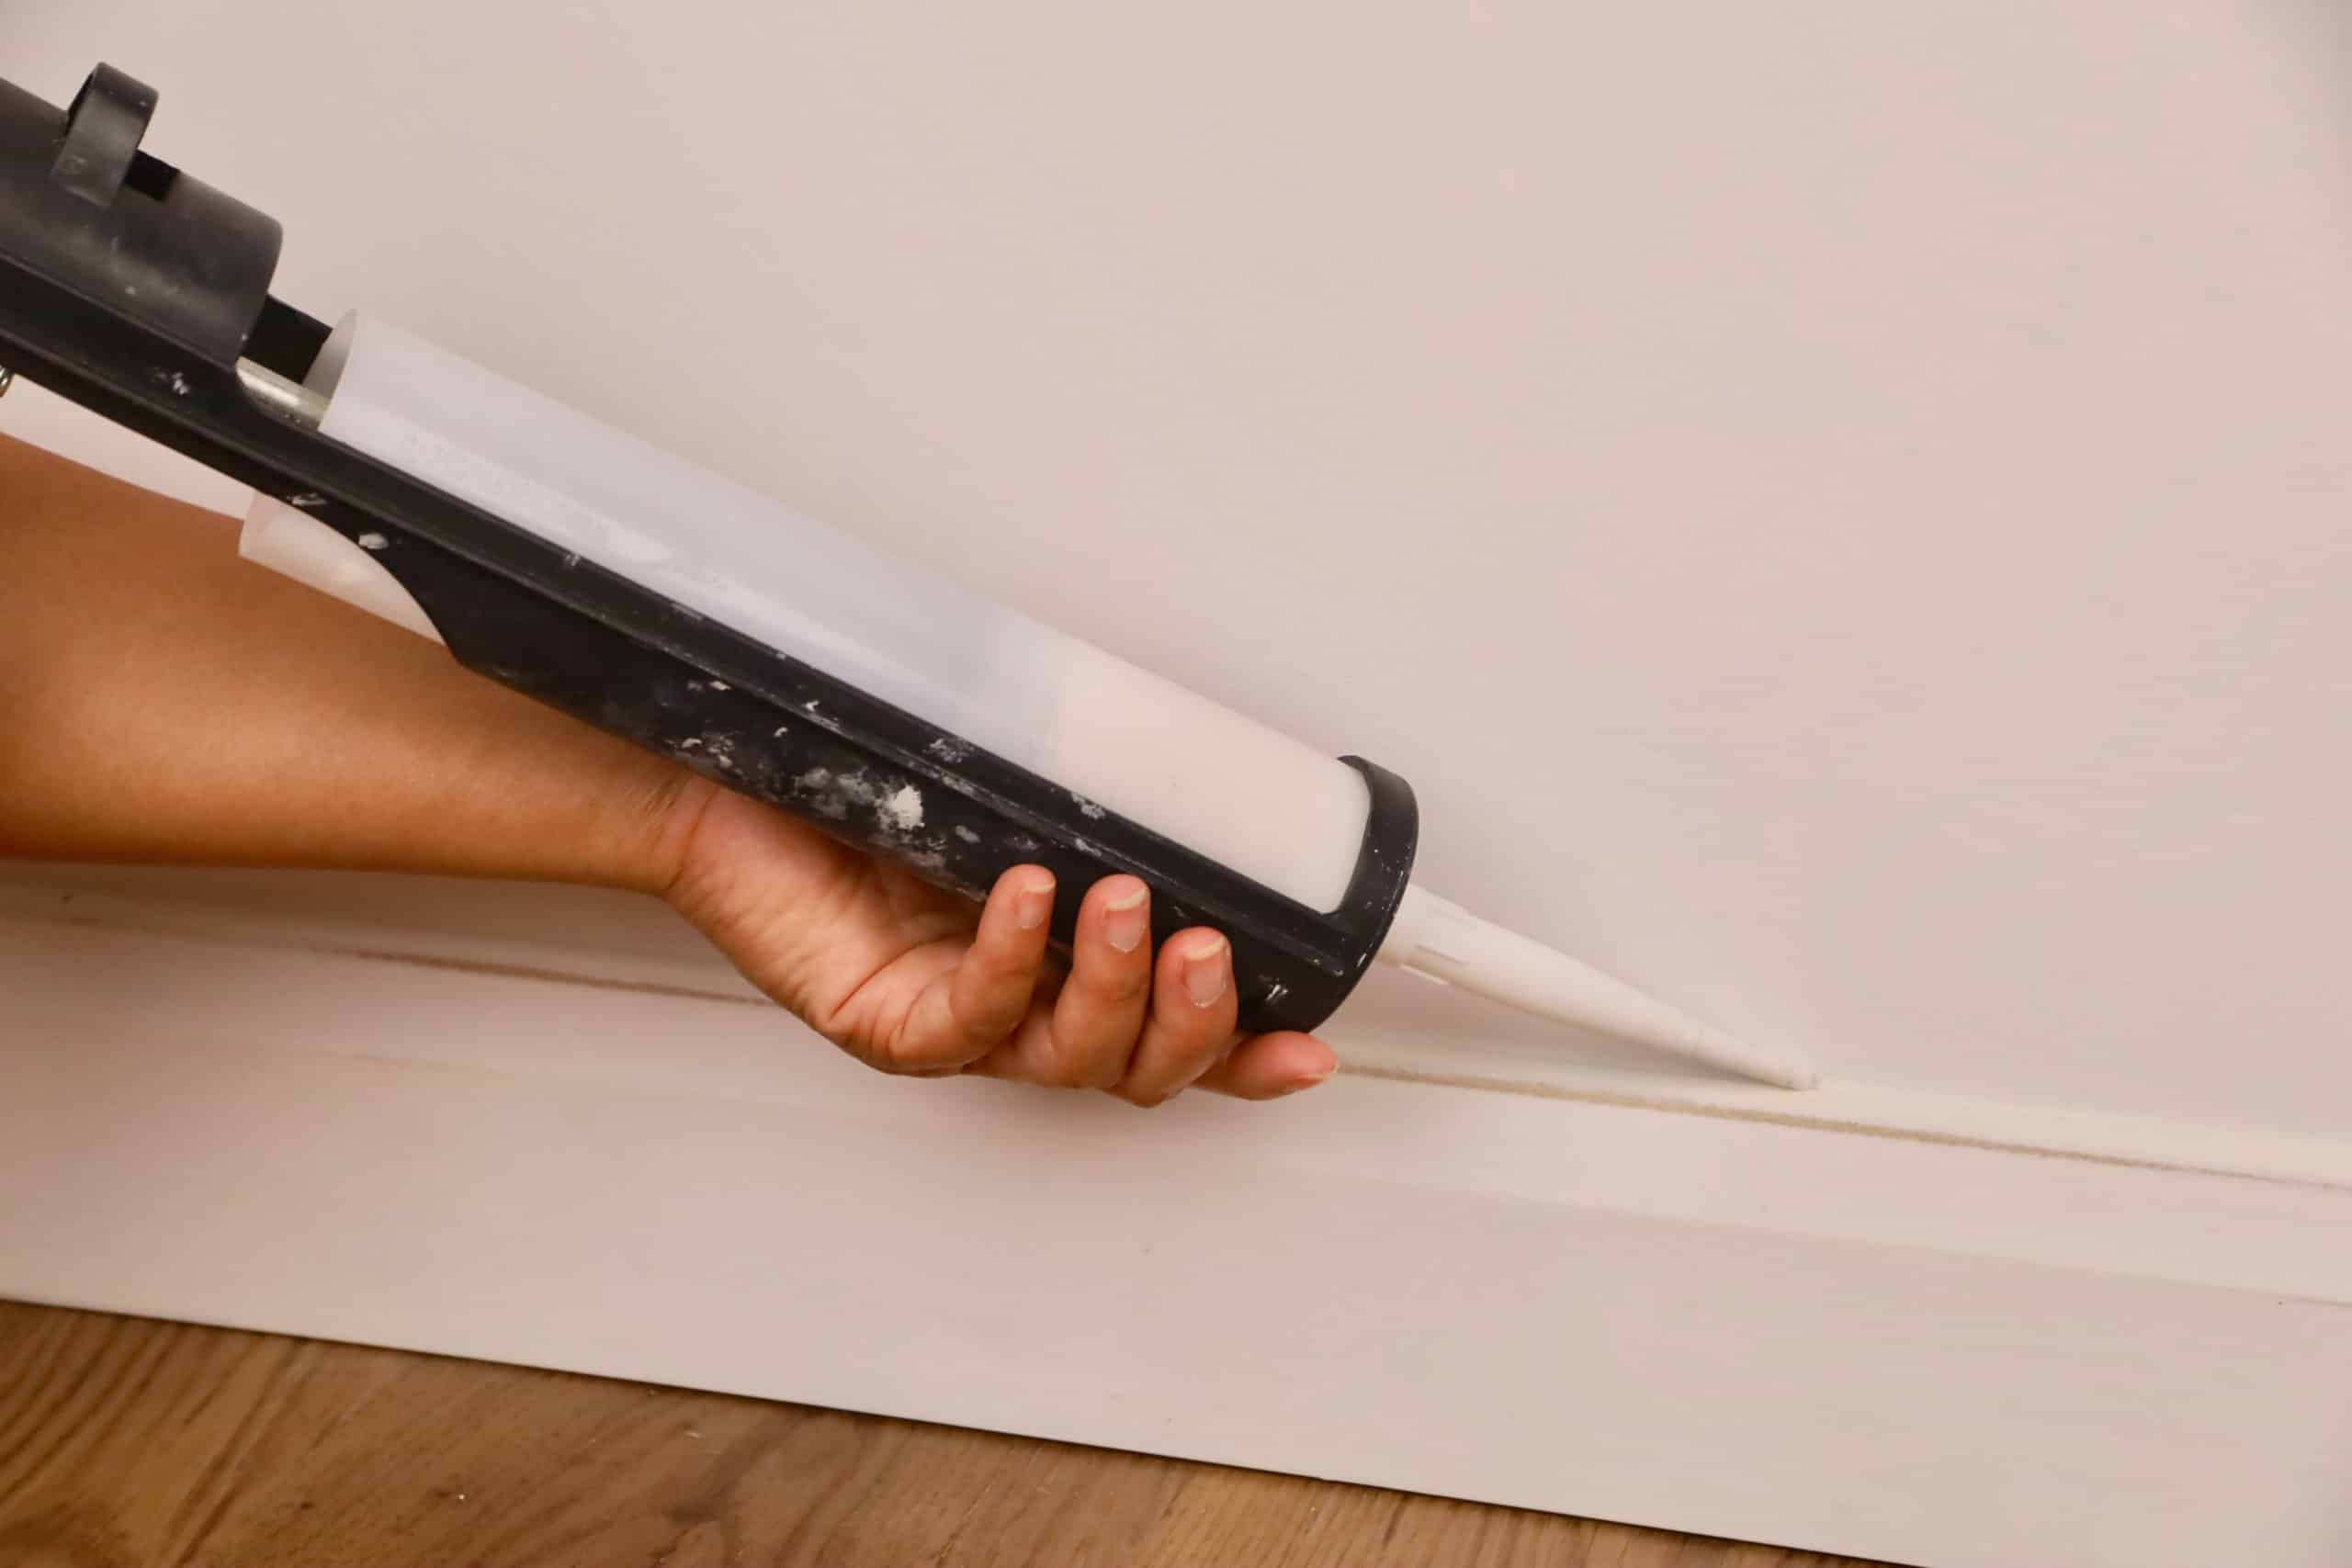
Apply the Caulk
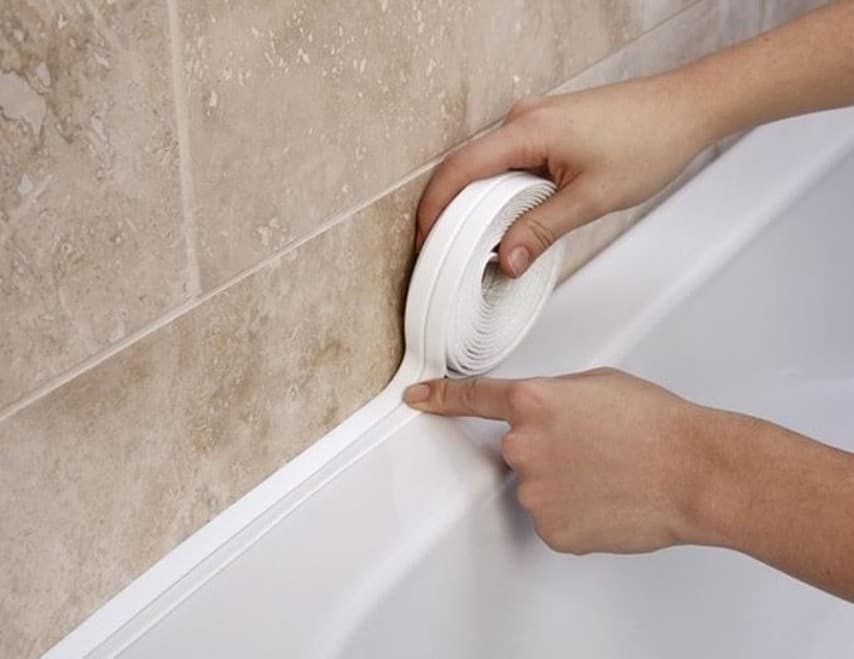
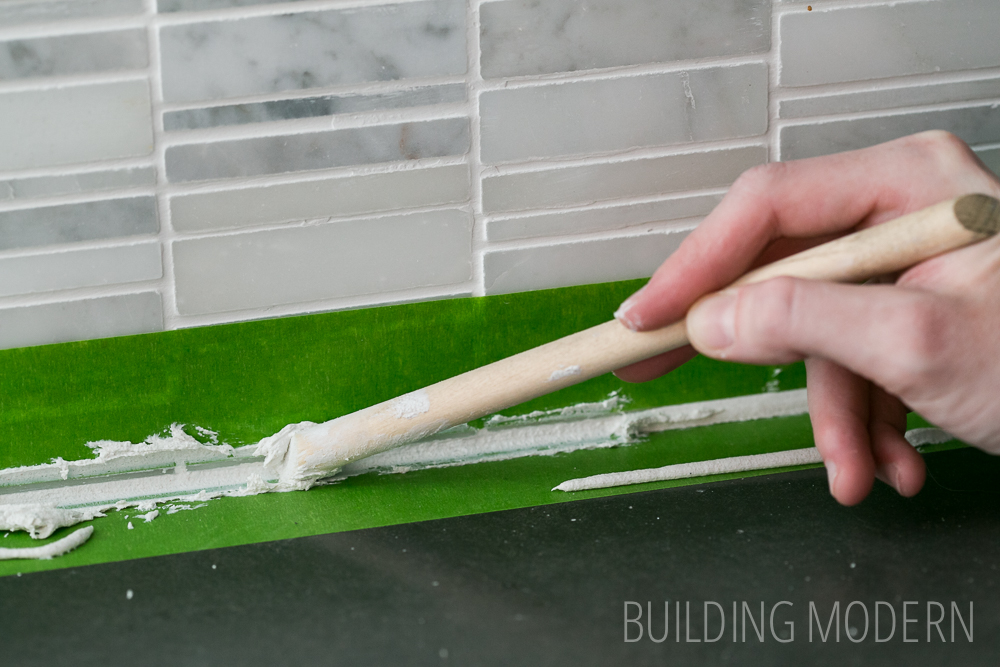
Starting from one end, apply a thin and even bead of caulk along the seam between the sink and countertop. Use the putty knife to smooth out the caulk and remove any excess.
Clean Up
Wipe away any excess caulk with a damp cloth and allow it to dry completely before using the sink.
Clear caulk is an essential element in achieving a beautiful and well-designed kitchen sink. Not only does it provide a clean and seamless look, but it also prevents mold and mildew growth, is easy to clean, and has long-lasting durability. Follow these tips for applying clear caulk to your kitchen sink, and you'll have a stunning and functional kitchen for years to come.
To achieve a beautiful and long-lasting caulk job around your kitchen sink, follow these simple steps:
Gather Your Supplies
You will need clear caulk, a caulk gun, a putty knife, and a damp cloth.
Clean the Area
Ensure that the area around your kitchen sink is clean and dry before applying caulk. Remove any old or damaged caulk with a putty knife and wipe the area with a damp cloth to remove any remaining residue.
Load the Caulk Gun
Load the clear caulk into the caulk gun and cut the tip at a 45-degree angle.
Apply the Caulk
Starting from one end, apply a thin and even bead of caulk along the seam between the sink and countertop. Use the putty knife to smooth out the caulk and remove any excess.
Clean Up
Wipe away any excess caulk with a damp cloth and allow it to dry completely before using the sink.
Clear caulk is an essential element in achieving a beautiful and well-designed kitchen sink. Not only does it provide a clean and seamless look, but it also prevents mold and mildew growth, is easy to clean, and has long-lasting durability. Follow these tips for applying clear caulk to your kitchen sink, and you'll have a stunning and functional kitchen for years to come.