If you're experiencing a persistent drip from your bathroom sink faucet, it may be time to change the tap washer. This small but important part of your plumbing system can wear out over time, causing leaks and wasting water. The good news is, changing a tap washer is a relatively simple task that you can do yourself. In this guide, we'll walk you through the steps to replace your tap washer and get your bathroom sink back in working order.How to Change a Tap Washer in a Bathroom Sink


How to Change a Tap Washer in a Bathroom Sink


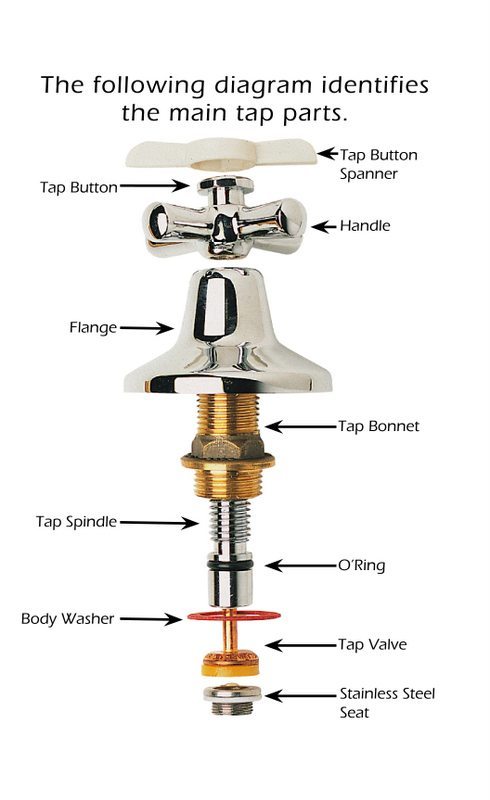
If you've never changed a tap washer before, don't worry. It's a common household plumbing issue and can be fixed easily with a few basic tools. The first step is to gather your supplies. You'll need an adjustable wrench, a screwdriver, a new tap washer, and some plumber's tape. Once you have everything you need, follow these steps: 1. Shut off the water supply: Before you start any plumbing project, it's important to turn off the water supply to avoid any accidents. Locate the shut-off valves under your sink and turn them clockwise to close them. 2. Empty the faucet: Once the water is shut off, open the faucet to drain any remaining water in the pipes. This will prevent any water from gushing out when you remove the tap. 3. Remove the tap handle: Use a screwdriver to remove the screw holding the tap handle in place. Once the screw is removed, you should be able to lift off the handle and expose the tap's inner workings. 4. Remove the tap bonnet: The tap bonnet is the decorative cover that sits on top of the tap. Using an adjustable wrench, carefully loosen and remove the bonnet. Be sure to keep track of any screws or washers that may come loose. 5. Replace the tap washer: Locate the old tap washer and carefully remove it. You may need to use pliers to pull it out if it's stuck. Once the old washer is removed, replace it with a new one. 6. Reassemble the tap: Now that the new tap washer is in place, reassemble the tap by following the same steps in reverse. Be sure to tighten everything securely and reattach the handle. 7. Turn the water back on: Once everything is back in place, turn the water supply back on and test your tap. If the drip has stopped, congratulations! You've successfully changed the tap washer.Replacing a Tap Washer in a Bathroom Sink


Replacing a Tap Washer in a Bathroom Sink


While you can certainly call a plumber to fix a leaky tap, changing a tap washer is a simple task that you can do yourself. Not only will you save money on a service call, but you'll also gain some valuable DIY skills. Plus, you'll have the satisfaction of knowing you fixed the problem on your own. Just be sure to follow these tips for a successful DIY tap washer replacement: Tip #1: Use the correct size tools. Make sure you have an adjustable wrench that fits the nuts and bolts on your tap. Using the wrong size wrench can strip the nuts and make the job more difficult. Tip #2: Turn off the water supply. This cannot be stressed enough. Always turn off the water supply before attempting any plumbing project to avoid any potential water damage or accidents. Tip #3: Take your time. Changing a tap washer may seem like a quick fix, but it's important to take your time and be gentle with your taps. Rushing can lead to mistakes and potential damage.DIY: Changing a Tap Washer in a Bathroom Sink


DIY: Changing a Tap Washer in a Bathroom Sink


If you're a visual learner, here is a step-by-step guide for changing a tap washer in a bathroom sink: Step 1: Turn off the water supply. Step 2: Empty the faucet of any remaining water. Step 3: Remove the tap handle using a screwdriver. Step 4: Remove the tap bonnet using an adjustable wrench. Step 5: Replace the old tap washer with a new one. Step 6: Reassemble the tap, making sure everything is tightened securely. Step 7: Turn the water supply back on and test the tap.Step-by-Step Guide for Changing a Tap Washer in a Bathroom Sink


Step-by-Step Guide for Changing a Tap Washer in a Bathroom Sink


As far as plumbing issues go, changing a tap washer is a relatively quick and easy fix. In fact, with the right tools and a little know-how, you can have your tap back in working order in no time. Plus, by fixing the issue yourself, you'll save time and money compared to calling a professional.Quick and Easy Fix: Changing a Tap Washer in a Bathroom Sink

Quick and Easy Fix: Changing a Tap Washer in a Bathroom Sink


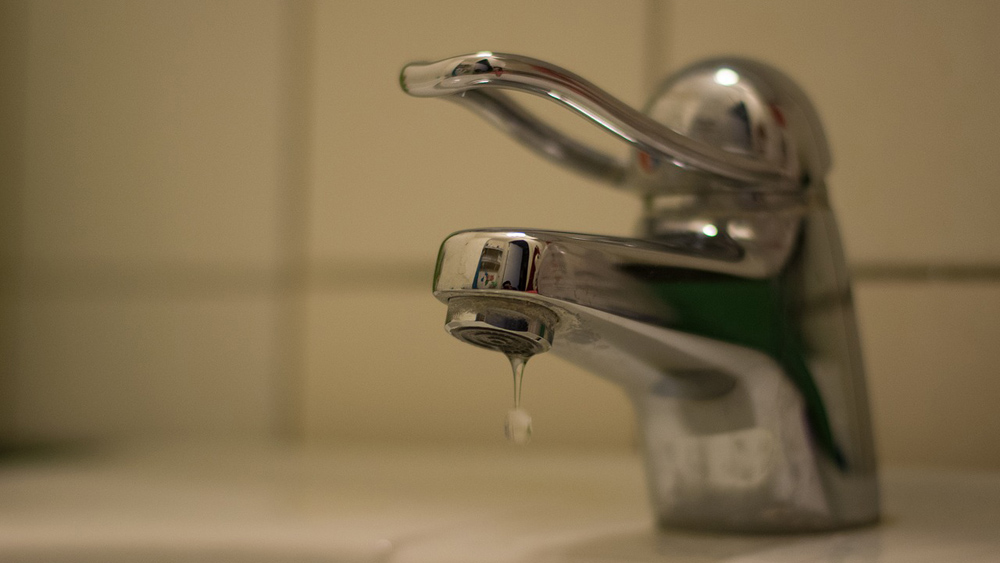
A dripping tap is one of the most common plumbing issues in a bathroom. While it may not seem like a big deal, a leaky tap can waste gallons of water and increase your water bill. That's why it's important to tackle this issue as soon as you notice it. By changing the tap washer, you'll not only fix the problem but also prevent any potential water damage.Common Bathroom Plumbing Issue: Changing a Tap Washer in a Bathroom Sink


Common Bathroom Plumbing Issue: Changing a Tap Washer in a Bathroom Sink
As mentioned before, changing a tap washer yourself can save you money on a service call. But that's not the only way you'll save money. By fixing the issue yourself, you'll also save on your water bill. A tap that drips at a rate of one drop per second can waste up to 3,000 gallons of water per year. By fixing the leak, you'll be doing your part for the environment and your wallet.Save Money by Changing a Tap Washer in a Bathroom Sink Yourself


Save Money by Changing a Tap Washer in a Bathroom Sink Yourself
Regular maintenance of your plumbing system can help prevent leaks and other issues. By changing your tap washer, you'll be taking a proactive step towards preventing future leaks. It's a simple task that can save you from bigger plumbing problems down the line.Prevent Leaks by Changing a Tap Washer in a Bathroom Sink


Prevent Leaks by Changing a Tap Washer in a Bathroom Sink
For those who may be new to DIY plumbing, here are some expert tips to keep in mind when changing a tap washer: Tip #1: Use plumber's tape. Plumber's tape is an inexpensive yet effective way to prevent leaks and ensure a tight seal. Tip #2: Check for other issues. Sometimes a leaky tap can be a sign of a bigger problem. While you're changing the tap washer, take a look at the other parts of your tap to make sure everything looks okay. Tip #3: Don't force anything. If something seems stuck, don't try to force it. This can cause damage to your taps and make the job more difficult.Expert Tips for Changing a Tap Washer in a Bathroom Sink


Expert Tips for Changing a Tap Washer in a Bathroom Sink
If you've followed all the steps and your tap is still leaking, it may be time to call a professional. There could be an underlying issue that requires a plumber's expertise. However, with proper maintenance and regular tap washer replacements, you can prevent most bathroom plumbing issues and save yourself from any potential headaches. Now that you know how to change a tap washer in a bathroom sink, you can tackle this common household issue with confidence. Remember to always turn off the water supply and take your time to ensure a successful fix. And if you do encounter any troubles, don't hesitate to call a professional for assistance. Happy fixing!Troubleshooting: How to Change a Tap Washer in a Bathroom Sink

Troubleshooting: How to Change a Tap Washer in a Bathroom Sink


Maintaining Your Bathroom Sink: Replacing a Tap Washer

Why Changing a Tap Washer is Important
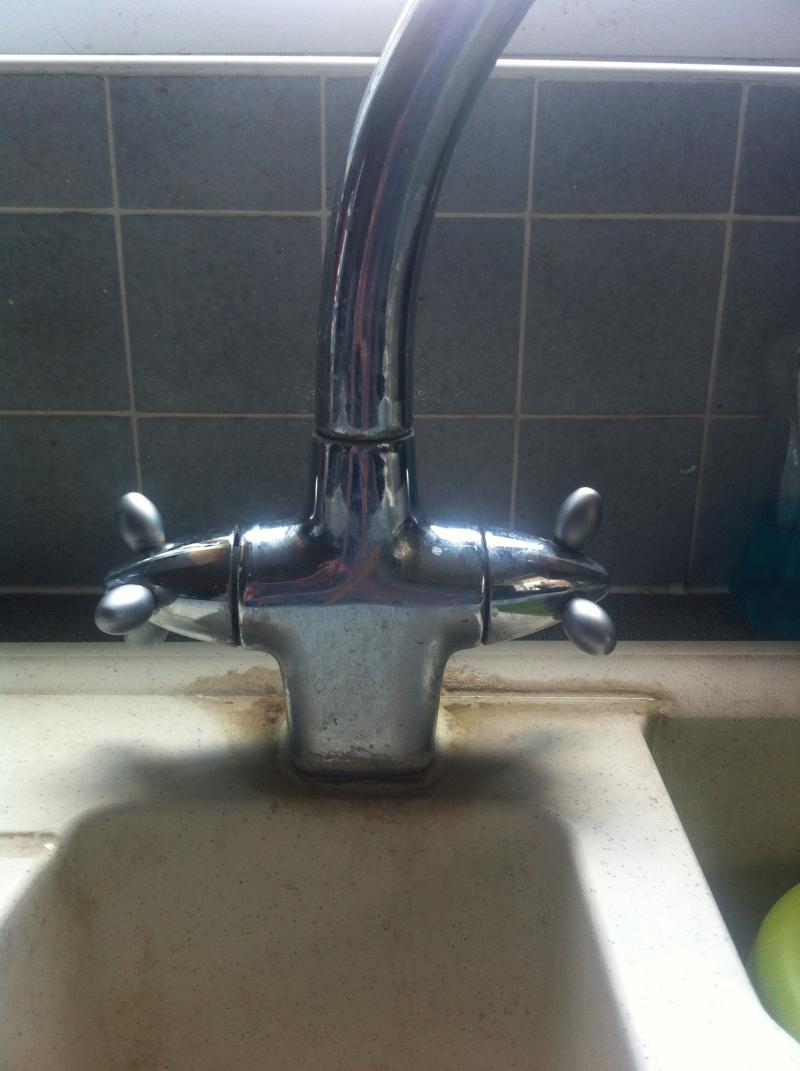
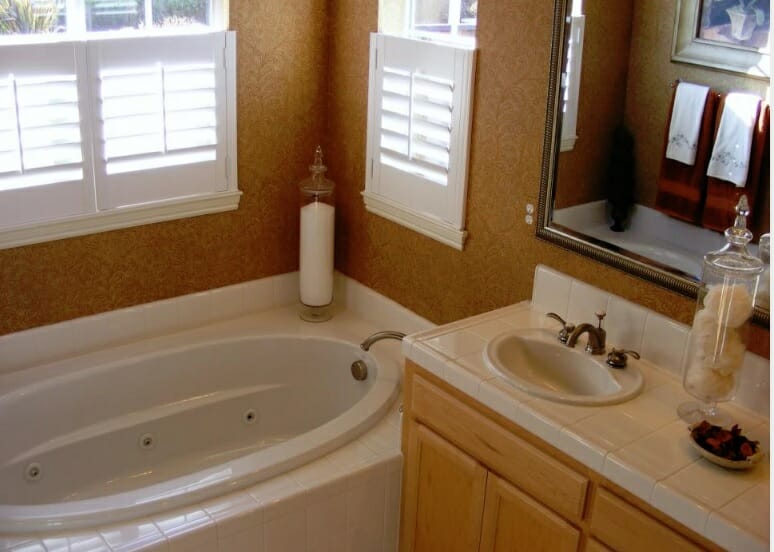
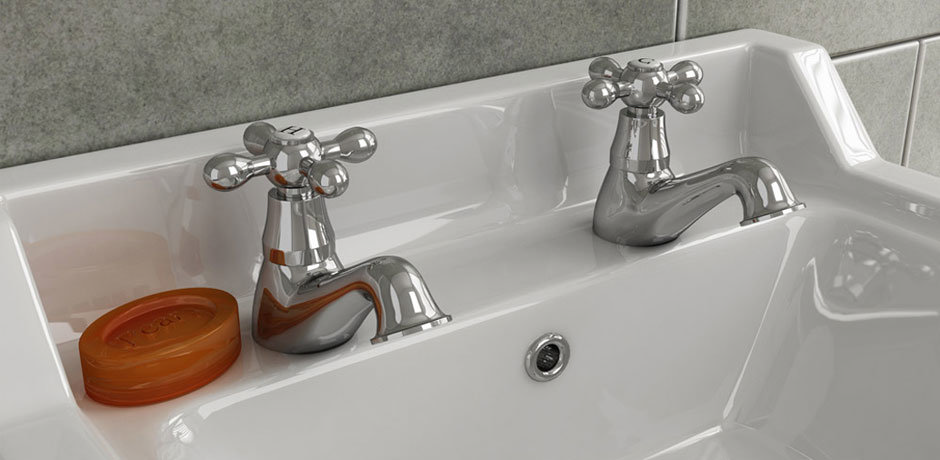
 When it comes to maintaining your bathroom sink, one of the most common issues homeowners face is a dripping tap. Not only is the constant dripping noise annoying, but it can also lead to a significant amount of water wastage and a higher water bill. The culprit behind this problem is often a worn-out tap washer. This small but crucial part of your tap helps to create a watertight seal and prevent water from leaking out. Over time, however, the constant use and exposure to water can cause the tap washer to deteriorate and lose its effectiveness. That's why knowing how to change a tap washer is an essential skill for any homeowner.
Tools and Materials You Will Need
 Before you start the process of changing your tap washer, make sure you have all the necessary tools and materials. You will need a pair of pliers, an adjustable wrench, a screwdriver, a new tap washer, and a cloth. It's also a good idea to have a bucket or container to catch any excess water that may come out of the tap.
Step-by-Step Guide to Changing a Tap Washer
 Now that you have all your tools and materials, here is a simple guide to help you change your tap washer:
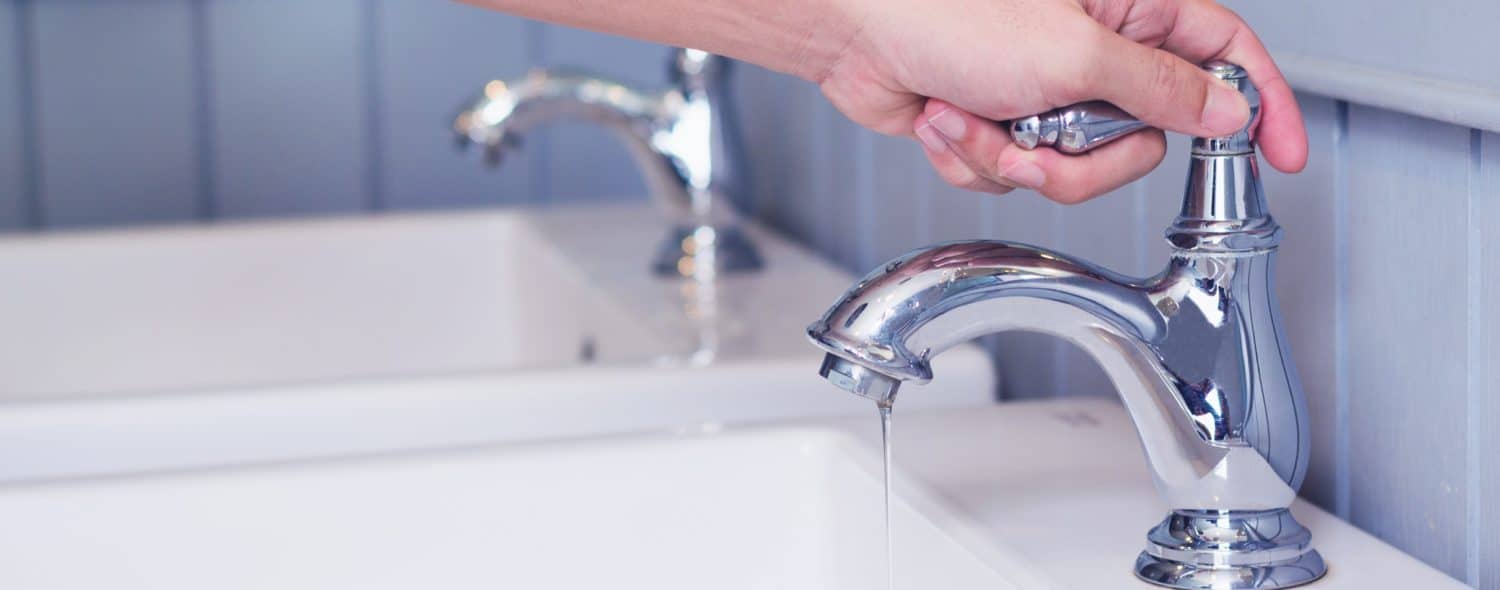
Step 1: Turn off the water supply to your tap. You can do this by locating the shutoff valves under your sink and turning them clockwise. If you cannot find any shutoff valves, you can turn off the main water supply to your house.
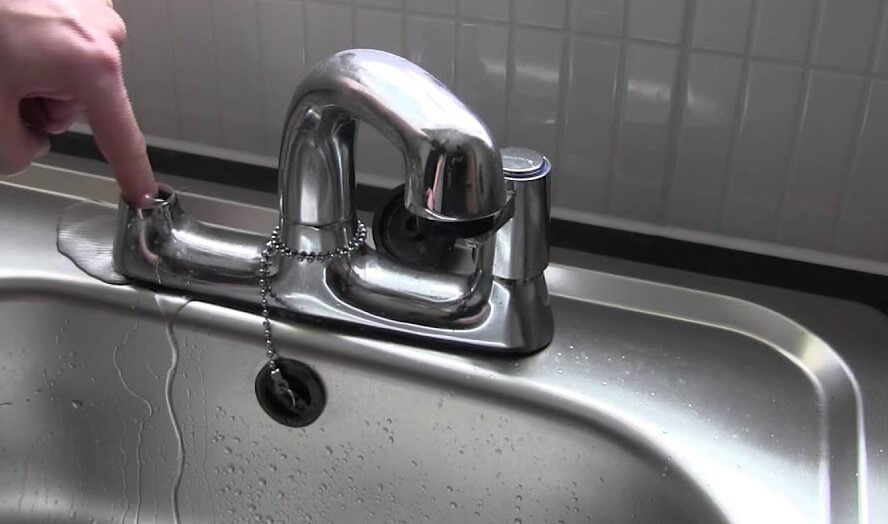
Step 2: Open the tap to release any remaining water pressure. This will help prevent any water from spraying out when you start working on the tap.
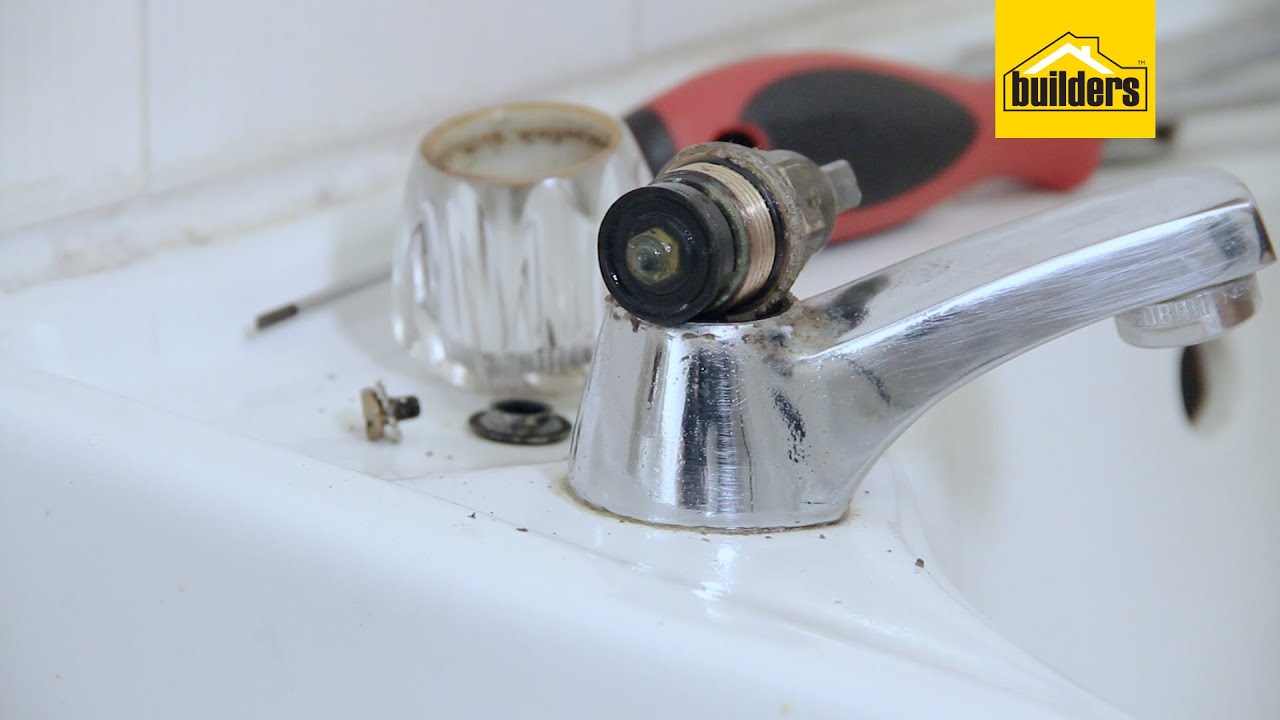
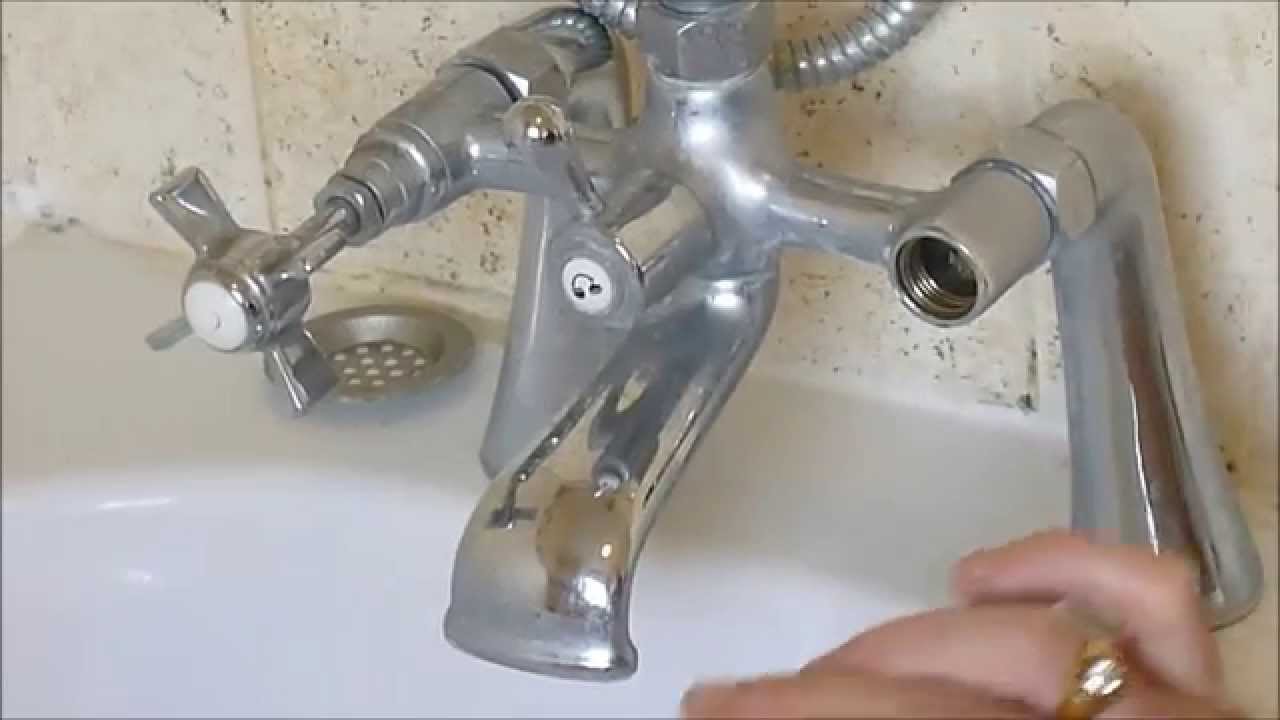
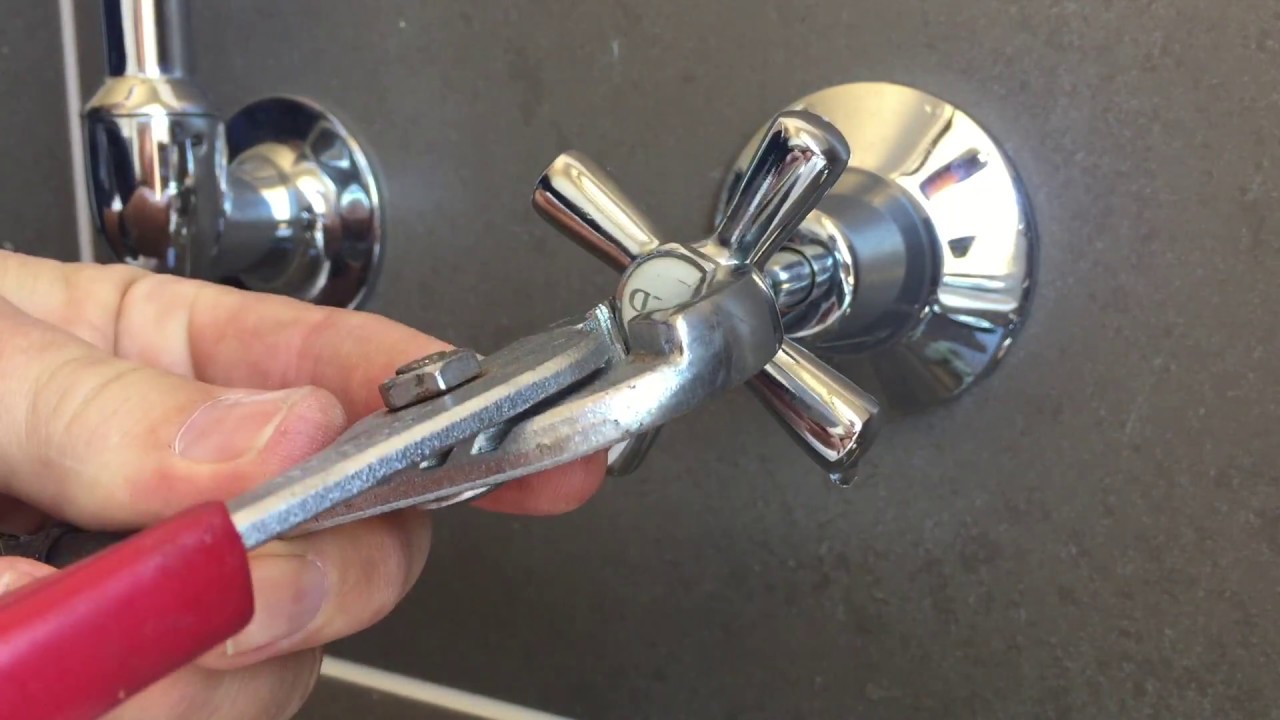
Step 3: Using your pliers, gently remove the tap head cover and set it aside.
Step 4: You will now see a screw that holds the tap handle in place. Use your screwdriver to remove this screw and then carefully remove the tap handle.
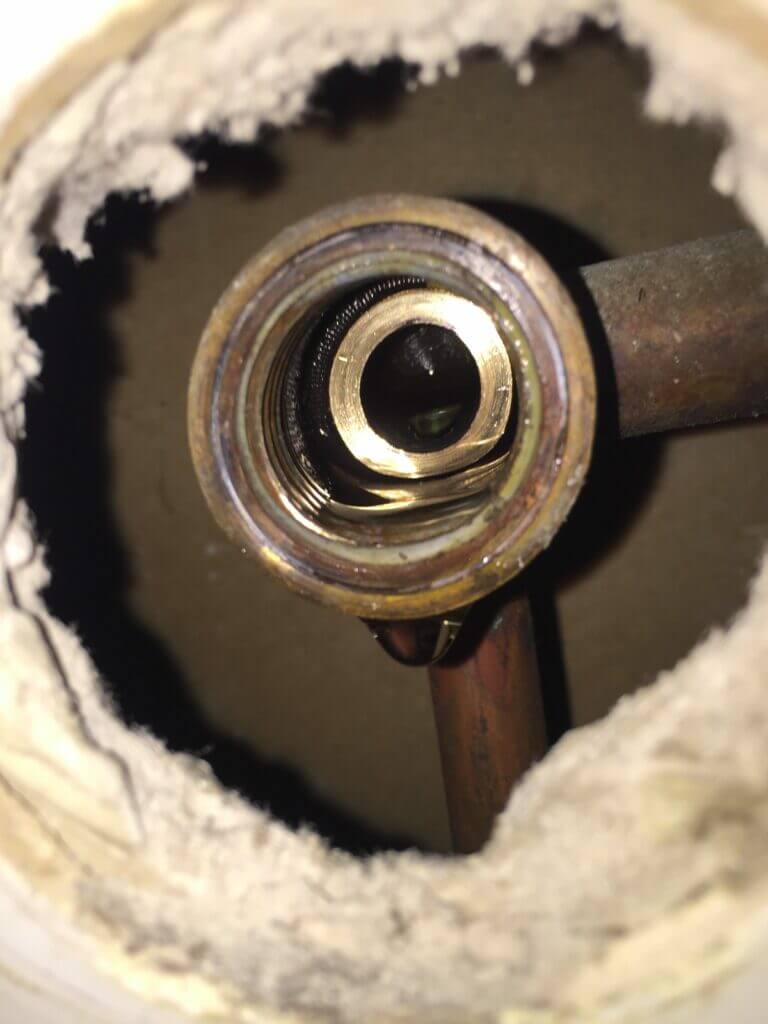
Step 5: Next, use your adjustable wrench to loosen and remove the tap bonnet. This is the part that holds the tap in place.
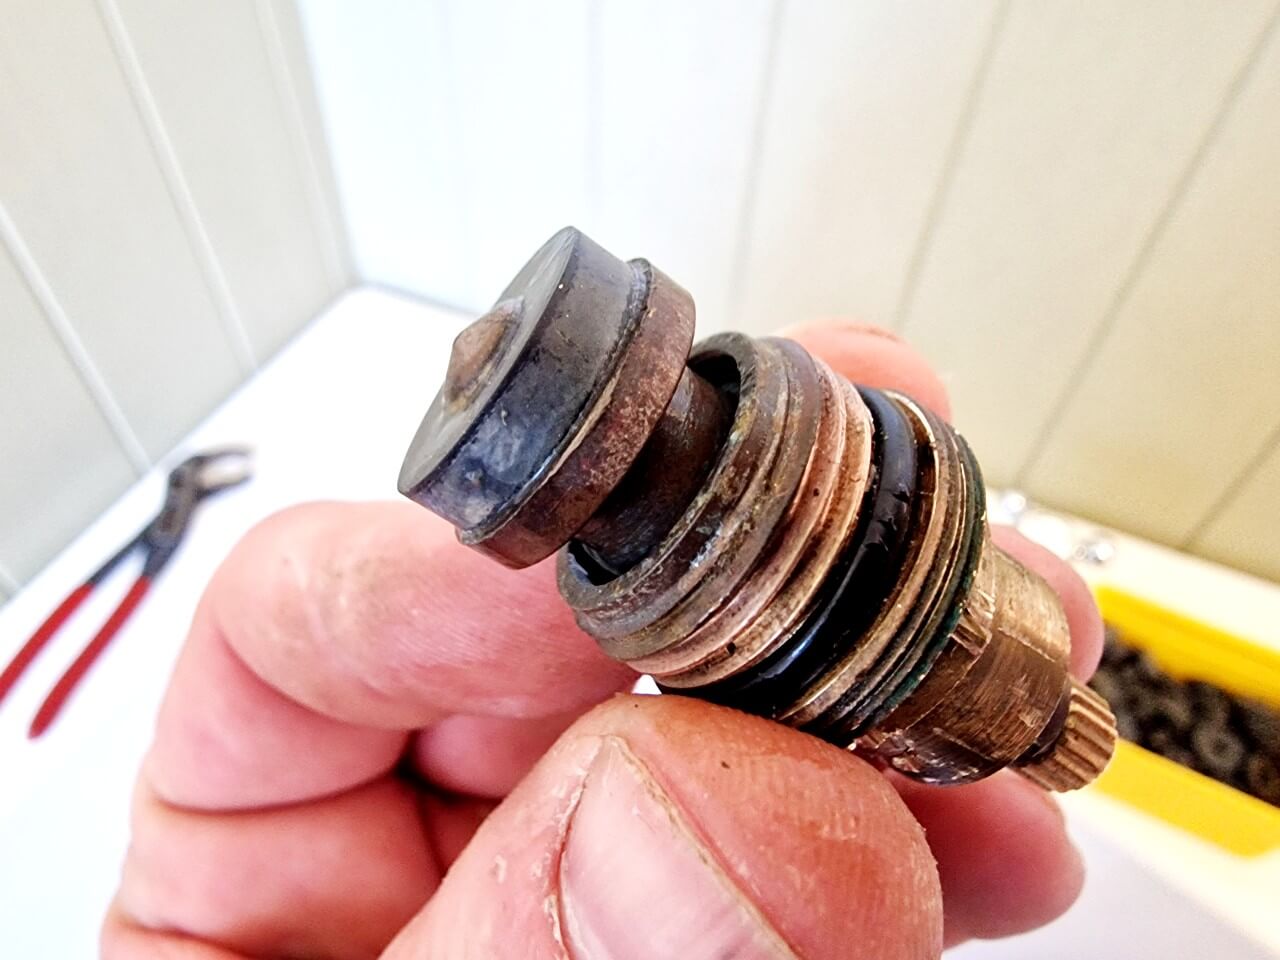
Step 6: Once the tap bonnet is removed, you will see the tap washer. Use your pliers to carefully remove the old washer and replace it with the new one.
Step 7: Reassemble all the parts by following the steps in reverse order. Make sure everything is tightly secured.
Step 8: Turn the water supply back on and test your tap. If the dripping has stopped, then you have successfully changed your tap washer.
Consider Hiring a Professional
 While changing a tap washer may seem like a simple task, it can be challenging for those who have no experience with plumbing. If you are unsure or uncomfortable with completing this task on your own, it's always best to hire a professional plumber. They have the necessary skills and tools to get the job done efficiently and effectively, saving you time and potential headaches.
In conclusion, knowing how to change a tap washer is an essential skill for any homeowner. By following these simple steps, you can maintain your bathroom sink and prevent any future water wastage. Remember, if you are unsure or uncomfortable with completing this task, don't hesitate to call a professional plumber.
While changing a tap washer may seem like a simple task, it can be challenging for those who have no experience with plumbing. If you are unsure or uncomfortable with completing this task on your own, it's always best to hire a professional plumber. They have the necessary skills and tools to get the job done efficiently and effectively, saving you time and potential headaches.
In conclusion, knowing how to change a tap washer is an essential skill for any homeowner. By following these simple steps, you can maintain your bathroom sink and prevent any future water wastage. Remember, if you are unsure or uncomfortable with completing this task, don't hesitate to call a professional plumber.