Replacing an undermount kitchen sink may seem like a daunting task, but with the right tools and knowledge, it can be a DIY project that will save you money and give your kitchen a fresh new look. Whether you are looking to upgrade your sink or your current one is damaged, follow these steps to successfully replace your undermount sink.How to Replace an Undermount Sink


How to Replace an Undermount Sink


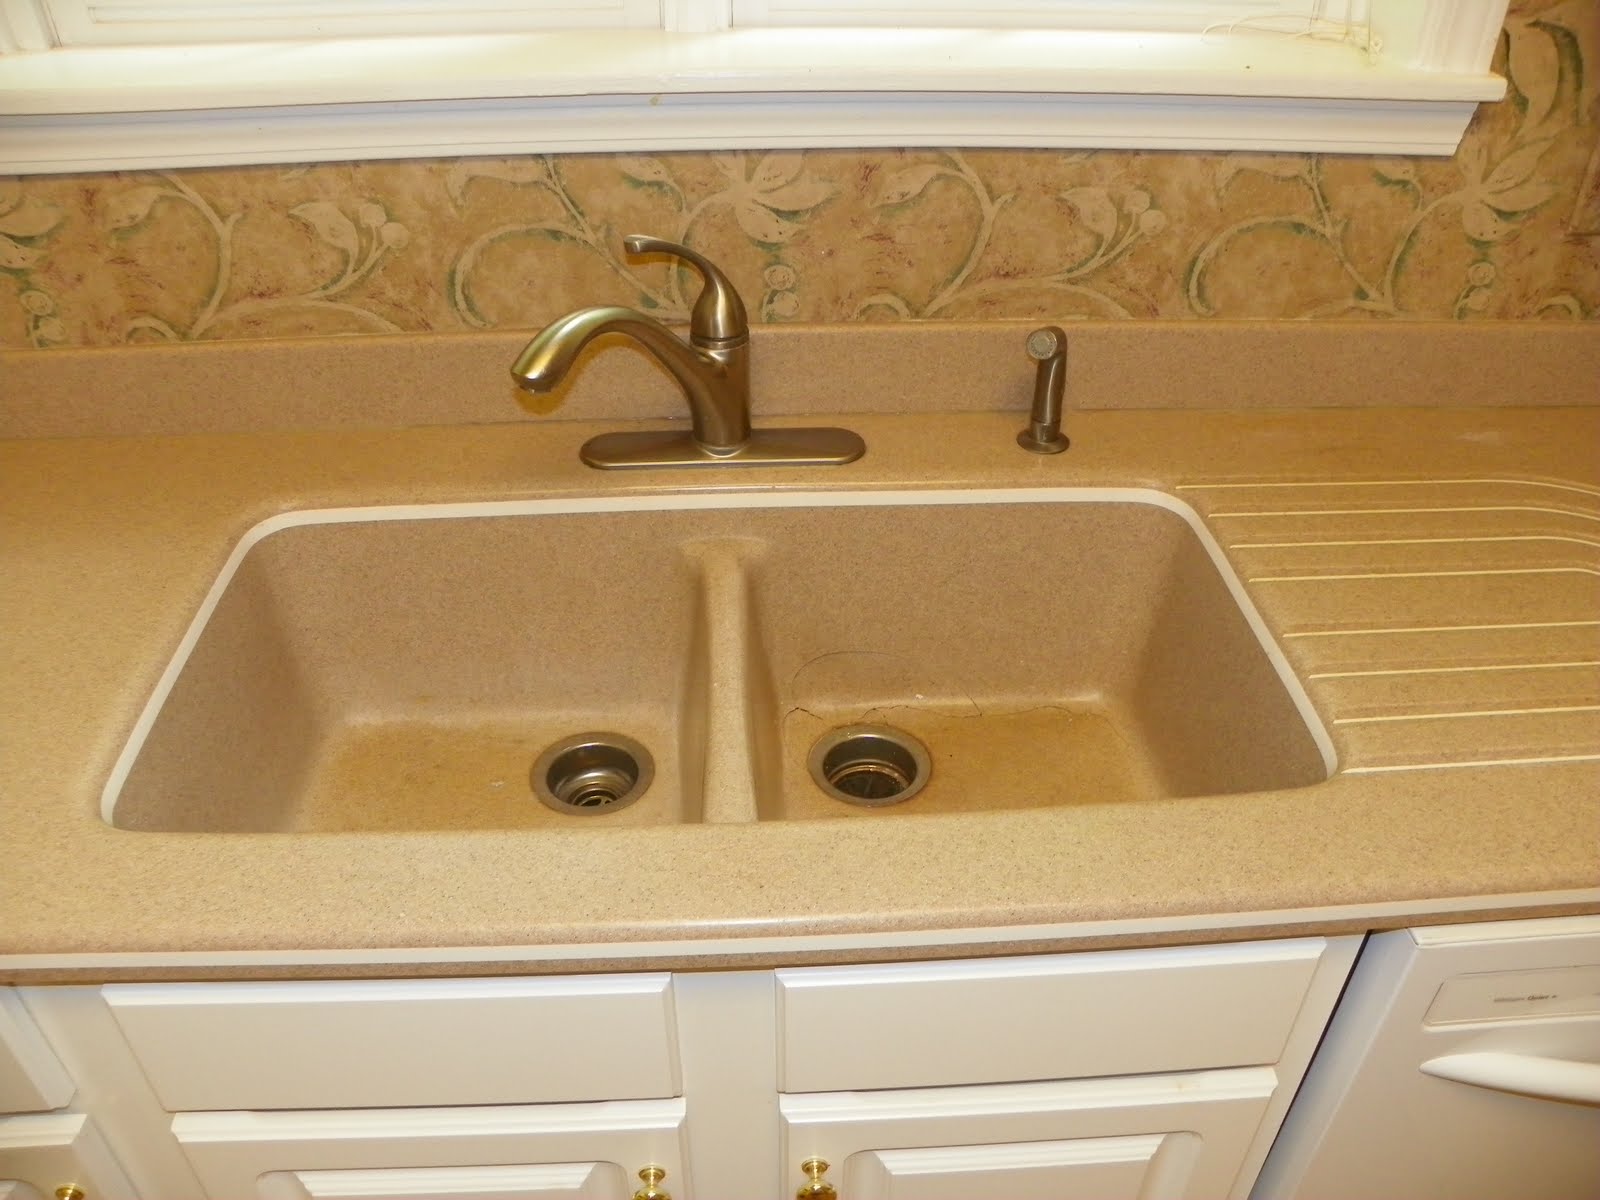
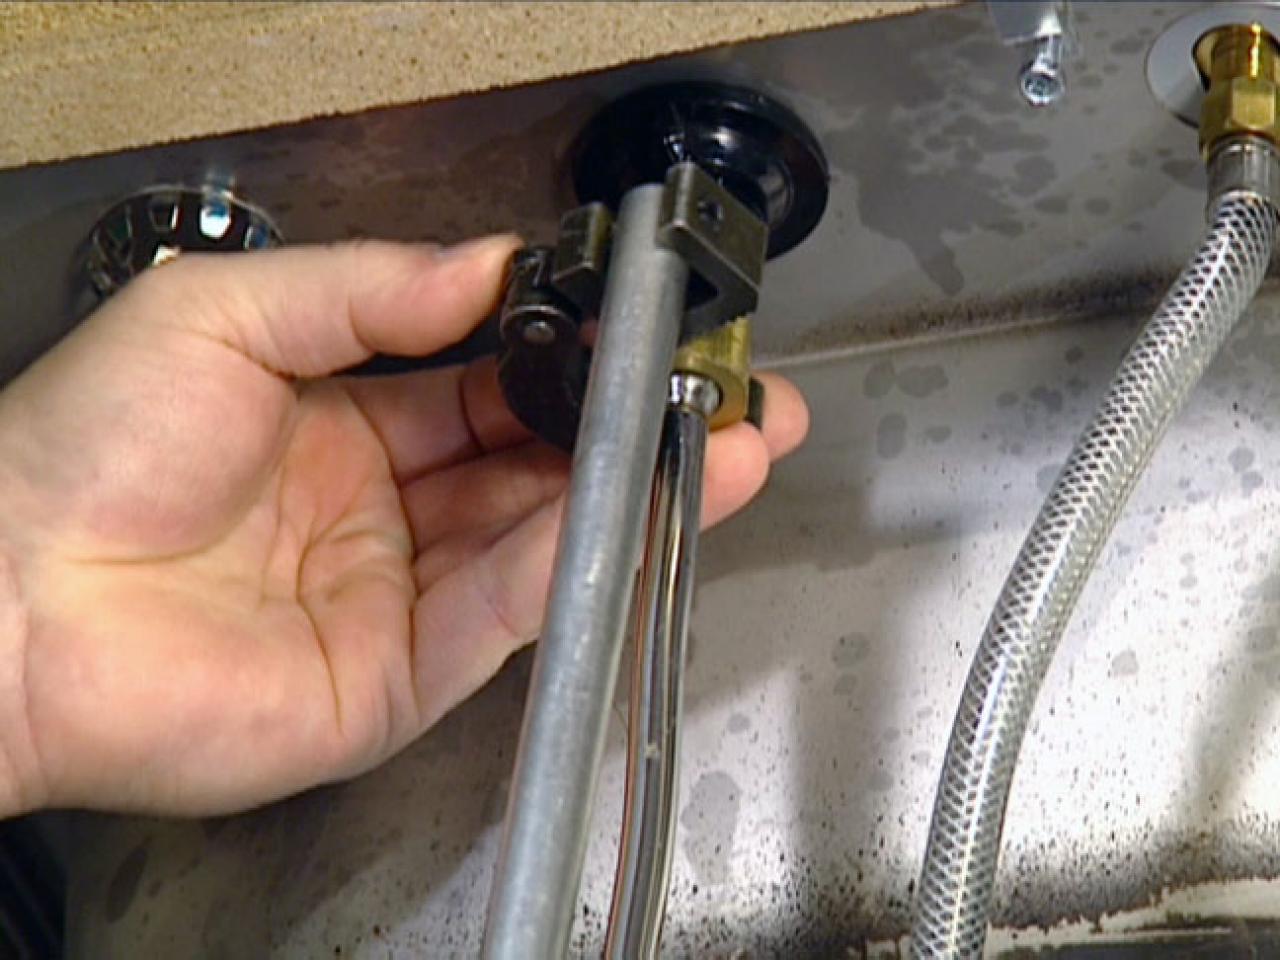
The first step in replacing an undermount sink is to remove the old one. Start by turning off the water supply and disconnecting the plumbing. Then, use a utility knife to cut the caulk seal around the edges of the sink. Once the sink is free, carefully lift it out of the countertop and set it aside.How to Install an Undermount Sink


How to Install an Undermount Sink


Before installing the new sink, make sure the countertop is clean and free of any debris. Measure the dimensions of the new sink and mark them on the countertop. Use a jigsaw or router to cut along the marked lines, creating a hole for the sink to fit into.Replacing an Undermount Kitchen Sink


Replacing an Undermount Kitchen Sink


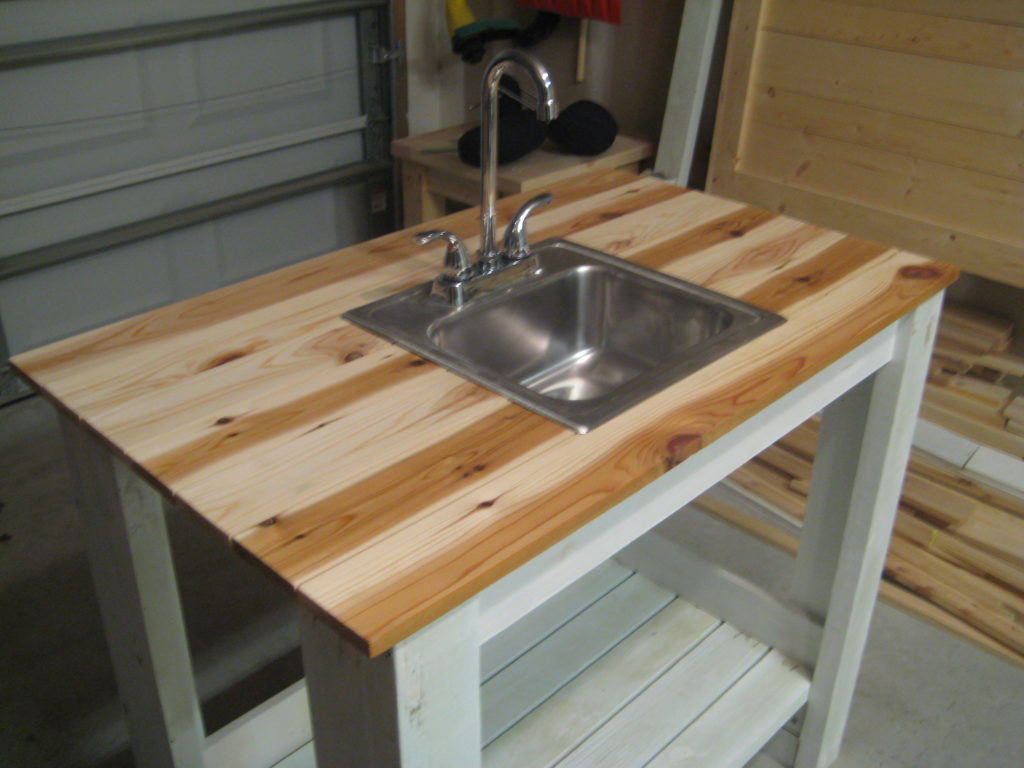
Once the hole is cut, test fit the new sink to make sure it fits snugly. If it doesn't, you may need to make adjustments to the hole. Once the sink fits properly, clean the edges of the hole and the underside of the sink with a mild cleaner. Apply a thin layer of silicone caulk to the edges of the hole, then carefully lower the sink into place.Undermount Kitchen Sink Replacement

Undermount Kitchen Sink Replacement


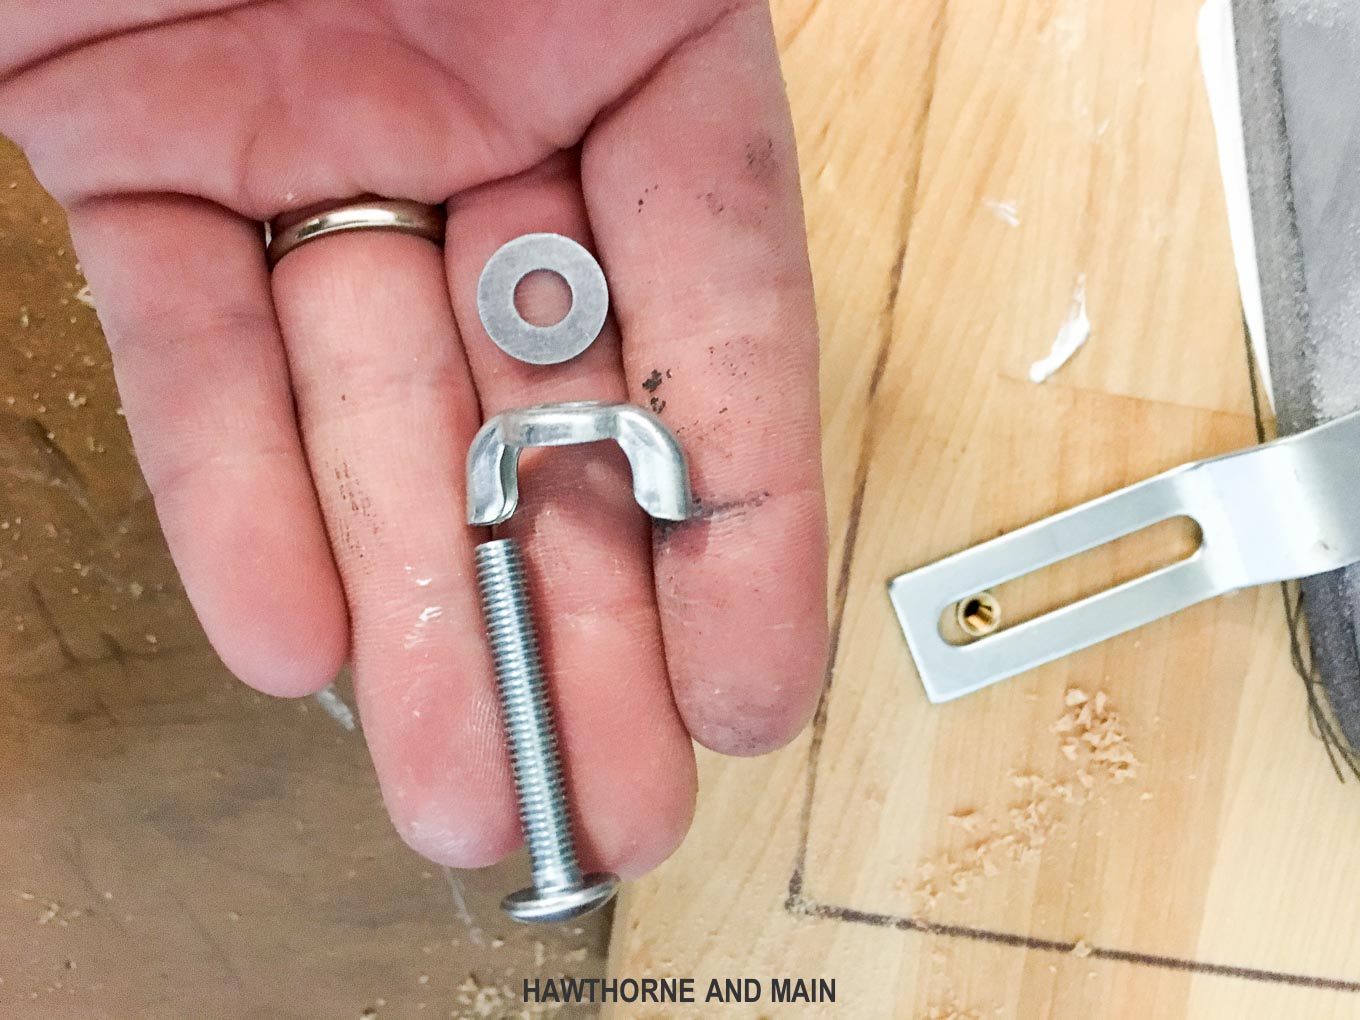
Once the sink is in place, use clamps to hold it in place while the caulk dries. Follow the manufacturer's instructions for the recommended drying time. After the caulk is dry, remove the clamps and connect the plumbing. Turn the water supply back on and check for any leaks. If everything looks good, you can now enjoy your new undermount sink.DIY Undermount Sink Replacement


DIY Undermount Sink Replacement


To summarize the steps for replacing an undermount sink: 1. Turn off the water supply and disconnect the plumbing from the old sink. 2. Use a utility knife to cut the caulk seal around the edges of the old sink. 3. Lift the old sink out of the countertop and set it aside. 4. Measure and mark the dimensions of the new sink on the countertop. 5. Use a jigsaw or router to cut along the marked lines to create a hole for the new sink. 6. Test fit the new sink and make any necessary adjustments to the hole. 7. Clean the edges of the hole and the underside of the sink. 8. Apply a thin layer of silicone caulk to the edges of the hole. 9. Lower the sink into place and secure it with clamps while the caulk dries. 10. Connect the plumbing and turn the water supply back on.Step-by-Step Guide for Changing Out an Undermount Kitchen Sink


Step-by-Step Guide for Changing Out an Undermount Kitchen Sink


To successfully replace an undermount sink, you will need the following tools: - Utility knife - Jigsaw or router - Clamps - Silicone caulk - Mild cleanerTools Needed for Replacing an Undermount Sink

Tools Needed for Replacing an Undermount Sink


Before starting the project, make sure you have all the necessary tools and materials. It may also be helpful to have a friend or family member assist you with the installation. Additionally, be sure to carefully follow the manufacturer's instructions for your specific sink to ensure proper installation.Tips for a Successful Undermount Sink Replacement


Tips for a Successful Undermount Sink Replacement


One common mistake when replacing an undermount sink is not properly measuring the dimensions of the new sink, resulting in a hole that is either too big or too small. Another mistake is not properly securing the sink in place with clamps while the caulk dries, which can cause the sink to shift and create leaks.Common Mistakes to Avoid When Changing Out an Undermount Kitchen Sink


Common Mistakes to Avoid When Changing Out an Undermount Kitchen Sink


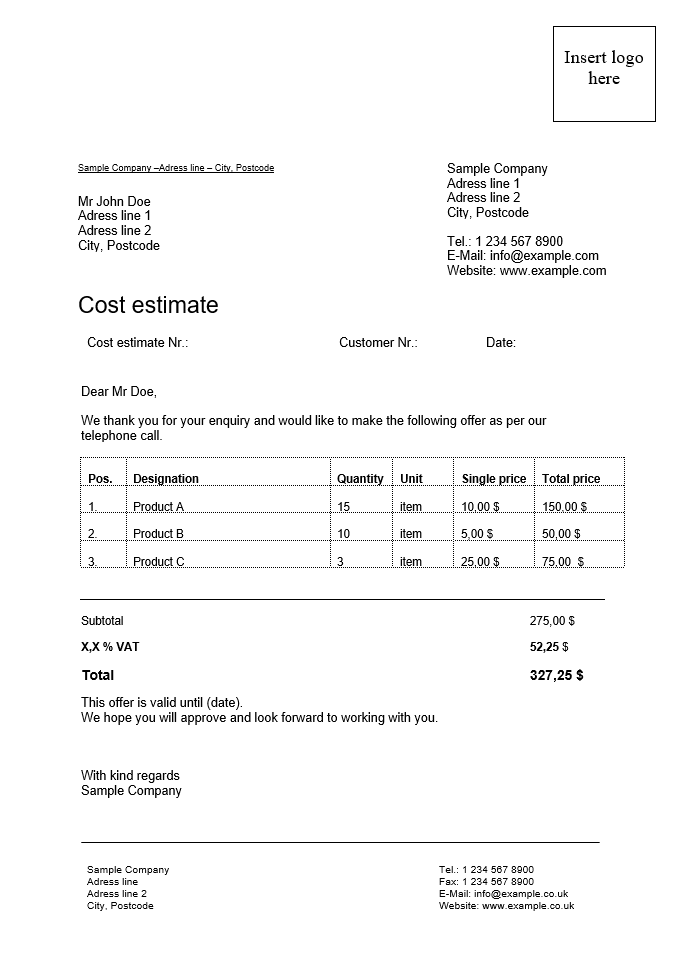
The cost of replacing an undermount sink will vary depending on the type and size of the sink, as well as the cost of any additional materials needed. On average, the total cost can range from $200-$500. The time it takes to replace the sink will also depend on the complexity of the project and your experience level, but it can typically be completed in one to two hours. In conclusion, replacing an undermount kitchen sink is a DIY project that can save you money and give your kitchen a fresh new look. With the right tools, materials, and knowledge, you can successfully replace your undermount sink and enjoy a beautiful and functional update to your kitchen.Cost and Time Estimate for Replacing an Undermount Sink


Cost and Time Estimate for Replacing an Undermount Sink


Additional Body Paragraph: Replacing the Sink in Your Kitchen

Choosing the Right Sink for Your Kitchen
 When it comes to updating your kitchen,
changing out an undermount kitchen sink
can make a big impact. However, with so many options available on the market, it can be overwhelming to choose the right sink for your kitchen.
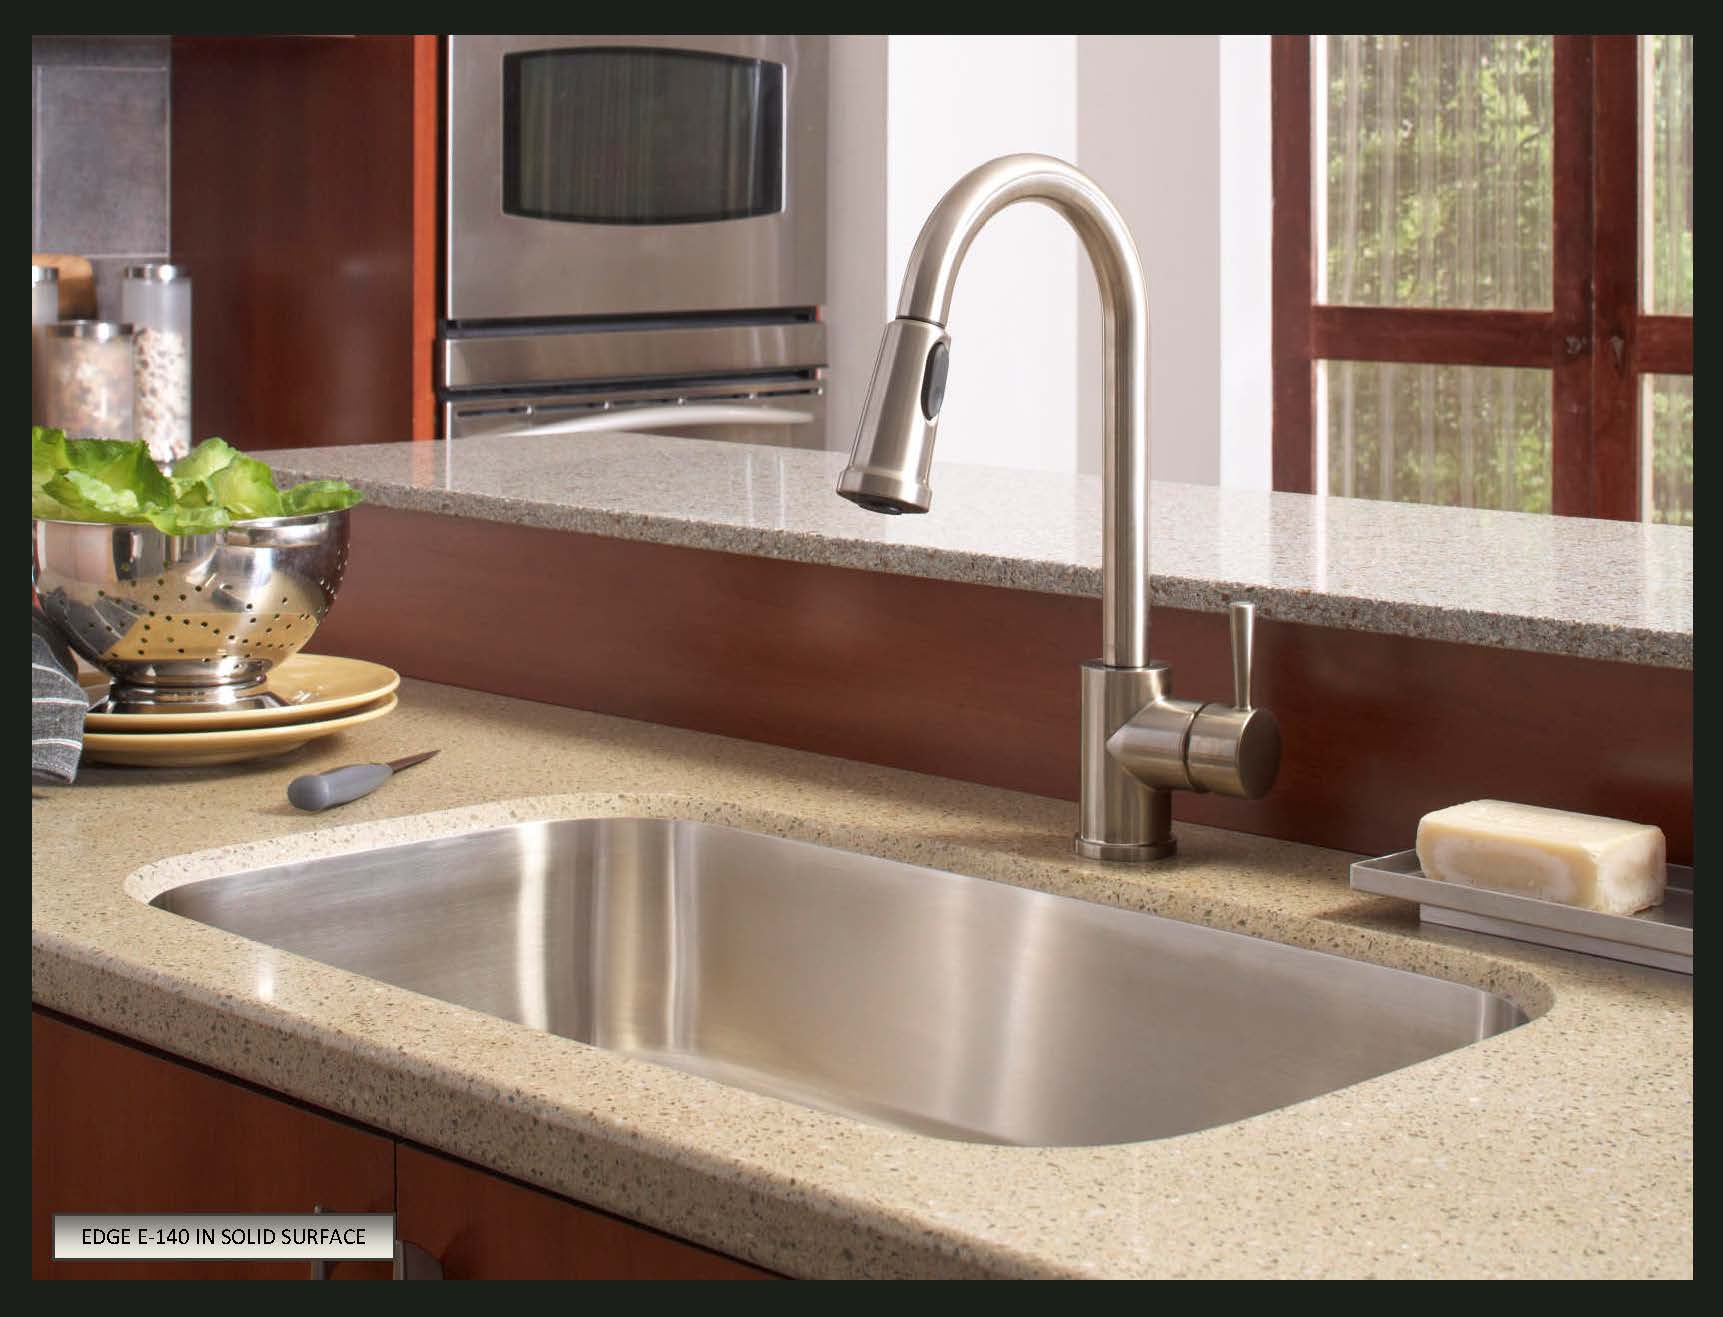
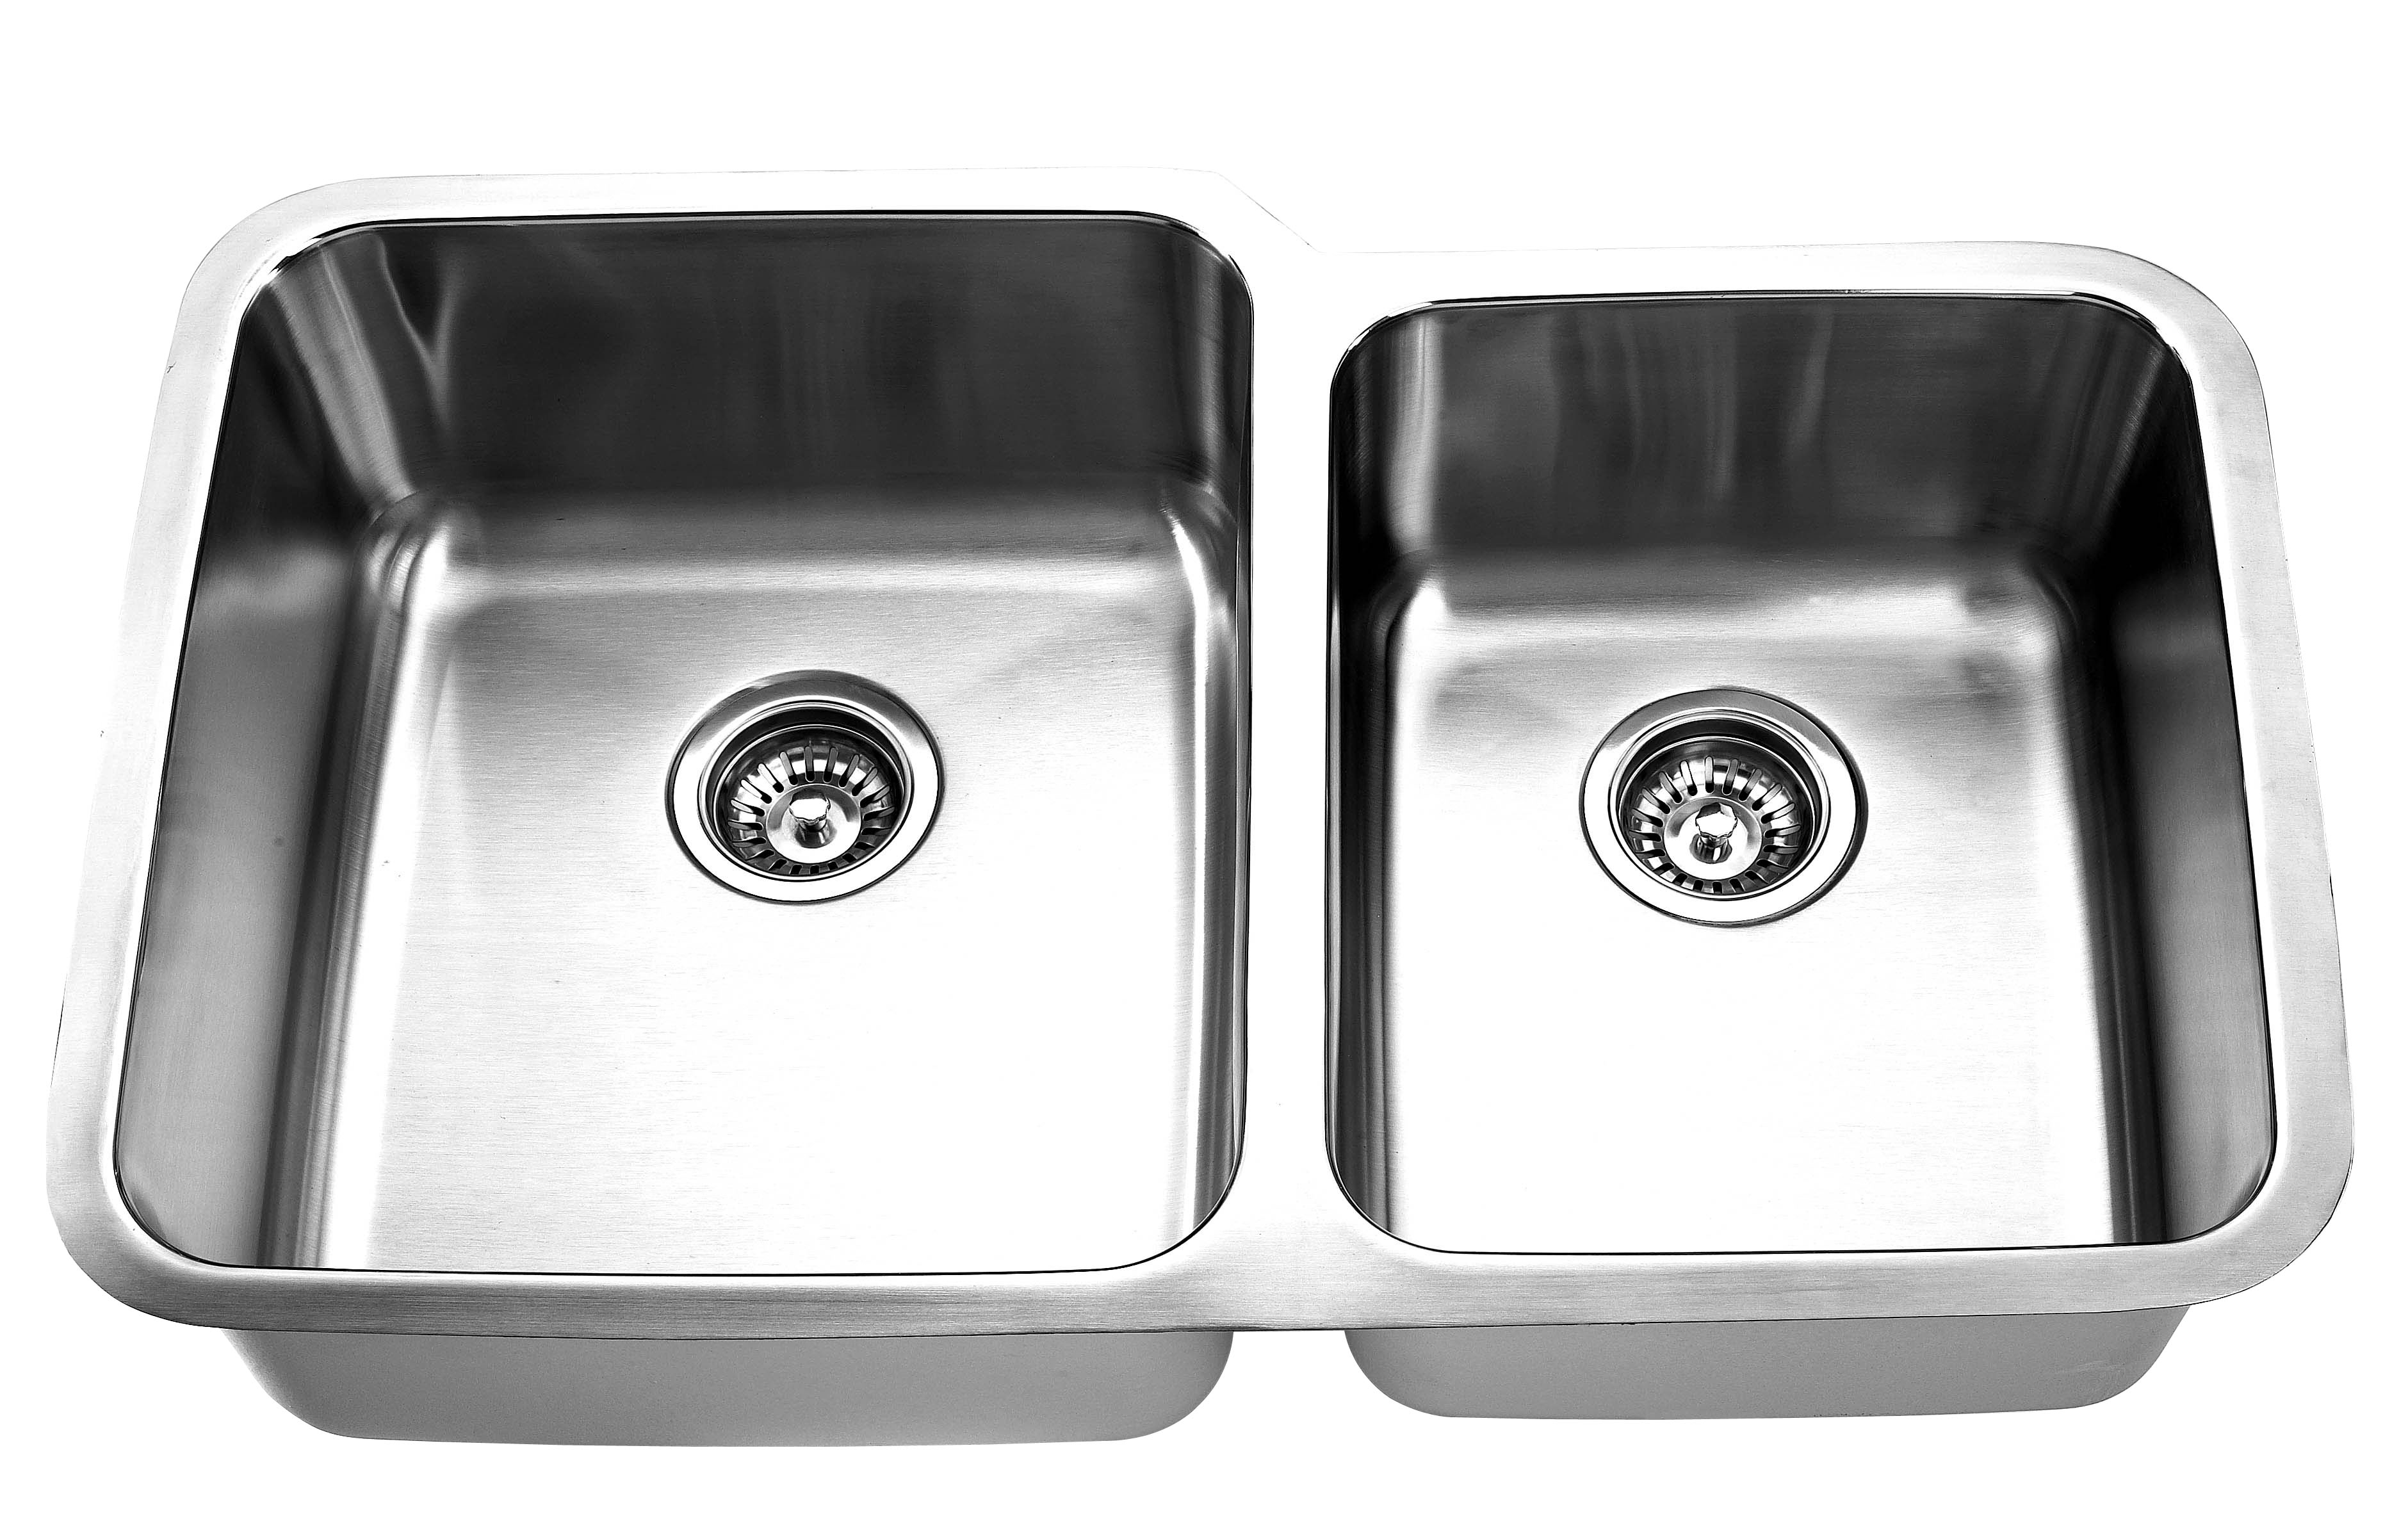
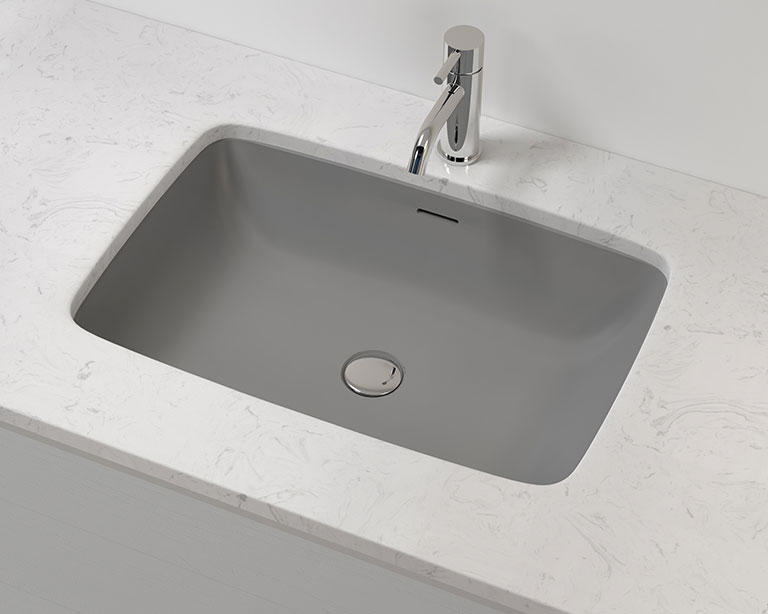
Undermount sinks
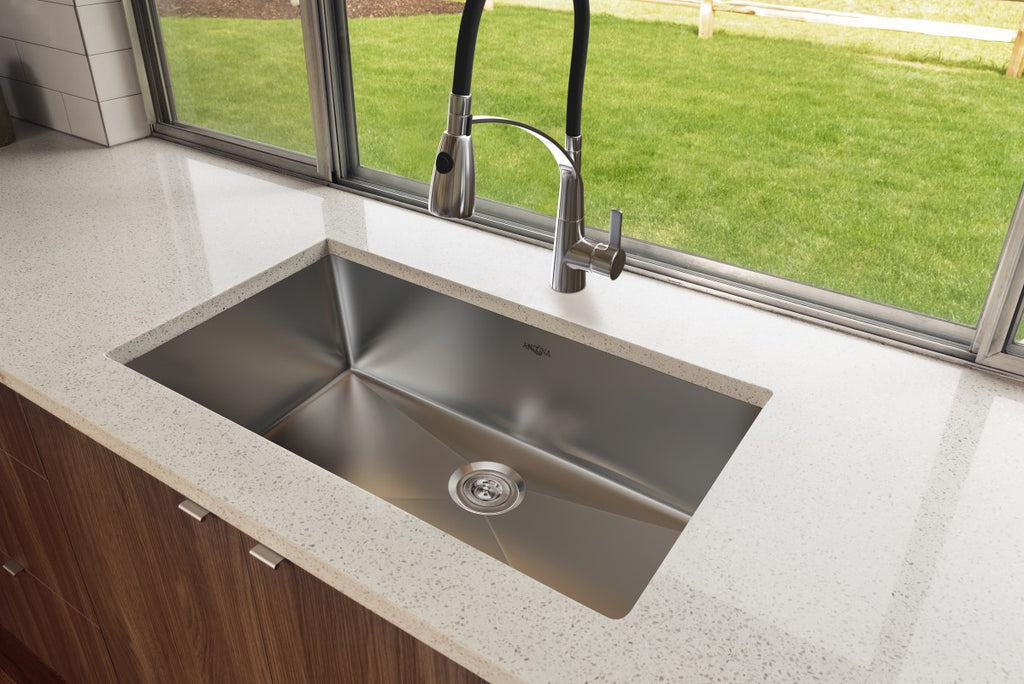
are a popular choice for their sleek and modern look, as well as their practicality. They are installed beneath the countertop, creating a seamless and clean appearance. It's important to consider the size, material, and style of the sink to ensure it fits your needs and complements your kitchen's design.
When it comes to updating your kitchen,
changing out an undermount kitchen sink
can make a big impact. However, with so many options available on the market, it can be overwhelming to choose the right sink for your kitchen.
Undermount sinks
are a popular choice for their sleek and modern look, as well as their practicality. They are installed beneath the countertop, creating a seamless and clean appearance. It's important to consider the size, material, and style of the sink to ensure it fits your needs and complements your kitchen's design.
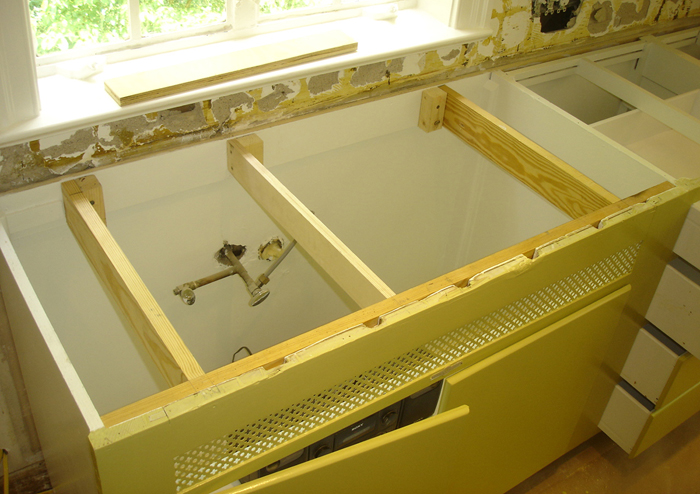
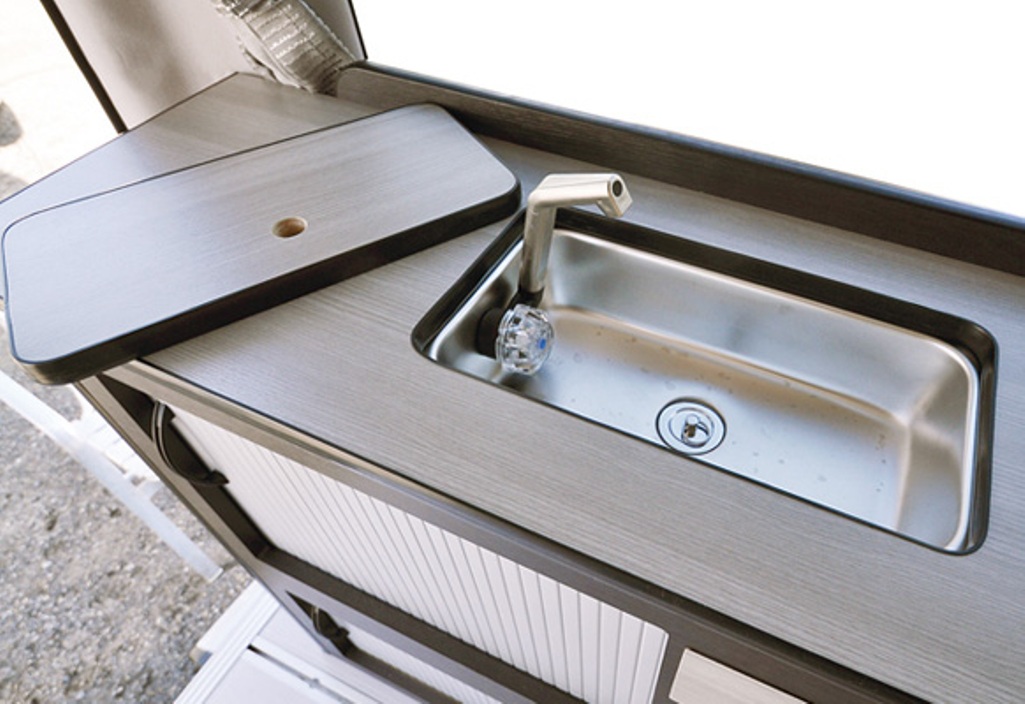
Measuring and Removing the Old Sink
 Before you can install a new sink, you'll need to remove the old one. Start by measuring the dimensions of the sink and the opening in the countertop to ensure a proper fit for the new sink. Once you have the measurements, you can begin removing the old sink. This may require cutting the caulk seal around the edges, unscrewing any clips or brackets, and disconnecting the plumbing. It's important to have a bucket or towels handy to catch any water that may spill out during this process.
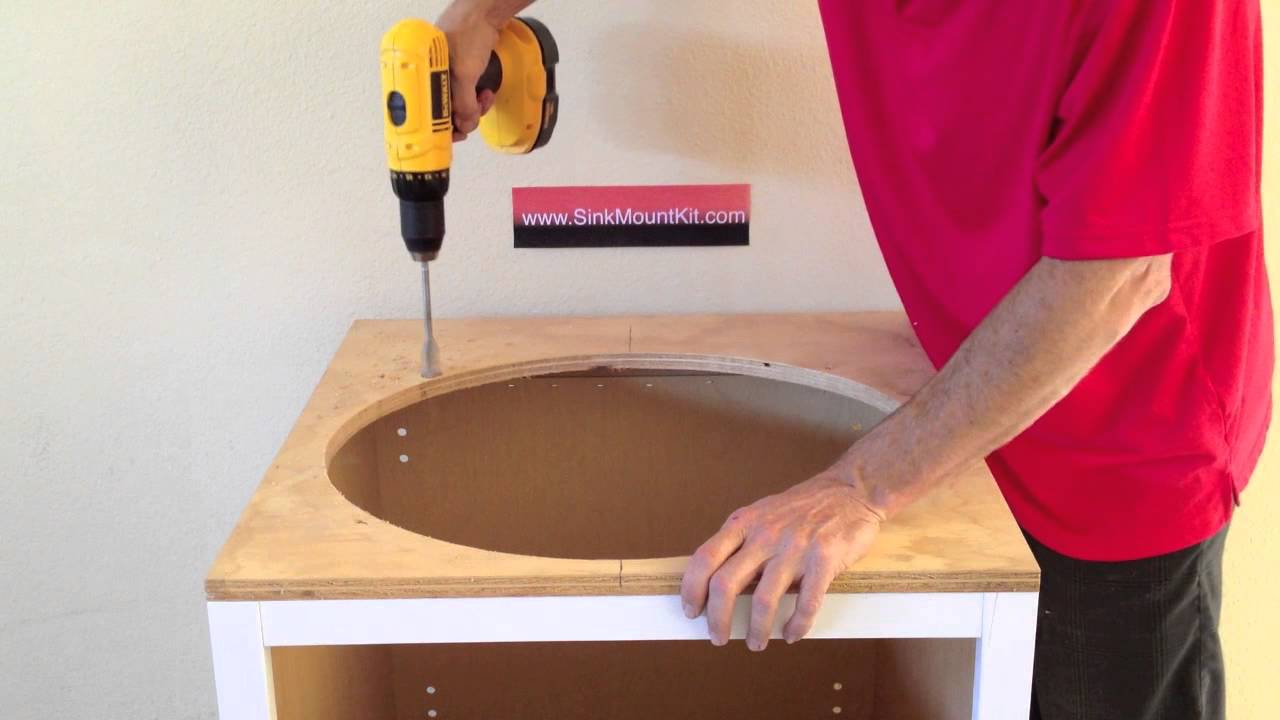
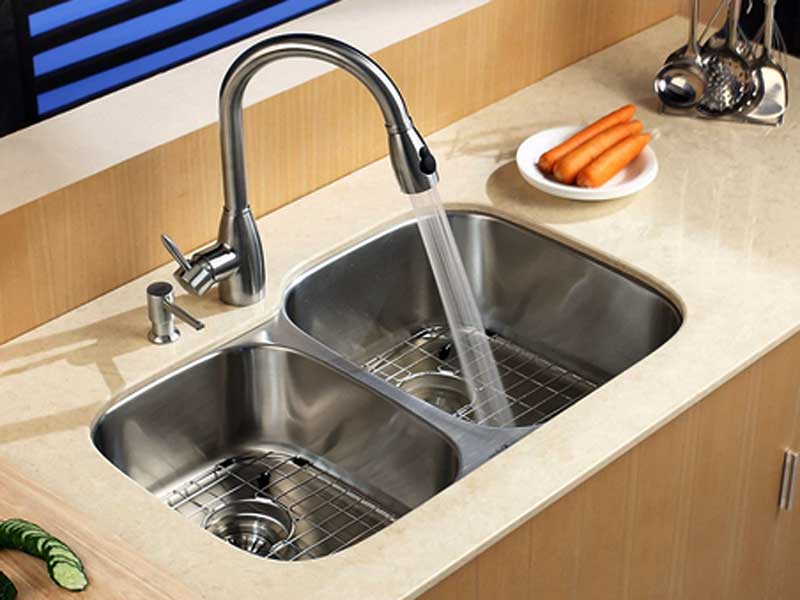
Installing the New Sink
 Once the old sink is removed, you can begin installing the new one. Start by attaching any clips or brackets provided with the sink to secure it in place. Then, apply a bead of caulk around the edges of the sink and carefully lower it into the opening in the countertop. Make sure the sink is aligned properly before tightening the clips or brackets. Once the sink is securely in place, you can reconnect the plumbing and turn on the water to test for any leaks.
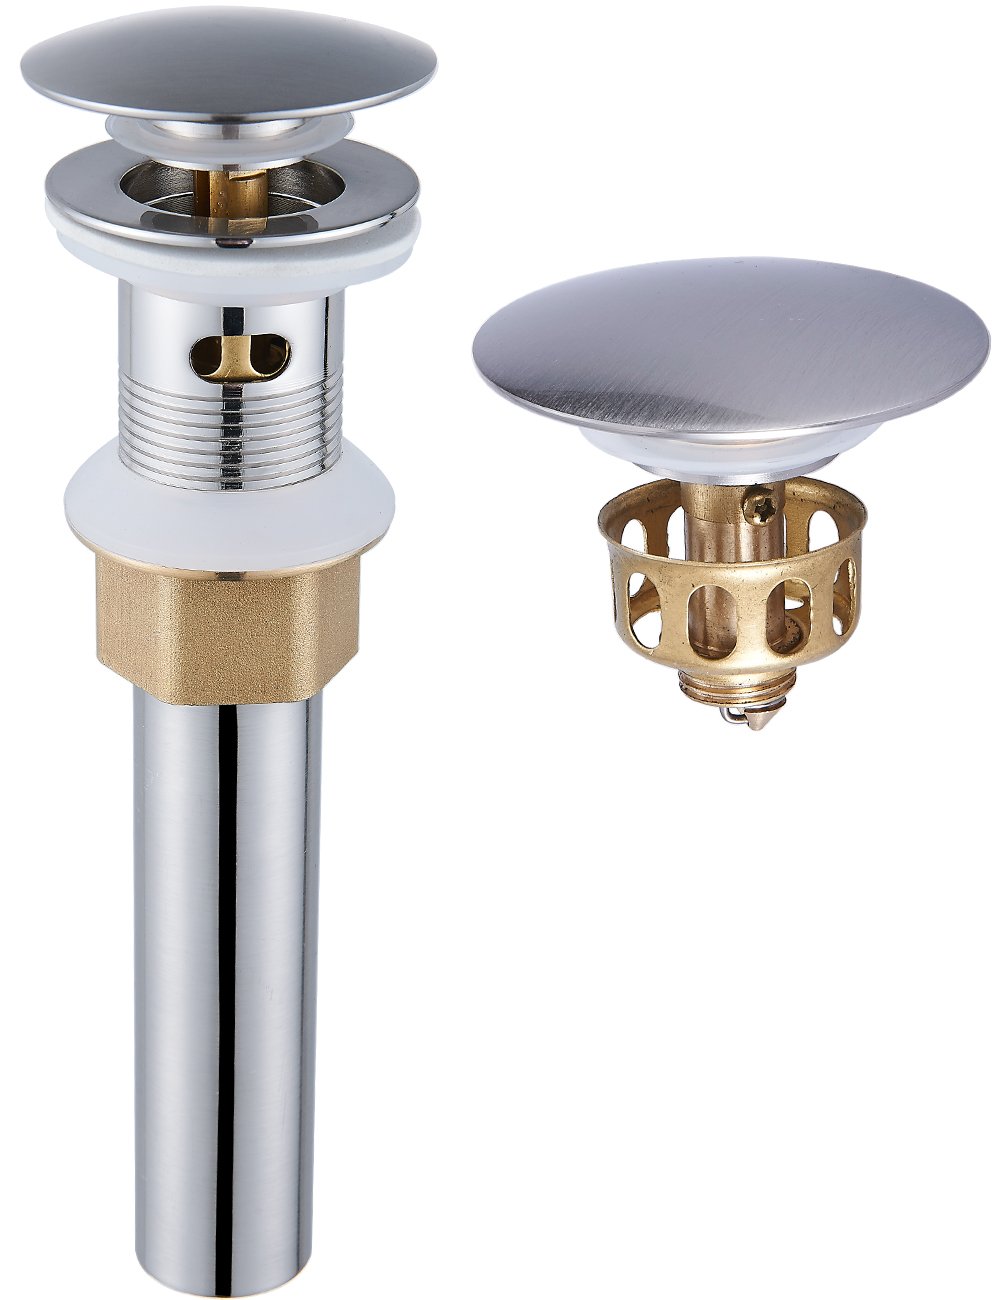
Adding Finishing Touches
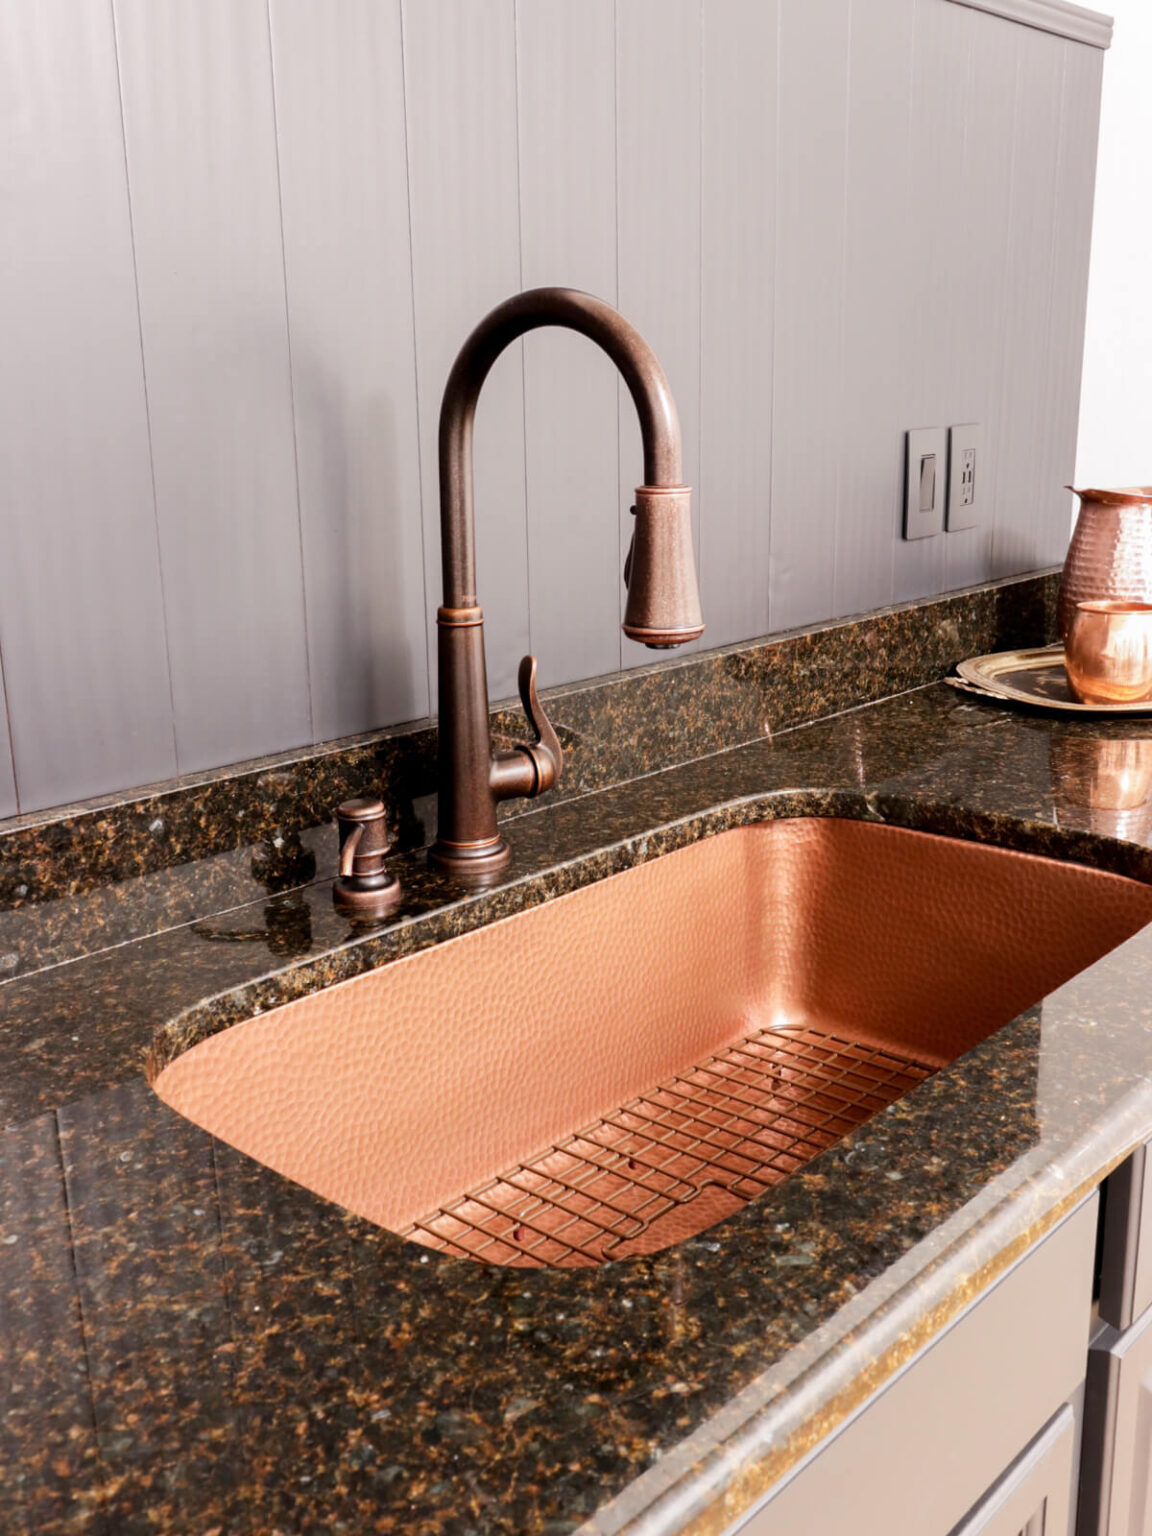
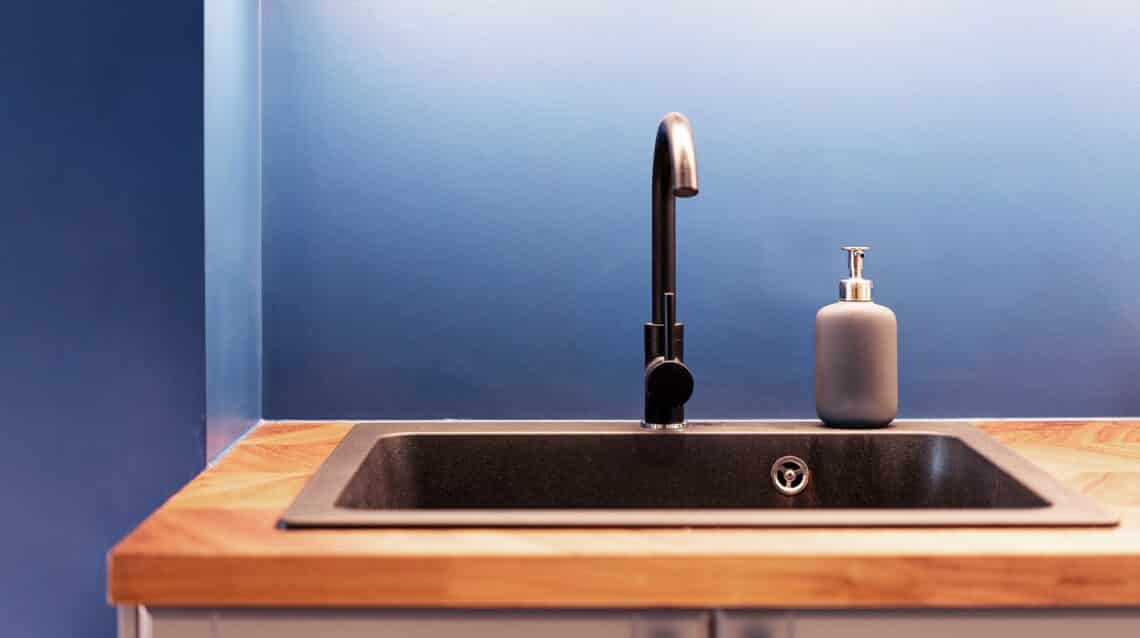
 Once the sink is installed, it's time to add the finishing touches to complete the look. This could include installing a new faucet, adding a sink grid or cutting board, and caulking around the edges for a clean finish. You can also consider adding a backsplash to protect the wall behind the sink and add a decorative element to your kitchen.
In conclusion,
changing out an undermount kitchen sink
is a great way to update the look and functionality of your kitchen. By choosing the right sink, properly measuring and removing the old sink, and installing the new one with care, you can achieve a professional and polished look in your kitchen. Don't be afraid to add your own personal touches to make your sink truly stand out.
Once the sink is installed, it's time to add the finishing touches to complete the look. This could include installing a new faucet, adding a sink grid or cutting board, and caulking around the edges for a clean finish. You can also consider adding a backsplash to protect the wall behind the sink and add a decorative element to your kitchen.
In conclusion,
changing out an undermount kitchen sink
is a great way to update the look and functionality of your kitchen. By choosing the right sink, properly measuring and removing the old sink, and installing the new one with care, you can achieve a professional and polished look in your kitchen. Don't be afraid to add your own personal touches to make your sink truly stand out.