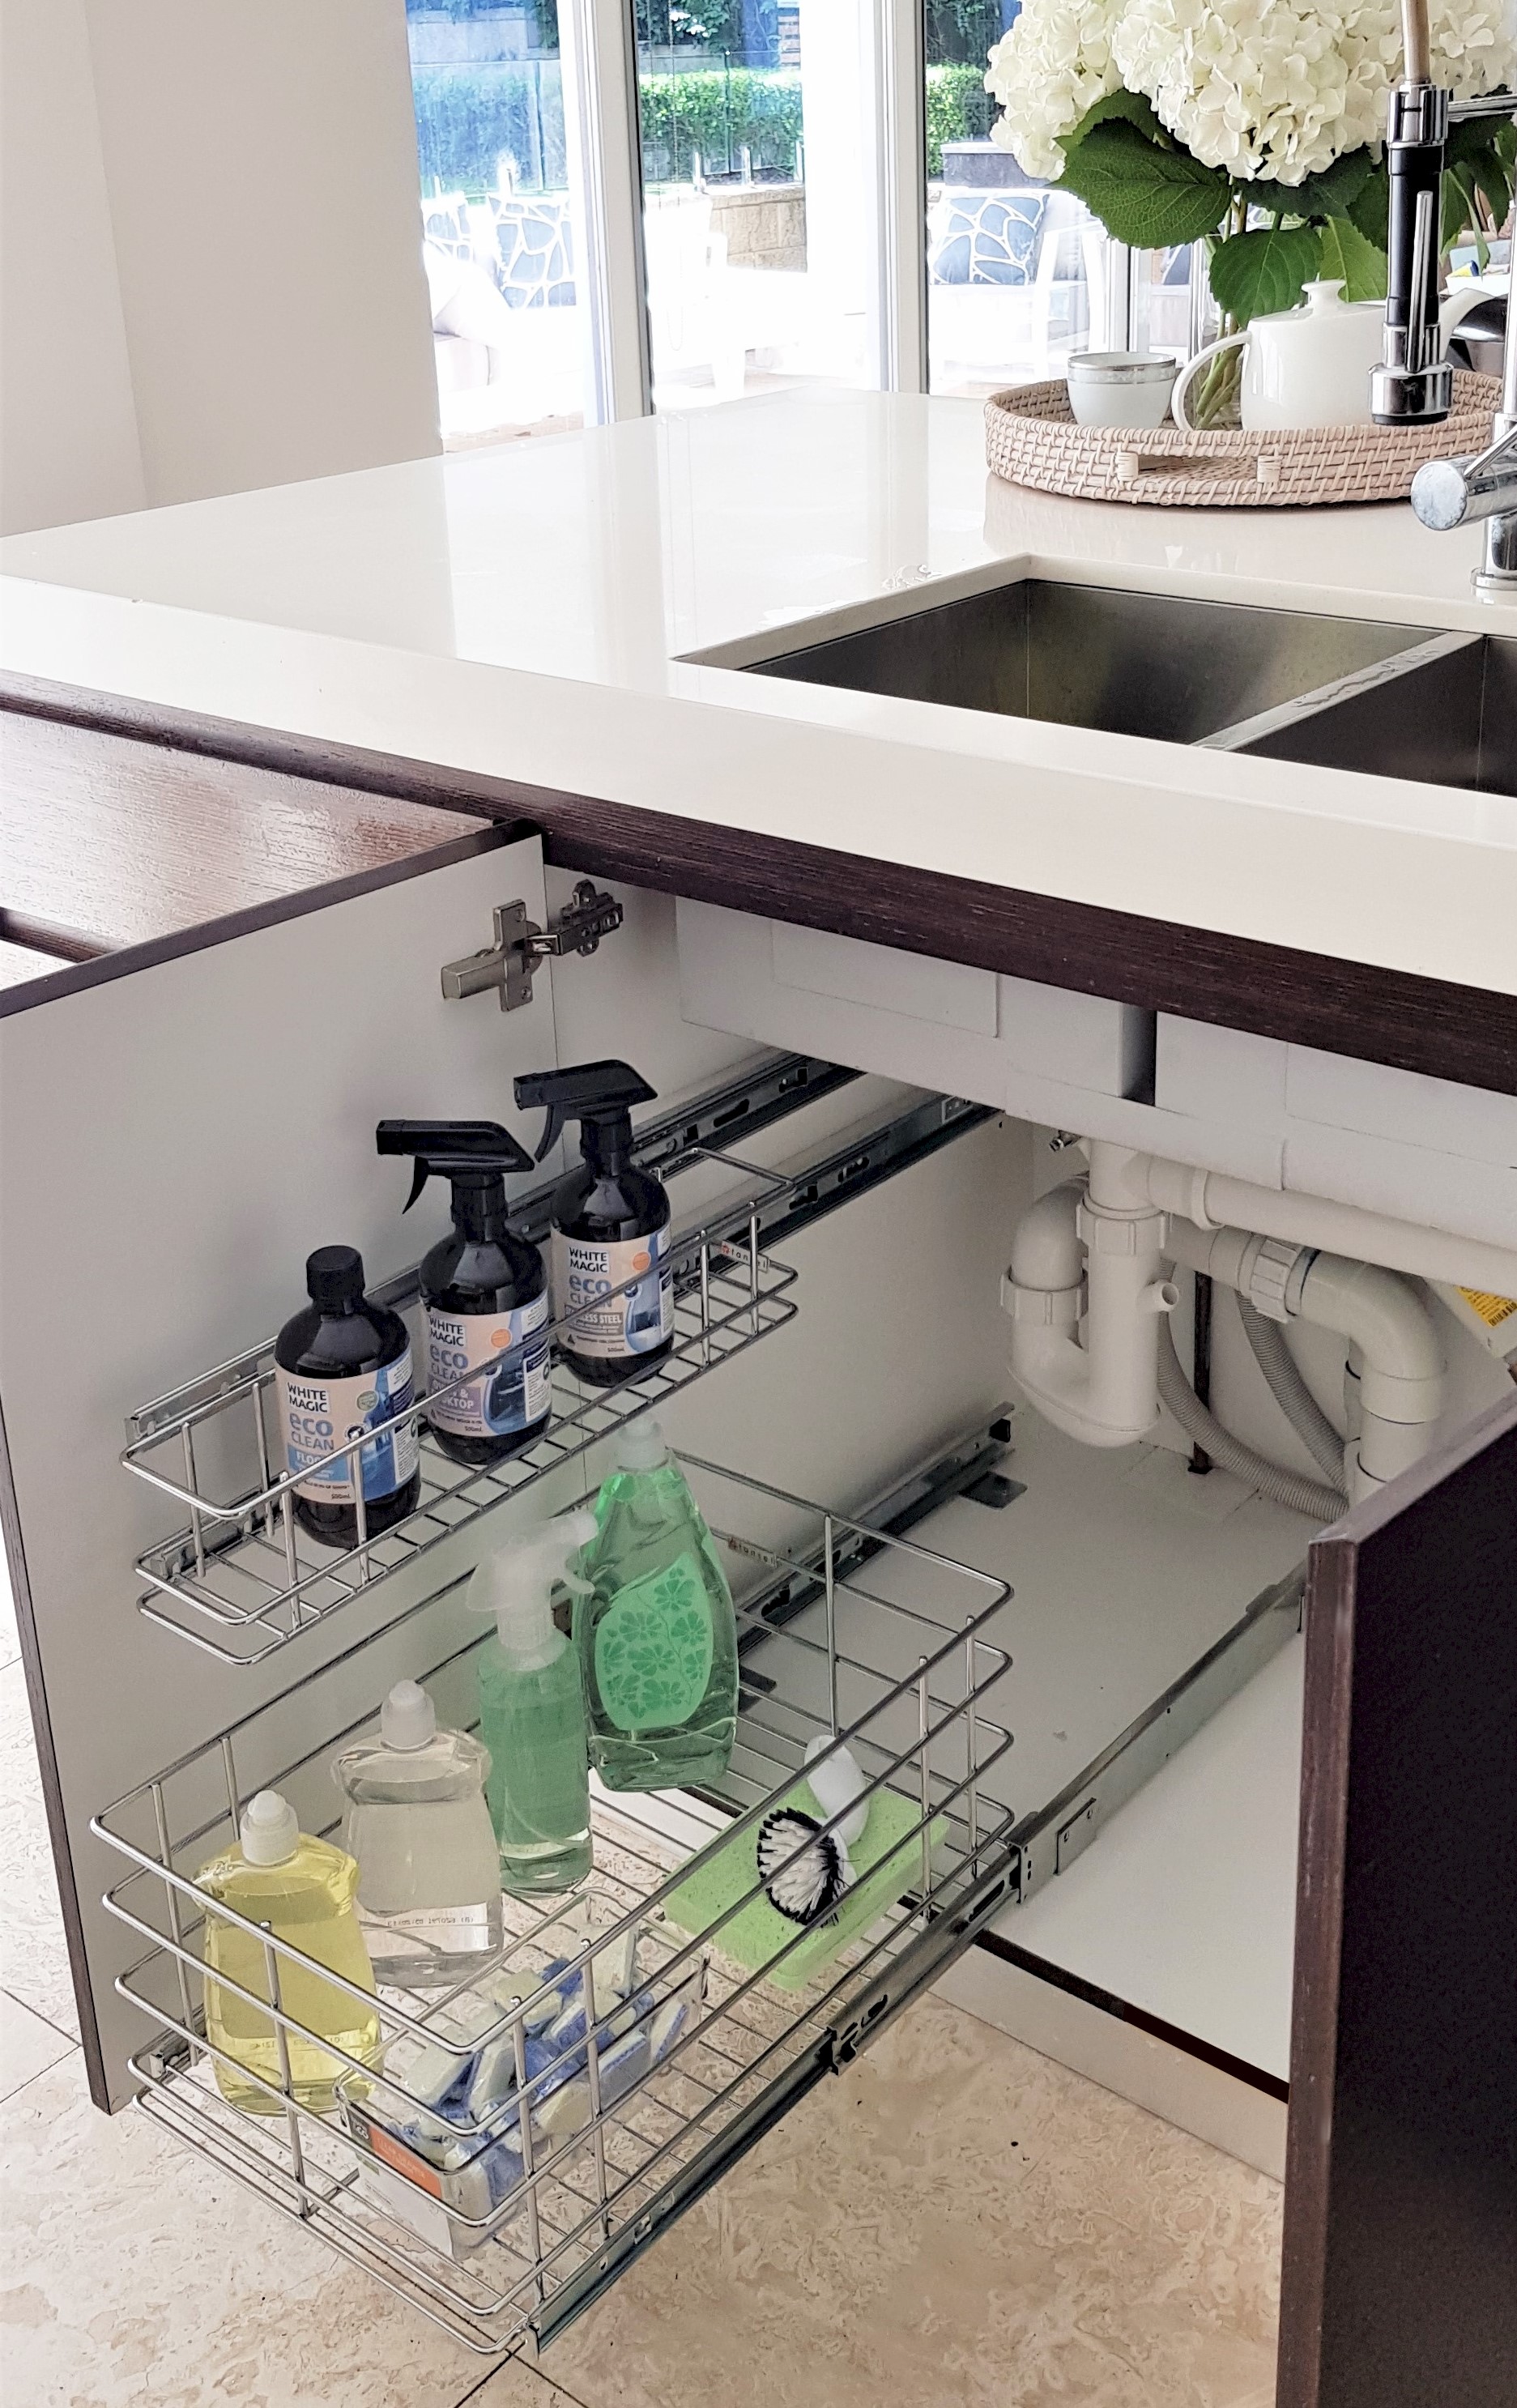
If you've noticed water leaking under your kitchen sink or a musty smell coming from the cabinet, it's time to re-caulk around the edges. Caulking is an essential step in maintaining a tight seal and preventing water damage. In this guide, we'll walk you through the process of caulking around an under sink in the kitchen to ensure a watertight and attractive finish.How to Caulk Around an Under Sink in the Kitchen


How to Caulk Around an Under Sink in the Kitchen


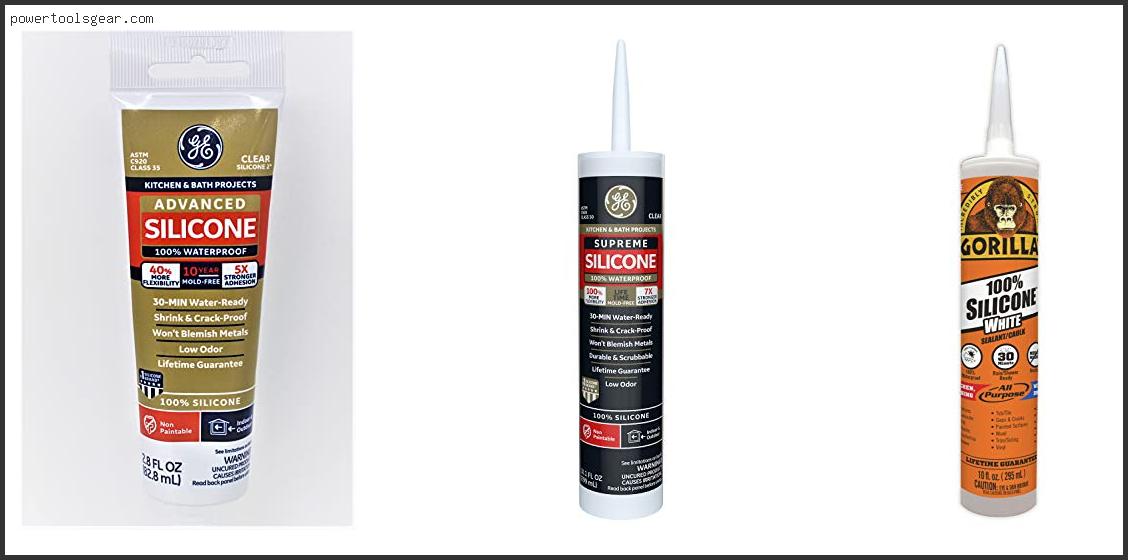
Before you start caulking, it's important to choose the right type of caulk for the job. For under sink applications, we recommend using a kitchen and bath caulk that is waterproof and mold-resistant. Look for a caulk that is specifically designed for wet areas and has a long-lasting seal. Some popular options include silicone, acrylic, and latex caulk.Best Caulk for Under Sink in Kitchen


Best Caulk for Under Sink in Kitchen


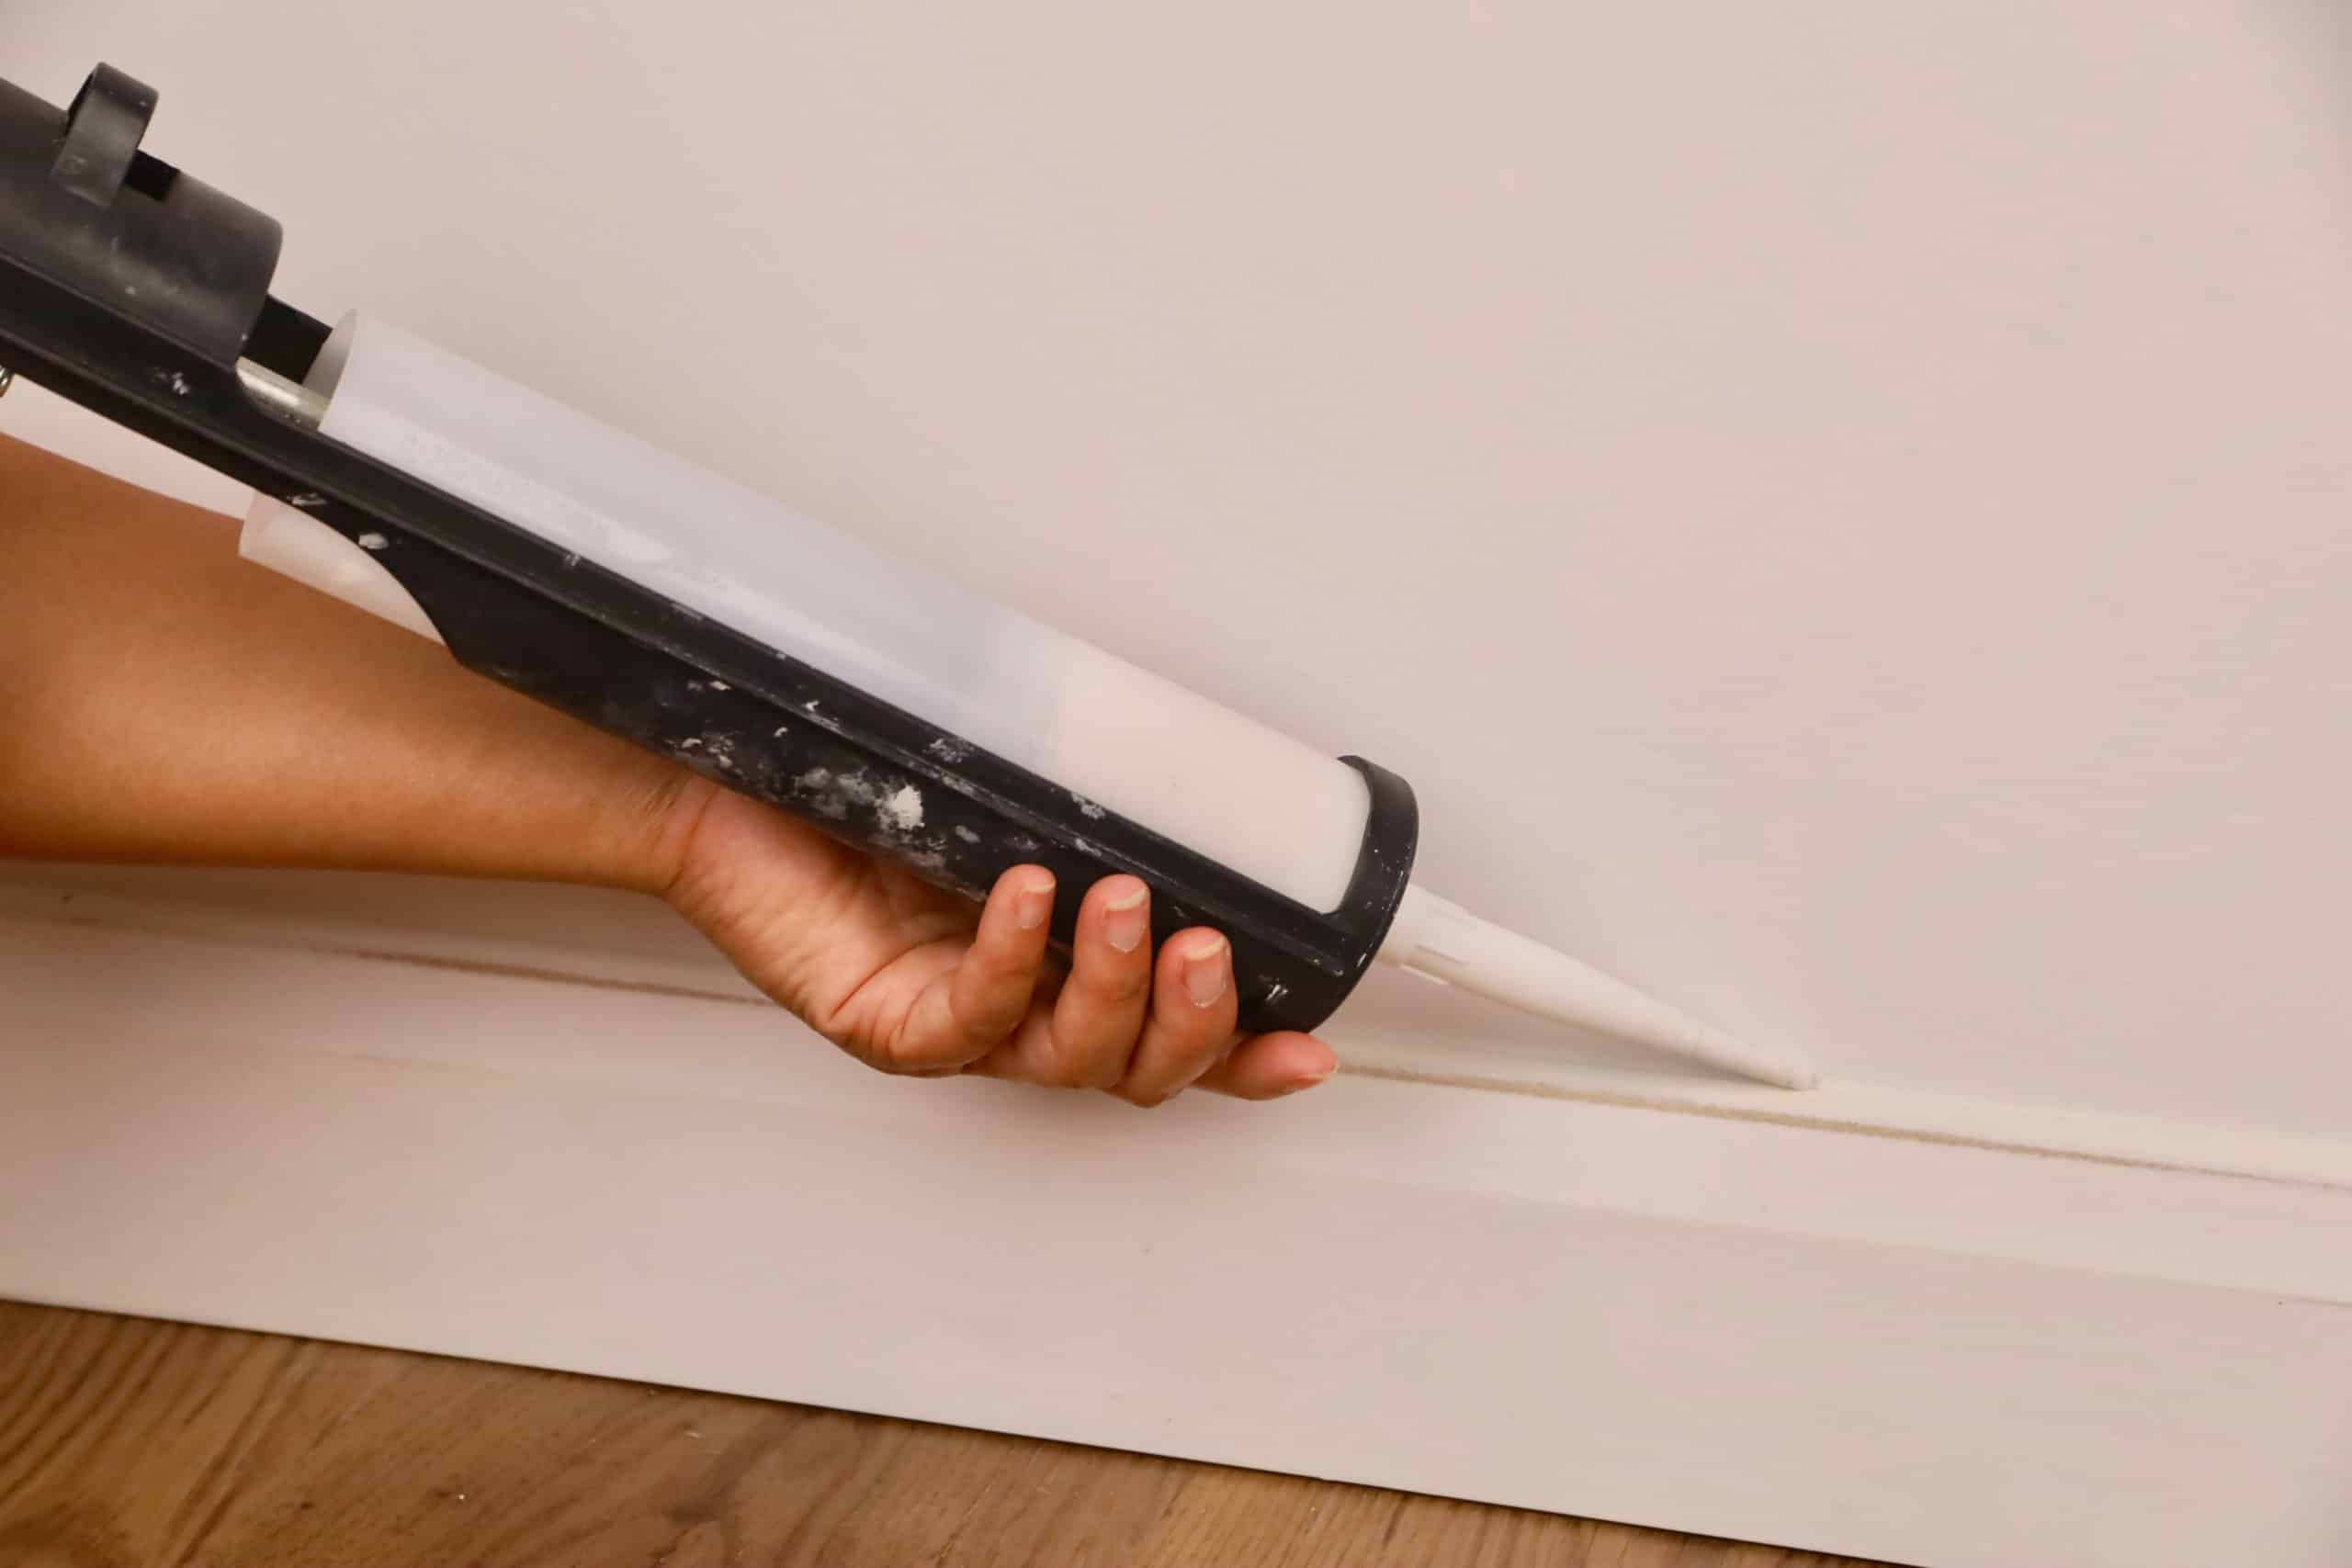
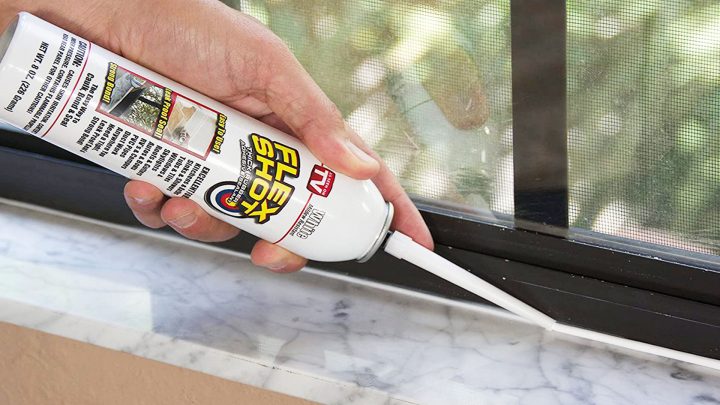
Now that you have your caulk, it's time to start caulking! Follow these steps for a successful caulking job: Step 1: Clean the area around the under sink thoroughly with a mild cleaner and let it dry completely. Step 2: Use a utility knife to remove any old caulk or debris from the edges of the sink and counter. Step 3: Cut the tip of the caulk tube at a 45-degree angle and insert it into a caulk gun. Step 4: Begin at one corner of the sink and hold the caulk gun at a 45-degree angle. Squeeze the trigger to apply a thin and even bead of caulk along the edge. Step 5: Continue caulking around the entire perimeter of the sink, making sure to fill any gaps or cracks. Step 6: Use a damp finger or caulk smoothing tool to smooth out the caulk and create a clean, even seal. Step 7: Wipe away any excess caulk with a damp cloth. Step 8: Let the caulk dry for at least 24 hours before using the sink or running water over it.Step-by-Step Guide for Caulking Under Sink in Kitchen


Step-by-Step Guide for Caulking Under Sink in Kitchen


To make the caulking process even easier, here are a few tips to keep in mind: Tip 1: Use painter's tape to create a straight line and protect the surrounding surfaces from caulk. Tip 2: If using silicone caulk, keep a small bowl of water nearby to dip your finger in for easier smoothing. Tip 3: For a professional finish, use a caulk smoothing tool or a plastic spoon to smooth out the caulk instead of your finger.Tips for Caulking Around Under Sink in Kitchen


Tips for Caulking Around Under Sink in Kitchen


Properly caulking around the edges of your under sink in the kitchen is crucial for several reasons: Reason 1: It prevents water from seeping into the cabinet and causing damage to the wood or other materials. Reason 2: It helps to keep pests and insects out of your kitchen by sealing off any potential entry points. Reason 3: It improves the overall appearance of your kitchen by creating a clean and seamless finish.Importance of Caulking Under Sink in Kitchen


Importance of Caulking Under Sink in Kitchen


Caulking may seem like a simple task, but there are a few common mistakes that can lead to a less-than-perfect finish: Mistake 1: Not cleaning the area properly before caulking, which can lead to the caulk not adhering properly. Mistake 2: Using too much caulk, which can create a messy and uneven seal. Mistake 3: Not smoothing out the caulk, leaving a bumpy and unattractive finish.Common Mistakes When Caulking Under Sink in Kitchen


Common Mistakes When Caulking Under Sink in Kitchen

To successfully caulk around your under sink in the kitchen, you'll need a few tools: Tool 1: Caulk gun Tool 2: Utility knife Tool 3: Painter's tape Tool 4: Damp cloth Tool 5: Caulk smoothing tool or plastic spoon (optional)Tools Needed for Caulking Around Under Sink in Kitchen

Tools Needed for Caulking Around Under Sink in Kitchen


It's important to regularly check the caulking around your under sink in the kitchen and replace it when necessary. Over time, caulk can shrink, crack, or peel, resulting in a less effective seal. We recommend checking the caulk every 1-2 years and replacing it if you notice any signs of wear or damage.How Often Should You Caulk Under Sink in Kitchen?


How Often Should You Caulk Under Sink in Kitchen?


If you're re-caulking around your under sink in the kitchen, you'll need to remove any old caulk first. Here's how: Step 1: Use a utility knife or caulk removal tool to loosen and remove as much of the old caulk as possible. Step 2: Apply a caulk remover or a mixture of equal parts vinegar and warm water to any remaining caulk and let it sit for at least an hour. Step 3: Use a putty knife or scraper to gently remove any remaining caulk. Step 4: Clean the area with a mild cleaner and let it dry completely before applying new caulk.How to Remove Old Caulk Around Under Sink in Kitchen


How to Remove Old Caulk Around Under Sink in Kitchen

:max_bytes(150000):strip_icc()/how-to-remove-old-caulk-1824827-01-3d0370c59e124dbbaa6560c68bab111c.jpg)


If you're not keen on using traditional caulk, there are a few alternative solutions for sealing around your under sink in the kitchen: Solution 1: Use waterproof silicone tape to seal gaps and cracks instead of caulk. Solution 2: Apply a waterproof sealant or epoxy to seal off any gaps and create a watertight seal. Solution 3: Install peel-and-stick caulk strips that provide a quick and easy alternative to traditional caulk. By following these steps and tips, you can easily caulk around your under sink in the kitchen and ensure a long-lasting seal. Remember to regularly check the caulk and replace it when needed to prevent any potential water damage or pest infestations. Keep your kitchen looking clean and well-maintained by giving your under sink area the attention it deserves!Alternative Solutions to Caulking Under Sink in Kitchen


Alternative Solutions to Caulking Under Sink in Kitchen


Why Caulking Around the Under Sink in Your Kitchen is Essential for a Complete House Design

The Importance of Caulking
 When it comes to creating a well-designed and functional kitchen, caulking may not be the first thing that comes to mind. However, it is an essential step in achieving a complete and polished look for your home. Caulking is the process of sealing gaps and joints in various surfaces to prevent water and air from seeping in. This technique is especially crucial for areas like the under sink in your kitchen, which is prone to moisture and water damage. In this article, we will discuss why caulking around the under sink in your kitchen is a crucial step in achieving a well-designed house.
Prevents Water Damage
 One of the main reasons why caulking is essential for the under sink in your kitchen is to prevent water damage. The kitchen is a high-moisture area, and the under sink is particularly vulnerable to water leaks. Over time, these leaks can lead to mold growth, damage to the cabinet and flooring, and even structural issues. By properly caulking around the under sink, you can create a watertight seal that will prevent any water from seeping through and causing damage to your kitchen.
Improves Aesthetics
 Caulking not only serves a functional purpose but also improves the overall aesthetics of your kitchen. The under sink area can often have unsightly gaps and cracks that can be an eyesore in an otherwise well-designed kitchen. By filling in these gaps with caulk, you can create a seamless and clean look, giving your kitchen a polished and professional appearance.
Increases Energy Efficiency
 Caulking can also improve the energy efficiency of your kitchen. By sealing any gaps or cracks in the under sink area, you are preventing air from escaping or entering your home. This can help keep your kitchen at a comfortable temperature and reduce your energy bills. Additionally, by keeping moisture out, you are also preventing potential damage to your kitchen appliances, which can save you money in the long run.
How to Properly Caulk Around the Under Sink
 To ensure that caulking is effective in preventing water damage and improving the aesthetics of your kitchen, it is crucial to do it correctly. First, clean the area around the under sink thoroughly and remove any old caulk or debris. Next, apply a thin and even layer of caulk along the edges of the sink and the countertop. Use a caulk smoothing tool or your finger to smooth out the caulk and remove any excess. Lastly, allow the caulk to dry completely before using your sink or exposing it to water.
In conclusion, caulking around the under sink in your kitchen is a crucial step in achieving a complete and well-designed house. It not only prevents water damage, improves aesthetics, and increases energy efficiency, but it also helps maintain the overall integrity of your kitchen. By following the proper caulking techniques, you can ensure that your kitchen remains functional and beautiful for years to come.
To ensure that caulking is effective in preventing water damage and improving the aesthetics of your kitchen, it is crucial to do it correctly. First, clean the area around the under sink thoroughly and remove any old caulk or debris. Next, apply a thin and even layer of caulk along the edges of the sink and the countertop. Use a caulk smoothing tool or your finger to smooth out the caulk and remove any excess. Lastly, allow the caulk to dry completely before using your sink or exposing it to water.
In conclusion, caulking around the under sink in your kitchen is a crucial step in achieving a complete and well-designed house. It not only prevents water damage, improves aesthetics, and increases energy efficiency, but it also helps maintain the overall integrity of your kitchen. By following the proper caulking techniques, you can ensure that your kitchen remains functional and beautiful for years to come.