Are you tired of the one-size-fits-all approach to mattresses? Do you struggle to find a mattress that is comfortable and supportive for your unique body shape? If so, then it may be time to consider making your own custom shaped mattress. Not only will this allow you to create a mattress that is tailored to your specific needs, but it can also be a fun and rewarding DIY project. In this article, we will guide you through the steps of making your own custom shaped mattress.DIY Shaped Mattress: How to Make Your Own Custom Mattress


DIY Shaped Mattress: How to Make Your Own Custom Mattress


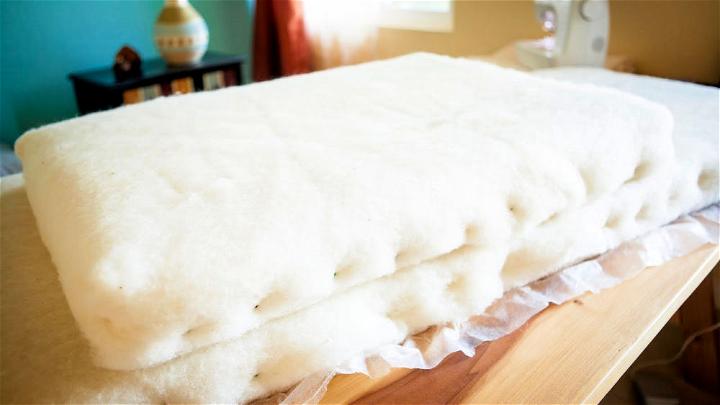
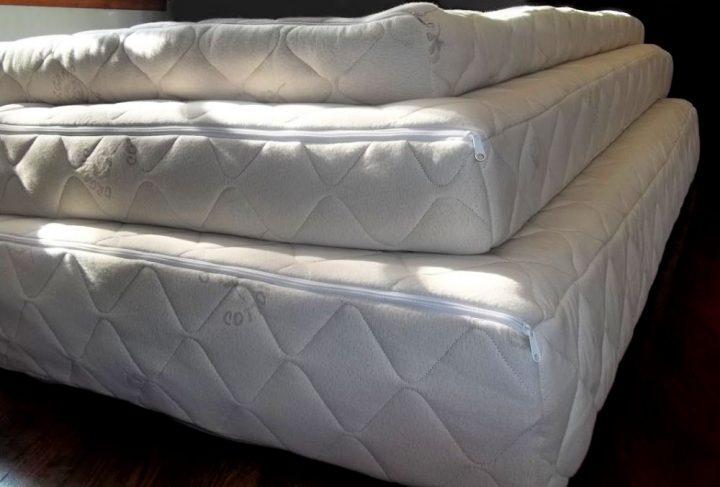

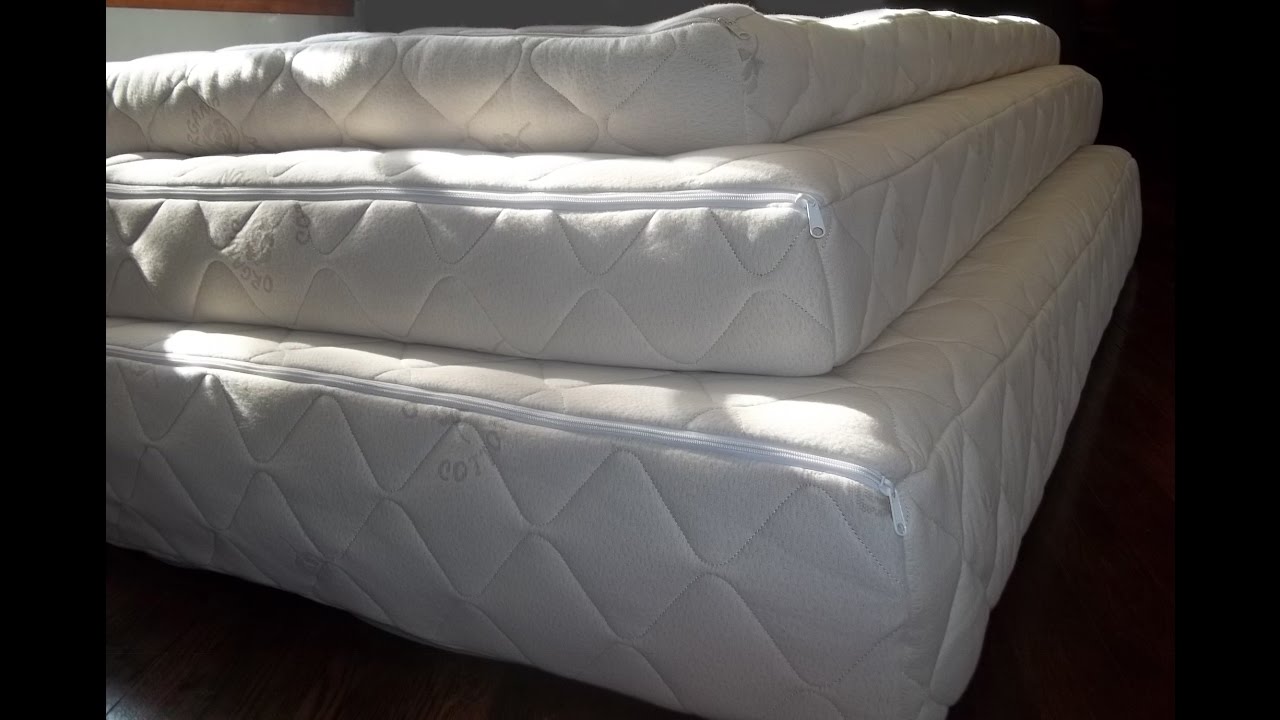

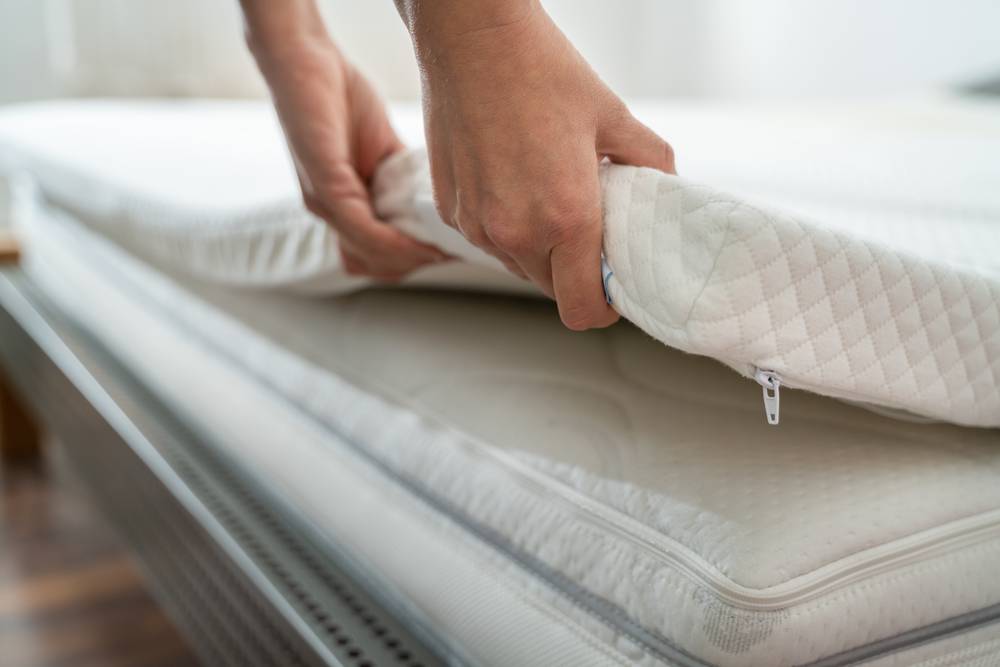
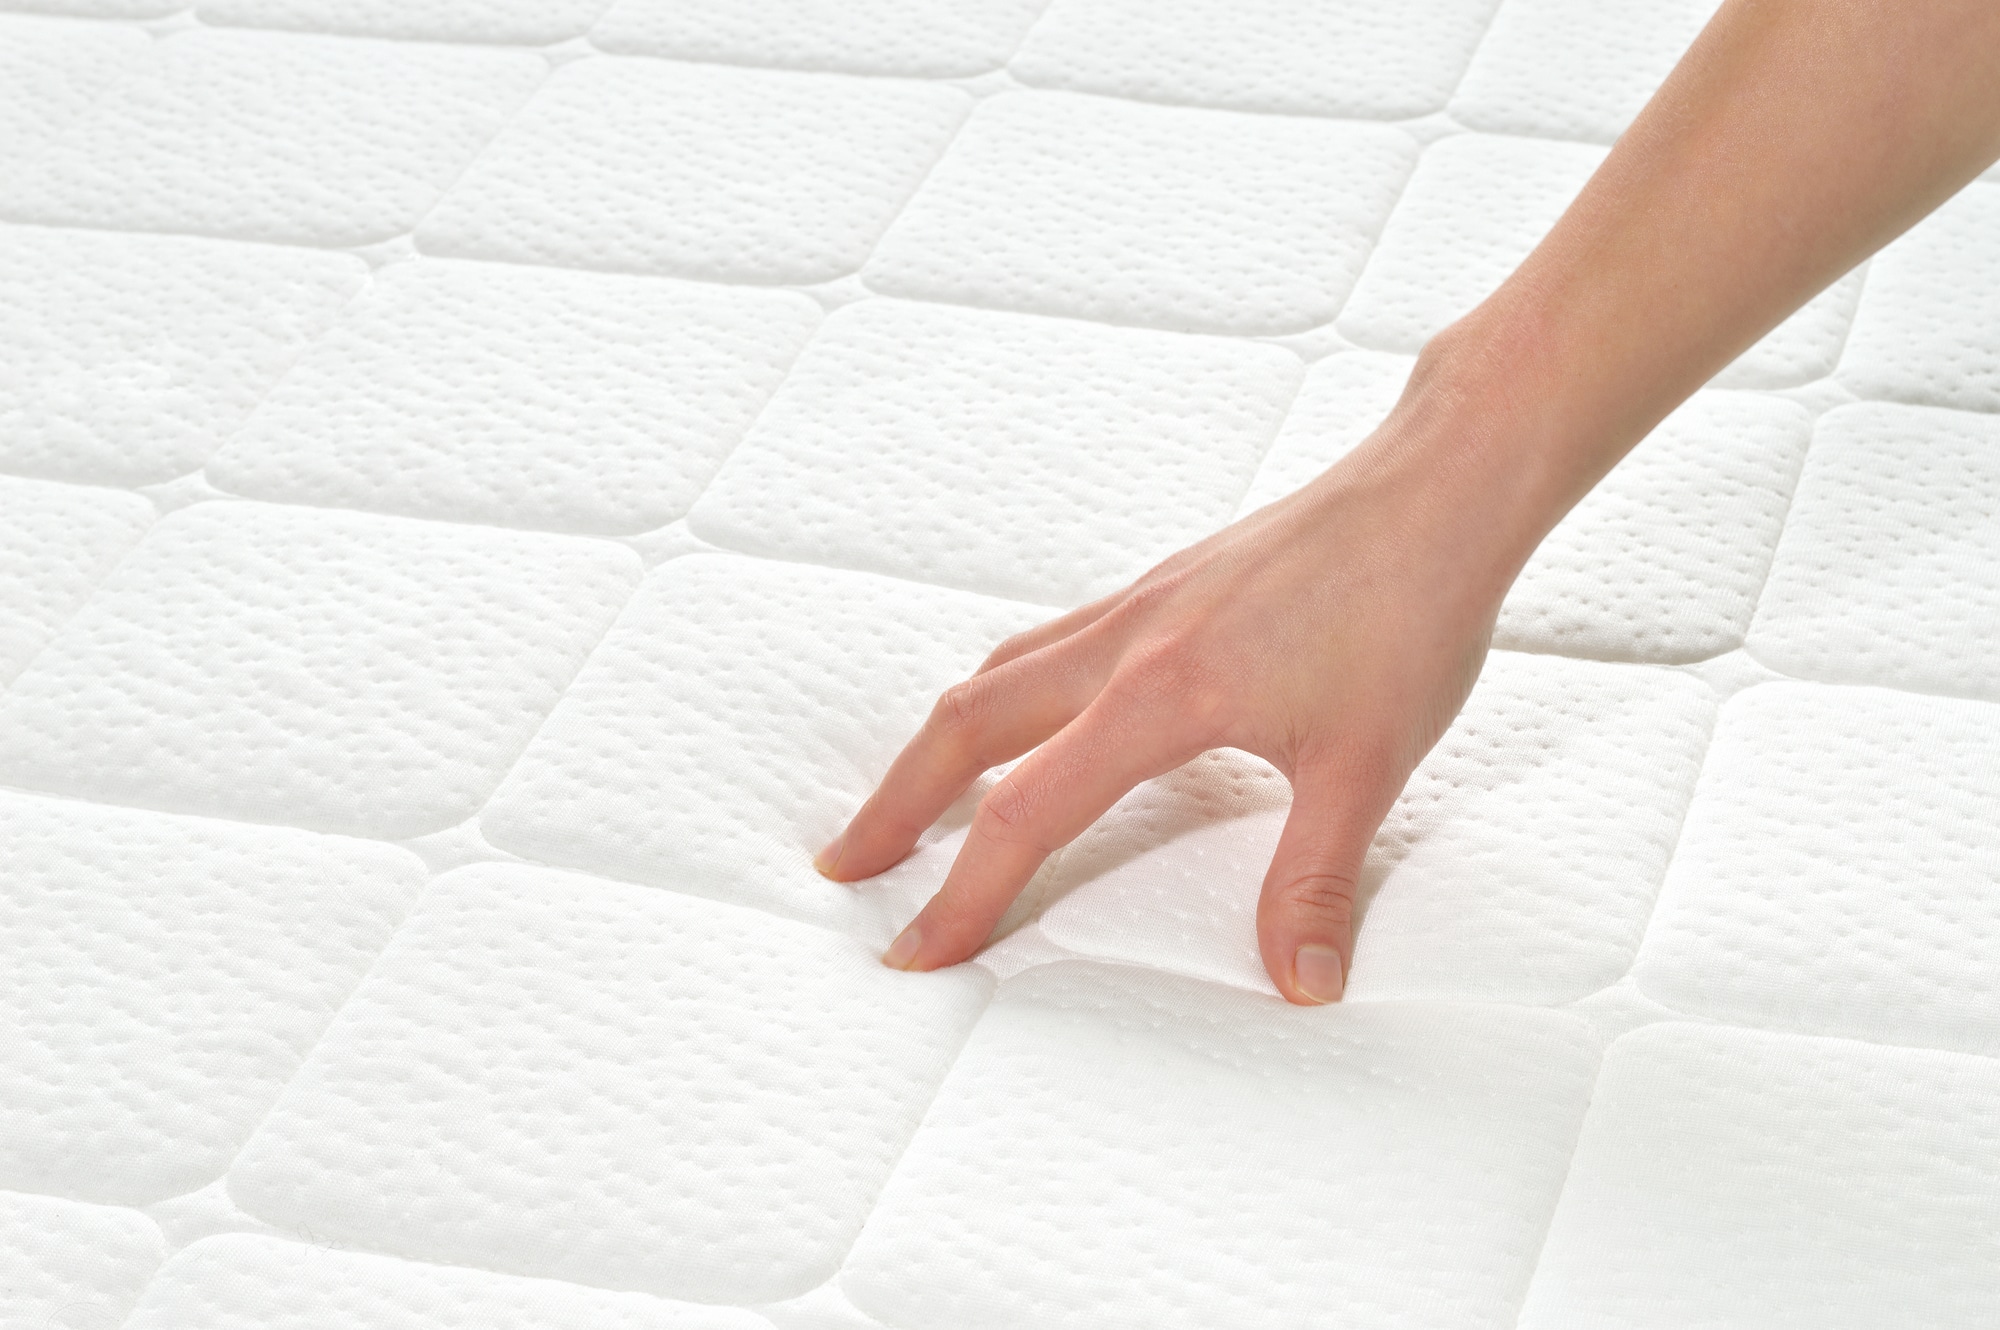
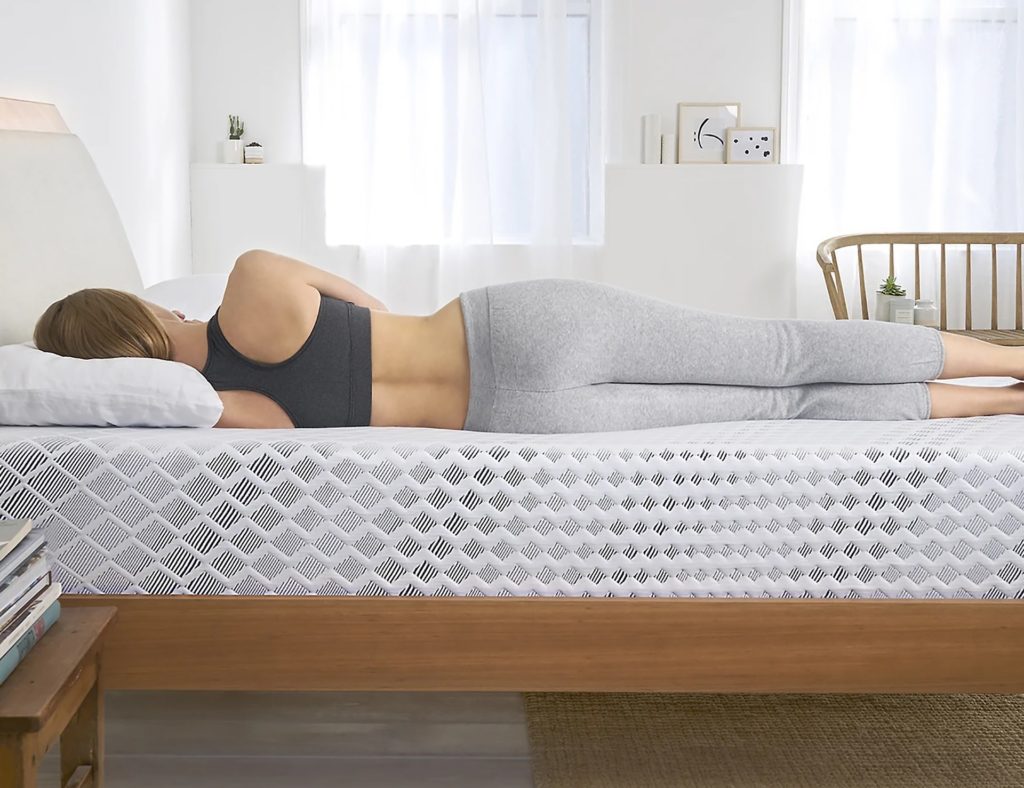
Step 1: Measure Your Body The first step in making a custom shaped mattress is to measure your body. This will help determine the size and shape of your mattress. Use a measuring tape to get accurate measurements of your length, width, and any unique curves or angles of your body. Step 2: Choose Your Materials Next, you will need to choose the materials for your mattress. It is recommended to use high-density foam or memory foam for the base of your mattress, as they provide both support and comfort. You can also add a layer of latex or wool for added cushioning and breathability. Step 3: Cut Your Foam Using your measurements, cut the foam to the desired size and shape. If you have any curves or angles, you may need to use a template or guide to ensure accuracy. It is important to use a sharp knife or electric cutter to get clean and precise cuts. Step 4: Sew a Cover To keep your foam layers in place and protect your mattress, you will need to sew a cover. You can use a simple fabric like cotton or invest in a moisture-wicking and hypoallergenic cover. Make sure to leave one end open for inserting the foam layers. Step 5: Layer Your Foam Now it's time to layer your foam pieces inside the cover. Start with the base layer and add any additional layers according to your desired level of softness and support. Use a ruler to ensure each layer is evenly distributed and smooth out any lumps or bumps. Step 6: Sew the End Once all the foam layers are in place, sew the end of the cover shut. Make sure to use a strong and durable thread that can withstand the weight of the foam layers. You can also add zippers or buttons for easy removal and washing of the cover. Step 7: Allow to Settle Your new custom shaped mattress may take a few hours or even a few days to fully expand and settle. It is recommended to leave it in a well-ventilated area to allow any off-gassing to dissipate and the foam to fully expand. Step 8: Add Finishing Touches If desired, you can add a mattress topper or mattress pad for extra comfort and protection. You can also add decorative elements to your mattress cover, such as buttons, embroidery, or a personalized design. Step 9: Enjoy Your Custom Mattress Congratulations! You have successfully made your own custom shaped mattress. Now it's time to enjoy a good night's sleep on a mattress that is perfectly tailored to your body.How to Make a Custom Mattress: 9 Steps (with Pictures) - wikiHow


How to Make a Custom Mattress: 9 Steps (with Pictures) - wikiHow


Making your own custom shaped mattress may seem like a daunting task, but with the right materials and a little bit of creativity, you can create a mattress that is not only comfortable but also unique to your body. Follow these steps and enjoy the satisfaction of sleeping on a mattress that you made yourself. So why settle for a standard mattress when you can make your own? Give it a try and see the difference a custom shaped mattress can make in your sleep quality.Conclusion


How to Make a Mattress: 14 Steps (with Pictures) - wikiHow


Creating Your Own Shaped Mattress: A Unique Addition to Your House Design
What is a Shaped Mattress?
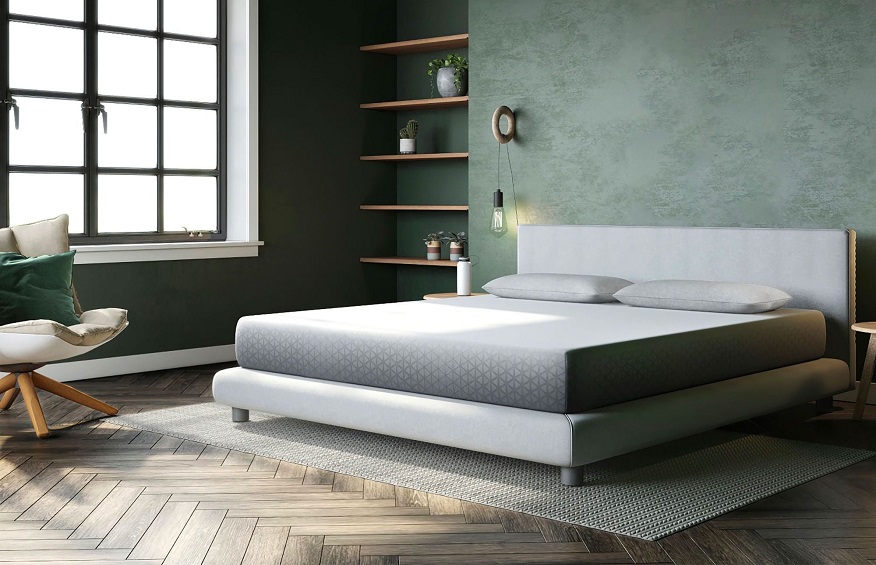
 A shaped mattress, also known as a custom mattress, is a mattress that is specifically designed to fit a unique shape or size. This type of mattress is not your typical rectangular shape and can come in a variety of forms such as round, oval, or even heart-shaped. While it may seem unconventional, a shaped mattress can be a fun and creative addition to your house design.
Why Choose a Shaped Mattress?
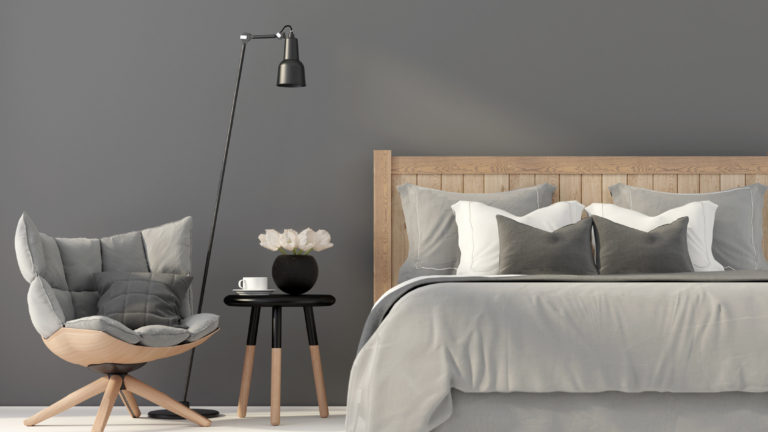
 One of the main reasons people choose a shaped mattress is for its uniqueness. It allows you to add a personal touch to your bedroom or guest room and can serve as a conversation starter. Additionally, a shaped mattress can be a practical solution for odd-shaped rooms or spaces. Instead of trying to fit a traditional mattress into a tight or unusual space, a shaped mattress can be custom-made to fit perfectly.
Can You Make Your Own Shaped Mattress?
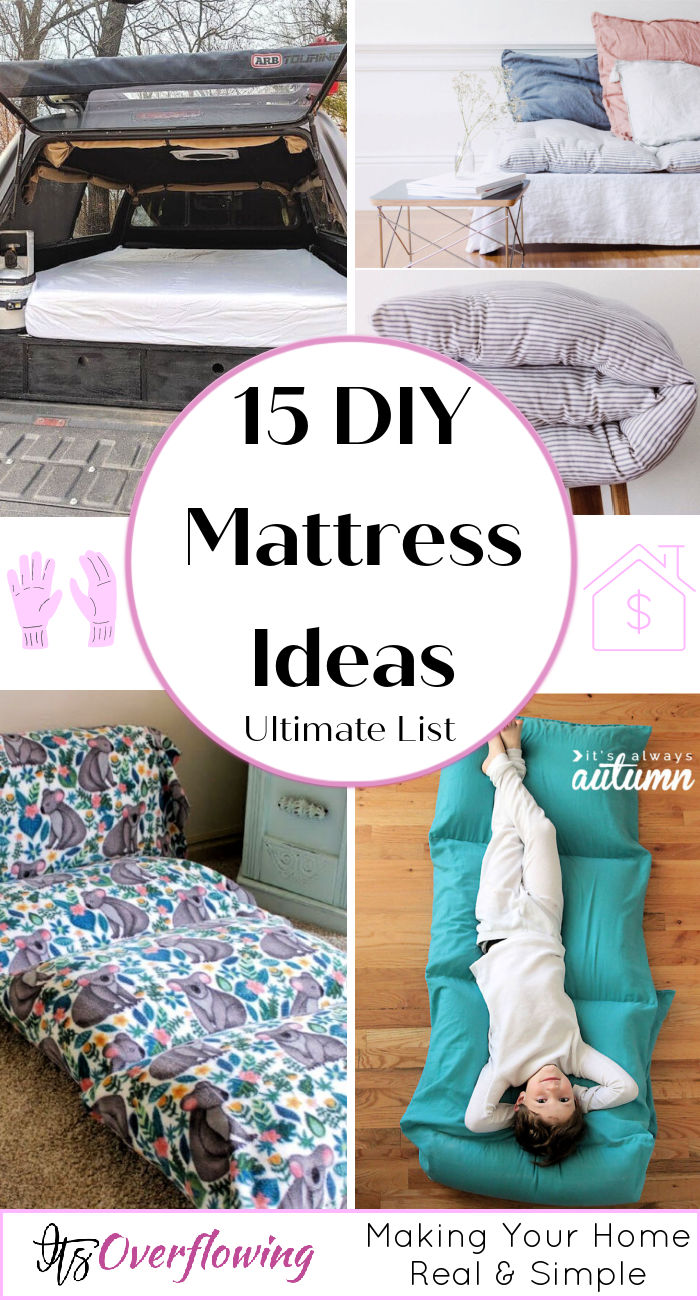
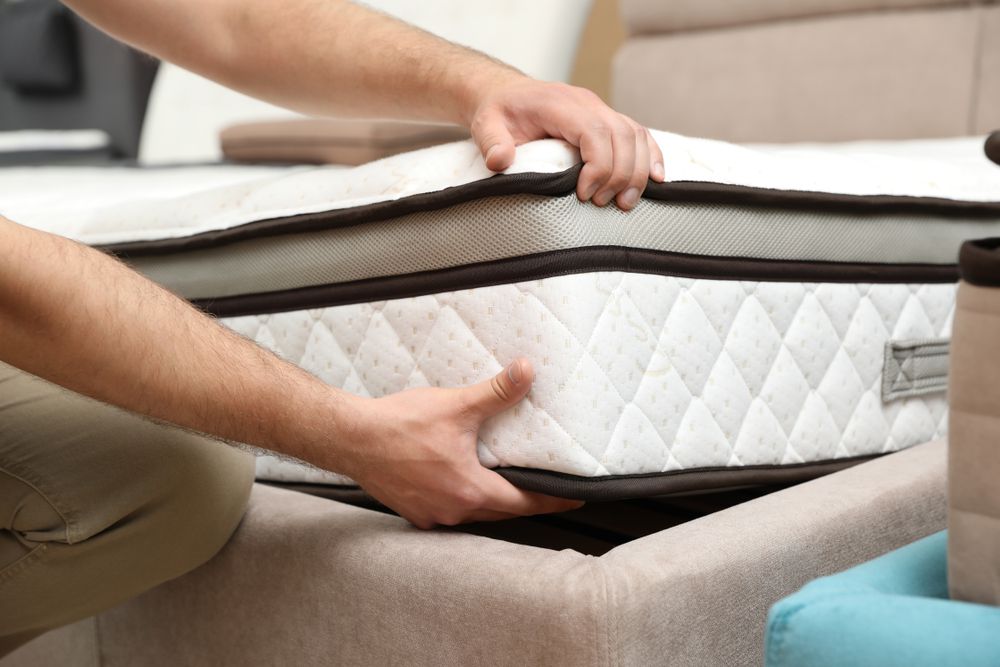
 The answer is yes, you can make your own shaped mattress. There are a few different methods for creating a shaped mattress, depending on the shape and size you desire. One option is to purchase a foam mattress and cut it to your desired shape using an electric carving knife. Another option is to sew together individual pieces of foam to create a custom-sized and shaped mattress. If you don't feel confident in making your own shaped mattress, there are also companies that specialize in creating custom mattresses based on your specifications.
Considerations when Making a Shaped Mattress
 Before diving into making your own shaped mattress, there are a few things to consider. First, the material you choose for your mattress will impact its comfort and durability. Memory foam and latex are popular options for shaped mattresses as they can be easily cut and shaped without losing their supportive properties. It's also important to carefully measure and plan out the shape and size of your mattress to ensure a perfect fit.
Other Unique Mattress Ideas for Your House Design
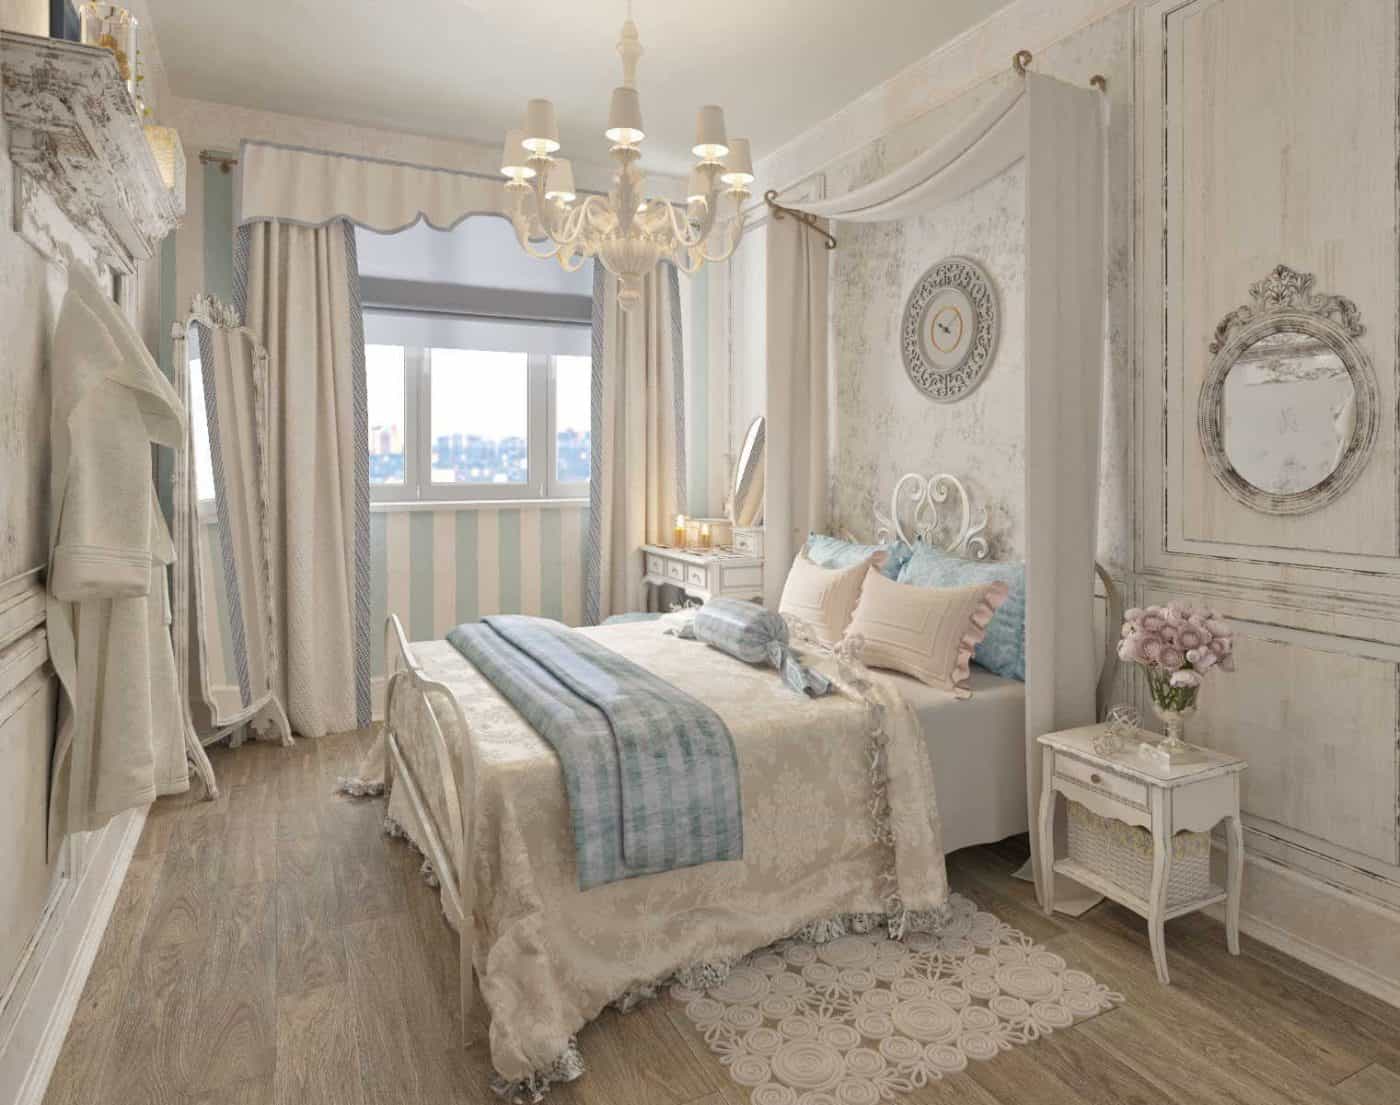
 If a shaped mattress isn't your style, there are other unique mattress options that can add a special touch to your house design. A canopy mattress, with a frame and curtains surrounding it, can give a room a romantic and luxurious feel. A bunk bed with a hidden trundle mattress underneath can be a space-saving solution for a shared room or a fun addition to a kid's bedroom. By thinking outside the box, you can find the perfect mattress to complement your house design.
In conclusion, a shaped mattress can be a creative and unique addition to your house design. Whether you make your own or purchase a custom-made one, a shaped mattress can add personality and functionality to any room. Consider the shape, material, and size carefully to ensure a comfortable and stylish addition to your home.
If a shaped mattress isn't your style, there are other unique mattress options that can add a special touch to your house design. A canopy mattress, with a frame and curtains surrounding it, can give a room a romantic and luxurious feel. A bunk bed with a hidden trundle mattress underneath can be a space-saving solution for a shared room or a fun addition to a kid's bedroom. By thinking outside the box, you can find the perfect mattress to complement your house design.
In conclusion, a shaped mattress can be a creative and unique addition to your house design. Whether you make your own or purchase a custom-made one, a shaped mattress can add personality and functionality to any room. Consider the shape, material, and size carefully to ensure a comfortable and stylish addition to your home.