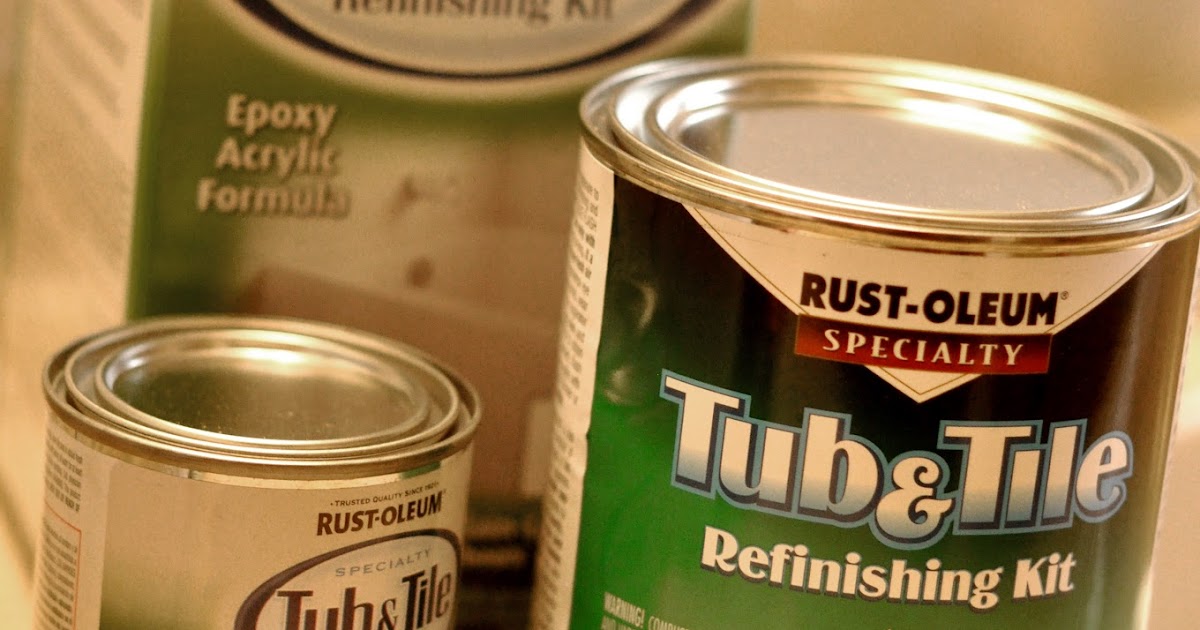
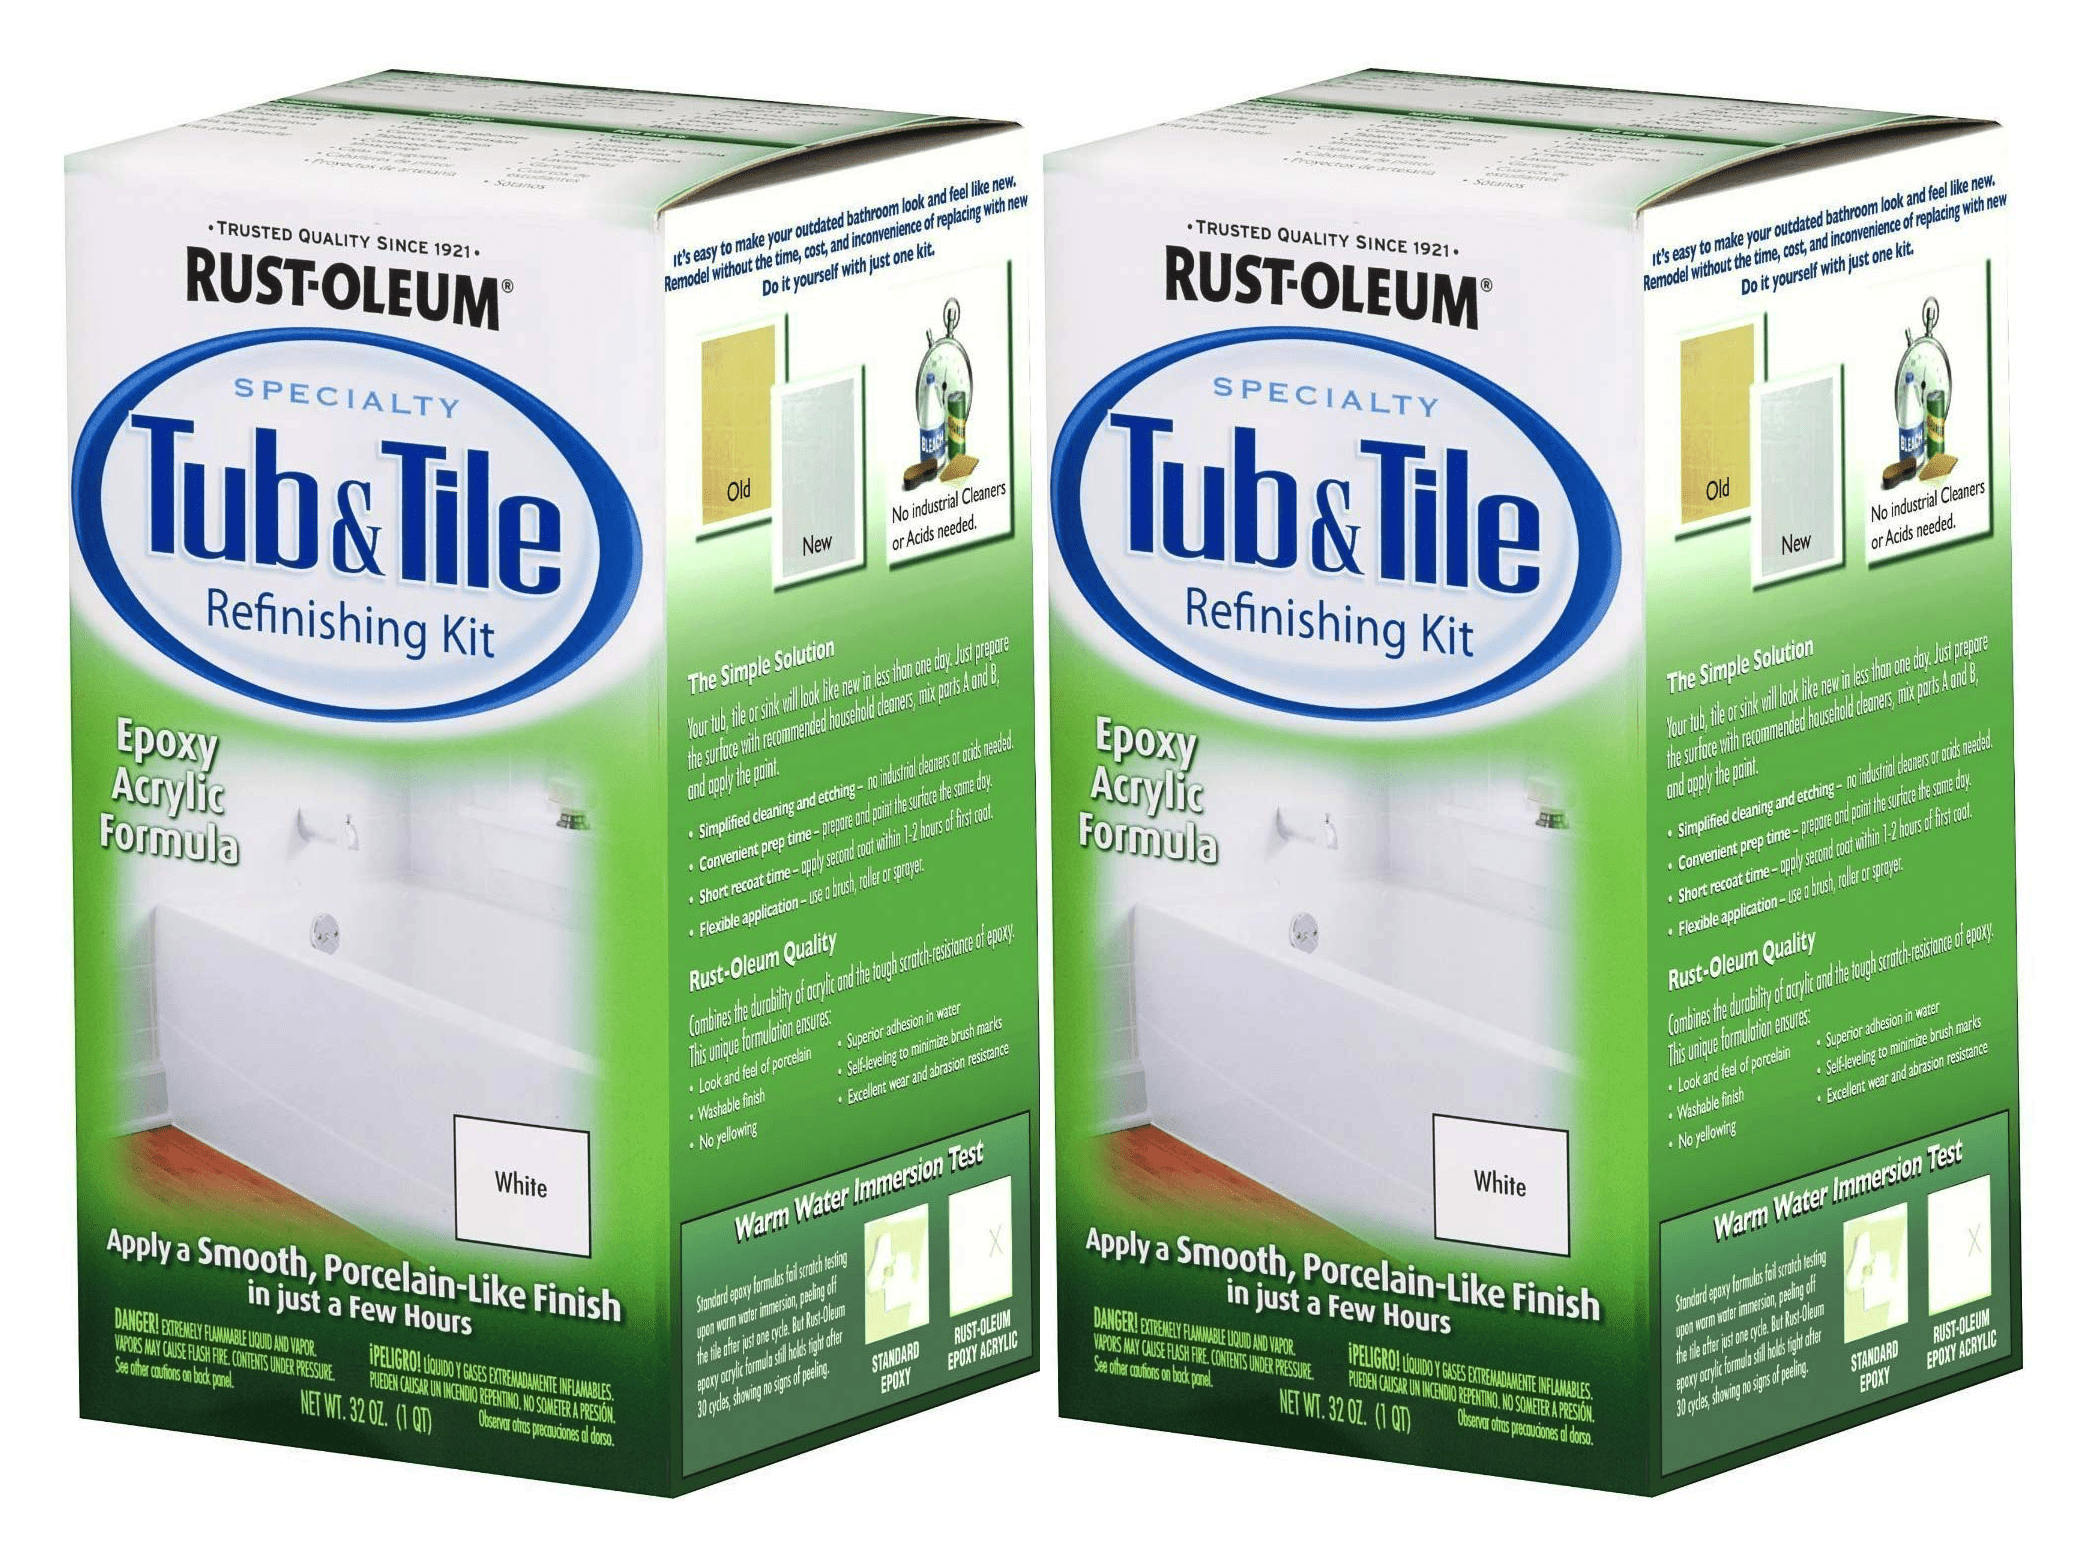
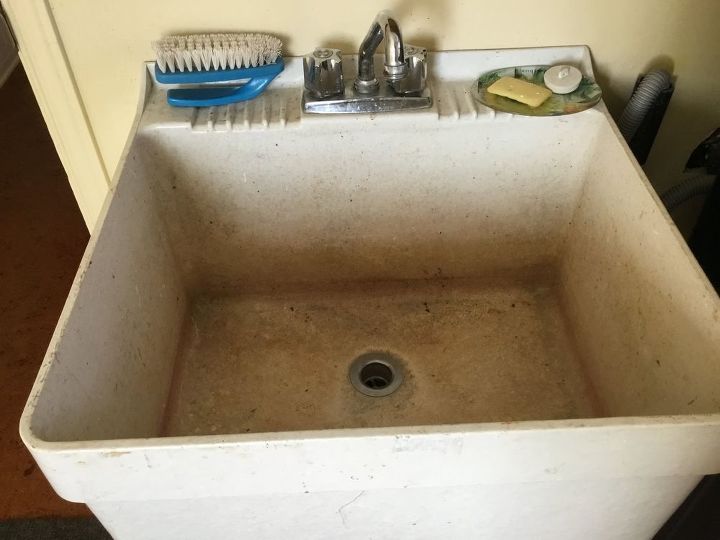
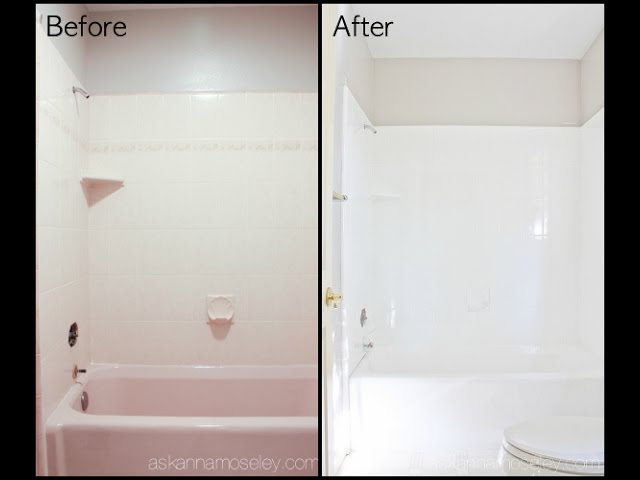
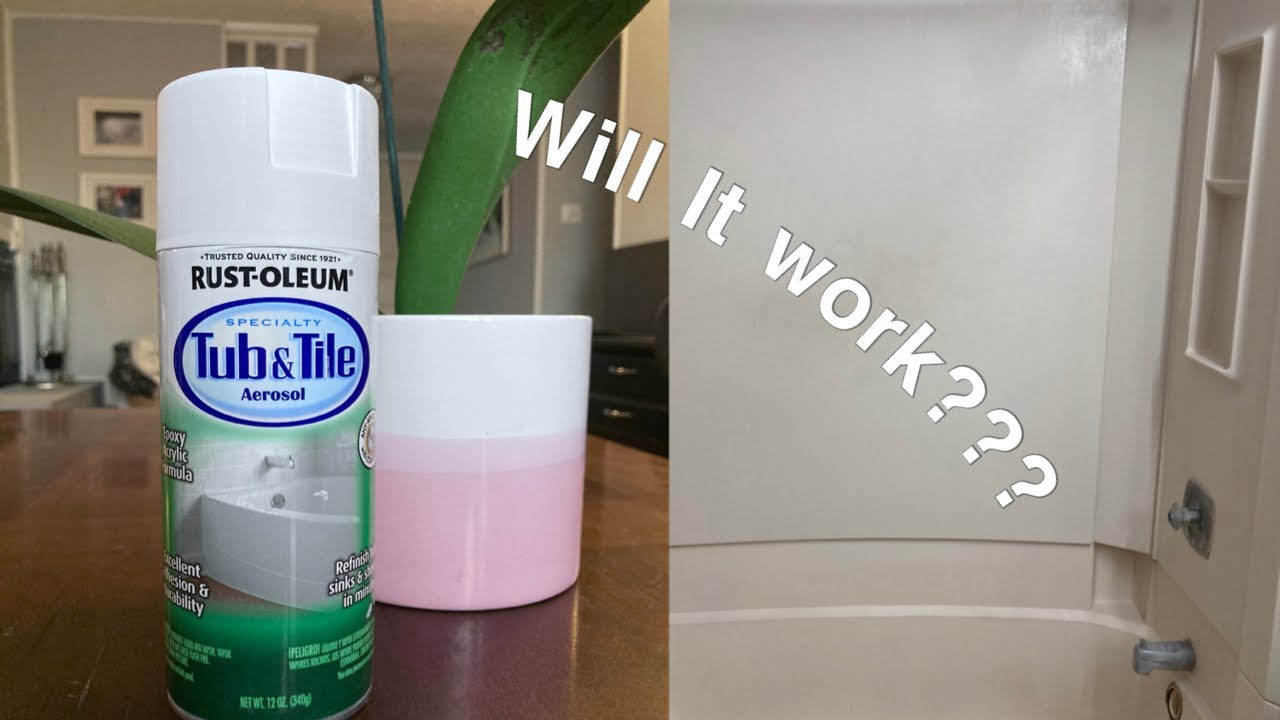
Are you tired of looking at your old, worn-out kitchen sink? Is it covered in scratches, stains, and rust? Maybe it's time for a makeover. But before you consider replacing it, why not try painting it with the Rust-Oleum Specialty Tub & Tile Refinishing Kit? This easy-to-use kit is specially designed to transform the look of your sink and give it a fresh, new appearance. The Rust-Oleum Specialty Tub & Tile Refinishing Kit is a two-part epoxy acrylic formula that can be applied to ceramic, porcelain, and fiberglass surfaces. It provides a smooth, glossy finish that is resistant to water, chemicals, and everyday wear and tear. With this kit, you can easily update the look of your kitchen sink without breaking the bank.1. Rust-Oleum Specialty Tub & Tile Refinishing Kit


1. Rust-Oleum Specialty Tub & Tile Refinishing Kit


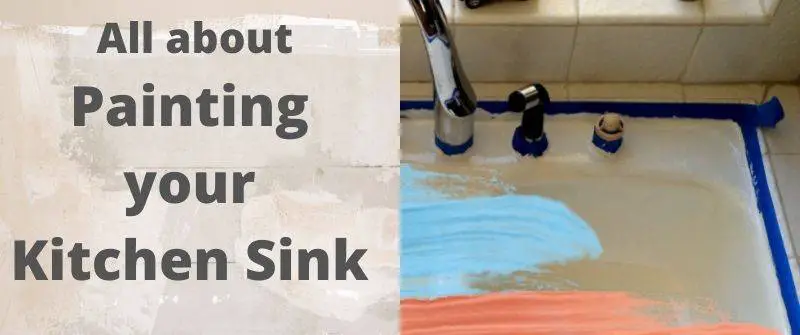
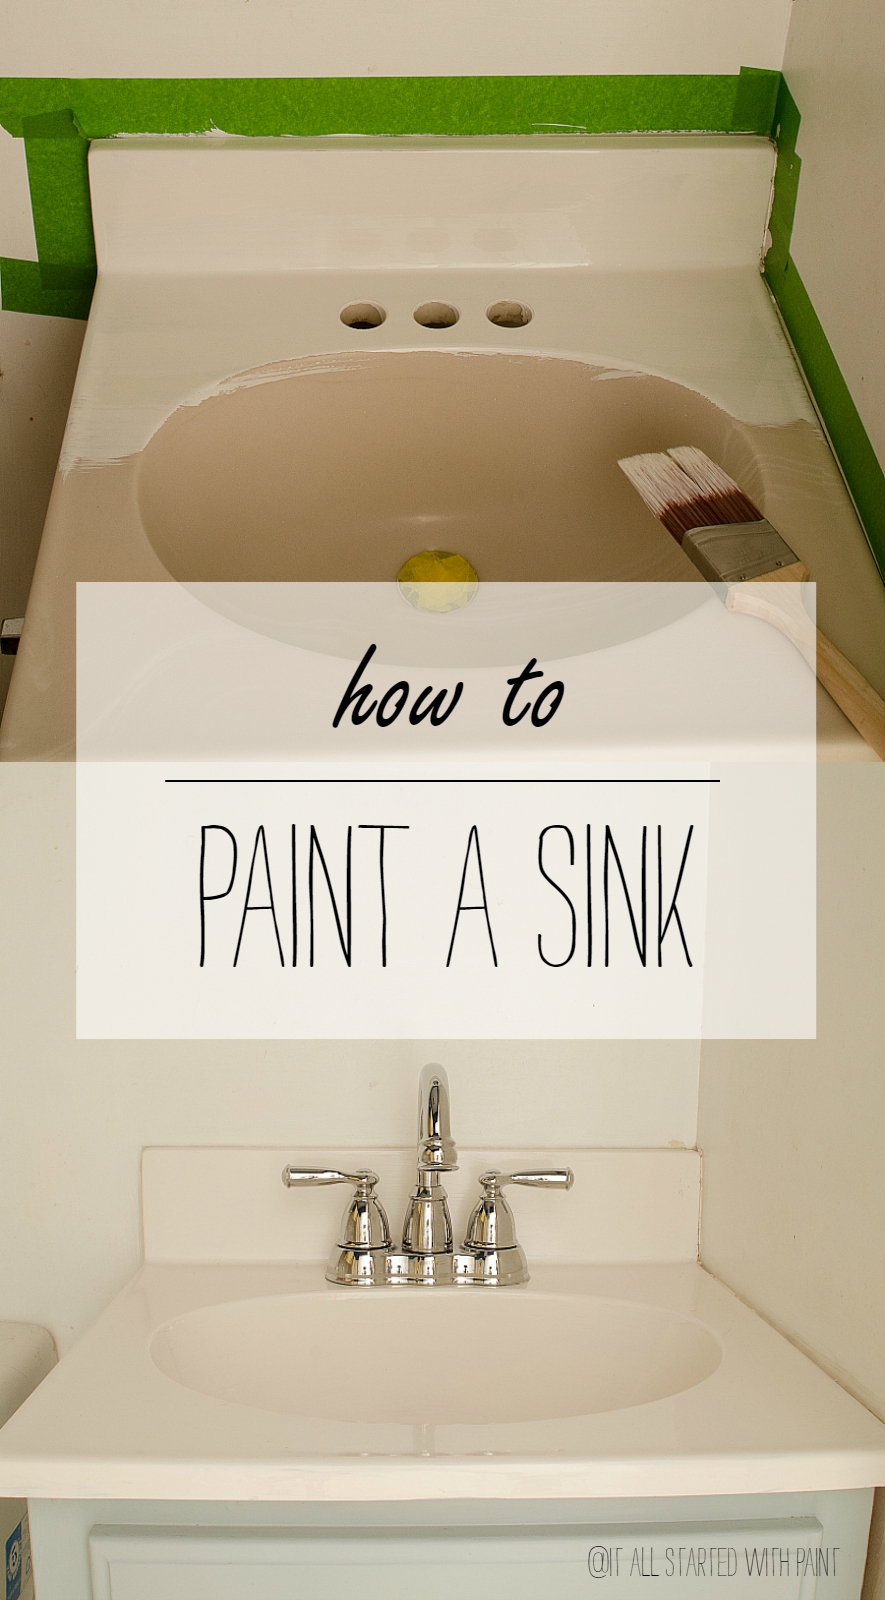
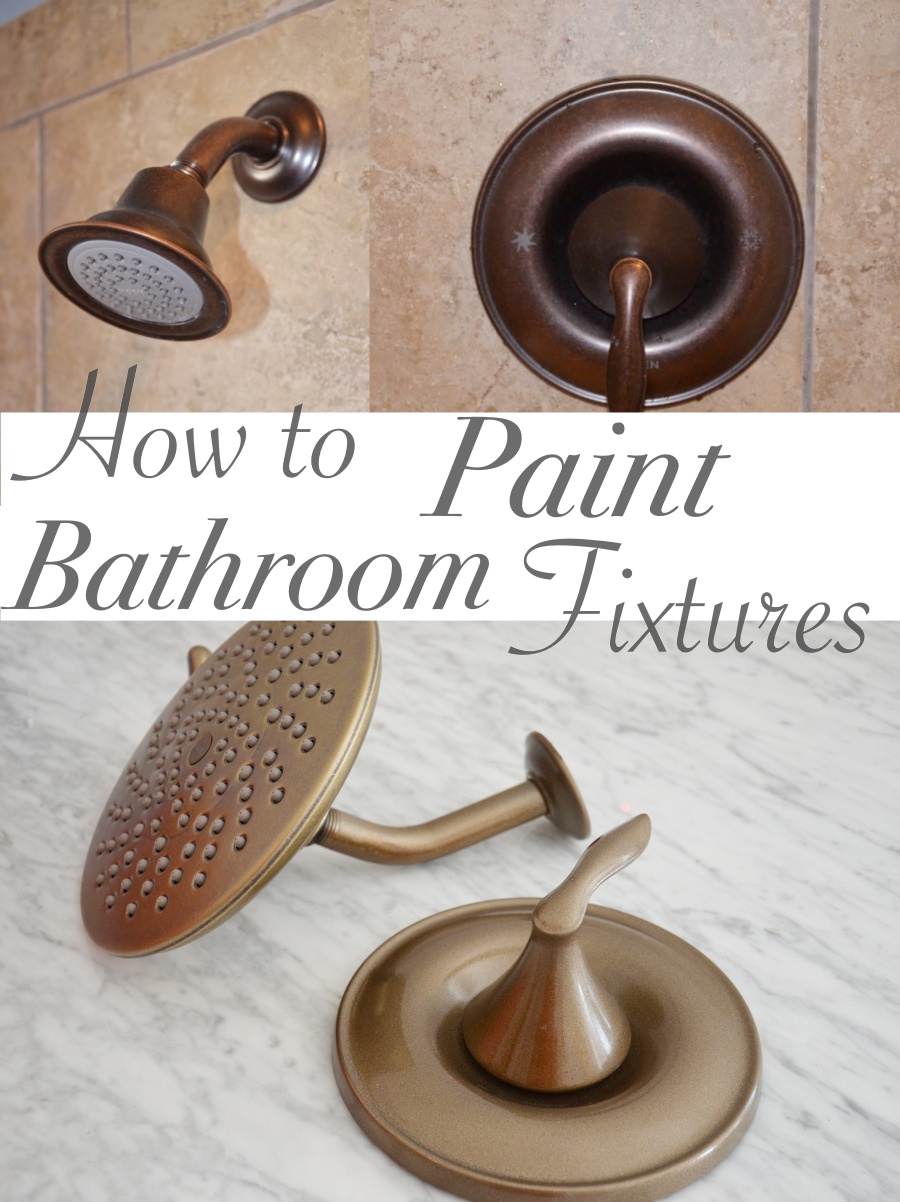
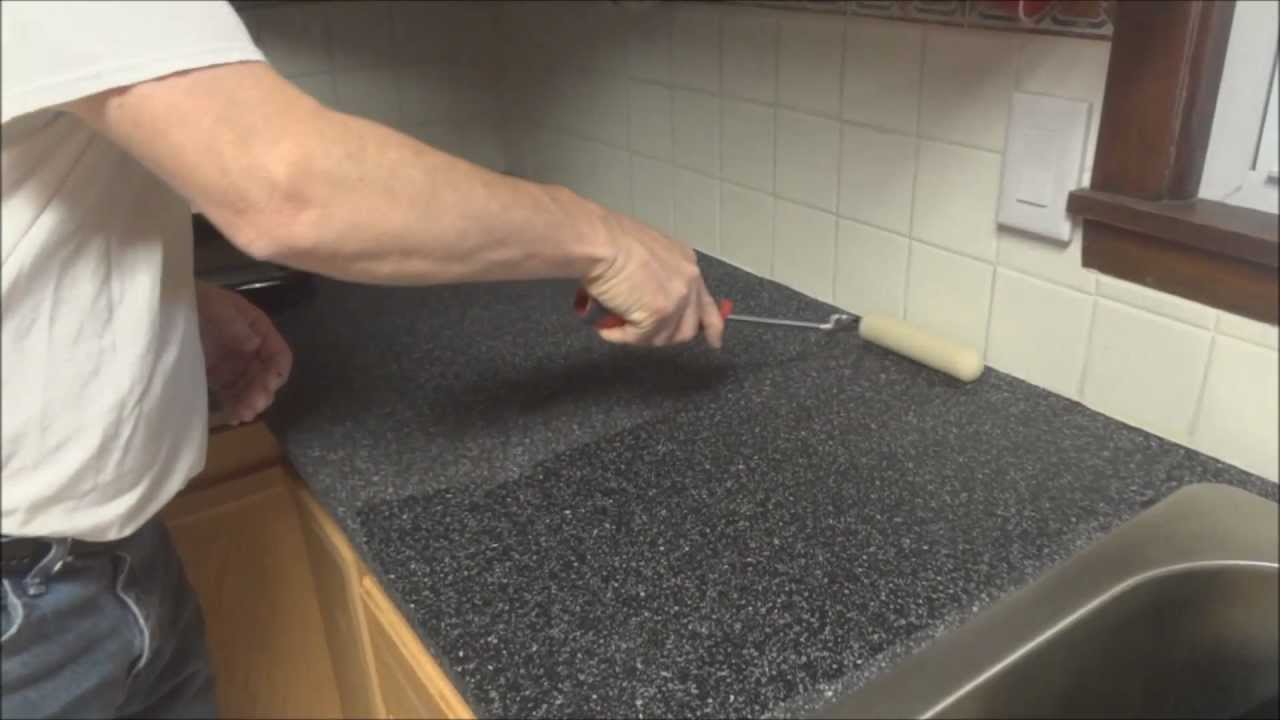
If you're wondering how to paint a sink, don't worry, it's not as difficult as it may seem. With the Rust-Oleum Specialty Tub & Tile Refinishing Kit, you can easily give your sink a fresh coat of paint in just a few simple steps. The first step is to thoroughly clean and dry your sink. Make sure to remove any soap scum, grease, or other residue. Next, use a fine-grit sandpaper to roughen the surface of the sink. This will help the paint adhere better. After sanding, wipe down the sink to remove any dust or debris. Now, it's time to mix the two parts of the Rust-Oleum Specialty Tub & Tile Refinishing Kit. Follow the instructions carefully and make sure to mix them thoroughly. Once the mixture is ready, use a brush or roller to apply a thin, even coat of paint to the sink. Let it dry for at least an hour before applying a second coat. You may need to apply a third coat for complete coverage.2. How to Paint a Sink - DIY Tutorial


2. How to Paint a Sink - DIY Tutorial


The answer is yes, you can paint a sink, and the Rust-Oleum Specialty Tub & Tile Refinishing Kit makes it incredibly easy. The key to a successful paint job is proper preparation. Make sure to clean and sand your sink before applying the paint. Also, be sure to follow the instructions on the kit carefully for the best results. One great thing about painting your sink is that you can choose any color you want. You can stick with a classic white or ivory to match your kitchen decor, or you can go bold with a bright pop of color. The choice is yours, and the Rust-Oleum Specialty Tub & Tile Refinishing Kit gives you the freedom to be creative.3. Can You Paint a Sink? Yes, and Here's How

3. Can You Paint a Sink? Yes, and Here's How


If you're someone who loves to do DIY projects, painting your sink is a great way to add a personal touch to your kitchen. With the Rust-Oleum Specialty Tub & Tile Refinishing Kit, you can easily give your sink a makeover without spending a fortune on a new one. Another benefit of painting your sink is that it's a quick and easy process. Unlike replacing a sink, which can take days and require professional installation, painting a sink can be done in a few hours. And with the Rust-Oleum Specialty Tub & Tile Refinishing Kit, you don't need any special tools or skills. It's a DIY project that anyone can do.4. How to Paint a Sink: Easy DIY Guide
4. How to Paint a Sink: Easy DIY Guide


When painting a sink, there are a few tips and tricks that can help you achieve the best results. First, be sure to use a high-quality brush or roller to apply the paint. This will ensure a smooth and even finish. Also, make sure to apply thin coats of paint and let each coat dry completely before applying the next one. Another helpful tip is to use a small artist's brush to paint hard-to-reach areas, such as around the drain and faucet. This will give you more control and precision. And finally, don't rush the process. Take your time and make sure to follow the instructions carefully for the best outcome.5. Painting a Sink: Tips and Tricks


5. Painting a Sink: Tips and Tricks


If you don't want to use a brush or roller, you can also try the Rust-Oleum Specialty Tub & Tile Spray Paint. This spray paint is specially formulated for use on tubs, tiles, and sinks. It provides a smooth and durable finish that is resistant to chips, scratches, and stains. Like the Rust-Oleum Specialty Tub & Tile Refinishing Kit, the spray paint is available in a variety of colors, allowing you to customize your sink to your liking. Just make sure to follow the instructions on the can and apply multiple thin coats for the best results.6. Rust-Oleum Specialty Tub & Tile Spray Paint


6. Rust-Oleum Specialty Tub & Tile Spray Paint


To summarize, here is a step-by-step guide on how to paint a sink with the Rust-Oleum Specialty Tub & Tile Refinishing Kit: 1. Clean and dry your sink. 2. Sand the surface of the sink. 3. Mix the two parts of the Rust-Oleum Specialty Tub & Tile Refinishing Kit. 4. Apply a thin, even coat of paint to the sink. 5. Let it dry for at least an hour before applying a second coat. 6. Apply a third coat if needed. 7. Let the sink dry completely before using it.7. How to Paint a Sink: Step-by-Step Guide


7. How to Paint a Sink: Step-by-Step Guide


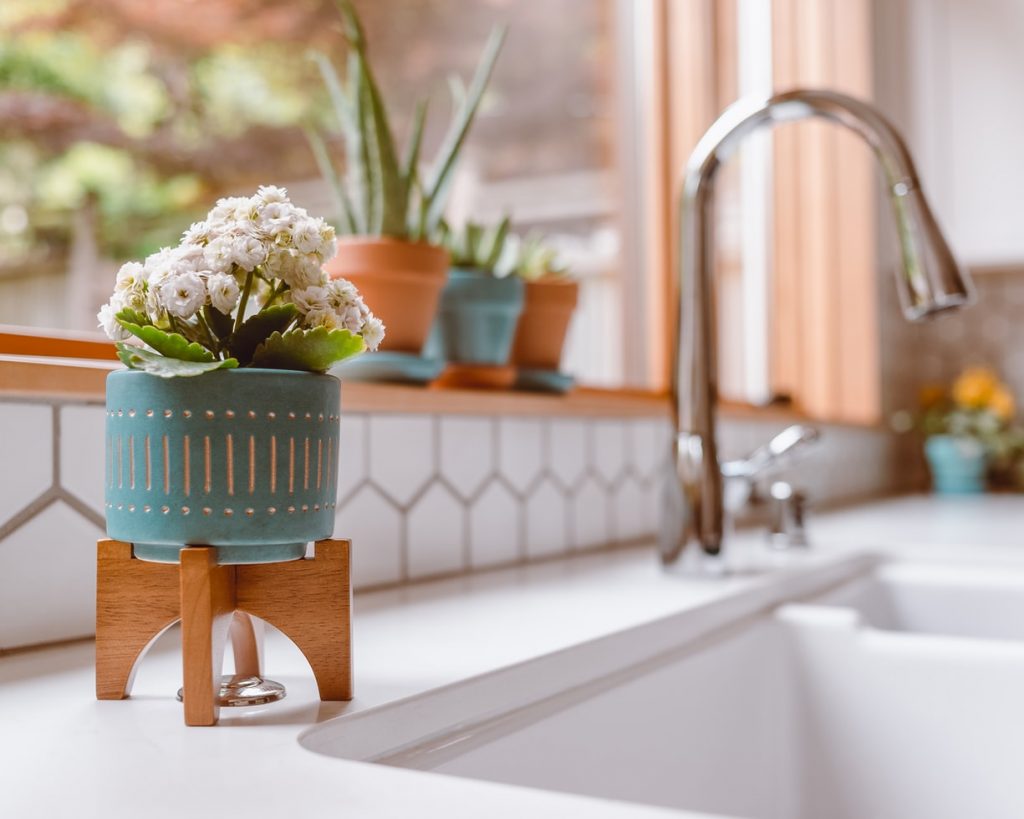
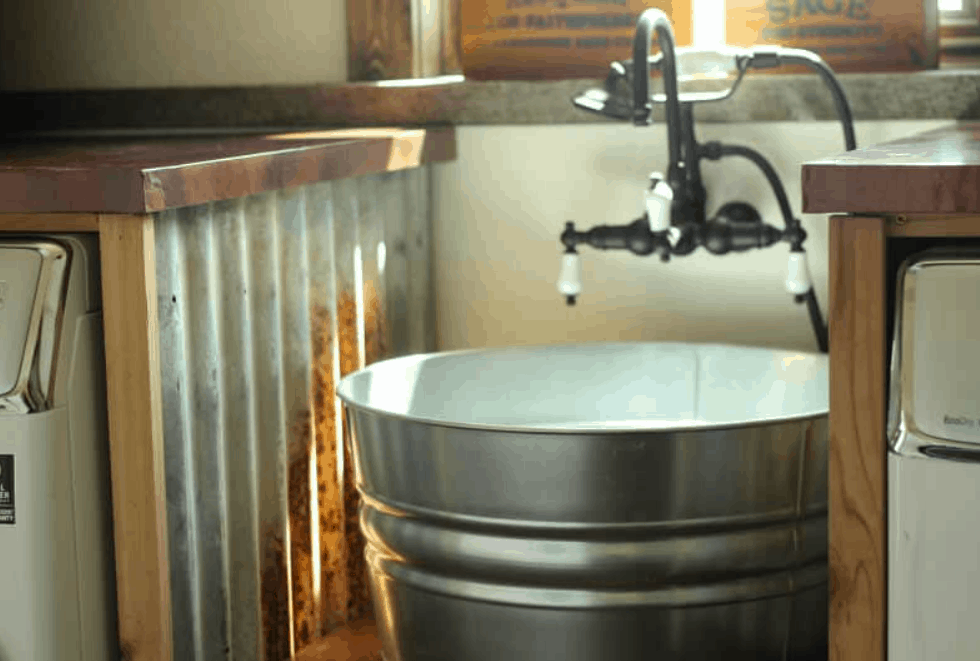
The kitchen sink is often the centerpiece of a kitchen, so it's important to keep it looking clean and fresh. But if your sink is old and worn out, it can be a bit of an eyesore. With Rust-Oleum, you can easily transform your kitchen sink and give it a new lease on life. Whether you choose to use the Rust-Oleum Specialty Tub & Tile Refinishing Kit or the spray paint, you can achieve a beautiful, long-lasting finish that will make your sink look brand new. And with a wide range of colors to choose from, you can find the perfect match for your kitchen decor.8. Transform Your Kitchen Sink with Rust-Oleum


8. Transform Your Kitchen Sink with Rust-Oleum


Acrylic sinks are a popular choice for kitchens because they are lightweight, durable, and easy to clean. But over time, they can become dull and scratched. If you have an acrylic sink that needs a little TLC, you can easily paint it with Rust-Oleum Specialty Tub & Tile Refinishing Kit. The key to painting an acrylic sink is proper preparation. Make sure to clean and sand the surface before applying the paint. And be sure to choose a high-quality paint like Rust-Oleum that is specifically designed for use on tubs, tiles, and sinks.9. Painting an Acrylic Sink with Rust-Oleum


9. Painting an Acrylic Sink with Rust-Oleum


/recommended-tile-paints-1822653-hero-7b4d3c2c2d8d449aa50d260d9a038b92.jpg)

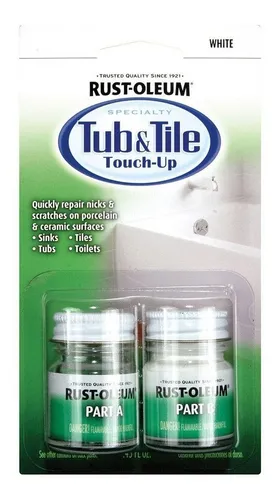
If your sink is in relatively good condition but has a few chips or scratches, you can use the Rust-Oleum Specialty Tub & Tile Touch-Up Paint to fix those imperfections. This paint is specially designed to cover small blemishes and provide a seamless finish on tubs, tiles, and sinks. The touch-up paint is available in a variety of colors and can easily be applied with a small brush. Just make sure to let it dry completely before using your sink. With the Rust-Oleum Specialty Tub & Tile Touch-Up Paint, you can keep your sink looking like new for years to come. In conclusion, if you're looking to update the look of your kitchen sink, don't rush to replace it. Instead, try painting it with Rust-Oleum. With their high-quality products and easy-to-follow instructions, you can achieve a professional-looking finish and save money in the process. So, what are you waiting for? Give your sink a makeover today with Rust-Oleum Specialty Tub & Tile Refinishing Kit.10. Rust-Oleum Specialty Tub & Tile Touch-Up Paint

10. Rust-Oleum Specialty Tub & Tile Touch-Up Paint


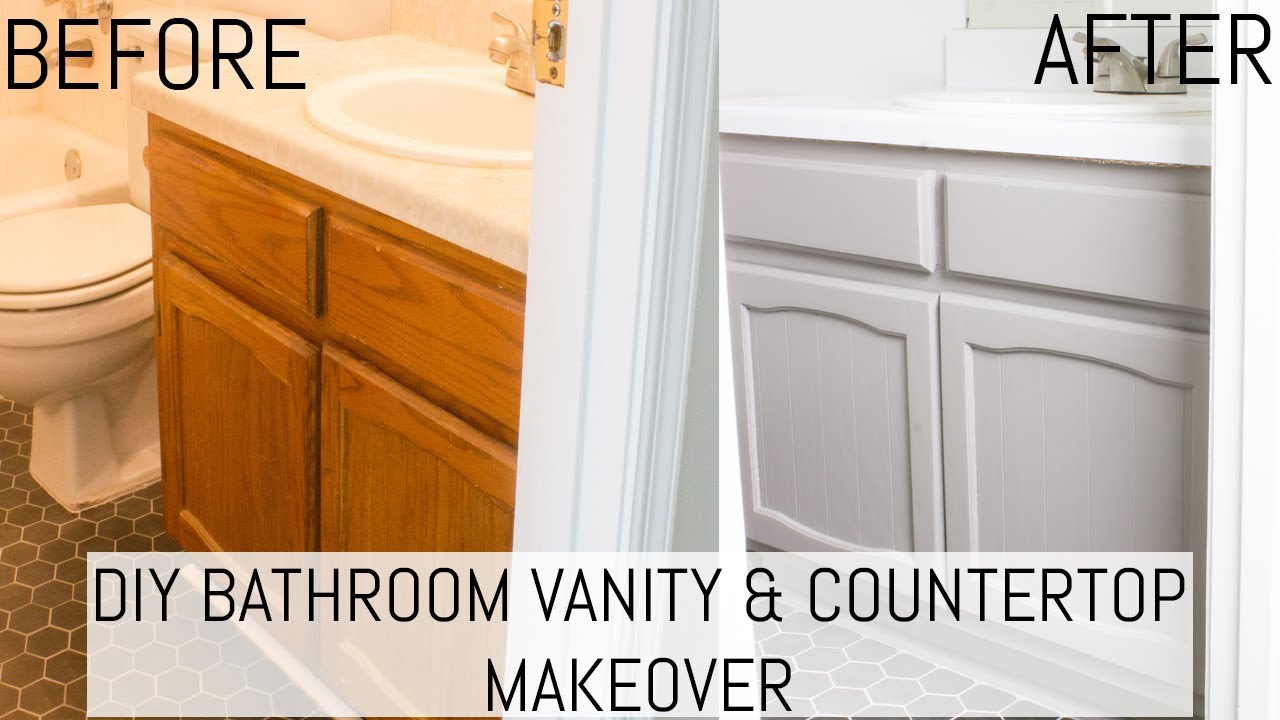
Can I Paint My Acrylic Kitchen Sink with Rust-Oleum?

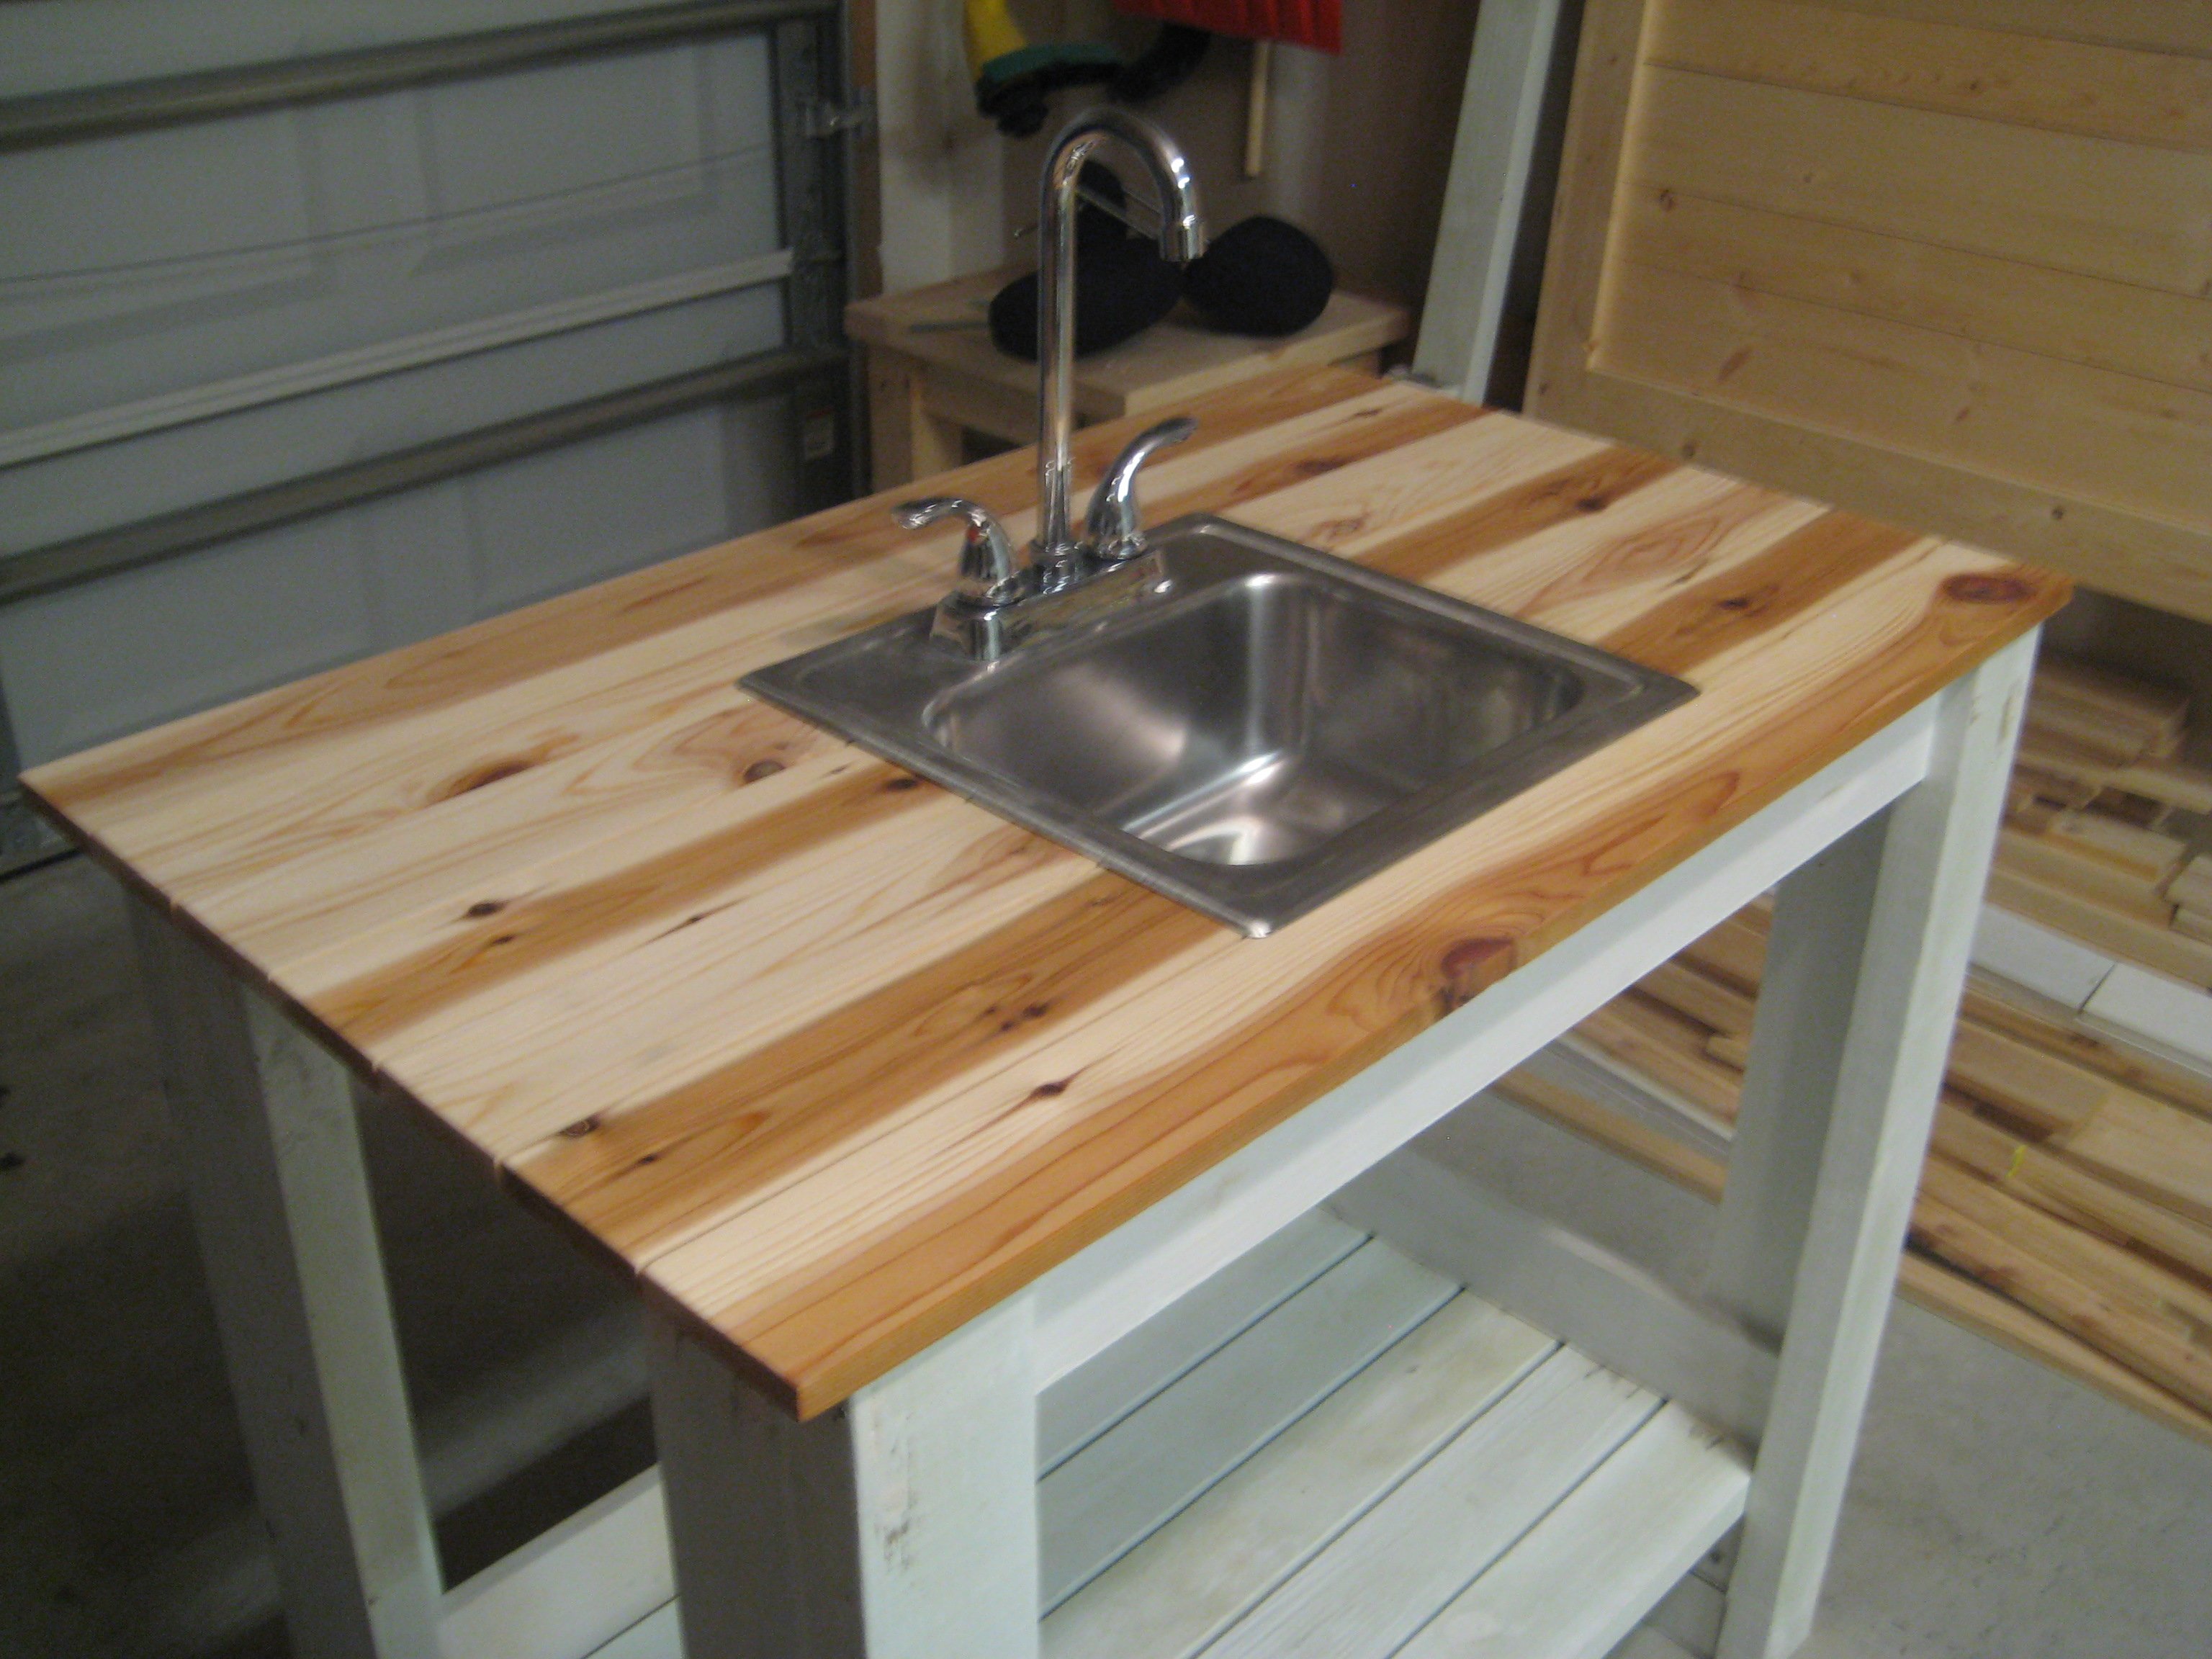
Transforming Your Kitchen Sink with Acrylic Paint
 If you're looking to update the look of your kitchen without breaking the bank, painting your kitchen sink may be a great option. With the popularity of acrylic sinks on the rise, you may be wondering if they can be painted with
Rust-Oleum
as well. The answer is yes! With the right tools and techniques, you can give your kitchen sink a fresh new look with
Rust-Oleum
acrylic paint.
If you're looking to update the look of your kitchen without breaking the bank, painting your kitchen sink may be a great option. With the popularity of acrylic sinks on the rise, you may be wondering if they can be painted with
Rust-Oleum
as well. The answer is yes! With the right tools and techniques, you can give your kitchen sink a fresh new look with
Rust-Oleum
acrylic paint.
What You'll Need
 Before you get started, make sure you have all the necessary supplies. Here's what you'll need:
- Rust-Oleum Acrylic Paint - Choose a color that matches your kitchen's aesthetic and is suitable for painting on plastic surfaces.
- Painter's Tape - To protect areas of your sink that you don't want to be painted.
- Sandpaper - To help the paint adhere to the sink's surface.
- Primer - This is especially important if your sink has a glossy finish.
- Paintbrush or Paint Sprayer - Depending on your preference and the size of your sink.
- Drop Cloth - To protect your countertops and floors from paint splatters.
- Sealant - Optional, but recommended to protect the paint from chipping or peeling.
Step-by-Step Guide
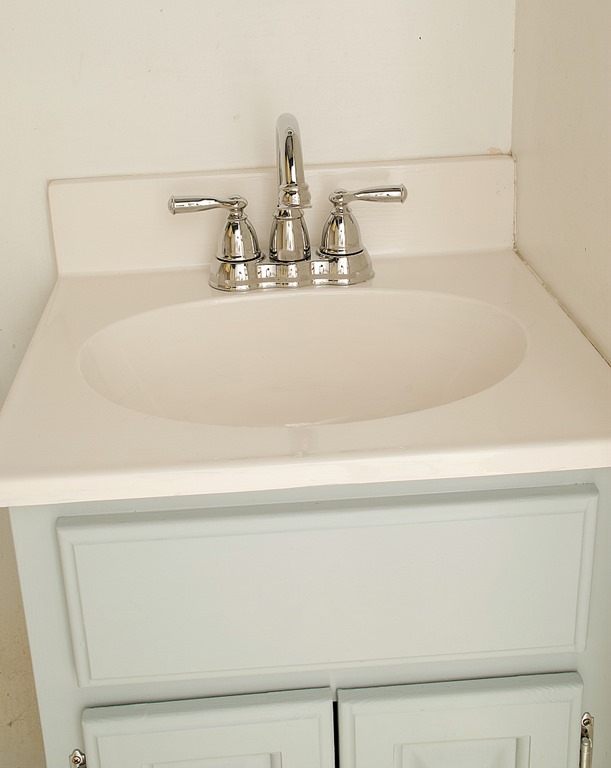
 1. Prepare the Sink - Before painting, clean your sink thoroughly with a mild cleaner and dry it completely. Then, lightly sand the surface to help the paint adhere better.
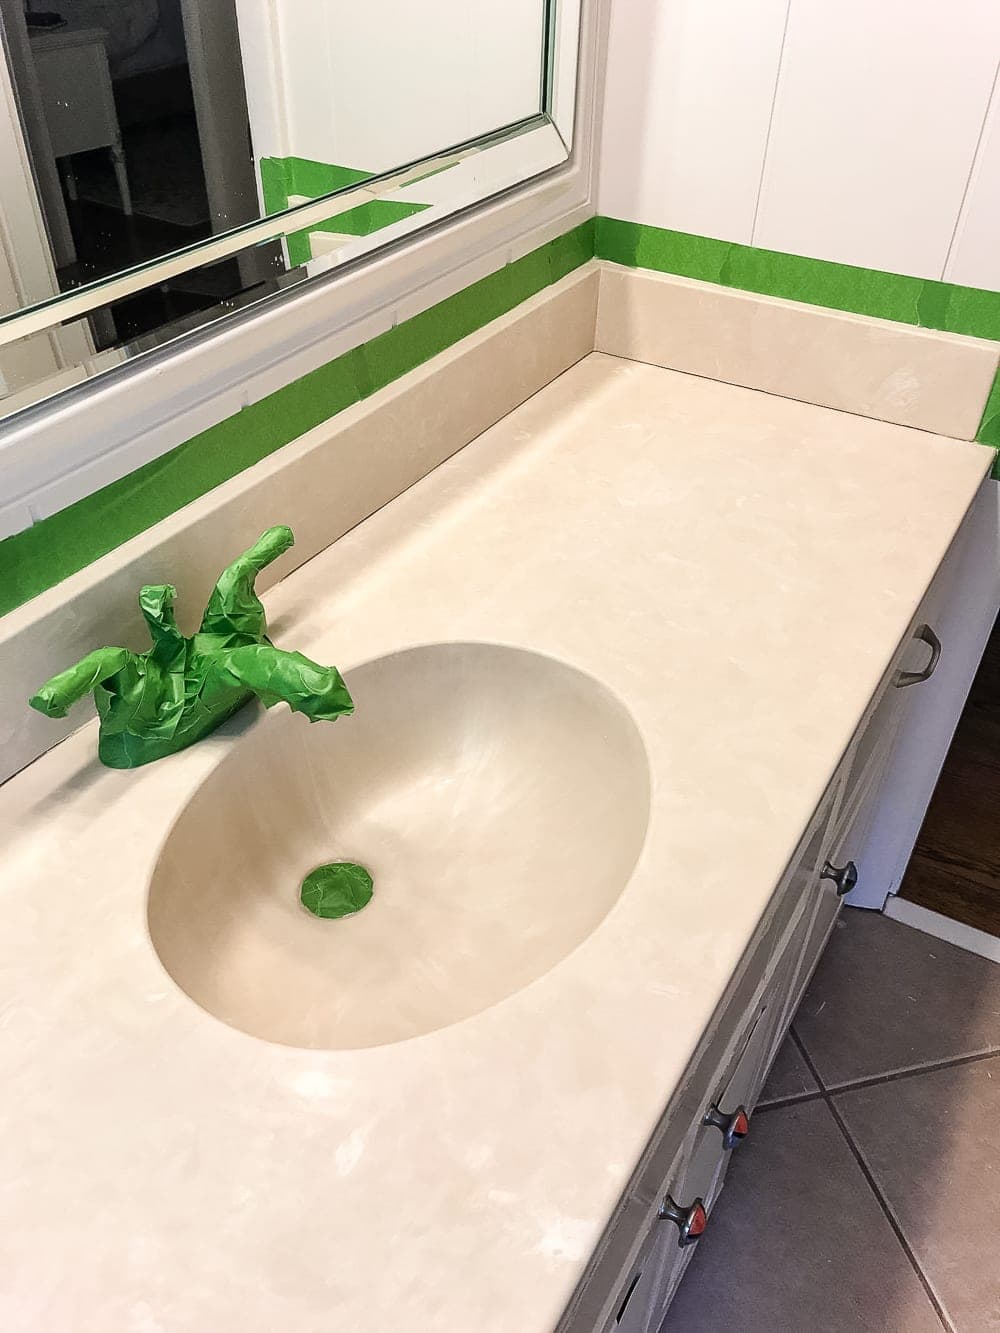
2. Tape Off the Sink - Use painter's tape to cover any areas of the sink that you don't want to be painted, such as the faucet and drain.
3. Prime the Sink - If your sink has a glossy finish, it's important to use a plastic primer before painting. This will ensure that the paint adheres properly and lasts longer.
4. Paint the Sink - Using a paintbrush or paint sprayer, apply the
Rust-Oleum
acrylic paint to your sink in thin, even coats. Be sure to follow the manufacturer's instructions for drying times between coats.
5. Seal the Sink - Once the final coat of paint is completely dry, you can apply a sealant to protect the paint from chipping or peeling. This is especially important for high-traffic kitchen sinks.
1. Prepare the Sink - Before painting, clean your sink thoroughly with a mild cleaner and dry it completely. Then, lightly sand the surface to help the paint adhere better.
2. Tape Off the Sink - Use painter's tape to cover any areas of the sink that you don't want to be painted, such as the faucet and drain.
3. Prime the Sink - If your sink has a glossy finish, it's important to use a plastic primer before painting. This will ensure that the paint adheres properly and lasts longer.
4. Paint the Sink - Using a paintbrush or paint sprayer, apply the
Rust-Oleum
acrylic paint to your sink in thin, even coats. Be sure to follow the manufacturer's instructions for drying times between coats.
5. Seal the Sink - Once the final coat of paint is completely dry, you can apply a sealant to protect the paint from chipping or peeling. This is especially important for high-traffic kitchen sinks.
Benefits of Painting Your Acrylic Sink with Rust-Oleum
 Not only is painting your acrylic kitchen sink with
Rust-Oleum
a cost-effective way to update your kitchen, but it also has other benefits. The paint is durable and water-resistant, making it perfect for a sink that is constantly exposed to water. It also comes in a variety of colors, giving you the freedom to choose a shade that best fits your kitchen's design.
In conclusion, painting your acrylic kitchen sink with
Rust-Oleum
is a great way to give your kitchen a fresh new look without the expense of replacing the sink. With the right tools and techniques, you can easily transform your sink into a focal point of your kitchen. So go ahead and get creative with your kitchen sink - the possibilities are endless!
Not only is painting your acrylic kitchen sink with
Rust-Oleum
a cost-effective way to update your kitchen, but it also has other benefits. The paint is durable and water-resistant, making it perfect for a sink that is constantly exposed to water. It also comes in a variety of colors, giving you the freedom to choose a shade that best fits your kitchen's design.
In conclusion, painting your acrylic kitchen sink with
Rust-Oleum
is a great way to give your kitchen a fresh new look without the expense of replacing the sink. With the right tools and techniques, you can easily transform your sink into a focal point of your kitchen. So go ahead and get creative with your kitchen sink - the possibilities are endless!


/GettyImages-961081592-46911e11b3364297b48617d6cb2c7b55.jpg)
