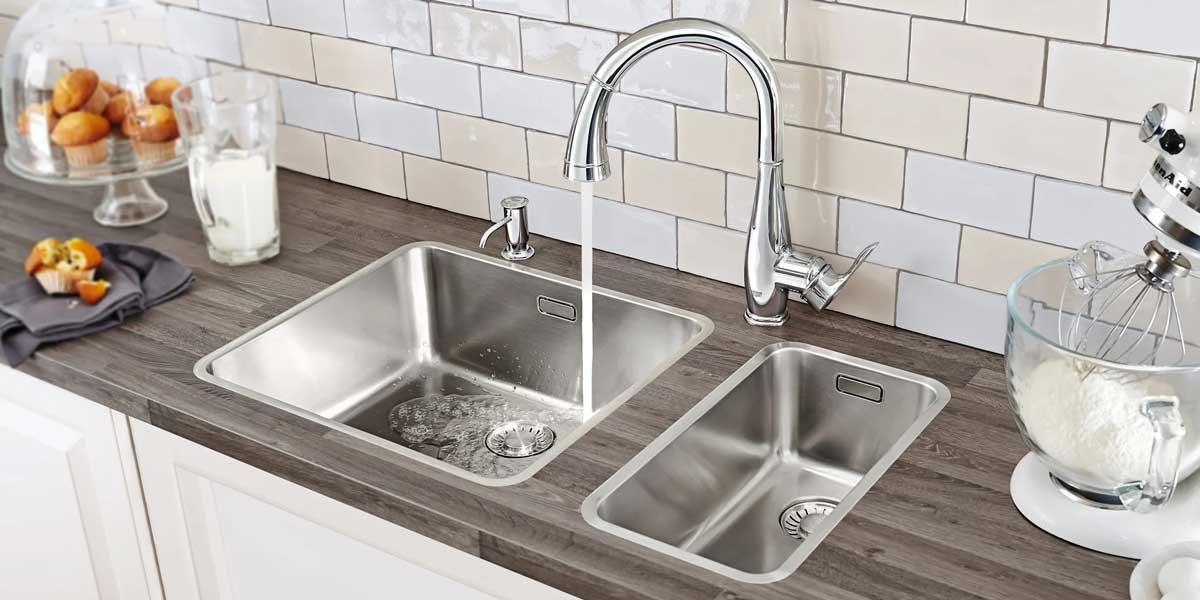
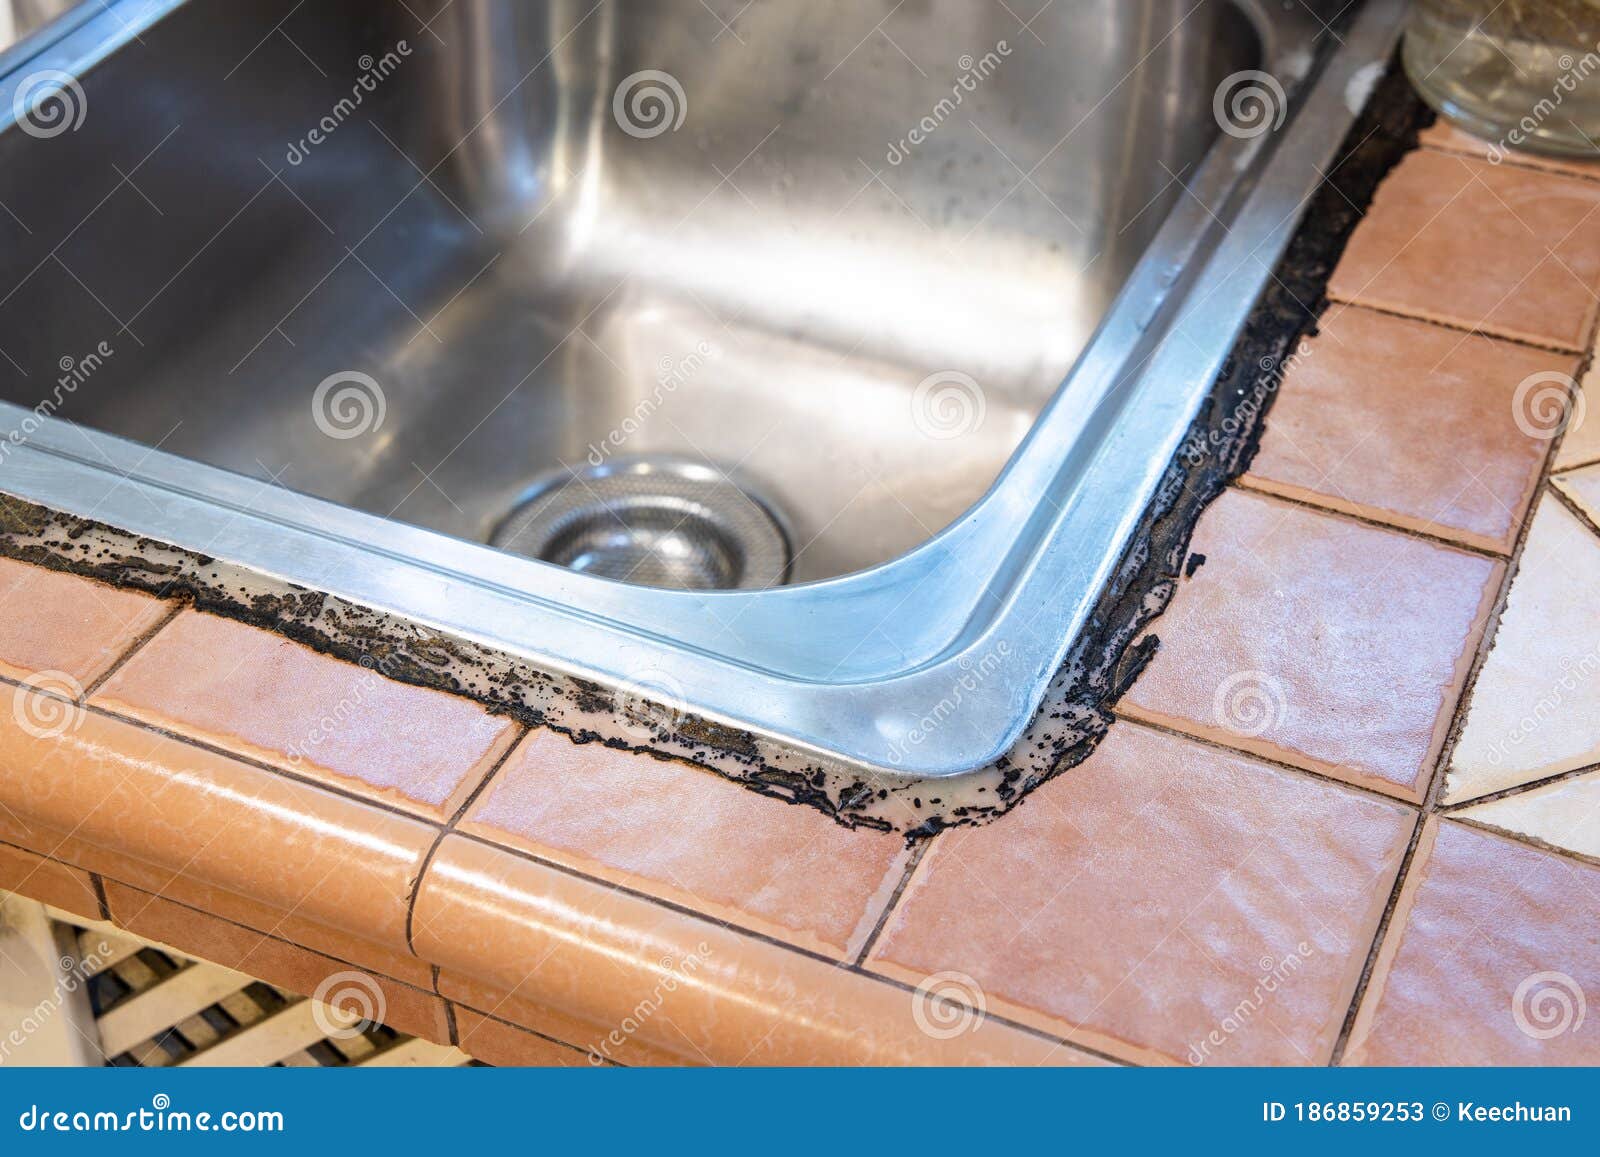
Caulking around a kitchen sink may seem like a simple task, but it is an important part of maintaining your kitchen's cleanliness and preventing water damage. Over time, the caulk around your sink can wear down, crack, or become discolored, making it necessary to re-caulk. Here are the steps to follow for a successful caulk around your kitchen sink.How to Caulk Around a Kitchen Sink


How to Caulk Around a Kitchen Sink


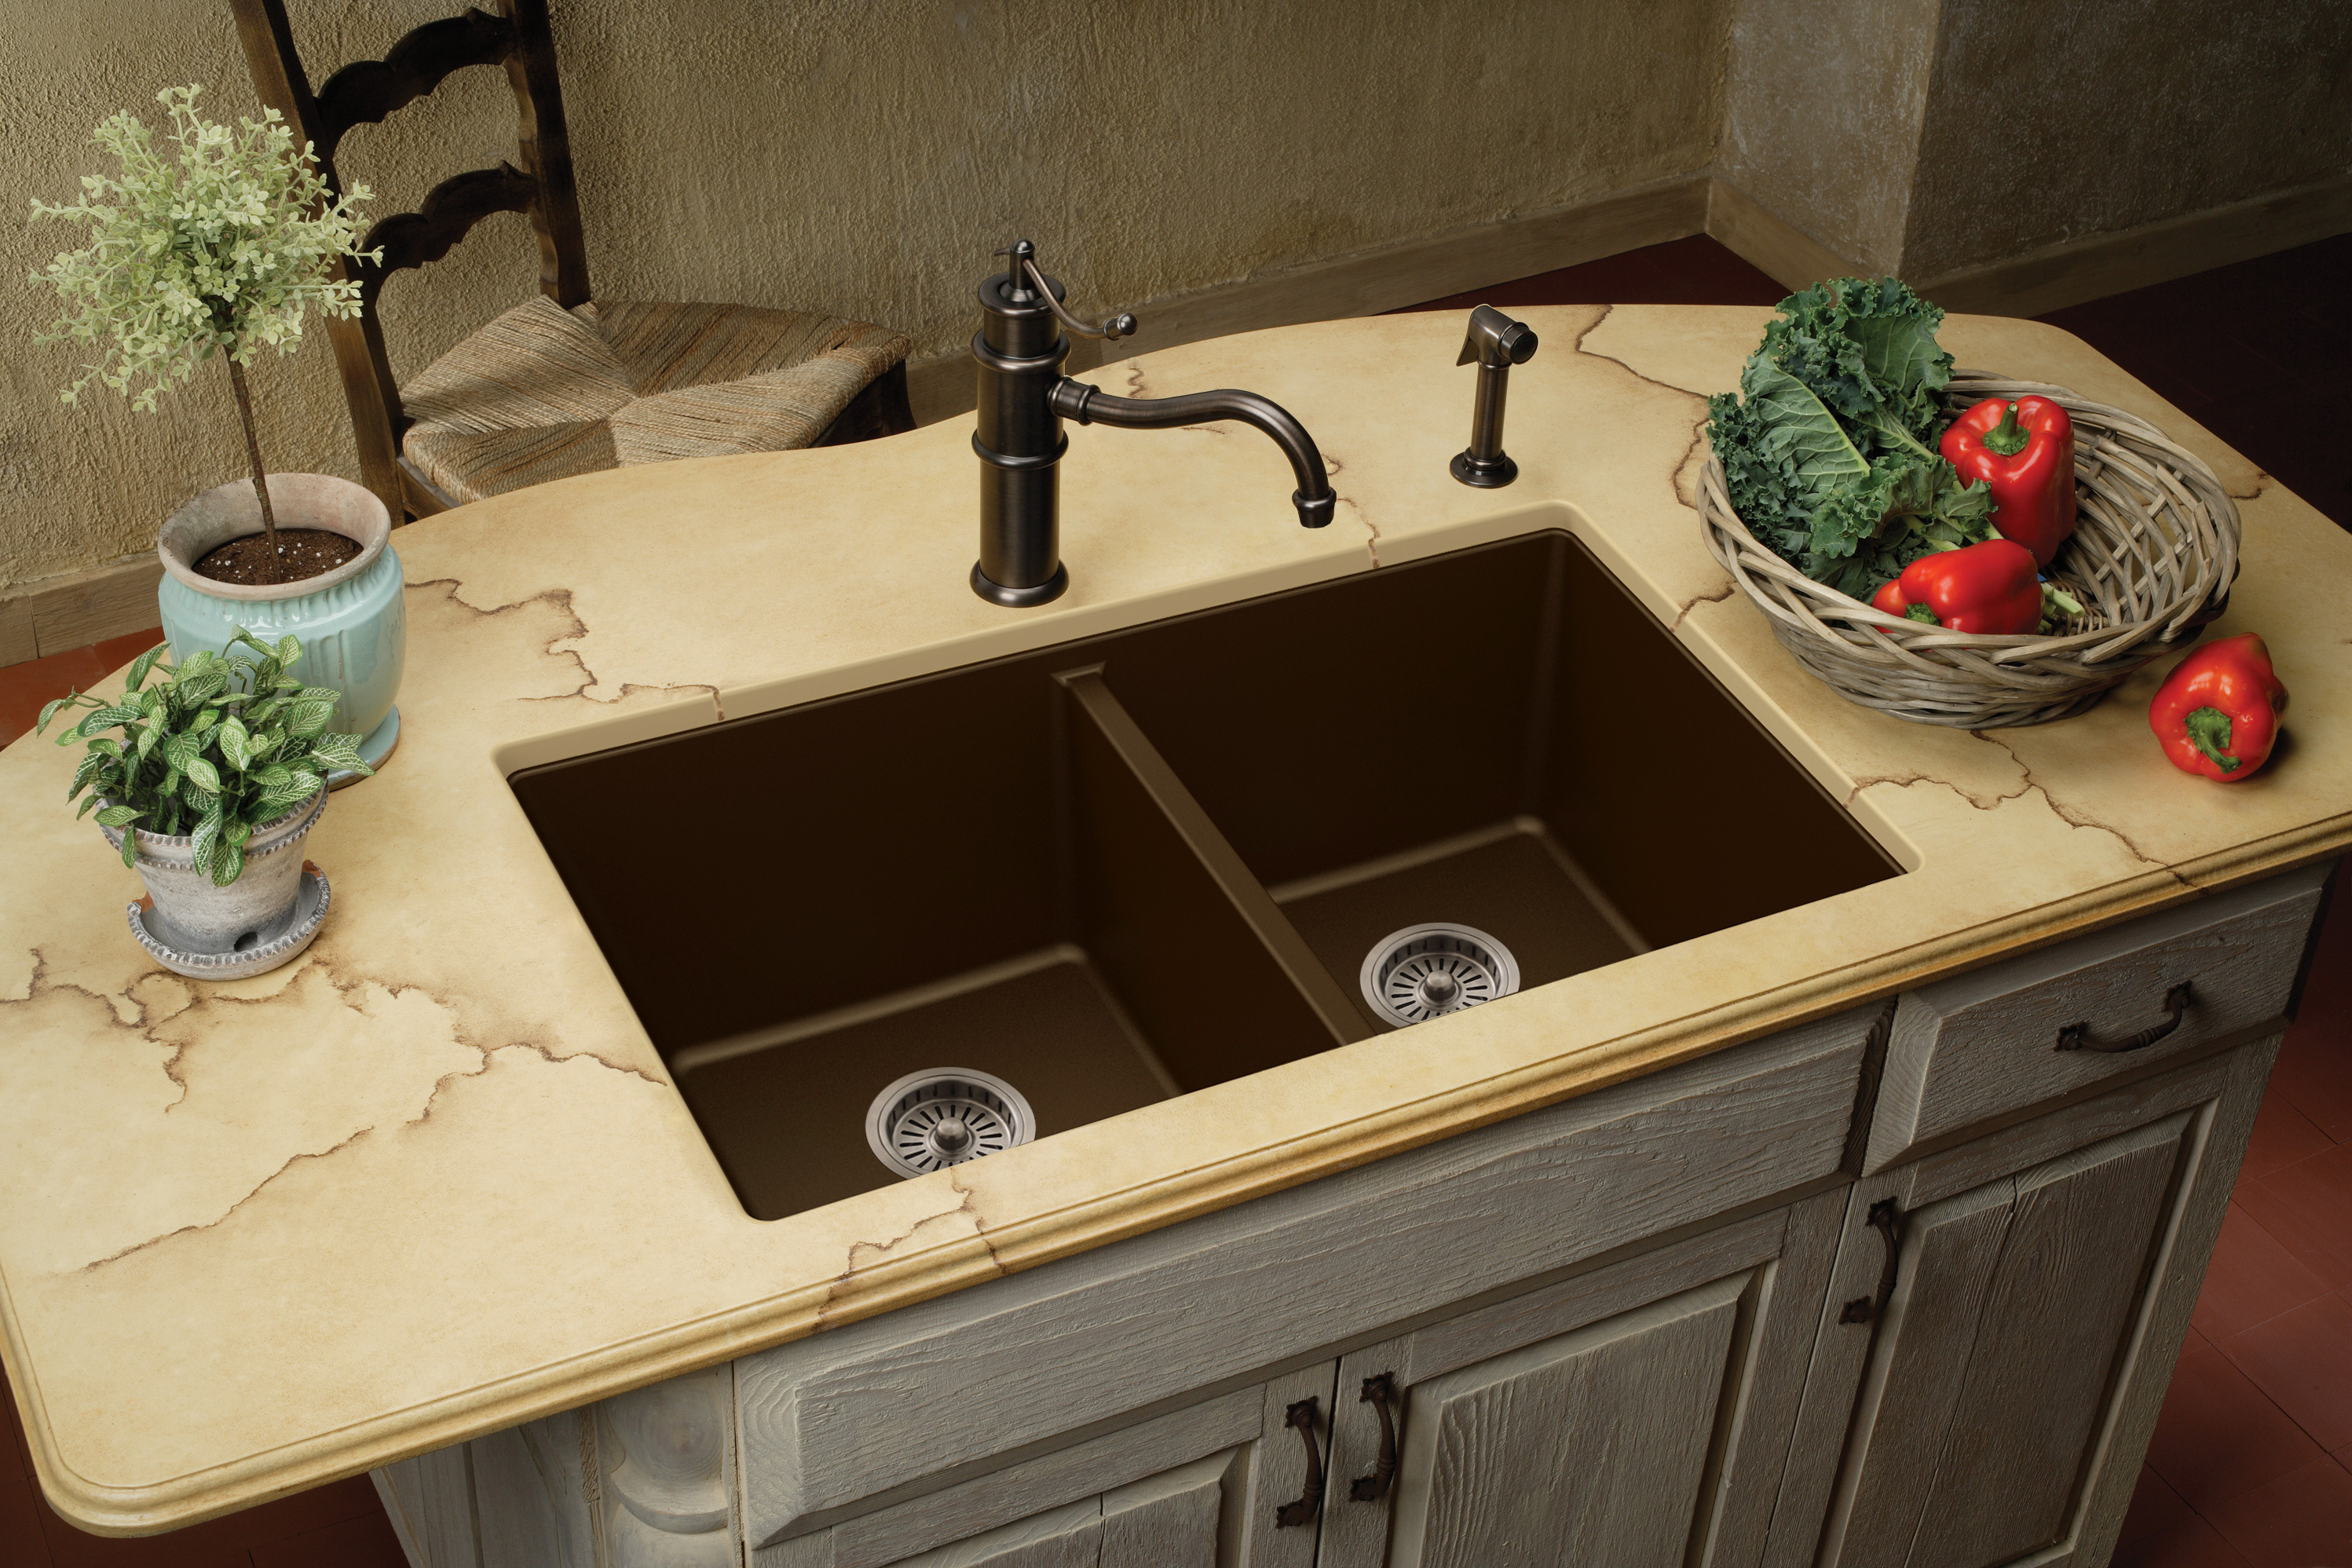
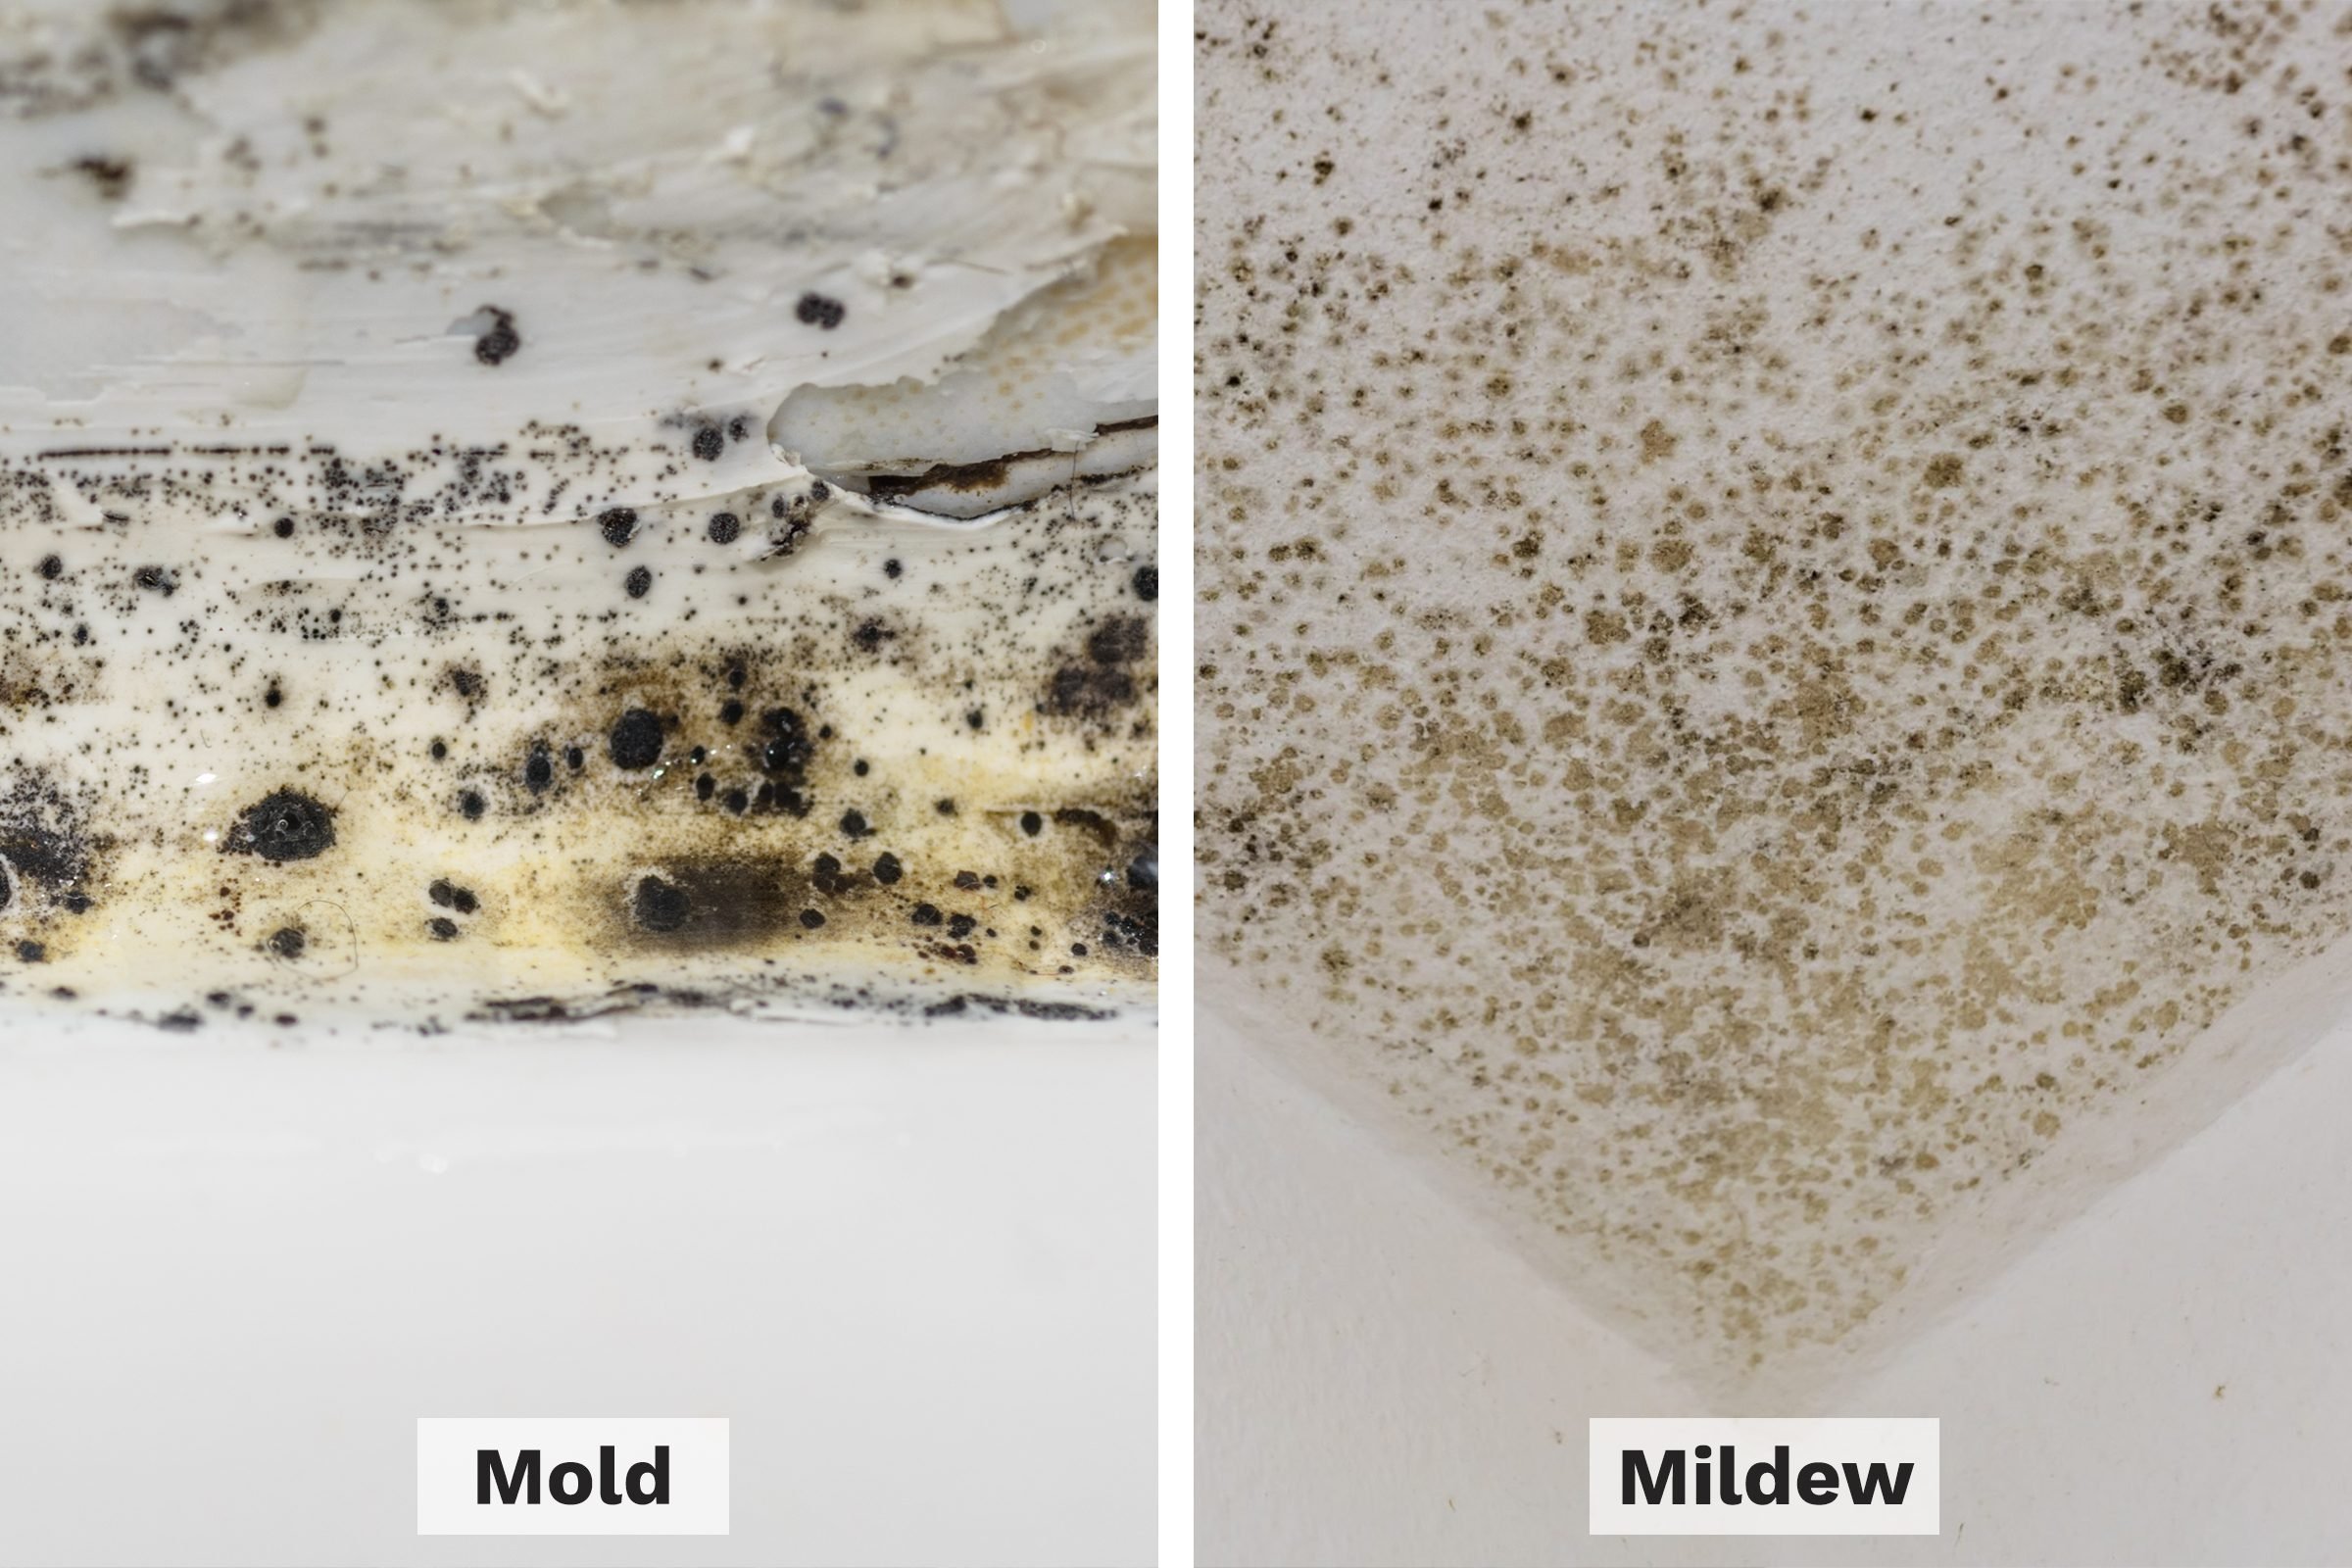
When it comes to choosing the best caulk for your kitchen sink, there are a few things to consider. First, make sure to choose a waterproof and mold-resistant caulk, as water and moisture are common in the kitchen. Silicone caulk is a popular choice for kitchen sinks because it is flexible, durable, and resistant to mold and mildew. Another option is acrylic latex caulk, which is paintable and easy to clean up with water.Best Caulk for Kitchen Sink


Best Caulk for Kitchen Sink


.jpg)


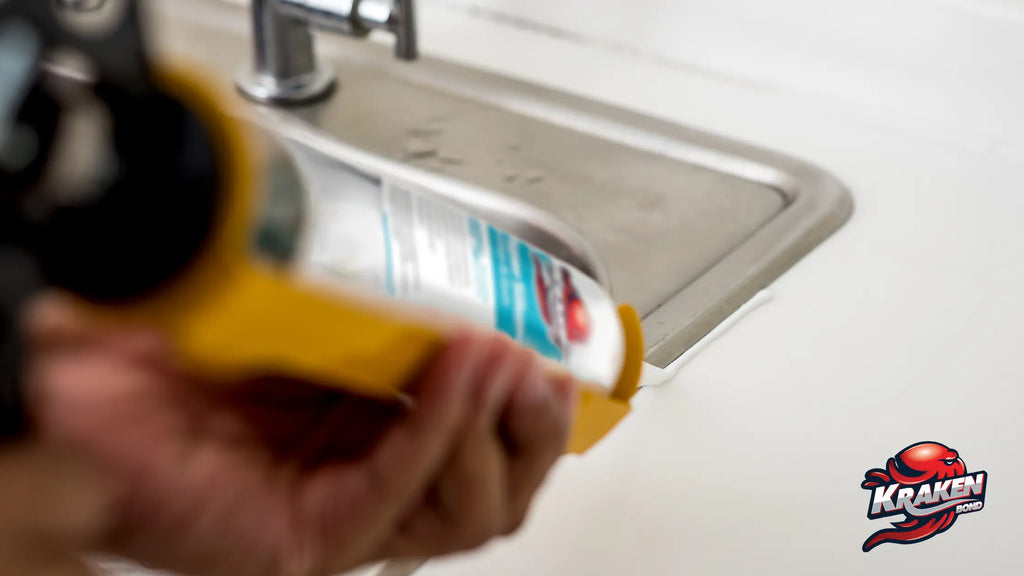
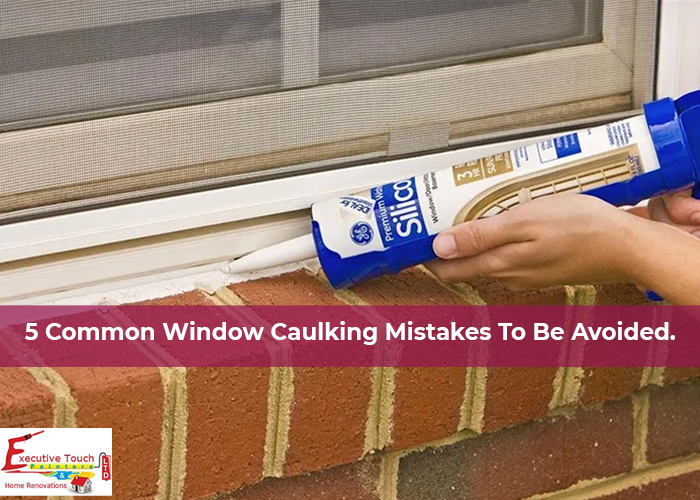
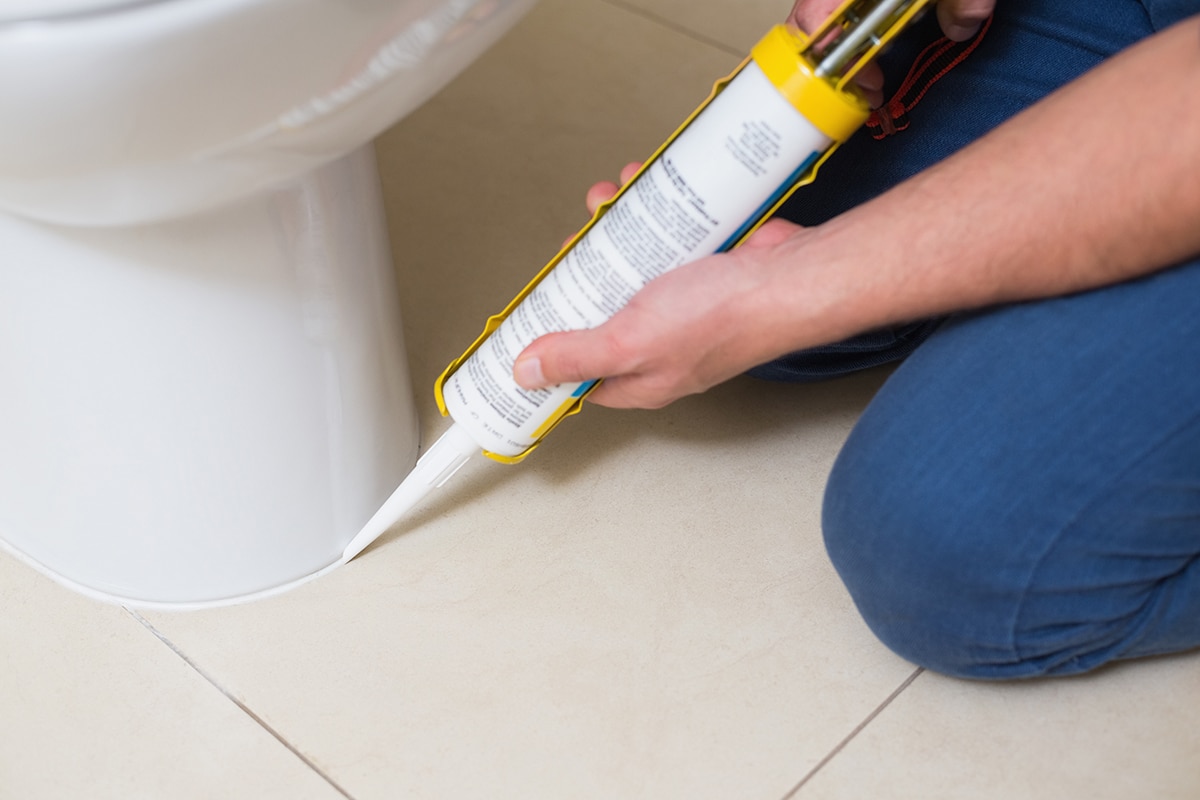
Step 1: Clean the area around the sink thoroughly, removing any old caulk or debris. Use a mild cleaner and a scrub brush to ensure the surface is clean and dry. Step 2: Cut the tip of the caulk tube at a 45-degree angle and load it into a caulk gun. Step 3: Begin caulking at one corner of the sink, holding the caulk gun at a 45-degree angle. Slowly and steadily apply the caulk in a continuous line along the seam between the sink and the countertop. Step 4: Use your finger or a damp cloth to smooth and shape the caulk, creating a clean and even seal. Step 5: Wipe away any excess caulk with a damp cloth and let it dry according to the manufacturer's instructions.Step-by-Step Guide for Caulking a Kitchen Sink


Step-by-Step Guide for Caulking a Kitchen Sink


- Before applying new caulk, make sure to completely remove any old caulk to ensure a strong bond. - Use masking tape to create a straight and even line for the caulk to follow. - For a seamless finish, run a bead of caulk along the inside edge of the sink as well. - If you have a large gap between the sink and countertop, fill it with a backer rod or foam before caulking. - Keep a damp cloth or paper towel nearby to wipe away excess caulk as you work.Tips for Caulking Around a Kitchen Sink


Tips for Caulking Around a Kitchen Sink


- Not thoroughly cleaning the area before applying caulk, which can lead to poor adhesion and a shorter lifespan of the caulk. - Using the wrong type of caulk, such as a non-waterproof or non-mold-resistant caulk, which can result in mold and mildew growth. - Applying too much caulk, which can lead to a messy and uneven finish. - Not using a caulk gun, which can result in uneven application and waste of caulk. - Skipping the step of smoothing and shaping the caulk, which can lead to gaps and an uneven seal.Common Mistakes When Caulking a Kitchen Sink


Common Mistakes When Caulking a Kitchen Sink


The frequency of caulking around a kitchen sink depends on the quality of the caulk used and how well it was installed. On average, you should plan to re-caulk your kitchen sink every 1-2 years to maintain its integrity and prevent water damage.How Often Should You Caulk Around a Kitchen Sink?


How Often Should You Caulk Around a Kitchen Sink?


- Caulk gun - Caulk - Scrub brush - Mild cleaner - Masking tape - Damp cloth or paper towelTools Needed for Caulking a Kitchen Sink


Tools Needed for Caulking a Kitchen Sink

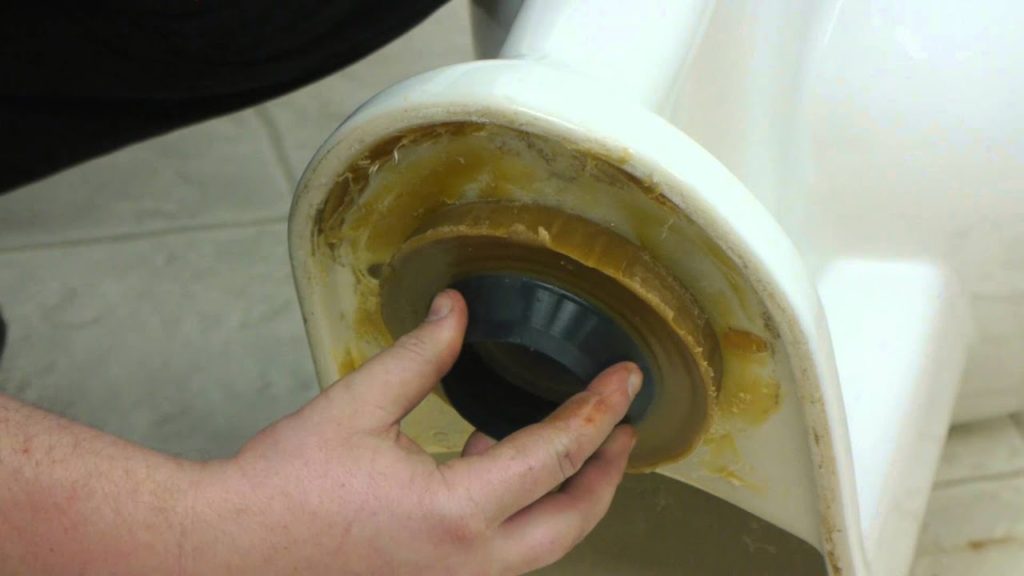
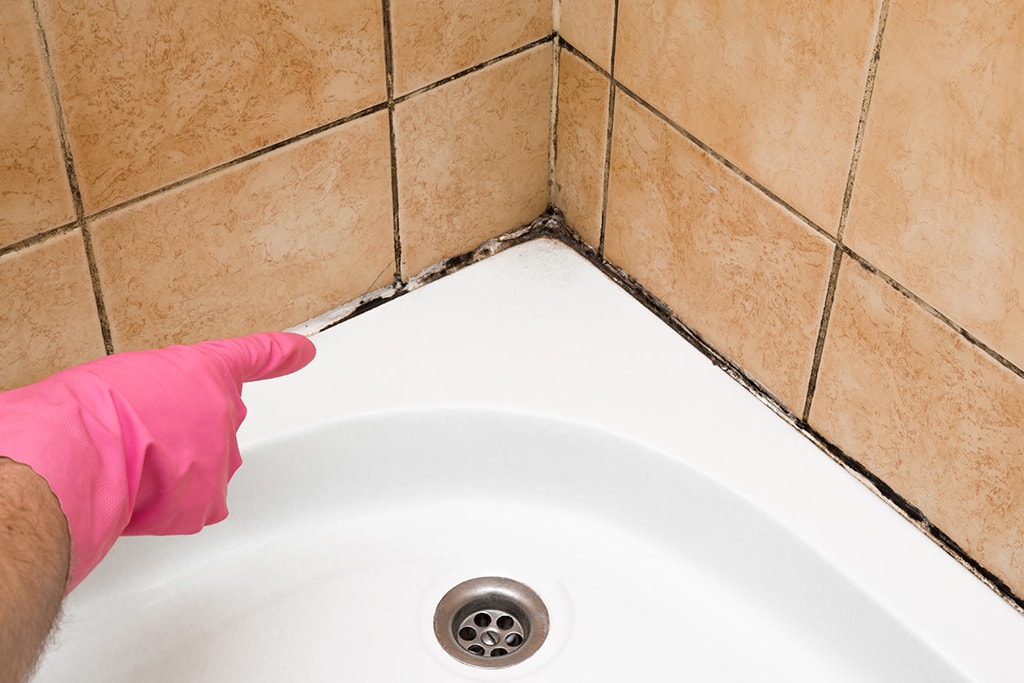
If you are re-caulking your kitchen sink, it is essential to remove any old caulk before applying new caulk. Here are the steps to follow for removing old caulk: Step 1: Use a caulk softener or a scraper to soften and loosen the old caulk. Step 2: Use a utility knife or a caulk removal tool to carefully cut and remove the old caulk. Step 3: Clean the area thoroughly with a mild cleaner and a scrub brush. Step 4: Let the area dry completely before applying new caulk.How to Remove Old Caulk Around a Kitchen Sink


How to Remove Old Caulk Around a Kitchen Sink
:max_bytes(150000):strip_icc()/how-to-remove-old-caulk-1824827-01-3d0370c59e124dbbaa6560c68bab111c.jpg)


:max_bytes(150000):strip_icc()/caulk-removal-tool-56ec7f1b3df78ce5f83535fe.jpg)
- Silicone caulk: This type of caulk is flexible, waterproof, and mold-resistant, making it a popular choice for kitchen sinks. - Acrylic latex caulk: This caulk is paintable and easy to clean up with water, making it an excellent choice for those who want a seamless and uniform look around their sink. - Polyurethane caulk: This caulk is durable and flexible, but it requires mineral spirits for cleanup and is not recommended for painted surfaces.Different Types of Caulk for Kitchen Sinks


Different Types of Caulk for Kitchen Sinks


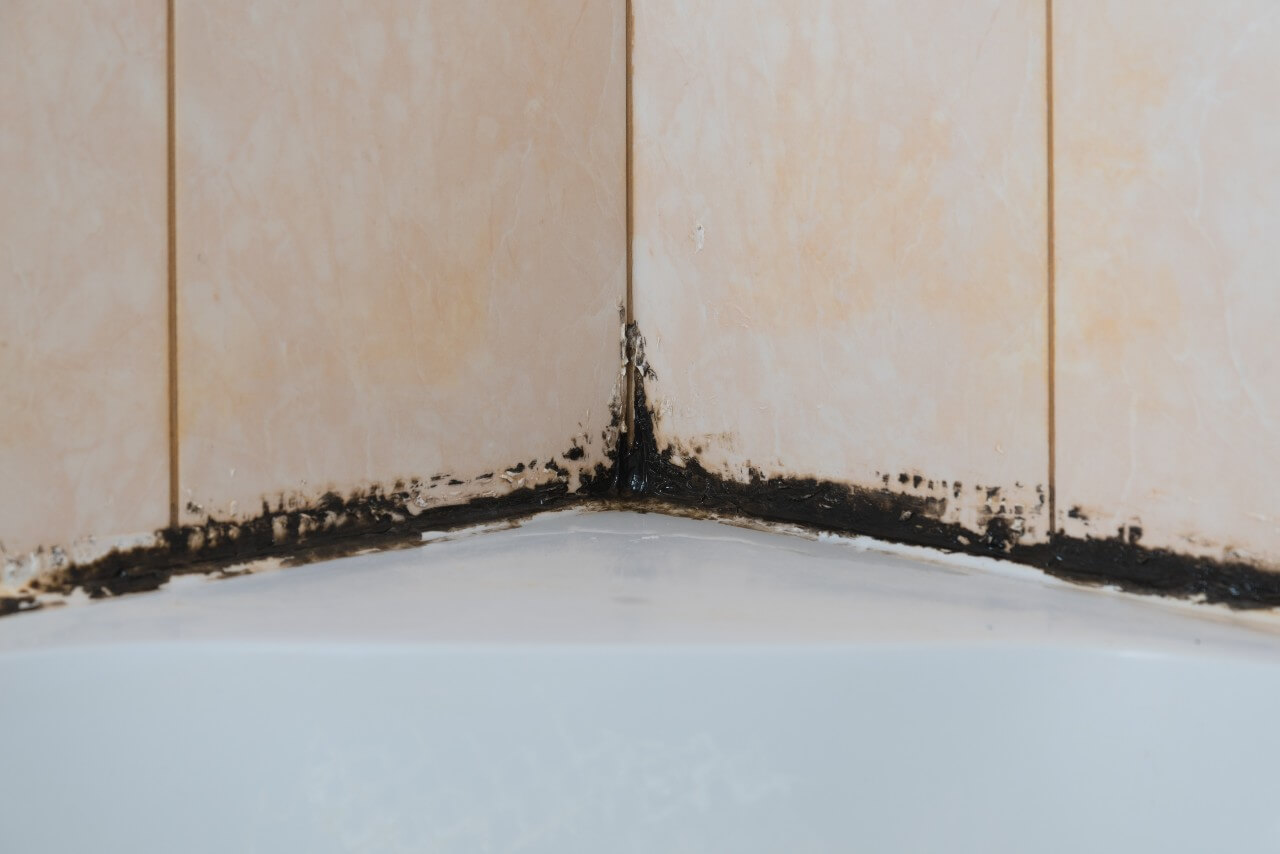
Preventing mold and mildew when caulking a kitchen sink is crucial for maintaining a clean and healthy kitchen. Here are some tips to follow: - Use a mold-resistant caulk specifically designed for kitchen and bathroom use. - Keep the area around your sink clean and dry to prevent moisture buildup. - Regularly inspect and clean the caulk to prevent any buildup of mold or mildew. - If you notice any signs of mold or mildew, remove and replace the caulk immediately. Now that you have a better understanding of how to caulk around a kitchen sink, you can tackle this task with confidence. Remember to choose the right type of caulk, follow the proper steps, and make sure to maintain your caulk to prevent any water damage or mold growth. With the right techniques, your kitchen sink will be well-sealed and looking like new in no time.How to Prevent Mold and Mildew When Caulking a Kitchen Sink


How to Prevent Mold and Mildew When Caulking a Kitchen Sink


How to Properly Caulk Around Your Kitchen Sink

Ensuring a Clean and Professional Look for Your Kitchen
 When it comes to designing the perfect kitchen, small details can make a big difference. One of these details is the caulking around your kitchen sink. While it may seem like a minor task, properly caulking around your sink can make a huge impact on the overall look and feel of your kitchen. Not only does it provide a clean and seamless appearance, but it also helps to prevent water damage and mold growth. In this article, we will discuss the steps to properly caulk around your kitchen sink and achieve a professional finish.
The Importance of Caulking
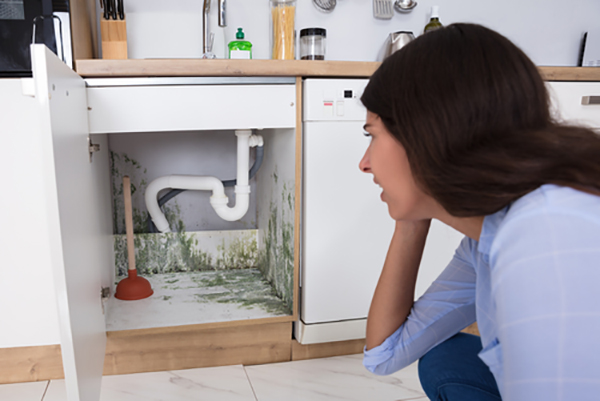
Caulking is the process of sealing gaps or joints between two surfaces with a waterproof material. In the case of your kitchen sink, caulking is essential to prevent water from seeping into the cracks and causing damage to your countertops and cabinets. It also helps to keep your sink securely in place and prevents any mold or mildew growth.
Gather Your Materials
Before you begin caulking, make sure you have all the necessary materials. You will need a caulk gun, a tube of
silicone caulk
, a putty knife or caulk smoothing tool, and a damp cloth. It is important to use
silicone caulk
specifically designed for kitchen and bathroom use, as it is waterproof and resistant to mildew.
Clean and Prepare the Area
Start by thoroughly cleaning the area around your sink. Use a mild cleaner and a sponge or cloth to remove any dirt, grime, or old caulk. Once the area is clean and dry, use painter's tape to mask off the edges of your sink and countertop. This will create clean lines and prevent any excess caulk from getting on surfaces you don't want it on.
Apply the Caulk
Load your caulk gun with the tube of silicone caulk and cut the tip at a 45-degree angle. Apply a thin and even bead of caulk along the joint between your sink and countertop. Use a caulk smoothing tool or your finger to gently press and smooth the caulk into the joint. Remove any excess caulk with a damp cloth.
Let it Dry
Allow the caulk to dry for at least 24 hours before using your sink or removing the painter's tape. This will ensure that the caulk has fully cured and will provide a strong seal.
Admire Your Work
Once the caulk is dry, remove the painter's tape and admire your newly caulked kitchen sink. Not only will it provide a clean and professional look, but it will also protect your kitchen from any potential water damage.
In conclusion, caulking around your kitchen sink may seem like a small task, but it can have a big impact on the overall design and functionality of your kitchen. By following these steps and using the right materials, you can achieve a clean and professional finish that will not only enhance the look of your kitchen but also protect it from any potential water damage. So take the time to properly caulk around your kitchen sink and enjoy a beautiful and functional kitchen for years to come.
When it comes to designing the perfect kitchen, small details can make a big difference. One of these details is the caulking around your kitchen sink. While it may seem like a minor task, properly caulking around your sink can make a huge impact on the overall look and feel of your kitchen. Not only does it provide a clean and seamless appearance, but it also helps to prevent water damage and mold growth. In this article, we will discuss the steps to properly caulk around your kitchen sink and achieve a professional finish.
The Importance of Caulking
Caulking is the process of sealing gaps or joints between two surfaces with a waterproof material. In the case of your kitchen sink, caulking is essential to prevent water from seeping into the cracks and causing damage to your countertops and cabinets. It also helps to keep your sink securely in place and prevents any mold or mildew growth.
Gather Your Materials
Before you begin caulking, make sure you have all the necessary materials. You will need a caulk gun, a tube of
silicone caulk
, a putty knife or caulk smoothing tool, and a damp cloth. It is important to use
silicone caulk
specifically designed for kitchen and bathroom use, as it is waterproof and resistant to mildew.
Clean and Prepare the Area
Start by thoroughly cleaning the area around your sink. Use a mild cleaner and a sponge or cloth to remove any dirt, grime, or old caulk. Once the area is clean and dry, use painter's tape to mask off the edges of your sink and countertop. This will create clean lines and prevent any excess caulk from getting on surfaces you don't want it on.
Apply the Caulk
Load your caulk gun with the tube of silicone caulk and cut the tip at a 45-degree angle. Apply a thin and even bead of caulk along the joint between your sink and countertop. Use a caulk smoothing tool or your finger to gently press and smooth the caulk into the joint. Remove any excess caulk with a damp cloth.
Let it Dry
Allow the caulk to dry for at least 24 hours before using your sink or removing the painter's tape. This will ensure that the caulk has fully cured and will provide a strong seal.
Admire Your Work
Once the caulk is dry, remove the painter's tape and admire your newly caulked kitchen sink. Not only will it provide a clean and professional look, but it will also protect your kitchen from any potential water damage.
In conclusion, caulking around your kitchen sink may seem like a small task, but it can have a big impact on the overall design and functionality of your kitchen. By following these steps and using the right materials, you can achieve a clean and professional finish that will not only enhance the look of your kitchen but also protect it from any potential water damage. So take the time to properly caulk around your kitchen sink and enjoy a beautiful and functional kitchen for years to come.