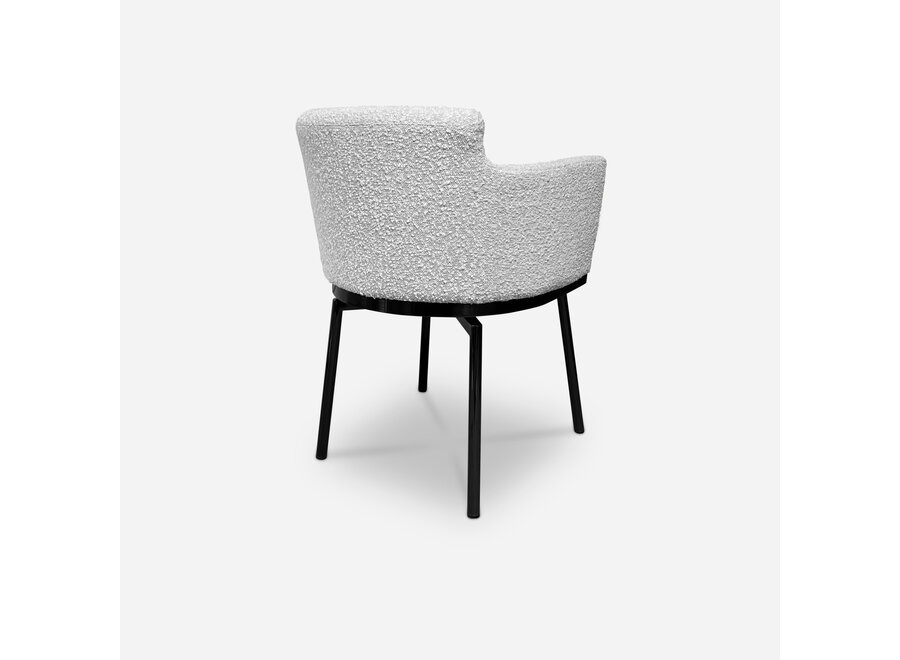
Disassembling a dining room chair may seem like a daunting task, but with the right tools and techniques, it can be done easily and efficiently. Whether you're looking to reupholster your chairs or simply need to transport them, breaking them down into their individual parts is a necessary step. In this article, we'll guide you through the process of breaking down a dining room chair in a few simple steps.How to Break Down a Dining Room Chair


How to Break Down a Dining Room Chair


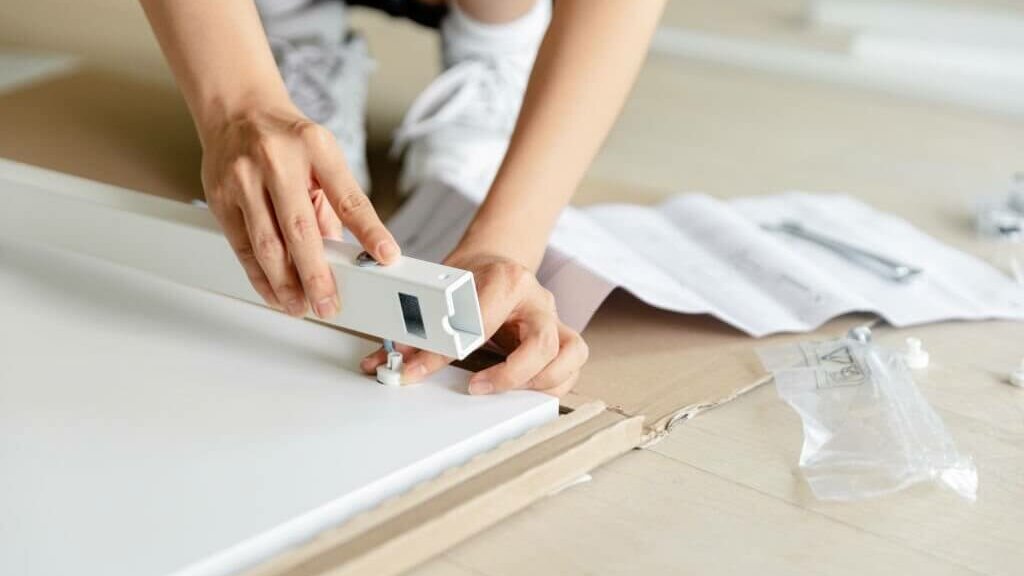
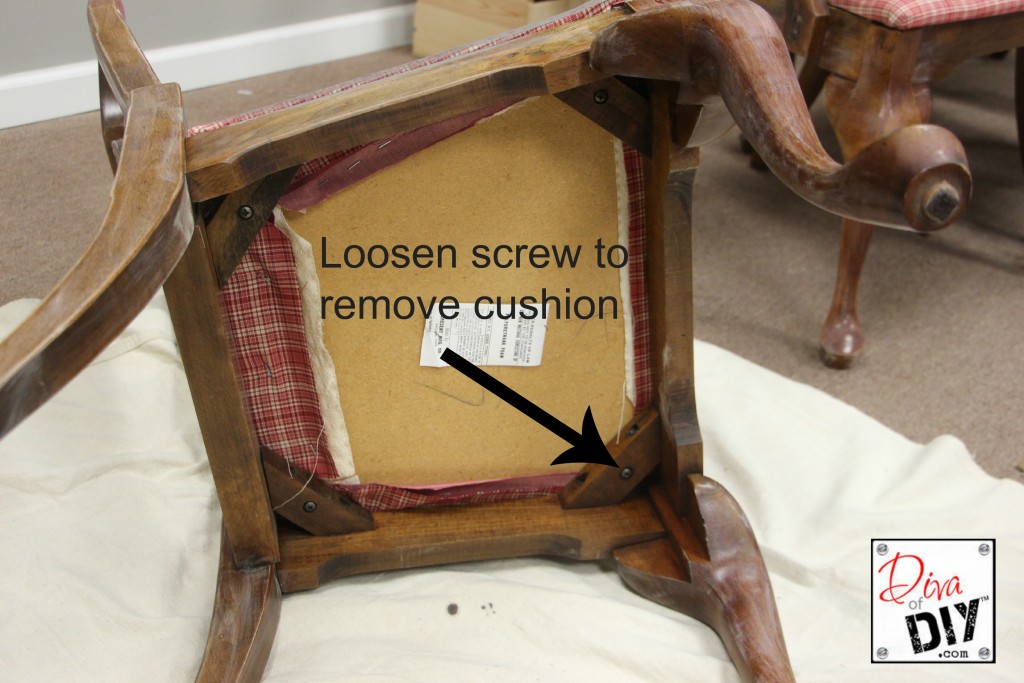
Before you begin disassembling your dining room chair, make sure you have all the necessary tools on hand. This includes a screwdriver, pliers, and a rubber mallet. It is also helpful to have a friend or family member assist you with holding the chair steady while you work. Start by flipping the chair over and removing the seat cushion. This can usually be done by unscrewing it from the bottom of the chair or by simply lifting it off. Set the cushion aside and move on to the legs.Step-by-Step Guide for Disassembling a Dining Room Chair


Step-by-Step Guide for Disassembling a Dining Room Chair


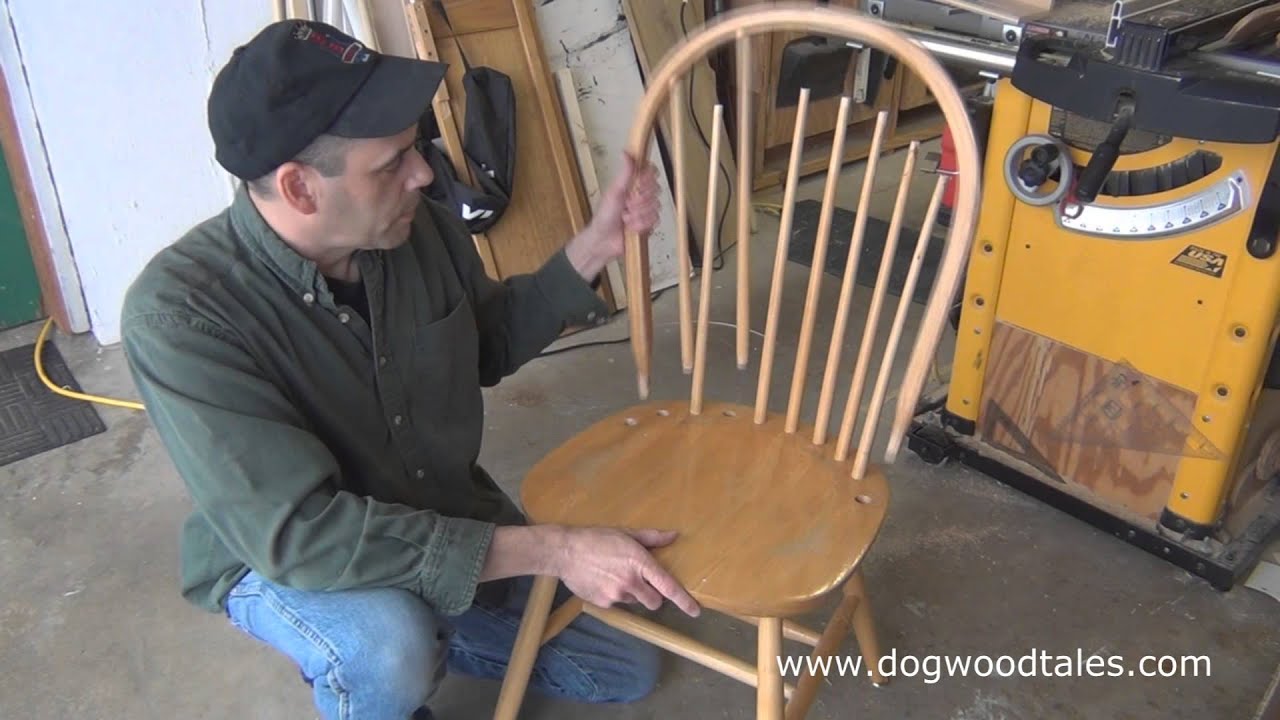
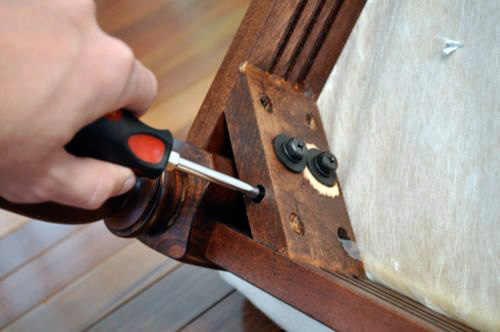
When removing the legs, start by examining how they are attached to the chair. They may be screwed in or held in place with dowels. If they are screwed in, use a screwdriver to loosen and remove them. If they are held in place with dowels, you may need to use pliers to pull them out. If the legs are stuck or difficult to remove, you can use a rubber mallet to gently tap them out. Be sure to protect the legs with a piece of cloth or towel to avoid damaging them.Dining Room Chair Disassembly: Tips and Tricks

Dining Room Chair Disassembly: Tips and Tricks


Aside from the tools mentioned earlier, you may also need a pair of pliers to remove any staples or nails that are holding the upholstery in place. These can be found on the bottom of the chair, typically underneath the seat cushion. Additionally, if your chair has a backrest, you may need a screwdriver to detach it from the frame. Some chairs may also have arms that need to be removed, so make sure to have a screwdriver on hand for this as well.Breaking Down a Dining Room Chair: Tools You'll Need


Breaking Down a Dining Room Chair: Tools You'll Need


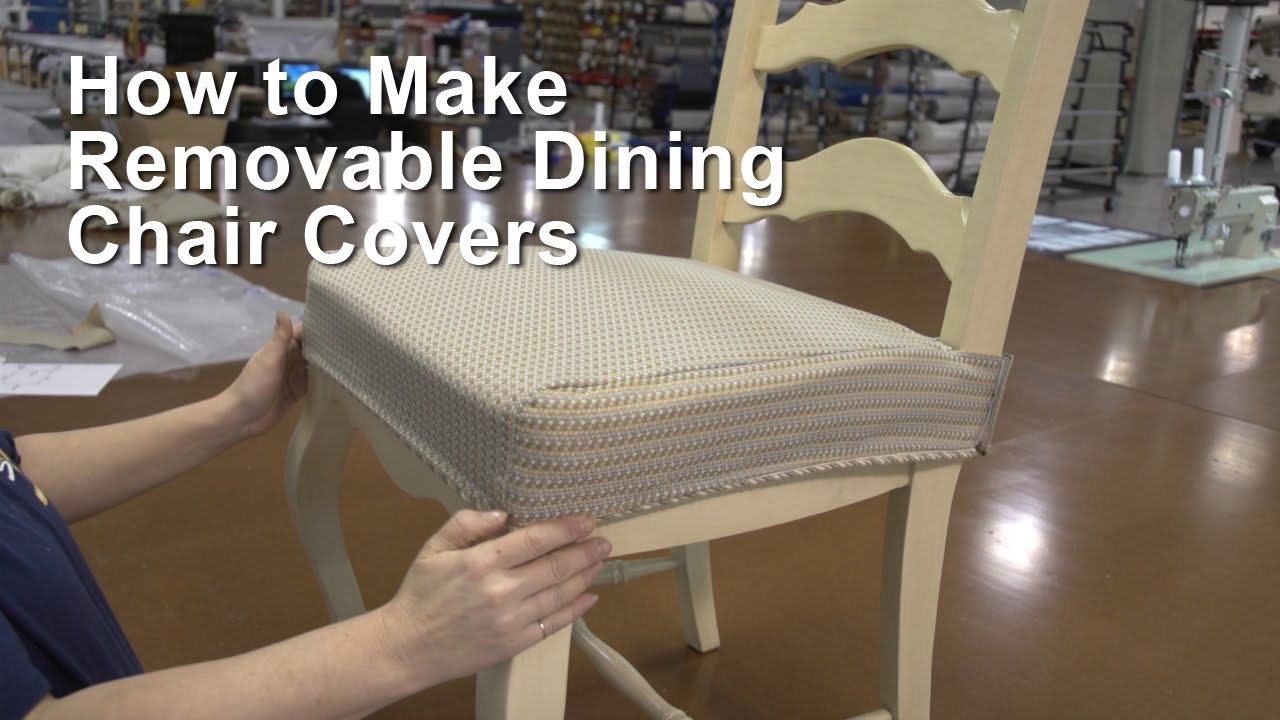
As mentioned earlier, the seat cushion can usually be removed by unscrewing it from the bottom of the chair or by simply lifting it off. If it is attached with screws, use a screwdriver to loosen and remove them. If it is held in place with staples or nails, use pliers to remove them carefully. Once the cushion is removed, you may also want to take this opportunity to clean it or reupholster it before reassembling the chair.Removing the Seat Cushion from a Dining Room Chair


Removing the Seat Cushion from a Dining Room Chair


The legs of a dining room chair are typically attached with screws or dowels. If they are screwed in, use a screwdriver to remove them. If they are held in place with dowels, use pliers to gently pull them out. If the legs are stuck, you can use a rubber mallet to tap them out, being sure to protect them with a cloth or towel. Once the legs are removed, set them aside and move on to disassembling the backrest.Unscrewing and Removing the Legs of a Dining Room Chair


Unscrewing and Removing the Legs of a Dining Room Chair


If your chair has a backrest, it will likely be attached with screws. Use a screwdriver to remove these screws and detach the backrest from the frame. Be sure to keep track of the screws so you can easily reattach the backrest later. If your chair does not have a backrest, you can skip this step and move on to disassembling the arms, if applicable.Taking Apart the Backrest of a Dining Room Chair


Taking Apart the Backrest of a Dining Room Chair


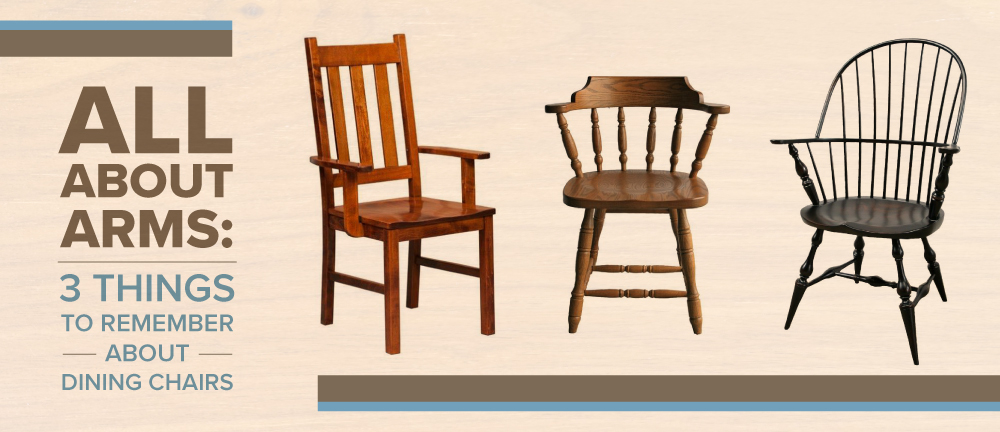
If your dining room chair has arms, they are most likely attached with screws. Use a screwdriver to remove them and gently detach the arms from the frame. Again, be sure to keep track of the screws for reassembly. If your chair does not have arms, you can skip this step and move on to cleaning and storing the disassembled parts.Disassembling the Arms of a Dining Room Chair


Disassembling the Arms of a Dining Room Chair


After all the parts are detached, it is a good idea to give them a quick clean before storing them away. Wipe down the frame and legs with a damp cloth and use a vacuum to remove any dust or debris from the upholstery and cushions. Once everything is clean, you can store the parts in a safe place until you are ready to reassemble the chair. Just be sure to keep all the screws and small parts together so you don't lose them.Cleaning and Storing the Parts of a Disassembled Dining Room Chair


Cleaning and Storing the Parts of a Disassembled Dining Room Chair


Now that you have successfully disassembled your dining room chair, it's time to put it back together. The reassembly process is just the reverse of the disassembly process, so follow the steps in reverse order. Start by attaching the backrest to the frame using the screws you removed earlier. Then, reattach the arms (if applicable) and the legs, making sure everything is securely in place. Finally, reattach the seat cushion and your dining room chair will be good as new! Breaking down a dining room chair may seem like a daunting task, but with the right tools and techniques, it can be done quickly and easily. By following this guide, you'll be able to disassemble and reassemble your dining room chairs with ease, whether you're looking to transport them or give them a fresh new look with reupholstery.Reassembling a Dining Room Chair: Step-by-Step Guide


Reassembling a Dining Room Chair: Step-by-Step Guide


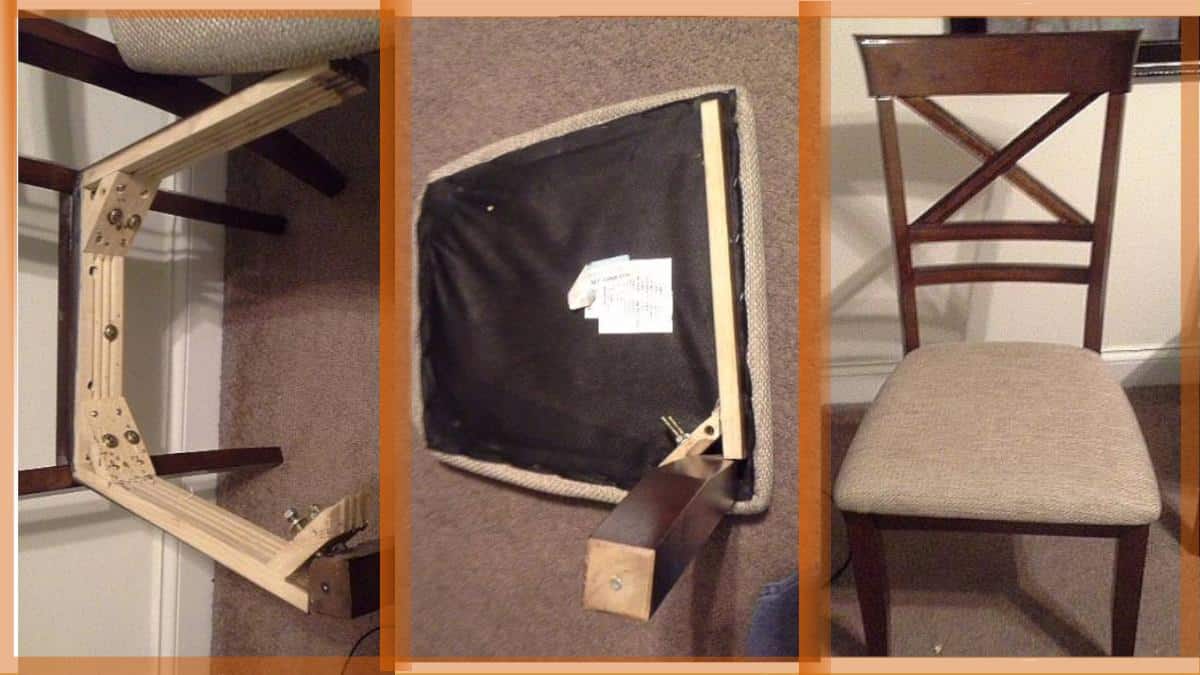
Taking Apart the Dining Room Chair

Step 4: Remove the Seat
 Once the legs and backrest have been removed, it's time to tackle the seat of the chair.
Using a screwdriver, remove any screws or bolts that may be attaching the seat to the frame.
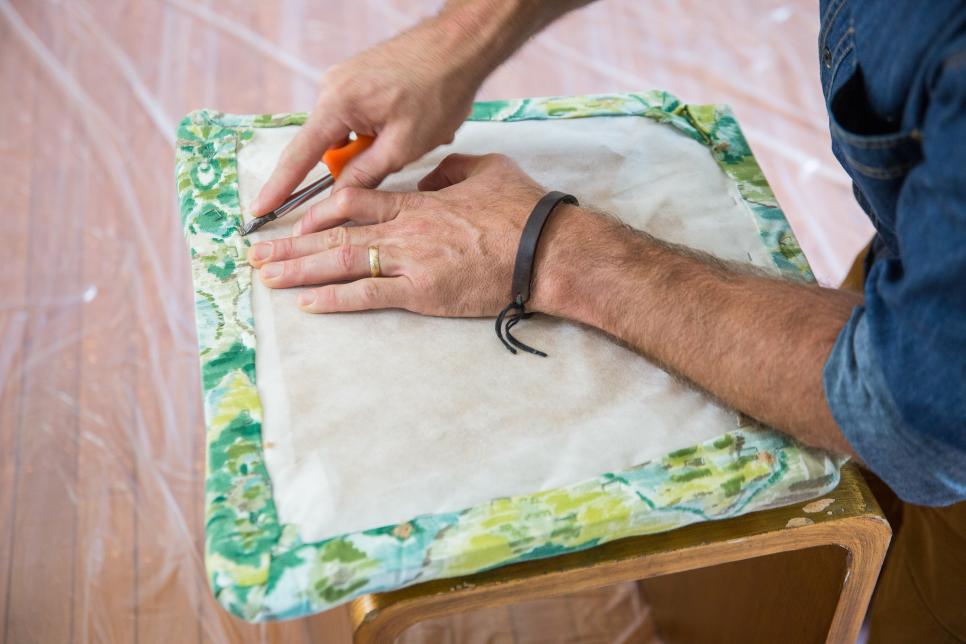
If the seat is upholstered, use a staple remover to take off the fabric and foam.
Be sure to save any usable fabric or foam for future DIY projects.
Once the legs and backrest have been removed, it's time to tackle the seat of the chair.
Using a screwdriver, remove any screws or bolts that may be attaching the seat to the frame.
If the seat is upholstered, use a staple remover to take off the fabric and foam.
Be sure to save any usable fabric or foam for future DIY projects.
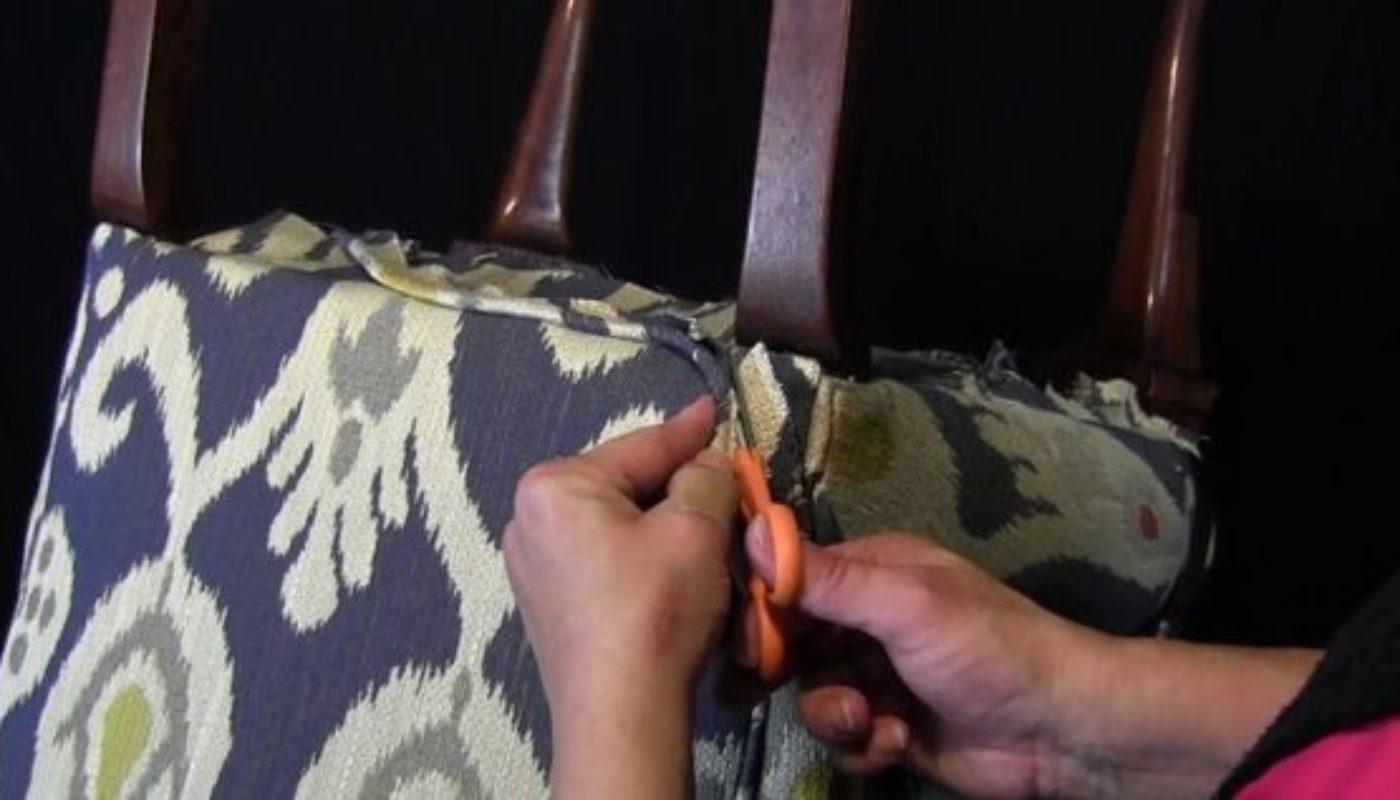
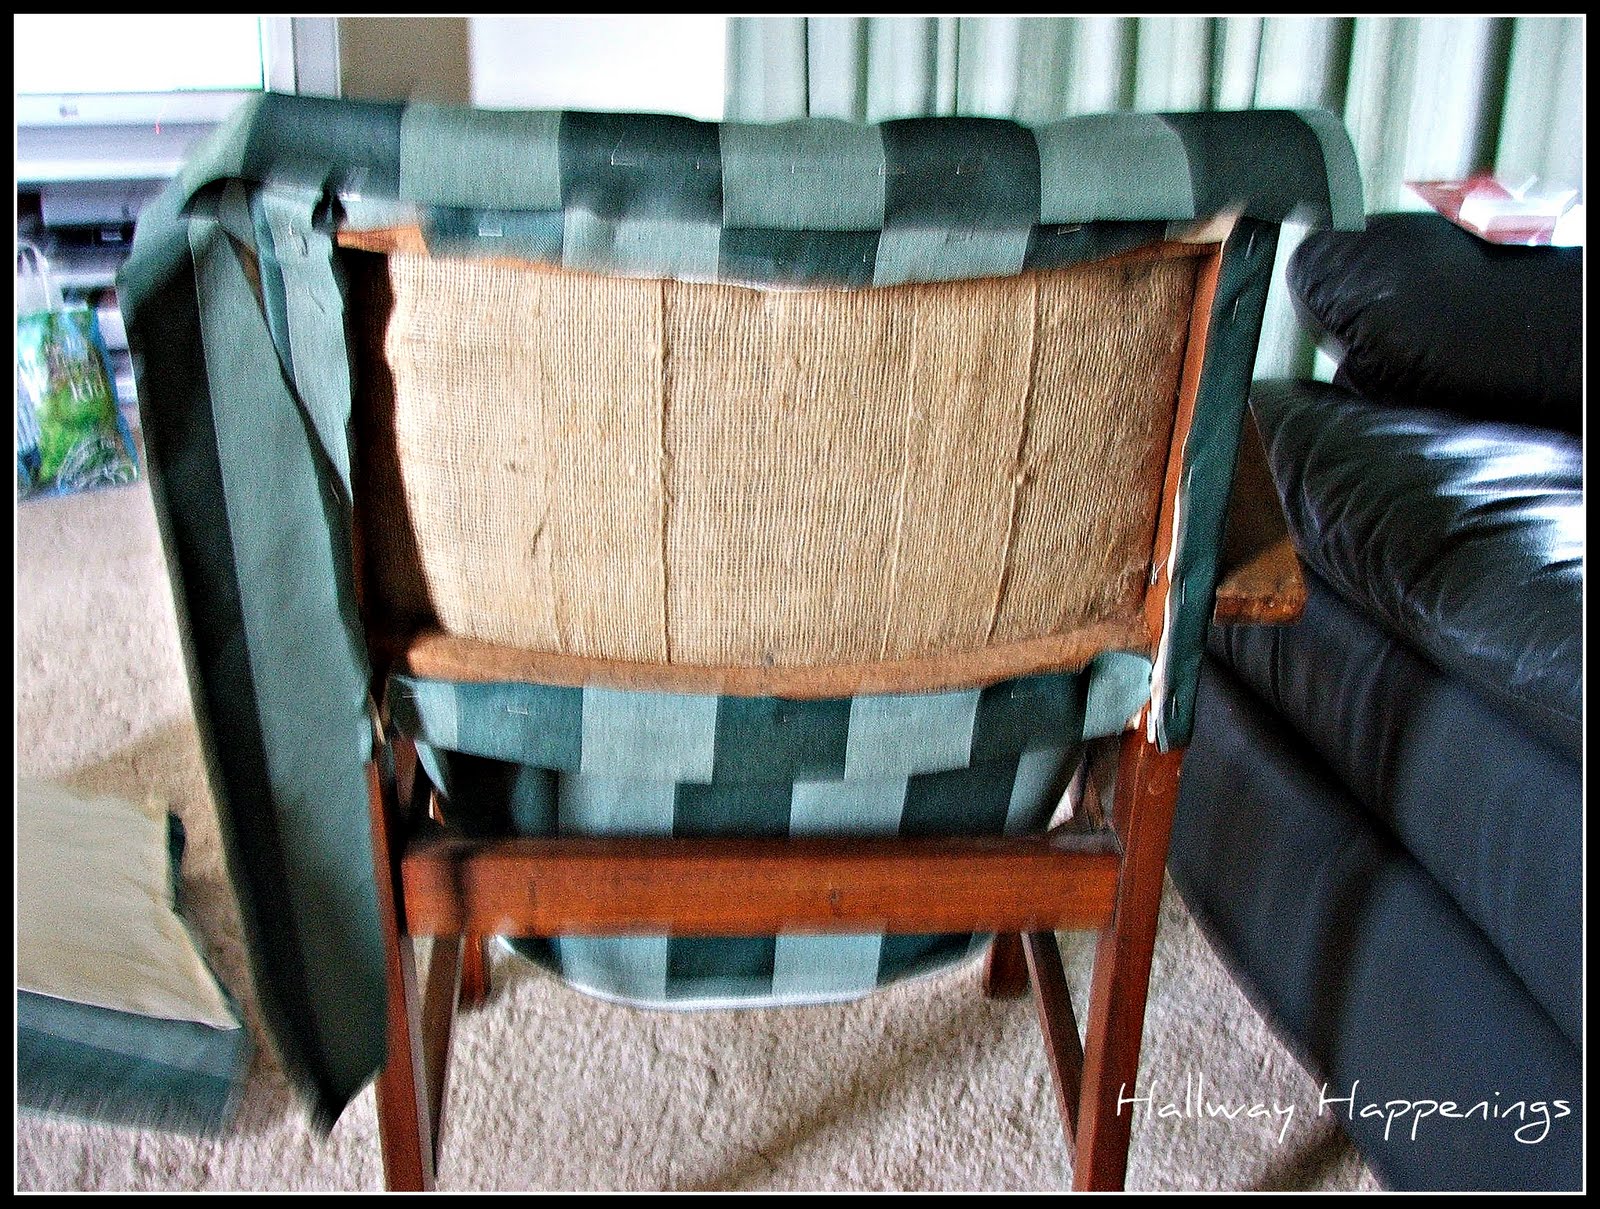
Step 5: Disassemble the Seat
 To fully take apart the seat, you'll need to remove the remaining pieces.
Flip the seat over and locate the staples holding the bottom fabric in place.
Use a staple remover to take off the fabric and
uncover the wooden base of the seat.
Next,
use a hammer and pliers to remove any nails or staples holding the base in place.
Once the base is removed,
you can easily dismantle the seat into its individual pieces.
To fully take apart the seat, you'll need to remove the remaining pieces.
Flip the seat over and locate the staples holding the bottom fabric in place.
Use a staple remover to take off the fabric and
uncover the wooden base of the seat.
Next,
use a hammer and pliers to remove any nails or staples holding the base in place.
Once the base is removed,
you can easily dismantle the seat into its individual pieces.
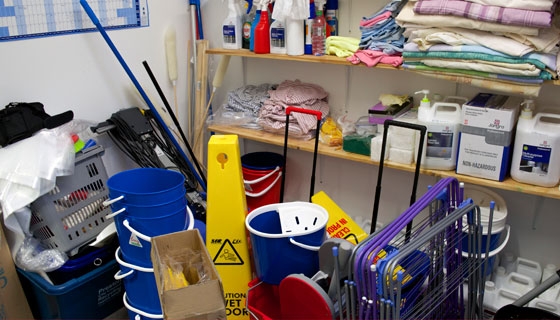
Step 6: Separate and Organize the Parts
 Now that the chair is completely taken apart, it's important to
properly organize and store the individual parts.
Keep screws, bolts, and smaller pieces in labeled bags or containers to ensure they don't get lost or mixed up.
Also, take note of any damaged or broken pieces that may need to be replaced before reassembling the chair.
By carefully organizing and storing the parts, you'll make the reassembly process much easier.
Now that the chair is completely taken apart, it's important to
properly organize and store the individual parts.
Keep screws, bolts, and smaller pieces in labeled bags or containers to ensure they don't get lost or mixed up.
Also, take note of any damaged or broken pieces that may need to be replaced before reassembling the chair.
By carefully organizing and storing the parts, you'll make the reassembly process much easier.
Conclusion
 Breaking down a dining room chair is a great way to gain a better understanding of its design and construction.
Not only is it a fun and challenging DIY project, but it also allows you to repurpose or recycle the individual parts for other projects.
So the next time you have an old or damaged dining room chair, don't throw it away – take it apart and get creative!
Breaking down a dining room chair is a great way to gain a better understanding of its design and construction.
Not only is it a fun and challenging DIY project, but it also allows you to repurpose or recycle the individual parts for other projects.
So the next time you have an old or damaged dining room chair, don't throw it away – take it apart and get creative!