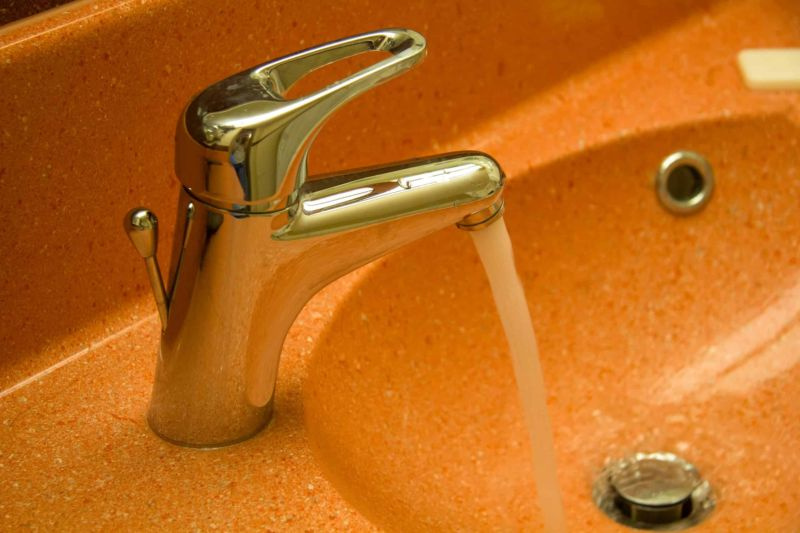
Replacing a bathroom sink stopper may seem like a daunting task, but it's actually a fairly simple process that can save you time and money in the long run. Whether your stopper is broken, worn out, or just needs an upgrade, replacing it is a quick and easy fix. In this guide, we'll walk you through the steps to replace your bathroom sink stopper, so you can have a fully functioning sink in no time.How to Replace a Bathroom Sink Stopper


How to Replace a Bathroom Sink Stopper


Before you begin, gather your tools and materials. You will need a pair of pliers, a screwdriver, and a new stopper. You can find a replacement stopper at your local hardware store or online. Once you have everything you need, follow these simple steps: Step 1: Remove the old stopper by unscrewing it from the drain. You may need to use pliers to loosen the screw if it's stuck. Step 2: If your old stopper had a ball and rod assembly, unscrew the nut holding the rod in place and remove the rod from the drain. Step 3: Clean the drain and surrounding area thoroughly to remove any debris or buildup. Step 4: Install the new stopper by screwing it into the drain. If your new stopper has a ball and rod assembly, insert the rod into the hole at the back of the stopper and screw the nut back on to hold it in place. Step 5: Test the stopper by pushing it down and pulling it up to make sure it opens and closes smoothly.Step-by-Step Guide for Replacing a Bathroom Sink Stopper


Replacing a Bathroom Sink Stopper

Replacing your bathroom sink stopper is a simple DIY project that can save you time and money. By following the steps outlined above, you can replace your stopper yourself without having to call a plumber. Plus, you can choose a new stopper that fits your personal style and preferences.DIY Bathroom Sink Stopper Replacement

Step-by-Step Guide for Replacing a Bathroom Sink Stopper


When replacing your bathroom sink stopper, there are a few best practices to keep in mind to ensure a smooth and successful replacement. These include: Choosing the right stopper: Make sure to choose a stopper that fits your sink's drain size and matches your personal style. Cleaning the drain: Before installing the new stopper, make sure to clean the drain thoroughly to remove any debris or buildup that could affect its function. Testing the stopper: After installation, test the stopper to make sure it opens and closes smoothly before using it regularly.Best Practices for Replacing a Bathroom Sink Stopper


DIY Bathroom Sink Stopper Replacement


Replacing your bathroom sink stopper doesn't have to be a long and complicated process. By following the steps outlined in this guide, you can quickly and easily replace your stopper and have a fully functioning sink in no time.Quick and Easy Bathroom Sink Stopper Replacement


Best Practices for Replacing a Bathroom Sink Stopper

Whether you're short on time or just want to efficiently replace your bathroom sink stopper, there are a few tips and tricks you can use to make the process smoother. These include: Having the right tools: Make sure to have a pair of pliers and a screwdriver on hand to help with the removal and installation of the stopper. Following the instructions: If your new stopper comes with instructions, make sure to follow them carefully to ensure proper installation.Efficient Ways to Replace a Bathroom Sink Stopper


Quick and Easy Bathroom Sink Stopper Replacement


If you're new to DIY projects or just want to make sure your stopper replacement goes smoothly, here are a few additional tips and tricks: Take a picture: Before removing the old stopper, take a picture of the assembly so you can refer to it when installing the new stopper. Use pliers: If the screw holding the old stopper in place is stuck, use pliers to loosen it without damaging the stopper.Replacing a Bathroom Sink Stopper: Tips and Tricks

Efficient Ways to Replace a Bathroom Sink Stopper
:max_bytes(150000):strip_icc()/bathroom-sink-drain-installation-2718843-07-2b728cbd5c994dc39179346f51bb6421.jpg)

For those who want more detailed instructions and guidance, there are many expert guides available online that can walk you through the process of replacing a bathroom sink stopper. These guides often include helpful tips and tricks to make the process easier and more efficient.Expert Guide to Replacing a Bathroom Sink Stopper


Replacing a Bathroom Sink Stopper: Tips and Tricks

While replacing a bathroom sink stopper is a simple process, there are a few common mistakes that can make the process more difficult. These include: Not cleaning the drain: Make sure to thoroughly clean the drain before installing the new stopper to prevent any future issues. Using the wrong stopper: Before purchasing a new stopper, make sure it's the correct size for your sink's drain to avoid any installation problems. Not testing the stopper: After installation, always test the stopper to make sure it opens and closes smoothly before using it regularly. With these tips and tricks in mind, you can confidently and efficiently replace your bathroom sink stopper and have a fully functioning sink in no time. Enjoy your newly replaced stopper and the peace of mind that comes with knowing you can easily replace it if needed in the future.Replacing a Bathroom Sink Stopper: Common Mistakes to Avoid


Expert Guide to Replacing a Bathroom Sink Stopper


Replacing Your Bathroom Sink Stopper: A Step-by-Step Guide

Step 3: Remove the Old Stopper
 Once the water is drained, it's time to remove the old stopper. This may require some tools depending on the type of stopper you have.
Pop-up stoppers
can usually be removed by twisting them counterclockwise and pulling them out.
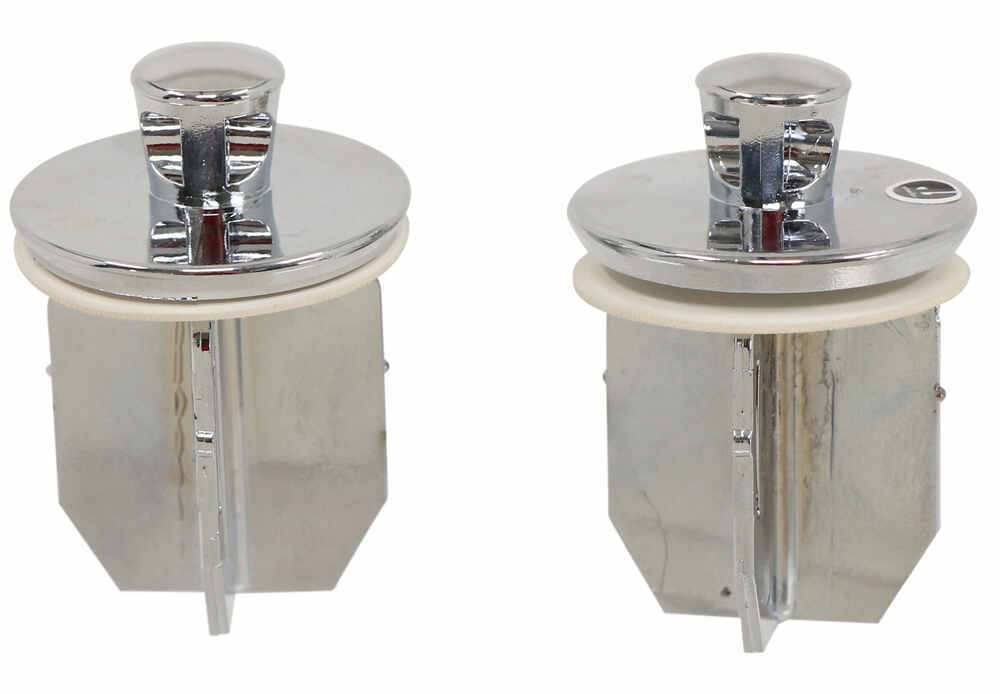
Push/pull stoppers
may need to be unscrewed with pliers. And
flip-it stoppers
can be removed by simply lifting them out. If you have a
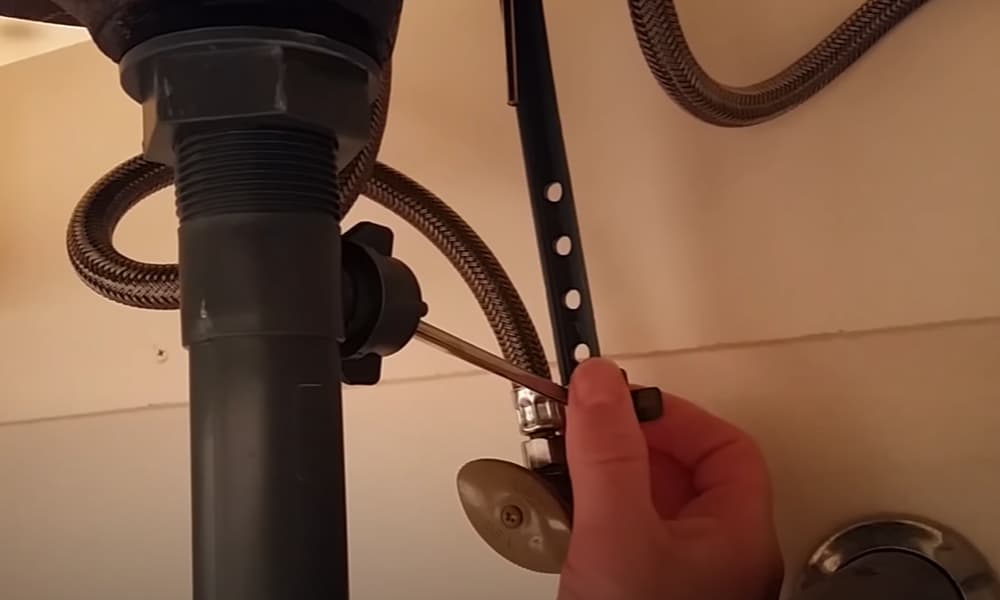
rocker-arm stopper
, you will need to unscrew the pivot nut on the back of the drain. Use a pair of pliers to hold the rod in place while you unscrew the nut. Once the nut is removed, you can pull out the rod and remove the stopper.
Once the water is drained, it's time to remove the old stopper. This may require some tools depending on the type of stopper you have.
Pop-up stoppers
can usually be removed by twisting them counterclockwise and pulling them out.
Push/pull stoppers
may need to be unscrewed with pliers. And
flip-it stoppers
can be removed by simply lifting them out. If you have a
rocker-arm stopper
, you will need to unscrew the pivot nut on the back of the drain. Use a pair of pliers to hold the rod in place while you unscrew the nut. Once the nut is removed, you can pull out the rod and remove the stopper.
Step 4: Clean the Drain and Stopper
 Before installing the new stopper, make sure to clean the drain and the old stopper. Use a
plunger
to remove any debris or hair from the drain. Then, scrub the stopper with a
mixture of warm water and vinegar
to remove any buildup or residue. Rinse both the drain and the stopper with clean water.
Before installing the new stopper, make sure to clean the drain and the old stopper. Use a
plunger
to remove any debris or hair from the drain. Then, scrub the stopper with a
mixture of warm water and vinegar
to remove any buildup or residue. Rinse both the drain and the stopper with clean water.
Step 5: Install the New Stopper
 With the old stopper removed and the drain clean, it's time to install the new stopper.
Pop-up stoppers
can simply be pushed back into place and twisted clockwise to secure.
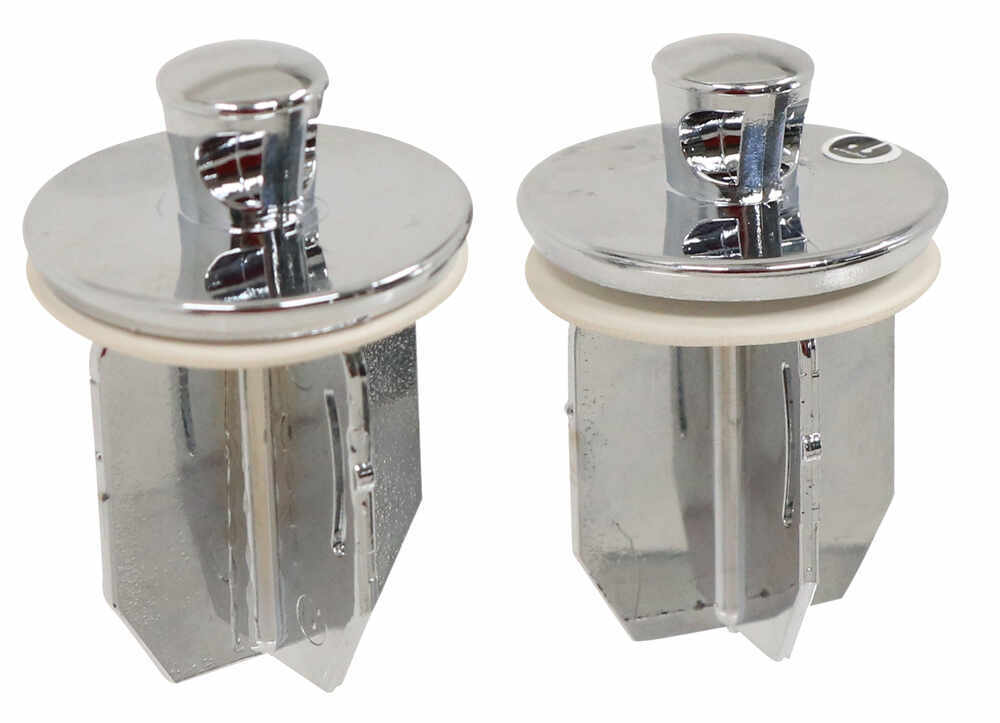
Push/pull stoppers
can be screwed in with pliers.
Flip-it stoppers
can be placed back into the drain and pushed down to secure. And
rocker-arm stoppers
can be reattached by screwing the pivot nut back on and inserting the rod.
With the old stopper removed and the drain clean, it's time to install the new stopper.
Pop-up stoppers
can simply be pushed back into place and twisted clockwise to secure.
Push/pull stoppers
can be screwed in with pliers.
Flip-it stoppers
can be placed back into the drain and pushed down to secure. And
rocker-arm stoppers
can be reattached by screwing the pivot nut back on and inserting the rod.
Step 6: Test and Adjust
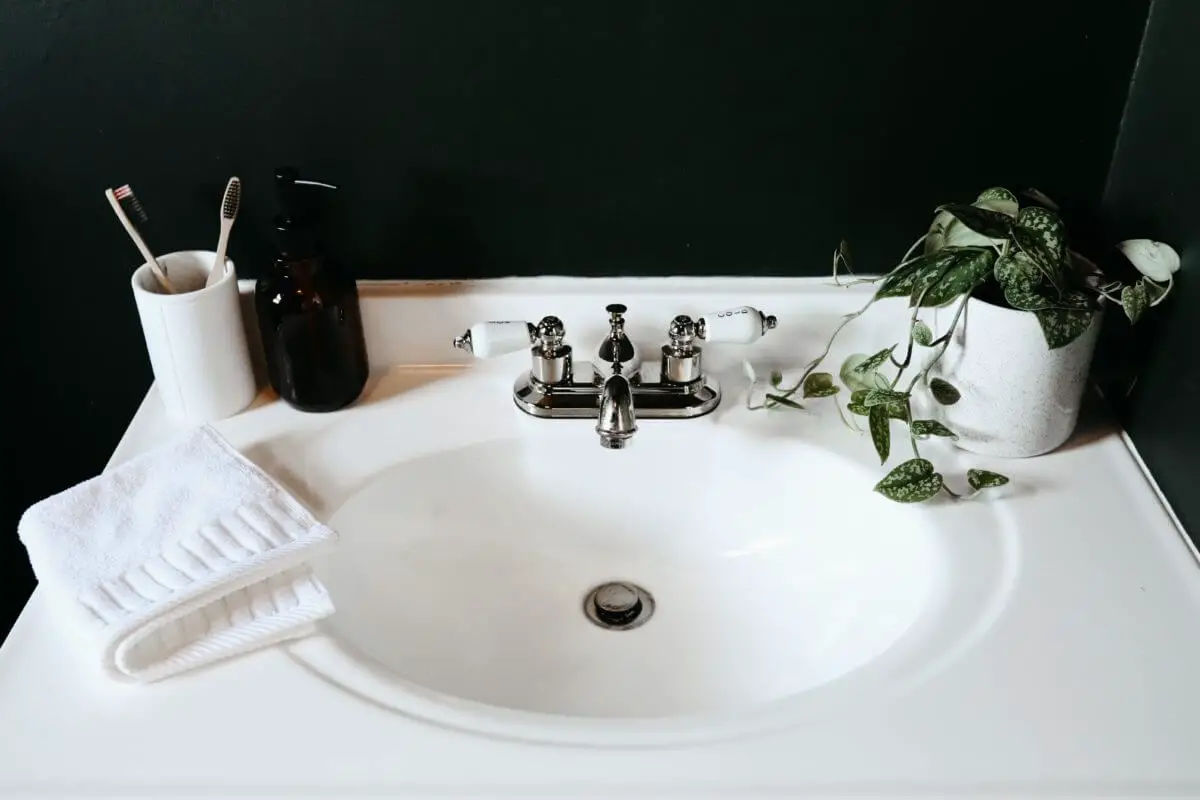
 After installing the new stopper, run water in the sink and test it to make sure it is working properly. Adjust the stopper if necessary by unscrewing or twisting it to the desired position.
Congratulations, you have successfully replaced your bathroom sink stopper! With a little bit of time and effort, you can keep your sink functioning properly and maintain the overall design of your bathroom. Remember to regularly clean your stopper to prevent any clogs or buildup in the future.
After installing the new stopper, run water in the sink and test it to make sure it is working properly. Adjust the stopper if necessary by unscrewing or twisting it to the desired position.
Congratulations, you have successfully replaced your bathroom sink stopper! With a little bit of time and effort, you can keep your sink functioning properly and maintain the overall design of your bathroom. Remember to regularly clean your stopper to prevent any clogs or buildup in the future.

:max_bytes(150000):strip_icc()/DreamCloudLuxuryMediumFirmHybridMattress-5c475f2e46e0fb00011a52c1.jpg)