Beadboard is a popular choice for adding texture and charm to kitchen islands. Not only does it add visual interest, but it also protects the island from wear and tear. If you're thinking of installing beadboard on your kitchen island, here's how to do it: Step 1: Measure and cut the beadboard Before you start, make sure you have the right measurements for your island. Measure the length and height of each side of the island, leaving a 1/4 inch gap for expansion. Cut the beadboard panels to fit these measurements using a saw. Step 2: Prepare the island surface If your island has an existing finish, sand it down to create a smooth surface for the beadboard to adhere to. Use a tack cloth to remove any dust or debris from the surface. Step 3: Apply adhesive Using a caulk gun, apply an adhesive like Liquid Nails to the back of the beadboard. Spread it evenly using a putty knife. Step 4: Install the beadboard Starting at the bottom, press the beadboard onto the island surface. Use a level to make sure it is straight and adjust as needed. Repeat this process for each side of the island, making sure to leave a small gap between panels for expansion. Step 5: Secure with nails Using a nail gun, secure the beadboard to the island by nailing through the tongue of each panel. Be sure to only use enough nails to hold the beadboard in place, as too many can cause the wood to warp. Step 6: Fill and sand nail holes Once the beadboard is secured, use wood filler to fill in any nail holes. Once it dries, sand it down to create a smooth surface. Step 7: Paint or stain the beadboard Finally, you can paint or stain the beadboard to match your kitchen's aesthetic. Be sure to use a high-quality paint or stain and apply multiple coats for a long-lasting finish.How to Install Beadboard on a Kitchen Island

How to Install Beadboard on a Kitchen Island


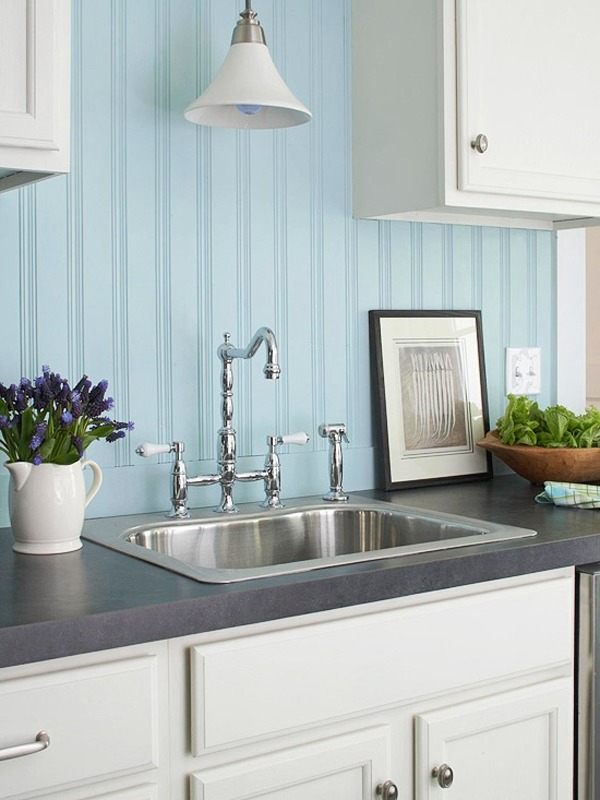
If you want to add a touch of vintage charm to your kitchen, installing beadboard on your backsplash is the way to go. Not only is it a budget-friendly option, but it also adds texture and interest to an otherwise plain wall. Here's how to install beadboard on your kitchen backsplash: Step 1: Measure and cut the beadboard Start by measuring the length and height of your backsplash area. Leave a 1/4 inch gap for expansion and cut the beadboard panels to fit these measurements using a saw. Step 2: Prepare the wall If your wall has an existing finish, sand it down to create a smooth surface. Use a tack cloth to remove any dust or debris. Step 3: Apply adhesive Using a caulk gun, apply an adhesive like Liquid Nails to the back of the beadboard. Spread it evenly using a putty knife. Step 4: Install the beadboard Starting from the bottom, press the beadboard onto the wall. Use a level to make sure it is straight and adjust as needed. Repeat this process for each panel, leaving a small gap between them for expansion. Step 5: Secure with nails Using a nail gun, secure the beadboard to the wall by nailing through the tongue of each panel. Be sure to only use enough nails to hold the beadboard in place, as too many can cause the wood to warp. Step 6: Fill and sand nail holes Once the beadboard is secured, use wood filler to fill in any nail holes. Once it dries, sand it down to create a smooth surface. Step 7: Paint or stain the beadboard Finally, you can paint or stain the beadboard to match your kitchen's aesthetic. Be sure to use a high-quality paint or stain and apply multiple coats for a long-lasting finish.How to Install Beadboard on a Kitchen Backsplash


How to Install Beadboard on a Kitchen Backsplash


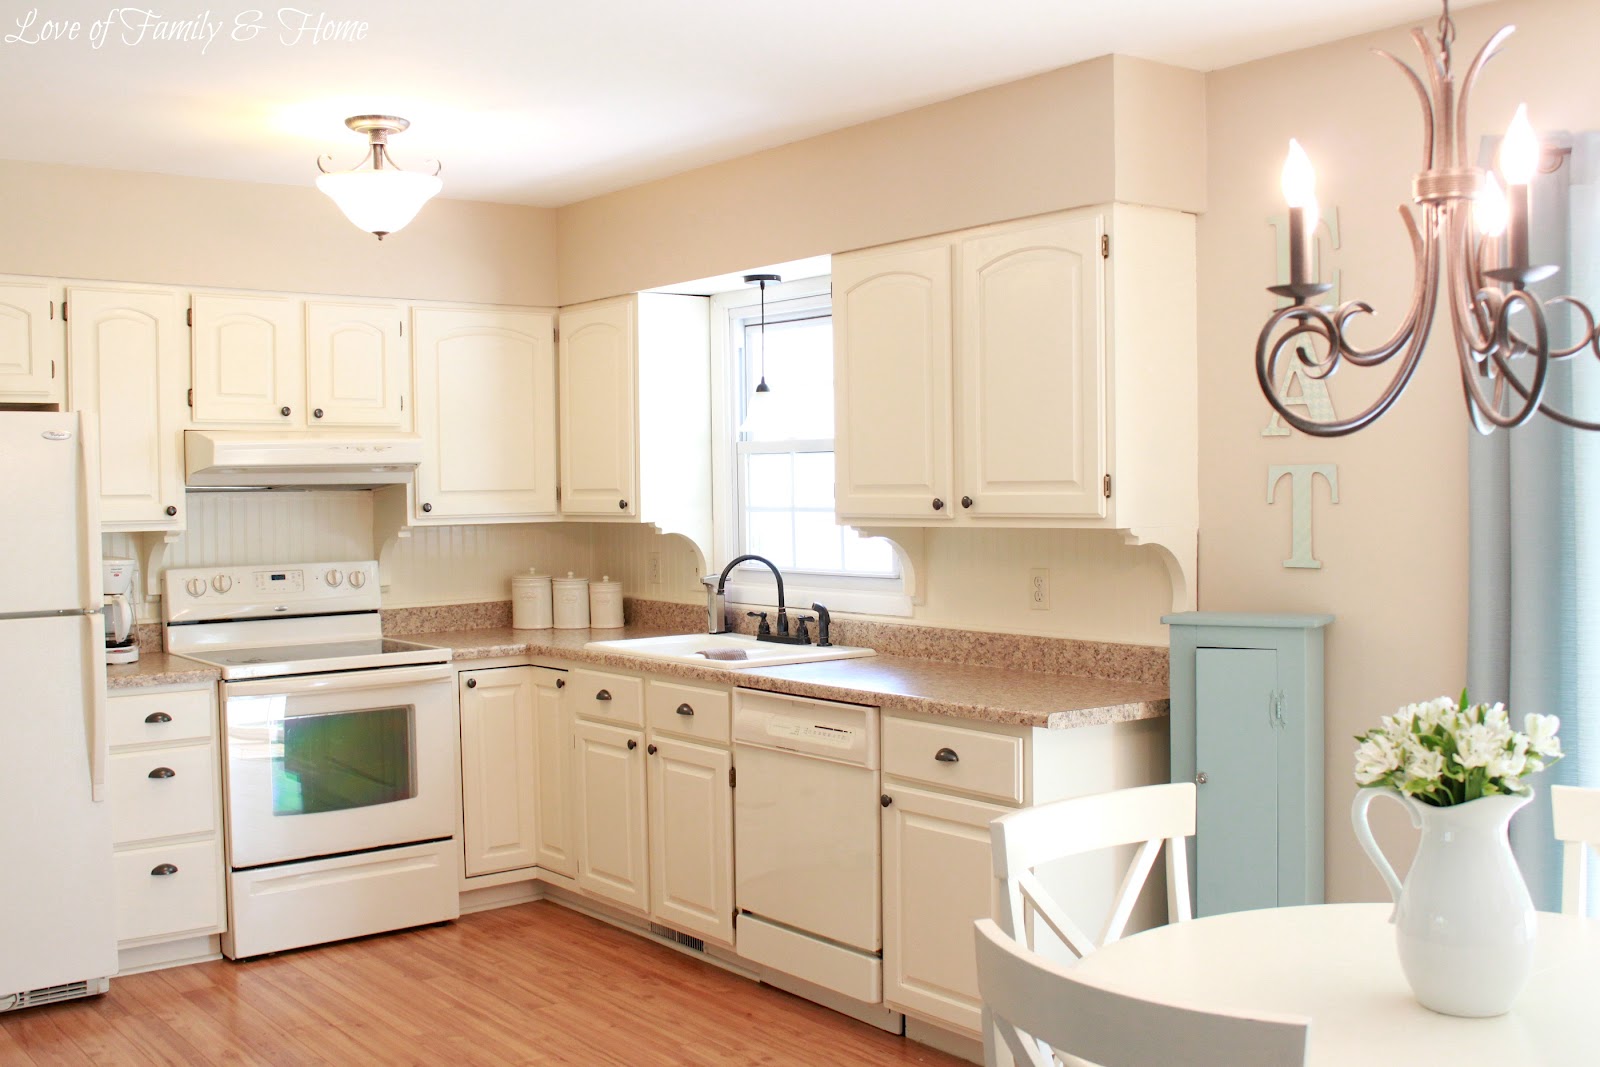
Beadboard kitchen cabinets are a popular choice for those looking to add a touch of charm and character to their kitchen. While they may look beautiful, there are some pros and cons to consider before installing them in your kitchen. Here's a breakdown:Beadboard Kitchen Cabinets: Pros and Cons


:strip_icc()/beaded-board-kitchen-cabinet-d518eecc-f44be1ab8f7849bdad1e40bab7cca58f.jpg)
Beadboard Kitchen Cabinets: Pros and Cons


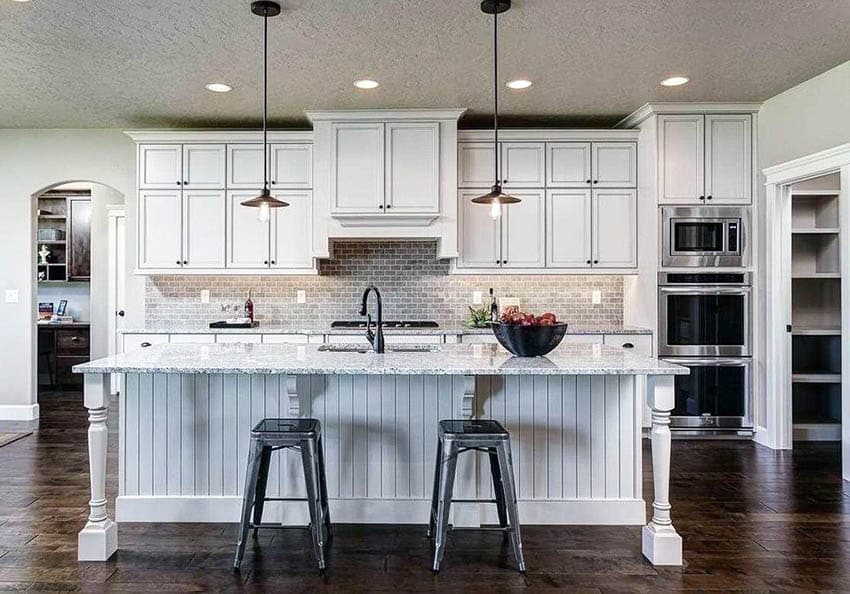
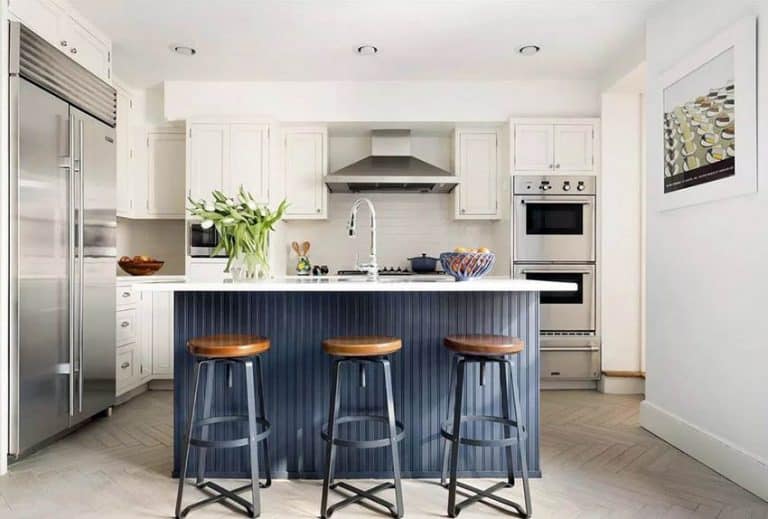
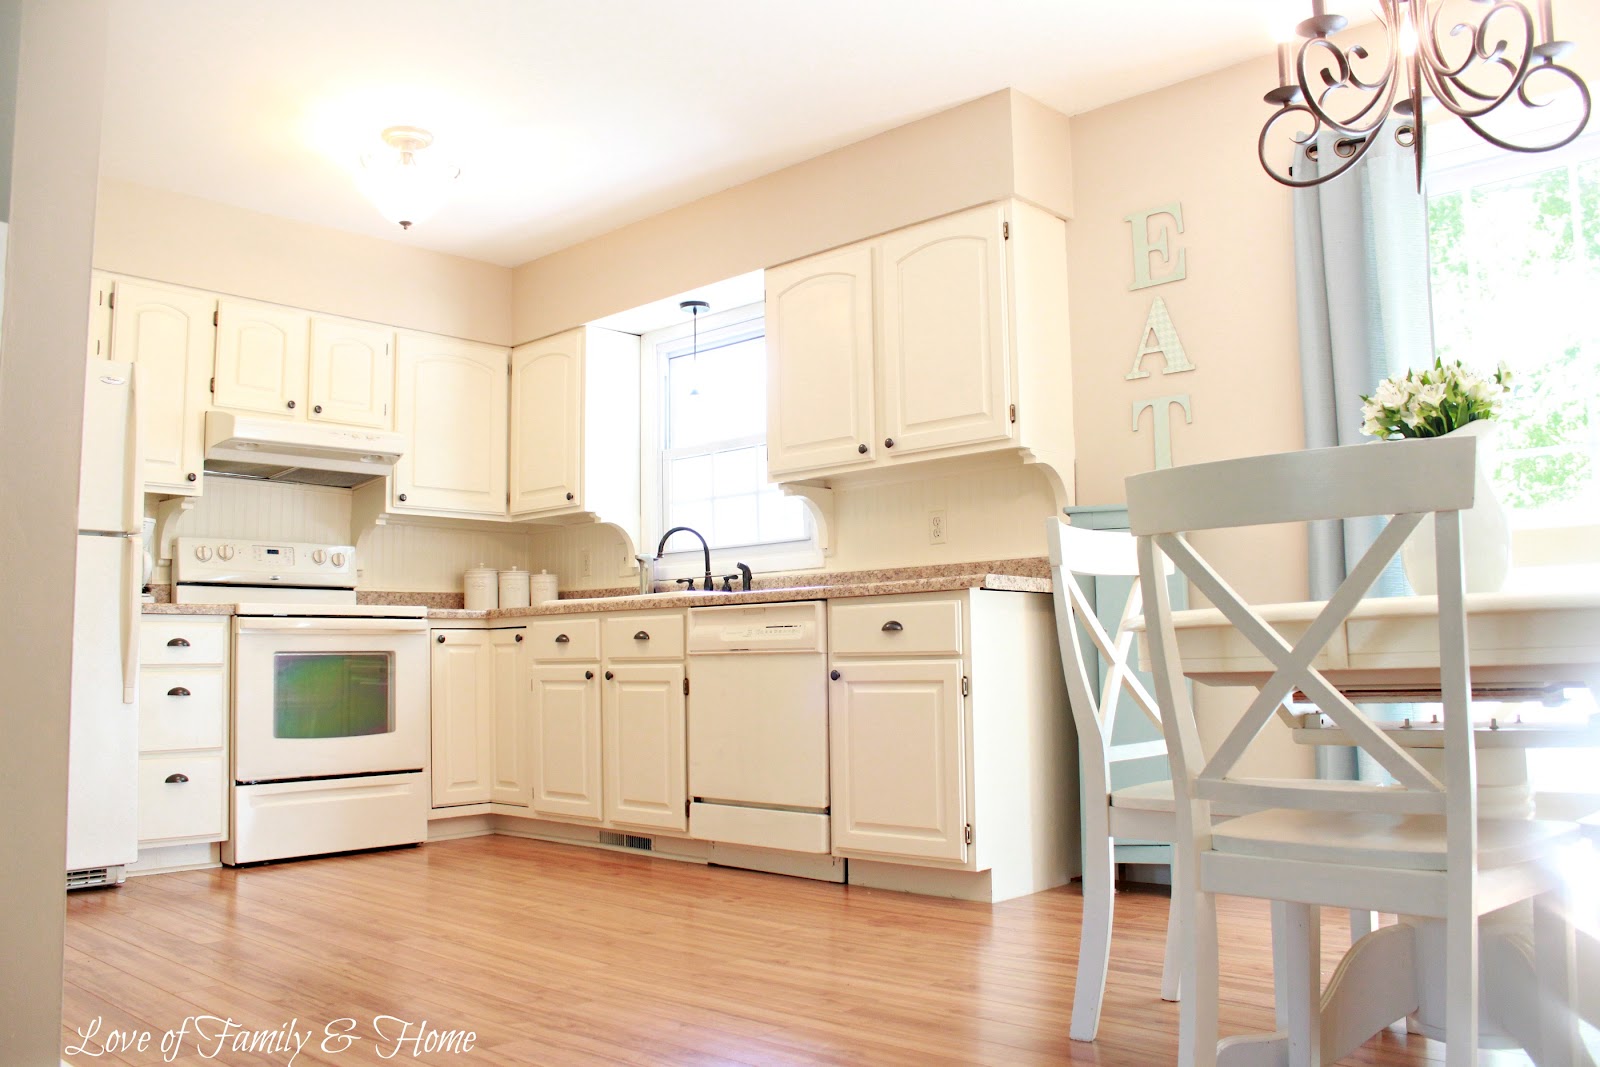
Beadboard is a versatile material that can add charm and personality to any kitchen design. Here are 10 creative ways to incorporate beadboard into your kitchen: 1. Beadboard backsplash As mentioned earlier, using beadboard as a backsplash adds texture and interest to your kitchen walls. 2. Beadboard cabinets For a charming cottage-style kitchen, consider using beadboard on your cabinet doors or as an accent on your kitchen island. 3. Beadboard ceiling A beadboard ceiling can add a cozy and rustic touch to your kitchen. It also helps to visually lower the ceiling, making the space feel more intimate. 4. Beadboard wainscoting If your kitchen has a breakfast nook or dining area, consider adding beadboard wainscoting to the walls for a touch of elegance. 5. Beadboard door panels For a subtle touch of beadboard, consider using it on your cabinet door panels. This adds texture without overwhelming the space. 6. Beadboard kitchen island A beadboard-covered kitchen island adds charm and character to the space. You can also paint it a different color than the rest of the cabinets for added visual interest. 7. Beadboard shelving Add some farmhouse charm to your kitchen by using beadboard as the backing for open shelving. This is a great way to display your dishes and add texture to the space. 8. Beadboard pantry door For a subtle touch of beadboard, consider using it on your pantry door. This adds a touch of charm and character to an often overlooked area of the kitchen. 9. Beadboard accent wall If you want to add a bold statement to your kitchen, consider using beadboard on one wall as an accent. This can create a focal point and add texture to the space. 10. Beadboard trim Add a touch of beadboard to your kitchen by using it as trim around windows, doors, and baseboards. This is a subtle way to incorporate the material into your design.10 Ways to Use Beadboard in Your Kitchen Design


10 Ways to Use Beadboard in Your Kitchen Design


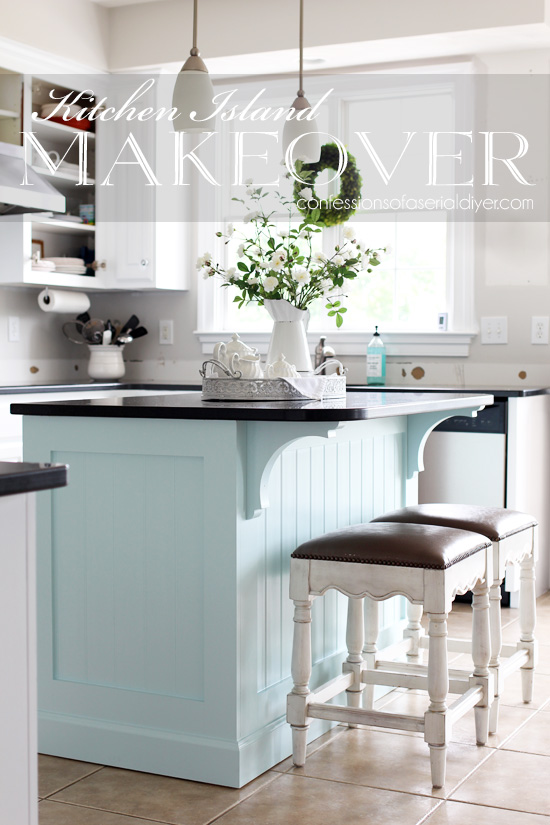
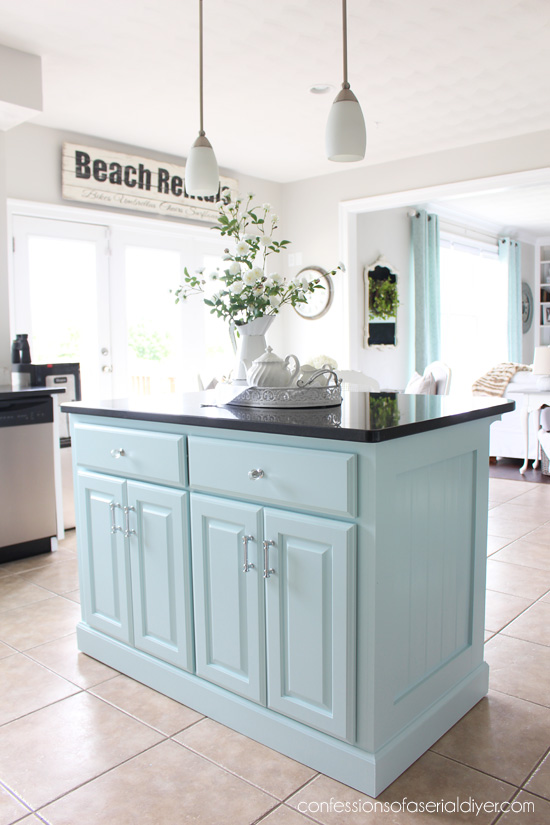
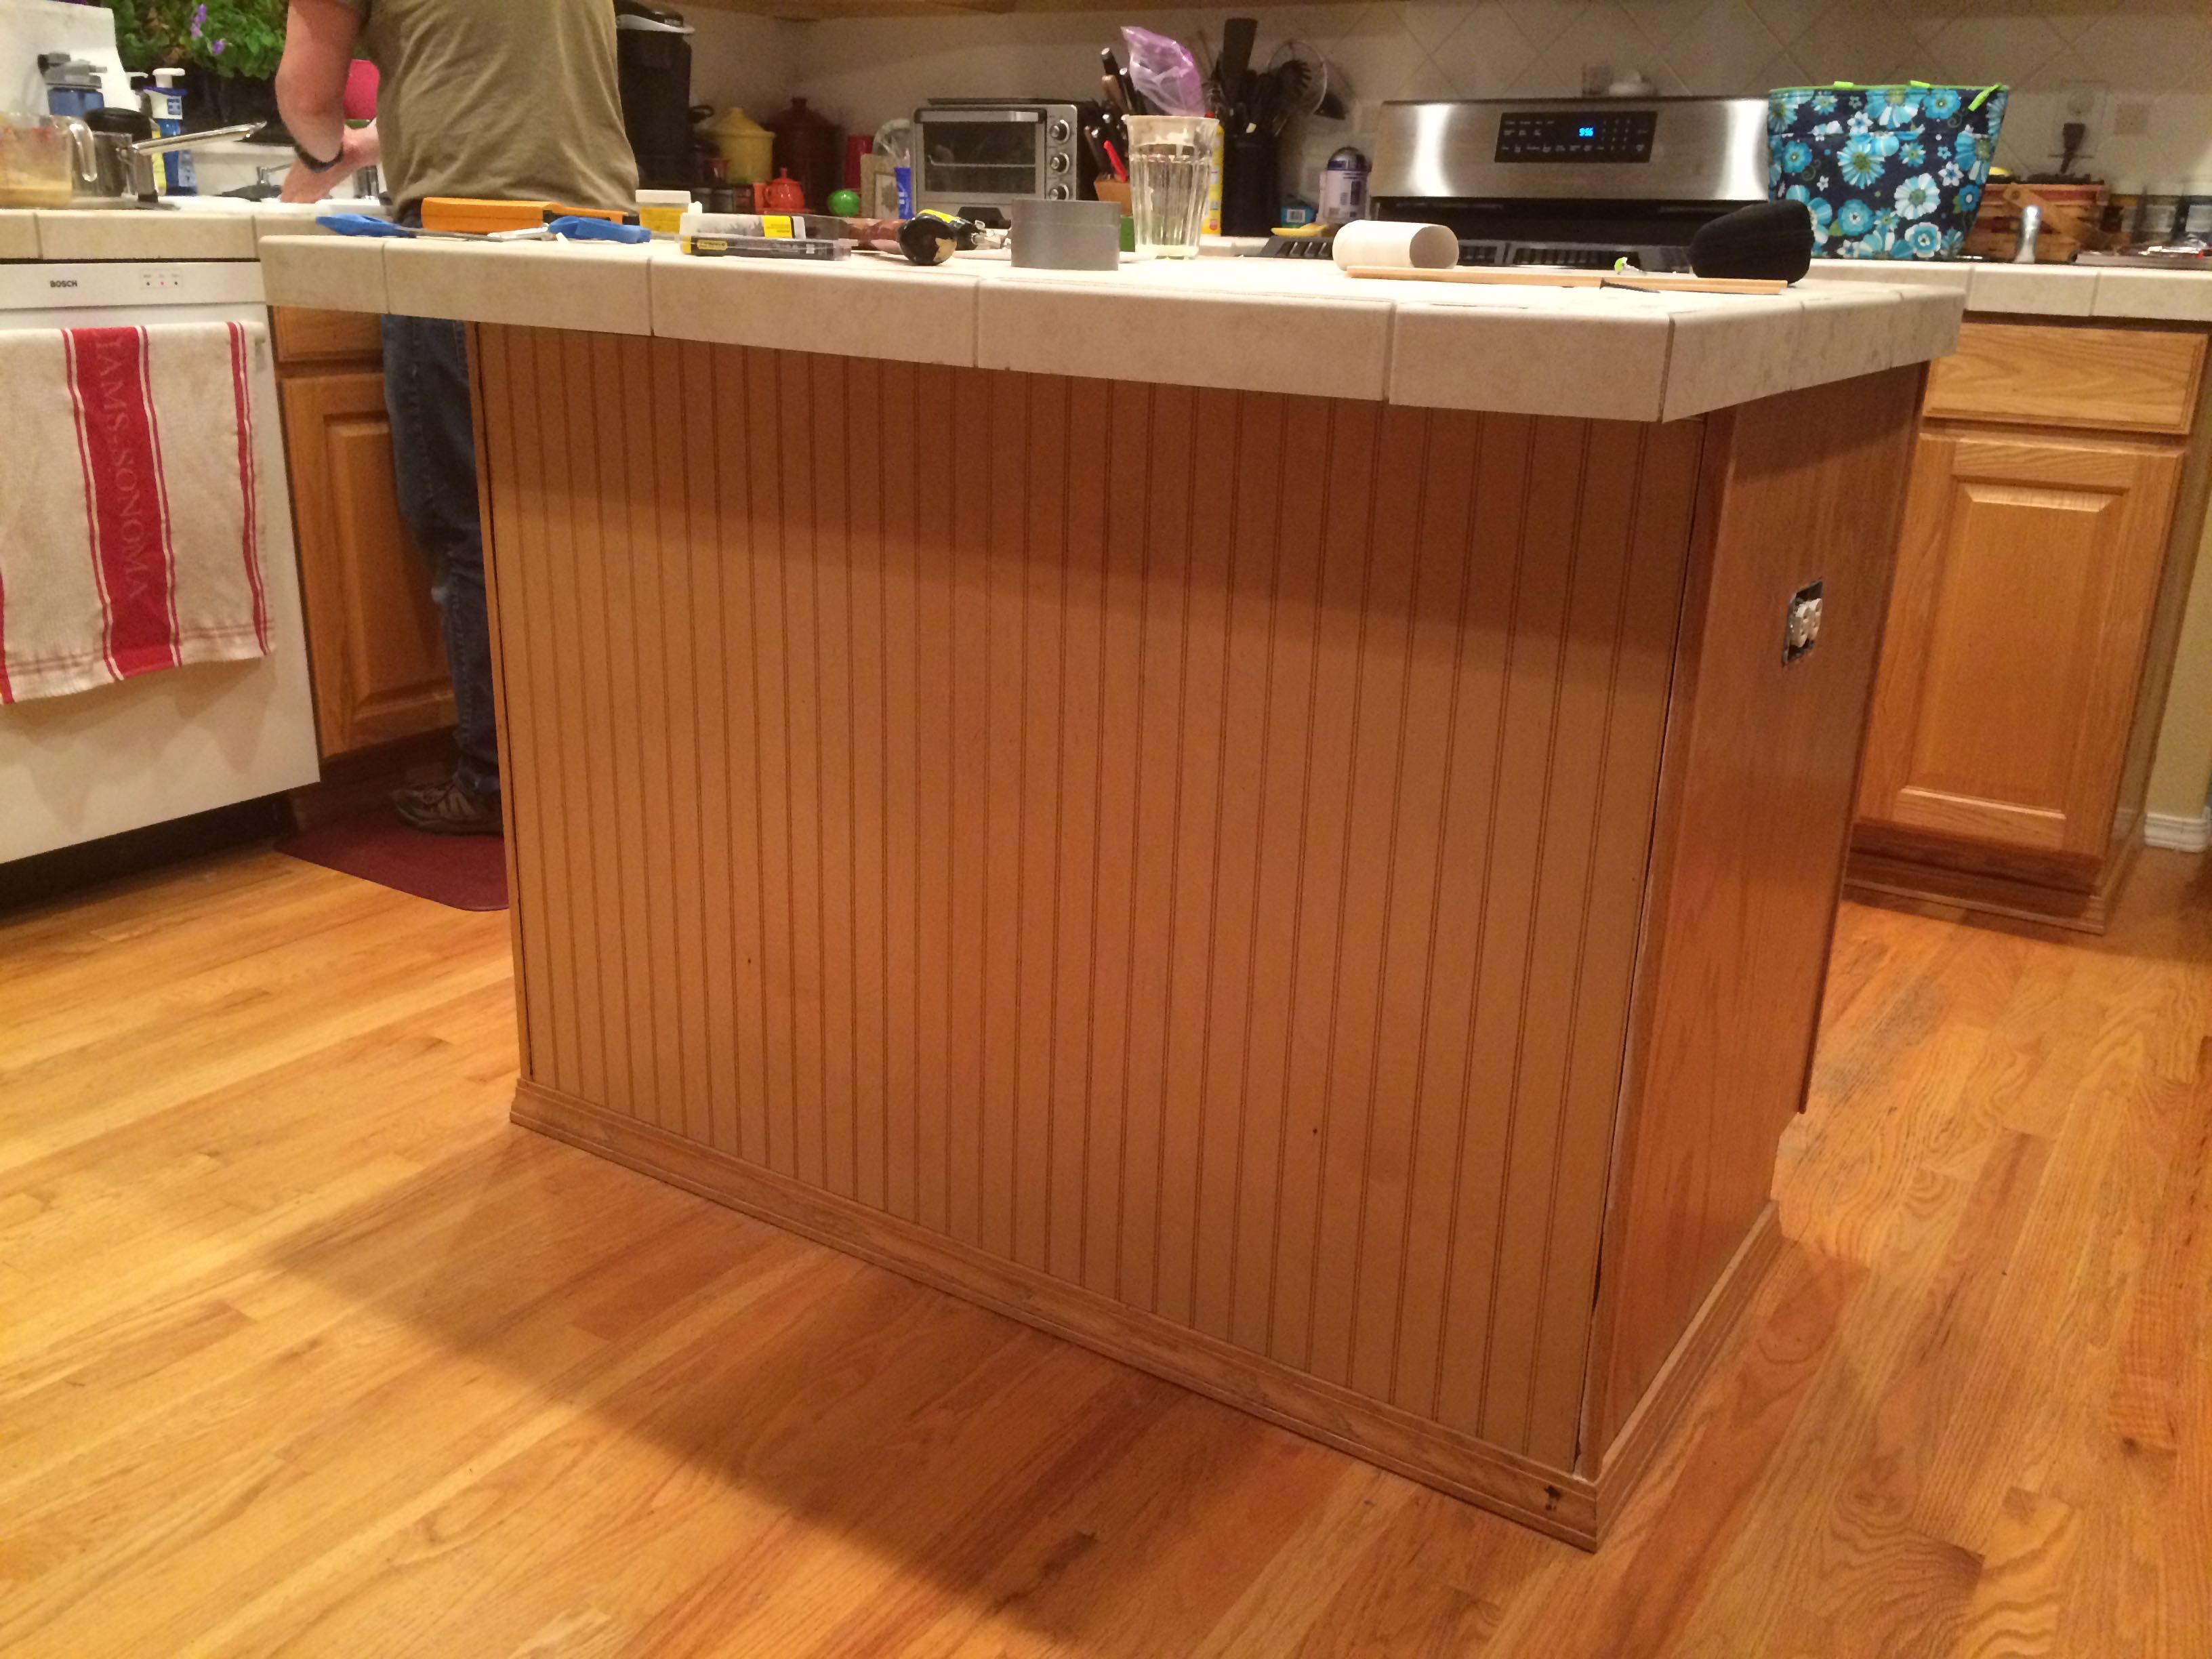
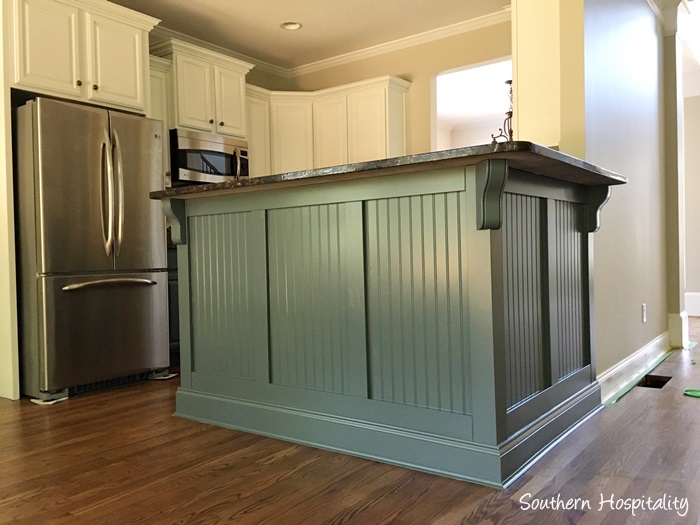
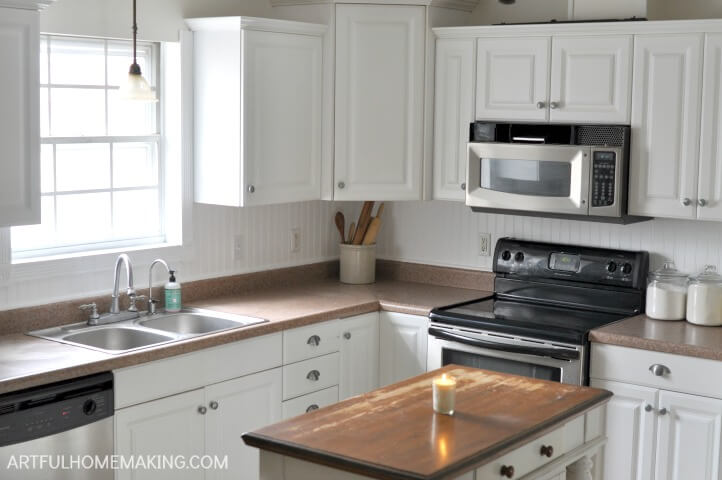
If you have a plain and boring kitchen island, consider giving it a DIY beadboard makeover. Here's how: Step 1: Remove the existing finish If your island has an existing finish, sand it down to create a smooth surface for the beadboard to adhere to. Use a tack cloth to remove any dust or debris from the surface. Step 2: Measure and cut the beadboard Measure the length and height of each side of the island, leaving a 1/4 inch gap for expansion. Cut the beadboard panels to fit these measurements using a saw. Step 3: Apply adhesive Using a caulk gun, apply an adhesive like Liquid Nails to the back of the beadboard. Spread it evenly using a putty knife. Step 4: Install the beadboard Starting at the bottom, press the beadboard onto the island surface. Use a level to make sure it is straight and adjust as needed. Repeat this process for each side of the island, making sure to leave a small gap between panels for expansion. Step 5: Secure with nails Using a nail gun, secure the beadboard to the island by nailing through the tongue of each panel. Be sure to only use enough nails to hold the beadboard in place, as too many can cause the wood to warp. Step 6: Fill and sand nail holes Once the beadboard is secured, use wood filler to fill in any nail holes. Once it dries, sand it down to create a smooth surface. Step 7: Paint or stain the beadboard Finally, you can paint or stain the beadboard to match your kitchen's aesthetic. Be sure to use a high-quality paint or stain and apply multiple coats for a long-lasting finish.DIY Beadboard Kitchen Island Makeover

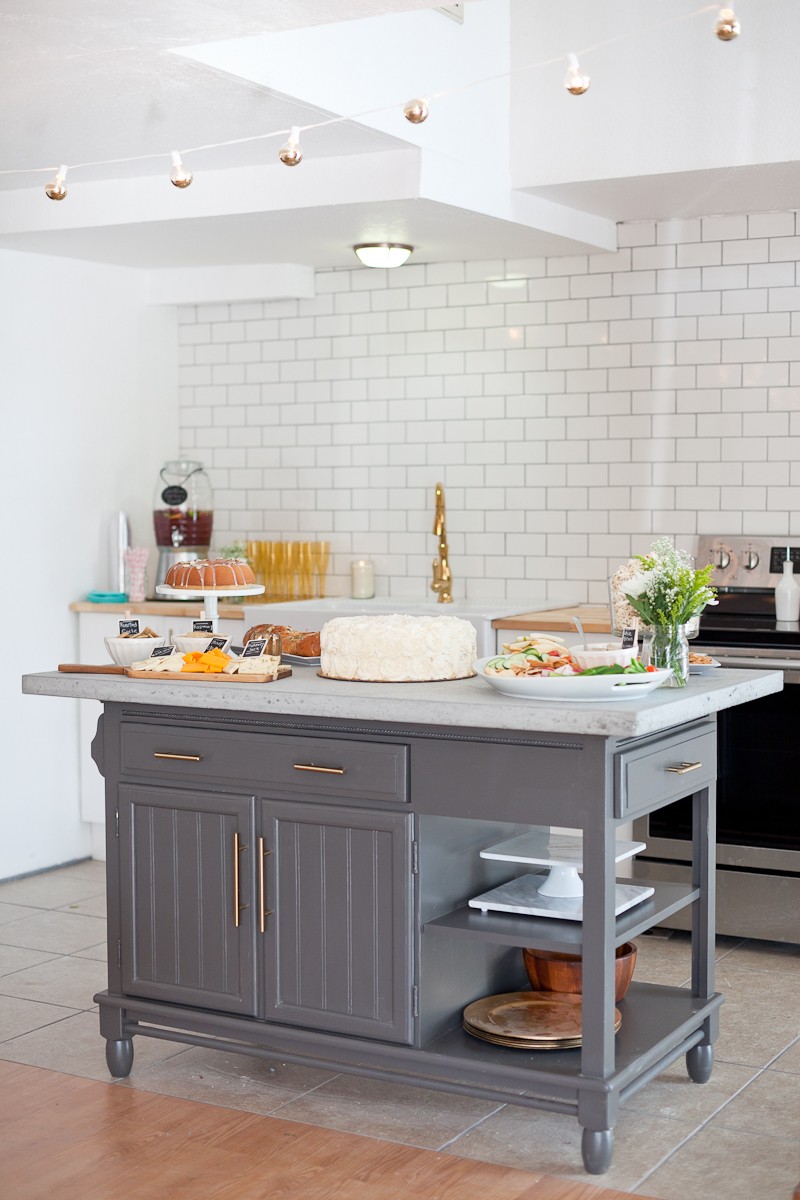
DIY Beadboard Kitchen Island Makeover


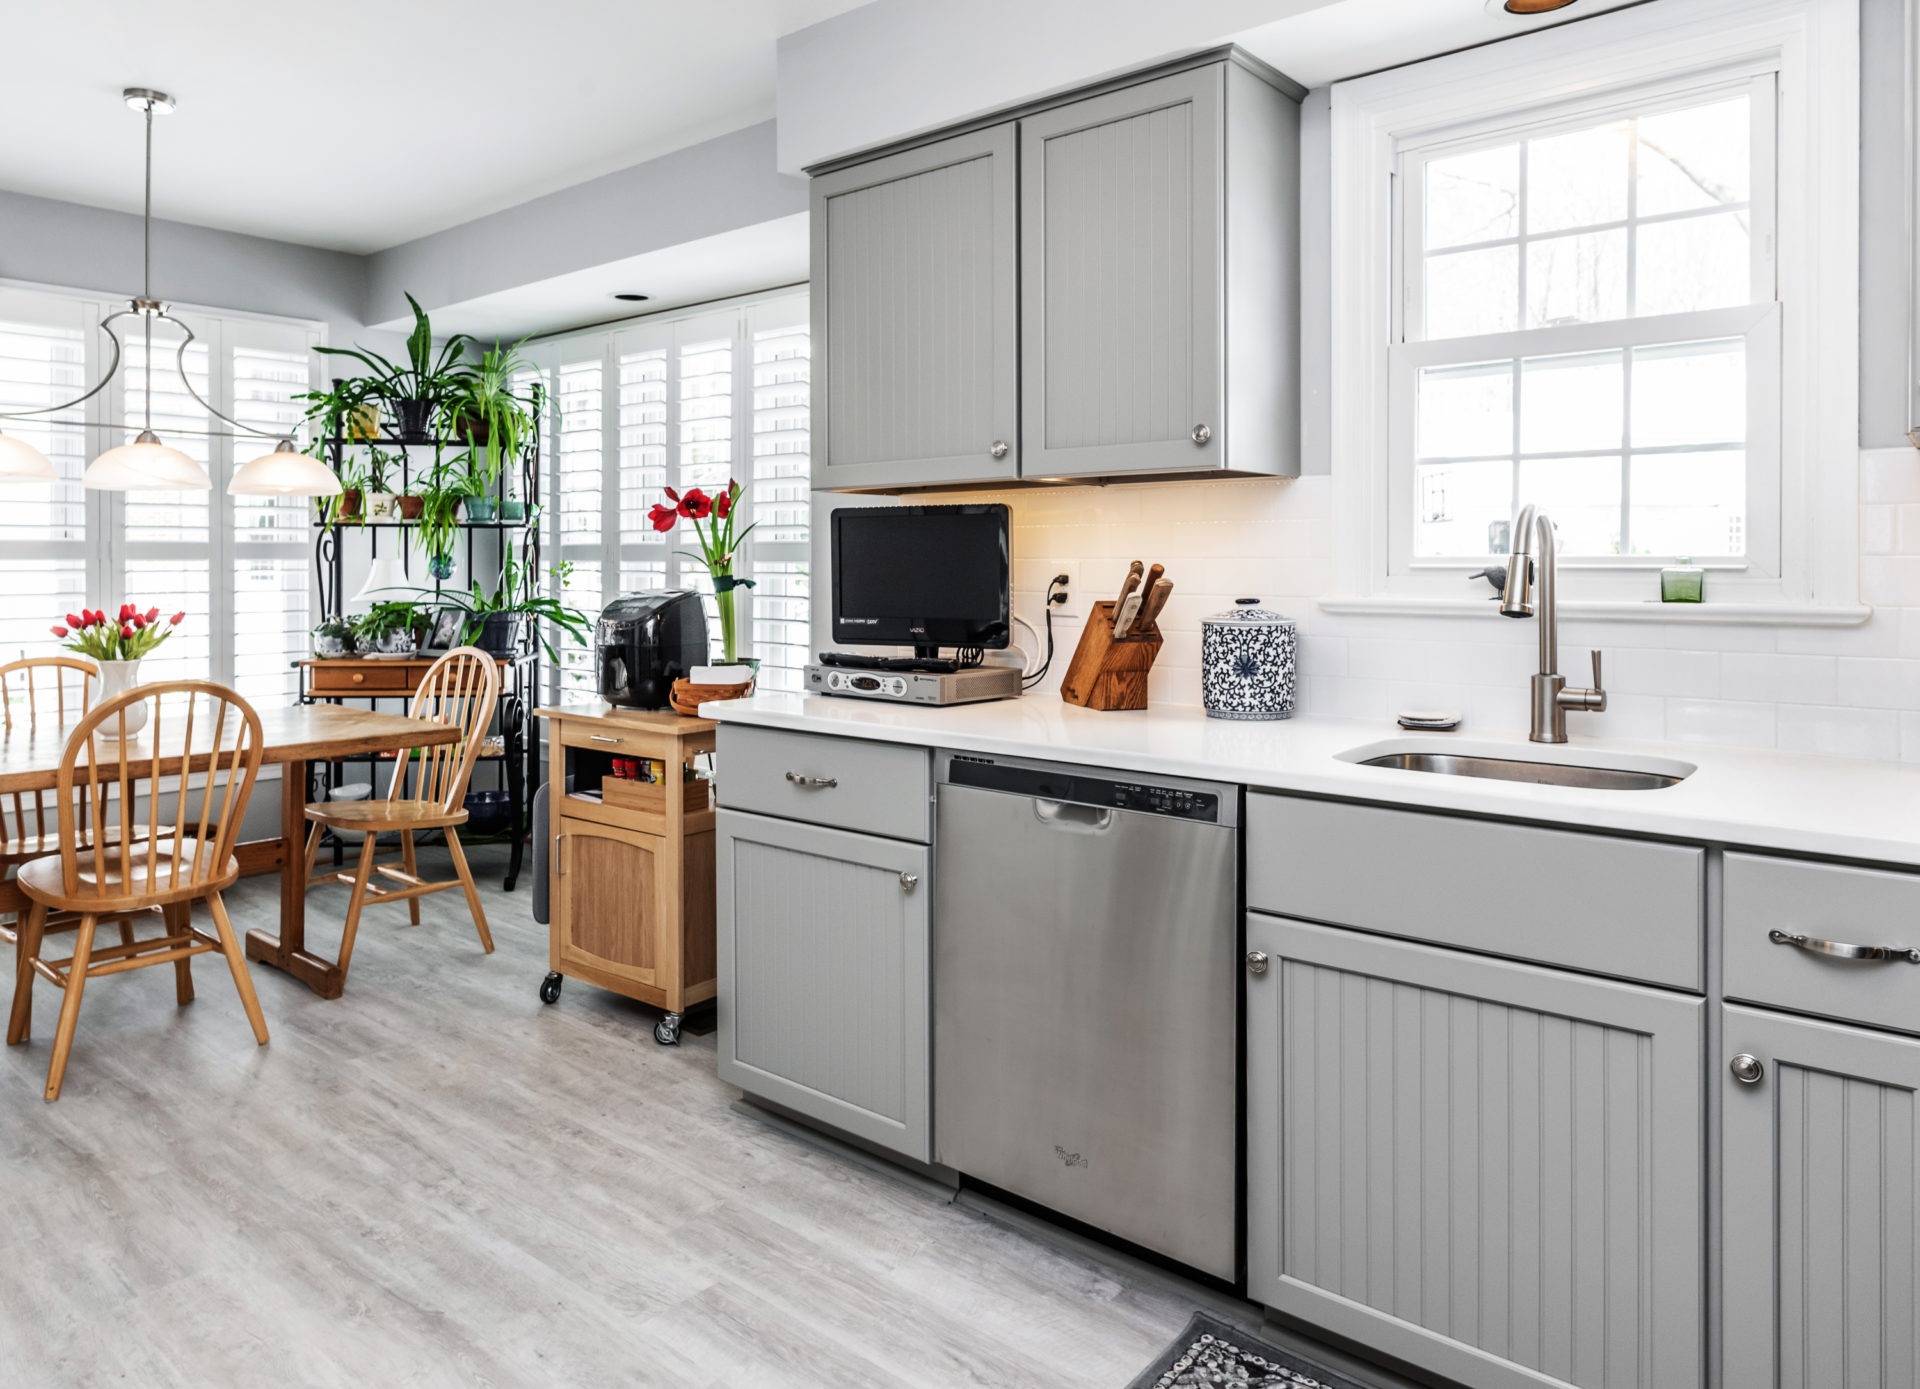
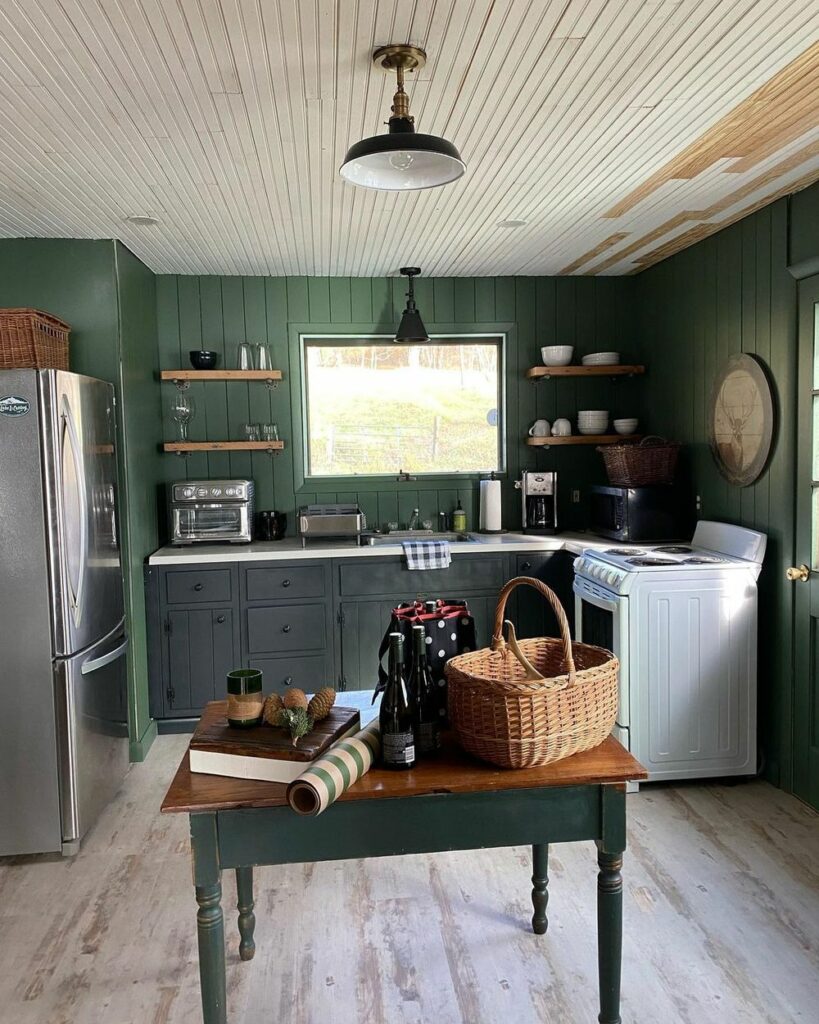
Beadboard is a popular choice for kitchen walls, as it adds texture and charm to the space. Here are some ideas and inspiration for using beadboard on your kitchen walls: 1. Full wall beadboard Covering an entire kitchen wall with beadboard creates a cozy and charming feel. You can paint it a bright color to add a pop of interest to the space. 2. Half-wall beadboard If you don't want to cover the entire wall, consider using beadboard on the lower half and painting the upper half in a coordinating color. 3. Beadboard accent wall For a bolder statement, use beadboard on one wall as an accent. This can create a focal point in your kitchen and add texture to the space. 4. Beadboard wainscoting Using beadboard as wainscoting creates a classic and elegant look in your kitchen. You can paint it a neutral color for a timeless feel. 5. Beadboard backsplash As mentioned earlier, beadboard makes a beautiful and unique backsplash choice. It adds texture and interest to your kitchen walls while protecting them from spills and splatters.Beadboard Kitchen Walls: Ideas and Inspiration


Beadboard Kitchen Walls: Ideas and Inspiration


If your beadboard kitchen cabinets are looking a bit worn and dated, a fresh coat of paint can do wonders. Here's how to paint beadboard kitchen cabinets: Step 1: Remove cabinet doors and hardware Start by removing the cabinet doors and hardware. This will make it easier to paint and ensure a smooth finish. Step 2: Clean and sand the cabinets Using a degreaser, clean the cabinets to remove any dirt or grime. Then, lightly sand them to create a smooth surface for the paint to adhere to. Step 3: Prime the cabinets Using a high-quality primer, prime the cabinets to ensure the paint adheres properly and to prevent any stains from bleeding through. Step 4: Paint the cabinets Once the primer is dry, you can paint the cabinets. Use a high-quality paint and apply multiple thin coats for a smooth and durable finish. Step 5: Reattach doors and hardware Once the paint is completely dry, reattach the cabinet doors and hardware. Enjoy your newly painted beadboard kitchen cabinets!How to Paint Beadboard Kitchen Cabinets


How to Paint Beadboard Kitchen Cabinets


A beadboard ceiling can add charm and character to your kitchen, but there are some pros and cons to consider before installing one. Here's a breakdown:Beadboard Kitchen Ceiling: Pros and Cons


Beadboard Kitchen Ceiling: Pros and Cons


Beadboard Wall in Kitchen: A Charming Addition to Your Home

Enhancing the Aesthetic of Your Kitchen
 Beadboard walls have long been utilized in traditional and farmhouse-style homes, but they have recently gained popularity in modern and contemporary designs as well. And it's not hard to see why –
beadboard walls add a charming and inviting touch to any space, especially in the kitchen.
This versatile and timeless wall treatment has become a go-to option for homeowners looking to enhance the aesthetic of their kitchen.
Beadboard walls have long been utilized in traditional and farmhouse-style homes, but they have recently gained popularity in modern and contemporary designs as well. And it's not hard to see why –
beadboard walls add a charming and inviting touch to any space, especially in the kitchen.
This versatile and timeless wall treatment has become a go-to option for homeowners looking to enhance the aesthetic of their kitchen.
The Beauty of Beadboard
 Beadboard is a type of wood paneling that features evenly spaced grooves or ridges, giving it a distinctive look and texture. It is commonly made from pine, but can also be found in other types of wood such as maple, oak, and cherry. The name "beadboard" comes from the small round "beads" that run along the length of each panel, adding a touch of dimension and character to the walls.
Beadboard walls are known for their ability to add warmth, texture, and visual interest to a space.
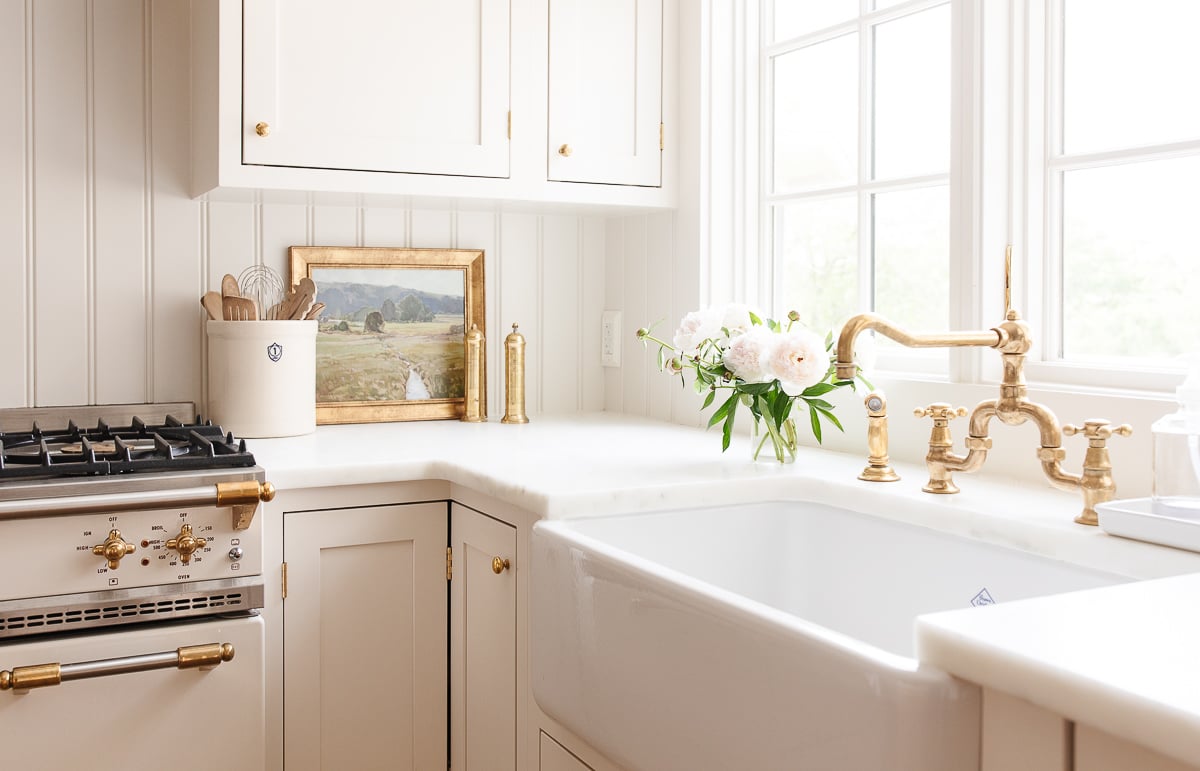
In the kitchen, they can act as a beautiful backdrop for open shelving, showcasing your dishes and cookware. They also provide a nice contrast to smooth and sleek countertops and cabinets, creating a balance of textures in the room. With the right color and finish, beadboard walls can make a small kitchen feel cozy and intimate, while in a larger kitchen, they can add a touch of charm and character.
Beadboard is a type of wood paneling that features evenly spaced grooves or ridges, giving it a distinctive look and texture. It is commonly made from pine, but can also be found in other types of wood such as maple, oak, and cherry. The name "beadboard" comes from the small round "beads" that run along the length of each panel, adding a touch of dimension and character to the walls.
Beadboard walls are known for their ability to add warmth, texture, and visual interest to a space.
In the kitchen, they can act as a beautiful backdrop for open shelving, showcasing your dishes and cookware. They also provide a nice contrast to smooth and sleek countertops and cabinets, creating a balance of textures in the room. With the right color and finish, beadboard walls can make a small kitchen feel cozy and intimate, while in a larger kitchen, they can add a touch of charm and character.
Practical Benefits of Beadboard Walls
 Aside from its aesthetic appeal, beadboard walls also offer practical benefits, making them a popular choice for the kitchen. They are relatively easy to install and can be placed over existing drywall or even directly onto studs.
Beadboard walls are also durable and can withstand the wear and tear of daily cooking activities, making them a practical choice for high-traffic areas like the kitchen.
Additionally, they are easy to clean and maintain, as they can be wiped down with a damp cloth or sponge.
Aside from its aesthetic appeal, beadboard walls also offer practical benefits, making them a popular choice for the kitchen. They are relatively easy to install and can be placed over existing drywall or even directly onto studs.
Beadboard walls are also durable and can withstand the wear and tear of daily cooking activities, making them a practical choice for high-traffic areas like the kitchen.
Additionally, they are easy to clean and maintain, as they can be wiped down with a damp cloth or sponge.
Endless Possibilities for Customization
 Another great thing about beadboard walls is that they offer endless possibilities for customization.
You can choose from different styles, sizes, and finishes to fit your personal taste and design aesthetic.
Beadboard panels can be painted in any color, allowing you to add a pop of color or create a cohesive look with the rest of your kitchen's design elements. You can also opt for a natural wood finish for a more rustic and organic feel.
Another great thing about beadboard walls is that they offer endless possibilities for customization.
You can choose from different styles, sizes, and finishes to fit your personal taste and design aesthetic.
Beadboard panels can be painted in any color, allowing you to add a pop of color or create a cohesive look with the rest of your kitchen's design elements. You can also opt for a natural wood finish for a more rustic and organic feel.
In Conclusion
 In summary, a beadboard wall in the kitchen is not only a stylish addition but also a practical one. With its timeless charm and versatility, it can enhance the aesthetic of any kitchen and add a touch of warmth and character to the space. So why not consider adding a beadboard wall to your kitchen to create a charming and inviting atmosphere?