If you're dealing with a leaking bathroom sink water shut off valve, you're not alone. This is a common problem that many homeowners face at some point. The good news is that it's a relatively easy fix that you can do yourself without having to call a plumber. Here's a step-by-step guide on how to fix a leaking bathroom sink water shut off valve.How to Fix a Leaking Bathroom Sink Water Shut Off Valve


How to Fix a Leaking Bathroom Sink Water Shut Off Valve


If the leaking bathroom sink water shut off valve cannot be fixed, it may be time to replace it. This may seem like a daunting task, but with the right tools and some patience, it can be done easily. Here's a guide on how to replace a bathroom sink water shut off valve.How to Replace a Bathroom Sink Water Shut Off Valve

How to Replace a Bathroom Sink Water Shut Off Valve


:max_bytes(150000):strip_icc()/sink-pipe-under-wash-basin-119001607-6f28aec4c66944efb7a9a38cb622ab8b.jpg)

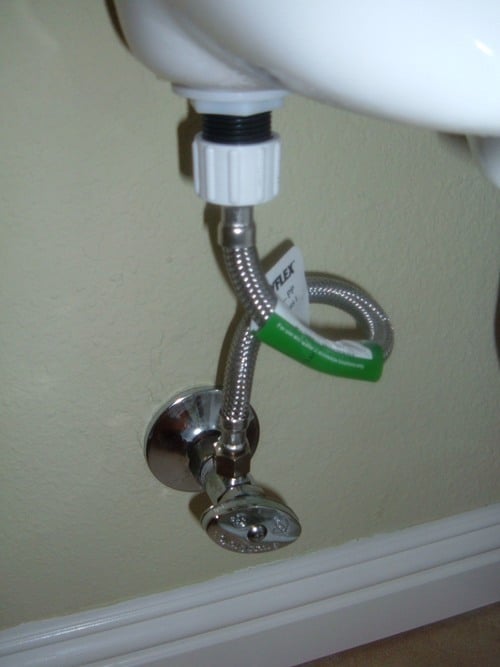
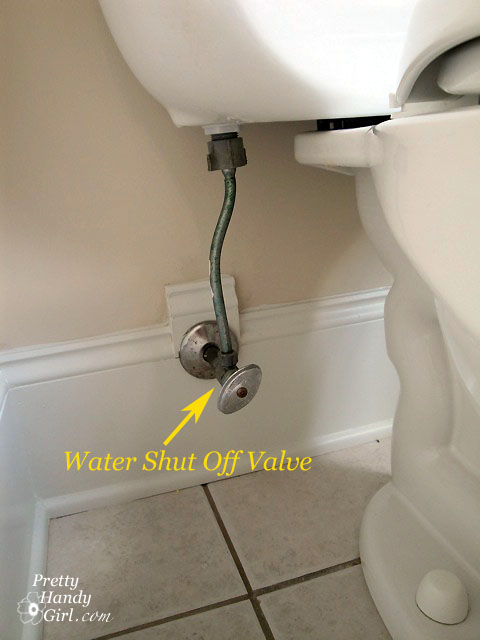
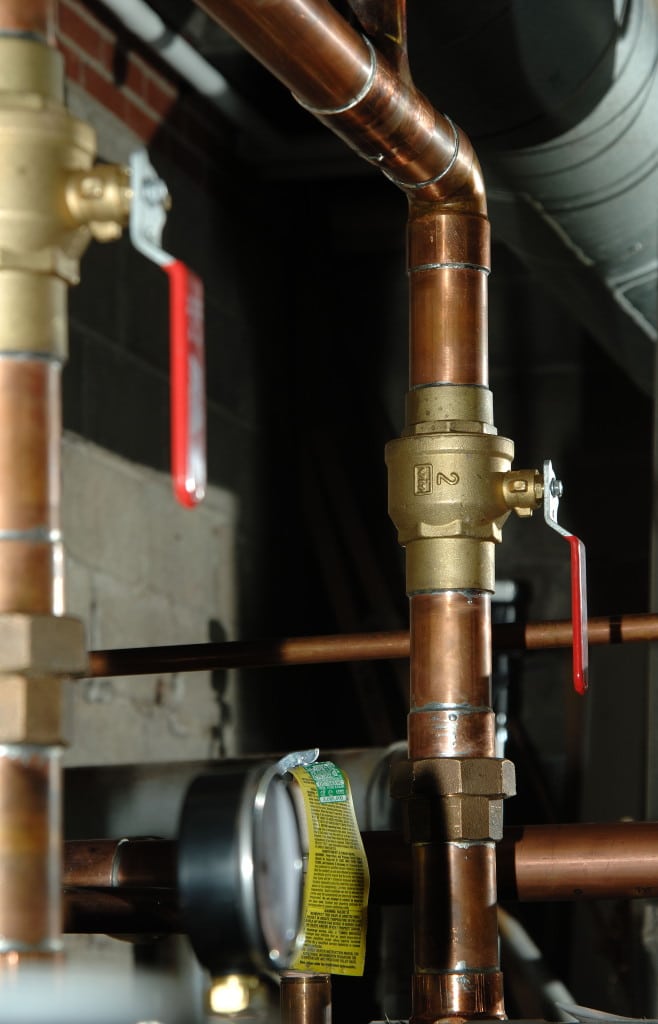
Before we dive into how to fix the issue, it's important to understand what may be causing your bathroom sink water shut off valve to leak. The most common causes of a leaking valve include worn out washers, damaged O-rings, loose packing nuts, and corroded pipes. Identifying the cause will help you determine the best course of action for fixing the problem.Common Causes of a Leaking Bathroom Sink Water Shut Off Valve


Common Causes of a Leaking Bathroom Sink Water Shut Off Valve

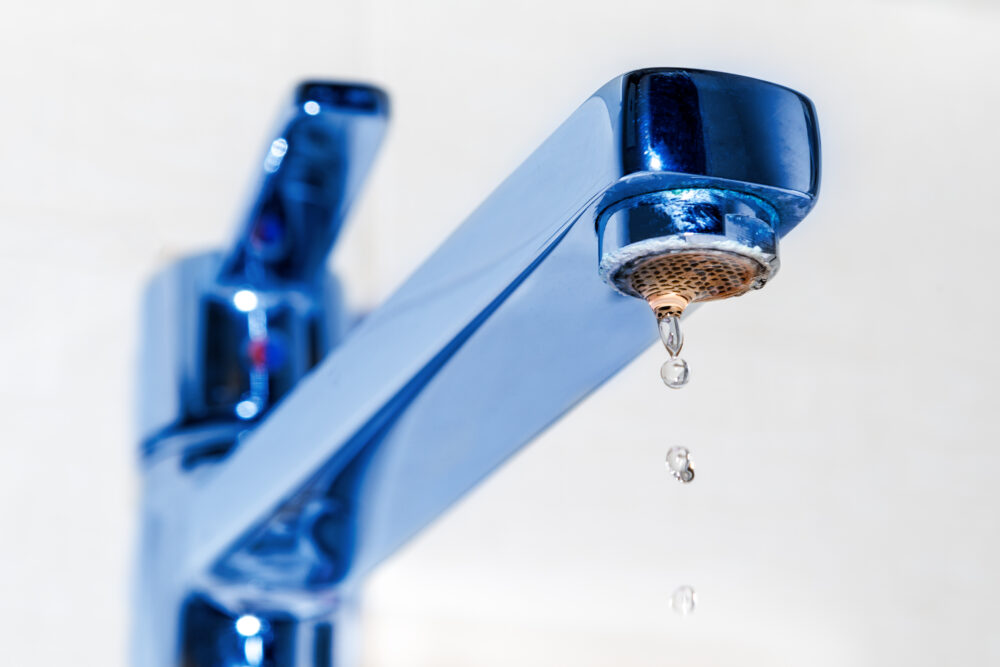
:max_bytes(150000):strip_icc()/Leakingpipe-GettyImages-921346082-fb92dca8462e4f70a93b42b5ecd4913a.jpg)
If you're up for the challenge, you can repair a leaking bathroom sink water shut off valve on your own. The first step is to turn off the water supply to the valve and drain any remaining water from the pipes. Then, you can remove the valve and check for any damaged parts. From there, you can replace any worn out washers or O-rings and tighten any loose parts. Once everything is back in place, turn the water supply back on and test the valve for any leaks.DIY Guide for Repairing a Leaking Bathroom Sink Water Shut Off Valve

DIY Guide for Repairing a Leaking Bathroom Sink Water Shut Off Valve


It's important to catch a leaking bathroom sink water shut off valve early on to prevent any potential damage. Some signs to look out for include a constant drip or puddle of water around the valve, difficulty turning the valve, or a sudden increase in your water bill. If you notice any of these signs, it's time to take action.Signs that Your Bathroom Sink Water Shut Off Valve is Leaking


Signs that Your Bathroom Sink Water Shut Off Valve is Leaking

If you don't feel comfortable attempting a repair or replacement yourself, there are still steps you can take to stop a leaking bathroom sink water shut off valve. The first step is to turn off the water supply and drain the pipes. Then, you can try tightening any loose parts or wrapping the valve with plumber's tape. If these methods don't work, it's best to call a professional plumber to fix the issue.Steps to Stop a Leaking Bathroom Sink Water Shut Off Valve
Steps to Stop a Leaking Bathroom Sink Water Shut Off Valve
:max_bytes(150000):strip_icc()/water-shut-off-valve-types-2718739-hero-fff0f5191aeb45d595492f8c9b4b4be2.jpg)

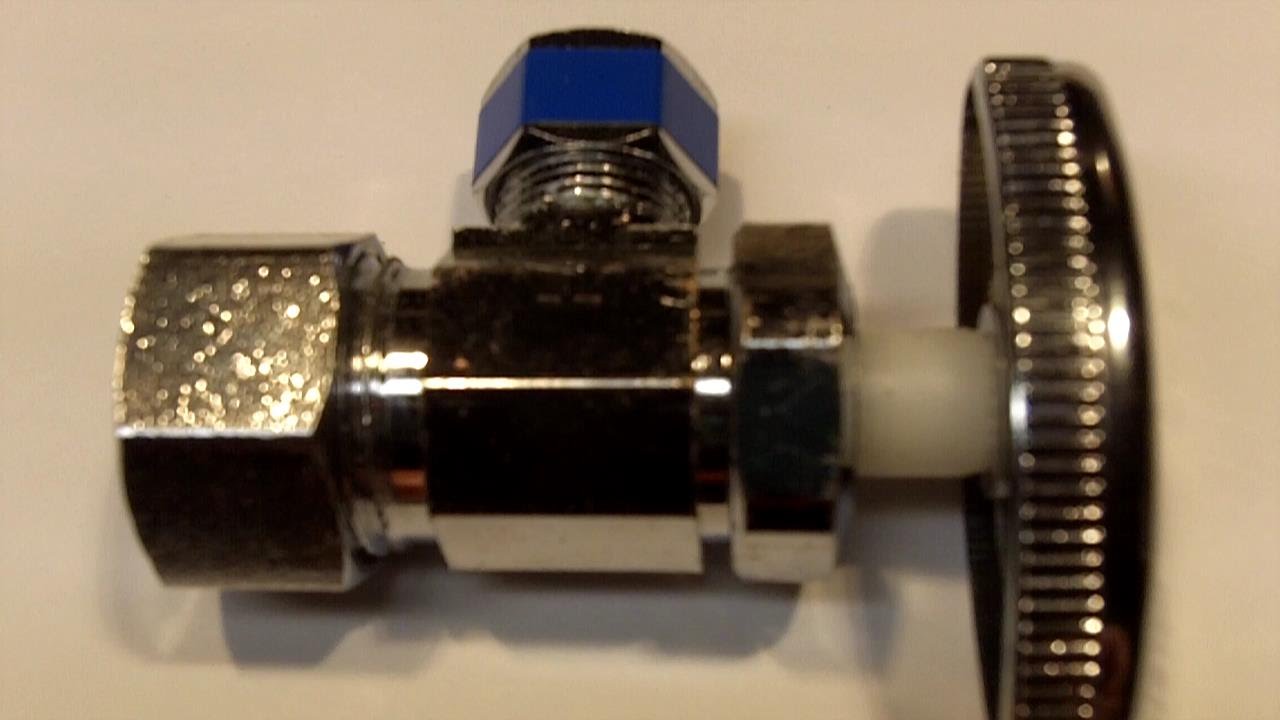
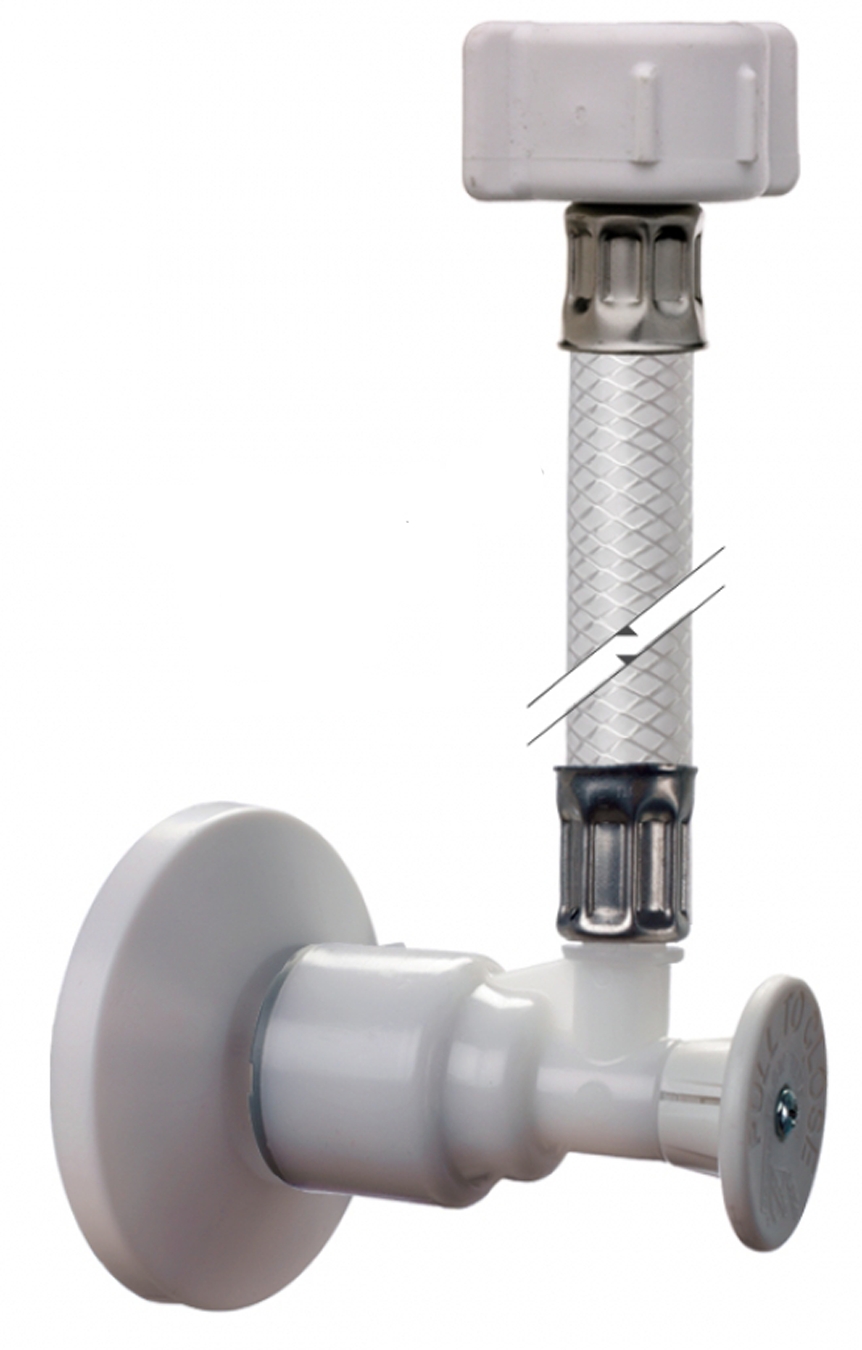
If you do decide to tackle the repair yourself, here are some tools that you'll need to have on hand:Tools Needed to Fix a Leaking Bathroom Sink Water Shut Off Valve

Tools Needed to Fix a Leaking Bathroom Sink Water Shut Off Valve

/cdn.vox-cdn.com/uploads/chorus_image/image/65889227/sink_shutoff_valves_x.0.jpg)


As the saying goes, prevention is better than cure. To avoid dealing with a leaking bathroom sink water shut off valve in the future, here are some tips:How to Prevent a Bathroom Sink Water Shut Off Valve from Leaking

How to Prevent a Bathroom Sink Water Shut Off Valve from Leaking


If you decide to hire a professional plumber to fix your leaking bathroom sink water shut off valve, here are some tips from the experts:Professional Plumbers' Tips for Fixing a Leaking Bathroom Sink Water Shut Off Valve
Professional Plumbers' Tips for Fixing a Leaking Bathroom Sink Water Shut Off Valve


If your bathroom sink water shut off valve is constantly leaking despite your best efforts to fix it, it may be time to replace it. Other signs that it's time for a replacement include difficulty turning the valve, visible corrosion, or frequent repairs. Don't hesitate to call a professional if you're unsure about replacing the valve yourself. Dealing with a leaking bathroom sink water shut off valve can be a frustrating experience, but with the right tools and knowledge, it's a problem that can be easily fixed. Remember to perform regular maintenance and don't hesitate to call a professional if you're unsure about tackling the issue yourself. With these tips, you can keep your bathroom sink water shut off valve in top shape and prevent any future leaks.How to Know When it's Time to Replace Your Bathroom Sink Water Shut Off Valve


How to Know When it's Time to Replace Your Bathroom Sink Water Shut Off Valve


How to Fix a Leaking Bathroom Sink Water Shut Off Valve

Dealing with a leaking bathroom sink water shut off valve can be a frustrating and potentially costly issue for homeowners. Not only does it waste water, but it can also lead to water damage and mold growth if left untreated. Fortunately, fixing a leaking shut off valve is a relatively simple task that can be done without the need for professional help. In this article, we will guide you through the steps to fix a leaking bathroom sink water shut off valve and get your plumbing back in working order.

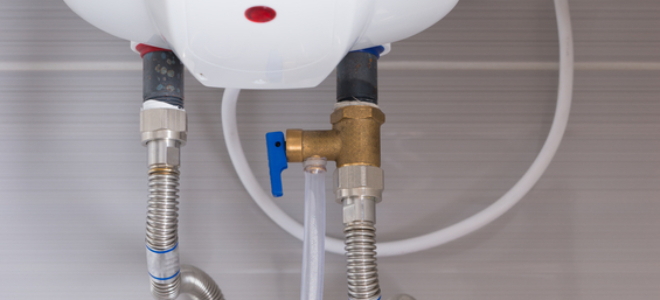
Step 1: Turn off the water supply
The first step in fixing a leaking shut off valve is to turn off the water supply to your bathroom sink. This can usually be done by turning the valve on the main water line in your home. If you have trouble locating the main shut off valve, consult with your water provider or a plumber for assistance.
Step 2: Drain the water from the pipes
Before starting any repairs, make sure to drain the water from the pipes by turning on the faucet and letting the remaining water run out. This will prevent any excess water from spilling out while you work on the shut off valve.
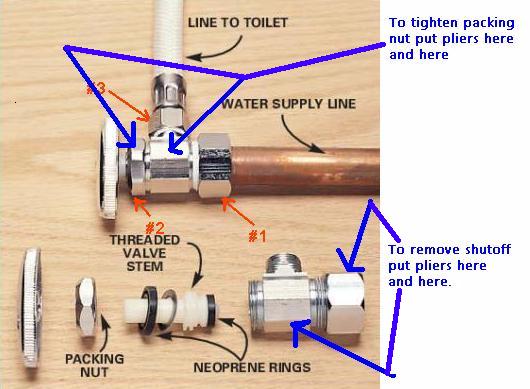
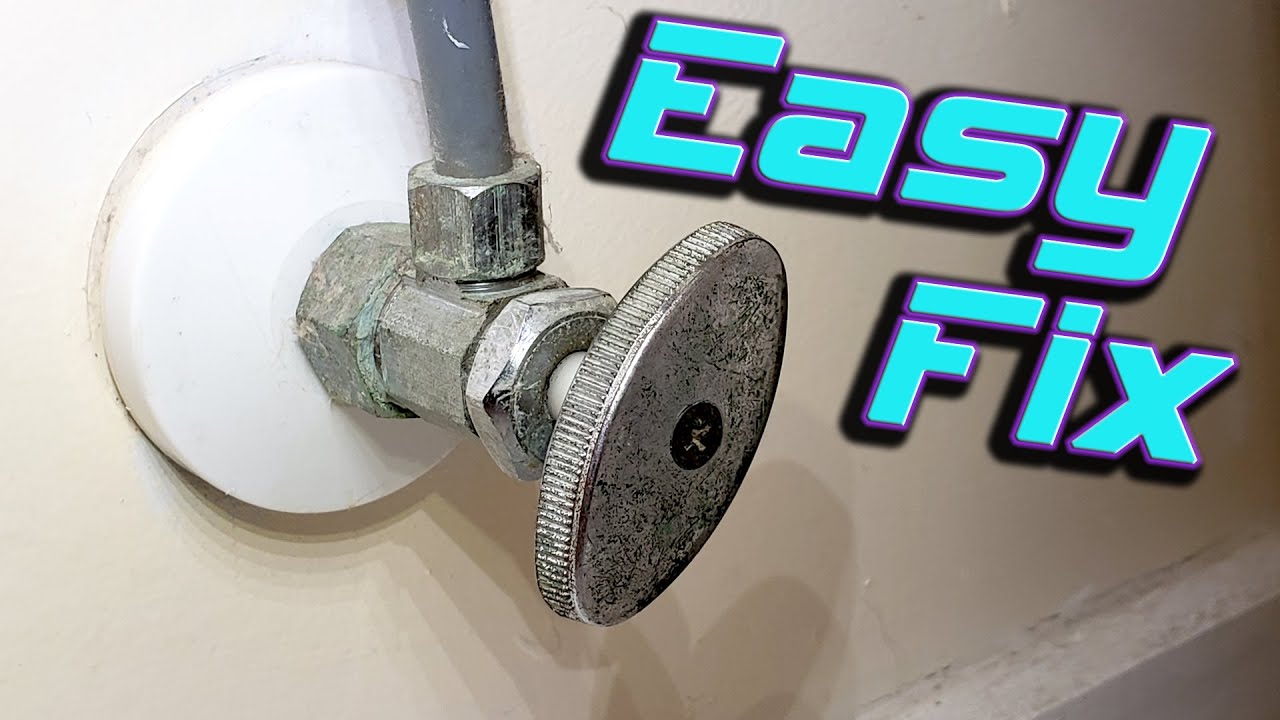
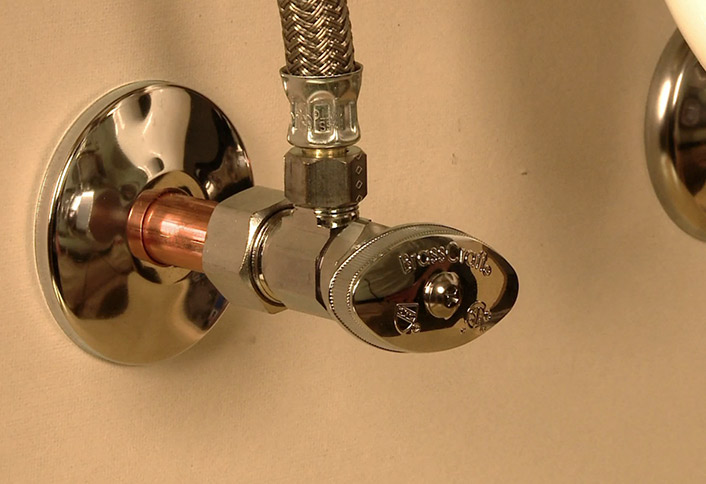
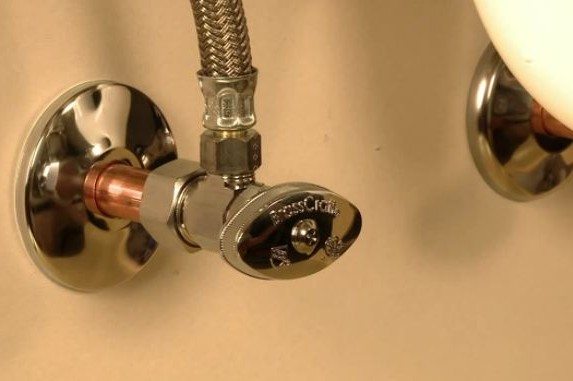
Step 3: Remove the handle and packing nut
Using an adjustable wrench, remove the handle and packing nut from the shut off valve. The packing nut is the round nut located directly under the handle. Set these aside in a safe place as you will need them later.
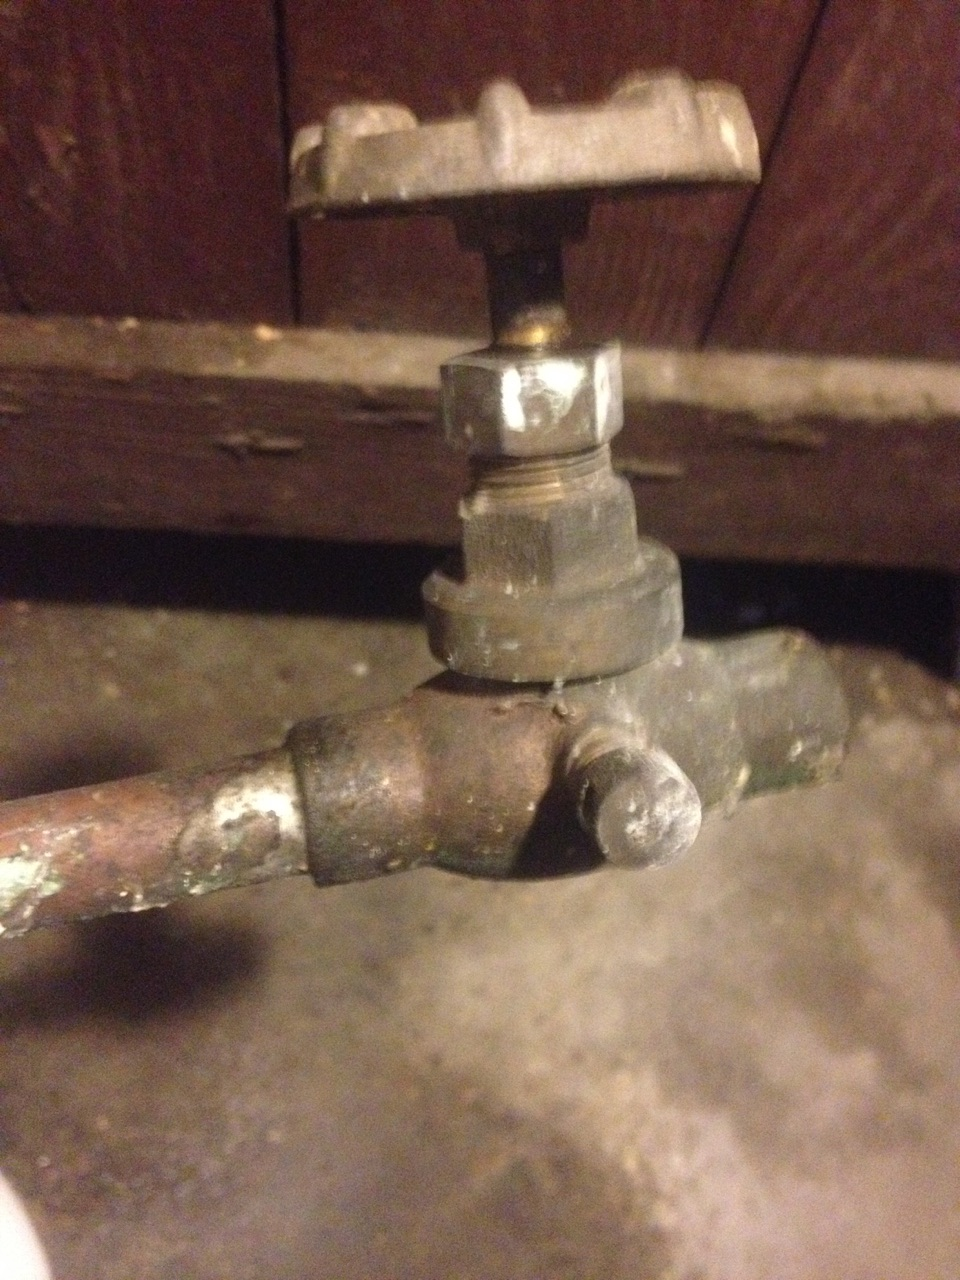
Step 4: Inspect the valve for damage
Once the handle and packing nut are removed, you will be able to see the valve stem. Inspect it for any signs of damage, such as cracks or corrosion. If the valve stem is damaged, it will need to be replaced. Otherwise, you can move on to the next step.
Step 5: Replace the packing washer
The most common cause of a leaking shut off valve is a worn out packing washer. This is a small rubber or plastic washer that creates a seal between the valve stem and the valve body. Using pliers, remove the old packing washer and replace it with a new one. Make sure to tighten the packing nut securely after replacing the washer.
Step 6: Reattach the handle and test the valve
Once the packing washer is replaced, reattach the handle and packing nut to the valve stem. Turn the main water supply back on and test the valve by opening and closing it a few times. If the valve is still leaking, you may need to replace the entire shut off valve.
Fixing a leaking bathroom sink water shut off valve is a simple task that can save you from potential water damage and high water bills. By following these steps, you can easily repair the valve and have your plumbing back in working order in no time. However, if you are unsure of the problem or do not feel confident in fixing it yourself, it is always best to consult with a professional plumber for assistance.
To learn more about home design and maintenance, check out our other articles on our website.