Installing a bathroom sink drain flange may seem like a daunting task, but with the right tools and knowledge, it can be a quick and easy DIY project. In this article, we will provide a step-by-step guide on how to install a bathroom sink drain flange, as well as tips and tricks for a successful installation.How to Install a Bathroom Sink Drain Flange


How to Install a Bathroom Sink Drain Flange


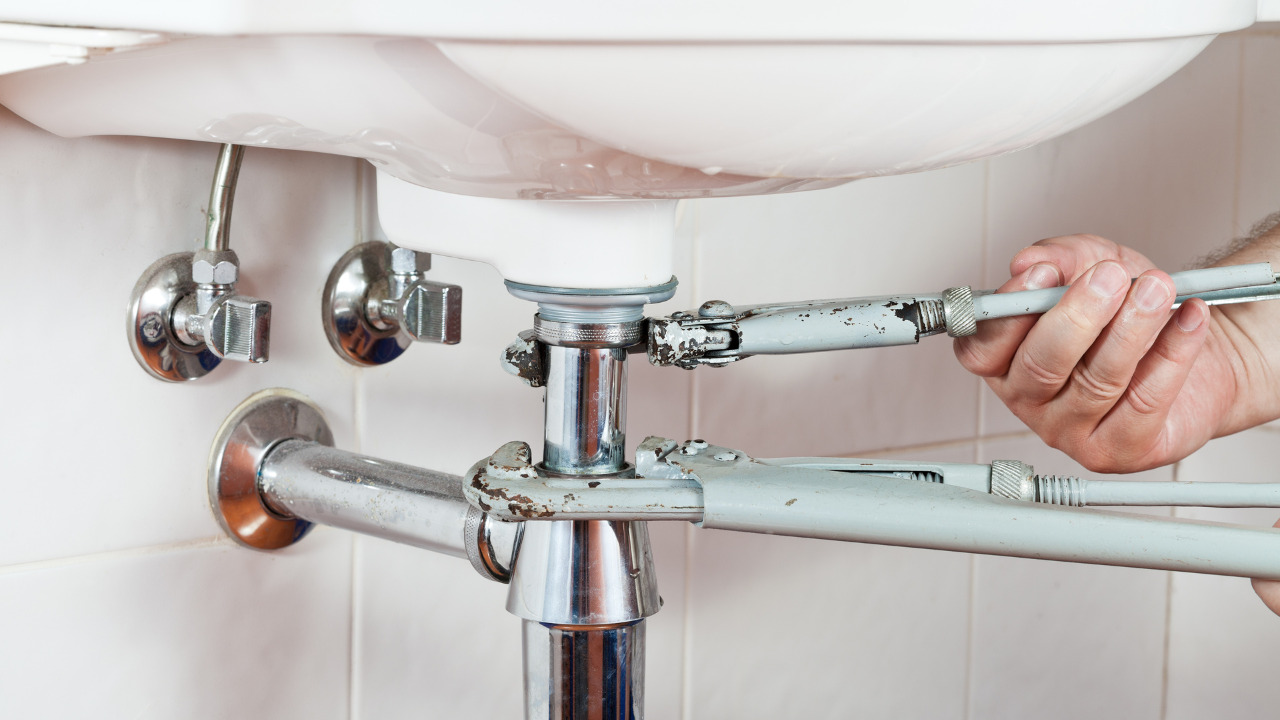
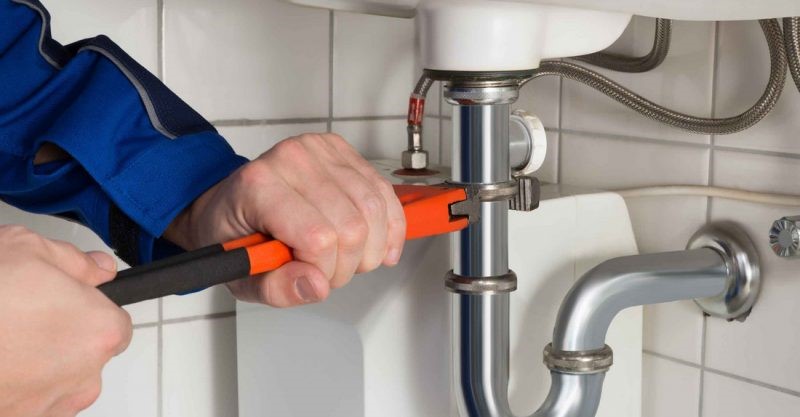
If your current bathroom sink drain flange is damaged or outdated, replacing it is a simple and cost-effective solution. Follow these steps to replace your bathroom sink drain flange: 1. Remove the old drain flange: Use pliers or a drain key to loosen and remove the old drain flange. You may need to use a screwdriver to loosen any retaining screws. 2. Clean the area: Use a rag or sponge to clean any debris or buildup around the drain hole. 3. Measure the new flange: Measure the diameter of your drain hole to ensure you purchase the correct size flange. 4. Apply plumber's putty: Roll plumber's putty into a thin rope and wrap it around the underside of the new flange. 5. Install the new flange: Place the new flange into the drain hole and press down firmly. Wipe away any excess putty that squeezes out. 6. Tighten the retaining screws: If your new flange has retaining screws, use a screwdriver to tighten them. This will secure the flange in place. 7. Connect the drain: Connect the drain pipe to the bottom of the flange and tighten it with pliers or a wrench. 8. Test for leaks: Turn on the water and check for any leaks. If there are any, tighten the connections or add more putty as needed. 9. Finish the installation: Once you have confirmed there are no leaks, you can finish the installation by attaching the drain stopper and any other necessary components.How to Replace a Bathroom Sink Drain Flange


How to Replace a Bathroom Sink Drain Flange


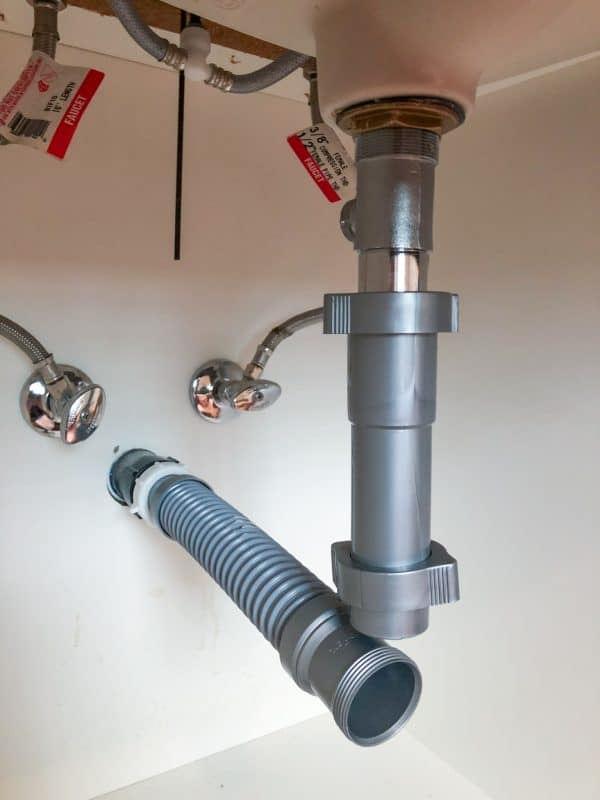
If you are installing a bathroom sink drain flange for the first time, follow these detailed steps for a successful installation: 1. Gather your tools: You will need a pair of pliers, a drain key, a screwdriver, plumber's putty, and a new drain flange. 2. Turn off the water: Before beginning any work, make sure to turn off the water supply to your sink. 3. Remove the old flange: Use pliers or a drain key to remove the old flange. You may need to use a screwdriver to loosen any retaining screws. 4. Clean the area: Wipe away any debris or buildup around the drain hole. 5. Measure the new flange: Measure the diameter of your drain hole to ensure you purchase the correct size flange. 6. Roll out the plumber's putty: Roll out a thin rope of plumber's putty and wrap it around the underside of the new flange. 7. Install the flange: Place the new flange into the drain hole and press down firmly. Wipe away any excess putty. 8. Secure the flange: If your flange has retaining screws, use a screwdriver to tighten them. Otherwise, use pliers to tighten the drain pipe to the bottom of the flange. 9. Test for leaks: Turn on the water and check for any leaks. If there are any, tighten the connections or add more putty as needed. 10. Finish the installation: Once you have confirmed there are no leaks, you can finish the installation by attaching the drain stopper and any other necessary components.Step-by-Step Guide for Installing a Bathroom Sink Drain Flange


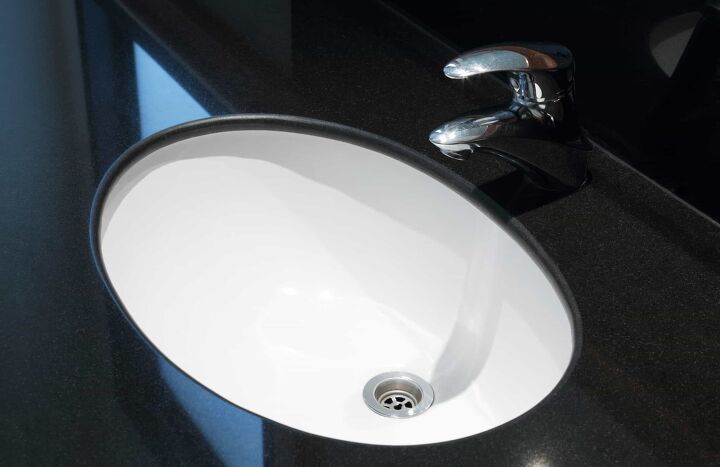
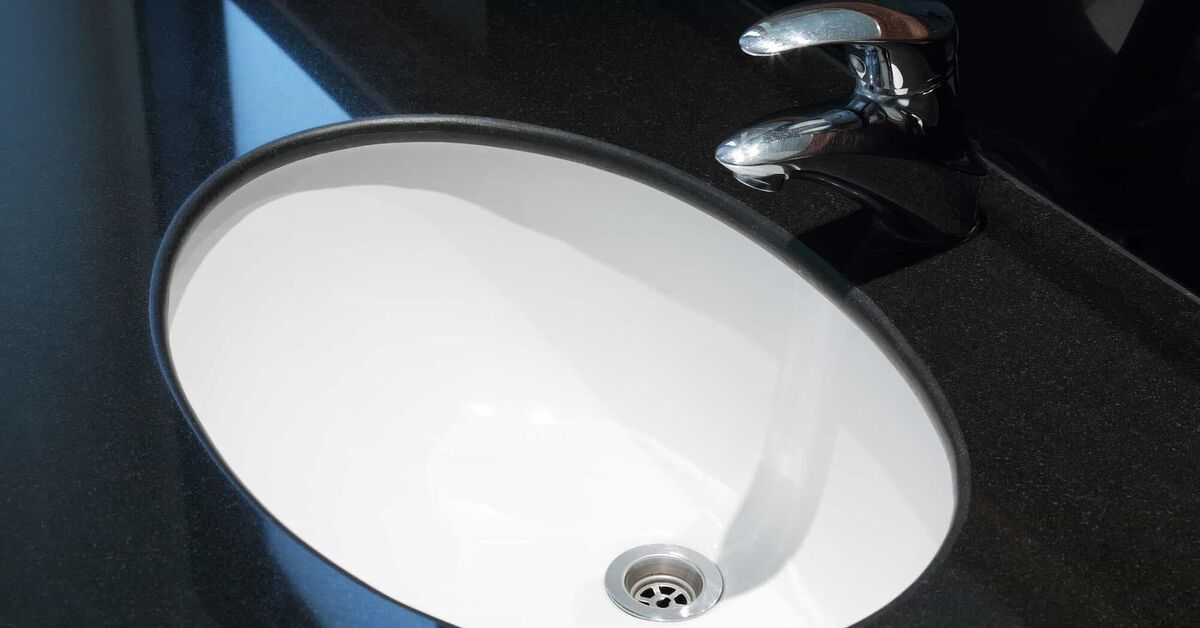
Step-by-Step Guide for Installing a Bathroom Sink Drain Flange


:max_bytes(150000):strip_icc()/bathroom-sink-drain-installation-2718843-02-61e5ecbee1e949be8d8f45ac4f5a6797.jpg)

Installing a bathroom sink drain flange is a DIY-friendly project that can save you time and money. With the right tools and a little bit of patience, you can successfully install a new flange on your own. Follow our step-by-step guide for a hassle-free installation.DIY Bathroom Sink Drain Flange Installation

DIY Bathroom Sink Drain Flange Installation

If you are short on time or simply want a quick and easy installation process, follow these tips: - Purchase a flange with retaining screws for an easier and more secure installation. - Use pre-made plumber's putty instead of rolling it out yourself. - Have all necessary tools and materials ready before starting the installation. - Follow the manufacturer's instructions for the specific flange you are installing.Quick and Easy Bathroom Sink Drain Flange Installation

Quick and Easy Bathroom Sink Drain Flange Installation


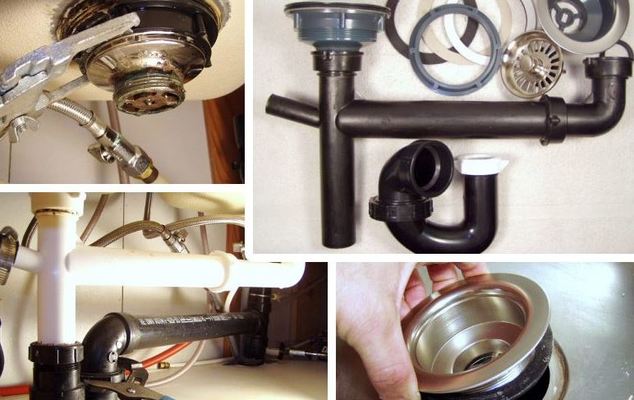
- Pliers or a drain key - Screwdriver - Plumber's putty - New drain flange - Rag or sponge - Wrench (if necessary)Tools and Materials Needed for Bathroom Sink Drain Flange Installation


Tools and Materials Needed for Bathroom Sink Drain Flange Installation
Some common mistakes to avoid when installing a bathroom sink drain flange include: - Forgetting to turn off the water supply before beginning work. - Using too much plumber's putty, which can cause leaks. - Not properly securing the flange, which can cause leaks or a loose drain. - Purchasing the wrong size flange or forgetting to measure the drain hole.Common Mistakes to Avoid When Installing a Bathroom Sink Drain Flange


Common Mistakes to Avoid When Installing a Bathroom Sink Drain Flange


Here are some additional tips and tricks to ensure a successful installation: - Use a hairdryer to soften old putty for easier removal. - Make sure to clean the area thoroughly before installing the new flange. - Use a level to ensure the flange is installed evenly. - Purchase a flange with a universal fit for easier installation.Tips and Tricks for a Successful Bathroom Sink Drain Flange Installation

Tips and Tricks for a Successful Bathroom Sink Drain Flange Installation
Properly sealing a bathroom sink drain flange is crucial to prevent leaks. Here's how to do it: - Use plumber's putty to create a seal between the bottom of the flange and the sink. - Make sure to wipe away any excess putty that squeezes out. - Tighten the flange securely to the sink. - Test for leaks before finishing the installation.How to Properly Seal a Bathroom Sink Drain Flange


How to Properly Seal a Bathroom Sink Drain Flange

If you encounter any issues during the installation process, here are some common troubleshooting tips: - If the flange is too loose, tighten it with pliers or a drain key. - If there are leaks, tighten the connections or add more putty as needed. - If the flange is too tight, loosen it slightly and re-tighten it until it is secure but not overly tight. Conclusion: Installing a bathroom sink drain flange may seem like a daunting task, but with the right tools and knowledge, it can be a quick and easy DIY project. By following our step-by-step guide and tips and tricks, you can successfully install a new flange and have your bathroom sink functioning like new in no time.Troubleshooting Common Issues with Bathroom Sink Drain Flange Installation


Troubleshooting Common Issues with Bathroom Sink Drain Flange Installation


Why Proper Installation of a Bathroom Sink Drain Threaded Flange is Essential for a Functional and Aesthetic House Design

Ensuring a Secure and Leak-Proof Connection
 When it comes to designing a bathroom, every detail matters. From the tiles to the fixtures, everything should come together seamlessly to create a functional and aesthetically pleasing space. However, one important aspect that is often overlooked is the installation of the bathroom sink drain threaded flange. This small but crucial component plays a significant role in ensuring a secure and leak-proof connection between the sink and the drain pipe.
Properly installing a bathroom sink drain threaded flange
is essential for preventing water leaks and potential water damage. The threaded flange acts as a seal between the sink and the drain pipe, preventing any water from seeping out and causing damage to your bathroom walls or floors. It also helps to maintain the integrity of your house design by keeping your bathroom clean and dry.
When it comes to designing a bathroom, every detail matters. From the tiles to the fixtures, everything should come together seamlessly to create a functional and aesthetically pleasing space. However, one important aspect that is often overlooked is the installation of the bathroom sink drain threaded flange. This small but crucial component plays a significant role in ensuring a secure and leak-proof connection between the sink and the drain pipe.
Properly installing a bathroom sink drain threaded flange
is essential for preventing water leaks and potential water damage. The threaded flange acts as a seal between the sink and the drain pipe, preventing any water from seeping out and causing damage to your bathroom walls or floors. It also helps to maintain the integrity of your house design by keeping your bathroom clean and dry.
Creating a Clean and Sleek Look
 Aside from its functional purpose, the threaded flange also contributes to the overall look of your bathroom. With a properly installed flange, the sink will sit flush against the countertop, creating a clean and sleek appearance. On the other hand, a poorly installed flange will result in an uneven and unattractive sink, disrupting the overall design of your bathroom.
By ensuring that the bathroom sink drain threaded flange is installed correctly,
you can achieve a seamless and cohesive look for your bathroom. This attention to detail will not only enhance the aesthetic appeal of your house design but also add value to your home.
Aside from its functional purpose, the threaded flange also contributes to the overall look of your bathroom. With a properly installed flange, the sink will sit flush against the countertop, creating a clean and sleek appearance. On the other hand, a poorly installed flange will result in an uneven and unattractive sink, disrupting the overall design of your bathroom.
By ensuring that the bathroom sink drain threaded flange is installed correctly,
you can achieve a seamless and cohesive look for your bathroom. This attention to detail will not only enhance the aesthetic appeal of your house design but also add value to your home.
Preventing Costly Repairs
 A poorly installed bathroom sink drain threaded flange can lead to more significant problems in the future if left unchecked. Water leaks can cause damage to your bathroom walls, floors, and even the structure of your house. Fixing these issues can be a costly and time-consuming process. Moreover, it can also disrupt the overall flow of your house design.
By taking the time to properly install the bathroom sink drain threaded flange,
you can prevent potential water leaks and avoid expensive repairs in the future. This small investment of time and effort can save you a significant amount of money and hassle in the long run.
In conclusion, the proper installation of a bathroom sink drain threaded flange is crucial for both the functionality and aesthetics of your house design. It ensures a secure and leak-proof connection, maintains a clean and sleek look, and prevents costly repairs. So, make sure to pay attention to this small but essential component when designing or renovating your bathroom.
A poorly installed bathroom sink drain threaded flange can lead to more significant problems in the future if left unchecked. Water leaks can cause damage to your bathroom walls, floors, and even the structure of your house. Fixing these issues can be a costly and time-consuming process. Moreover, it can also disrupt the overall flow of your house design.
By taking the time to properly install the bathroom sink drain threaded flange,
you can prevent potential water leaks and avoid expensive repairs in the future. This small investment of time and effort can save you a significant amount of money and hassle in the long run.
In conclusion, the proper installation of a bathroom sink drain threaded flange is crucial for both the functionality and aesthetics of your house design. It ensures a secure and leak-proof connection, maintains a clean and sleek look, and prevents costly repairs. So, make sure to pay attention to this small but essential component when designing or renovating your bathroom.