Installing a new bathroom sink drain may seem like a daunting task, but with the right tools and instructions, it can be a simple and straightforward process. Whether you are remodeling your bathroom or just need to replace an old drain, you can easily complete this project on your own. In this guide, we will provide you with step-by-step instructions on how to install a bathroom sink drain.How to Install a Bathroom Sink Drain


How to Install a Bathroom Sink Drain


Before you begin, make sure you have all the necessary tools and materials. This includes a new sink drain, plumber's putty, a wrench, and plumber's tape. Once you have everything ready, follow these steps to install your new bathroom sink drain: Step 1: Start by removing the old drain. If you have an existing sink, you will need to disconnect the plumbing and remove the old drain. Use a wrench to unscrew the old drain from the bottom of the sink. Step 2: Clean the area where the old drain was attached. Use a rag to remove any old putty or debris. This will ensure a clean and tight seal for the new drain. Step 3: Apply plumber's putty around the flange of the new drain. Make sure to cover the entire flange with a thin layer of putty. Step 4: Place the new drain into the sink hole and press down firmly. The putty should create a tight seal between the drain and the sink. Step 5: Underneath the sink, secure the drain by screwing on the mounting nut and gasket. Use a wrench to tighten the nut until the drain is firmly in place. Step 6: Connect the drain pipe to the bottom of the sink. Use plumber's tape to ensure a tight seal between the drain and the pipe. Step 7: Test the new drain by running water into the sink. Check for any leaks and tighten the connections if necessary. Step 8: If your sink has an overflow, you will also need to install the overflow drain. This is usually located on the side of the sink near the top. Follow the same steps as above to install the overflow drain.Step-by-Step Bathroom Sink Drain Installation Guide


Step-by-Step Bathroom Sink Drain Installation Guide


Installing a new bathroom sink drain may seem intimidating, but with these step-by-step instructions, you can easily complete the project on your own. By following these simple steps, you can have a new and functional bathroom sink drain in no time.Bathroom Sink Drain Installation Made Easy


Bathroom Sink Drain Installation Made Easy

If you are a DIY enthusiast, installing a bathroom sink drain can be a satisfying and cost-effective project. With the right tools and instructions, you can easily complete this project on your own. By following these simple instructions, you can save money and add a personal touch to your bathroom.DIY Bathroom Sink Drain Installation Instructions


DIY Bathroom Sink Drain Installation Instructions


Installing a new bathroom sink drain may seem like a time-consuming and difficult task, but with the right tools and instructions, it can be a quick and easy process. By following these simple steps, you can have a new bathroom sink drain installed in just a few minutes.Quick and Easy Bathroom Sink Drain Installation


Quick and Easy Bathroom Sink Drain Installation


Are you looking for a comprehensive guide on how to install a bathroom sink drain? Look no further! In this tutorial, we have provided you with detailed instructions and tips on how to successfully install a new drain. By following these steps, you can have a fully functional bathroom sink in no time.Complete Bathroom Sink Drain Installation Tutorial


Complete Bathroom Sink Drain Installation Tutorial
Installing a bathroom sink drain can seem like a daunting task, but with these effortless tips, you can make the process much easier. From choosing the right tools to properly sealing the drain, these tips will help you successfully complete the installation with ease.Effortless Bathroom Sink Drain Installation Tips
Effortless Bathroom Sink Drain Installation Tips


With the right tools and instructions, you can easily master the art of installing a bathroom sink drain. In just 10 simple steps, you can have a new and functional drain in your bathroom. Follow these steps carefully and you'll be a pro at installing sink drains in no time.Mastering Bathroom Sink Drain Installation in 10 Steps


Mastering Bathroom Sink Drain Installation in 10 Steps


If you want to ensure a successful and hassle-free installation of your bathroom sink drain, it's always helpful to have some expert tips. From choosing the right materials to avoiding common mistakes, these tips will guide you through the process and help you achieve professional results.Expert Tips for Installing a Bathroom Sink Drain

Expert Tips for Installing a Bathroom Sink Drain
:max_bytes(150000):strip_icc()/bathroom-sink-drain-installation-2718843-02-61e5ecbee1e949be8d8f45ac4f5a6797.jpg)


If you're looking for a comprehensive and detailed guide on how to install a bathroom sink drain, you've come to the right place. This ultimate guide covers everything from tools and materials to step-by-step instructions, making it the perfect resource for anyone tackling this project.Ultimate Guide to Bathroom Sink Drain Installation

Ultimate Guide to Bathroom Sink Drain Installation
:no_upscale()/cdn.vox-cdn.com/uploads/chorus_asset/file/19495086/drain_0.jpg)
How to Properly Install a Bathroom Sink Drain: A Step-by-Step Guide

Introduction
 Installing a new bathroom sink can be a great way to update the look of your bathroom and add value to your home. However, it's important to not overlook the importance of properly installing the sink drain. A poorly installed sink drain can lead to leaks, clogs, and other plumbing issues. In this article, we will walk you through the steps of installing a bathroom sink drain, so you can confidently tackle this project and achieve a professional-looking result.
Gather Your Tools and Materials
 Before beginning the installation process, make sure you have all the necessary tools and materials. This includes a new sink drain, plumber's putty, a pipe wrench, plumber's tape, and a bucket or towel to catch any water. It's also helpful to have a friend or family member to assist you with holding the sink in place during the installation.
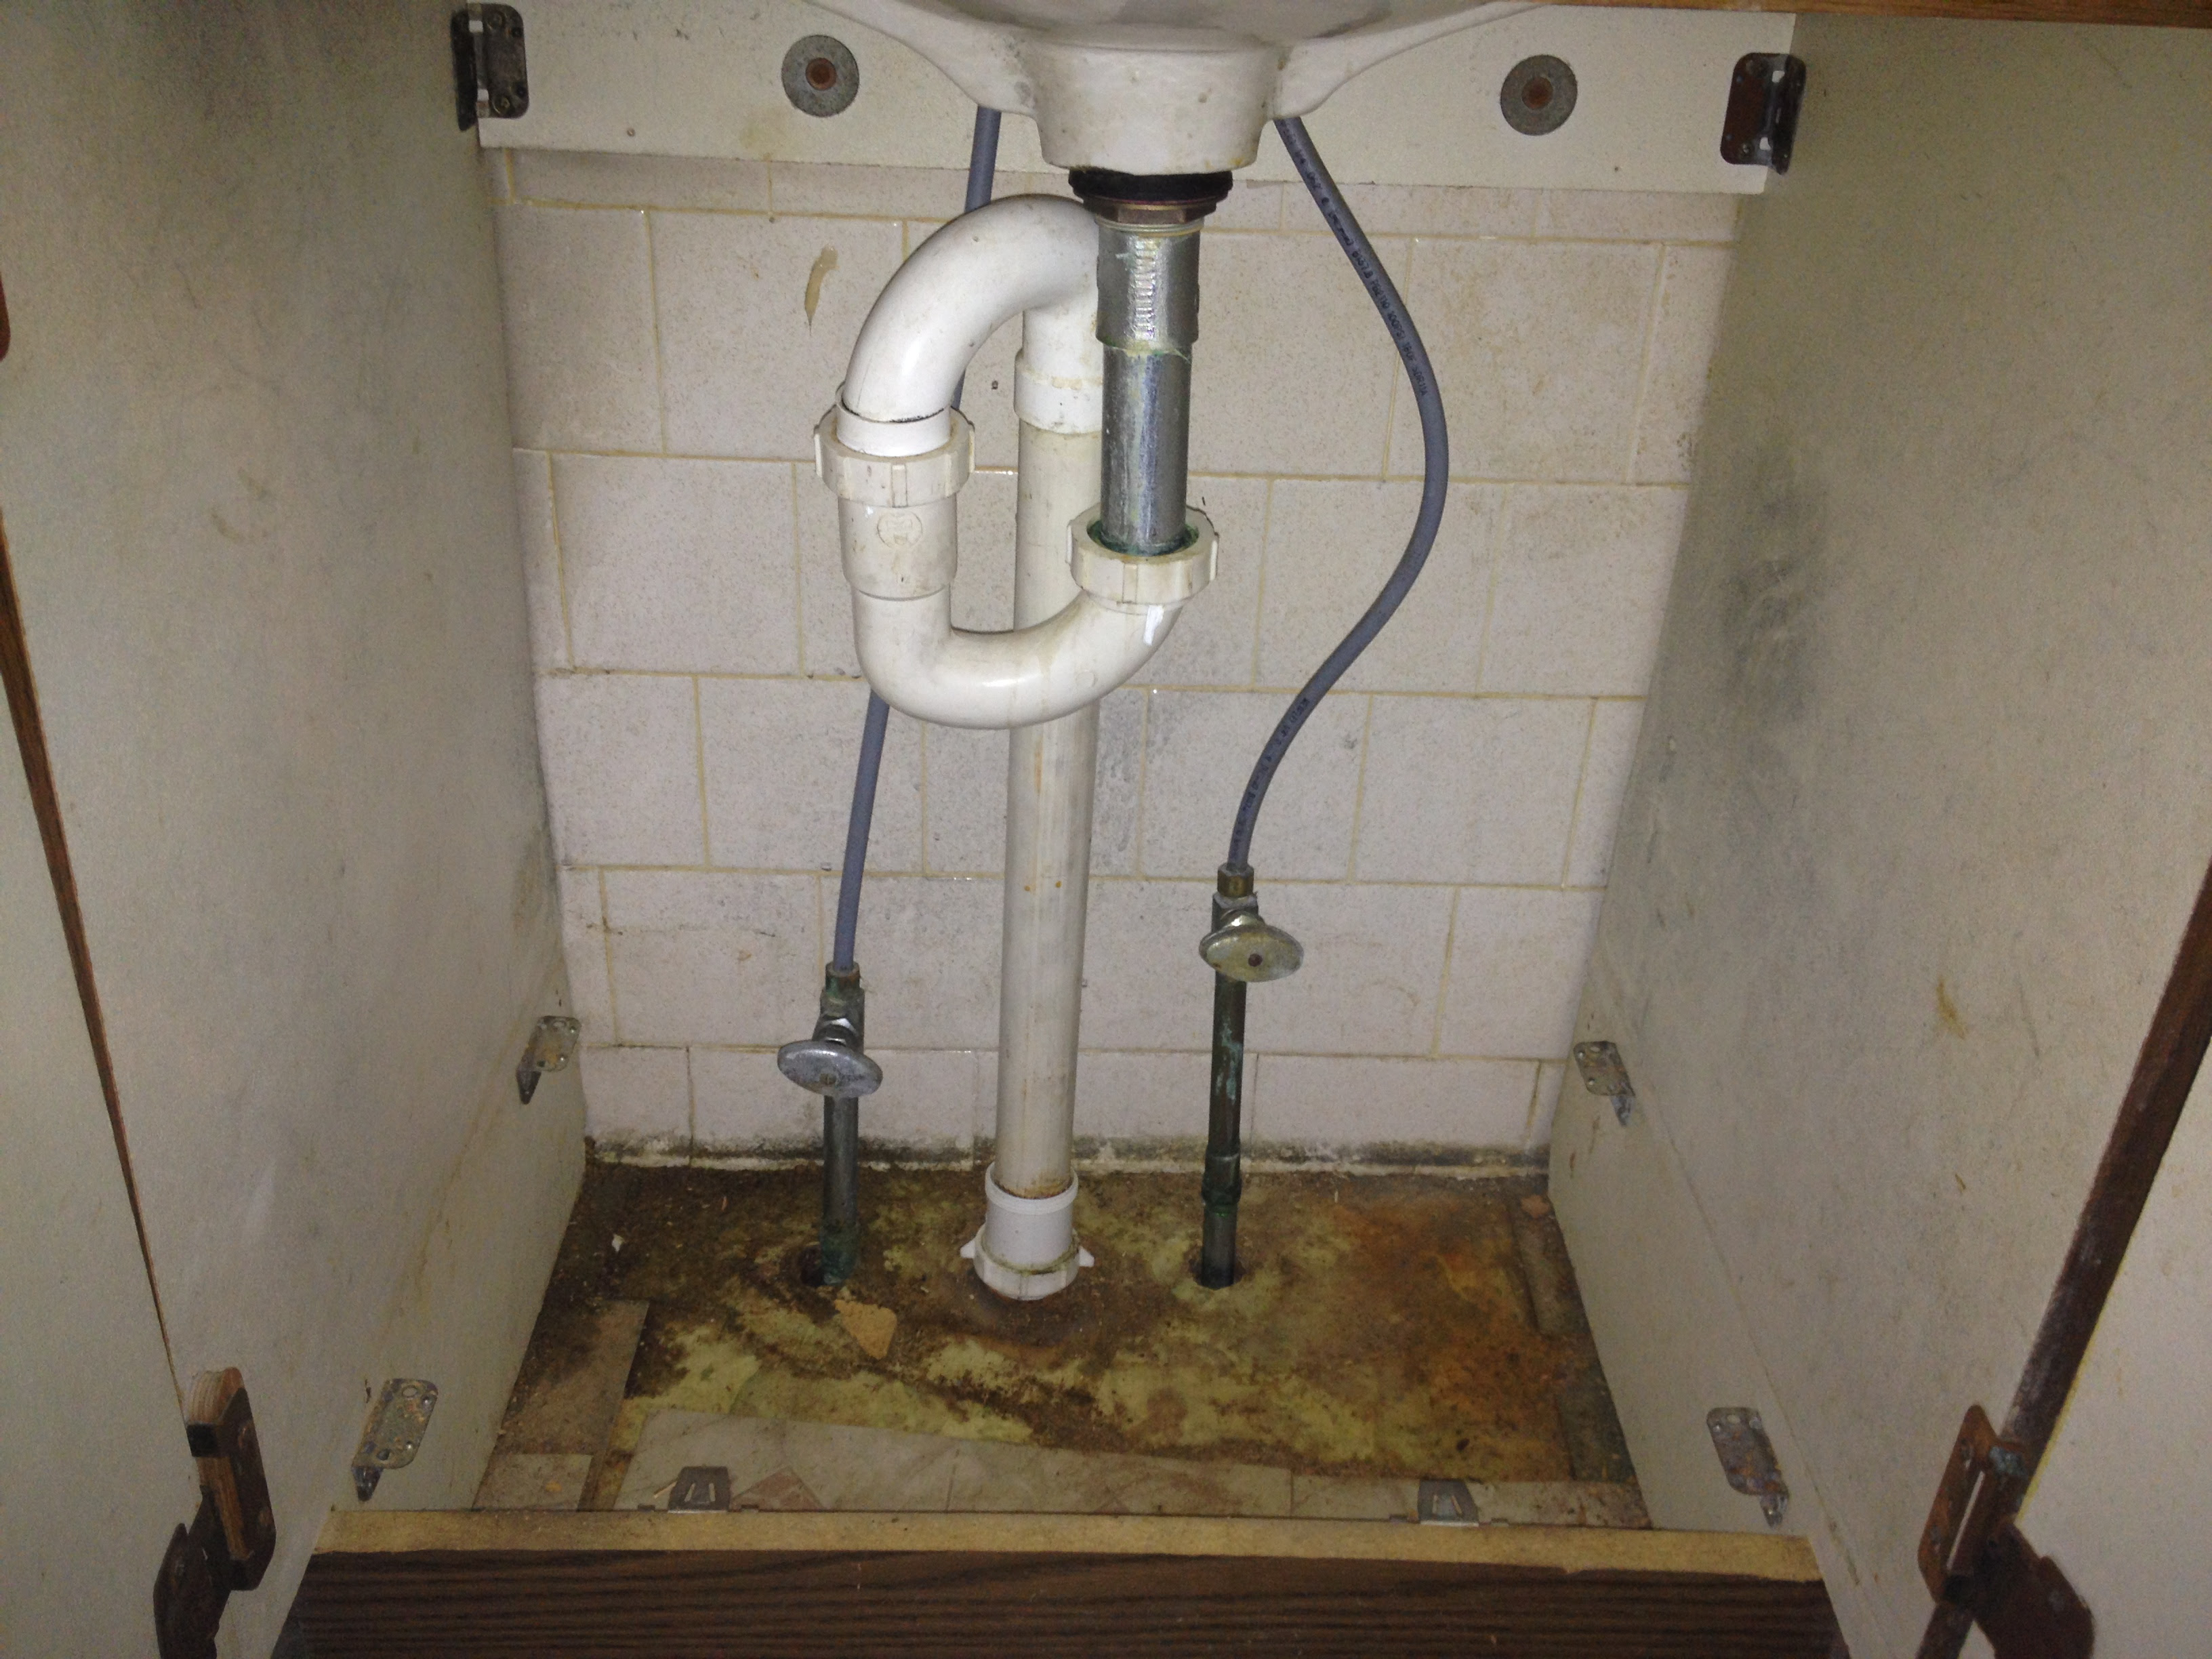
Step 1: Remove the Old Sink Drain
 If you are replacing an old sink, the first step is to remove the old sink drain. This can usually be done by loosening the slip nut connecting the drain to the main plumbing line with a pipe wrench. Once the nut is loosened, the drain should easily come free. Use a towel or bucket to catch any excess water that may drain out.
Step 2: Prepare the New Sink Drain
 Before installing the new sink drain, make sure it is clean and free of any debris. Apply a thin layer of
plumber's putty
around the underside of the drain flange. This will help create a watertight seal between the drain and the sink.
Before installing the new sink drain, make sure it is clean and free of any debris. Apply a thin layer of
plumber's putty
around the underside of the drain flange. This will help create a watertight seal between the drain and the sink.
Step 3: Insert the Sink Drain
 Carefully insert the new sink drain into the drain hole in the sink. Make sure it sits flush against the bottom of the sink. If necessary, have someone assist you with holding the sink in place while you work.
Step 4: Secure the Drain
 Once the drain is in place, secure it by tightening the slip nut with a pipe wrench. Be careful not to overtighten, as this can cause damage to the sink or drain.
Step 5: Connect the Drain to the Main Plumbing Line
 Next, use plumber's tape to create a tight seal between the sink drain and the main plumbing line. Wrap the tape around the threads of the drain pipe and the main plumbing line before connecting them with a slip nut.
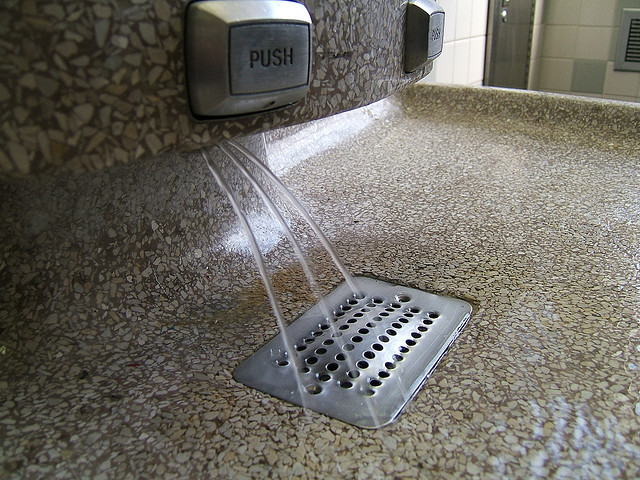
Step 6: Test for Leaks
/bathroom-sink-drain-installation-2718843-01-4955fe1f576b447a91abe51c126d220b.jpg) After completing the installation, turn on the water supply and let it run for a few minutes. Check for any leaks around the sink drain and make any necessary adjustments to ensure a tight seal.
After completing the installation, turn on the water supply and let it run for a few minutes. Check for any leaks around the sink drain and make any necessary adjustments to ensure a tight seal.
Conclusion
/bathroom-sink-drain-installation-2718843-03-6fee5b9d9f7d475abfe06a95ddb1f695.jpg) Installing a bathroom sink drain may seem like a daunting task, but by following these steps you can successfully complete the project with ease. Remember to take your time and use the right tools and materials for a professional-looking result. Now that you have a new bathroom sink drain installed, sit back and enjoy your updated bathroom!
Installing a bathroom sink drain may seem like a daunting task, but by following these steps you can successfully complete the project with ease. Remember to take your time and use the right tools and materials for a professional-looking result. Now that you have a new bathroom sink drain installed, sit back and enjoy your updated bathroom!