The bathroom sink is an essential part of any bathroom, and its drain assembly ensures that water flows properly and keeps the sink clean and functional. However, over time, the drain assembly may become worn out or clogged, leading to leaks and other issues. In such cases, it becomes necessary to replace the bathroom sink drain assembly. In this article, we will discuss the top 10 bathroom sink drain assembly replacements that can help you maintain a functional and leak-free sink. Introduction


Bathroom Sink Drain Assembly Replacement
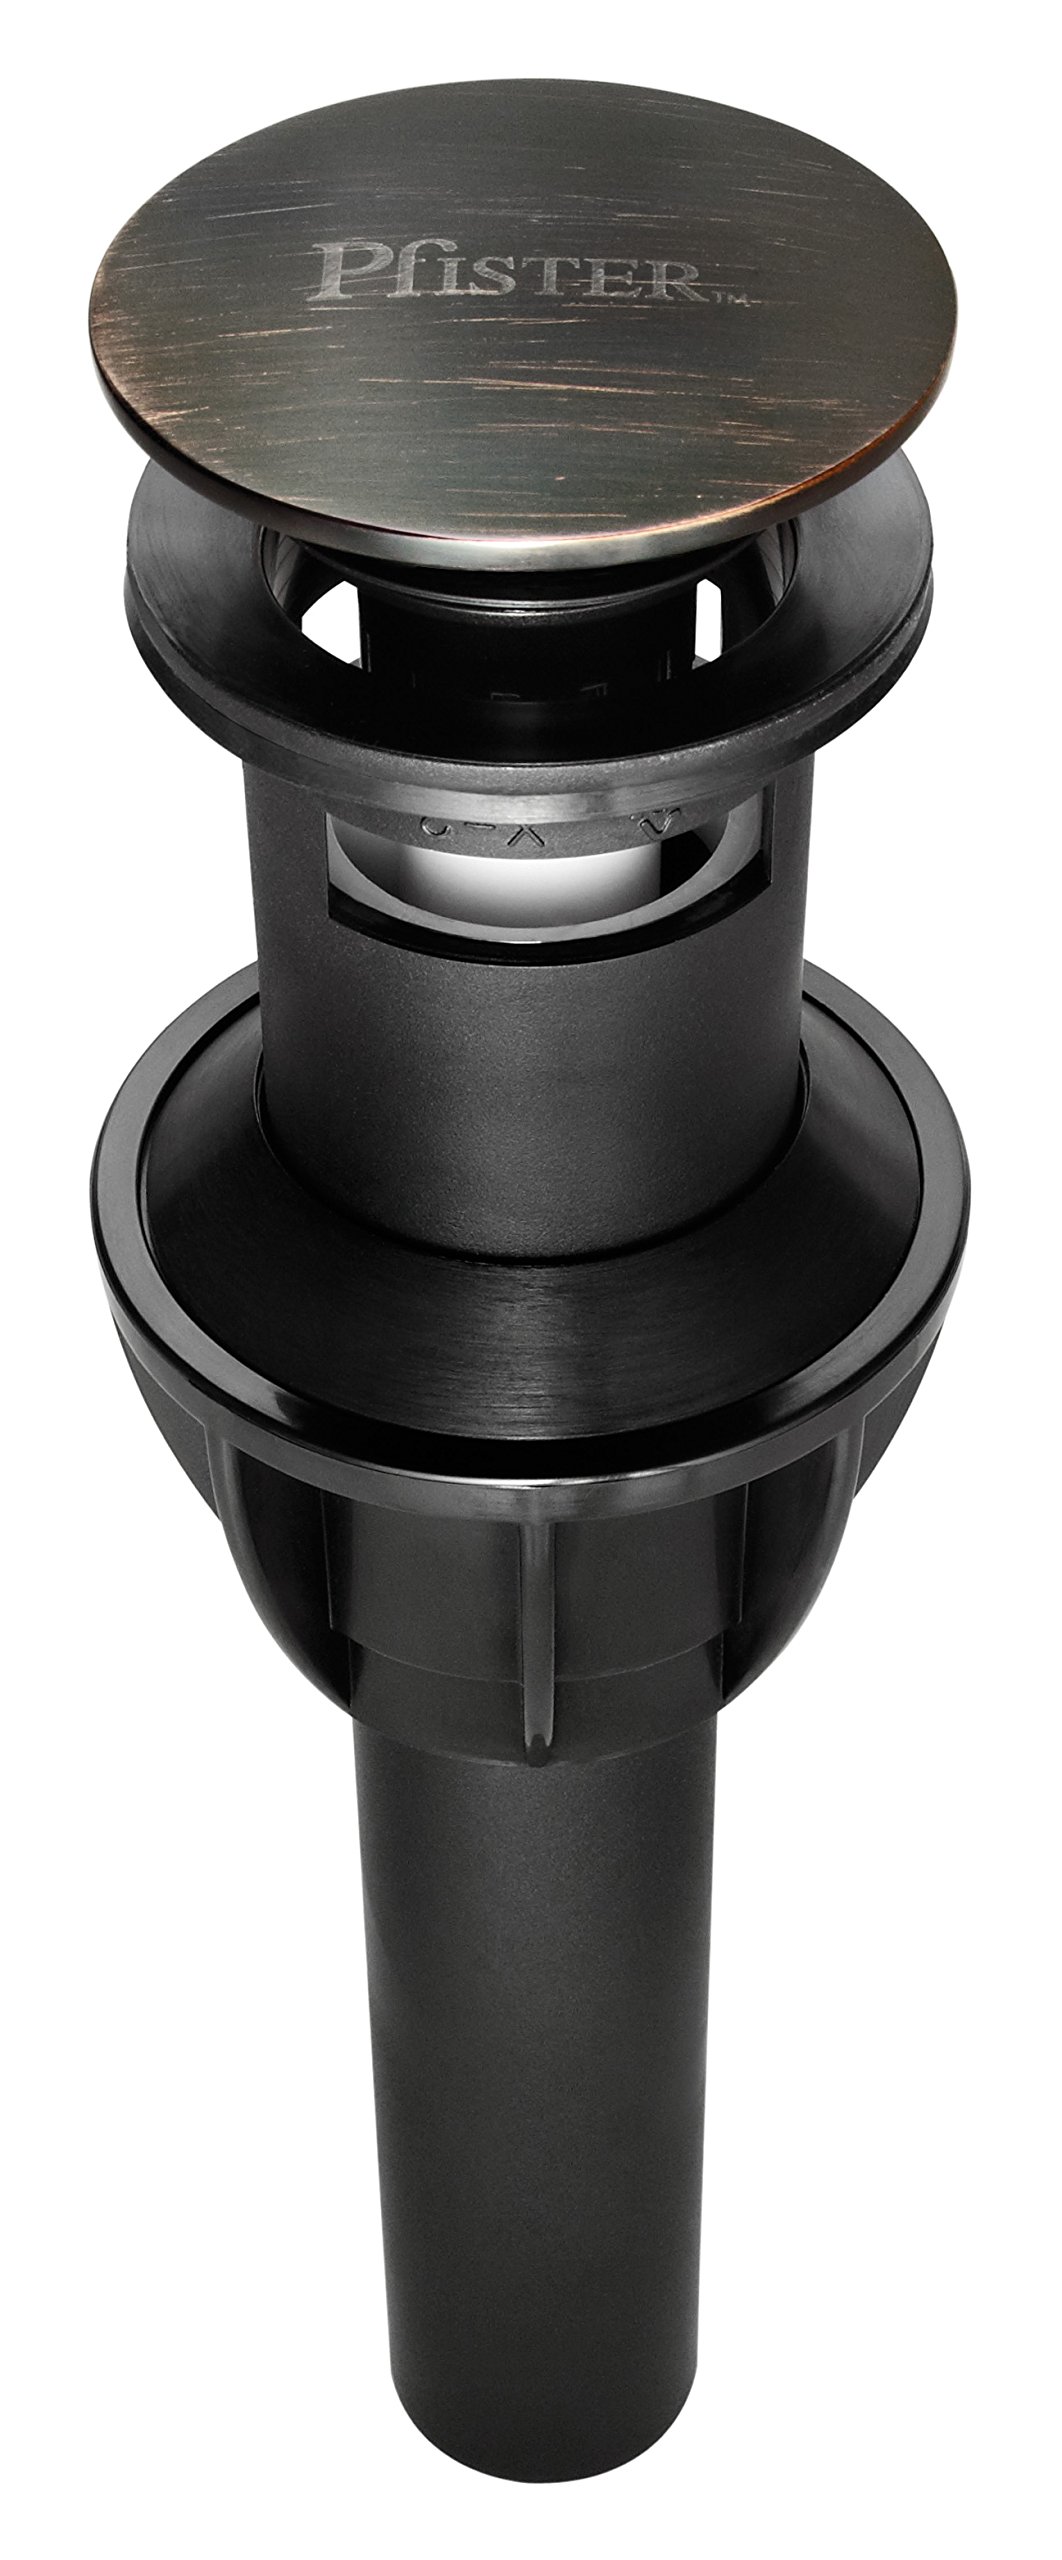
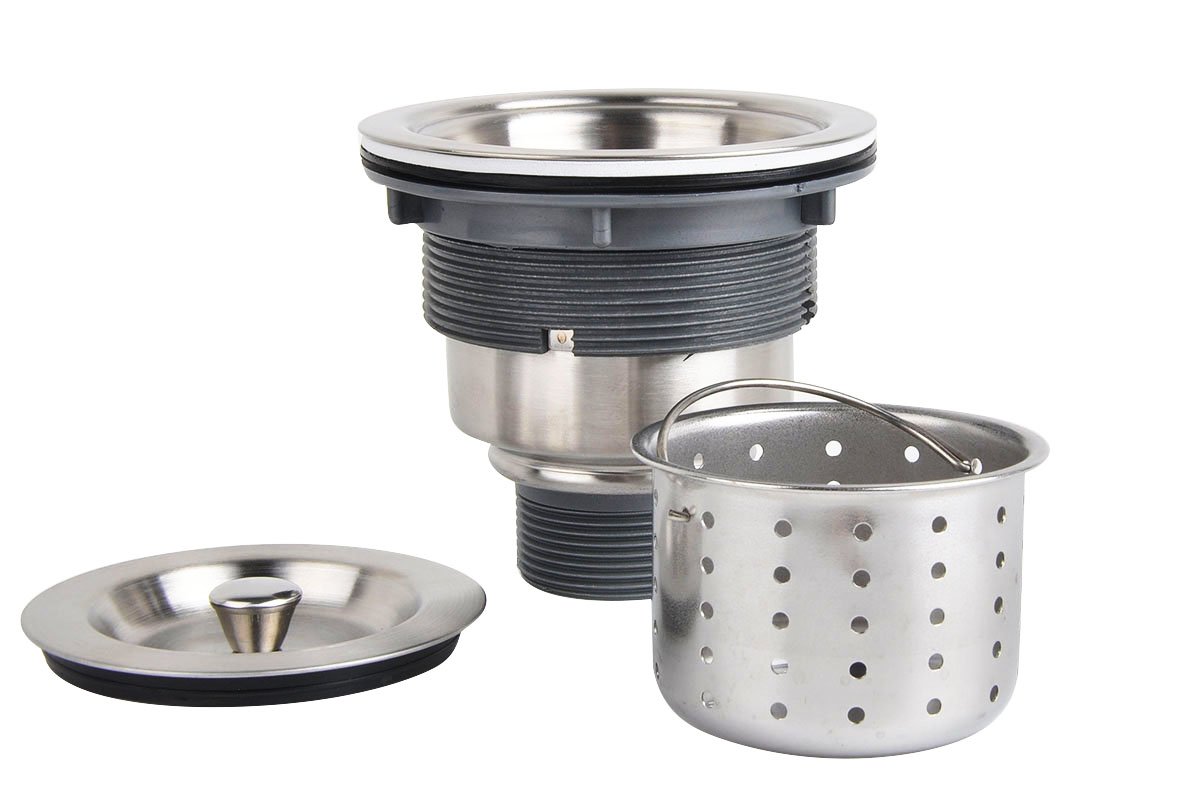
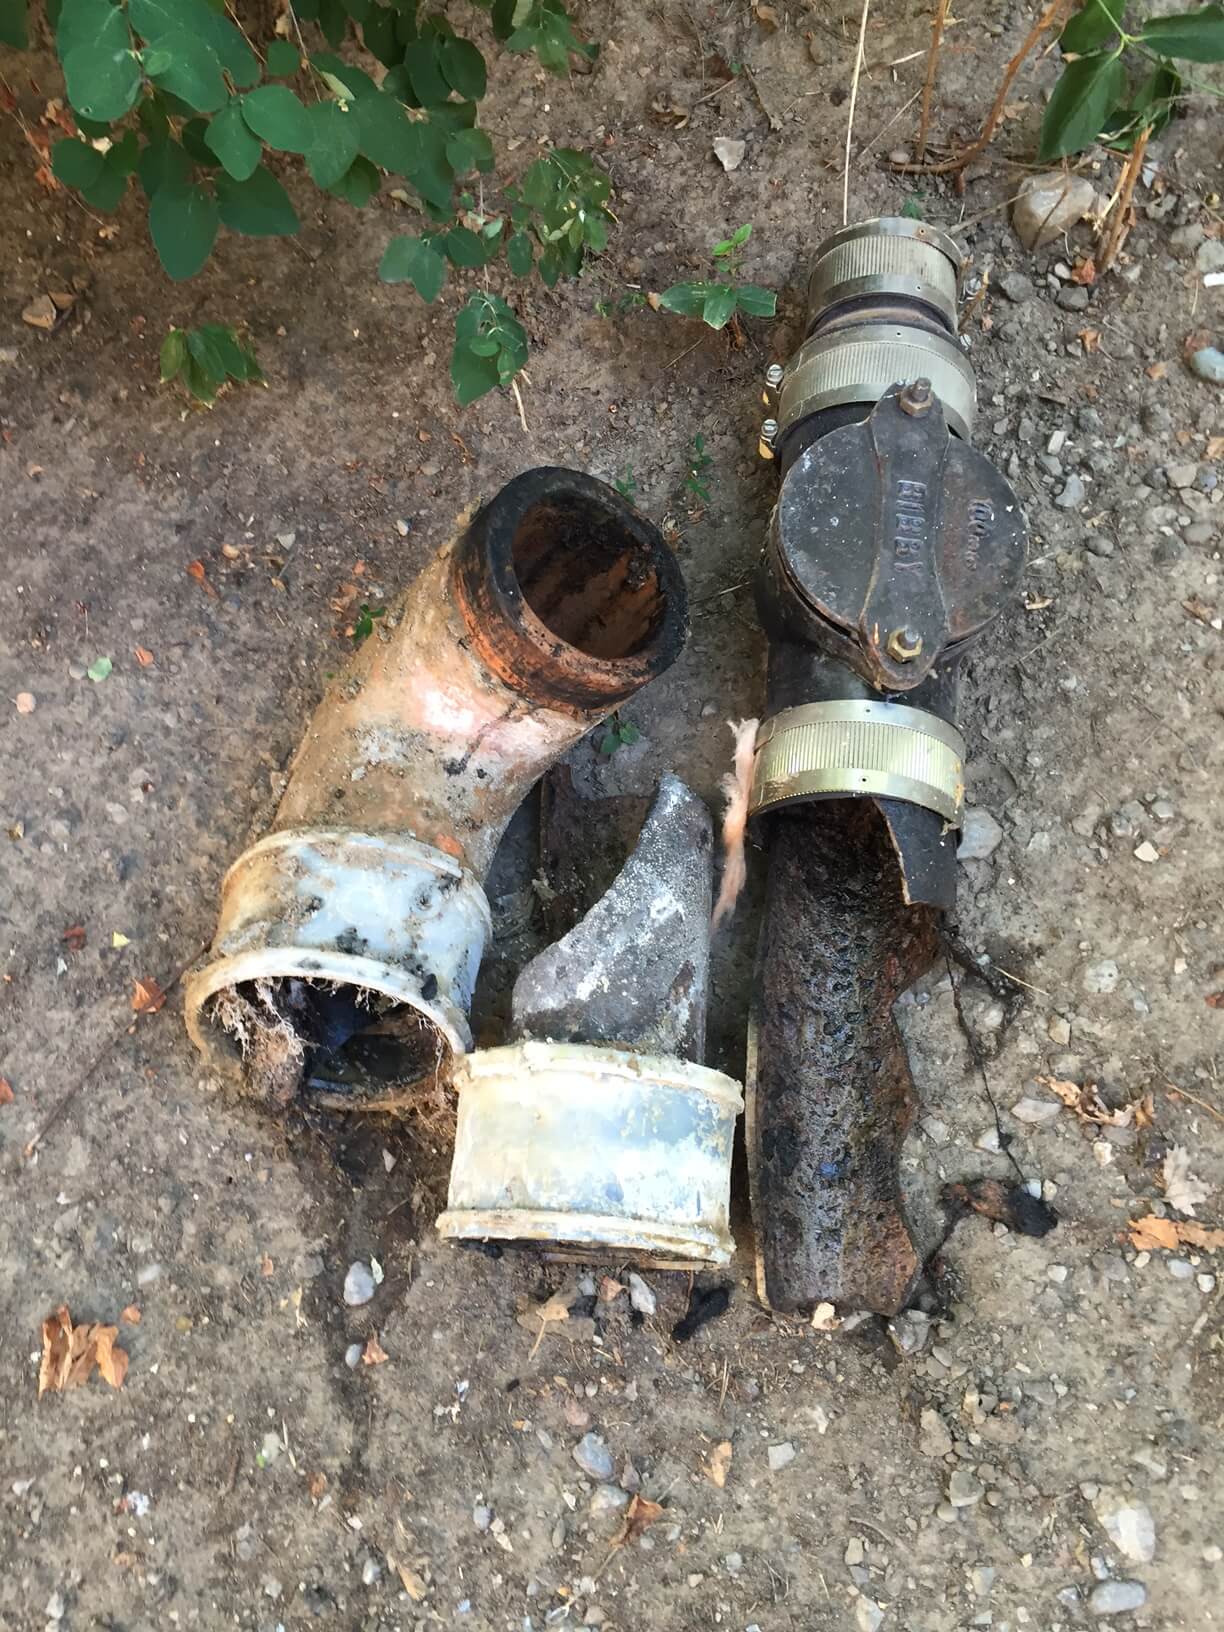
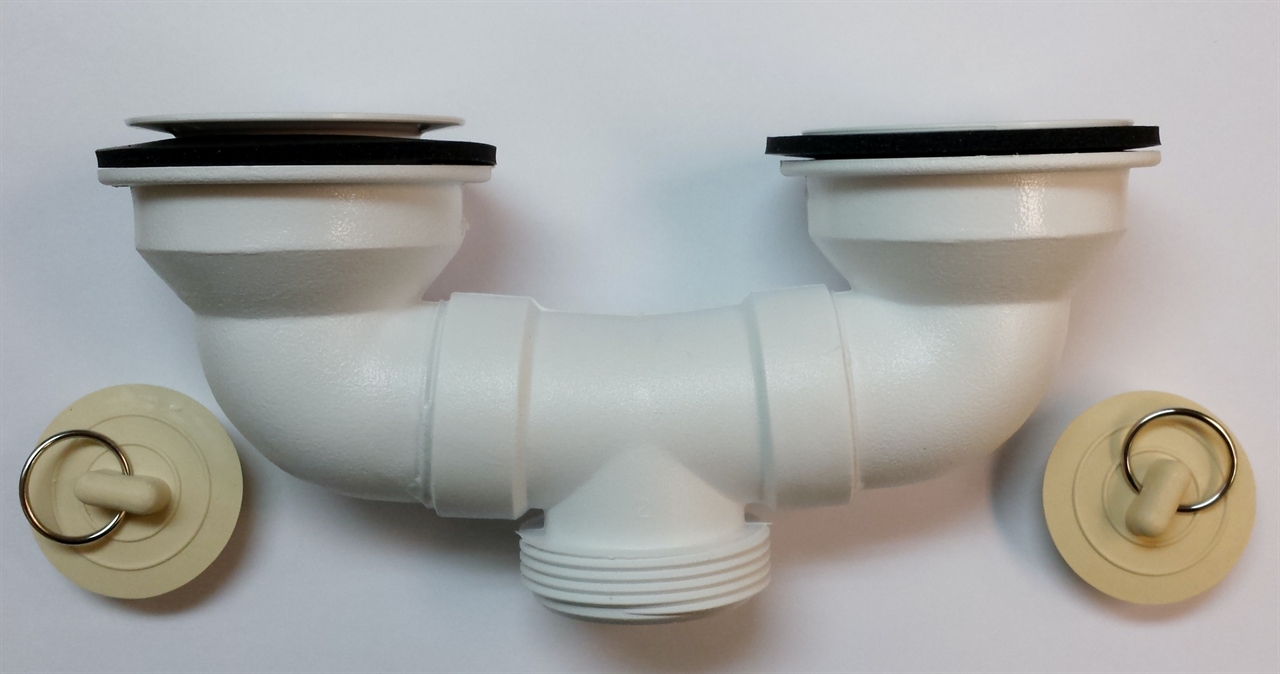
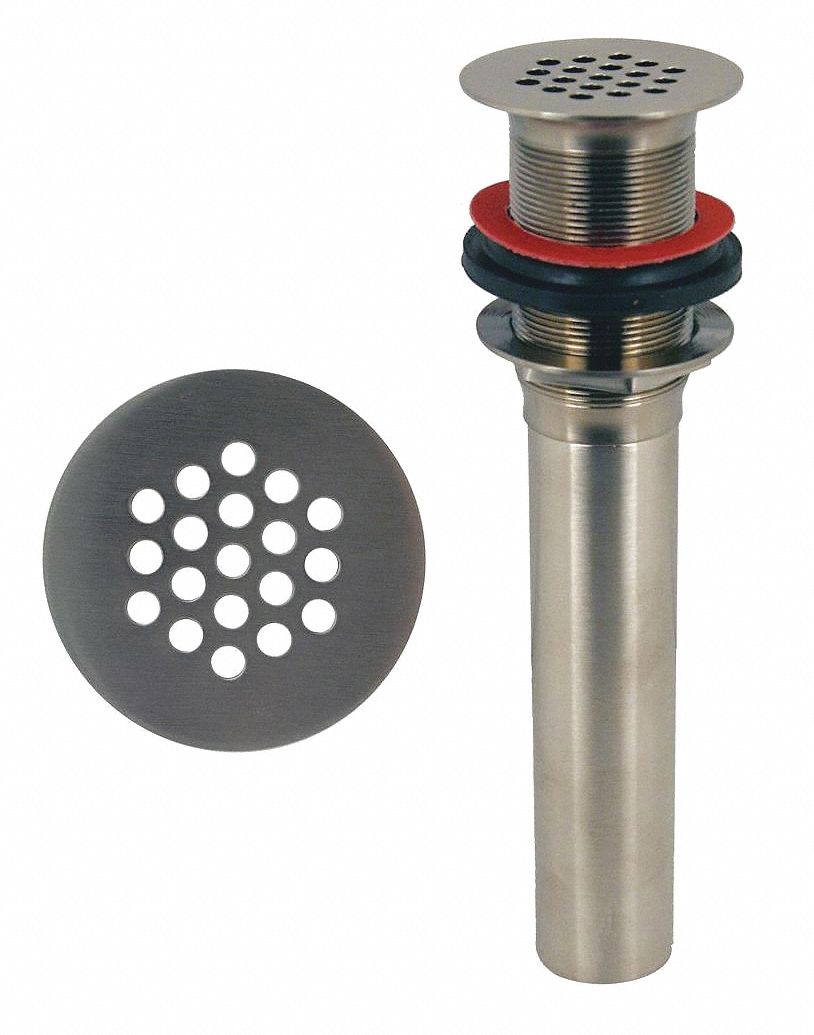
One of the most common reasons for replacing the bathroom sink drain assembly is wear and tear. Over time, the parts of the assembly, such as the stopper, strainer, and tailpiece, may become rusted, cracked, or clogged, leading to leaks and other issues. Replacing the entire assembly is the best solution in such cases, and there are many options available in the market. 1. Bathroom Sink Drain Assembly Replacement


Bathroom Sink Drain Replacement


If only the drain itself is causing issues, then you can opt for a bathroom sink drain replacement instead of replacing the entire assembly. A replacement drain can easily be installed using the existing assembly, and it can help fix issues such as clogs or leaks. 2. Bathroom Sink Drain Replacement

Bathroom Sink Assembly Replacement


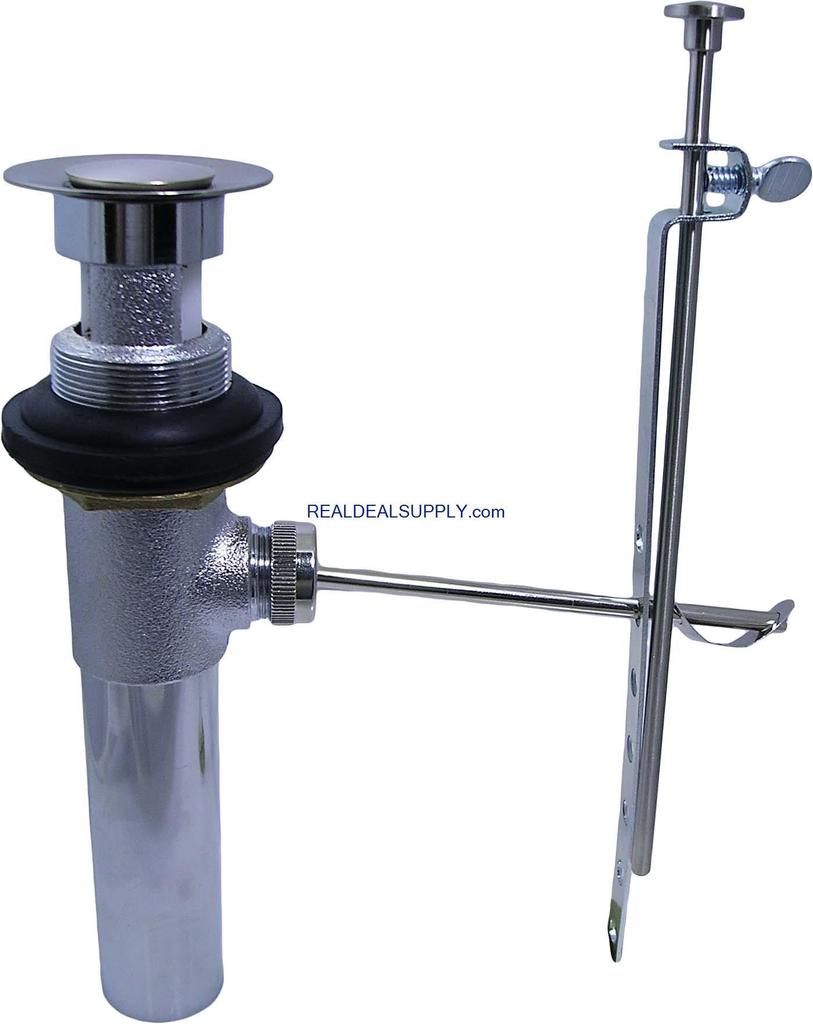
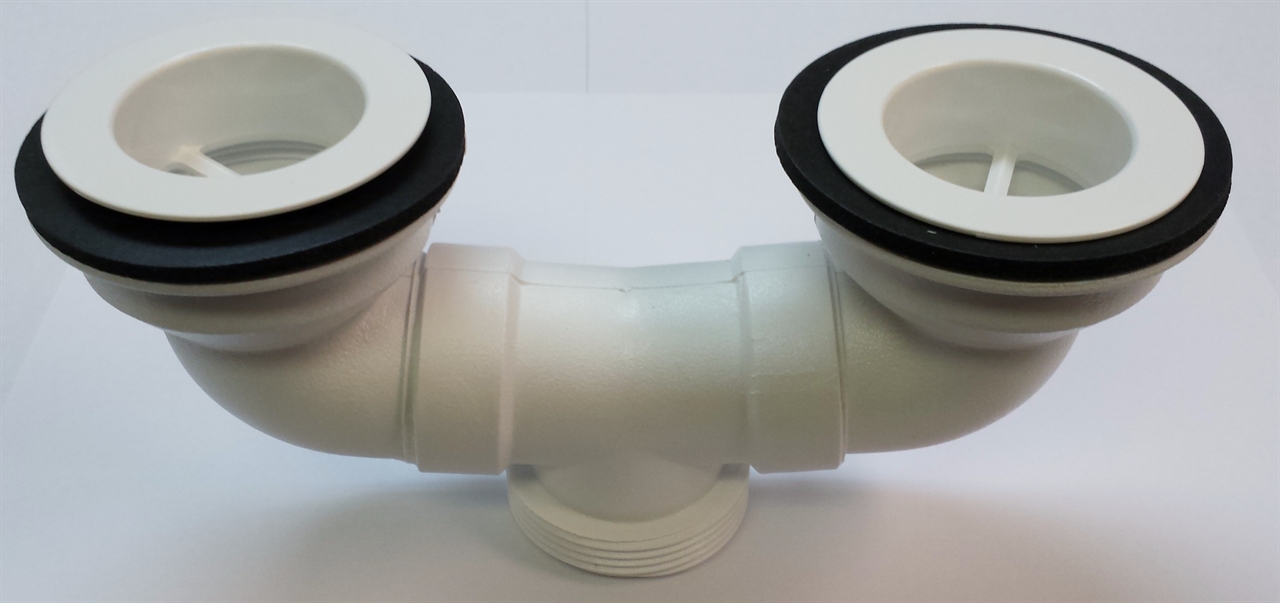
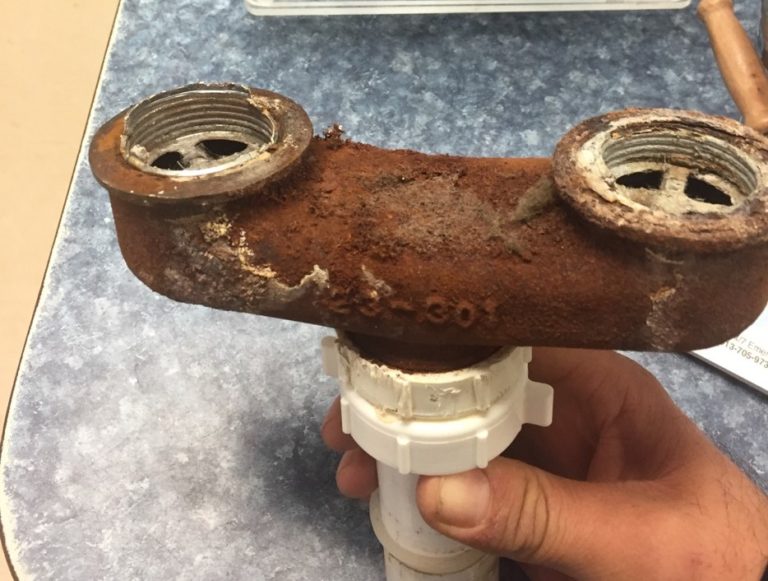
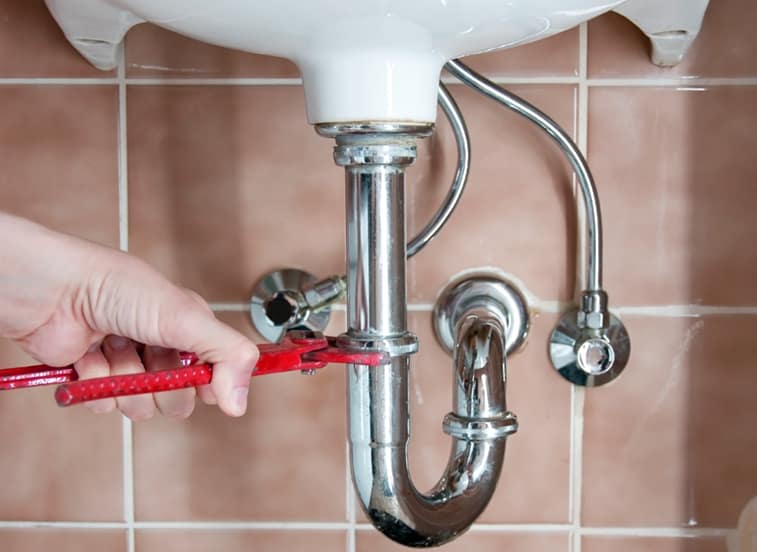
The bathroom sink assembly includes all the parts that connect the sink to the drainage system, such as the drain, trap, and tailpiece. If any of these components are damaged or worn out, it can lead to leaks and other problems. In such cases, replacing the entire assembly can help ensure that the sink functions properly. 3. Bathroom Sink Assembly Replacement


Sink Drain Assembly Replacement


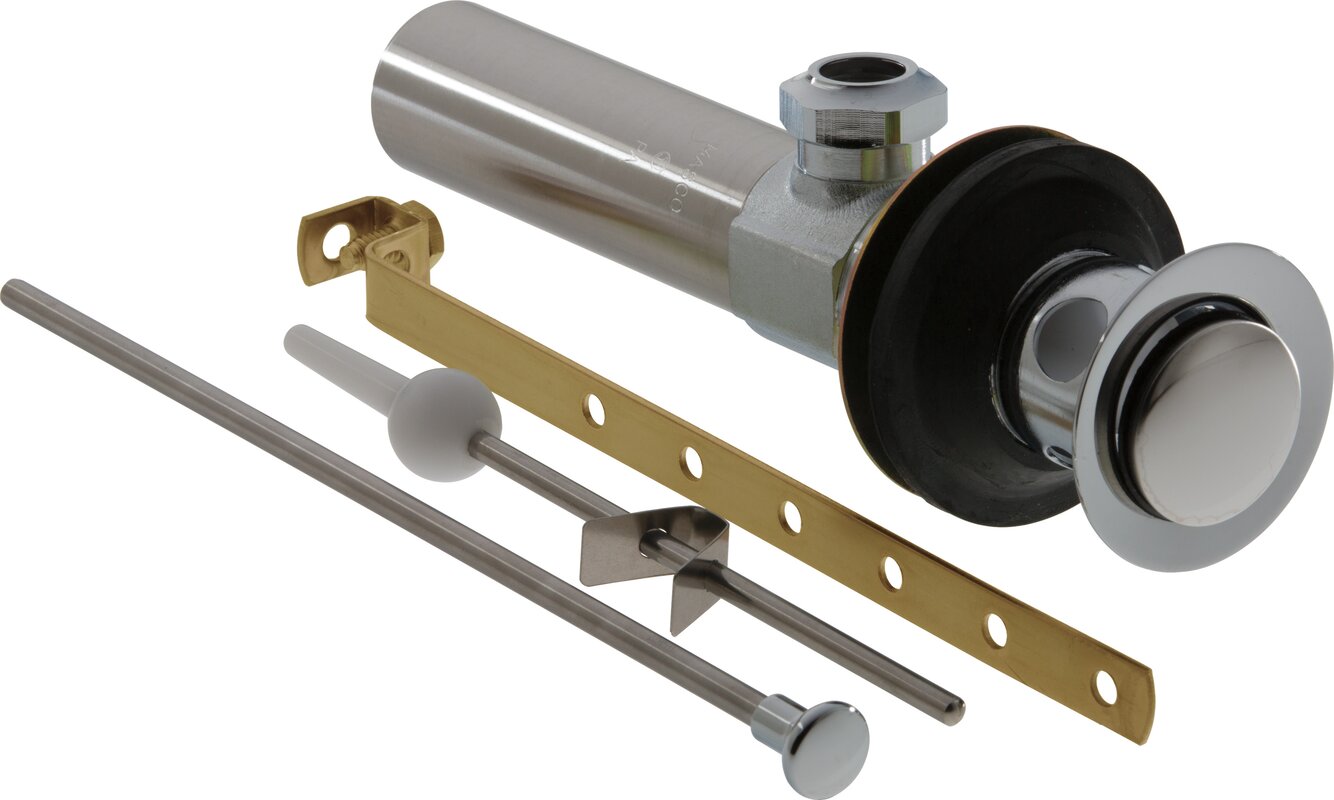
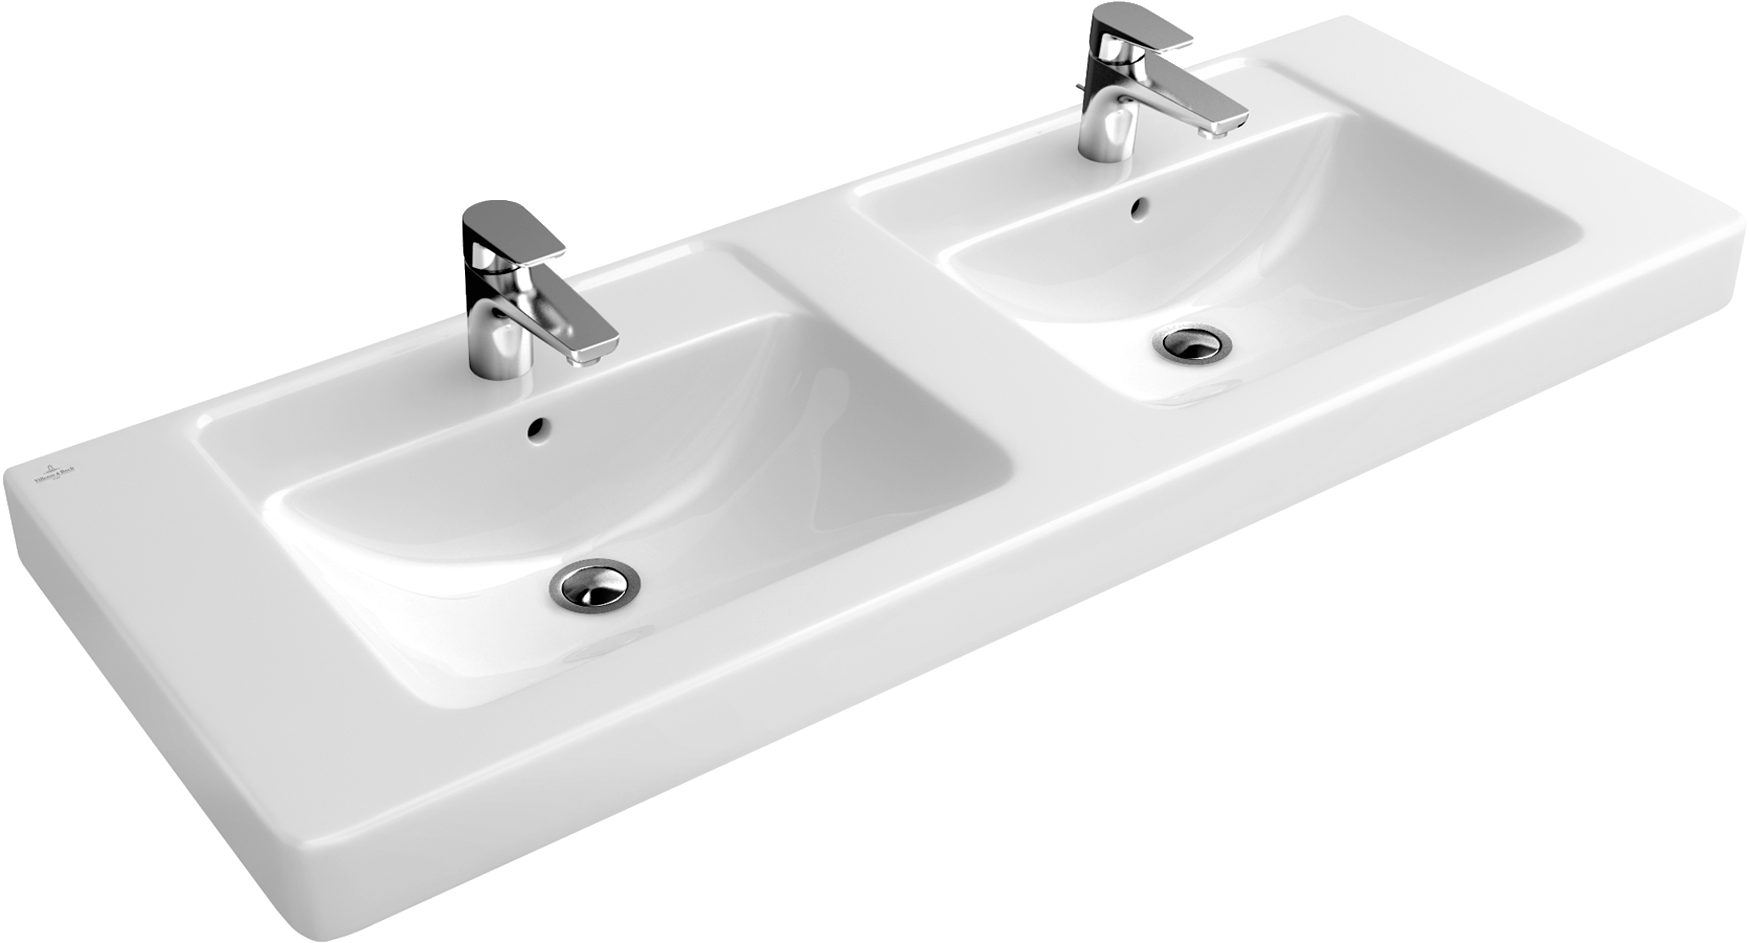
Depending on the type of sink you have, the drain assembly may vary. For example, a bathroom sink with an overflow will have a different assembly compared to one without an overflow. When replacing the drain assembly, make sure to choose the correct type for your sink to ensure a proper fit and functionality. 4. Sink Drain Assembly Replacement


Sink Drain Replacement


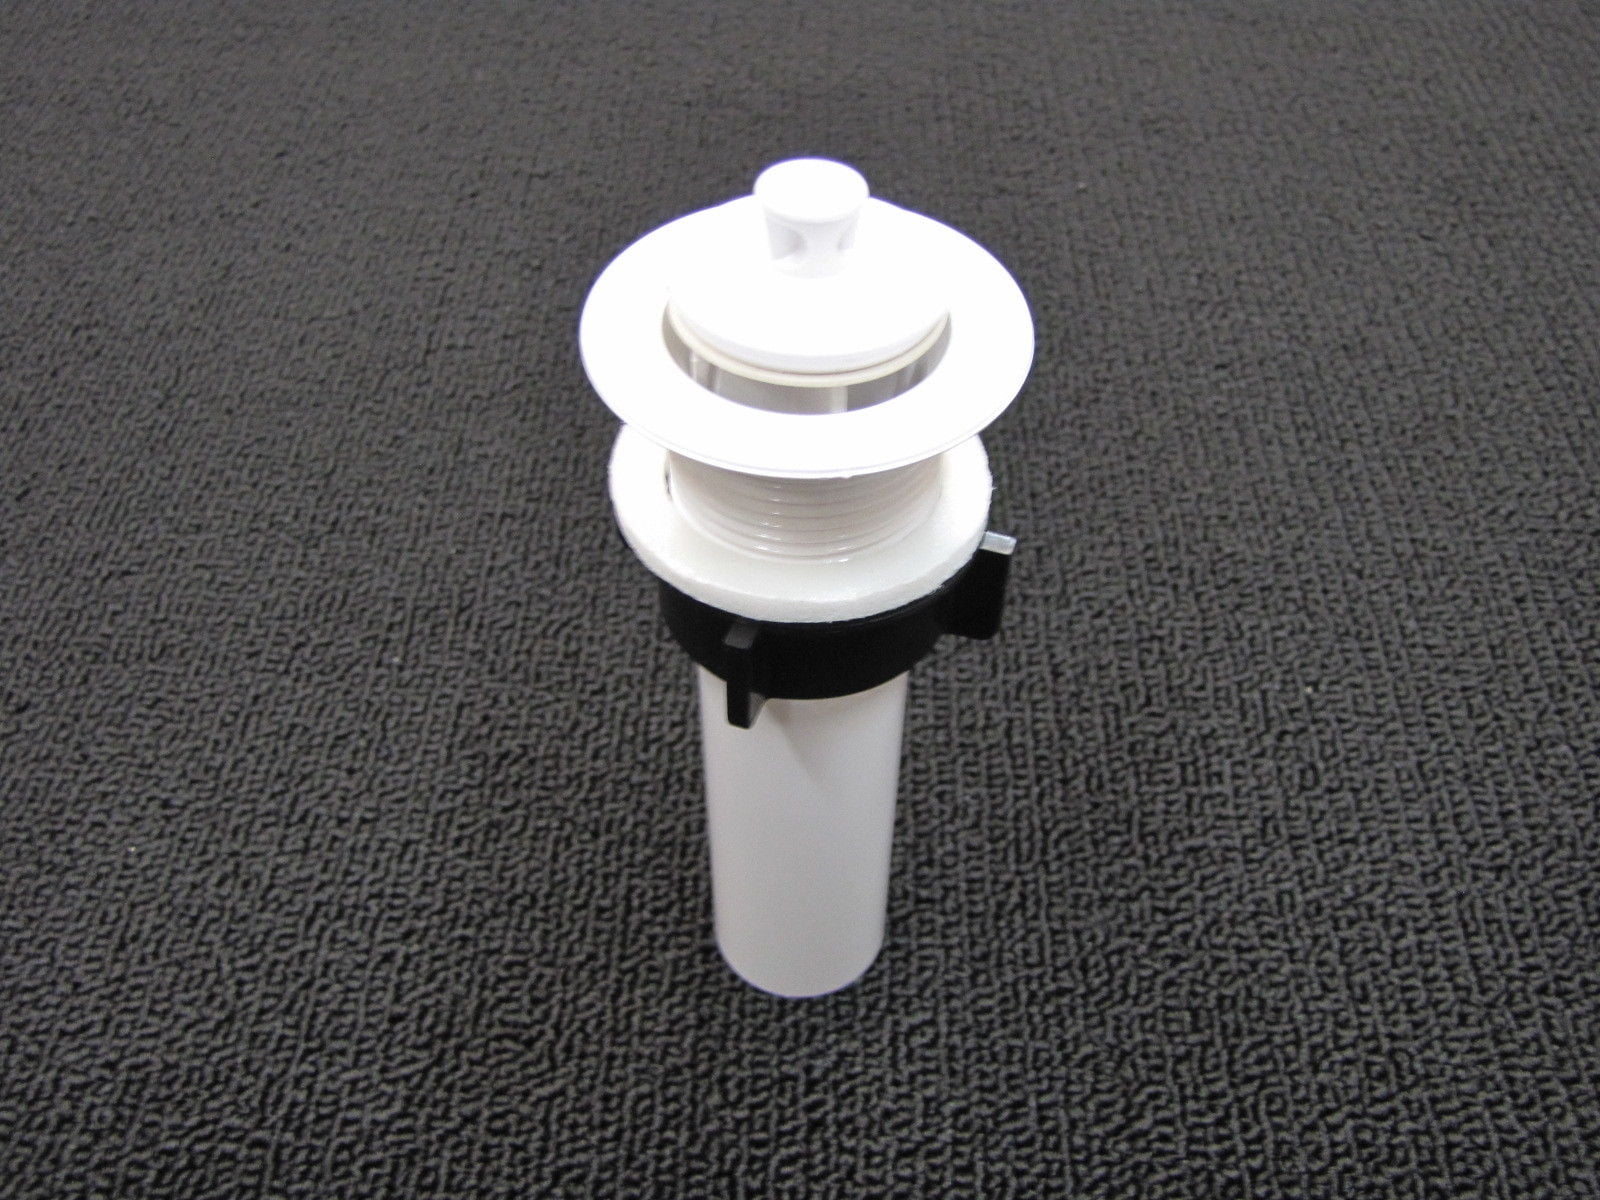
As mentioned earlier, if only the drain is causing issues, you can opt for a sink drain replacement instead of replacing the entire assembly. This is a cost-effective solution and can help fix issues such as clogs or leaks without having to replace the entire assembly. 5. Sink Drain Replacement


Sink Assembly Replacement


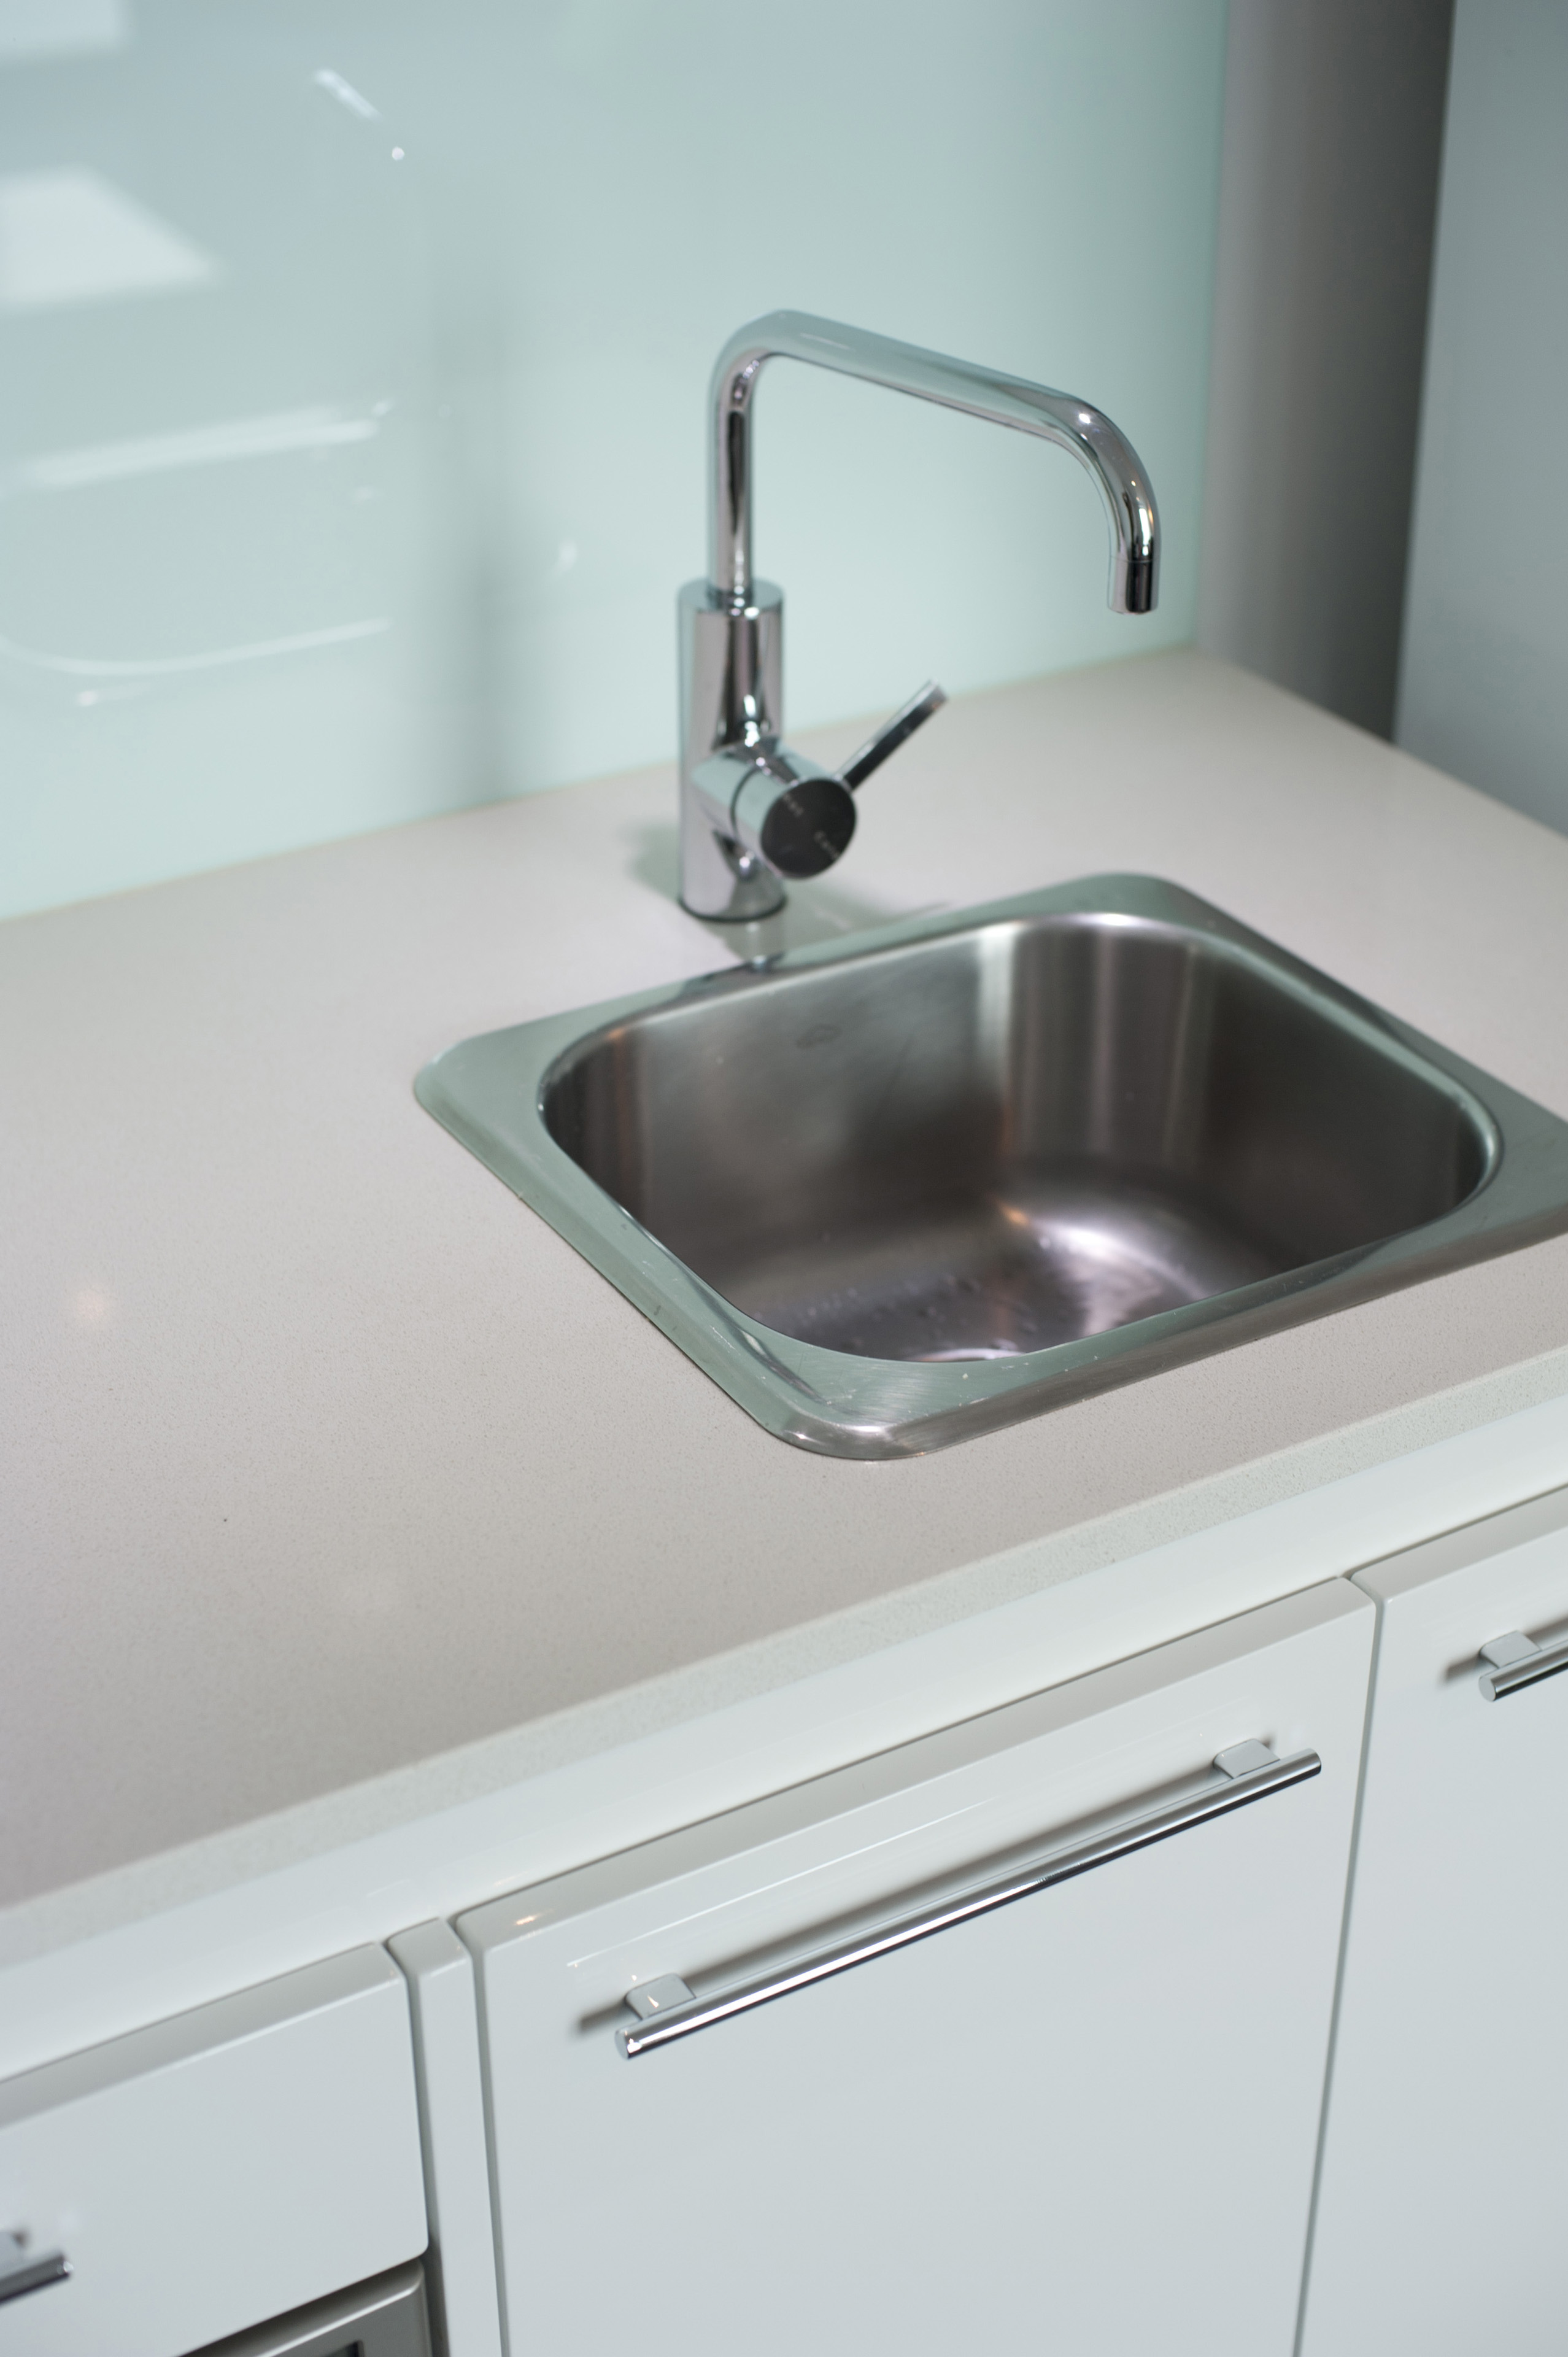
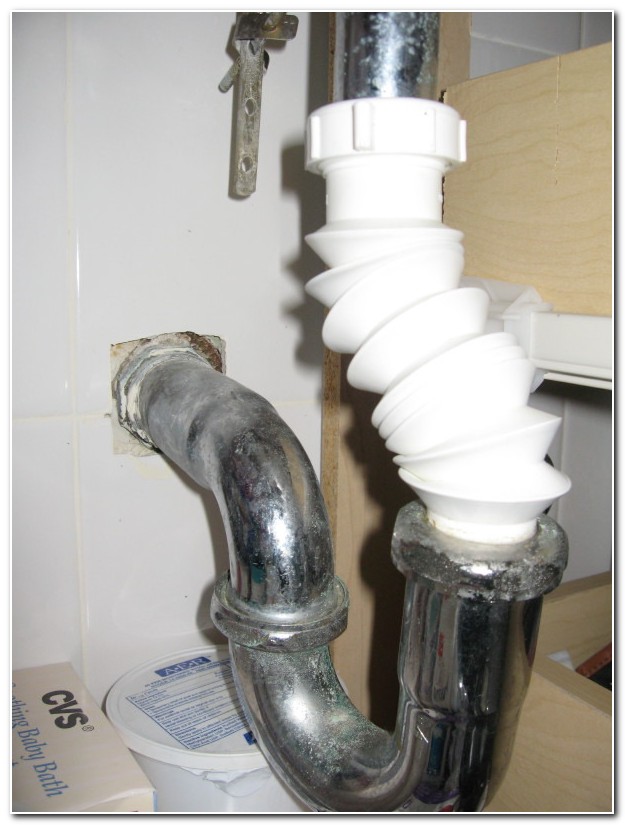
The sink assembly includes the sink, drain, and faucet, and it is the main component of any bathroom sink. If the assembly is damaged or worn out, it can lead to leaks and other issues. In such cases, replacing the entire assembly can help ensure that the sink functions properly and looks aesthetically pleasing. 6. Sink Assembly Replacement


Drain Assembly Replacement


If the problem lies specifically with the drain assembly and not the other parts, then replacing the entire assembly can help fix the issue. This is a relatively simple process and can be done without professional help, making it a cost-effective solution. 7. Drain Assembly Replacement

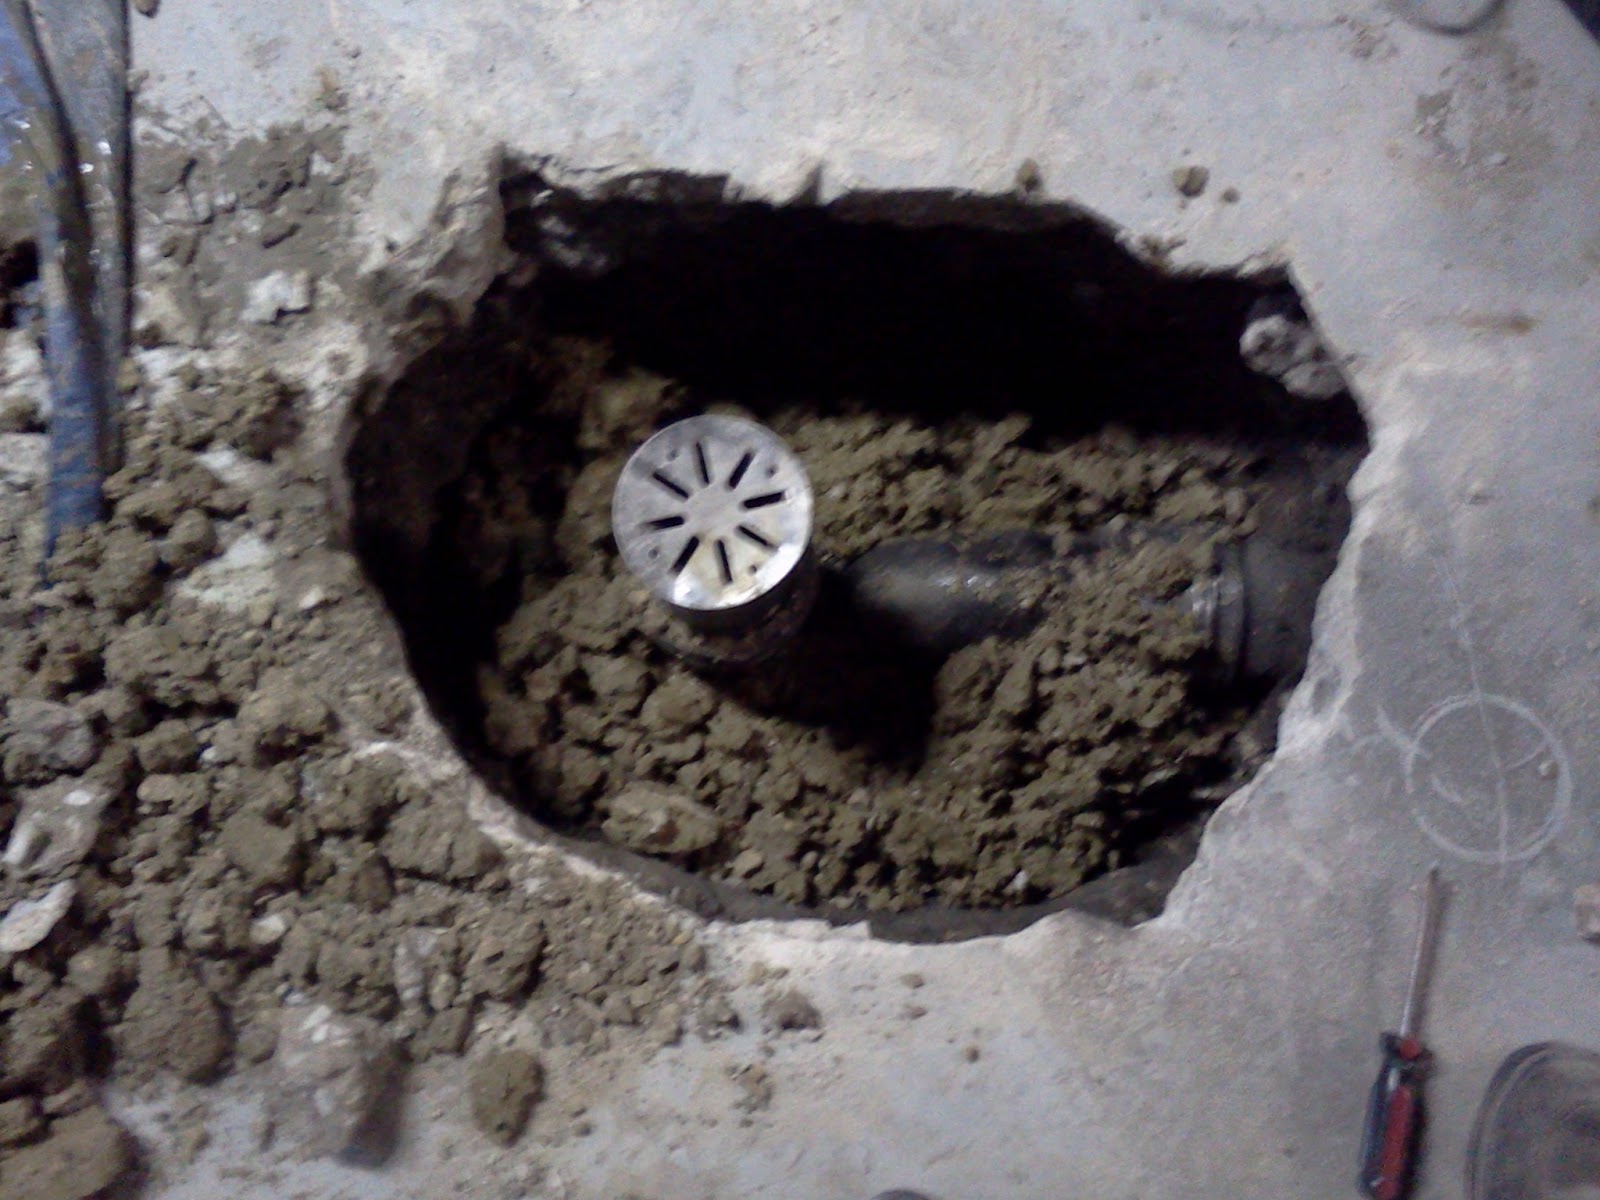
Bathroom Sink Drain


/bathroom-sink-drain-installation-2718843-03-6fee5b9d9f7d475abfe06a95ddb1f695.jpg)
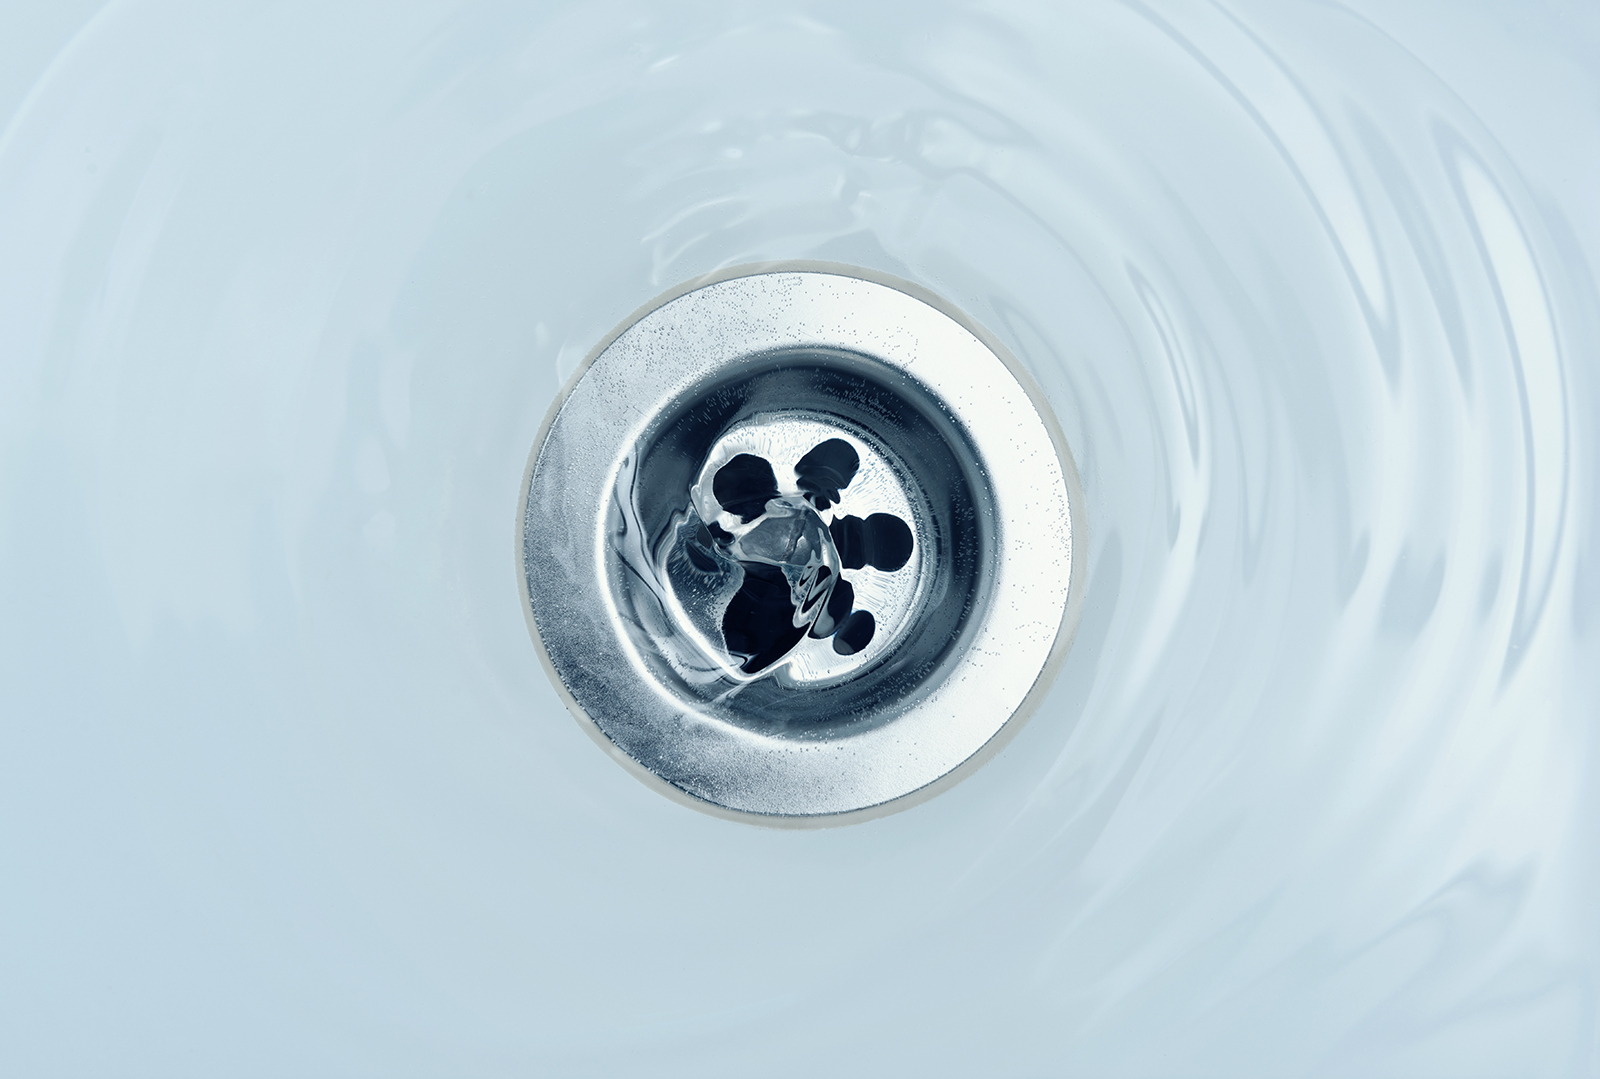

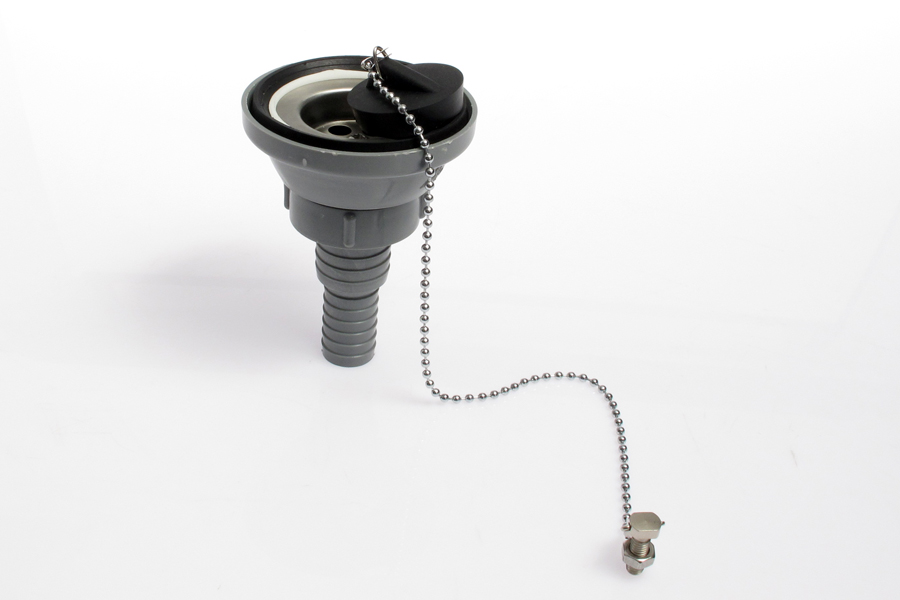
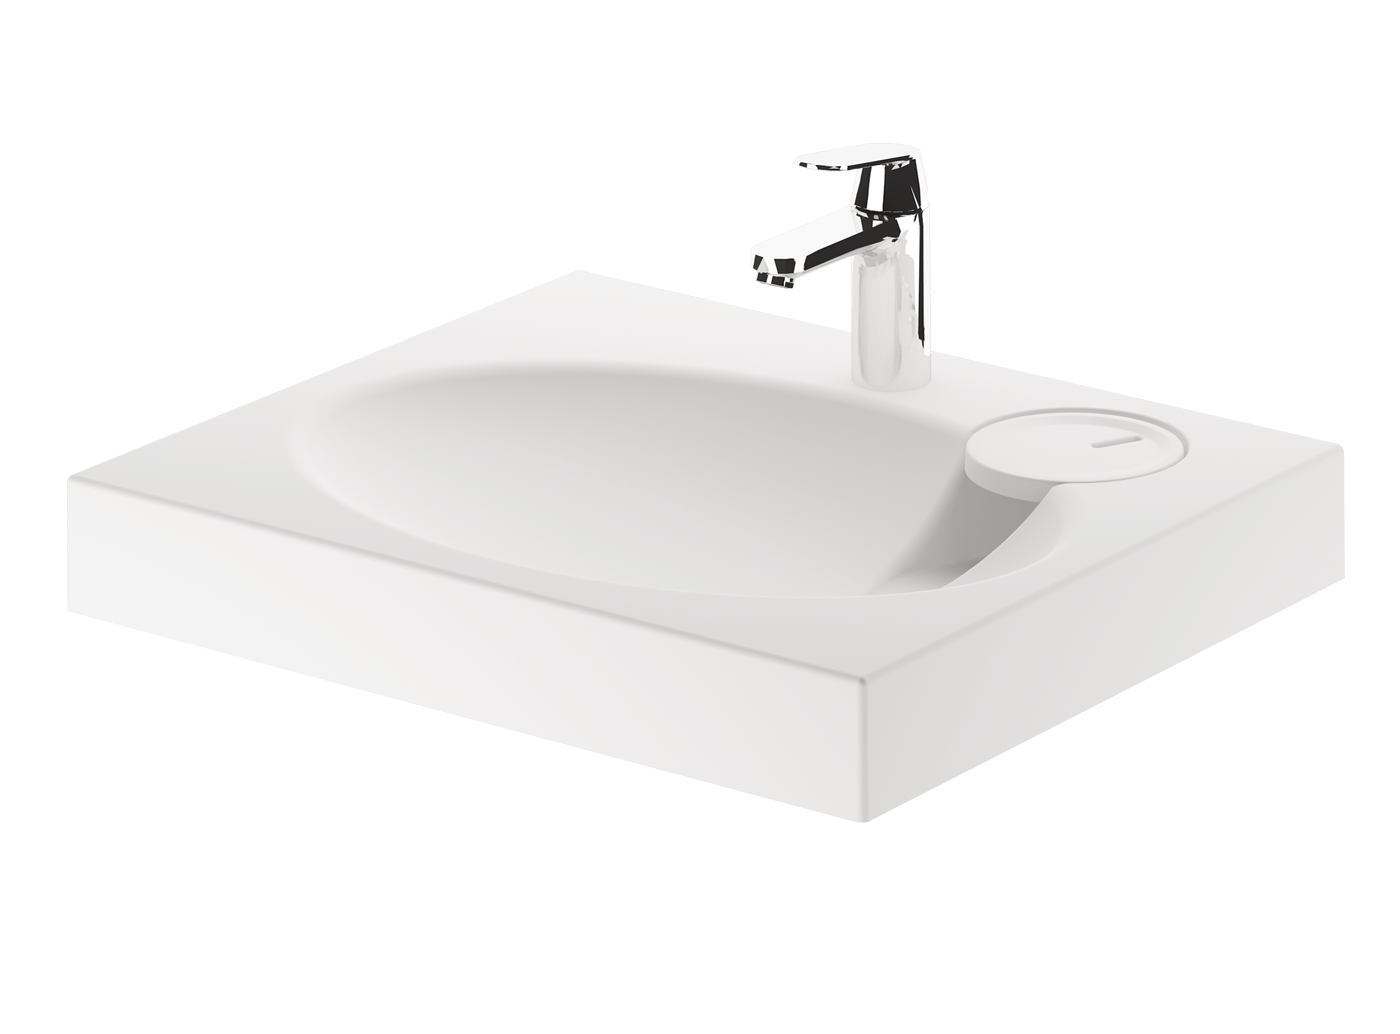
The bathroom sink drain is responsible for carrying the water and waste from the sink to the drainpipe. Over time, it can become clogged with hair, soap scum, and other debris, leading to slow draining or complete blockage. Regularly cleaning the drain can help prevent clogs, but if the issue persists, a replacement may be necessary. 8. Bathroom Sink Drain


Sink Drain


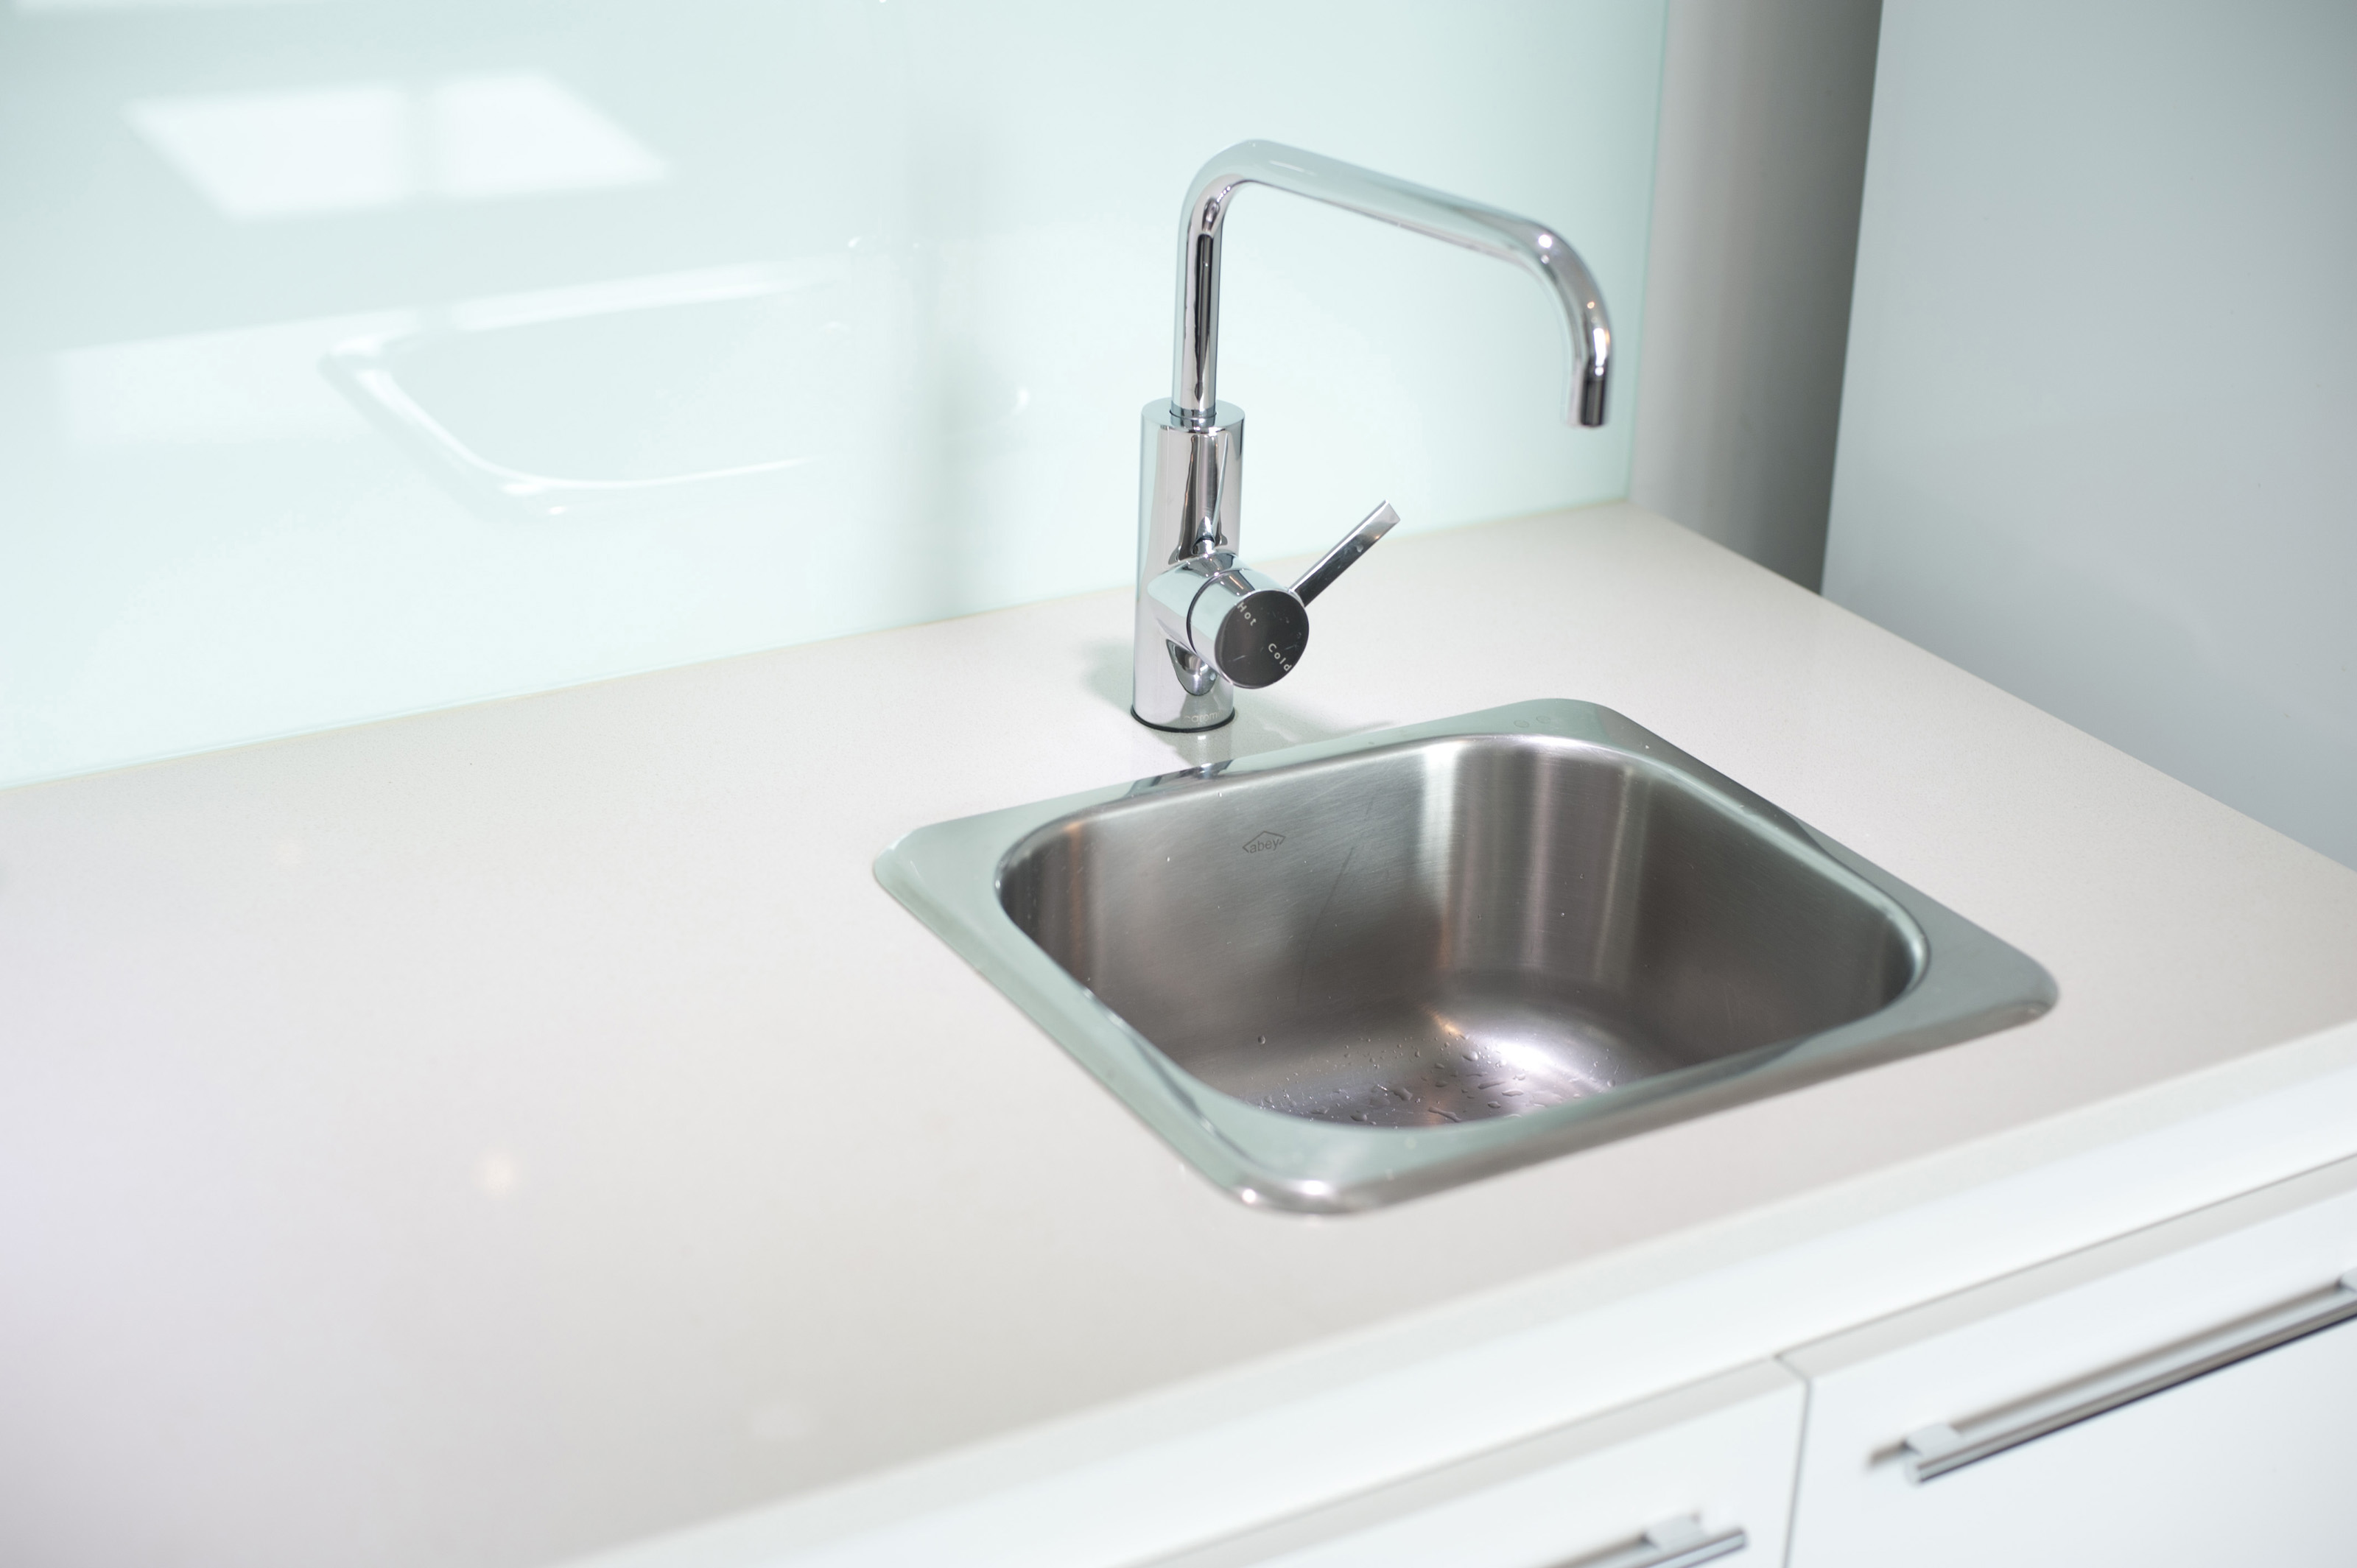
The sink drain is an essential part of the sink assembly, and it connects the sink to the drainpipe. If the drain is damaged or worn out, it can lead to leaks or slow draining. In such cases, a sink drain replacement can help fix the issue and ensure proper drainage. 9. Sink Drain

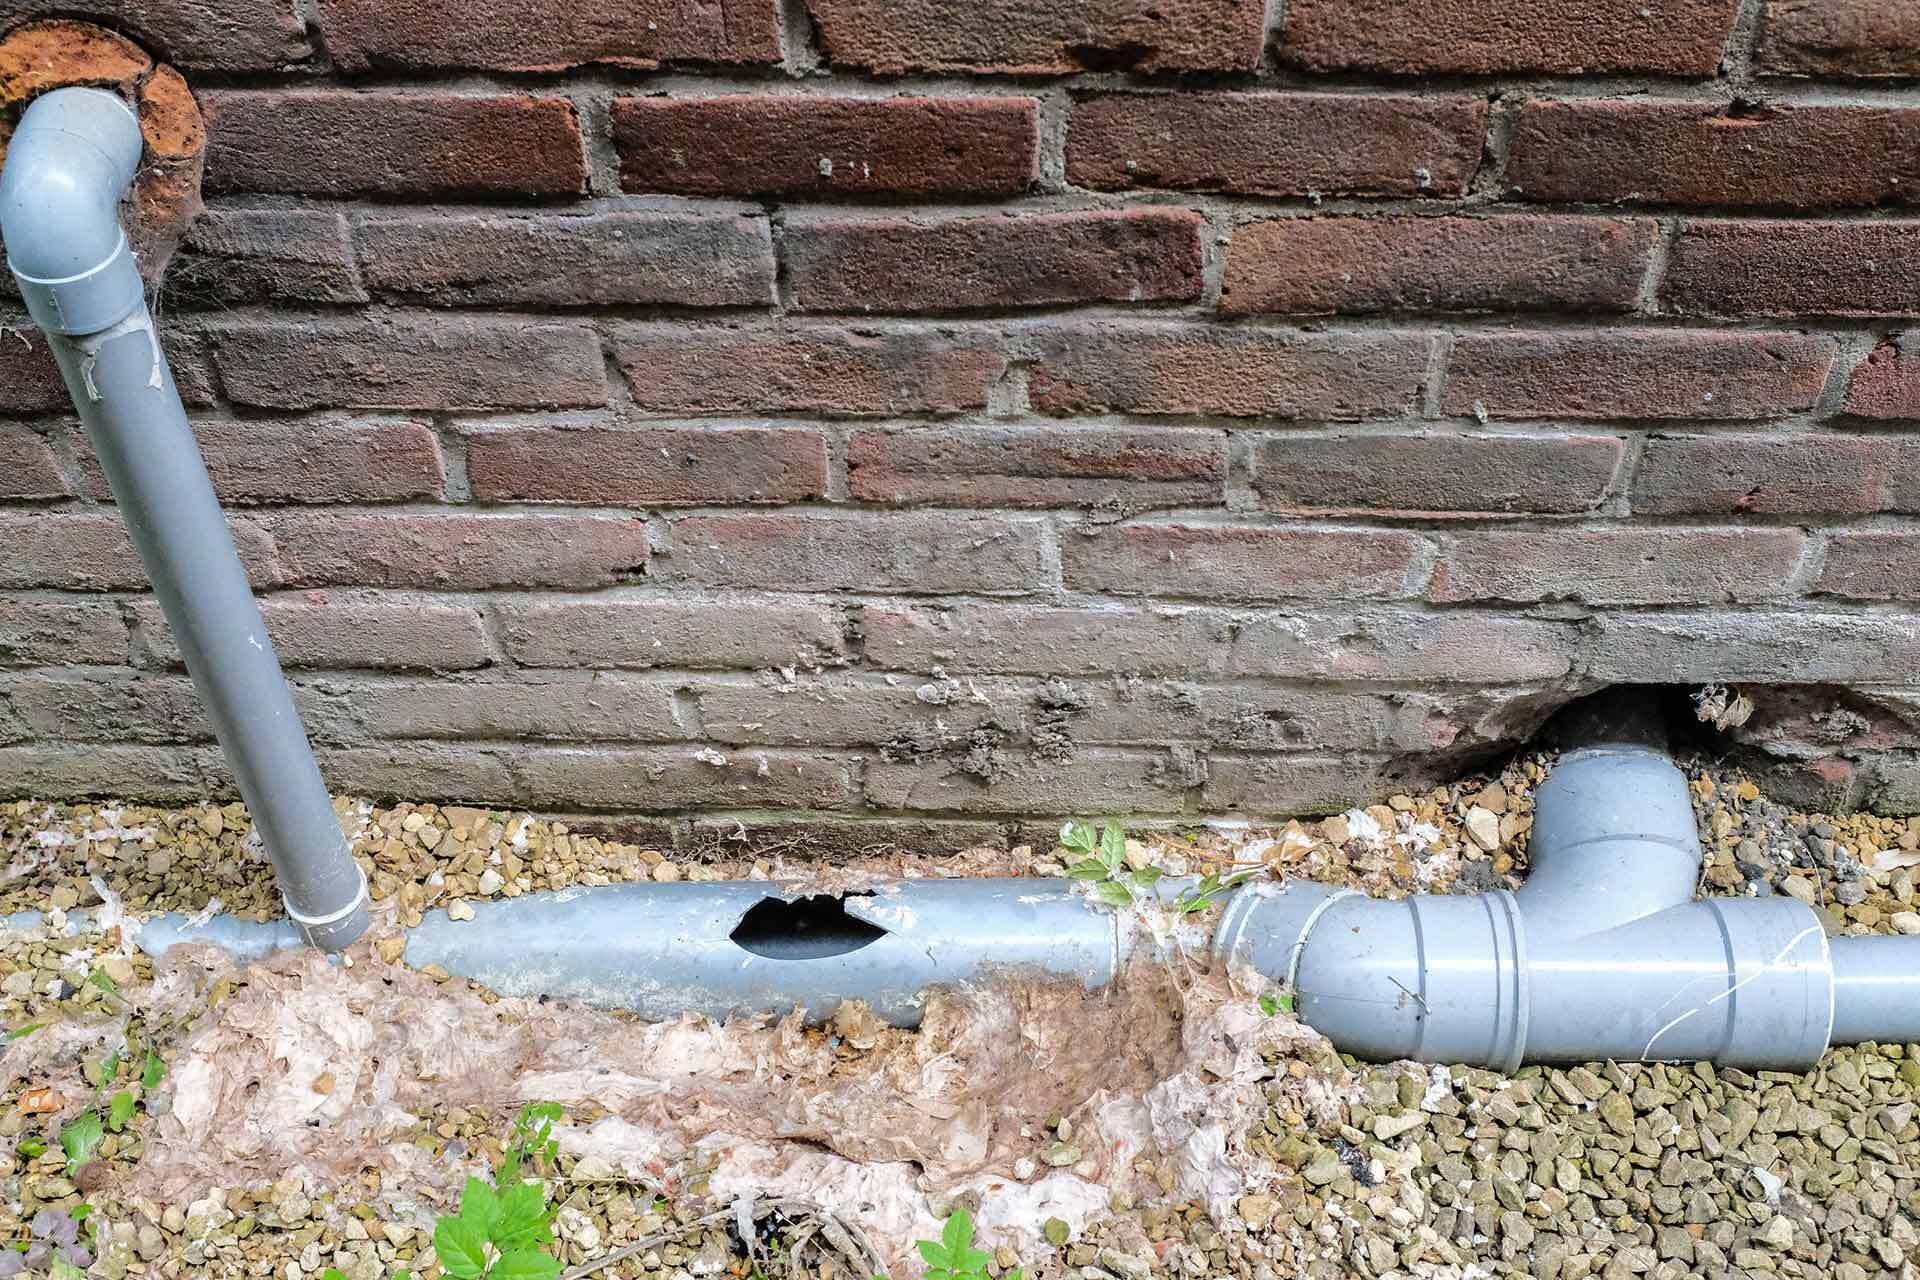
Drain Replacement


How to Replace a Bathroom Sink Drain Assembly

A Quick Guide to Upgrading Your Bathroom's Design
 Are you tired of looking at the same old bathroom sink every day? Perhaps you're in the process of renovating your house and want to add some fresh new elements to your bathroom design. One of the key components of a bathroom sink is the drain assembly, and replacing it can make a significant impact on the overall look and functionality of your bathroom. In this article, we will guide you through the process of replacing a bathroom sink drain assembly, step by step.
Gather Your Materials
 Before you begin, make sure you have all the necessary materials and tools. These include a new
bathroom sink drain assembly
, plumber's putty, plumber's tape, an adjustable wrench, a screwdriver, and a bucket or towel to catch any water that may spill out during the process. It's always a good idea to have some extra towels nearby in case of any unexpected leaks.
Before you begin, make sure you have all the necessary materials and tools. These include a new
bathroom sink drain assembly
, plumber's putty, plumber's tape, an adjustable wrench, a screwdriver, and a bucket or towel to catch any water that may spill out during the process. It's always a good idea to have some extra towels nearby in case of any unexpected leaks.
Step 1: Remove the Old Drain Assembly
 The first step is to remove the old drain assembly. Start by removing the
drain plug
or stopper from the sink. Then, use a screwdriver to loosen the screws that hold the drain assembly in place. Once the screws are removed, you should be able to pull out the drain assembly from the bottom of the sink.
The first step is to remove the old drain assembly. Start by removing the
drain plug
or stopper from the sink. Then, use a screwdriver to loosen the screws that hold the drain assembly in place. Once the screws are removed, you should be able to pull out the drain assembly from the bottom of the sink.
Step 2: Clean the Sink and Drain
 With the old drain assembly removed, it's a good idea to clean the sink and drain thoroughly. Use a mild cleaner and a cloth to remove any buildup or debris. This will ensure a clean surface for the new drain assembly to be installed.
Step 3: Apply Plumber's Putty
 Next, take a small amount of plumber's putty and roll it into a thin rope. Apply the putty around the bottom of the drain flange, making sure to cover the entire circumference. This will create a watertight seal between the drain assembly and the sink.
Step 4: Install the New Drain Assembly
 Now, it's time to install the new drain assembly. Place the drain flange into the sink and press down firmly to create a tight seal with the plumber's putty. Then, from underneath the sink, attach the new drain assembly using the screws provided. Make sure to tighten them securely with an adjustable wrench.
Step 5: Use Plumber's Tape
 To ensure a watertight seal, wrap plumber's tape around the threads of the drain pipe. This will prevent any leaks from occurring.
Step 6: Reattach the Drain Plug
 Finally, reattach the drain plug or stopper to the top of the drain assembly. Test the new drain assembly by running water into the sink and checking for any leaks. If everything looks good, you can replace the
drain plug
or stopper and admire your newly upgraded bathroom sink.
Finally, reattach the drain plug or stopper to the top of the drain assembly. Test the new drain assembly by running water into the sink and checking for any leaks. If everything looks good, you can replace the
drain plug
or stopper and admire your newly upgraded bathroom sink.
Conclusion
 Replacing a bathroom sink drain assembly may seem like a daunting task, but with the right tools and a little bit of know-how, it can be a simple and rewarding DIY project. By following these steps, you can easily upgrade the look and functionality of your bathroom and add your personal touch to the design. So go ahead, give your bathroom sink a new lease on life and enjoy the satisfaction of a job well done.