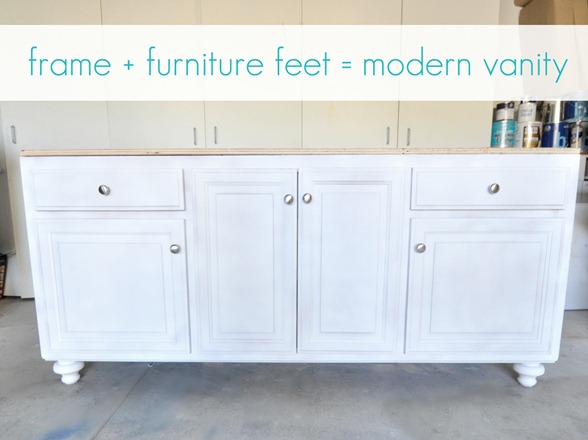
Are you looking to give your bathroom vanity a fresh new look? One simple and effective way to do so is by adding feet to your existing vanity. This not only adds a touch of elegance to your bathroom, but also elevates the overall look and feel of the space. In this article, we will guide you on how to add feet to your bathroom vanity and why it's a great DIY project to take on.Adding Feet To Bathroom Vanity


Adding Feet To Bathroom Vanity


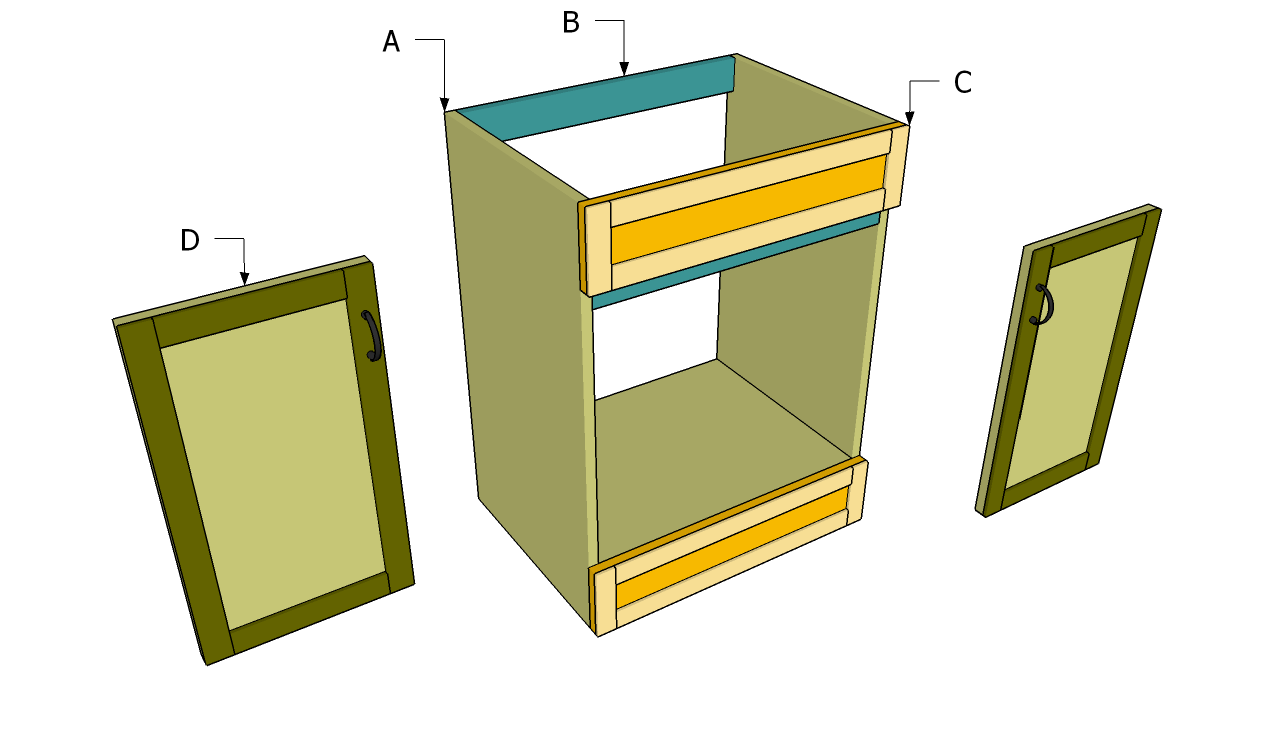
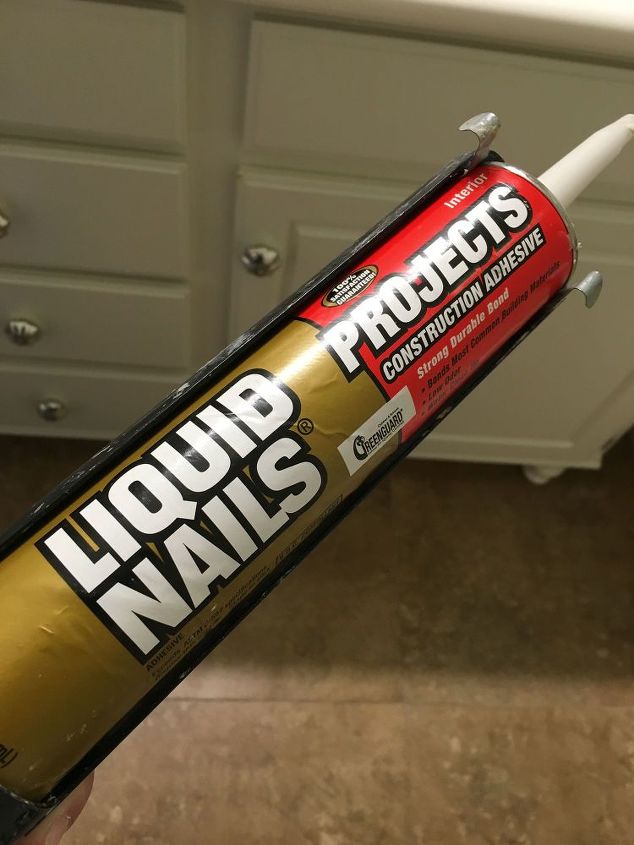
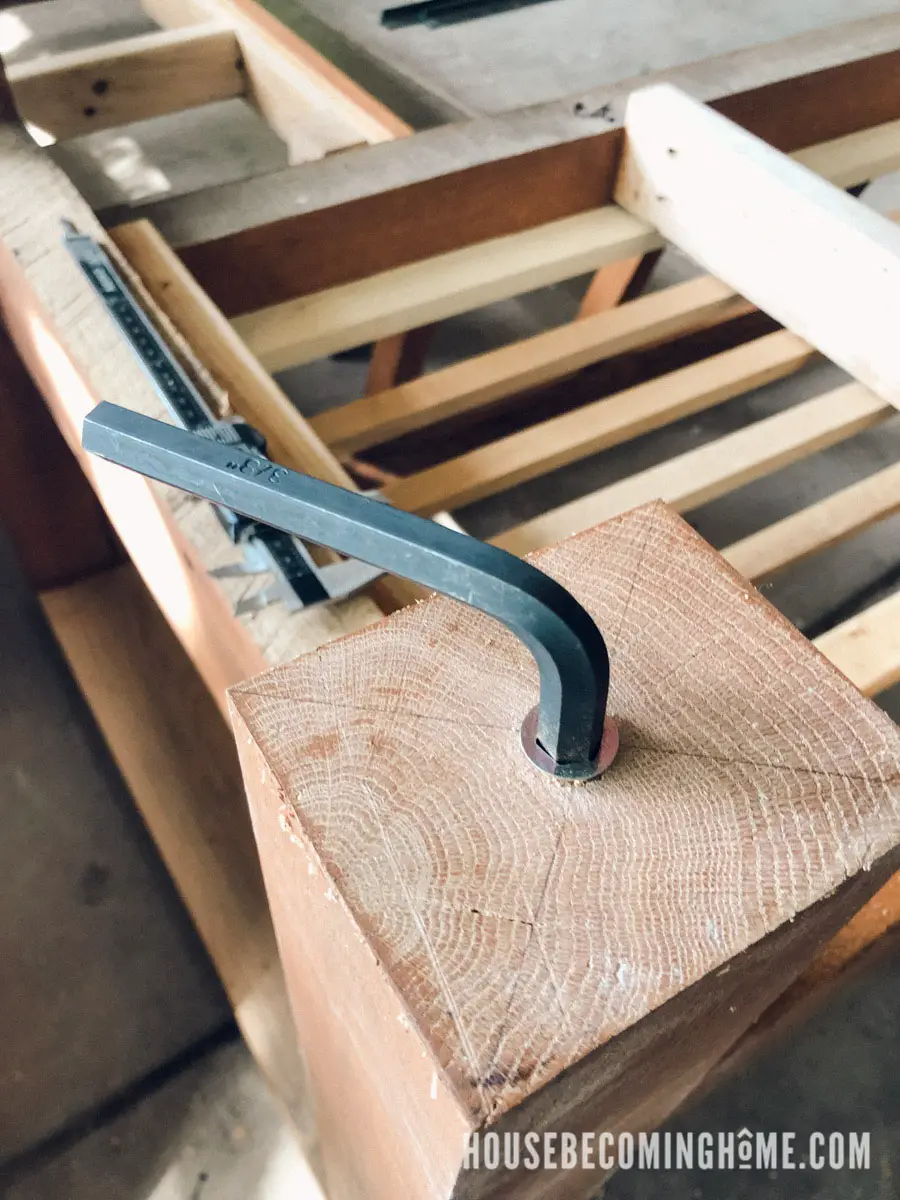
The process of adding feet to your bathroom vanity is fairly simple and can be done in just a few steps. You can either purchase pre-made furniture feet or make your own using wooden blocks or legs. Here's a step-by-step guide on how to add feet to your bathroom vanity: Step 1: Measure and Mark The first step is to measure the length and width of your vanity to determine the placement of the feet. Use a pencil to mark the spots where you want to attach the feet on each side of the vanity. Step 2: Drill Holes Using a drill, make holes at the marked spots on the vanity. Make sure the holes are deep enough to fit the screws or bolts that will hold the feet in place. Step 3: Attach the Feet If you are using pre-made furniture feet, simply screw them into the holes you drilled. If you are making your own feet, attach the wooden blocks or legs using screws or bolts. Step 4: Stain or Paint To give your new feet a finished look, you can stain or paint them to match the color of your vanity. This will also help to protect the wood from moisture in the bathroom. Step 5: Secure the Feet Once the feet are attached and stained or painted, secure them further by adding wood glue to the bottom of the feet before screwing them into place.How to Add Feet to a Bathroom Vanity


How to Add Feet to a Bathroom Vanity


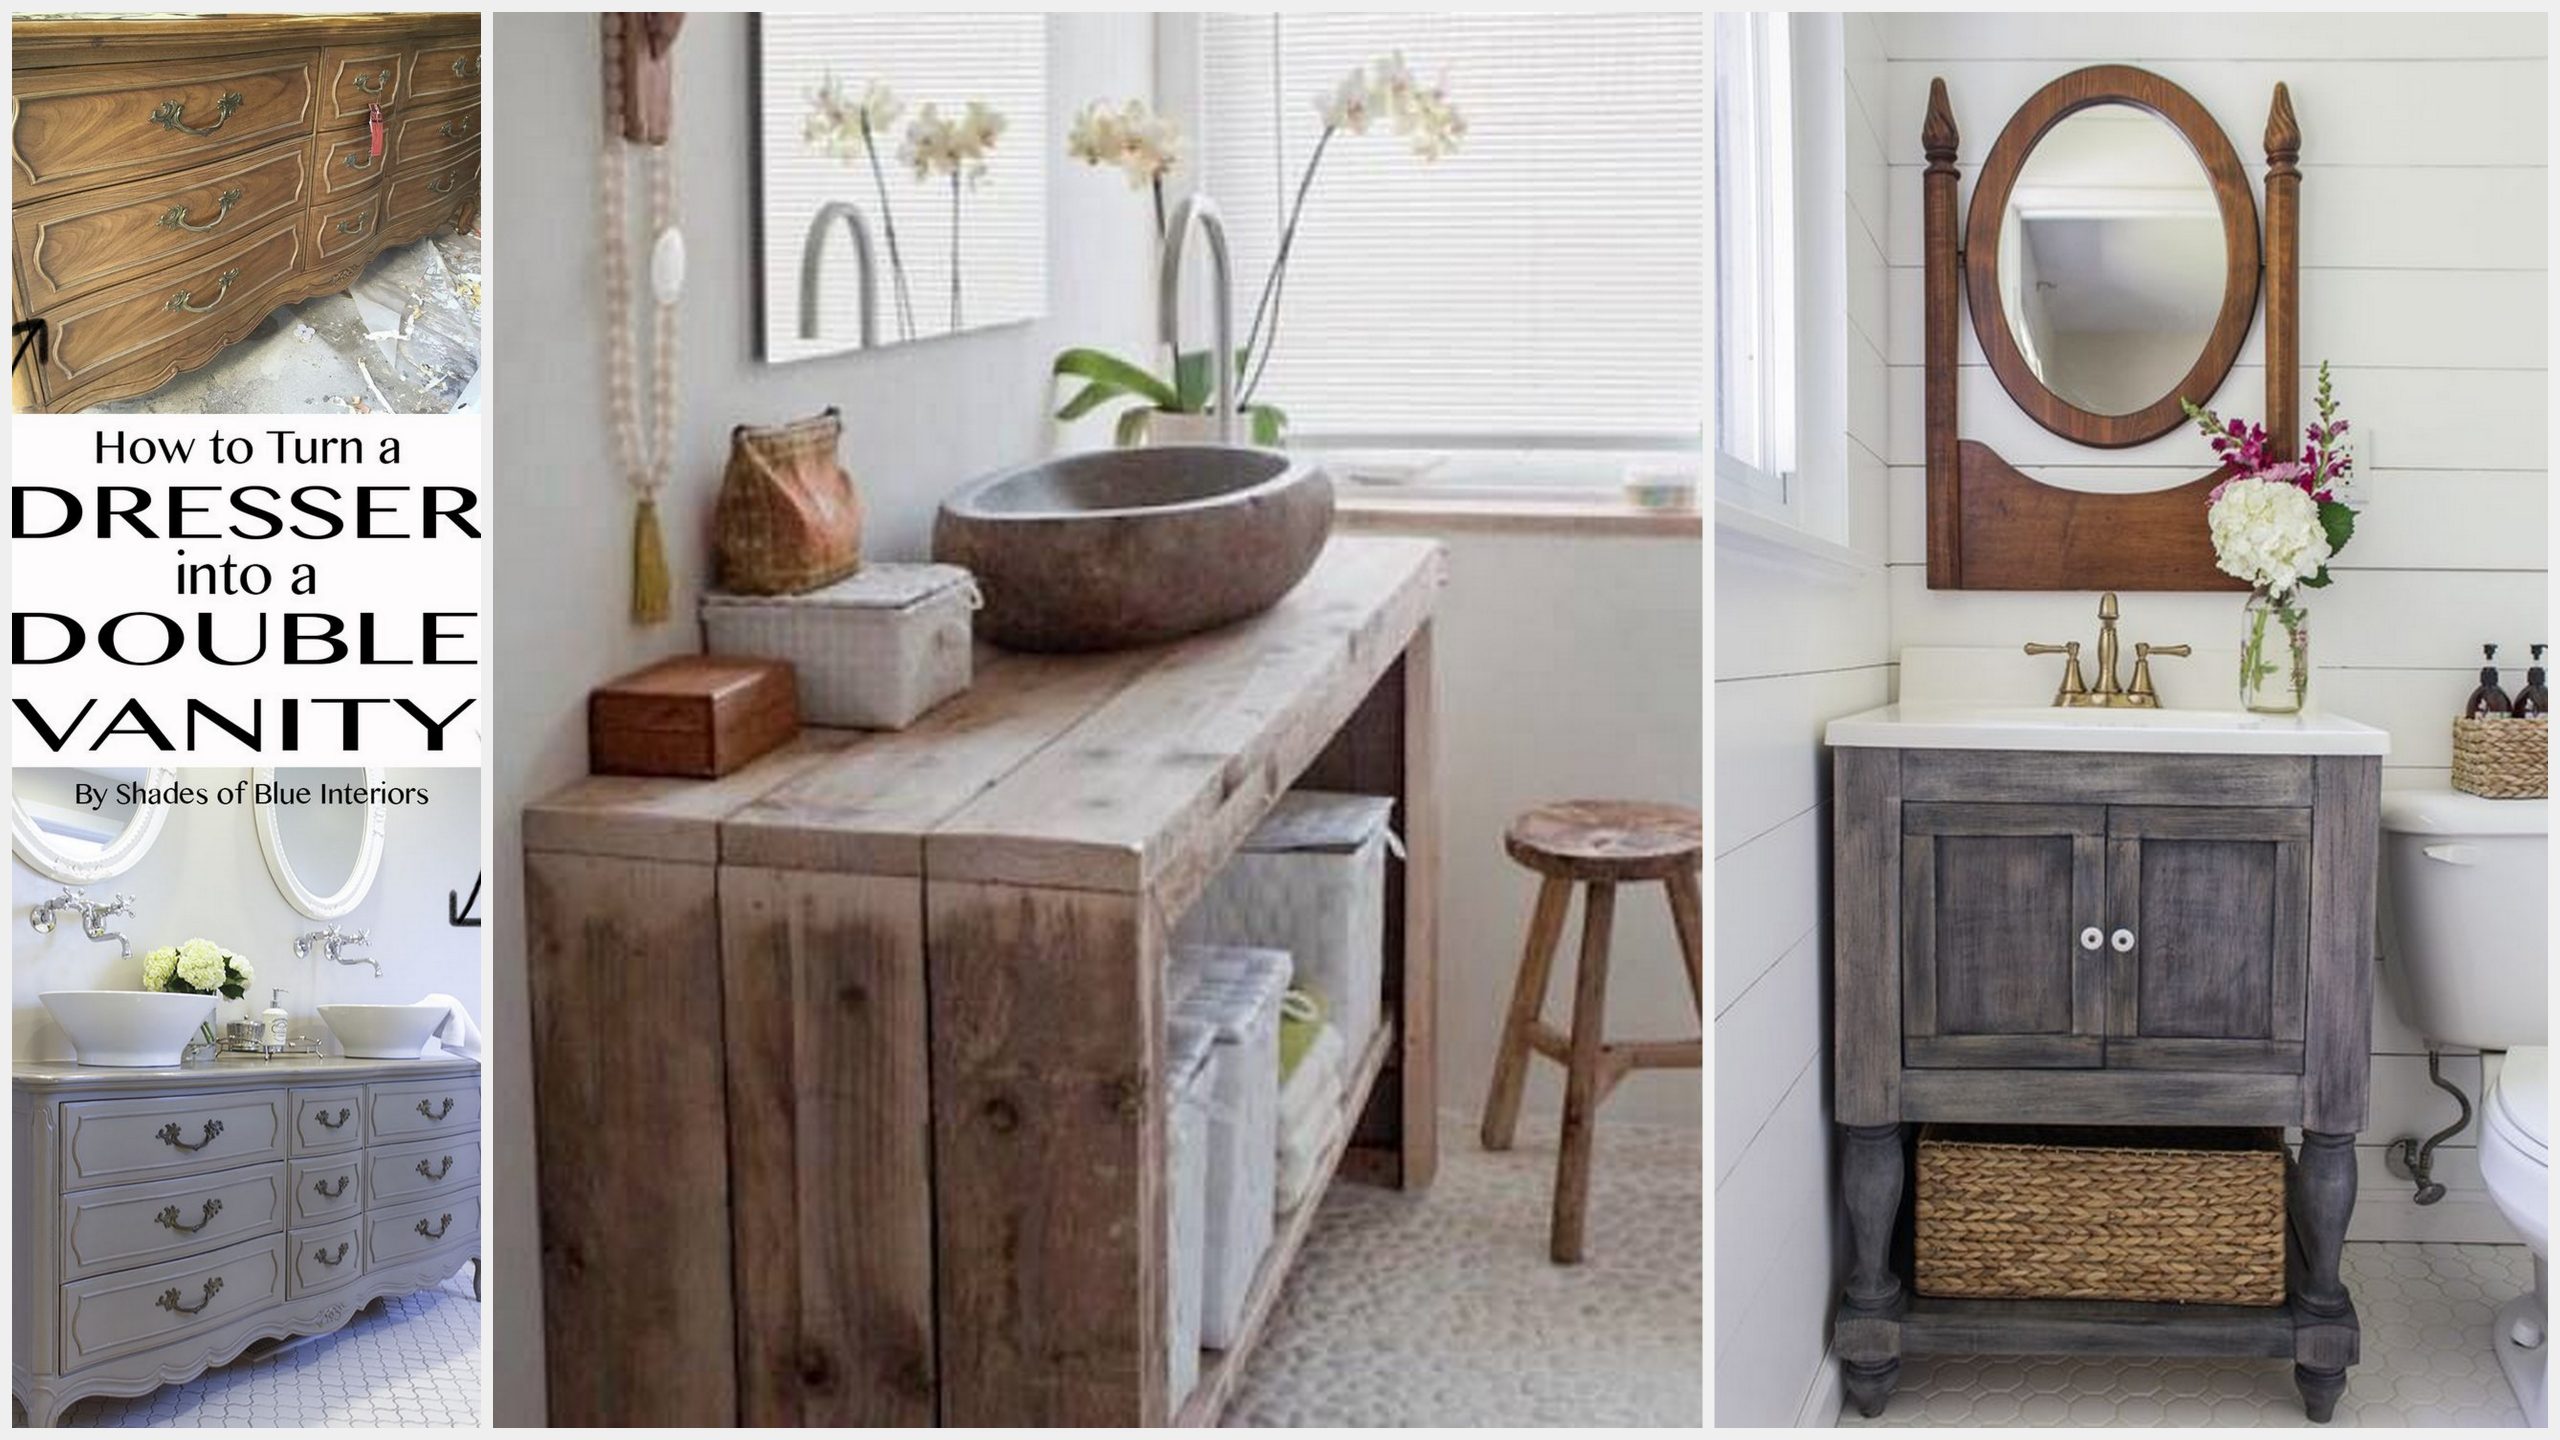
If you're feeling especially creative, you can also make your own DIY bathroom vanity with feet. This will allow you to customize the design and size of your vanity to fit your bathroom perfectly. Here's how you can make your own bathroom vanity with feet: Step 1: Gather Materials You will need plywood, wooden blocks or legs, screws, wood glue, a circular saw, and a drill to make your own bathroom vanity with feet. Step 2: Cut the Plywood Using a circular saw, cut the plywood to the desired size for your vanity top. You can also cut out holes for the sink and faucet at this stage. Step 3: Attach the Legs Attach the wooden blocks or legs to the bottom of the plywood using screws and wood glue. Make sure they are evenly spaced and securely attached. Step 4: Add Shelves If you want to add shelves to your vanity, cut pieces of plywood to fit between the legs and attach them using screws and wood glue. Step 5: Stain or Paint As with the previous method, you can stain or paint your DIY vanity to match the rest of your bathroom decor.DIY Bathroom Vanity with Feet


DIY Bathroom Vanity with Feet


One of the easiest ways to add feet to your bathroom vanity is by using pre-made furniture feet. These can be found at most home improvement stores and come in a variety of styles and designs to suit your taste. Simply attach them to the bottom of your vanity using screws or bolts, and your vanity will have a whole new look.Adding Furniture Feet to Bathroom Vanity


Adding Furniture Feet to Bathroom Vanity


To help you visualize the process of adding feet to your bathroom vanity, here's a step-by-step guide: Step 1: Measure and Mark Measure the length and width of your vanity and use a pencil to mark the spots where you want to attach the feet. Step 2: Drill Holes Using a drill, make holes at the marked spots on the vanity. Step 3: Attach the Feet Screw the pre-made furniture feet into the holes. Step 4: Stain or Paint Stain or paint the feet to match the color of your vanity. Step 5: Secure the Feet Add wood glue to the bottom of the feet and screw them into place for added security.Step-by-Step Guide for Adding Feet to Bathroom Vanity


Step-by-Step Guide for Adding Feet to Bathroom Vanity


The addition of feet to your bathroom vanity not only adds a touch of style, but also has practical benefits. Here are some reasons why you should consider adding feet to your vanity: 1. Elevates the Look The simple addition of feet to your vanity can instantly elevate the look and feel of your bathroom. It adds a touch of elegance and sophistication to the space. 2. Creates Visual Interest Adding feet to your vanity creates visual interest and breaks up the monotony of a plain, boxy vanity. It draws the eye and makes the vanity a focal point in the bathroom. 3. Protects from Moisture By elevating your vanity off the ground, you are protecting it from moisture on the bathroom floor. This can help to prevent warping and damage to the vanity over time.Benefits of Adding Feet to Bathroom Vanity


Benefits of Adding Feet to Bathroom Vanity


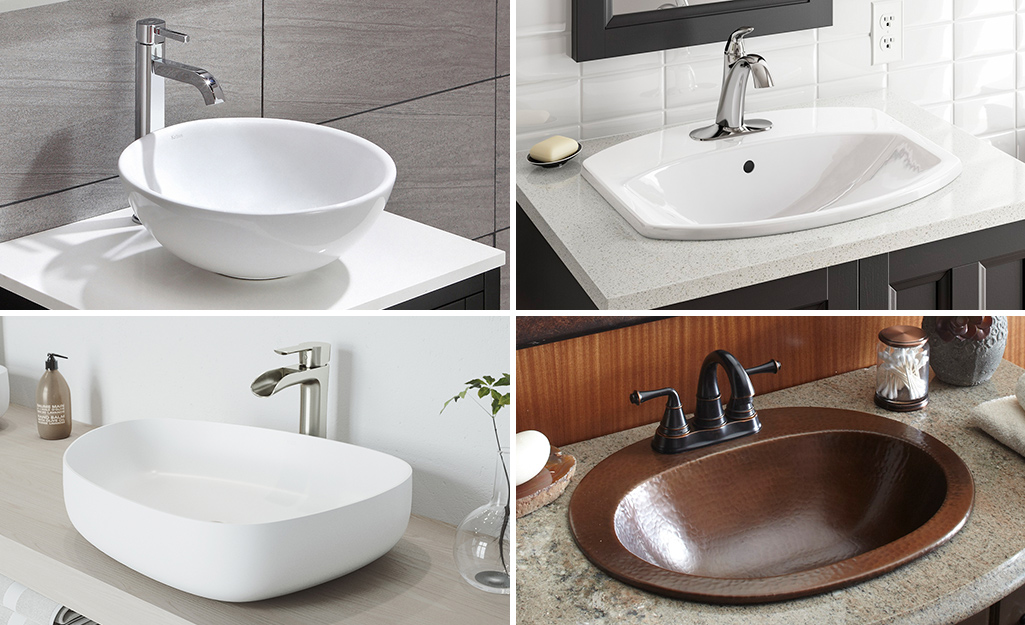
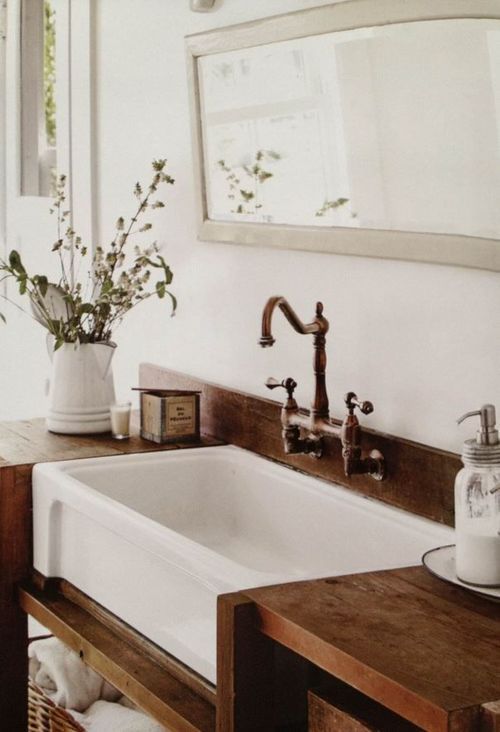
When it comes to choosing the right feet for your bathroom vanity, there are several options to choose from. Some popular types of feet for bathroom vanities include: 1. Traditional Wooden Feet These are classic, simple feet that are perfect for a traditional or farmhouse-style bathroom. 2. Claw Feet Claw feet add a touch of vintage charm to your bathroom vanity. They are typically made of metal and come in various designs. 3. Tapered Legs Tapered legs give a more modern and sleek look to your vanity. They are often made of metal or wood and come in various heights and styles.Different Types of Feet for Bathroom Vanity


Different Types of Feet for Bathroom Vanity


:max_bytes(150000):strip_icc()/DoubleBasinBathroomVanityTop-56731bd13df78ccc15ff6b9f.JPG)
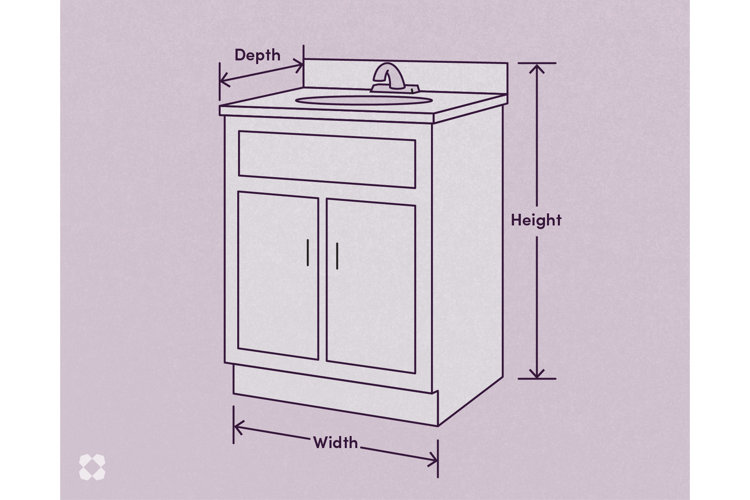
When choosing feet for your bathroom vanity, here are a few tips to keep in mind: 1. Consider the Style of Your Bathroom Choose feet that complement the style of your bathroom. For example, traditional wooden feet may not look as good in a modern bathroom as tapered metal legs. 2. Measure Carefully Make sure to measure the space on your vanity and the size of the feet before purchasing to ensure they will fit properly. 3. Look for Quality Invest in high-quality feet that will not only look good, but also withstand the moisture and wear and tear in the bathroom.Tips for Choosing the Right Feet for Bathroom Vanity


Tips for Choosing the Right Feet for Bathroom Vanity


The cost and time estimate for adding feet to your bathroom vanity will depend on the type of feet and the size of your vanity. Pre-made furniture feet can range from $10 to $50 each, while making your own feet may cost less. The process of adding feet to your vanity can take anywhere from 2-4 hours, depending on your DIY skills.Cost and Time Estimate for Adding Feet to Bathroom Vanity
Cost and Time Estimate for Adding Feet to Bathroom Vanity


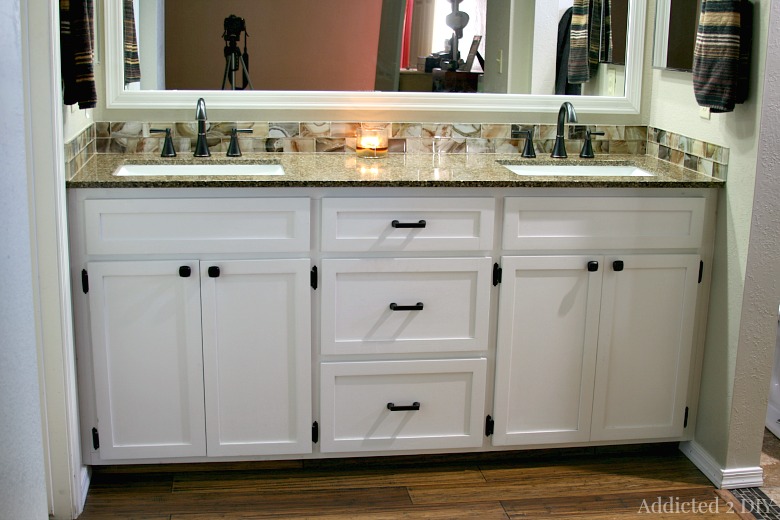
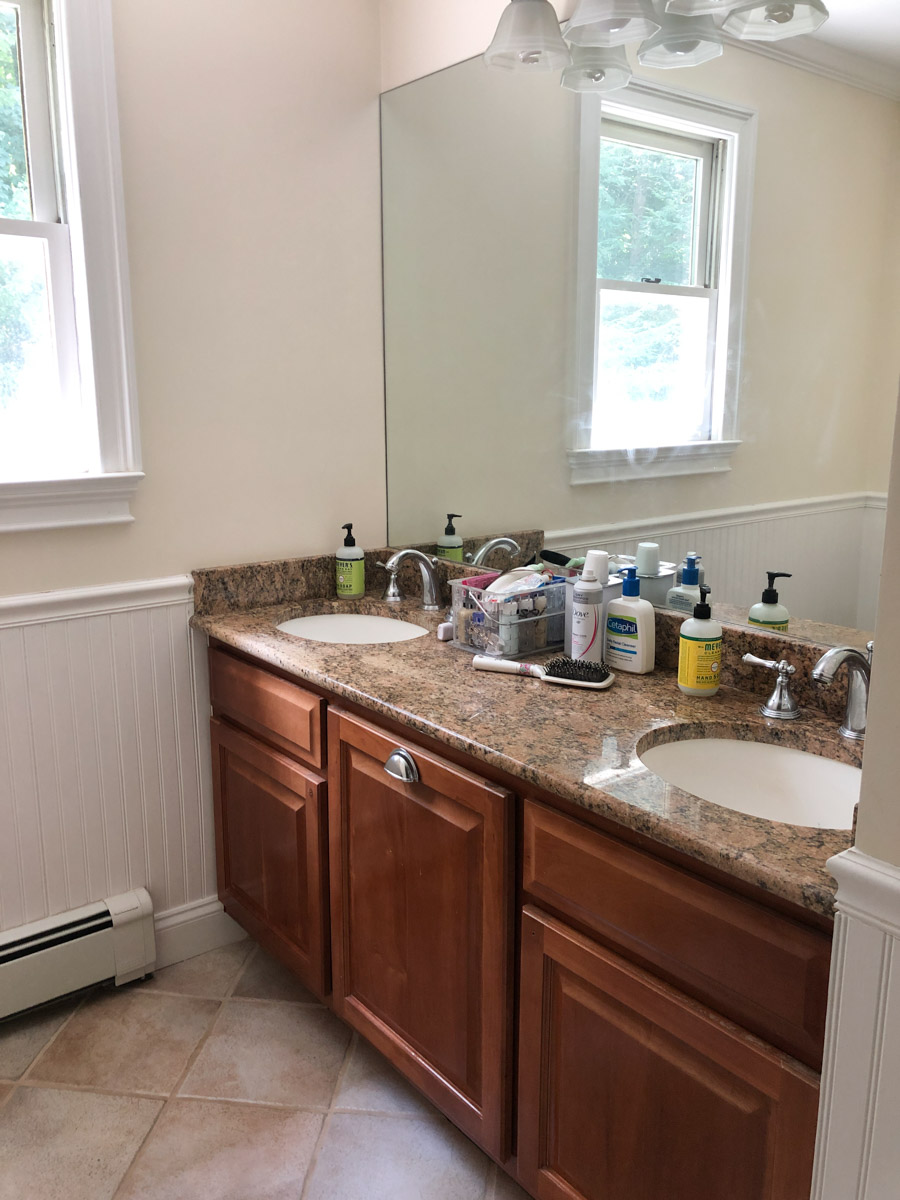
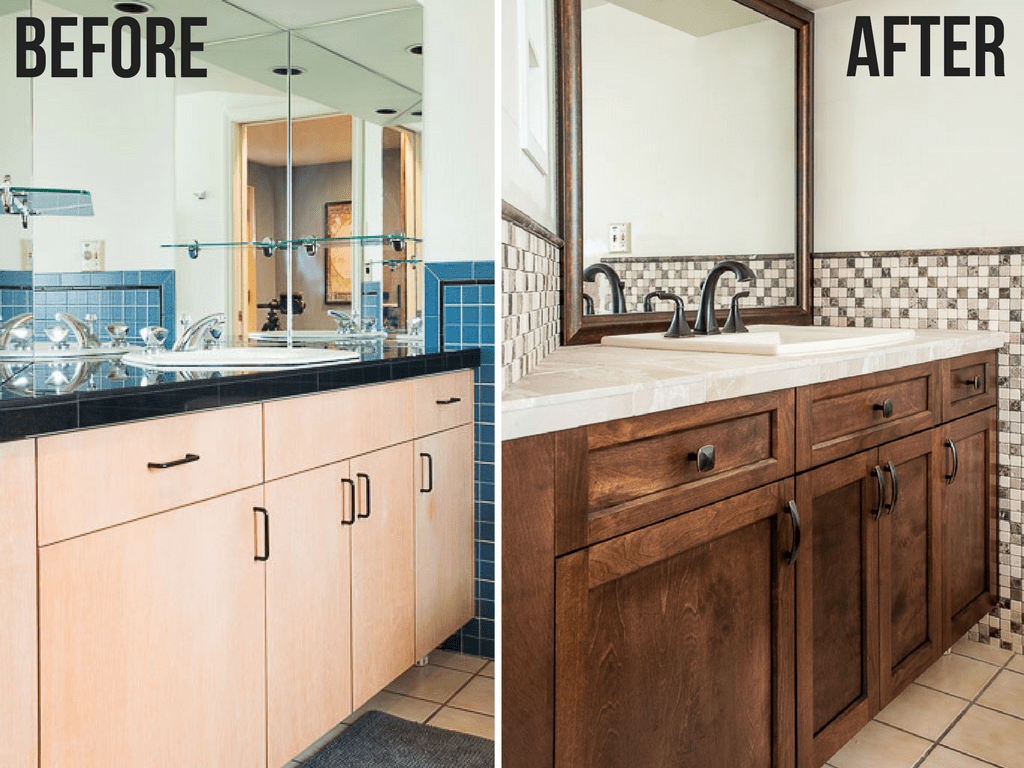
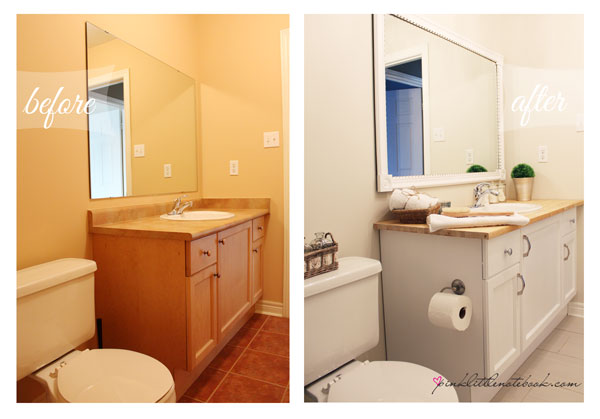
To see the transformation that adding feet to your bathroom vanity can make, here's a before and after example: Before: A basic, boxy vanity with no feet. After: The same vanity with elegant, traditional wooden feet added. As you can see, adding feet to a bathroom vanity can make a big impact on the overall look and feel of your bathroom. It's a simple and affordable DIY project that can add value to your home and give your bathroom a fresh new look. So go ahead and give your vanity the feet it deserves!Before and After: Bathroom Vanity with Added Feet

Before and After: Bathroom Vanity with Added Feet
/GettyImages-155017605-5c6625ea46e0fb00015e7889.jpg)


Why Adding Feet to Your Bathroom Vanity is a Must-Do for Your Home Design

Enhance the Aesthetics of Your Bathroom
 When it comes to designing a bathroom, the vanity is often the focal point. It not only serves as a functional space for storing toiletries and getting ready, but it also adds character and style to the room.
Adding feet to your bathroom vanity
can take its appearance to the next level. By elevating the vanity off the ground, it creates a sense of openness and lightness, making the room feel more spacious. It also adds a touch of elegance and sophistication, giving your bathroom a more polished and designer look.
When it comes to designing a bathroom, the vanity is often the focal point. It not only serves as a functional space for storing toiletries and getting ready, but it also adds character and style to the room.
Adding feet to your bathroom vanity
can take its appearance to the next level. By elevating the vanity off the ground, it creates a sense of openness and lightness, making the room feel more spacious. It also adds a touch of elegance and sophistication, giving your bathroom a more polished and designer look.
Customize Your Vanity to Fit Your Style
 One of the great things about
adding feet to your bathroom vanity
is that it allows for customization. With a variety of styles and designs to choose from, you can find the perfect feet to match your personal taste and the overall design of your bathroom. Whether you prefer a classic clawfoot design or a modern geometric shape, there is a wide range of options to choose from. You can even mix and match different styles to create a unique and personalized look for your vanity.
One of the great things about
adding feet to your bathroom vanity
is that it allows for customization. With a variety of styles and designs to choose from, you can find the perfect feet to match your personal taste and the overall design of your bathroom. Whether you prefer a classic clawfoot design or a modern geometric shape, there is a wide range of options to choose from. You can even mix and match different styles to create a unique and personalized look for your vanity.
Make Cleaning and Maintenance Easier
 One of the practical benefits of
adding feet to your bathroom vanity
is that it makes cleaning and maintenance much easier. With the vanity elevated off the ground, it becomes easier to access and clean underneath it, eliminating hard-to-reach areas that can accumulate dust and grime. This also makes it easier to replace the flooring in your bathroom without having to move or replace the entire vanity. Additionally, the feet act as protective barriers, preventing water damage and prolonging the lifespan of your vanity.
One of the practical benefits of
adding feet to your bathroom vanity
is that it makes cleaning and maintenance much easier. With the vanity elevated off the ground, it becomes easier to access and clean underneath it, eliminating hard-to-reach areas that can accumulate dust and grime. This also makes it easier to replace the flooring in your bathroom without having to move or replace the entire vanity. Additionally, the feet act as protective barriers, preventing water damage and prolonging the lifespan of your vanity.
Increase the Value of Your Home
 Lastly,
adding feet to your bathroom vanity
can increase the value of your home. As mentioned earlier, it enhances the aesthetics of your bathroom, making it more visually appealing and attractive to potential buyers. It also showcases attention to detail and adds a touch of luxury, which can potentially increase the overall value of your home. So not only is it beneficial for your current enjoyment of your bathroom, but it can also be a worthwhile investment for the future.
In conclusion,
adding feet to your bathroom vanity
is a simple yet effective way to elevate the design of your bathroom. It adds both style and function, allowing for customization, easier cleaning, and potentially increasing the value of your home. So if you're looking to give your bathroom a makeover, consider this small but impactful addition to your vanity.
Lastly,
adding feet to your bathroom vanity
can increase the value of your home. As mentioned earlier, it enhances the aesthetics of your bathroom, making it more visually appealing and attractive to potential buyers. It also showcases attention to detail and adds a touch of luxury, which can potentially increase the overall value of your home. So not only is it beneficial for your current enjoyment of your bathroom, but it can also be a worthwhile investment for the future.
In conclusion,
adding feet to your bathroom vanity
is a simple yet effective way to elevate the design of your bathroom. It adds both style and function, allowing for customization, easier cleaning, and potentially increasing the value of your home. So if you're looking to give your bathroom a makeover, consider this small but impactful addition to your vanity.