Are you looking to make your bathroom more accessible for individuals with disabilities? One way to do this is by installing an ADA compliant bathroom sink. This type of sink meets the requirements set by the Americans with Disabilities Act (ADA) and can provide greater accessibility for those with mobility impairments. If you're a DIY enthusiast, you may be wondering if you can install an ADA bathroom sink on your own. The answer is yes! In this article, we'll discuss the top 10 steps for a successful DIY ADA bathroom sink installation. ADA Compliant Bathroom Sink DIY


ADA Compliant Bathroom Sink DIY


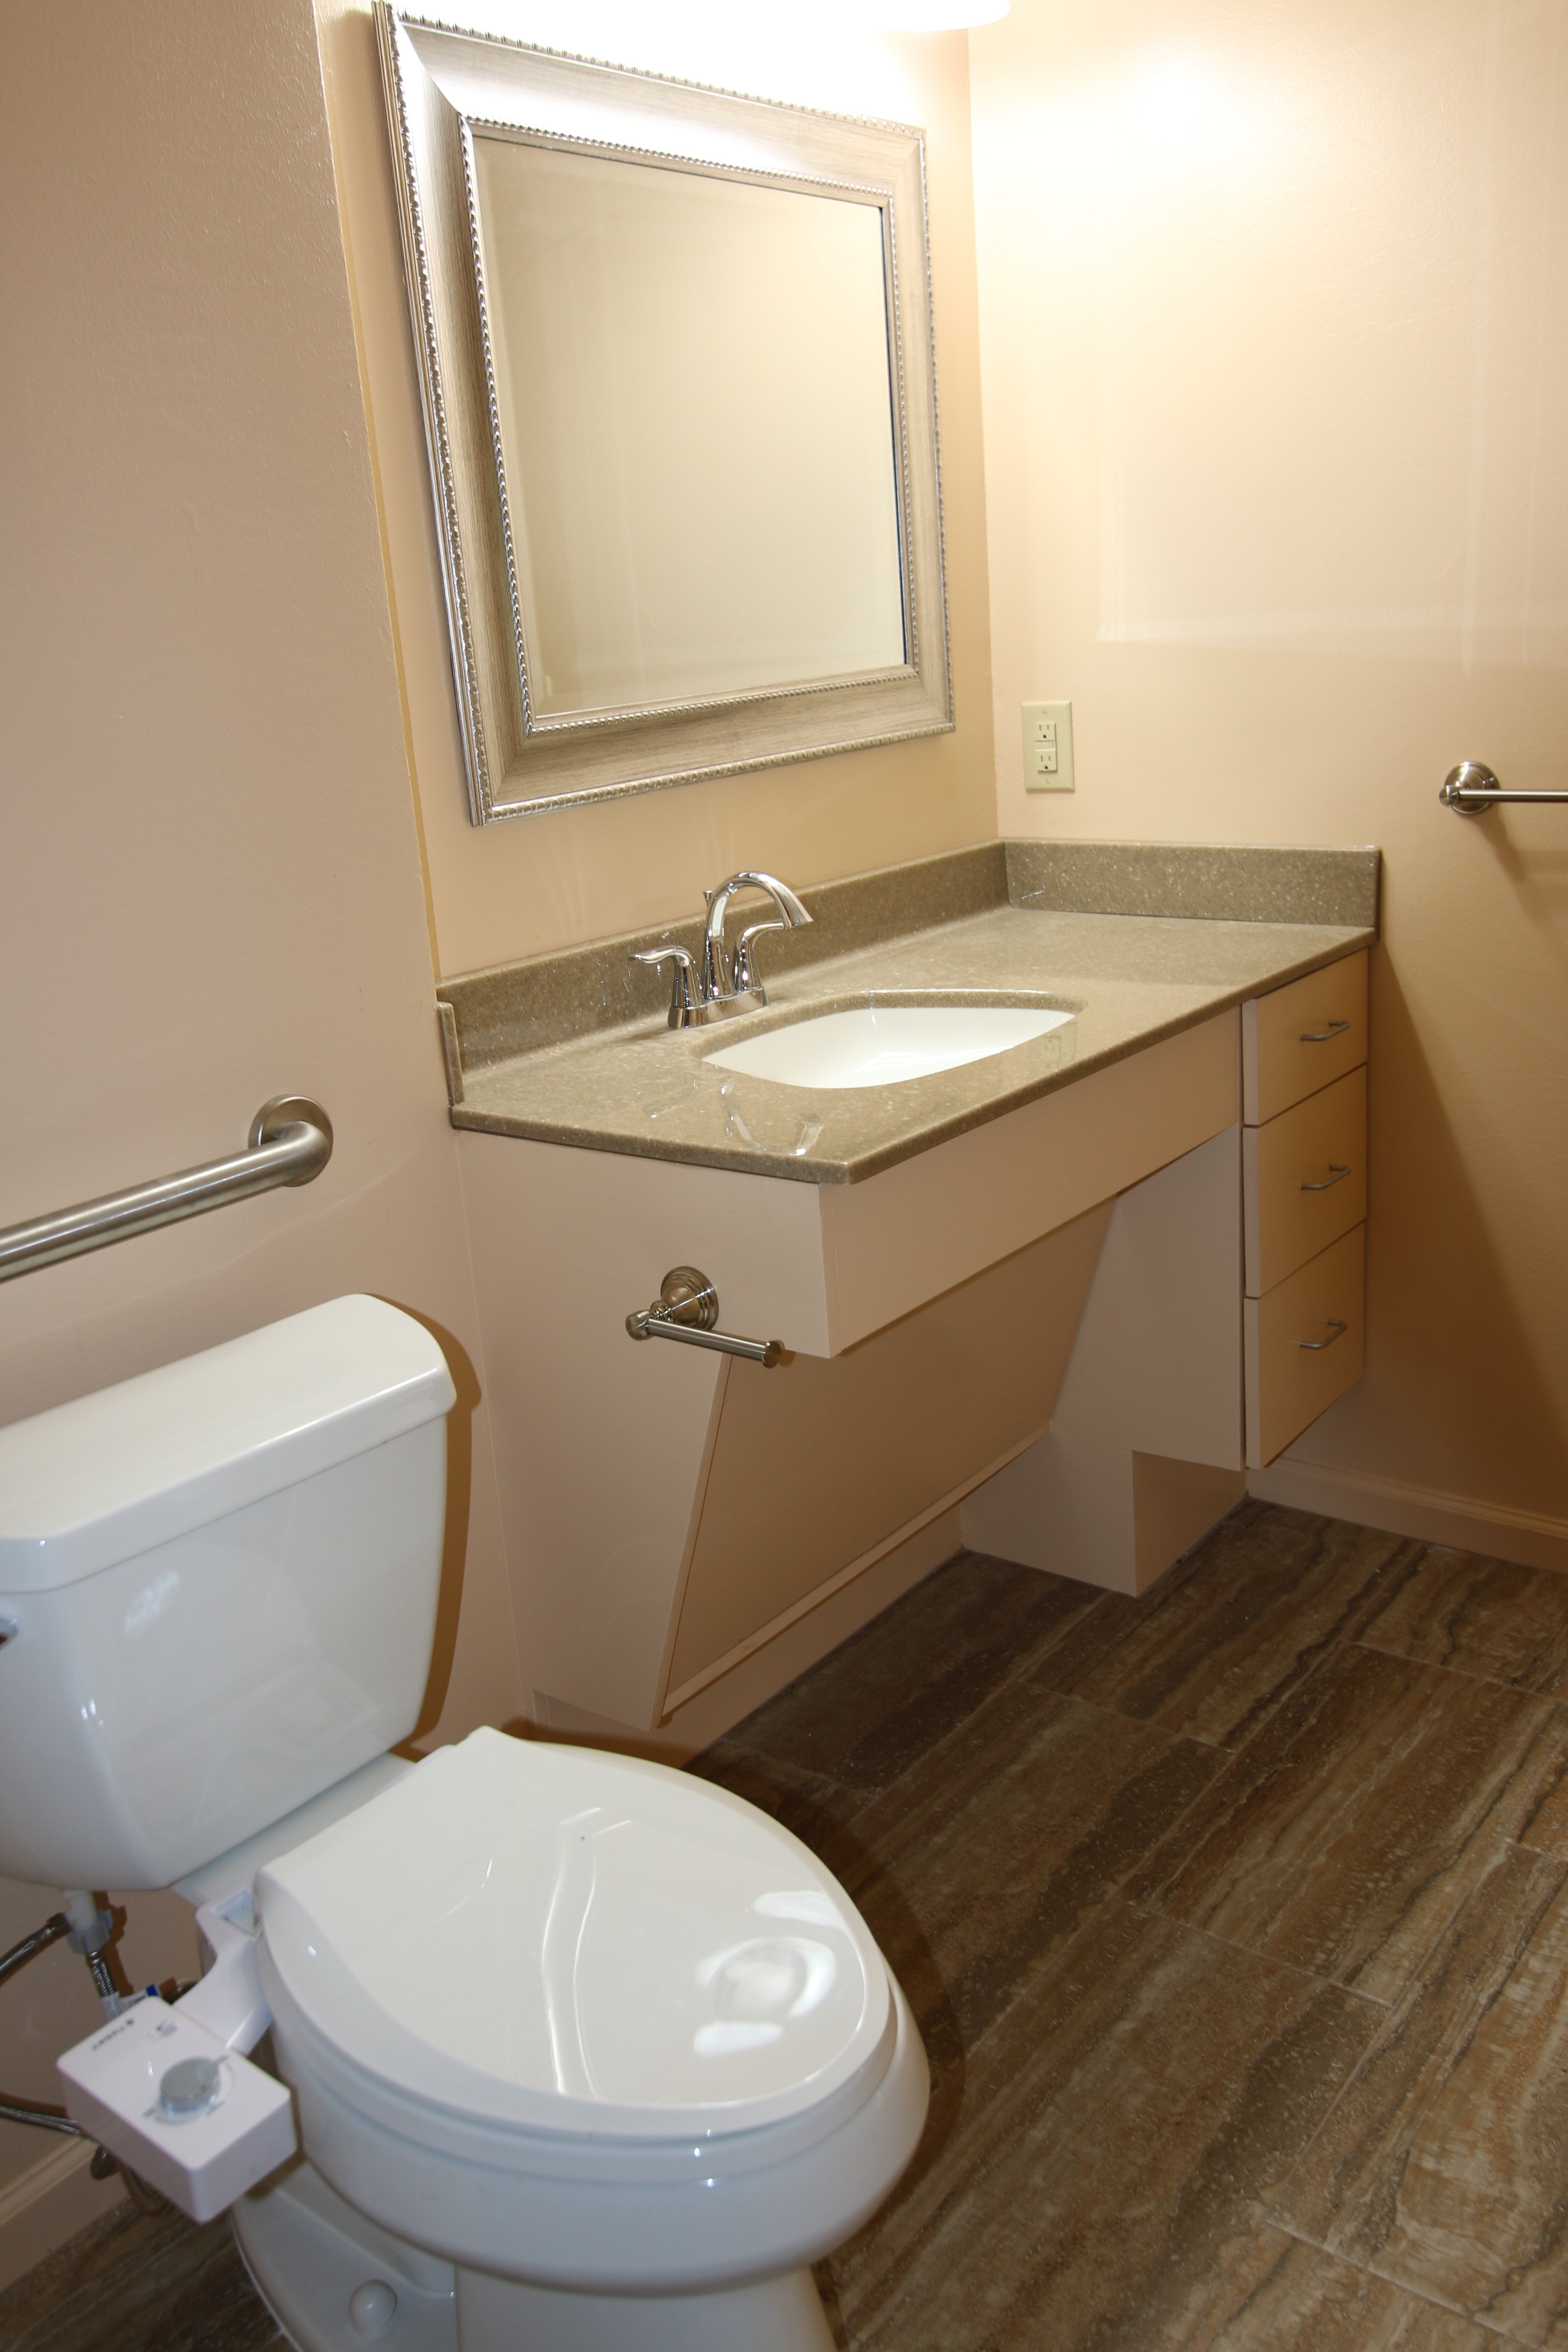
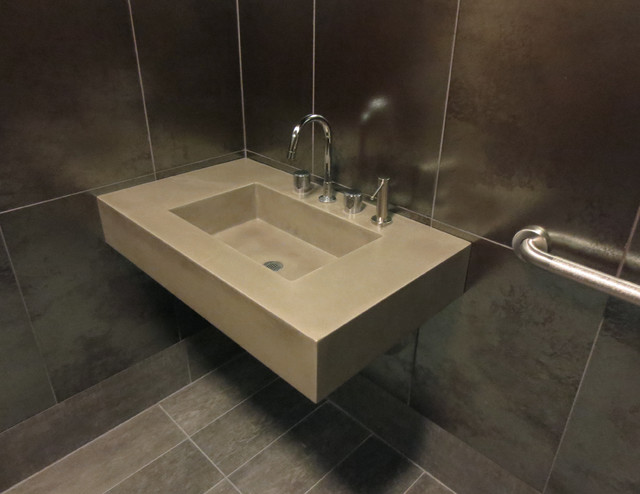
Before we dive into the steps, it's important to understand what exactly an ADA bathroom sink is. An ADA compliant sink is designed to be accessible for individuals with disabilities, including those who use wheelchairs. It typically has a lower height and a deeper basin to accommodate a wheelchair user. The sink should also have enough clearance underneath for a person to easily maneuver their wheelchair. With these features in mind, let's explore the steps for installing an ADA bathroom sink yourself. DIY ADA Bathroom Sink


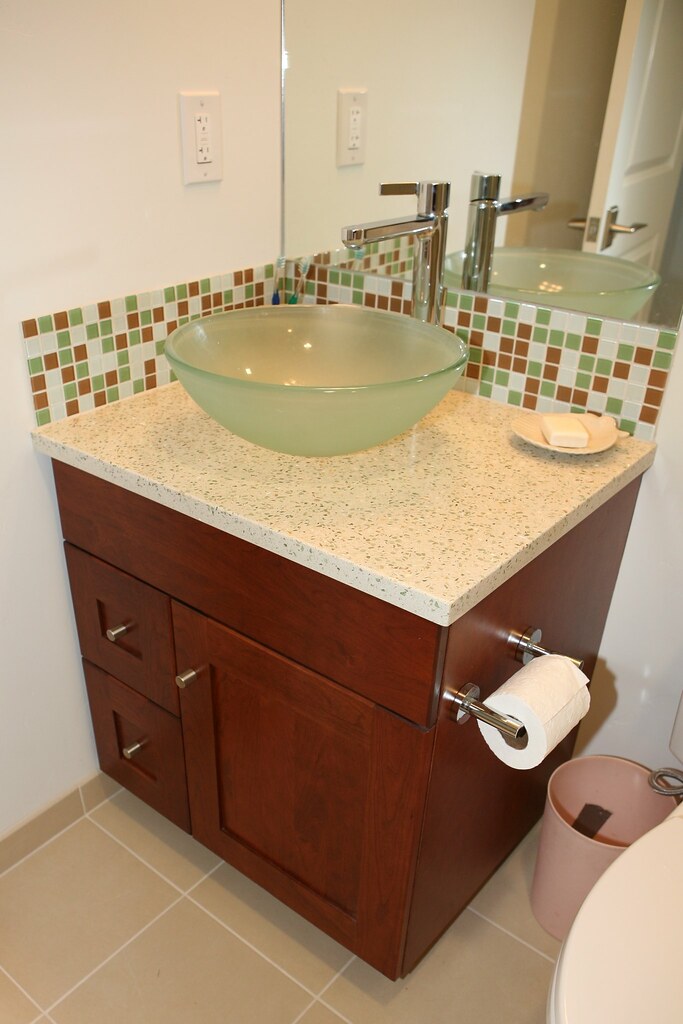
DIY ADA Bathroom Sink


Step 1: Determine the location - The first step is to decide where you want to install the sink. It's important to choose a location that is easily accessible for someone in a wheelchair and has enough space for them to maneuver. The sink should also be close to the toilet for convenience. Step 2: Measure the height - According to ADA requirements, the sink should be no higher than 34 inches from the floor. Measure the height of your sink and make adjustments if necessary. Step 3: Install the sink bracket - Using a pencil, mark the location of the sink bracket on the wall. Make sure it is level and secure the bracket with screws. Step 4: Cut the drain hole - Use a jigsaw to cut a hole in the countertop for the drain. Follow the manufacturer's instructions for the proper size and placement of the hole. Step 5: Install the faucet - Most ADA bathroom sinks have a single-hole faucet, but make sure to double check before making a purchase. Install the faucet according to the manufacturer's instructions. Step 6: Connect the water supply - Connect the water supply lines to the faucet. Use plumber's tape to ensure a tight seal. Step 7: Attach the sink to the bracket - Place the sink on top of the bracket and secure it with screws. Step 8: Install the drain - Install the drain according to the manufacturer's instructions. Make sure it is tight and secure. Step 9: Connect the drain to the pipe - Use a wrench to connect the drain to the pipe. Again, make sure it is tight and secure. Step 10: Test the sink - Turn on the water and check for any leaks. If everything looks good, your DIY ADA bathroom sink installation is complete! How to Install an ADA Bathroom Sink


How to Install an ADA Bathroom Sink


By following these 10 simple steps, you can easily install an ADA compliant bathroom sink in your home. Not only will this provide greater accessibility for individuals with disabilities, but it can also add value to your home. Plus, you can feel proud knowing that you completed the installation yourself! DIY Accessible Bathroom Sink


DIY Accessible Bathroom Sink


When it comes to installing an ADA bathroom sink, it's important to follow the guidelines set by the ADA. This will ensure that your sink is truly accessible for individuals with disabilities. It's also a good idea to consult with a professional if you have any doubts or concerns about the installation process. ADA Bathroom Sink Installation


ADA Bathroom Sink Installation


Having a handicap accessible bathroom is important for the comfort and independence of individuals with disabilities. By installing an ADA compliant bathroom sink, you're taking an important step in creating a more accessible space for everyone. DIY Handicap Bathroom Sink


DIY Handicap Bathroom Sink


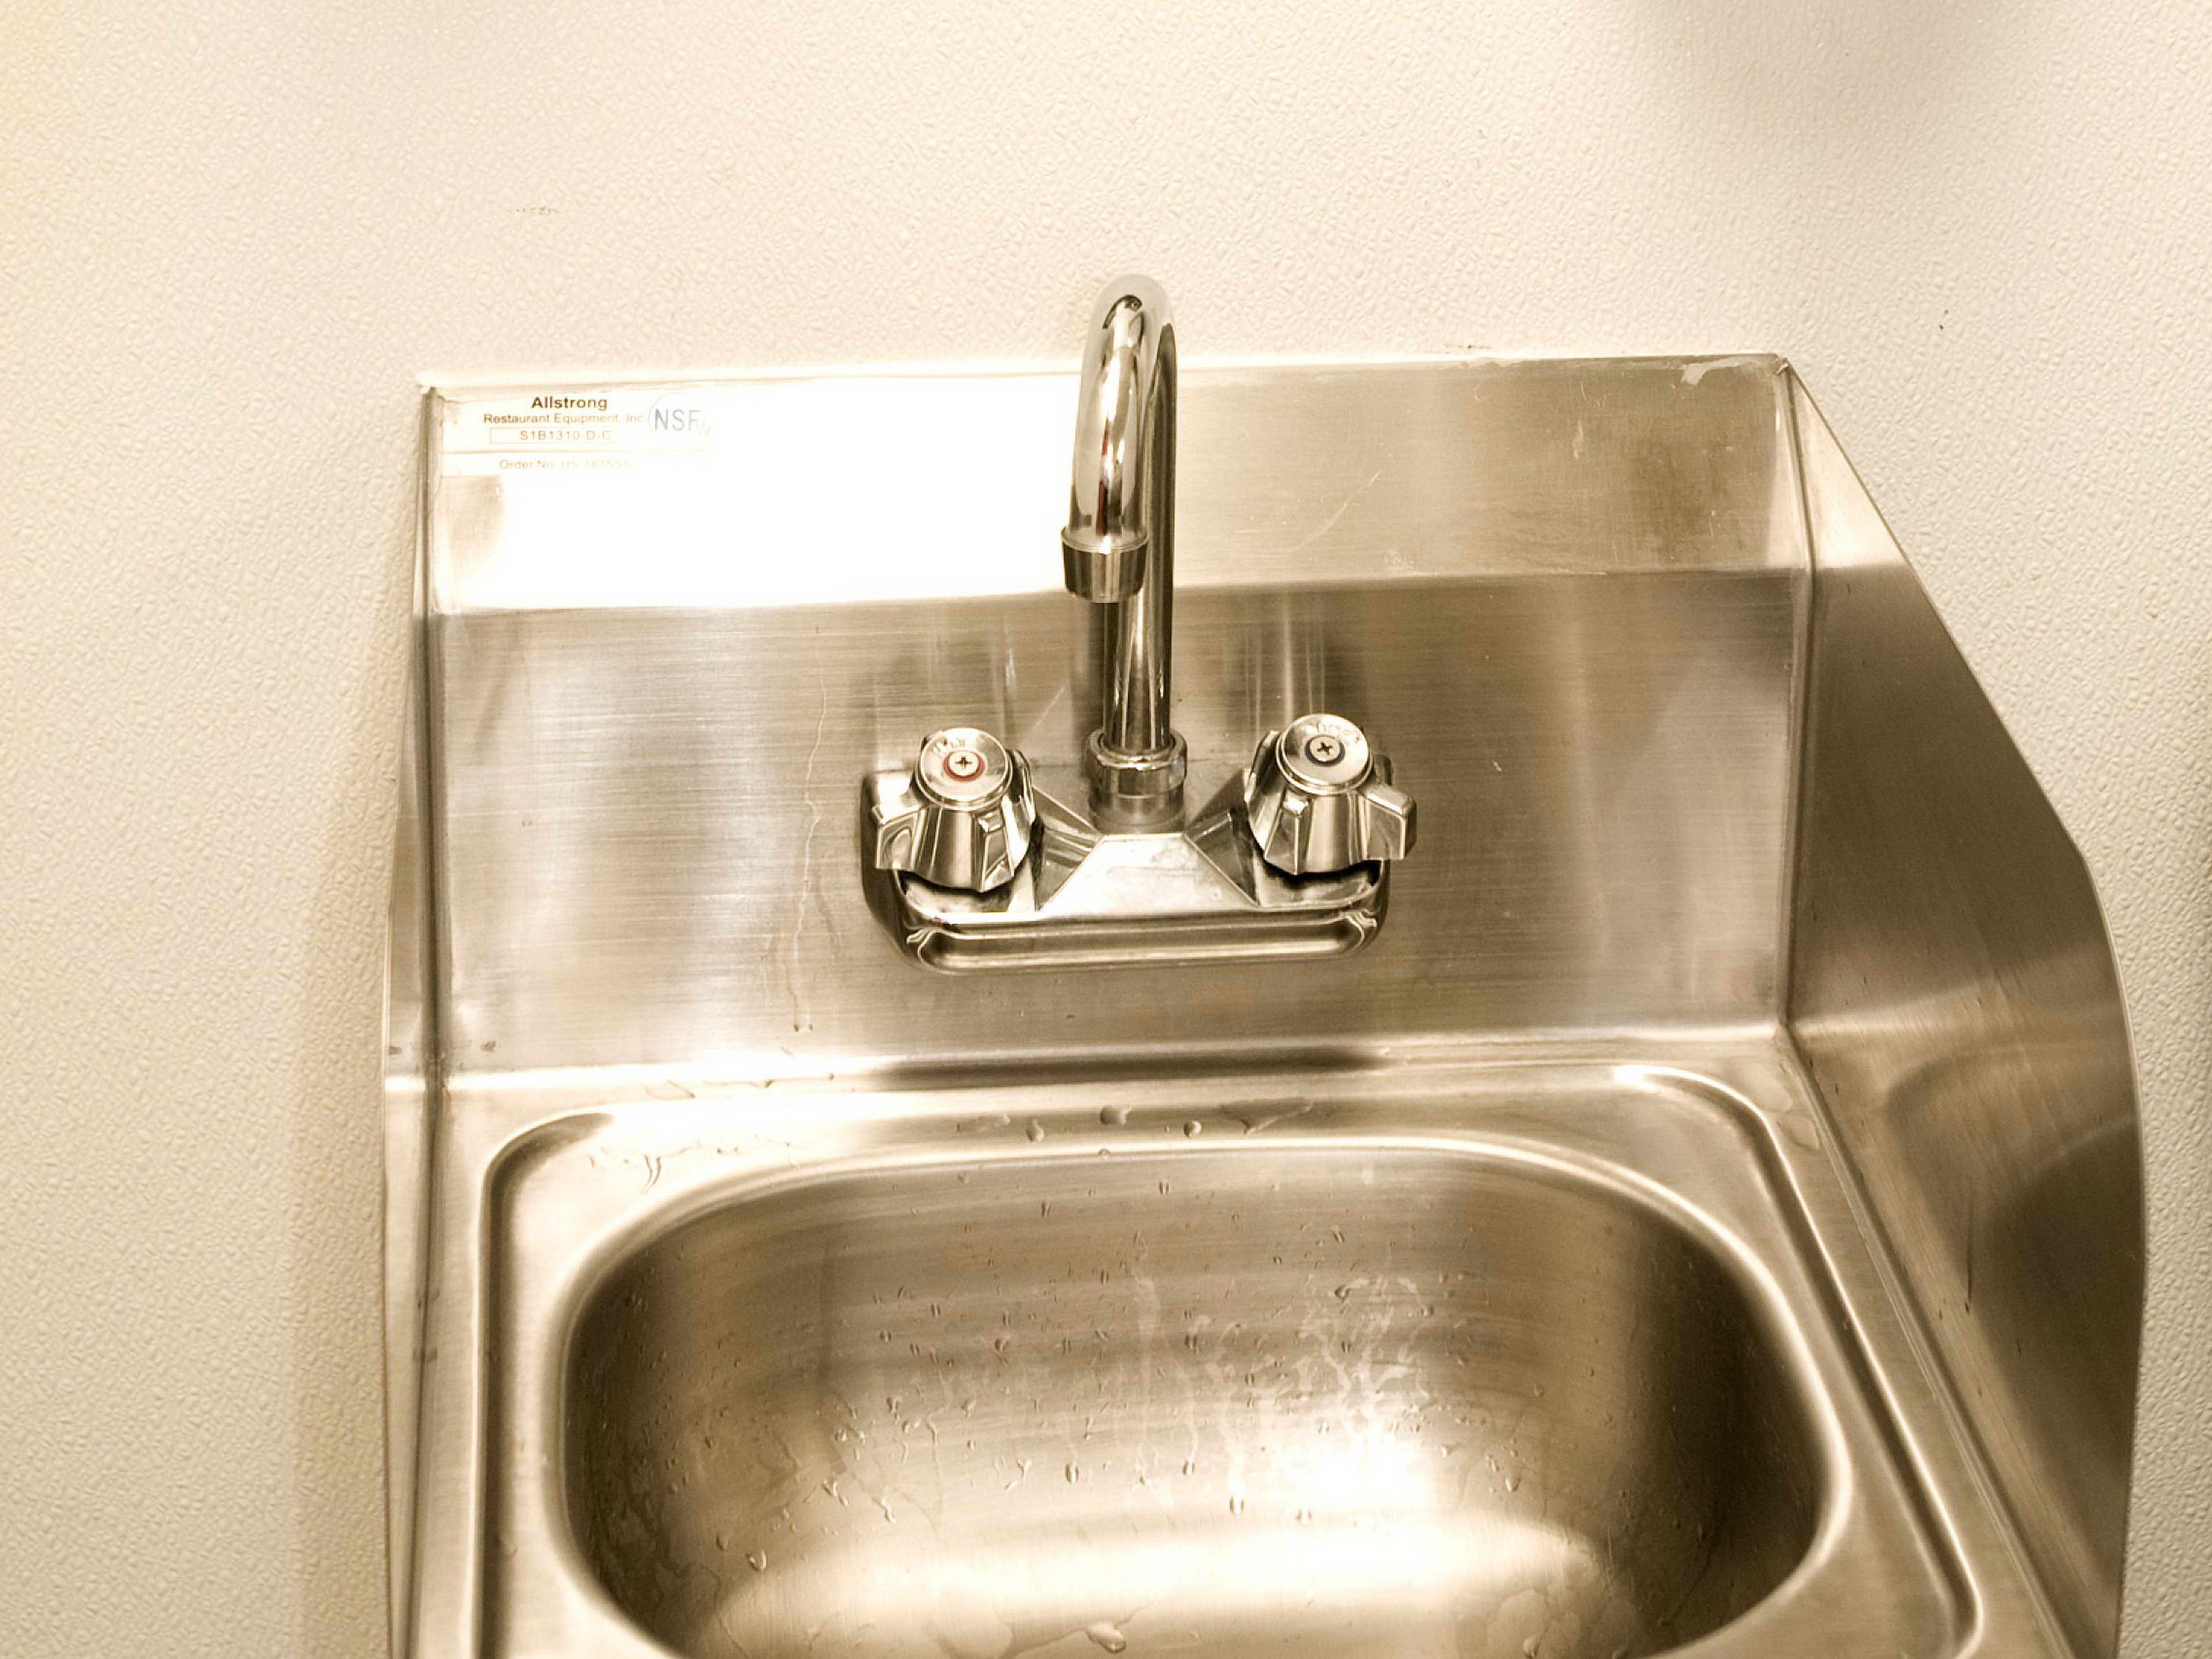
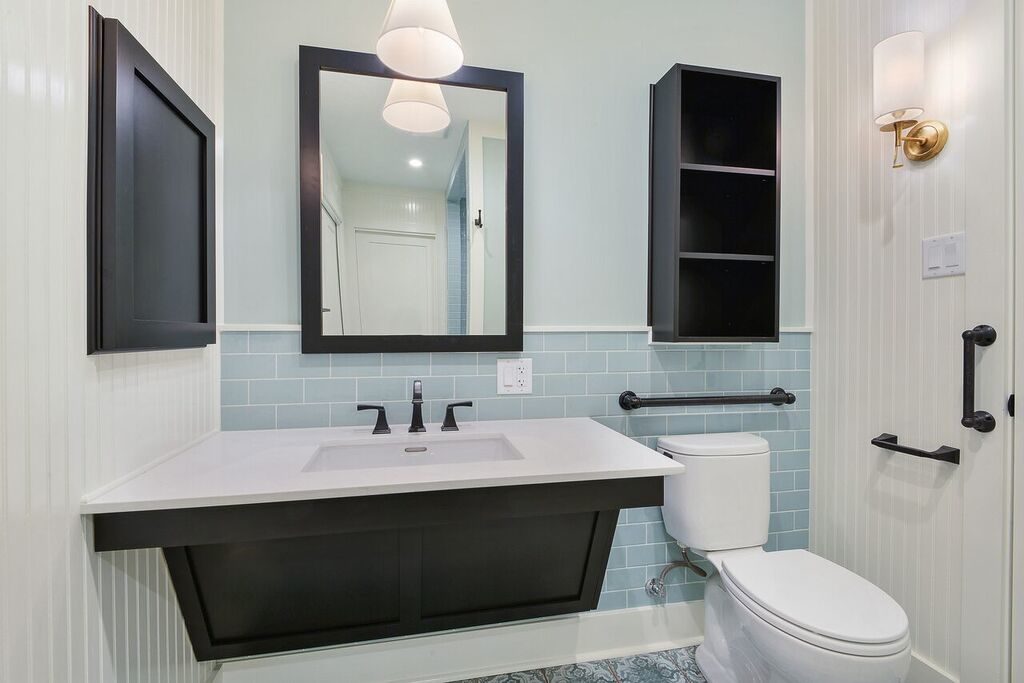
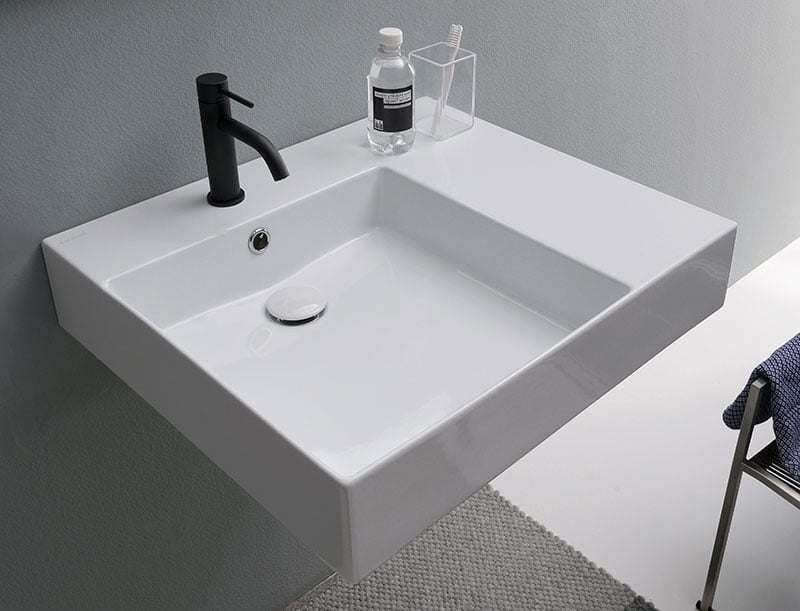
In addition to the height and clearance requirements, an ADA compliant bathroom sink should also have a lever handle faucet and a drain pipe that is located towards the back of the sink. These features make it easier for someone in a wheelchair to use the sink independently. ADA Bathroom Sink Requirements


ADA Bathroom Sink Requirements


If you or someone in your household uses a wheelchair, installing an ADA bathroom sink is a must. It allows for greater independence and makes daily tasks like washing hands much easier. By following our DIY steps, you can create a wheelchair accessible bathroom sink in no time. DIY Wheelchair Accessible Bathroom Sink


DIY Wheelchair Accessible Bathroom Sink


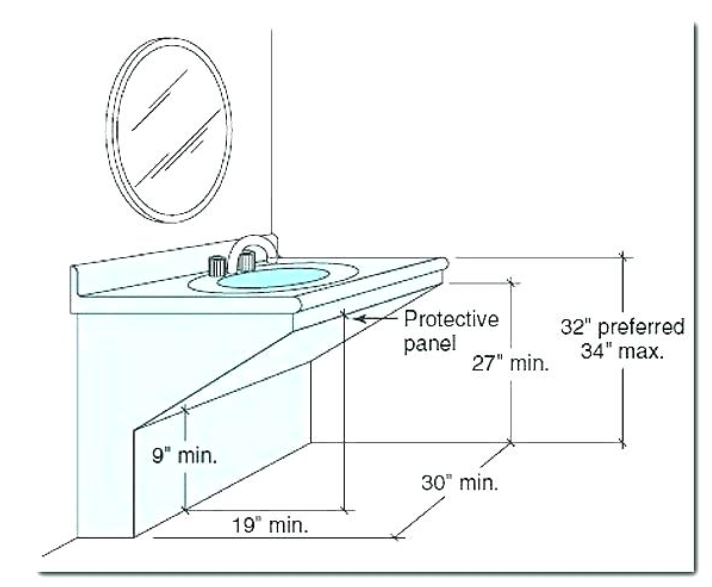
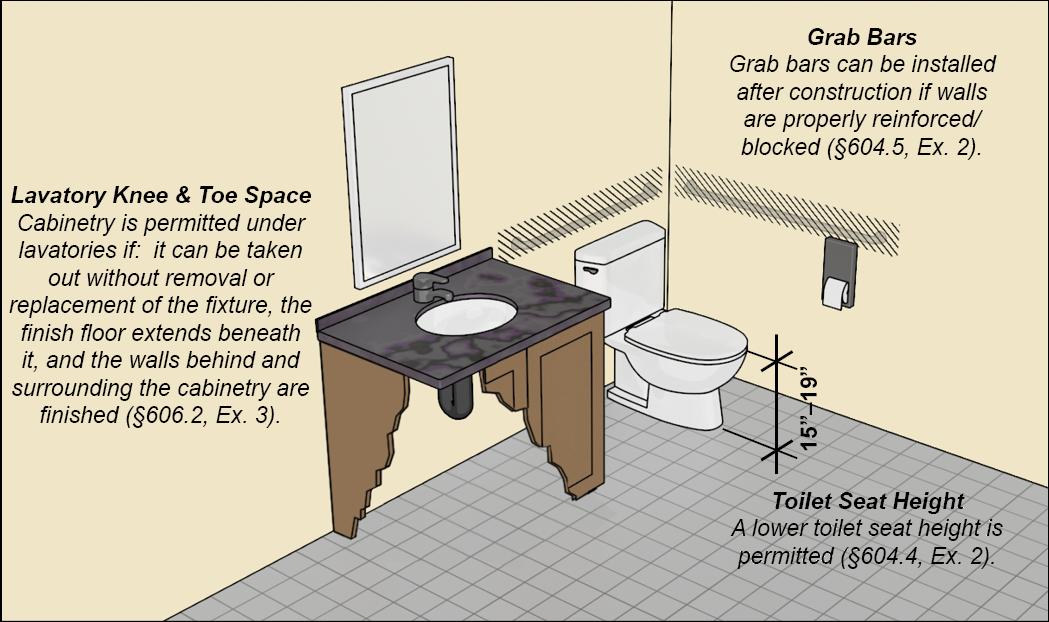
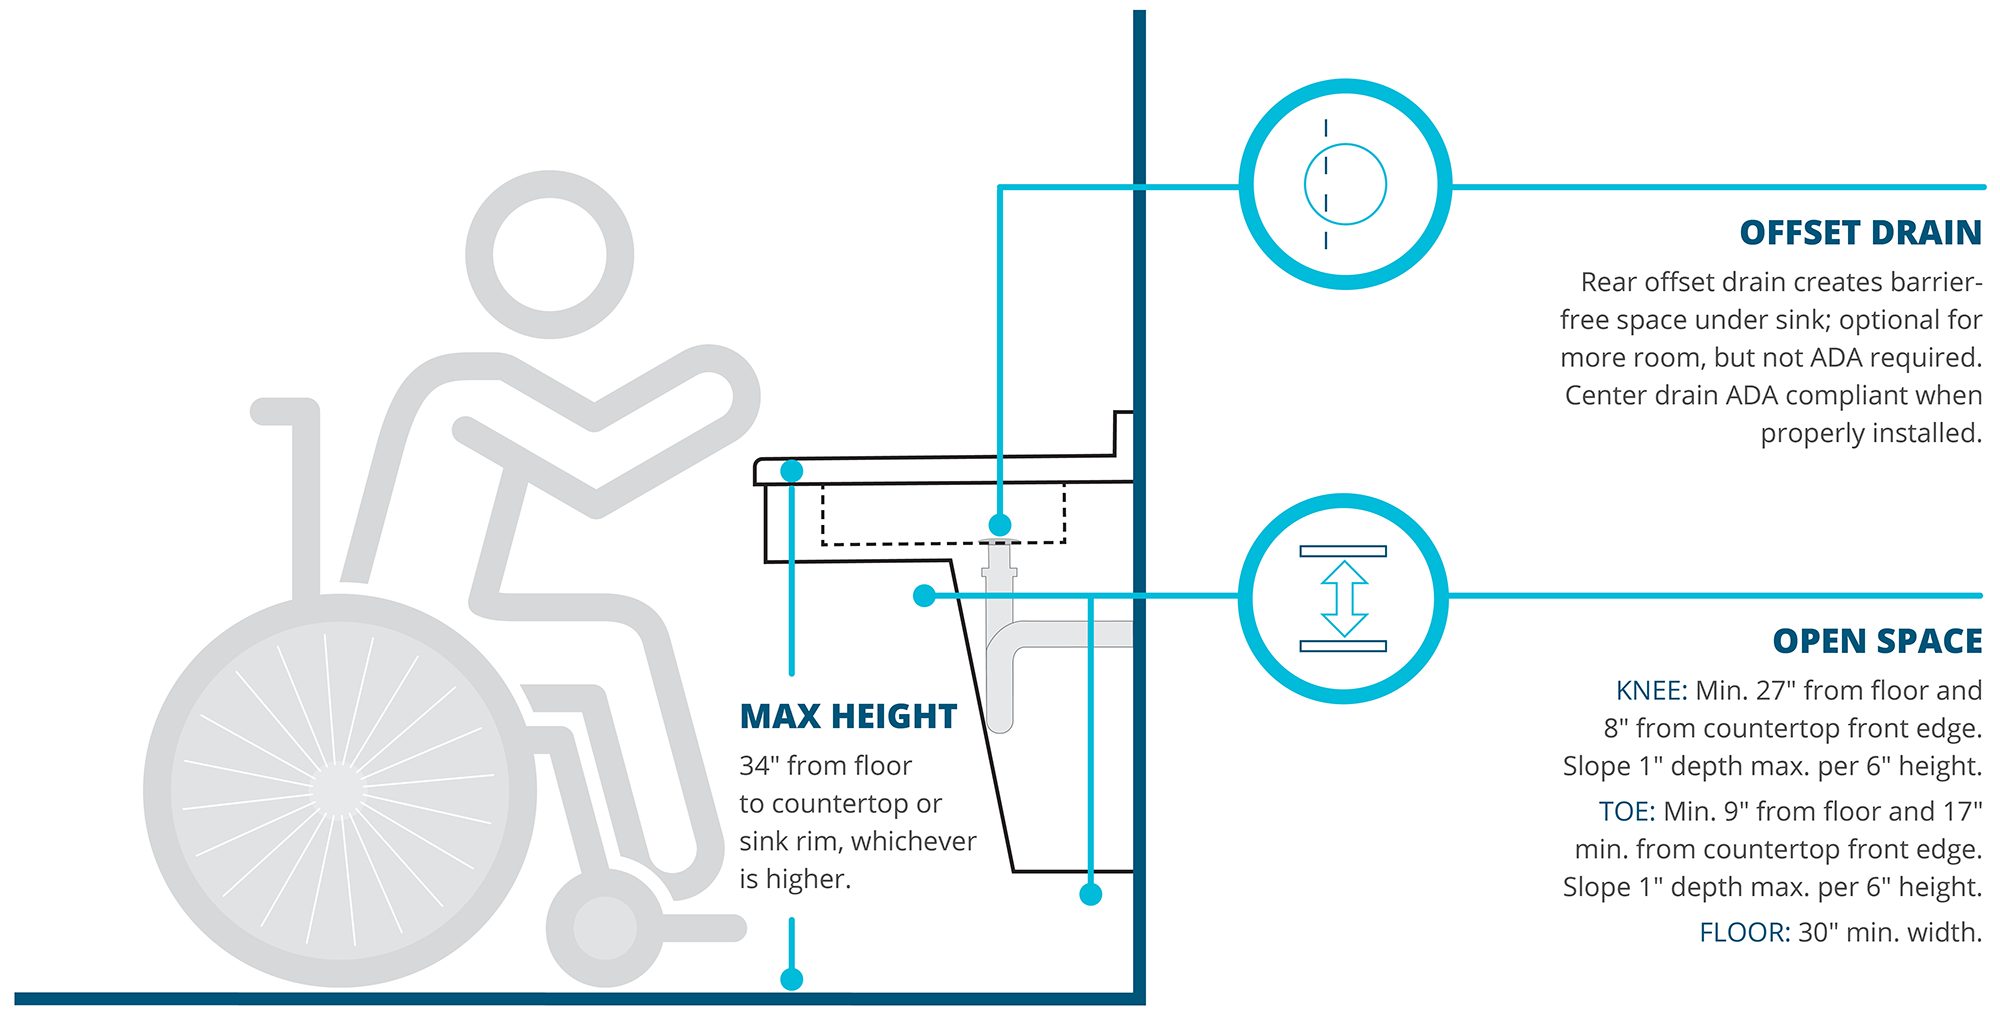
We mentioned earlier that the height of an ADA bathroom sink should be no more than 34 inches from the floor. This is to accommodate someone in a wheelchair, but it also benefits those who may have difficulty standing for long periods of time. ADA Bathroom Sink Height
ADA Bathroom Sink Height

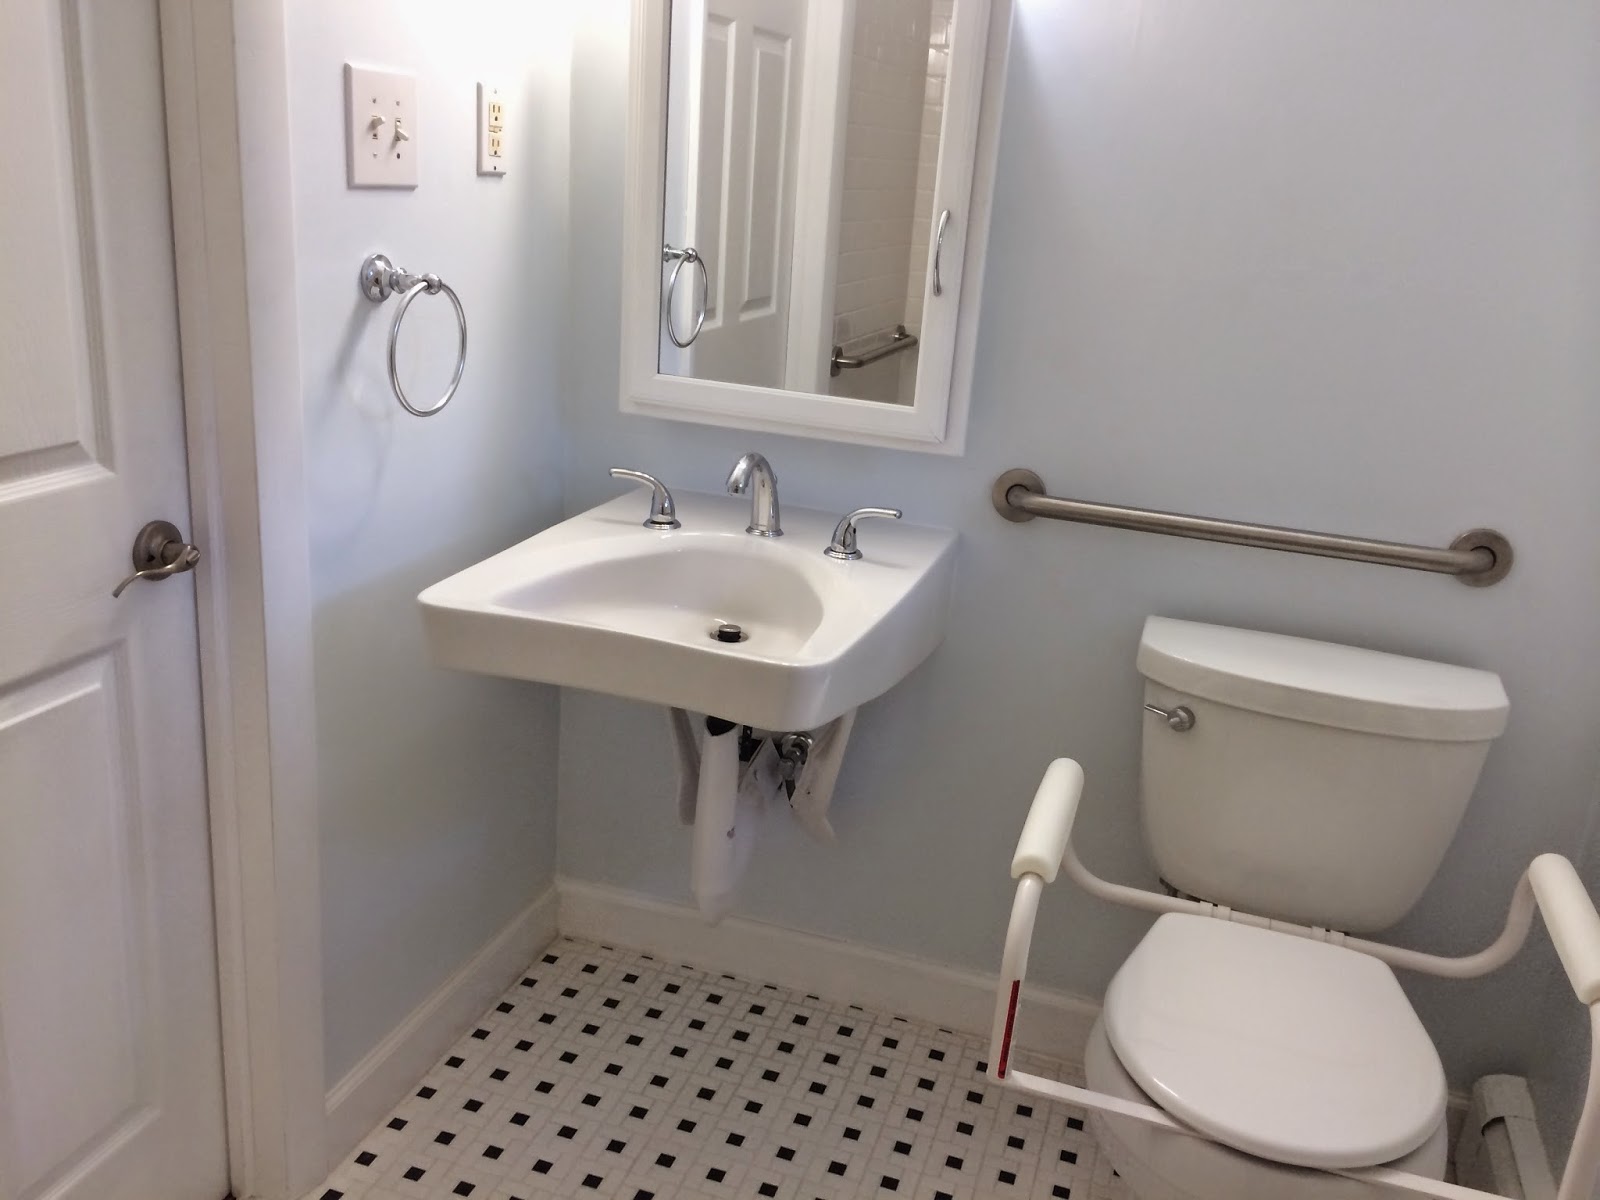
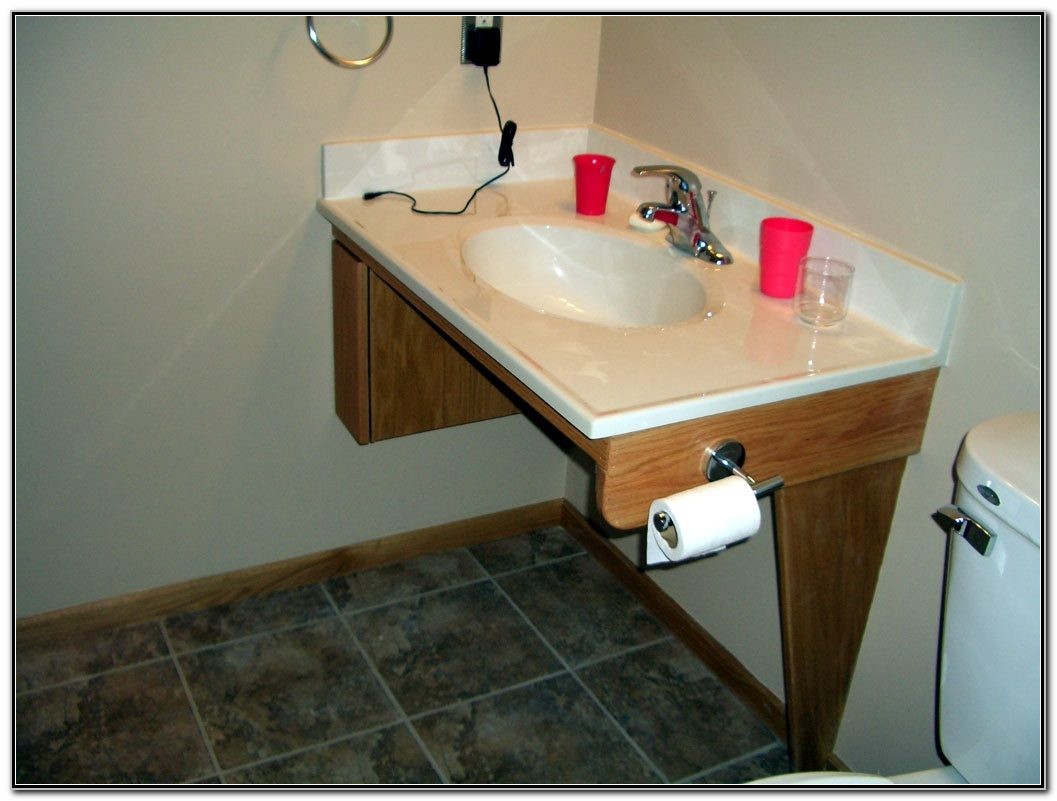
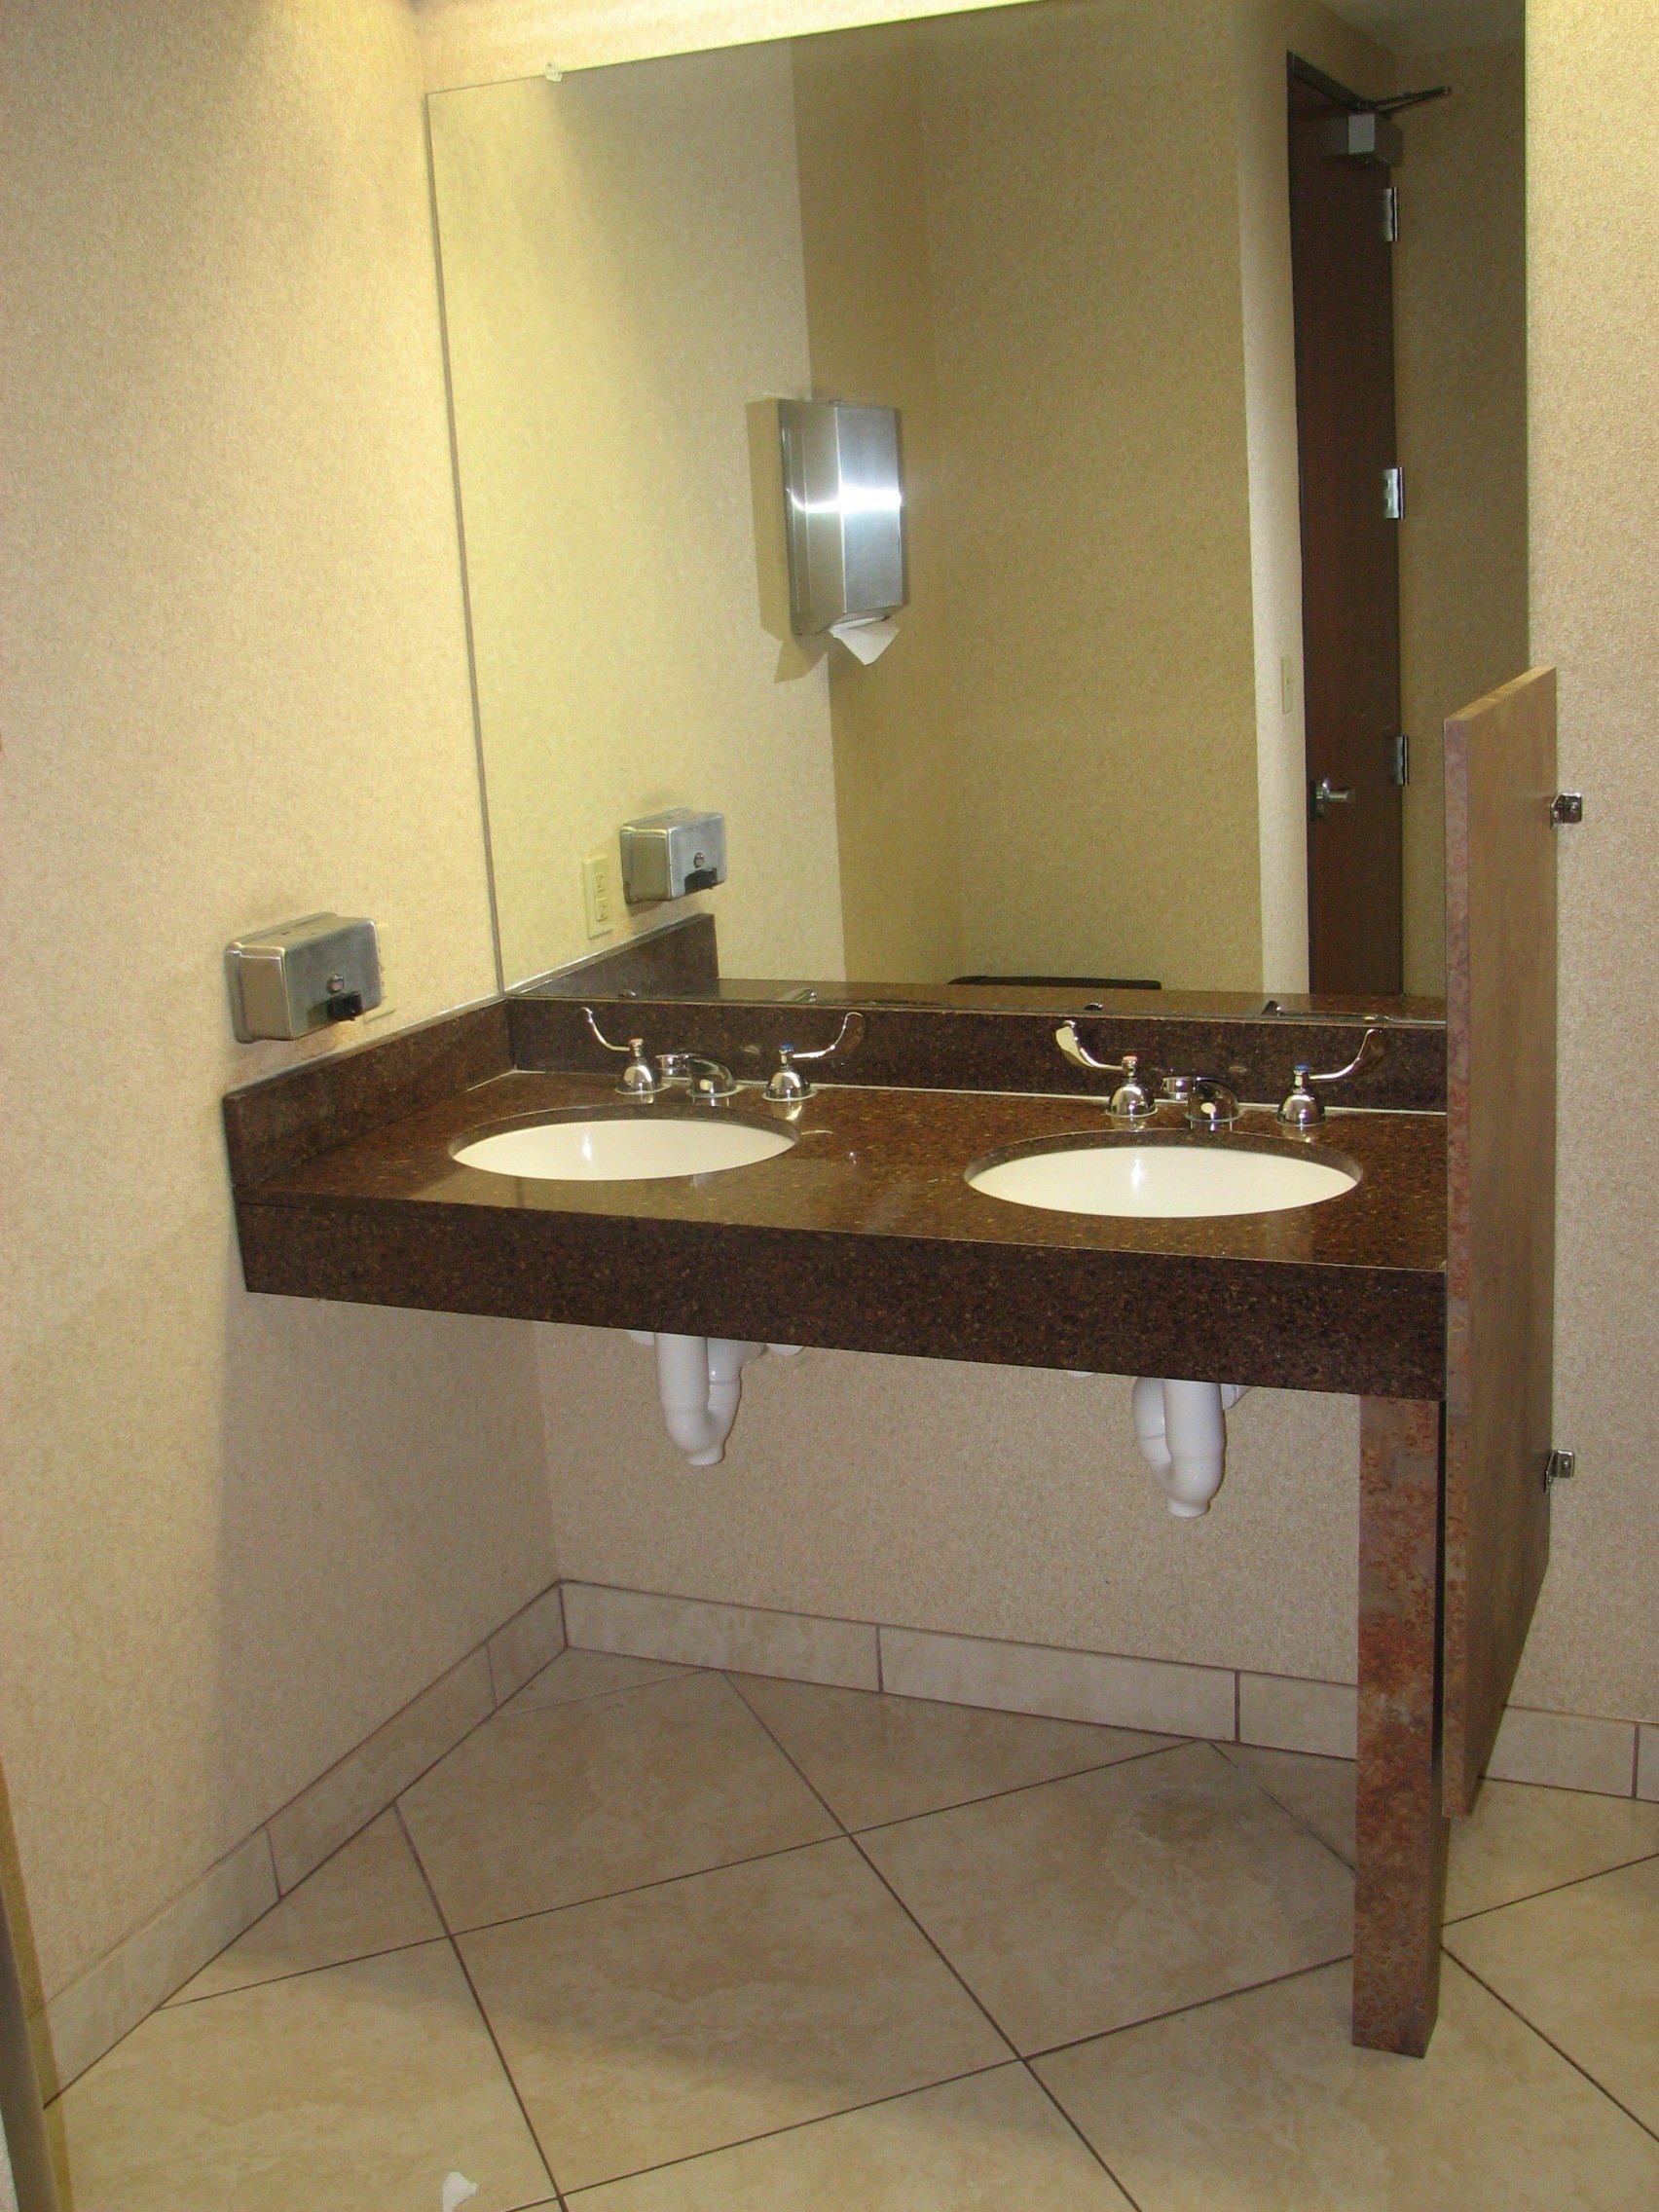
Some ADA compliant bathroom sinks are designed to be barrier-free, meaning there is no cabinet or vanity underneath the sink. This allows for even more clearance for a wheelchair user. If you choose to install a barrier-free sink, make sure to consult with a professional to ensure proper installation and support. Now that you have the knowledge and steps for a successful DIY ADA bathroom sink installation, it's time to get to work! By following these guidelines, you can create a more accessible and functional bathroom for all. Remember to always double check the ADA requirements and consult with a professional if needed. Happy DIY-ing! DIY Barrier-Free Bathroom Sink


DIY Barrier-Free Bathroom Sink


Creating an ADA-Compliant Bathroom Sink: A DIY Guide

Why ADA Compliance is Important in House Design
 When designing a home, it is important to consider the needs of all individuals who may use the space. This includes those with disabilities or mobility impairments. The Americans with Disabilities Act (ADA) has set standards for accessible design in public spaces, but these guidelines can also be applied to the home. For individuals with disabilities, having an ADA-compliant bathroom sink can make a significant difference in their daily routine. By following these guidelines, you can create a functional and accessible bathroom sink for your home.
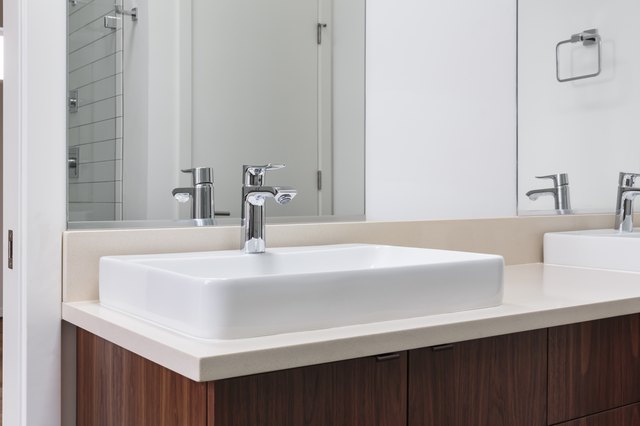
The Basics of an ADA-Compliant Bathroom Sink
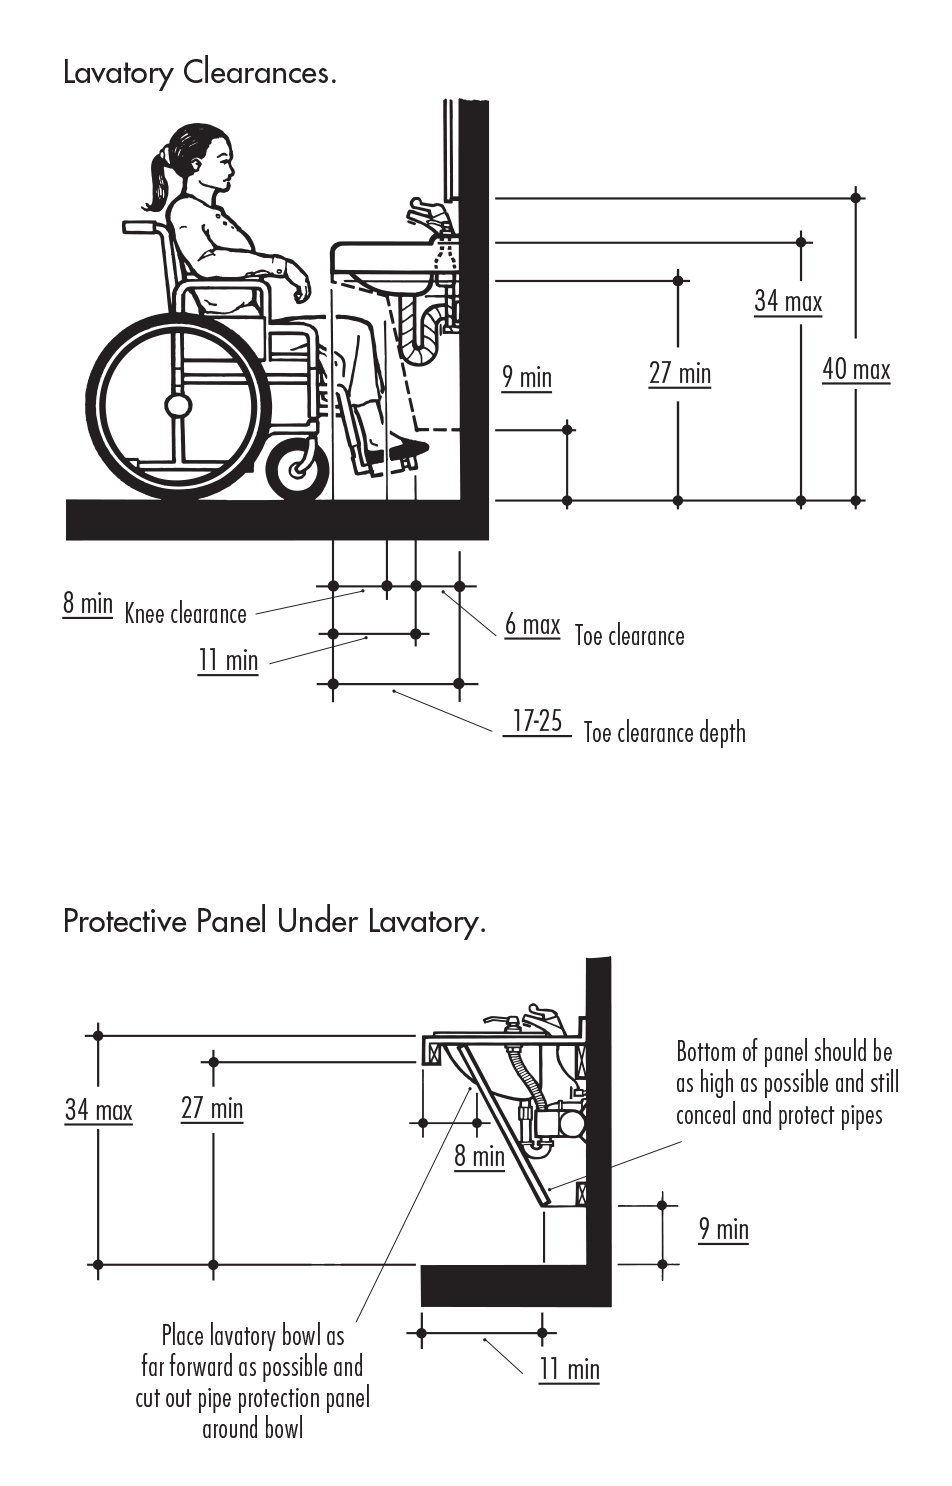
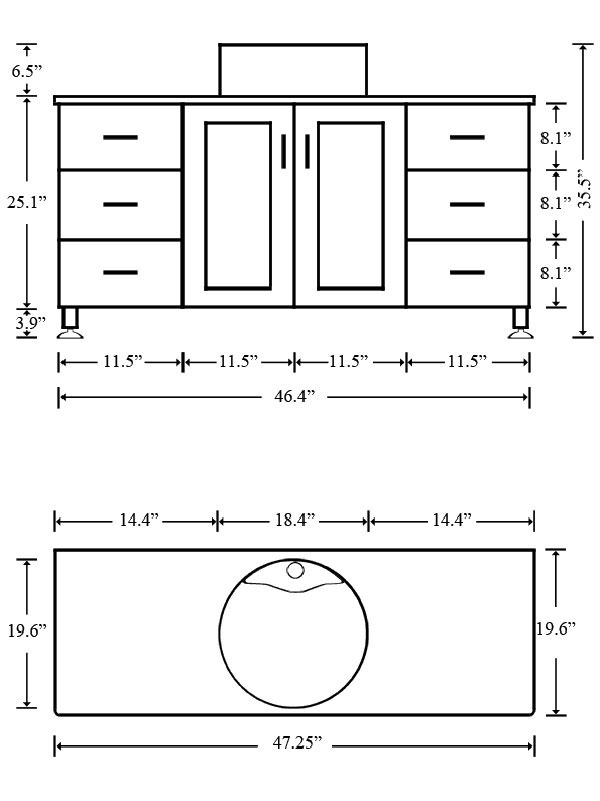
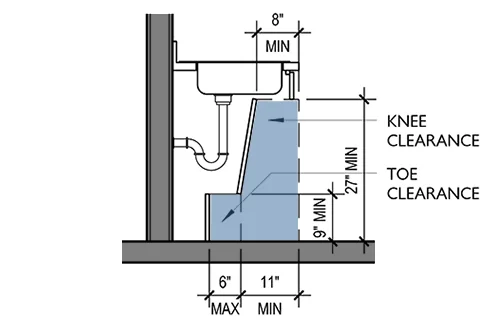
 An ADA-compliant bathroom sink is designed with the user's comfort and safety in mind. It allows for easy access and use by individuals who may have limited mobility or use a wheelchair. The sink must have a clear space underneath for a person to roll their knees or wheelchair under, with the faucet, controls, and drain located within easy reach. Additionally, the sink should have adequate knee clearance, be no higher than 34 inches from the floor, and have a maximum depth of 6.5 inches.
Gather Your Materials and Tools
 Before starting your DIY project, it is important to gather all the necessary materials and tools. This includes an ADA-compliant sink, faucet, and drain that meet the specified height and depth requirements. You will also need a tape measure, drill, screws, and a level. It is important to carefully read and follow the manufacturer's instructions for installation.
Installing the Sink
 The first step in installing an ADA-compliant bathroom sink is to measure and mark the location on the wall where the sink will be installed. Use a level to ensure the sink will be straight. Next, attach the sink bracket to the wall using the appropriate screws. Once the sink is securely attached, you can connect the faucet and drain according to the manufacturer's instructions. Be sure to test the sink for leaks before using.
Additional Considerations
 In addition to the basic requirements for an ADA-compliant bathroom sink, there are a few other factors to consider. The sink should have a single lever or touchless faucet, as these are easier to operate for individuals with limited hand dexterity. It is also important to have proper lighting and contrast around the sink area for those with visual impairments.
In conclusion,
creating an ADA-compliant bathroom sink is not only important for accessibility, but it can also add value and functionality to your home. By following these guidelines and using the right materials and tools, you can easily install a sink that meets ADA standards. Remember to always consult with a professional if you have any doubts or questions during the installation process.
In addition to the basic requirements for an ADA-compliant bathroom sink, there are a few other factors to consider. The sink should have a single lever or touchless faucet, as these are easier to operate for individuals with limited hand dexterity. It is also important to have proper lighting and contrast around the sink area for those with visual impairments.
In conclusion,
creating an ADA-compliant bathroom sink is not only important for accessibility, but it can also add value and functionality to your home. By following these guidelines and using the right materials and tools, you can easily install a sink that meets ADA standards. Remember to always consult with a professional if you have any doubts or questions during the installation process.