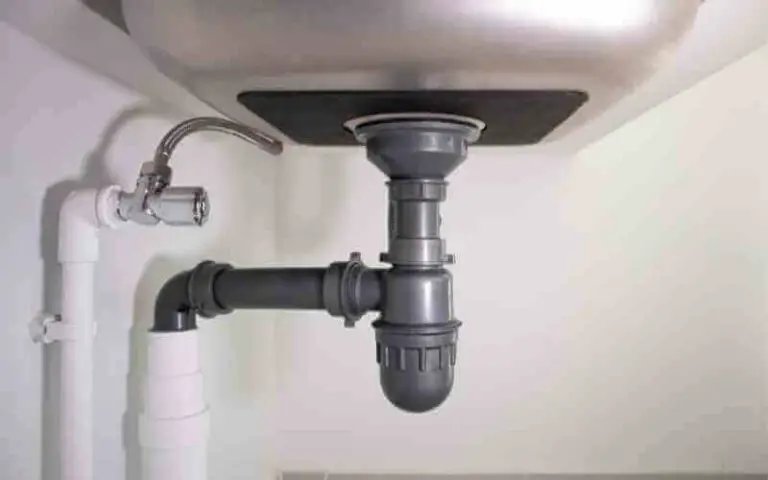
Dealing with a leaky kitchen sink drain can be a frustrating and messy experience. Not only does it create a mess in your kitchen, but it can also lead to water damage and mold if left untreated. Fortunately, fixing a leaky kitchen sink drain is a relatively easy task that can be done in just a few simple steps. First, start by identifying the source of the leak. Is the leak coming from the drainpipe or the sink itself? If it's from the drainpipe, you may need to replace the drainpipe or tighten any loose connections. If the leak is coming from the sink, you may need to replace the sink or the sink's sealant. Next, turn off the water supply to your sink and place a bucket or large bowl under the drain to catch any water. Then, use a wrench to loosen the nut that connects the drain to the sink's tailpiece. Once the nut is loose, remove the drain and inspect it for any cracks or damage. If the drain is damaged, replace it with a new one. If the drain is not damaged, clean it thoroughly with warm water and soap. Then, apply a thin layer of plumber's putty to the underside of the drain's flange. This will create a watertight seal when the drain is reinstalled. Finally, reattach the drain to the sink's tailpiece and tighten the nut with a wrench. Turn on the water supply and check for any leaks. If there are no leaks, you're all set! If there are still leaks, you may need to replace the sink's sealant or call a professional plumber for assistance.How to Fix a Leaky Kitchen Sink Drain


How to Fix a Leaky Kitchen Sink Drain


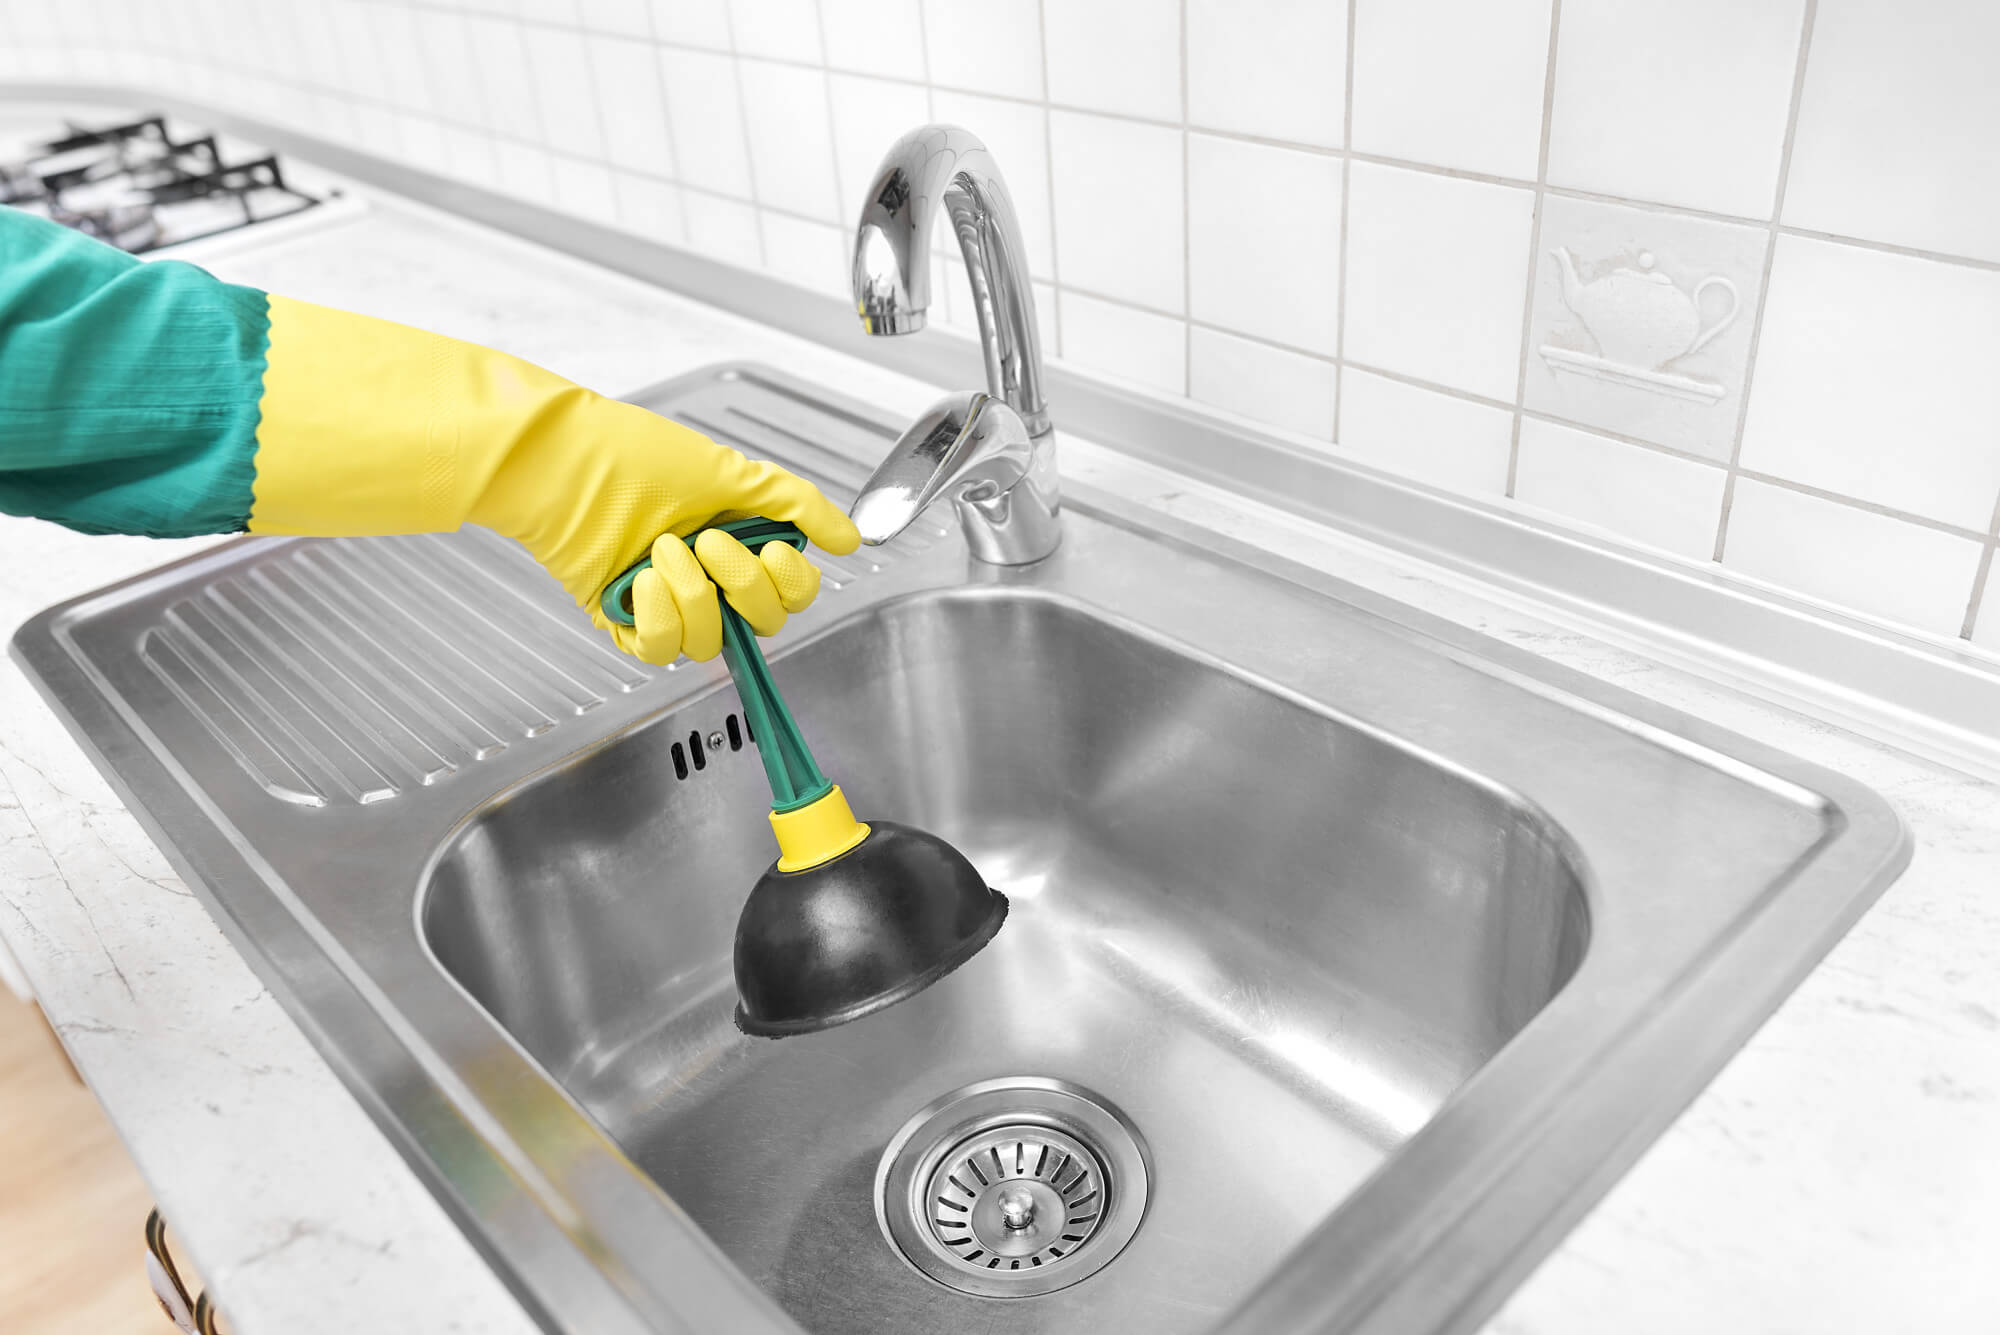
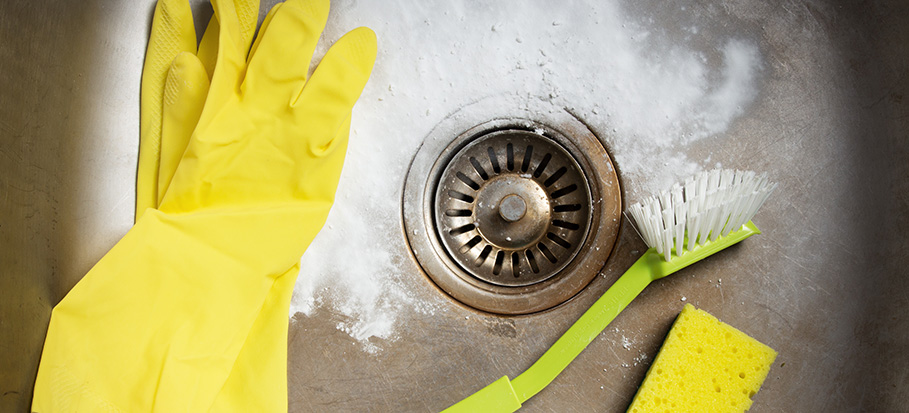
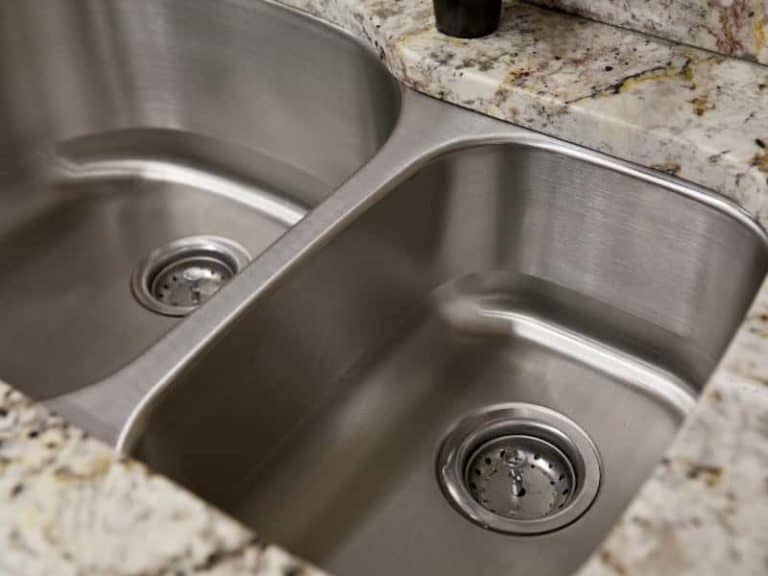
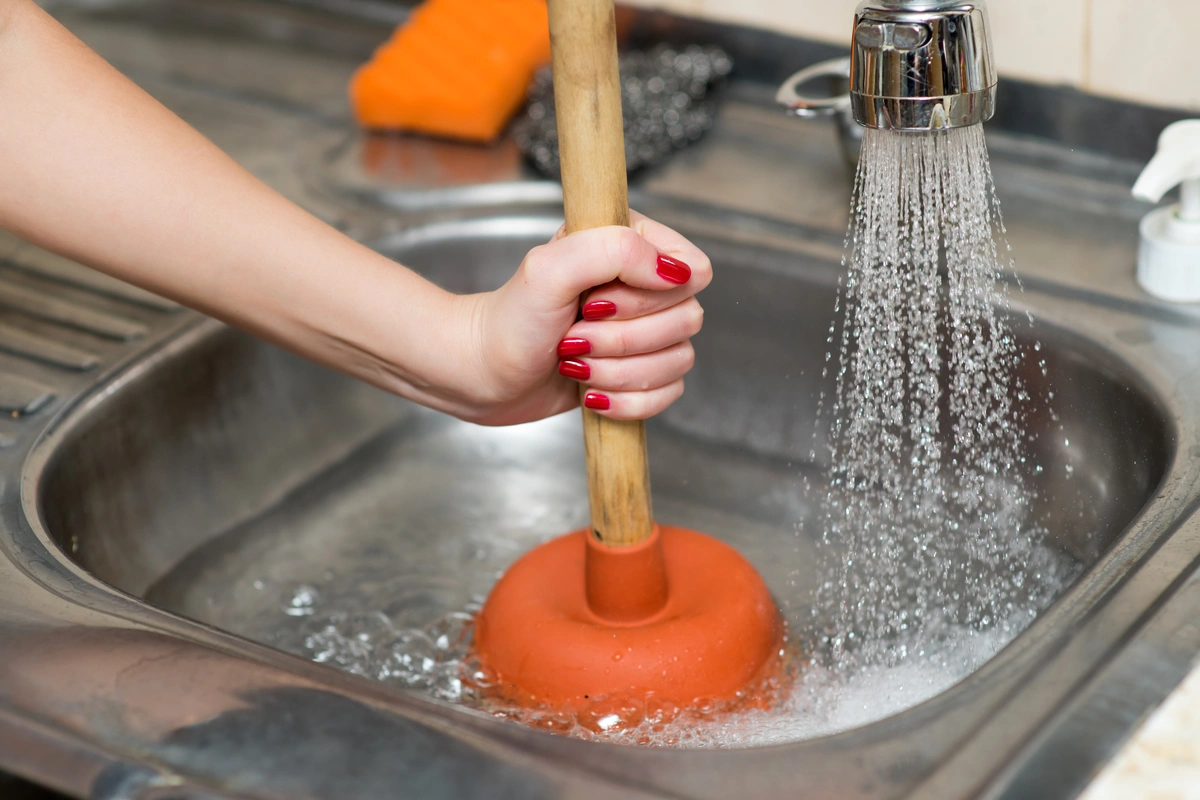
A clogged kitchen sink drain can be a major inconvenience, causing water to back up and potentially creating a foul odor in your kitchen. Luckily, unclogging a kitchen sink drain is a task that can be easily done with a few household items. First, try using a plunger to clear the clog. Place the plunger over the drain and push down and pull up rapidly to create suction. This should loosen and dislodge the clog. If the plunger doesn't work, you can try using a drain snake to physically remove the clog. If neither of these methods work, you may need to use a chemical drain cleaner. Be sure to follow the instructions carefully and use caution when handling these products. If the clog still persists, it may be best to call a professional plumber for assistance.How to Unclog a Kitchen Sink Drain


How to Unclog a Kitchen Sink Drain

:max_bytes(150000):strip_icc()/freshen-and-unclog-drain-with-baking-soda-1900466-22-bbf940b70afa4d5abef0c54da23b1d3f.jpg)

:max_bytes(150000):strip_icc()/how-to-unclog-a-kitchen-sink-2718799_sketch_FINAL-8c5caa805a69493ab22dfb537c72a1b7.png)


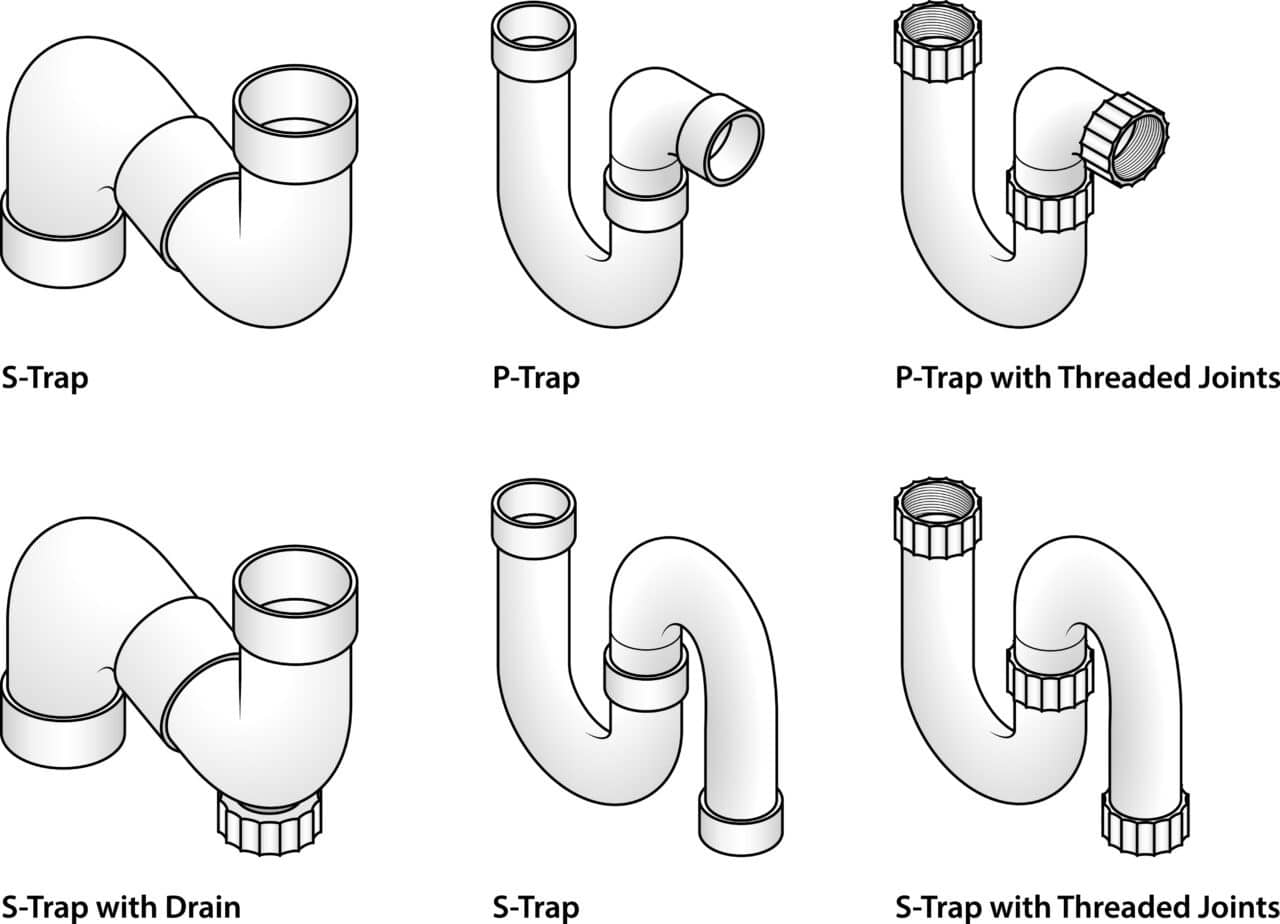
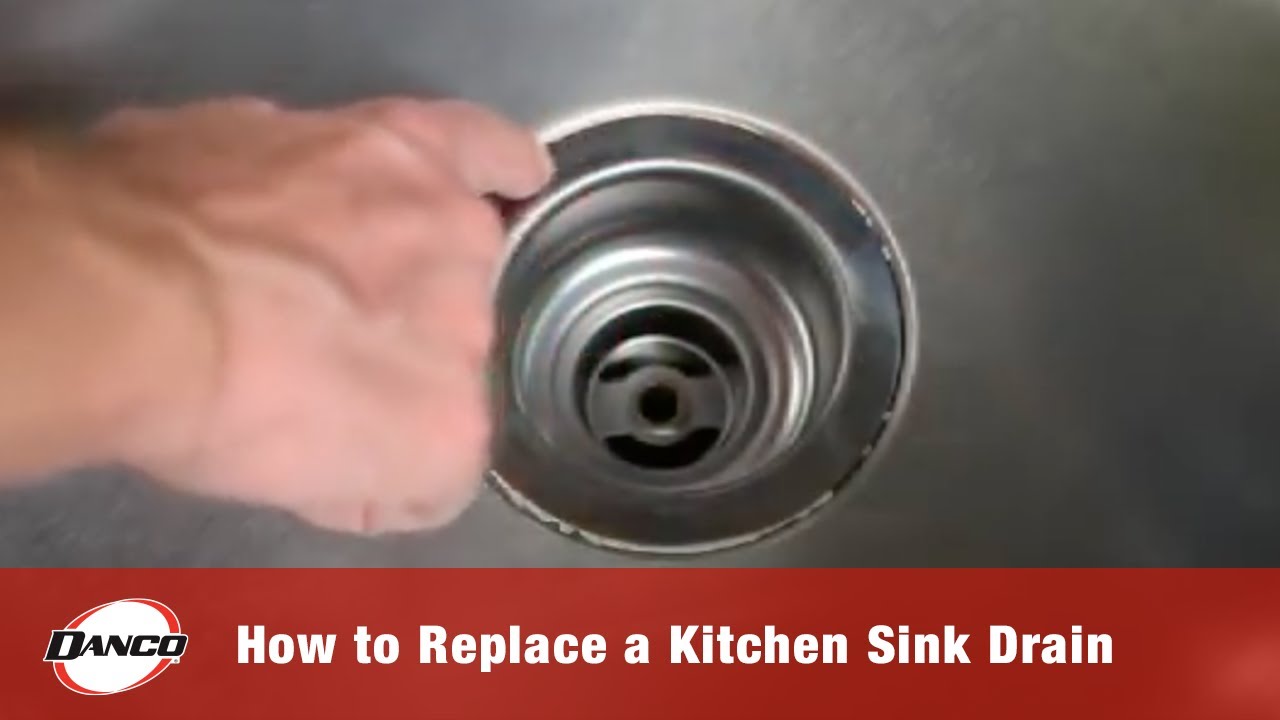
If you're installing a new kitchen sink, you'll also need to install a new sink drain. While this may seem like a daunting task, it's actually a relatively simple process that can be done in just a few steps. First, start by assembling the drain. This usually involves attaching the strainer and gasket to the drain body, then connecting the tailpiece to the bottom of the drain. Once the drain is assembled, apply a thin layer of plumber's putty to the underside of the strainer and place it in the drain hole in the sink. Next, tighten the nut on the bottom of the drain to secure it in place. Then, attach the tailpiece to the bottom of the drain and connect it to the P-trap. Finally, use a wrench to tighten all of the connections and turn on the water supply to check for any leaks. If everything looks good, you've successfully installed a new kitchen sink drain!How to Install a Kitchen Sink Drain


How to Install a Kitchen Sink Drain

/how-to-install-a-sink-drain-2718789-hero-b5b99f72b5a24bb2ae8364e60539cece.jpg)


:max_bytes(150000):strip_icc()/how-to-install-a-sink-drain-2718789-hero-24e898006ed94c9593a2a268b57989a3.jpg)


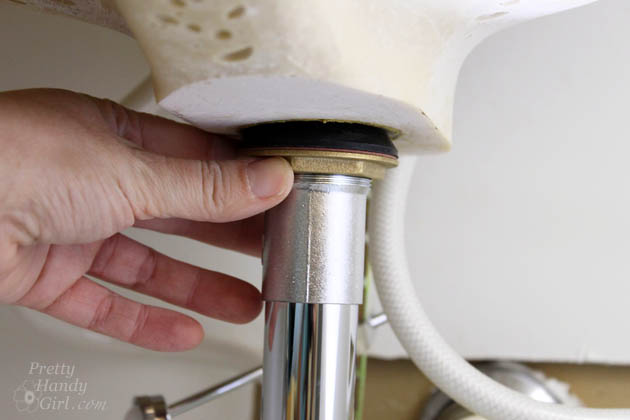
If your kitchen sink drain is damaged or beyond repair, you may need to replace it with a new one. This is a relatively simple process that can be done in just a few steps. First, start by removing the old drain. This may involve loosening and removing the nut that connects the drain to the sink's tailpiece. Once the old drain is removed, clean the area thoroughly and prepare the new drain for installation. Next, follow the steps outlined in the "How to Install a Kitchen Sink Drain" section above to assemble and install the new drain. Be sure to tighten all connections and check for any leaks. If you're unsure about replacing the drain yourself, it's always best to call a professional plumber for assistance.How to Replace a Kitchen Sink Drain


How to Replace a Kitchen Sink Drain
/how-to-install-a-sink-drain-2718789-hero-24e898006ed94c9593a2a268b57989a3.jpg)

:no_upscale()/cdn.vox-cdn.com/uploads/chorus_asset/file/19495086/drain_0.jpg)


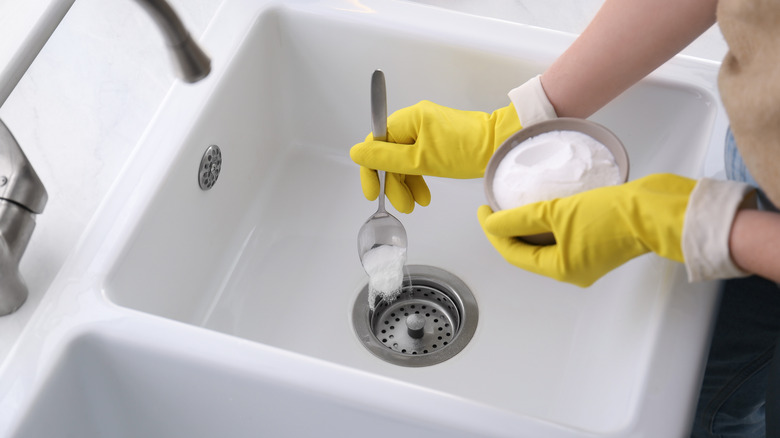
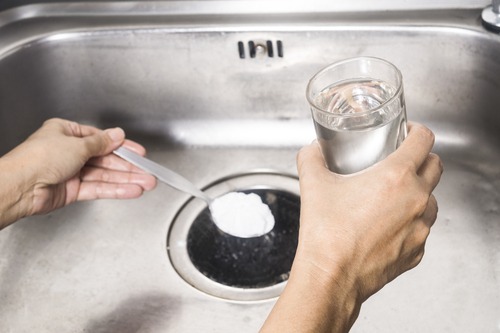
Regularly cleaning your kitchen sink drain is an important part of maintaining a healthy and functional kitchen. Over time, food particles, grease, and other debris can build up in your sink drain, leading to clogs and foul odors. Cleaning your kitchen sink drain is a simple task that can be done in just a few steps. First, start by removing any visible debris from the drain. You can use a pair of tongs or a wire hanger to pull out any larger pieces of food or hair. Then, pour a cup of baking soda down the drain, followed by a cup of vinegar. Let this mixture sit for about 10 minutes, then pour a pot of boiling water down the drain to flush out any remaining debris. If your sink drain is still dirty or has a foul odor, you can also use a combination of hot water and dish soap to clean it. Simply pour a few tablespoons of dish soap down the drain, followed by a pot of boiling water. This will help to break down any grease or grime and leave your drain smelling fresh.How to Clean a Kitchen Sink Drain


How to Clean a Kitchen Sink Drain


:max_bytes(150000):strip_icc()/how-to-clean-a-kitchen-sink-and-drain-01-5660035-a1d8afe3894346f9a579e66c55e64b7d.jpg)
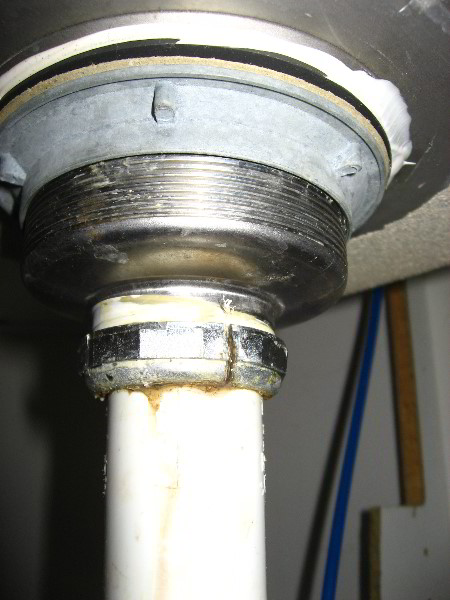
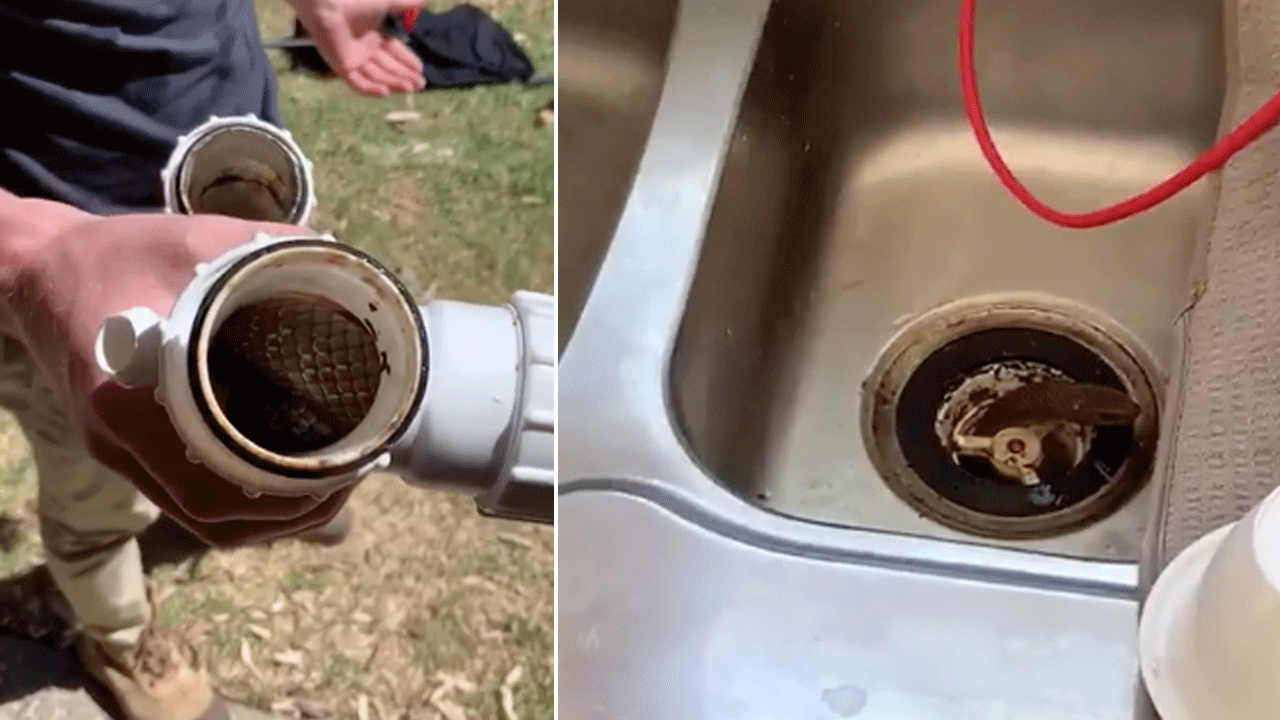
If you need to remove your kitchen sink drain for any reason, such as replacing it or cleaning it, the process is relatively simple. First, start by loosening and removing the nut that connects the drain to the sink's tailpiece. Then, use a wrench to loosen the nut on the bottom of the drain and remove the drain from the sink. If the drain is stuck, you may need to use a pair of pliers to gently twist and loosen it. Once the drain is removed, clean the area thoroughly before reattaching the drain or installing a new one.How to Remove a Kitchen Sink Drain


How to Remove a Kitchen Sink Drain


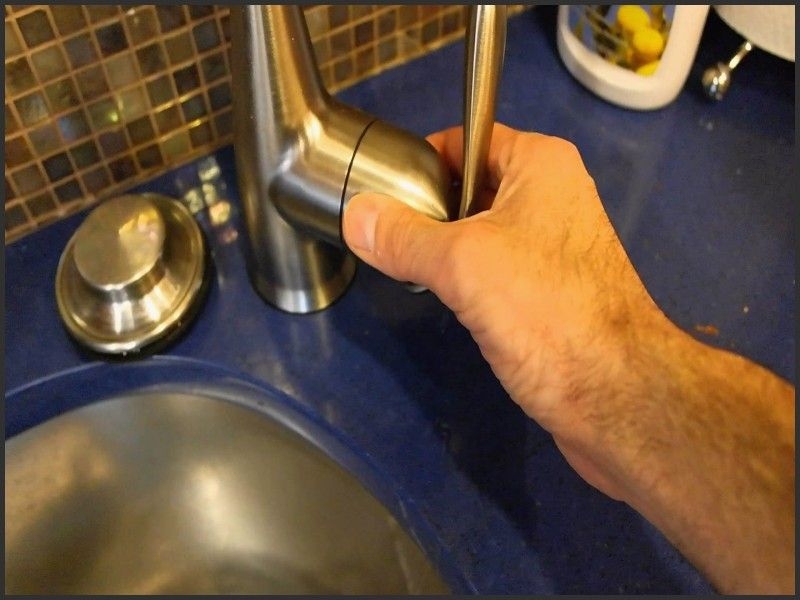
If you notice that your kitchen sink drain is loose, you'll need to tighten it to prevent any leaks or damage. This is a simple task that can be done in just a few steps. First, start by placing a bucket or large bowl under the drain to catch any water. Then, use a wrench to tighten the nut that connects the drain to the sink's tailpiece. If the nut is already tight, you may need to remove the drain and apply plumber's tape to the threads before reattaching it. Once the drain is tightened, turn on the water supply and check for any leaks. If there are no leaks, you're all set!How to Tighten a Kitchen Sink Drain


How to Tighten a Kitchen Sink Drain


Sealing your kitchen sink drain is an important step in preventing leaks and maintaining the overall health of your sink. This is especially important if you've recently installed a new drain or replaced an old one. To seal your kitchen sink drain, start by assembling the drain and applying a thin layer of plumber's putty to the underside of the strainer. Then, place the strainer in the drain hole and tighten the nut on the bottom of the drain to secure it in place. Next, use a wrench to tighten the connections and turn on the water supply to check for any leaks. If there are no leaks, your drain is properly sealed and ready for use.How to Seal a Kitchen Sink Drain


How to Seal a Kitchen Sink Drain


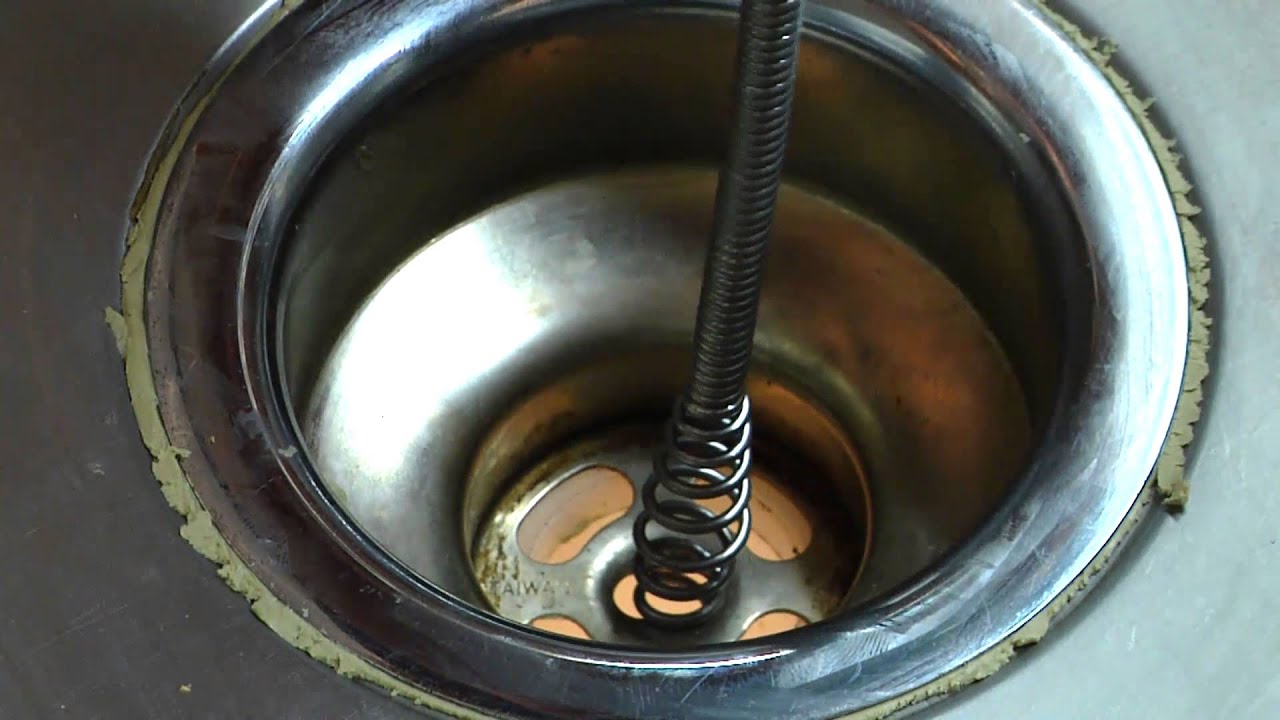
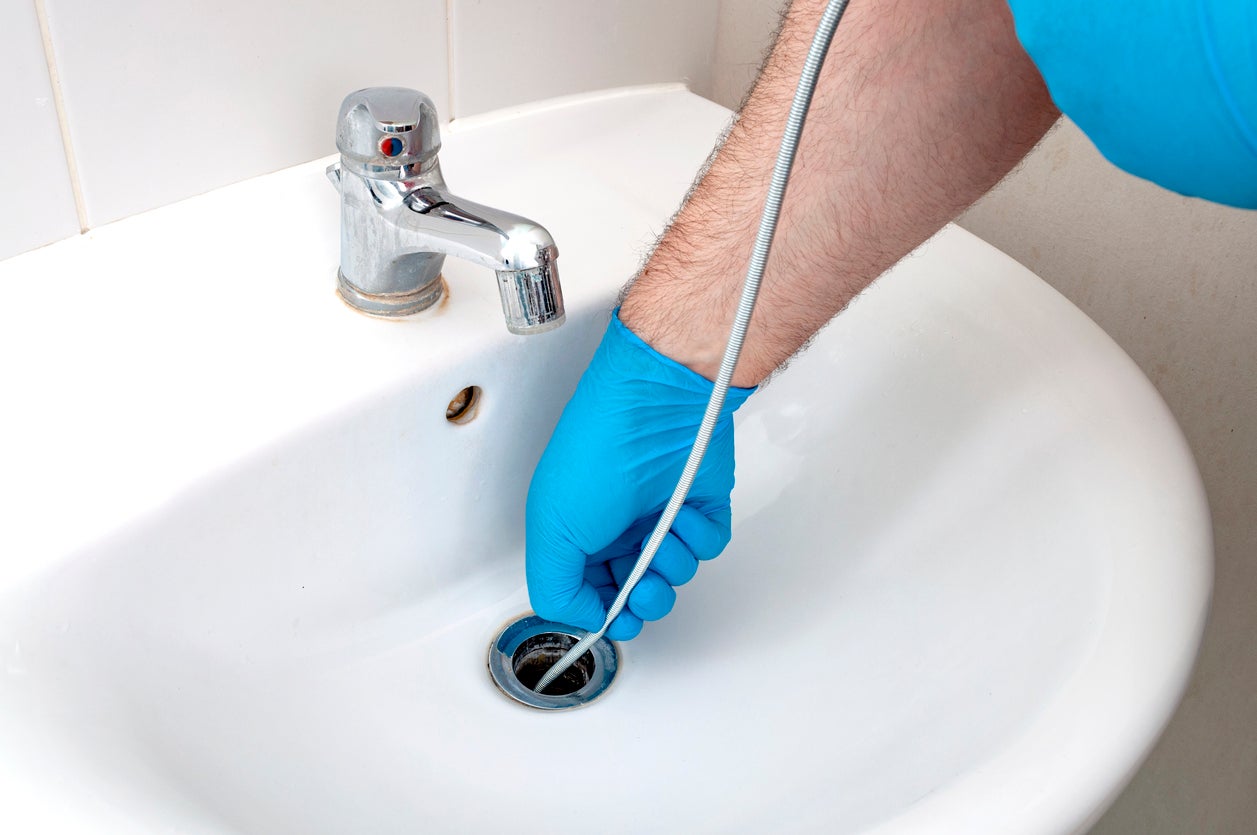
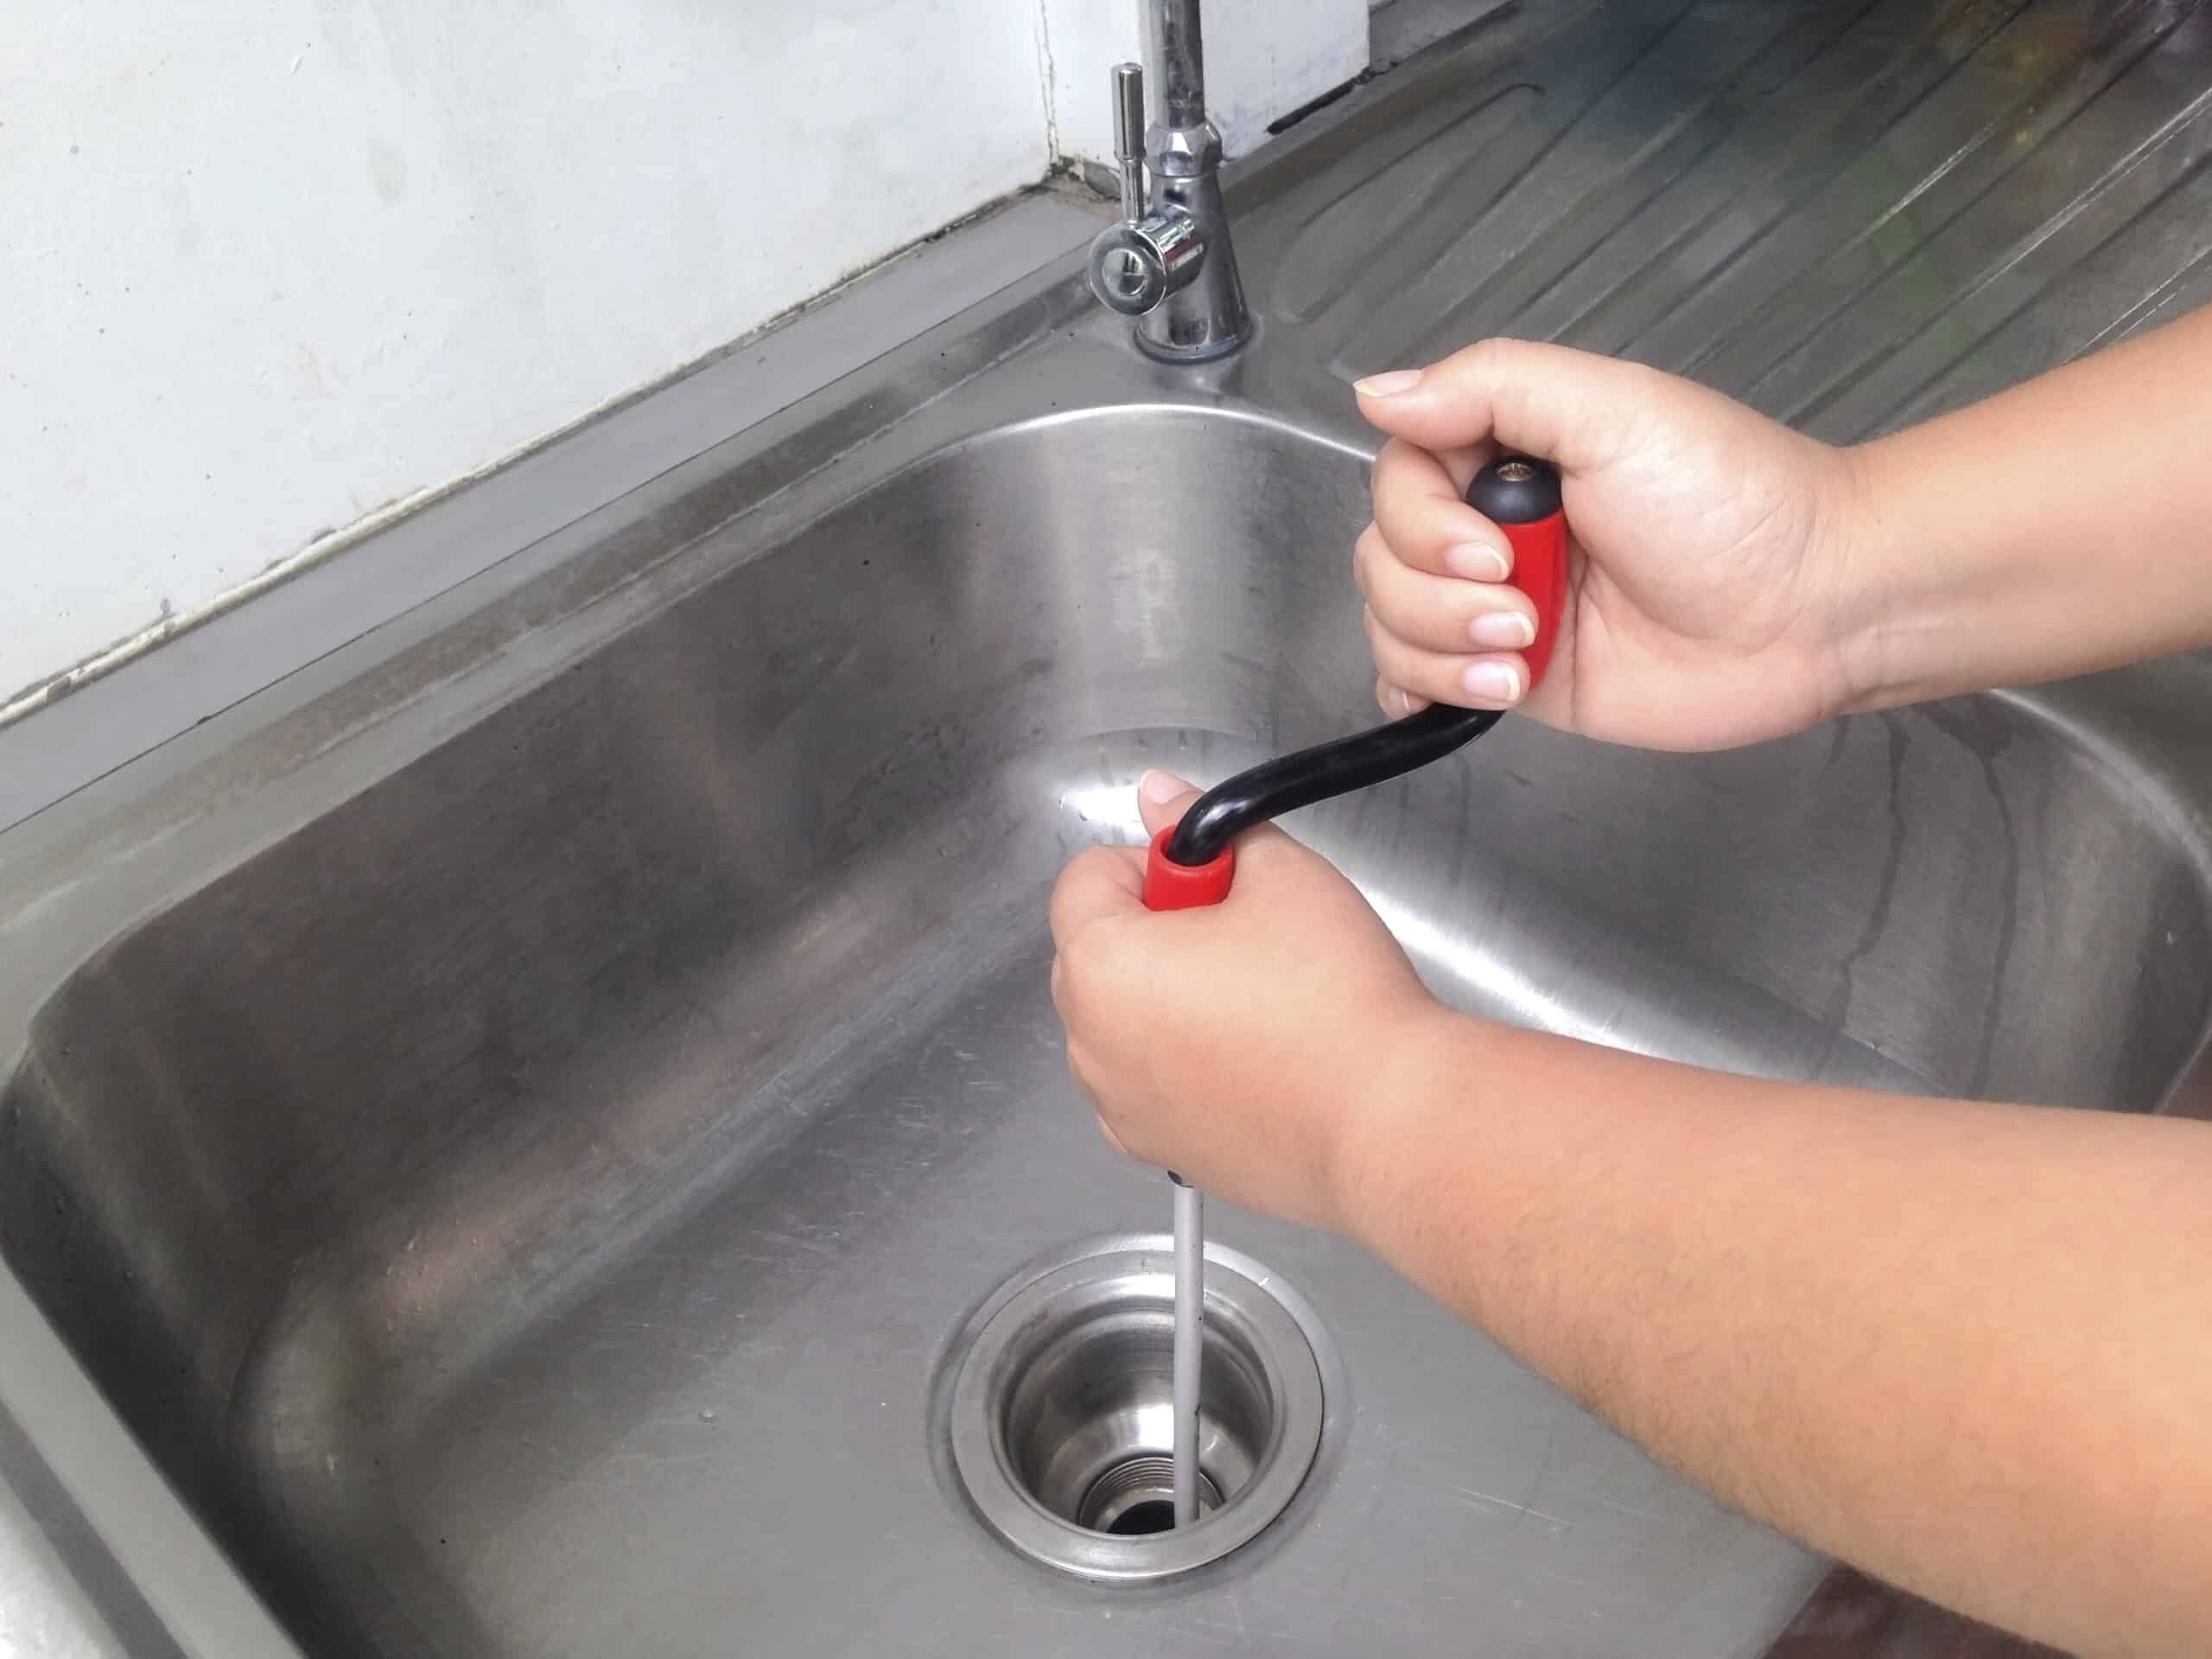
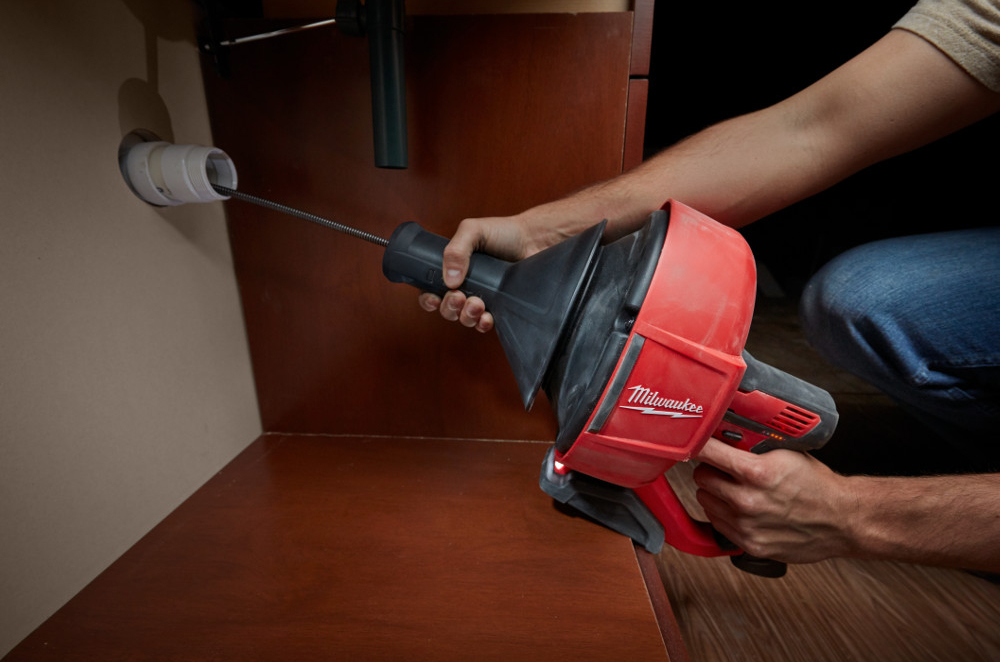
If you have a stubborn clog in your kitchen sink drain that won't budge with a plunger or drain cleaner, you may need to use a drain snake to physically remove the clog. To snake a kitchen sink drain, start by removing the drain cover and inserting the end of the snake into the drain. Then, slowly feed the snake down the drain while turning the handle clockwise. Once you reach the clog, continue turning the handle to break up the clog and pull it out of the drain. Once the clog is removed, run hot water down the drain to flush out any remaining debris. If the clog persists, you may need to call a professional plumber for assistance.How to Snake a Kitchen Sink Drain
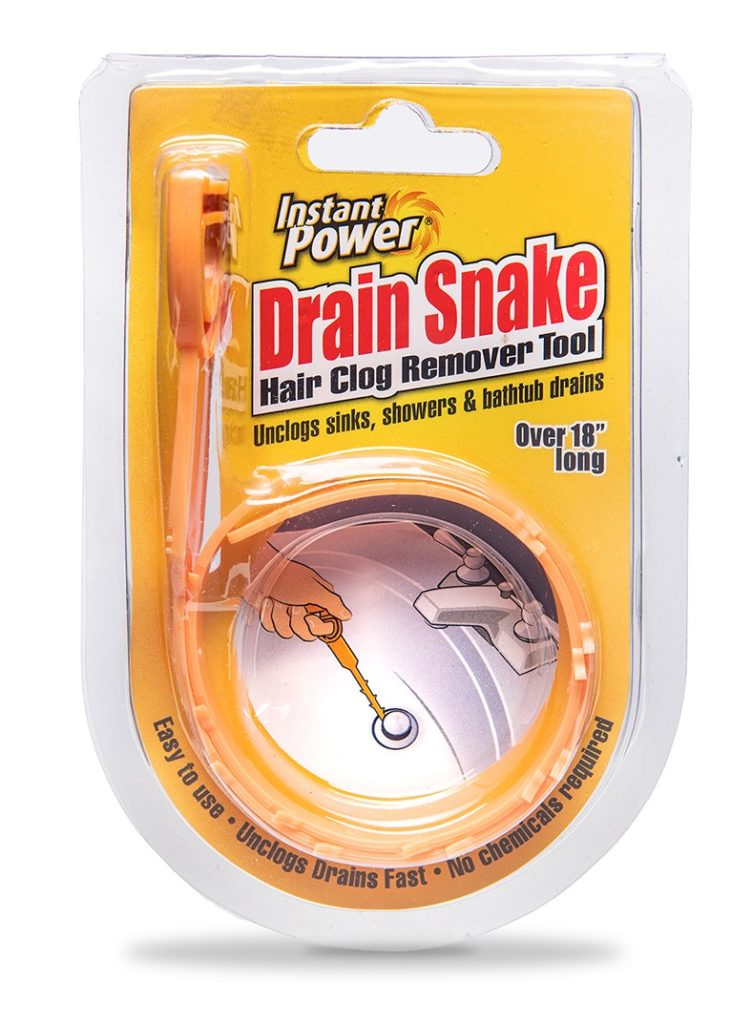


How to Snake a Kitchen Sink Drain


If you have a clogged kitchen sink drain, you may be able to clear it using a plunger, drain snake, or chemical drain cleaner. However, if these methods don't work, you may need to call a professional plumber for assistance. A professional plumber will have the tools and expertise to safely and effectively clear even the most stubborn clogs. They can also inspect your drain and plumbing system to identify any underlying issues that may be causing the clogs. If you're dealing with a clogged kitchen sink drain, don't hesitate to call a professional for help. Trying to fix the issue yourself could lead to further damage and more costly repairs in the long run.How to Clear a Clogged Kitchen Sink Drain


How to Clear a Clogged Kitchen Sink Drain


Under the Kitchen Sink: A Hidden Space for Organization and Style Heading 2: Utilizing Under the Sink Space When it comes to designing and organizing a house, every inch of space counts. This includes the often overlooked area under the kitchen sink. While it may seem like a dark and dingy space, with a little creativity and organization, it can become a functional and stylish part of your kitchen. By utilizing this space, you can free up valuable counter and cabinet space and have easy access to all your cleaning supplies. Heading 3: Maximize Vertical Space with Shelves and Organizers The key to making the most of the under sink area is to maximize the vertical space. Installing shelves or organizers can help you utilize the full height of the cabinet. This allows you to store items such as cleaning products, sponges, and dish towels in an organized and easily accessible manner. Additionally, using stackable bins or baskets can help keep smaller items like dishwasher pods or scrub brushes in place and prevent clutter. Heading 3: Invest in a Pull-Out Organizer for Easy Access Another great way to make use of the under sink space is to invest in a pull-out organizer. This allows you to easily access items at the back of the cabinet without having to rummage through everything in the front. A pull-out organizer with multiple shelves or compartments can also help keep different categories of items separate and make it easier to find what you need. Heading 3: Add a Touch of Style with Decorative Baskets or Bins Who says under the sink storage has to be boring? Adding some decorative baskets or bins can not only add a touch of style to your kitchen, but it can also help keep things organized. Use these baskets to store items like dishwashing gloves, trash bags, or even extra kitchen towels. This not only frees up space in your cabinets but also makes these items easily accessible when needed. In conclusion, the under sink area may seem like an insignificant part of your kitchen, but with a little creativity and organization, it can become a functional and stylish space. By utilizing vertical space, investing in pull-out organizers, and adding decorative touches, you can transform this hidden space into a valuable asset in your kitchen design. So next time you're reorganizing your kitchen, don't forget to give the under sink area the attention it deserves. With these tips, you can make the most of this often overlooked space and have a more organized and stylish kitchen.