Tiling around a standing bathroom sink may seem like a daunting task, but with the right tools and techniques, it can be a DIY project that will give your bathroom a fresh new look. In this guide, we will walk you through the process of tiling around a standing bathroom sink, from preparation to finishing touches. So put on your DIY hat and let's get started! Tiling around standing bathroom sink: A step-by-step guide


Tiling around standing bathroom sink


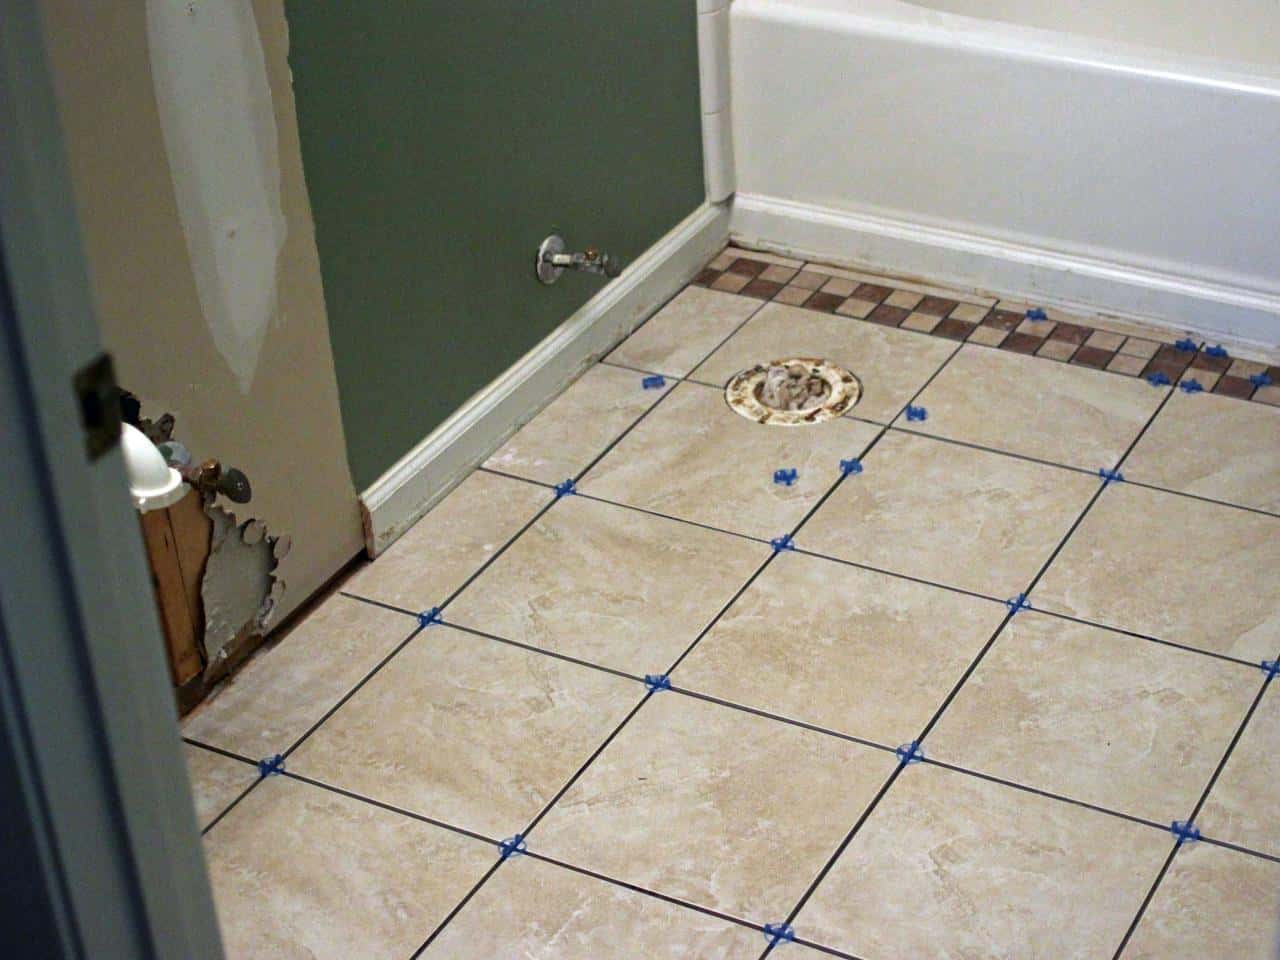
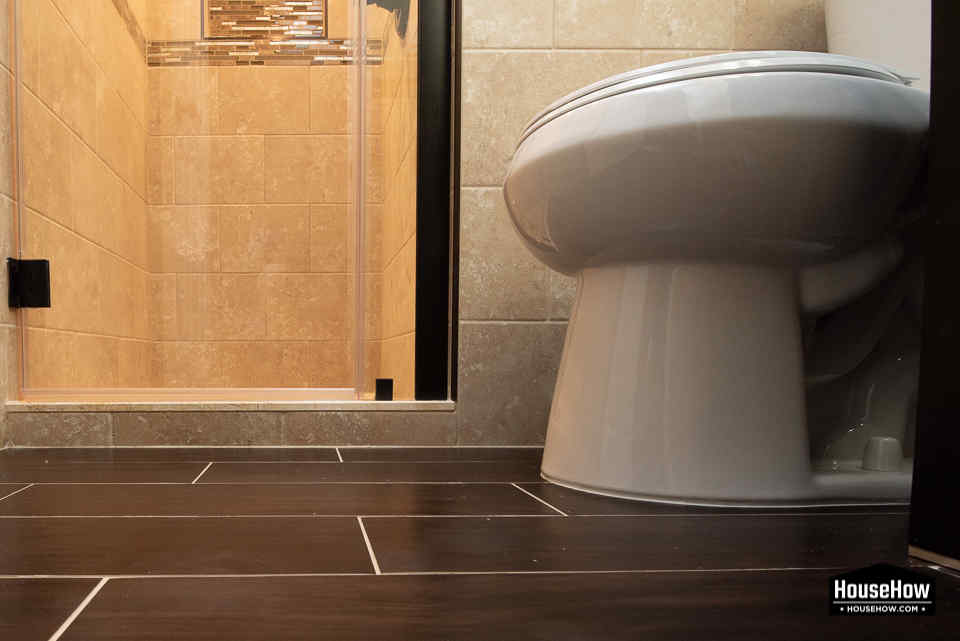
Before diving into the tiling process, it is important to properly prepare the area. Start by removing any old tiles or adhesive from the wall, and make sure the surface is clean and dry. If the wall is uneven, use a leveling compound to smooth it out. Then, measure the area around the sink and cut your tiles accordingly, leaving room for grout. How to tile around a standing bathroom sink


How to tile around a standing bathroom sink


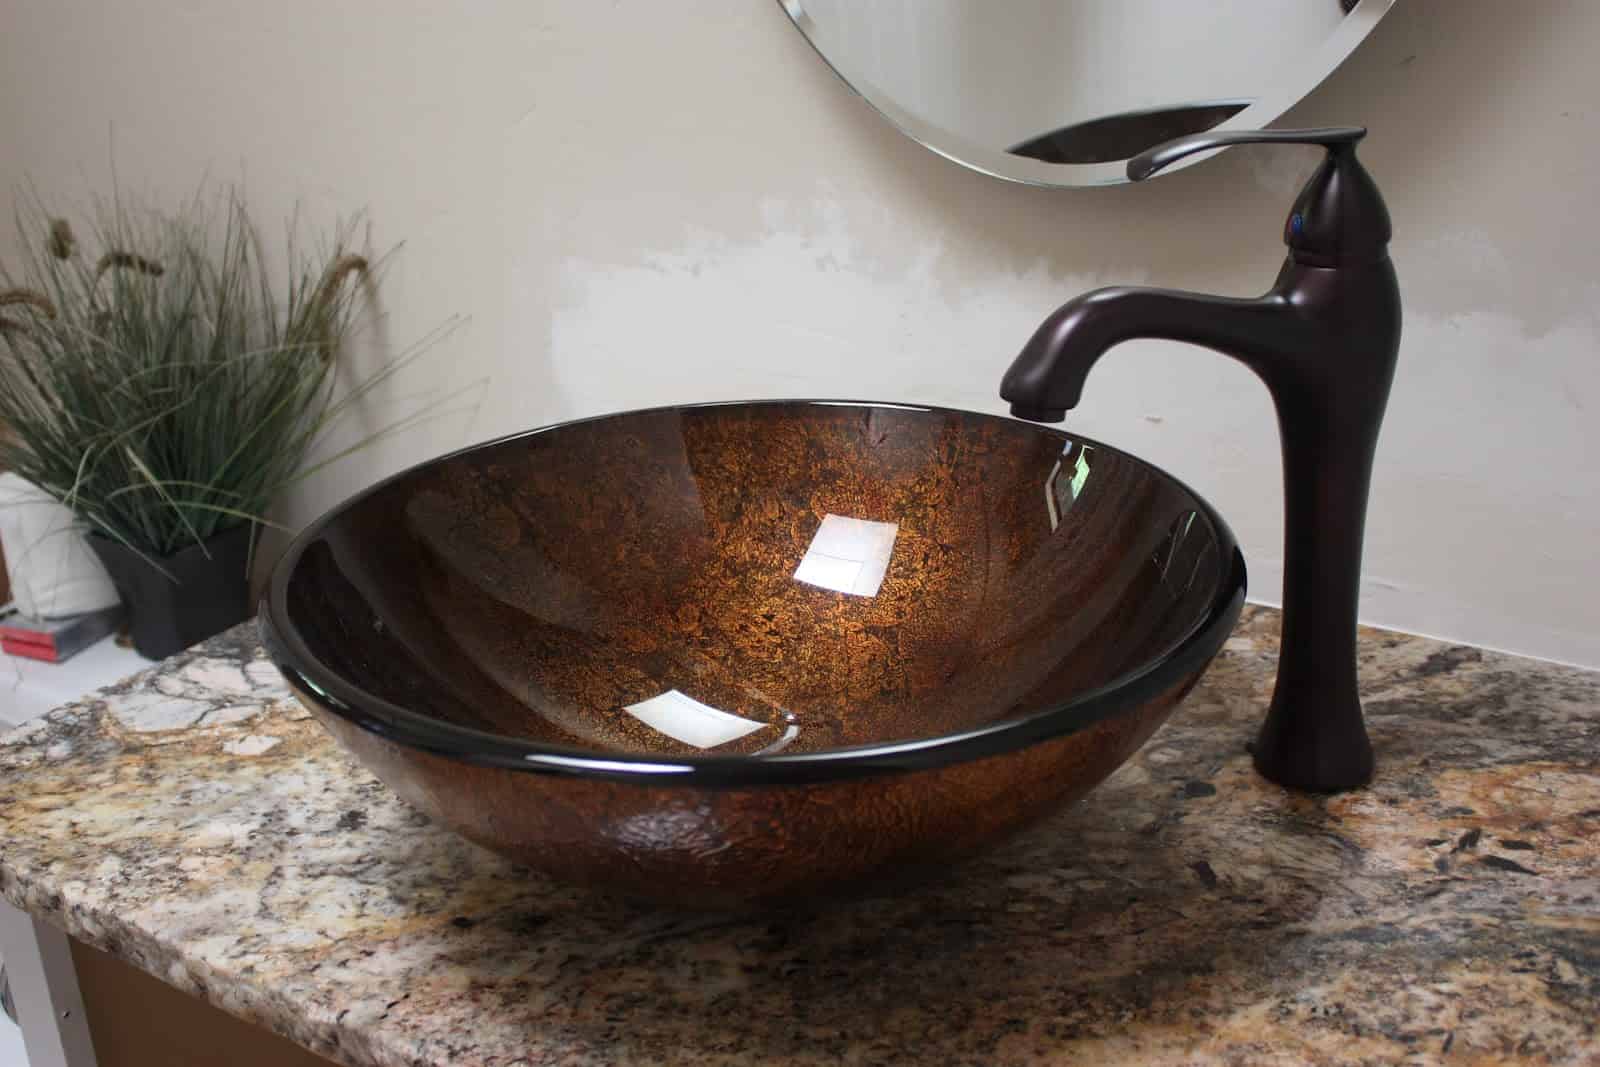
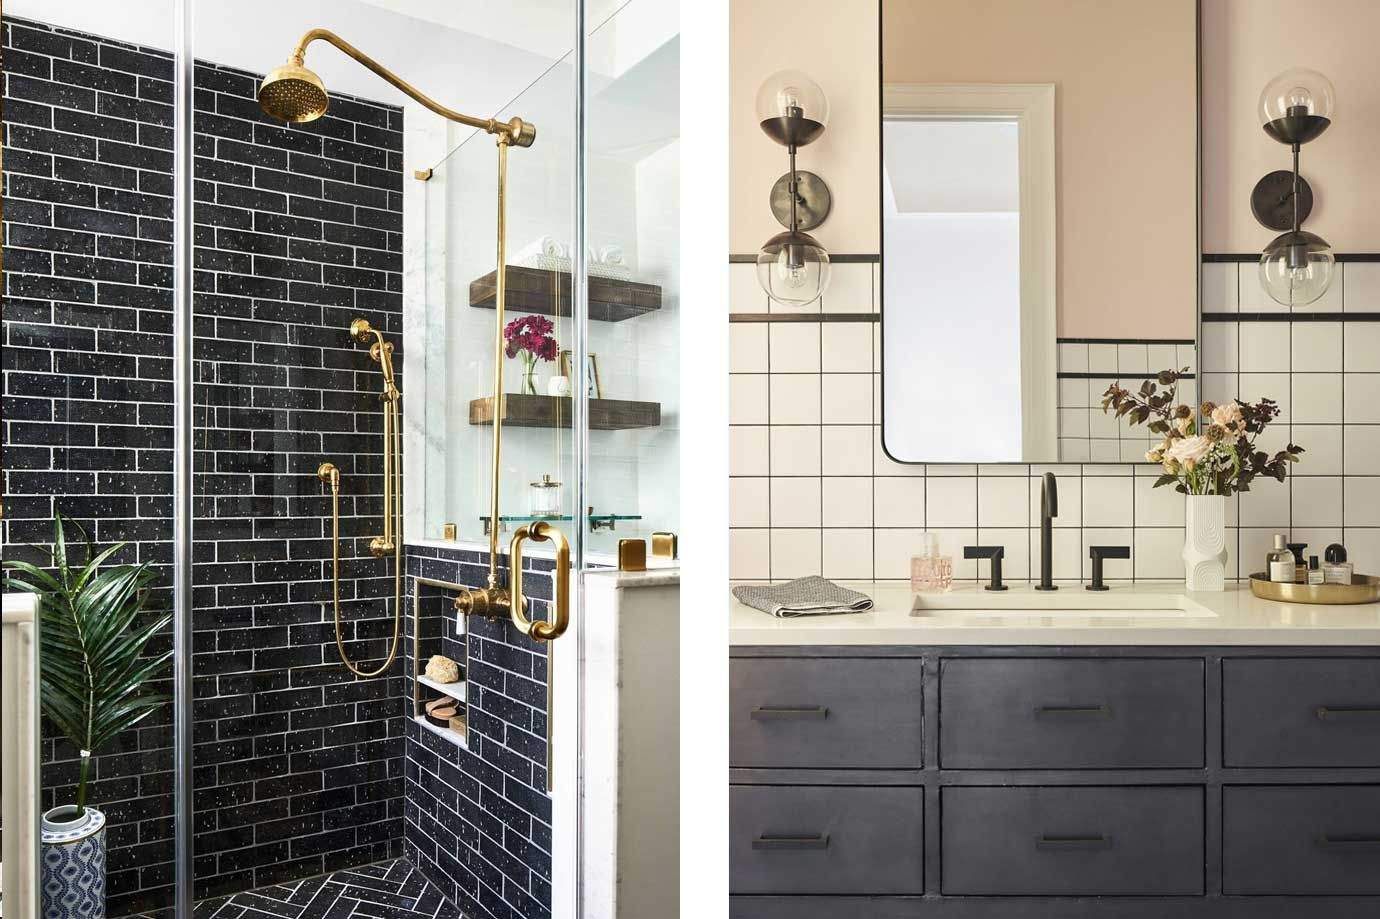
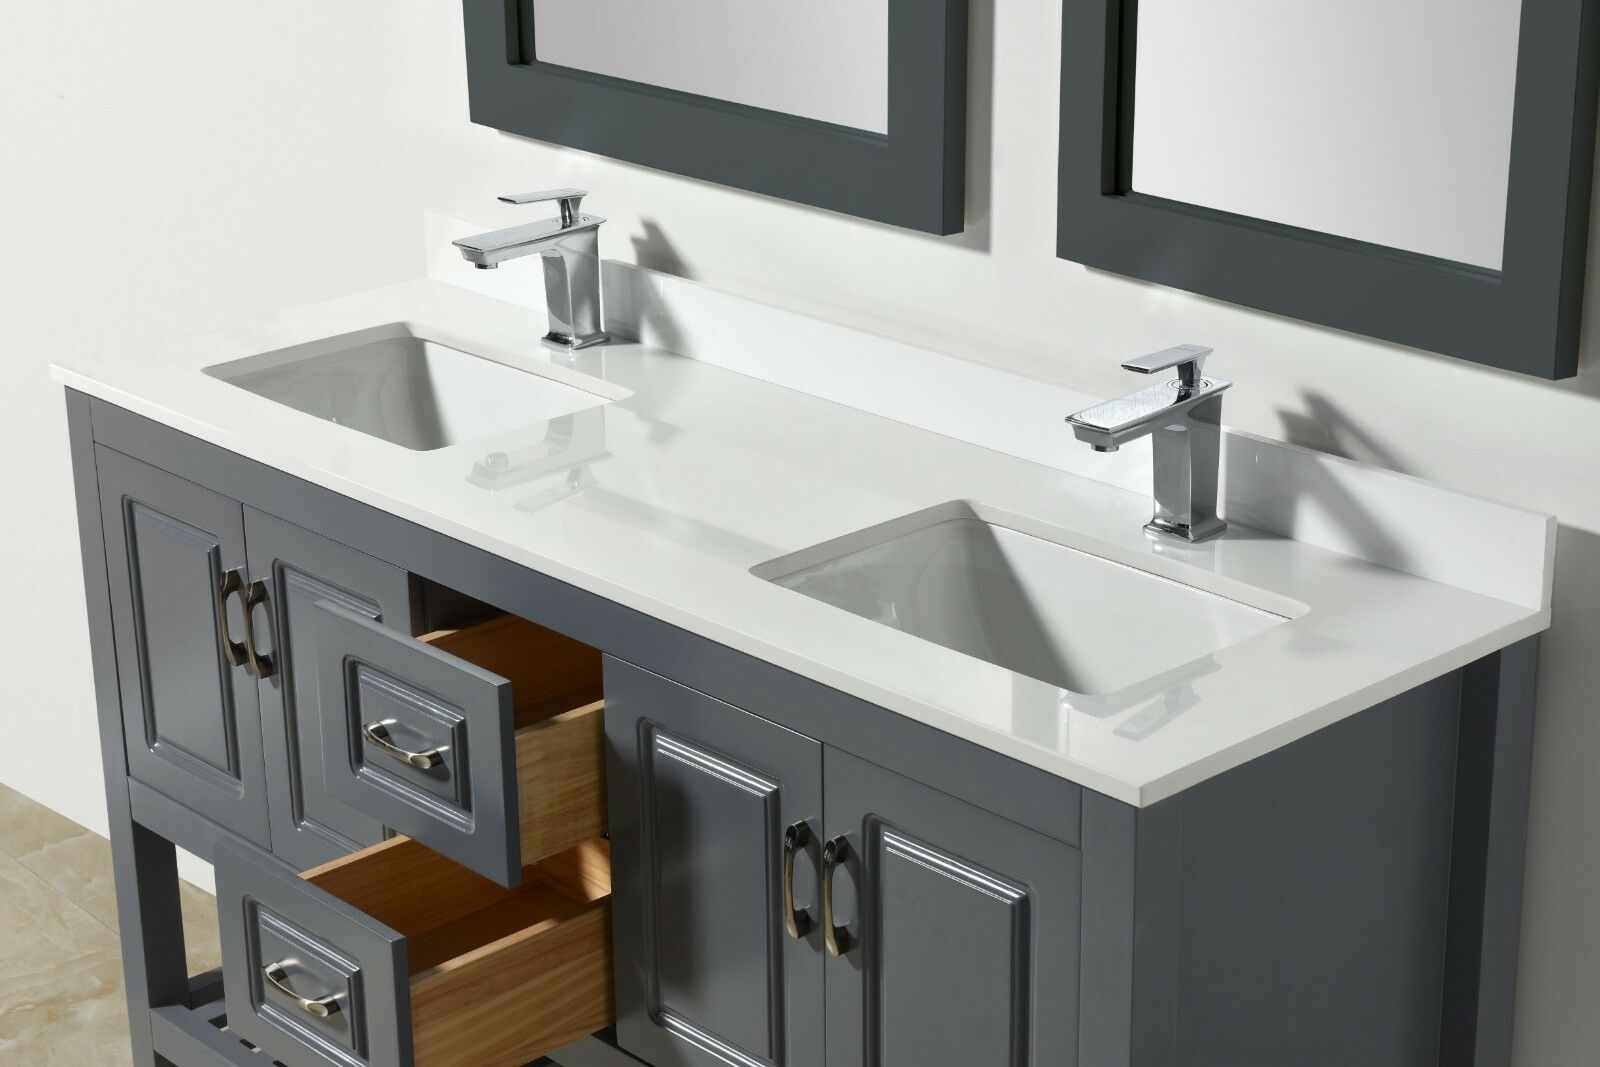
When it comes to choosing the right tiles for your standing bathroom sink, opt for smaller sized tiles as they are easier to work with and can fit around curves and corners smoothly. It is also important to choose a tile that is waterproof and suitable for high-moisture areas. Porcelain or ceramic tiles are great options for bathroom tiling. Tiling tips for standing bathroom sinks


Tiling tips for standing bathroom sinks


/Bathroomtile-GettyImages-177243228-5930e1be5f9b589eb4d1ad80.jpg)

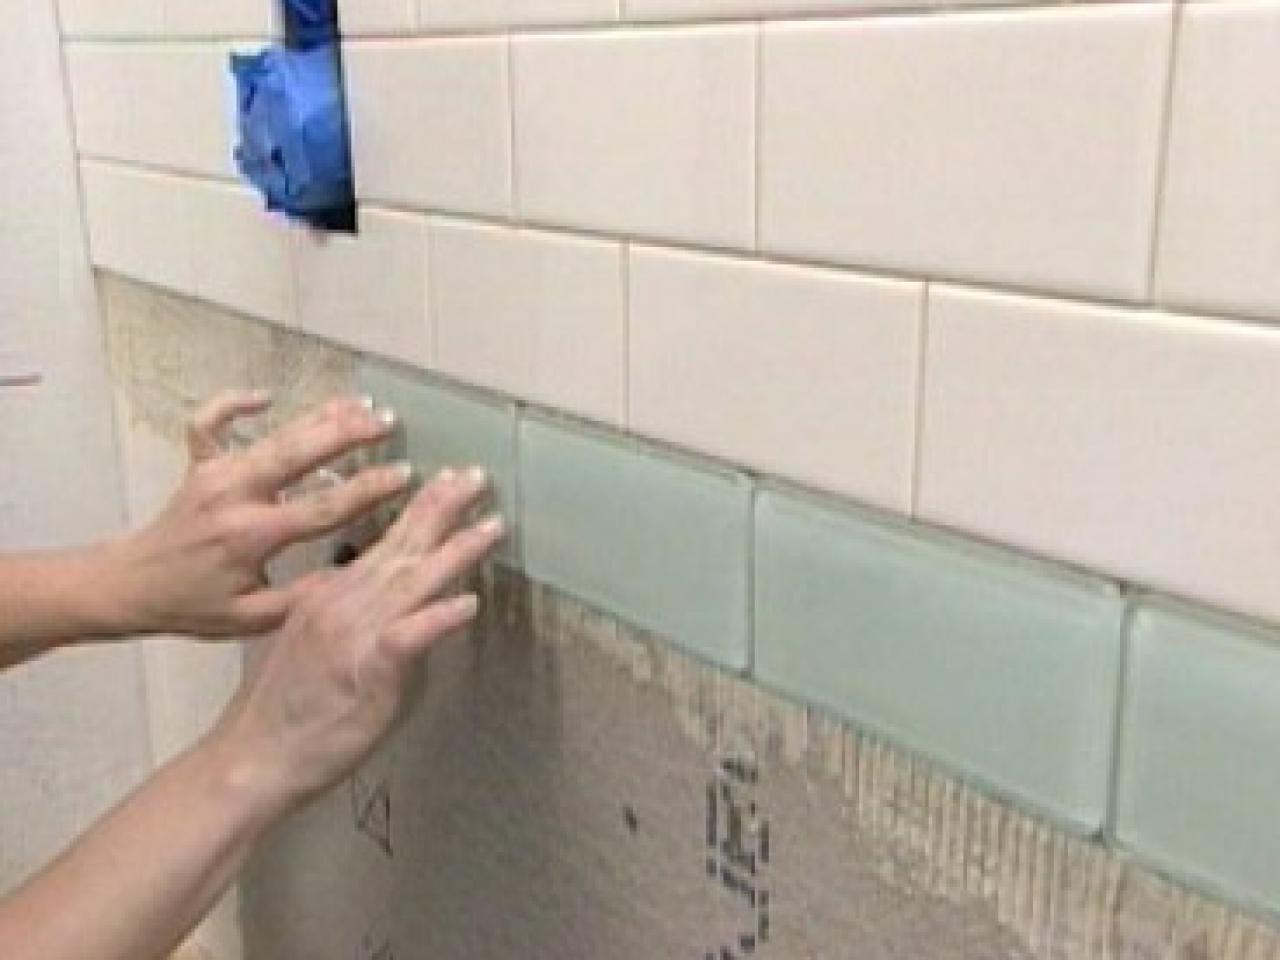
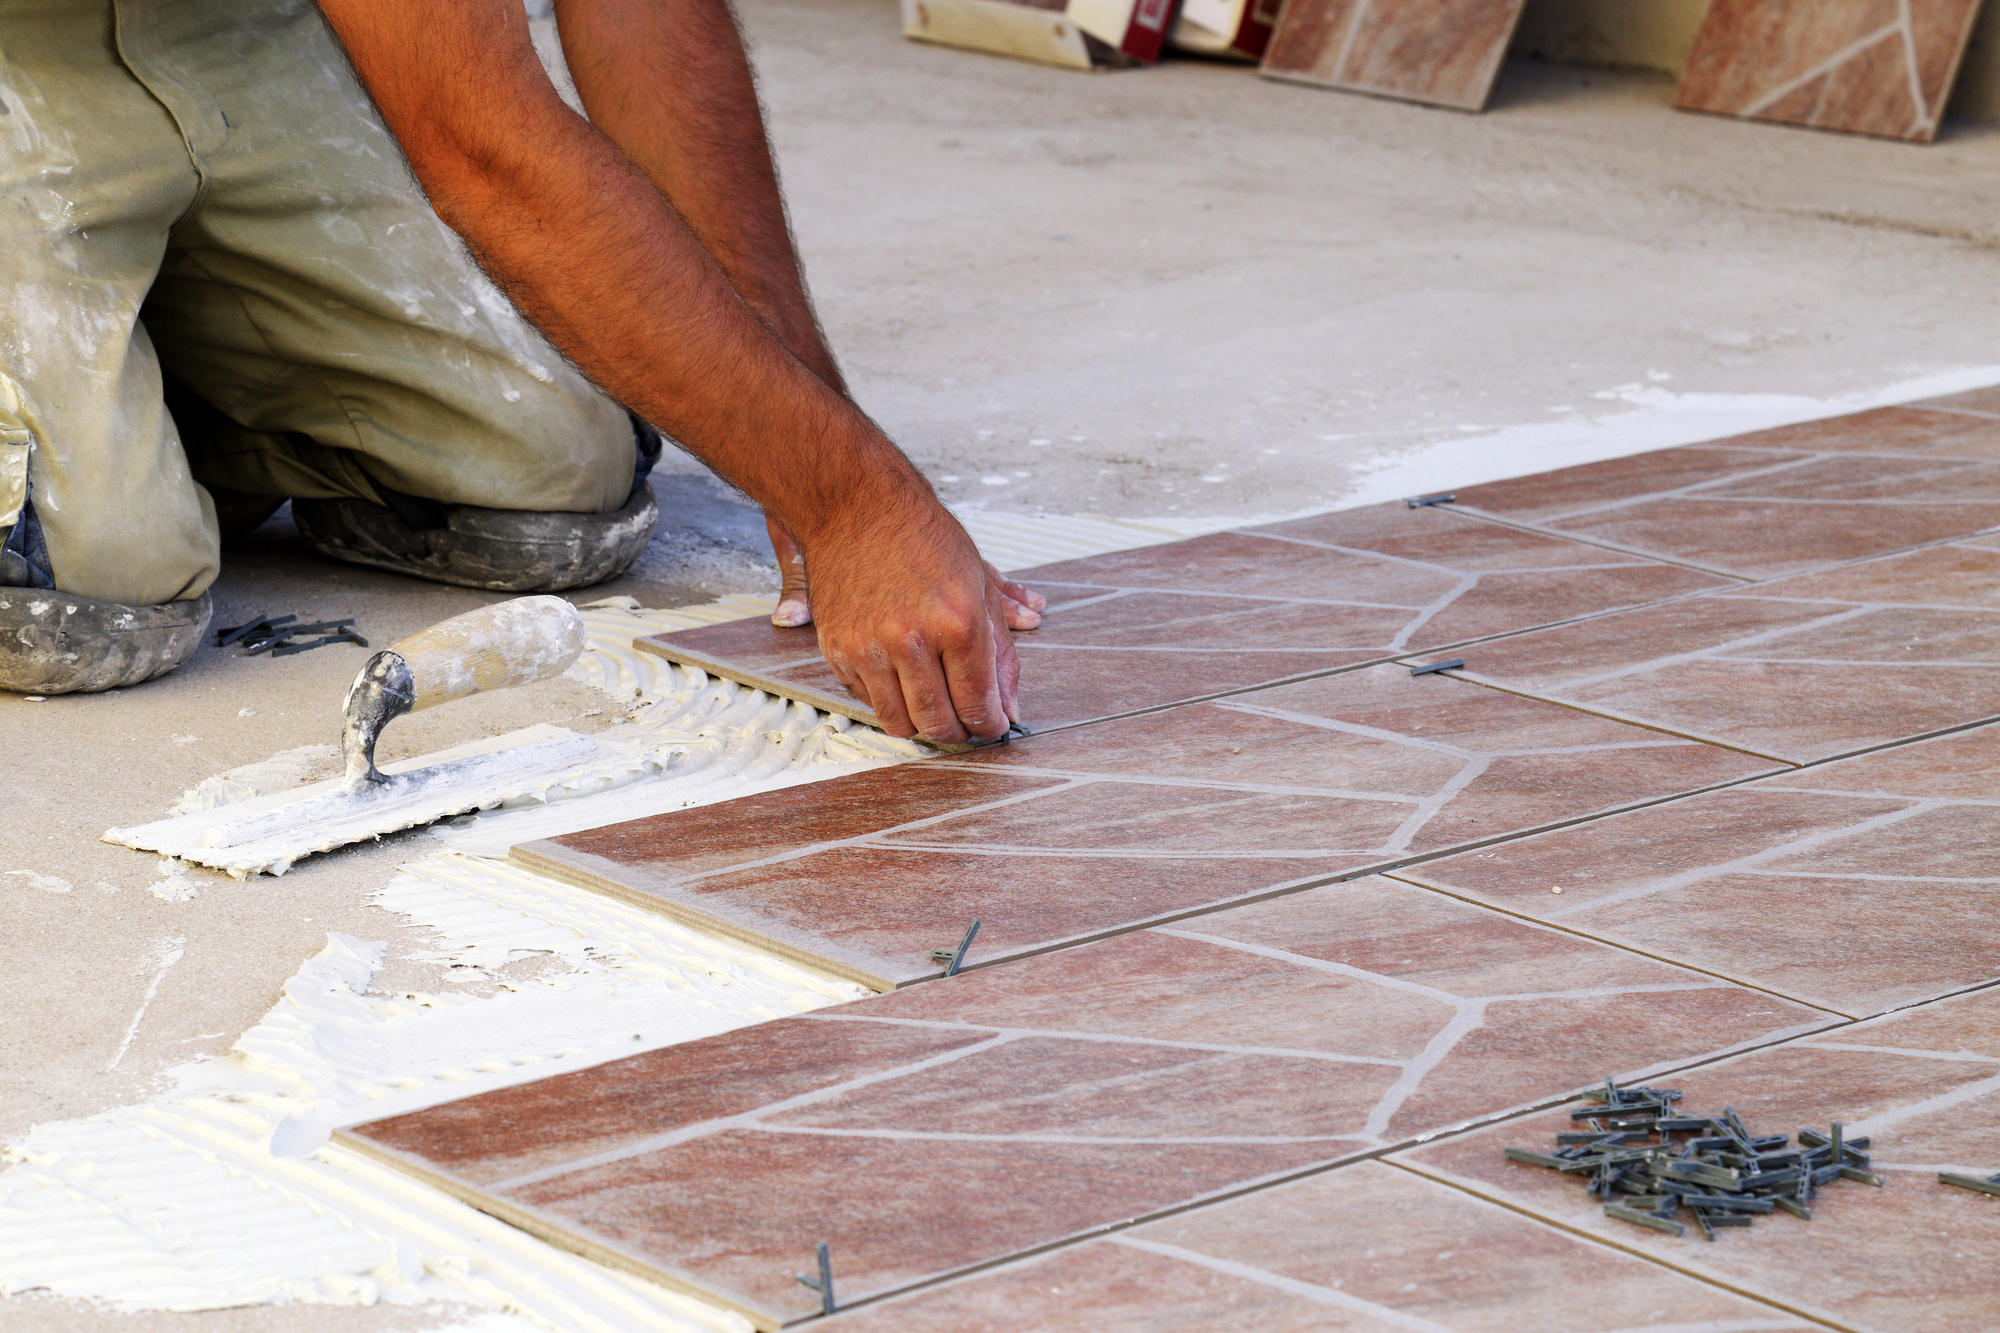
Now it's time to get your hands dirty! Start by applying adhesive to the wall using a notched trowel, and then place your tiles in a straight line, starting from the bottom and working your way up. Use tile spacers to ensure an even gap between tiles. For curved areas, you may need to cut the tiles into smaller pieces to fit. Once the adhesive has dried, remove the spacers and apply grout using a grout float. Wipe away any excess grout with a damp sponge. DIY tiling around a standing bathroom sink


DIY tiling around a standing bathroom sink


/Workman-Tiling-a-Shower-499630724-56a4a1a33df78cf7728353cc.jpg)
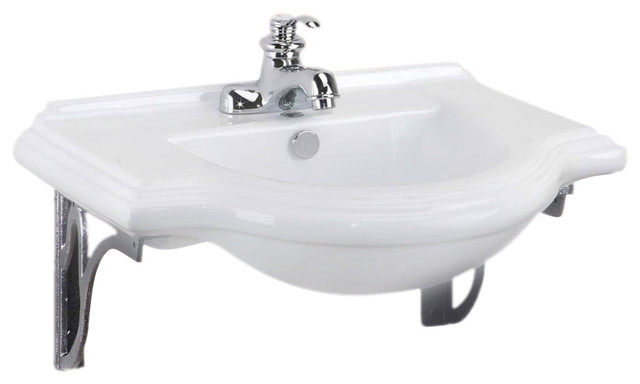
As mentioned earlier, porcelain or ceramic tiles are ideal for bathroom tiling. They are durable, water-resistant, and come in a variety of colors and designs. You can also consider natural stone tiles for a more luxurious look. Just make sure to seal them properly to prevent water damage. Best tiles for standing bathroom sinks


Step-by-step guide for tiling around a standing bathroom sink


Tiling around a standing bathroom sink may seem straightforward, but there are some common mistakes that people make. One of the most common mistakes is not properly preparing the wall before tiling, which can lead to tiles falling off or uneven surfaces. Another mistake is not using enough adhesive, which can cause tiles to loosen over time. Common mistakes when tiling around a standing bathroom sink


Best tiles for standing bathroom sinks


To make your tiling process smoother, here are some helpful hacks: use a tile cutter or wet saw to make precise cuts, use a level to ensure the tiles are straight, and use a grout sealer to prevent grout from getting stained or discolored. You can also use a tile spacer tool to make the grouting process easier. Tiling hacks for standing bathroom sinks


Common mistakes when tiling around a standing bathroom sink


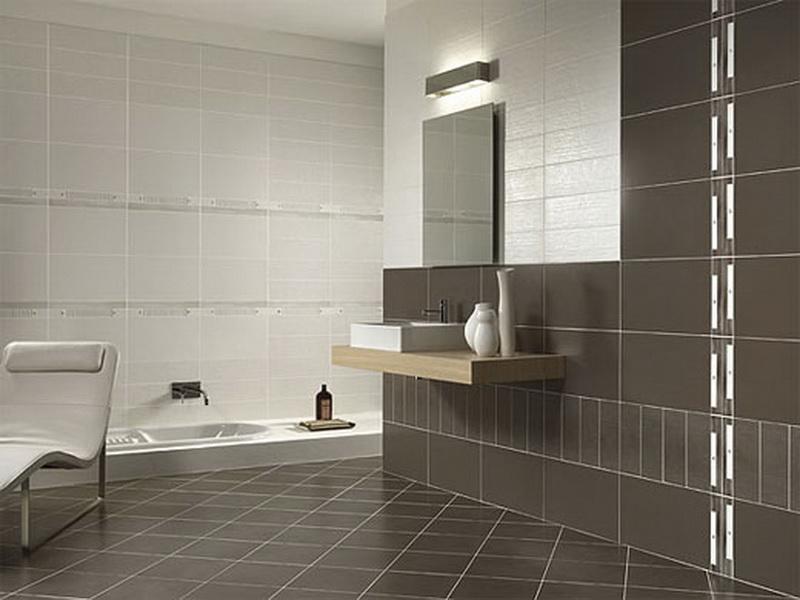
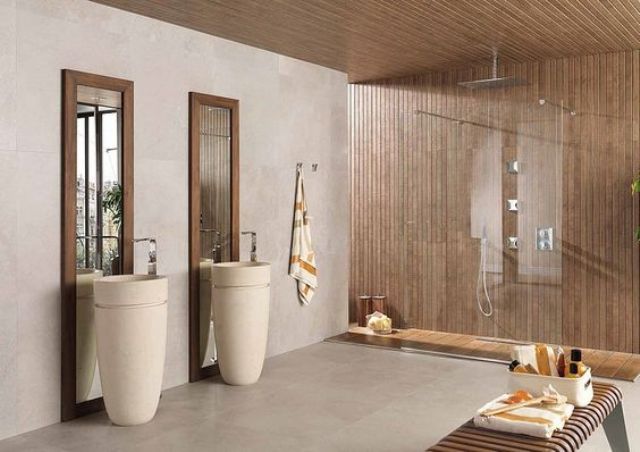
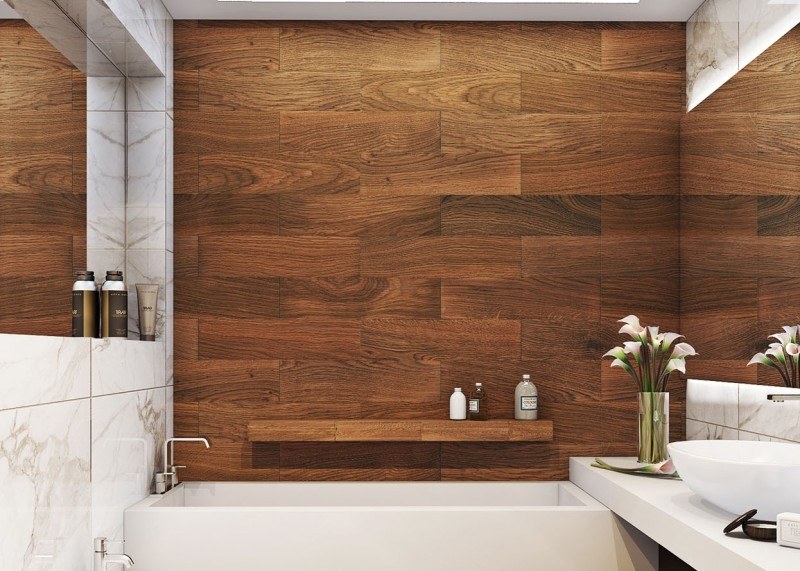
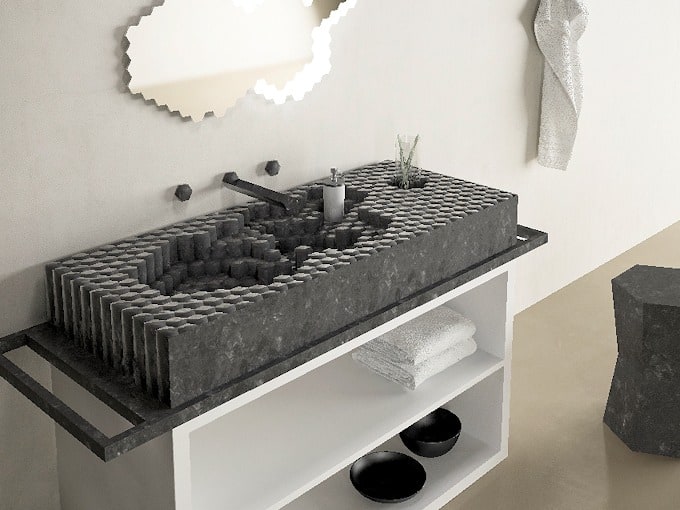
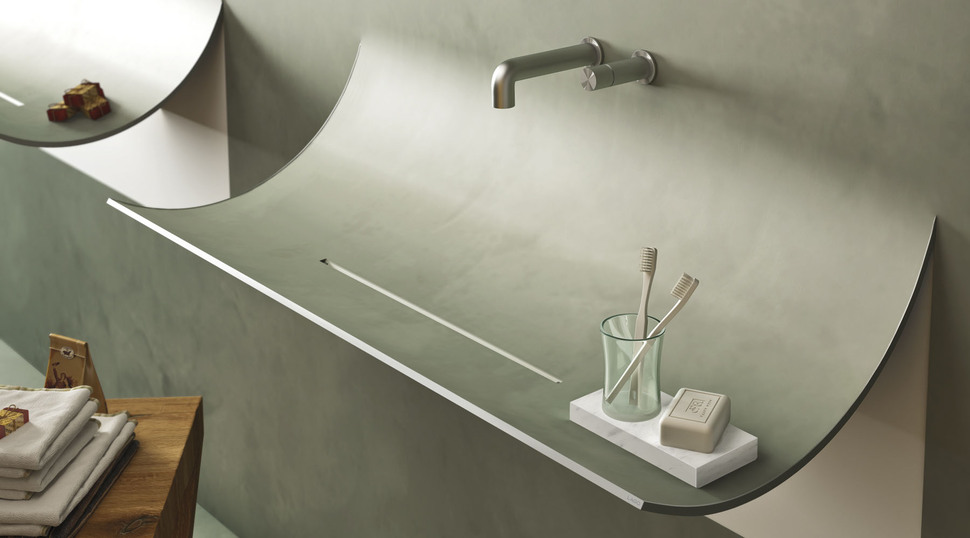
Tiling doesn't have to be boring! Get creative and add some personality to your bathroom by using different colored tiles, creating a pattern, or using a mix of different tile sizes. You can also consider using mosaic tiles for a unique and eye-catching look. Creative tiling ideas for standing bathroom sinks


Tiling hacks for standing bathroom sinks


To successfully tile around a standing bathroom sink, you will need the following tools and materials: adhesive, trowel, notched trowel, tile cutter or wet saw, tile spacers, grout, grout float, sponge, and a level. You may also need a hammer and chisel to remove old tiles, a leveler to even out the wall surface, and a grout sealer for added protection. With these tips and techniques, you can easily tile around your standing bathroom sink and give your bathroom a fresh new look. It may take some time and effort, but the end result will be well worth it. So roll up your sleeves and start tiling! Tiling tools and materials for standing bathroom sinks


Creative tiling ideas for standing bathroom sinks

Tiling Around a Standing Bathroom Sink: A Beautiful Addition to Your House Design

Why Tile Around a Standing Bathroom Sink?
 When it comes to designing a bathroom, every detail counts. From the color of the walls to the type of flooring, each element plays a crucial role in creating a cohesive and visually pleasing space. One often overlooked area is tiling around a standing bathroom sink. However, this simple addition can make a significant impact on the overall design of your bathroom.
Tiling around a standing bathroom sink not only adds a touch of elegance and sophistication, but it also serves a practical purpose.
It helps protect the walls from water damage and provides a seamless transition between the sink and the surrounding area. Additionally, it can be a cost-effective way to update the look of your bathroom without having to replace the entire sink.
When it comes to designing a bathroom, every detail counts. From the color of the walls to the type of flooring, each element plays a crucial role in creating a cohesive and visually pleasing space. One often overlooked area is tiling around a standing bathroom sink. However, this simple addition can make a significant impact on the overall design of your bathroom.
Tiling around a standing bathroom sink not only adds a touch of elegance and sophistication, but it also serves a practical purpose.
It helps protect the walls from water damage and provides a seamless transition between the sink and the surrounding area. Additionally, it can be a cost-effective way to update the look of your bathroom without having to replace the entire sink.
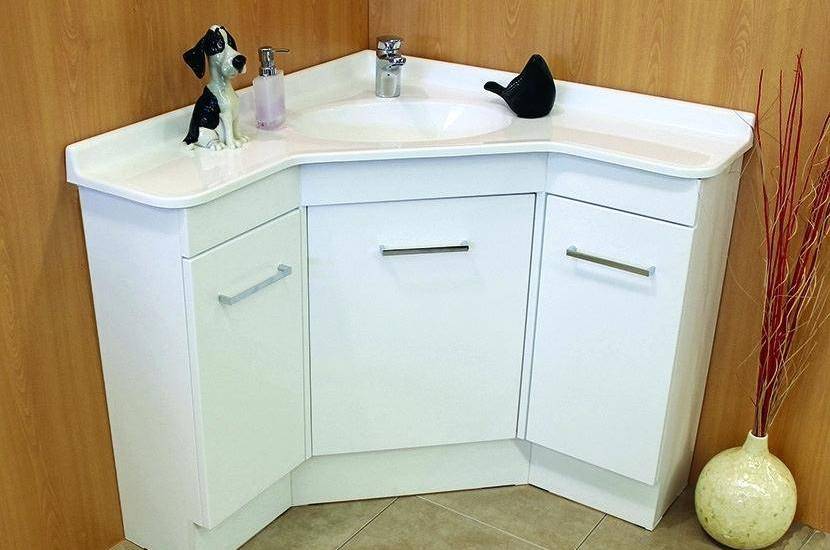
Choosing the Right Tiles for Your Bathroom Sink
 When it comes to choosing the right tiles for tiling around a standing bathroom sink, there are several factors to consider.
The first is the style and design of your bathroom.
If you have a modern and minimalist bathroom, sleek and neutral-colored tiles would be a perfect choice. On the other hand, if you have a more traditional or vintage bathroom, patterned or mosaic tiles can add a unique touch to the space.
The size and shape of your sink should also be taken into consideration when choosing tiles.
For larger sinks, larger tiles can help create a balanced and cohesive look, while smaller tiles can work well for smaller sinks. Additionally, consider the color of your sink and choose tiles that complement or contrast it for a visually appealing result.
When it comes to choosing the right tiles for tiling around a standing bathroom sink, there are several factors to consider.
The first is the style and design of your bathroom.
If you have a modern and minimalist bathroom, sleek and neutral-colored tiles would be a perfect choice. On the other hand, if you have a more traditional or vintage bathroom, patterned or mosaic tiles can add a unique touch to the space.
The size and shape of your sink should also be taken into consideration when choosing tiles.
For larger sinks, larger tiles can help create a balanced and cohesive look, while smaller tiles can work well for smaller sinks. Additionally, consider the color of your sink and choose tiles that complement or contrast it for a visually appealing result.
The Tiling Process
 Tiling around a standing bathroom sink may seem like a daunting task, but with the right tools and techniques, it can be a simple and rewarding DIY project.
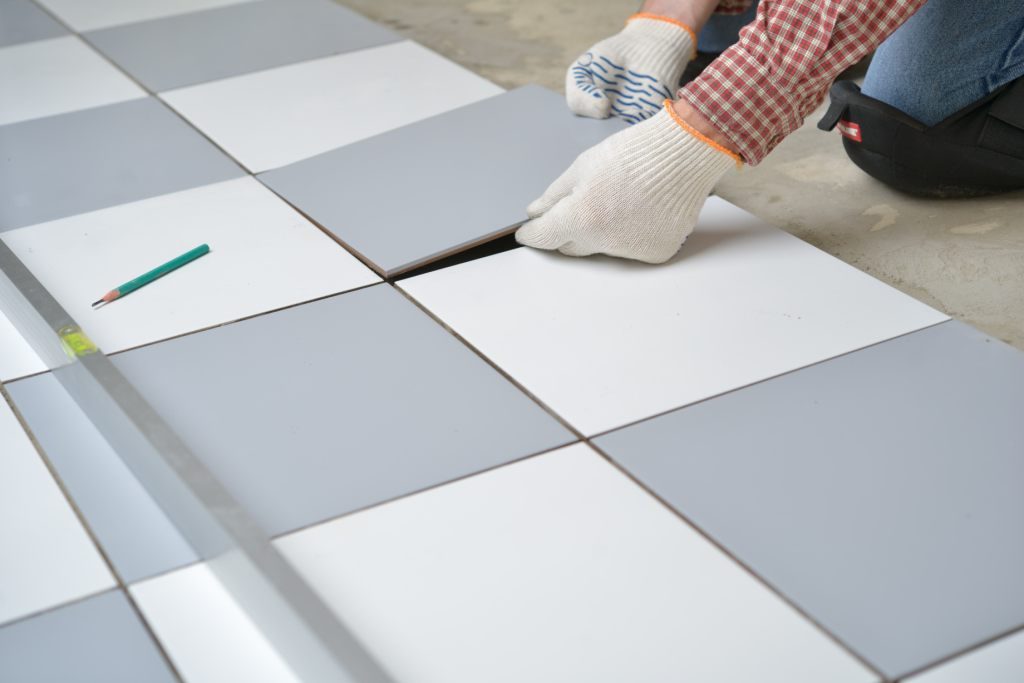
Start by measuring the area around your sink and purchasing enough tiles to cover it.
Then, clean and prepare the walls by removing any old tiles or debris.
Next, apply a layer of tile adhesive to the wall using a notched trowel.
Carefully place the tiles on the adhesive, making sure they are evenly spaced and level. Once the tiles are in place, use tile spacers to maintain even spacing between each tile.
Once the adhesive is dry, remove the spacers and fill in the gaps between the tiles with grout.
Finally, wipe away any excess grout and let it dry before sealing the tiles for added protection.
Tiling around a standing bathroom sink may seem like a daunting task, but with the right tools and techniques, it can be a simple and rewarding DIY project.
Start by measuring the area around your sink and purchasing enough tiles to cover it.
Then, clean and prepare the walls by removing any old tiles or debris.
Next, apply a layer of tile adhesive to the wall using a notched trowel.
Carefully place the tiles on the adhesive, making sure they are evenly spaced and level. Once the tiles are in place, use tile spacers to maintain even spacing between each tile.
Once the adhesive is dry, remove the spacers and fill in the gaps between the tiles with grout.
Finally, wipe away any excess grout and let it dry before sealing the tiles for added protection.
In Conclusion
 Tiling around a standing bathroom sink is a simple yet impactful way to enhance the design and functionality of your bathroom.
Not only does it add a touch of style, but it also serves a practical purpose in protecting your walls from water damage.
With a wide range of tile options available, you can easily find the perfect tiles to complement your bathroom and create a beautiful and cohesive space. So why not consider tiling around your bathroom sink for your next home renovation project?
Tiling around a standing bathroom sink is a simple yet impactful way to enhance the design and functionality of your bathroom.
Not only does it add a touch of style, but it also serves a practical purpose in protecting your walls from water damage.
With a wide range of tile options available, you can easily find the perfect tiles to complement your bathroom and create a beautiful and cohesive space. So why not consider tiling around your bathroom sink for your next home renovation project?

.jpg)