If you're looking to update the look of your bathroom, one of the best places to start is with the sink. Tiling around a bathroom sink can add a touch of elegance and sophistication, and is a project that can easily be done on your own. Here are 10 tips for tiling around a bathroom sink to help you achieve a professional and polished look.Tiling around a bathroom sink


Tiling around a bathroom sink


Before you begin tiling around your bathroom sink, make sure to measure and cut your tiles to fit the space. It's important to have all your materials and tools ready, including adhesive, grout, and tile spacers. You'll also need a tile cutter and a trowel for spreading the adhesive.How to tile around a bathroom sink


How to tile around a bathroom sink


When tiling around a bathroom sink, it's important to start with a clean and dry surface. Use a degreaser to remove any residue or buildup on the sink and surrounding area. This will ensure that the adhesive will bond properly to avoid any future issues.Bathroom sink tiling tips


Bathroom sink tiling tips


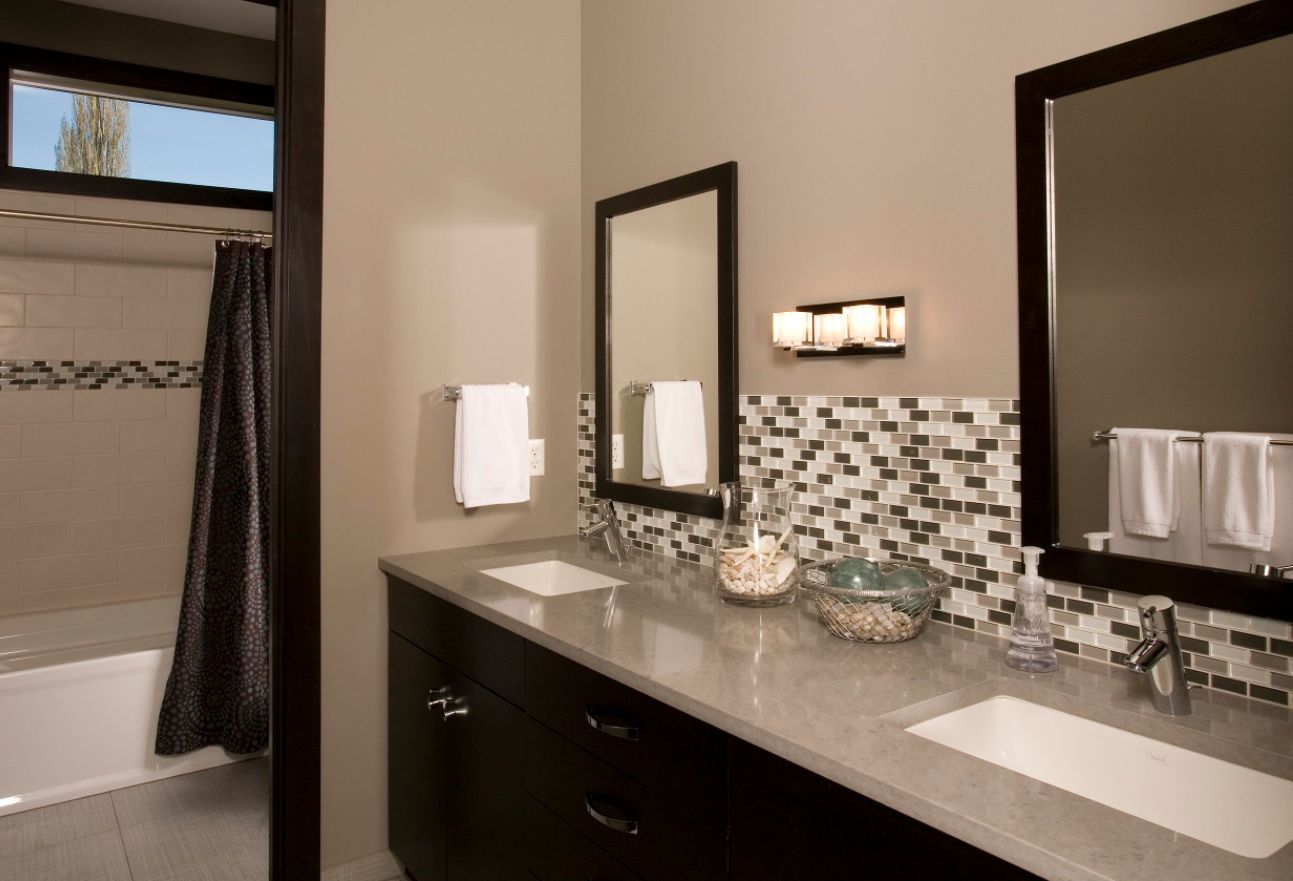
A popular and stylish option for tiling around a bathroom sink is to create a backsplash. This not only adds a decorative element, but also protects the wall from water damage. You can use the same tiles as the rest of the sink area, or mix and match for a unique look.Tiling a bathroom sink backsplash


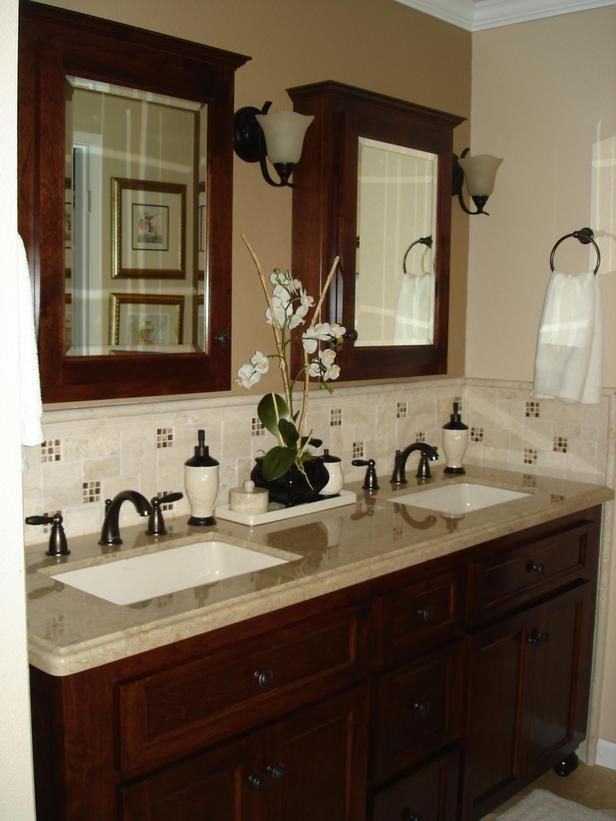
Tiling a bathroom sink backsplash


Tiling around a bathroom sink is a project that can easily be done on your own, even if you have little to no experience with tiling. With the right tools and materials, and by following these tips, you can achieve a professional-looking result without having to hire a contractor.DIY tiling around a bathroom sink


DIY tiling around a bathroom sink


/Workman-Tiling-a-Shower-499630724-56a4a1a33df78cf7728353cc.jpg)


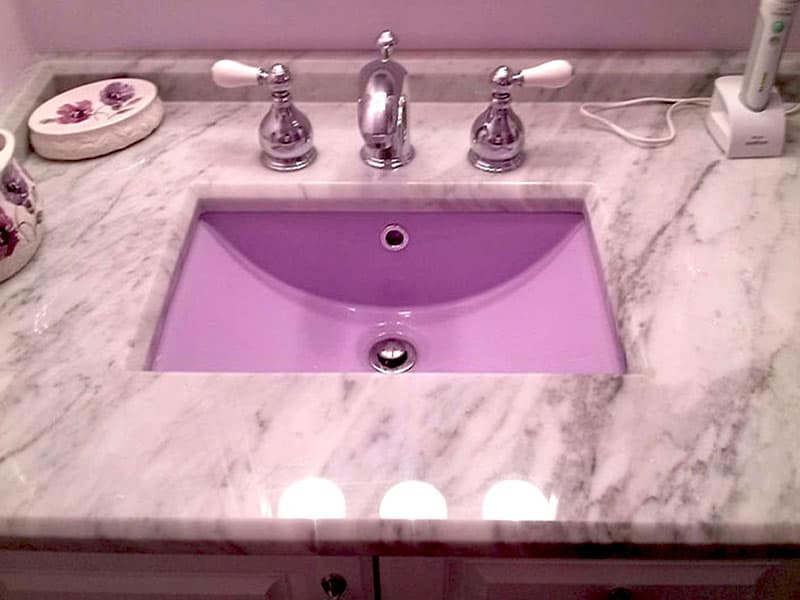
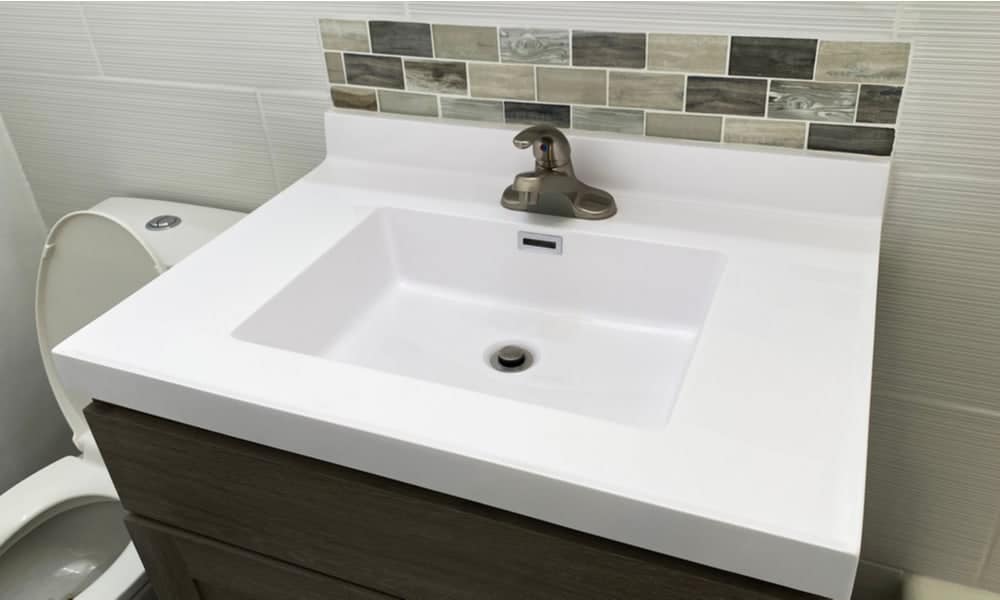
If you want to take your bathroom sink tiling to the next level, consider tiling the entire countertop. This is a great option for old or outdated countertops, as it can completely transform the look of your bathroom. Make sure to use a waterproof adhesive and grout to protect the countertop from moisture.Tiling a bathroom sink countertop


Tiling a bathroom sink countertop


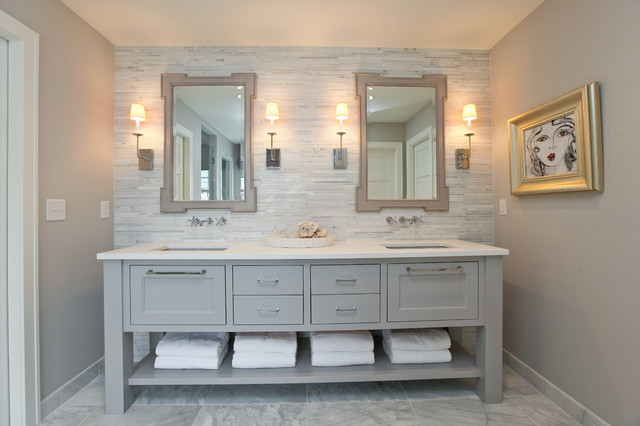
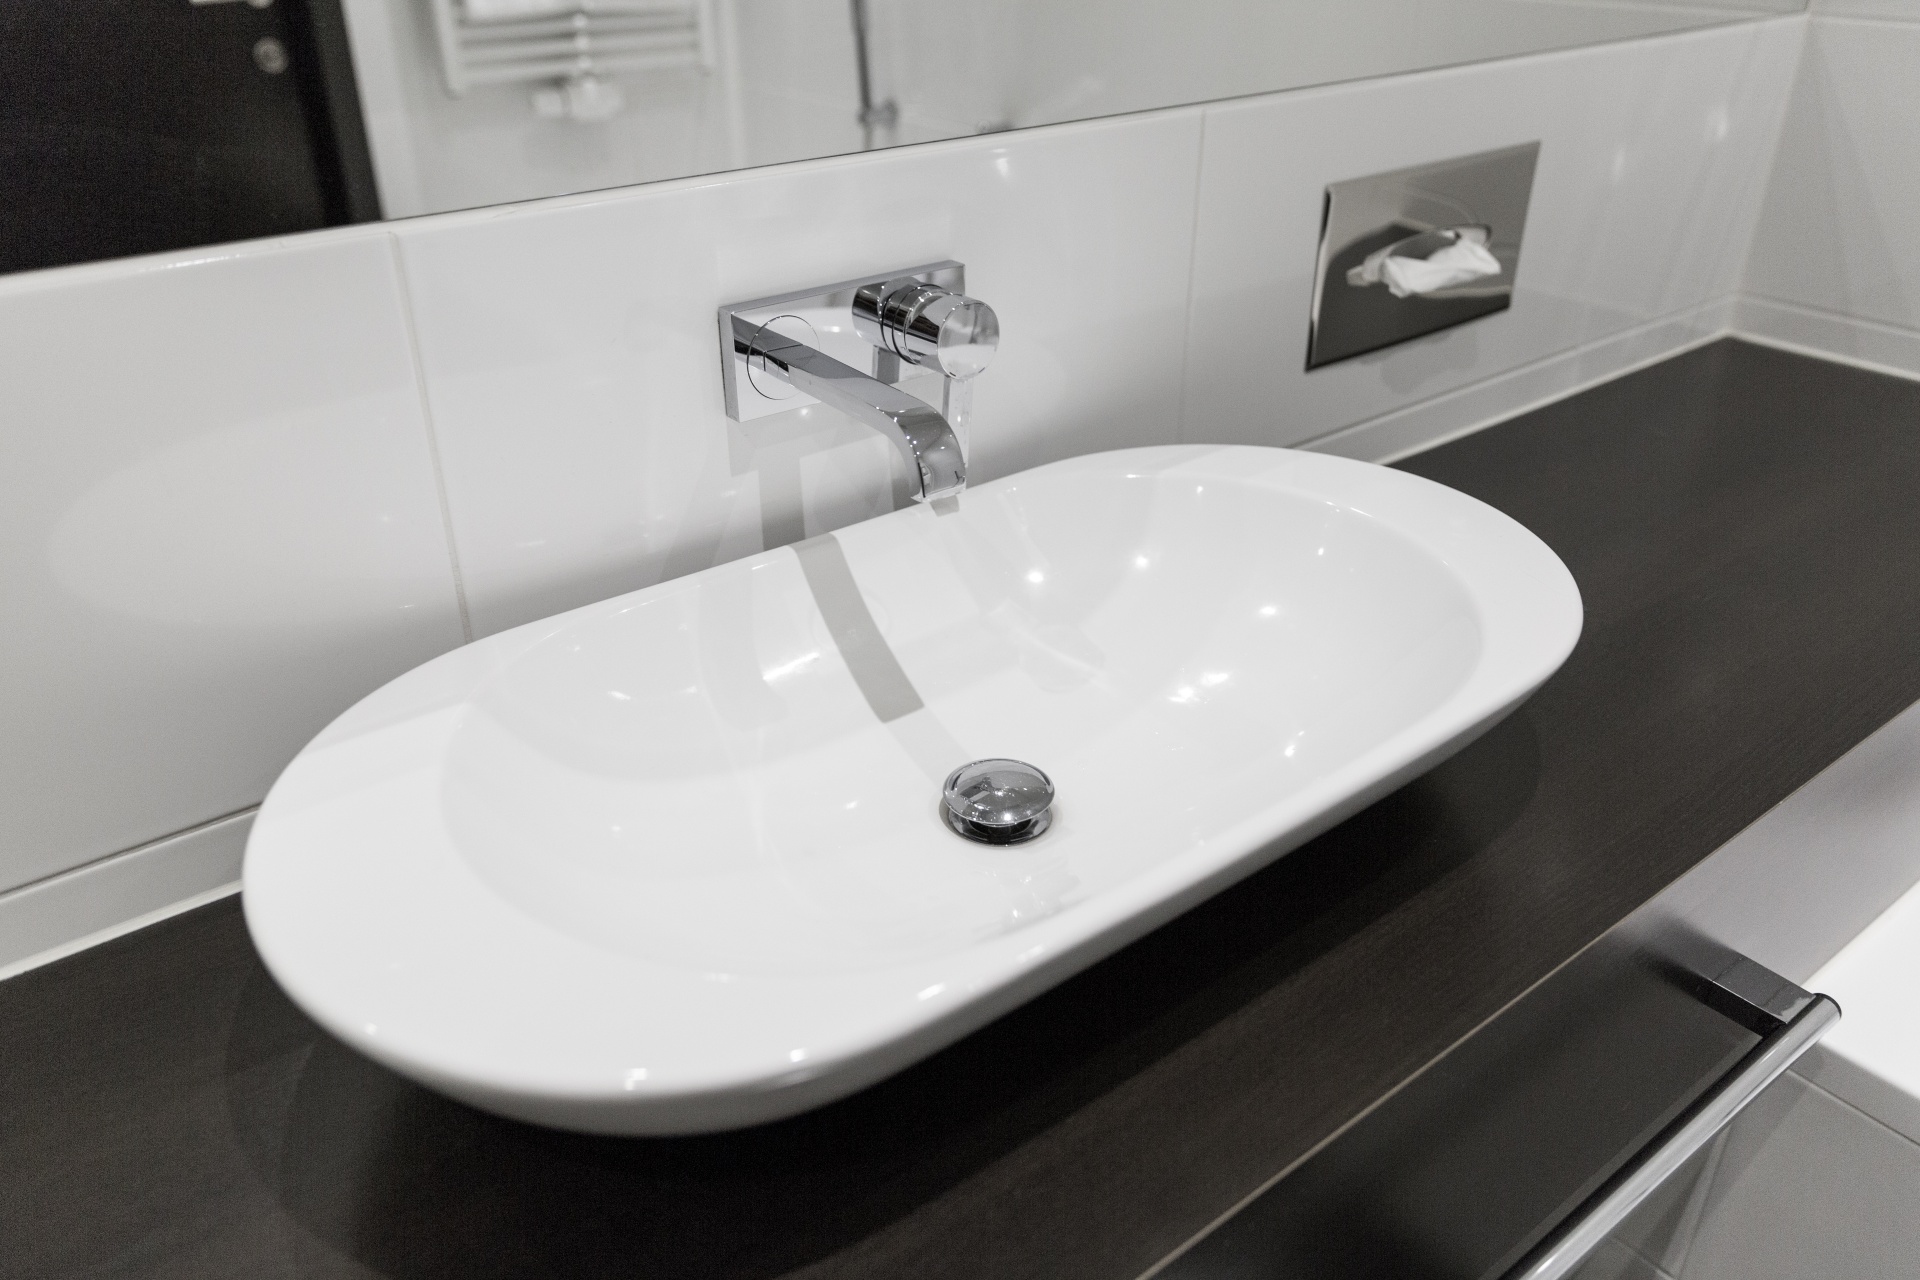
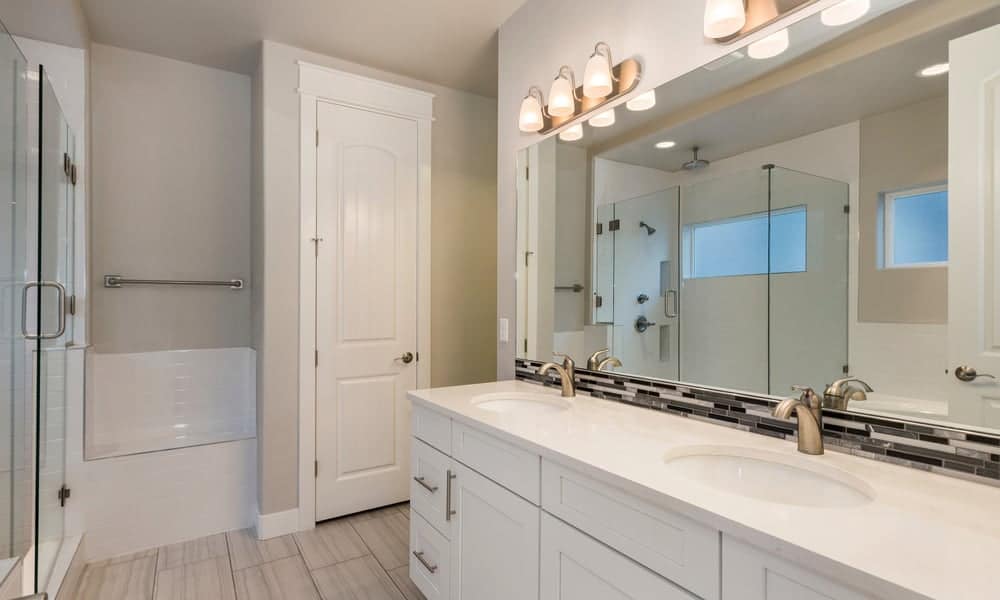
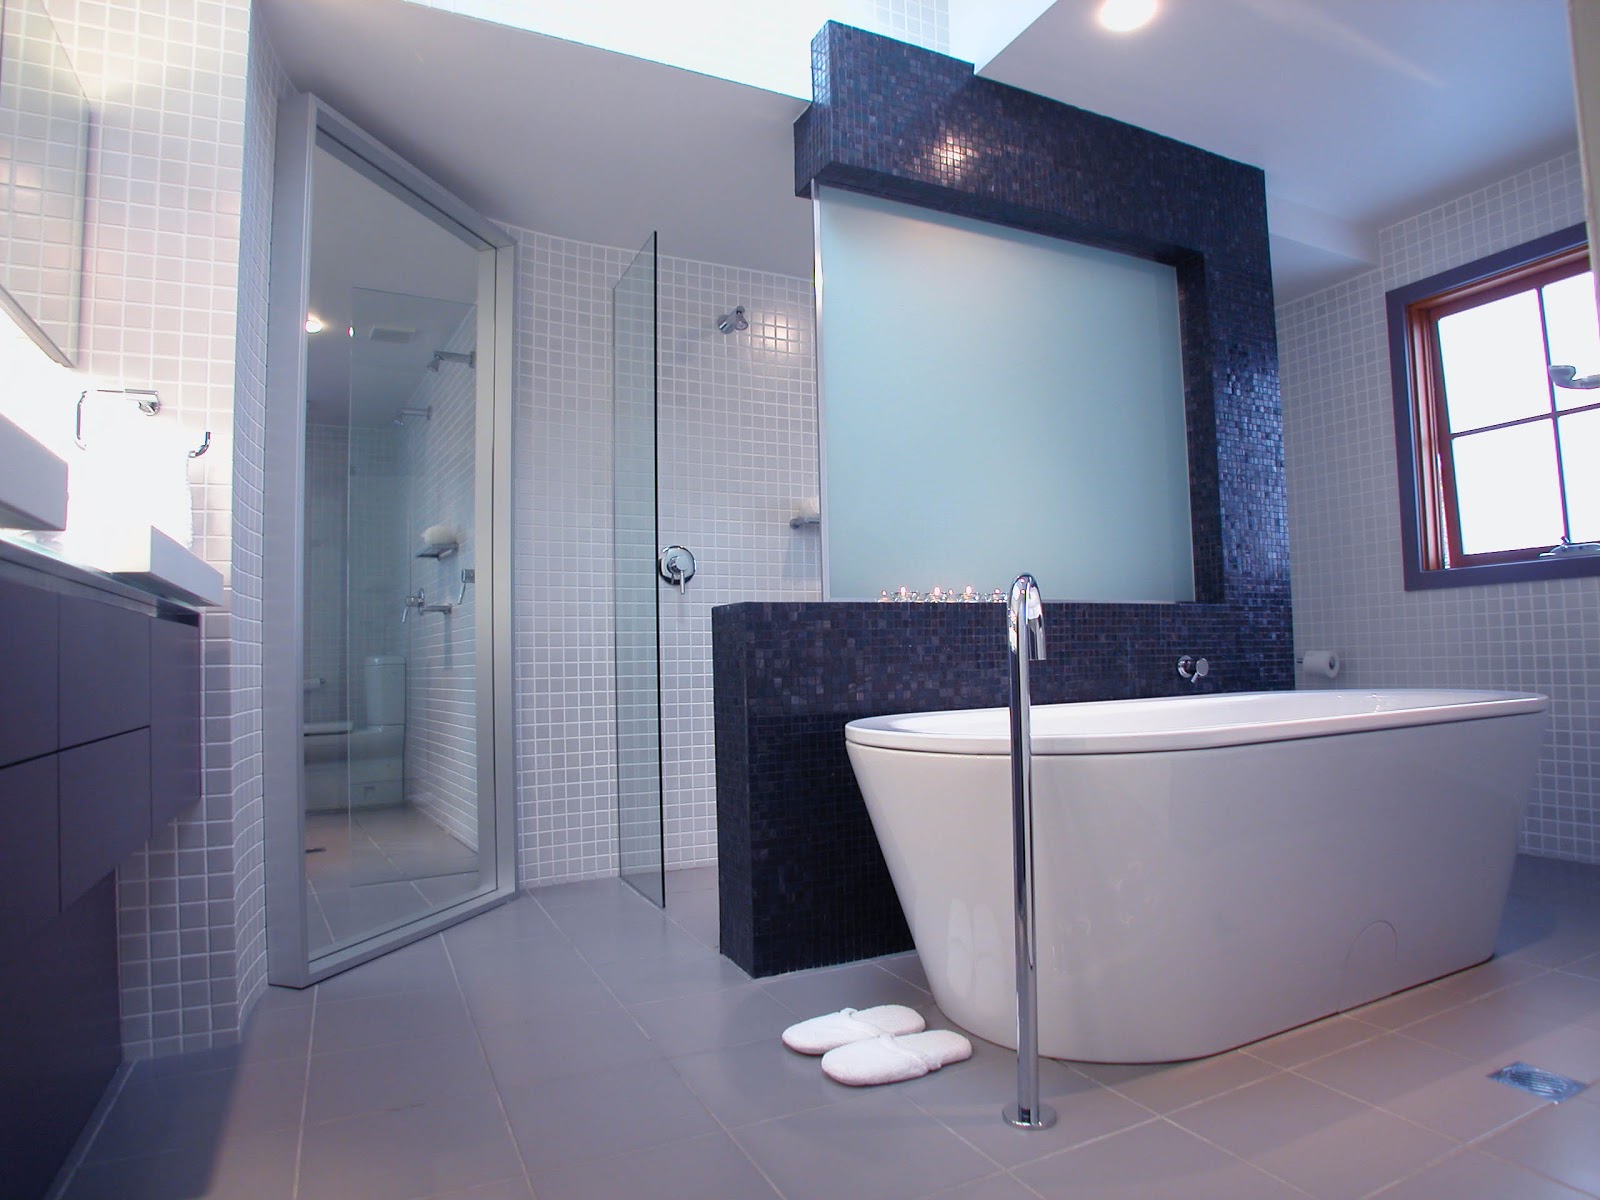
If you have a wall-mounted bathroom sink, tiling the wall behind it can create a stunning focal point in your bathroom. You can use larger tiles for a sleek and modern look, or opt for smaller mosaic tiles for a more intricate design. Just make sure to properly measure and cut the tiles to fit around the sink.Tiling a bathroom sink wall


Tiling a bathroom sink wall


When tiling around a bathroom sink, one of the trickiest parts can be tiling the edges. This is where you'll need to use smaller, cut tiles to fill in any gaps and create a seamless finish. Use tile nippers to carefully cut the tiles to the desired shape and size, and make sure to wear protective gear to avoid any accidents.Tiling a bathroom sink edge


Tiling a bathroom sink edge


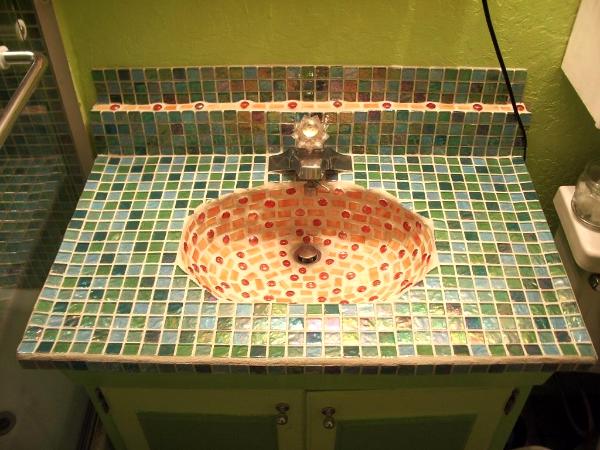
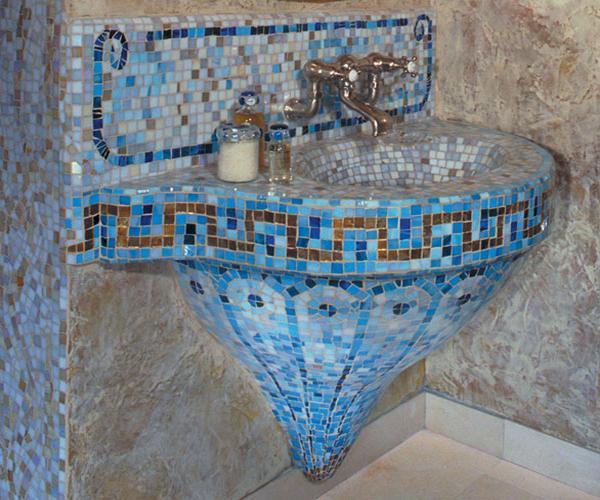
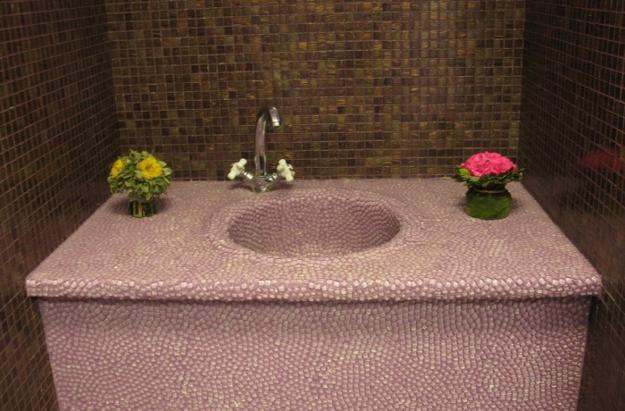
Mosaic tiles are a popular choice for tiling around a bathroom sink, as they come in a variety of colors, shapes, and sizes. They also allow for more intricate designs and patterns. Just make sure to use a water-resistant adhesive and grout to protect the tiles from moisture.Tiling a bathroom sink with mosaic tiles


Tiling a bathroom sink with mosaic tiles


:max_bytes(150000):strip_icc()/mosaic-floor-118388533-resized-56a2fd863df78cf7727b6d08.jpg)

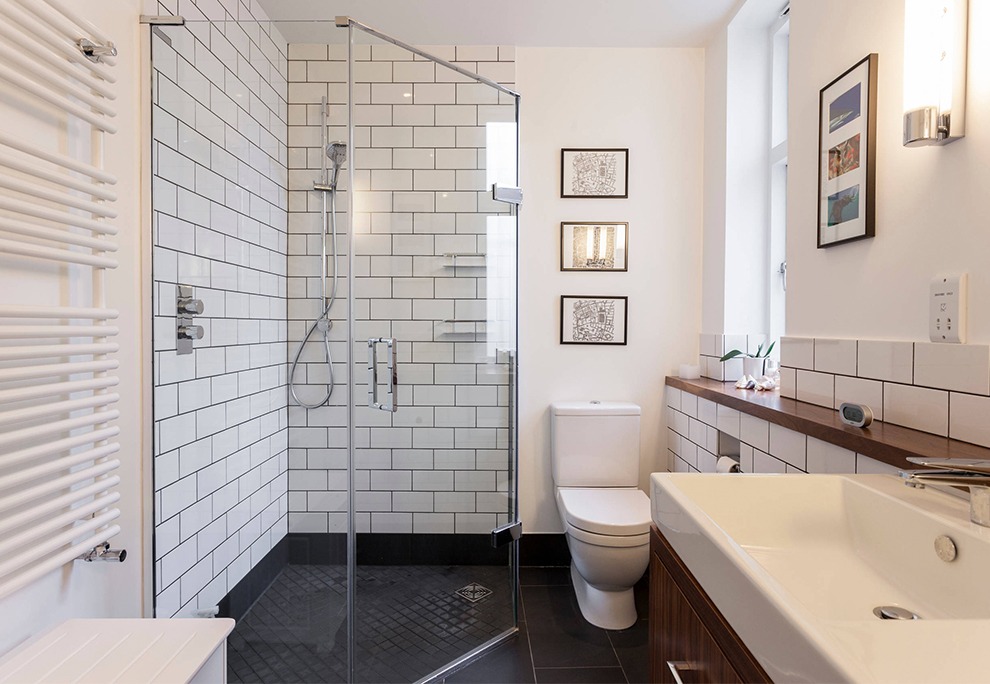
Subway tiles are a classic and timeless option for tiling around a bathroom sink. These rectangular tiles can be installed in a traditional brick pattern or in a herringbone pattern for a more modern look. They also come in a variety of colors and finishes, making them a versatile choice for any bathroom design.Tiling a bathroom sink with subway tiles


Tiling a bathroom sink with subway tiles

/bathrooms-with-subway-tile-4140249-hero-3415fd09bfab4c46b38a700028b7a2b9.jpg)

Tips for Tiling Around a Bathroom Sink

Choosing the Right Tiles
 When it comes to tiling around a bathroom sink, choosing the right tiles is crucial. Not only do they need to be aesthetically pleasing, but they also need to be functional and durable.
Porcelain
and
ceramic
tiles are popular options for bathroom sinks as they are water-resistant and easy to clean. Additionally, consider the size and shape of the tiles.
Large format
tiles can make a small bathroom look more spacious, while
mosaic
tiles can add a unique touch to the design. It's also important to choose tiles with a slip-resistant surface to ensure safety in wet areas.
When it comes to tiling around a bathroom sink, choosing the right tiles is crucial. Not only do they need to be aesthetically pleasing, but they also need to be functional and durable.
Porcelain
and
ceramic
tiles are popular options for bathroom sinks as they are water-resistant and easy to clean. Additionally, consider the size and shape of the tiles.
Large format
tiles can make a small bathroom look more spacious, while
mosaic
tiles can add a unique touch to the design. It's also important to choose tiles with a slip-resistant surface to ensure safety in wet areas.
Preparing the Area
 Before starting the tiling process, it's essential to prepare the area around the bathroom sink. This includes removing the old tiles, cleaning the surface, and making any necessary repairs.
Waterproofing
is also an important step to prevent any water damage to the walls behind the sink. Make sure to use a waterproofing membrane and sealant to create a watertight barrier.
Before starting the tiling process, it's essential to prepare the area around the bathroom sink. This includes removing the old tiles, cleaning the surface, and making any necessary repairs.
Waterproofing
is also an important step to prevent any water damage to the walls behind the sink. Make sure to use a waterproofing membrane and sealant to create a watertight barrier.
Layout and Cutting
 A proper layout is crucial for a professional-looking tiling job. Begin by measuring the area around the sink and marking the center point. This will help guide the placement of the tiles and ensure symmetry. When cutting tiles, use a
wet saw
to achieve clean and precise cuts. It's also essential to leave a small gap between the tiles and the sink to allow for expansion and contraction.
A proper layout is crucial for a professional-looking tiling job. Begin by measuring the area around the sink and marking the center point. This will help guide the placement of the tiles and ensure symmetry. When cutting tiles, use a
wet saw
to achieve clean and precise cuts. It's also essential to leave a small gap between the tiles and the sink to allow for expansion and contraction.
Adhering and Grouting
 Once the layout is complete, it's time to adhere the tiles to the surface. Use a
thinset mortar
and a notched trowel to create an even layer of adhesive. Press the tiles firmly into place and use tile spacers to maintain consistent spacing. After the tiles have set, remove the spacers and start grouting. It's important to choose a grout color that complements the tiles and to seal the grout to prevent staining and water damage.
Once the layout is complete, it's time to adhere the tiles to the surface. Use a
thinset mortar
and a notched trowel to create an even layer of adhesive. Press the tiles firmly into place and use tile spacers to maintain consistent spacing. After the tiles have set, remove the spacers and start grouting. It's important to choose a grout color that complements the tiles and to seal the grout to prevent staining and water damage.
Finishing Touches
 After the grout has dried, it's time to add the finishing touches to the tiling job. Use a
grout haze remover
to clean off any remaining grout residue. Then, use
caulk
to seal the edges of the tiles and sink for a polished look. Finally, use a tile sealer to protect the tiles and grout from water and stains.
In conclusion, tiling around a bathroom sink requires careful planning, proper preparation, and attention to detail. By choosing the right tiles, properly preparing the area, and following the above tips, you can achieve a beautiful and functional tiling job that will enhance the overall design of your bathroom. Remember to always use proper safety precautions and
high-quality materials
for a professional and long-lasting result.
After the grout has dried, it's time to add the finishing touches to the tiling job. Use a
grout haze remover
to clean off any remaining grout residue. Then, use
caulk
to seal the edges of the tiles and sink for a polished look. Finally, use a tile sealer to protect the tiles and grout from water and stains.
In conclusion, tiling around a bathroom sink requires careful planning, proper preparation, and attention to detail. By choosing the right tiles, properly preparing the area, and following the above tips, you can achieve a beautiful and functional tiling job that will enhance the overall design of your bathroom. Remember to always use proper safety precautions and
high-quality materials
for a professional and long-lasting result.