Take apart kitchen sink drain may seem like a daunting task, but with the right tools and knowledge, it can be a simple DIY project. Whether you are looking to clean the drain or replace it entirely, this guide will provide you with step-by-step instructions on how to successfully take apart your kitchen sink drain.How to Take Apart a Kitchen Sink Drain


How to Take Apart a Kitchen Sink Drain

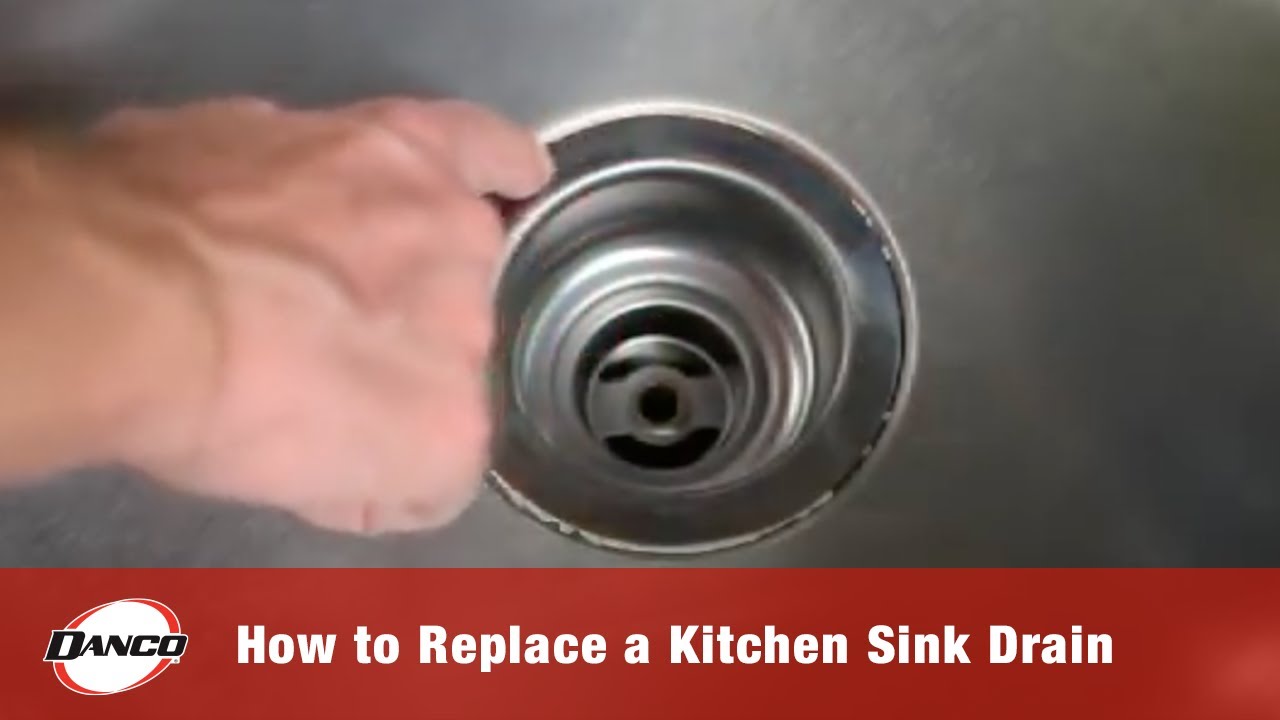
Before starting, it is important to gather all the necessary tools for the job. This includes a pair of pliers, a screwdriver, a pipe wrench, and a bucket to catch any water or debris that may come out of the drain. The first step is to locate the drain beneath your sink. This is usually located in the center of the sink, underneath the main drain. Using the pliers, loosen the locking nut that holds the drain in place. Once it is loose, use your hands to unscrew the nut and remove it completely. Next, you will need to remove the drain stopper. This is the piece that sits on top of the drain and can be pulled up or pushed down to allow water to drain. Most kitchen sink drains have a lever that connects to the stopper. Use your screwdriver to unscrew and remove this lever, then simply lift the stopper out of the drain.How to Remove a Kitchen Sink Drain


How to Remove a Kitchen Sink Drain


Now that the drain and stopper have been removed, it's time to take apart the rest of the kitchen sink drain. Using your pipe wrench, loosen the nut that connects the main drain pipe to the sink drain. Once it is loose, carefully remove the pipe and set it aside. Next, you will need to remove the trap under the sink. The trap is the curved piece of pipe that is connected to the main drain pipe. Loosen the nuts on either end of the trap and carefully remove it from the drain. Once the trap is removed, you should be able to see down into the main drain pipe. Use your flashlight to check for any clogs or debris that may be causing issues. If there is a clog, use a plumbing snake to remove it. Finally, you can remove the main drain pipe by loosening and unscrewing the nut that connects it to the drain. Be sure to have your bucket handy to catch any water or debris that may come out.Step-by-Step Guide for Taking Apart a Kitchen Sink Drain


Step-by-Step Guide for Taking Apart a Kitchen Sink Drain


Taking apart a kitchen sink drain can be a DIY project with the right tools and knowledge. By following the steps outlined above, you can successfully remove your drain and make any necessary repairs or replacements.DIY: Taking Apart a Kitchen Sink Drain


DIY: Taking Apart a Kitchen Sink Drain


The tools needed for taking apart a kitchen sink drain include pliers, a screwdriver, a pipe wrench, and a bucket. These can all be found at your local hardware store and are relatively inexpensive.Tools Needed for Taking Apart a Kitchen Sink Drain

Tools Needed for Taking Apart a Kitchen Sink Drain


One common issue that may arise when taking apart a kitchen sink drain is difficulty loosening the nuts that hold the pipes in place. In this case, it may be necessary to use a lubricant such as WD-40 to help loosen the nuts. Another common issue is finding a stubborn clog in the drain. If a plumbing snake does not work, it may be necessary to call a professional for assistance.Common Issues When Taking Apart a Kitchen Sink Drain

Common Issues When Taking Apart a Kitchen Sink Drain


To avoid any potential issues, it is important to properly maintain your kitchen sink drain. This includes regularly cleaning it with a mixture of hot water and vinegar to prevent buildup and clogs. Additionally, it is important to be gentle when taking apart the drain to avoid causing any damage to the pipes or other components.Tips for Successfully Taking Apart a Kitchen Sink Drain


Tips for Successfully Taking Apart a Kitchen Sink Drain

If you prefer visual instructions, there are many helpful videos online that provide a step-by-step guide for taking apart a kitchen sink drain. These can be a great resource for those who are more visual learners.Video Tutorial: Taking Apart a Kitchen Sink Drain

Video Tutorial: Taking Apart a Kitchen Sink Drain
Once you have completed the necessary repairs or cleaning, it is time to reassemble your kitchen sink drain. Follow the steps in reverse, making sure to tighten all the nuts securely to prevent any leaks. Be sure to test the drain by running water through it before declaring the job complete.How to Reassemble a Kitchen Sink Drain After Taking it Apart
How to Reassemble a Kitchen Sink Drain After Taking it Apart

If you are not comfortable or experienced in taking apart a kitchen sink drain, it is always best to call a professional for assistance. They have the necessary tools and knowledge to handle any issues that may arise and can ensure the job is done correctly. Additionally, professional services may be necessary if the issue with your drain is more complex and requires specialized equipment or expertise.Professional Services for Taking Apart a Kitchen Sink Drain

Professional Services for Taking Apart a Kitchen Sink Drain
How to Take Apart a Kitchen Sink Drain: A Comprehensive Guide
/how-to-install-a-sink-drain-2718789-hero-b5b99f72b5a24bb2ae8364e60539cece.jpg)
Introduction
 The kitchen is often considered the heart of the home, and the sink is a vital part of any kitchen. It's where we wash dishes, prepare food, and even fill up our pots for cooking. With such frequent use, it's no surprise that our kitchen sink drains can become clogged or damaged over time. When this happens, it's important to know how to take apart the kitchen sink drain properly to fix any issues and keep your sink functioning efficiently. In this guide, we will walk you through the steps to take apart a kitchen sink drain like a professional.
Step 1: Gather Your Tools
 Before you begin, it's essential to have all the necessary tools ready. This will save you time and frustration in the long run. You will need a pair of pliers, a wrench, a screwdriver, and a bucket to catch any water or debris that may come out of the drain.
Step 2: Shut off the Water Supply
 It's important to turn off the water supply to your sink before you start taking apart the drain. This will prevent any potential flooding or accidents. Look for the shut-off valve under the sink and turn it clockwise to stop the water flow.
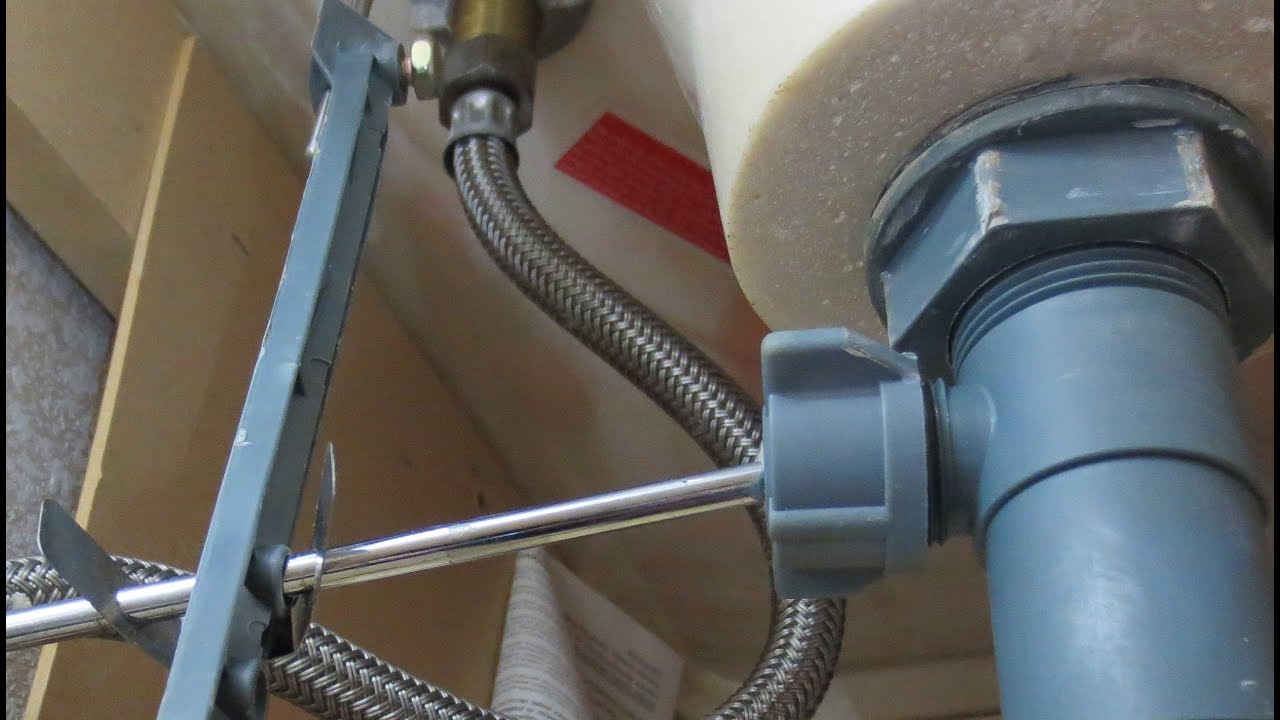
Step 3: Remove the P-Trap
 The P-trap is the curved pipe located under your sink that connects the drainpipe to the main sewer line. It's a common spot for debris and clogs to accumulate. Using your pliers, loosen the slip nuts that hold the P-trap in place and remove it. Be sure to have your bucket handy to catch any water that may spill out.
Step 4: Take Apart the Drain Assembly
 Next, you will need to remove the drain assembly, which includes the strainer, stopper, and tailpiece. Use your wrench or pliers to loosen the locknut that holds the drain assembly in place. Once the locknut is removed, you can pull out the drain assembly from the top of the sink.
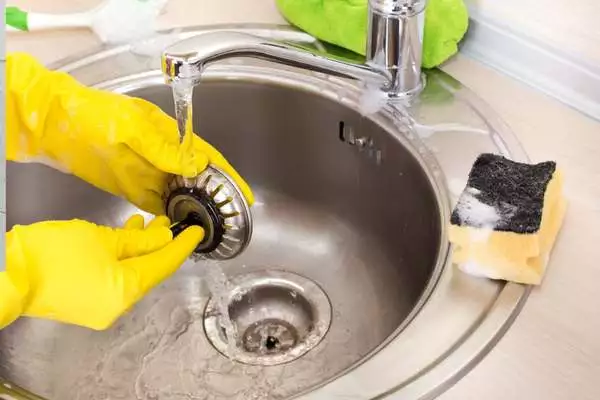
Step 5: Clean and Inspect the Components
:max_bytes(150000):strip_icc()/how-to-install-a-sink-drain-2718789-hero-24e898006ed94c9593a2a268b57989a3.jpg) Now that you have all the parts of the drain disassembled, take this opportunity to clean them thoroughly. Use a brush and some mild detergent to remove any buildup or grime. Take this time to also inspect the components for any damage, such as cracks or corrosion, that may be the cause of your sink's drainage issues.
Now that you have all the parts of the drain disassembled, take this opportunity to clean them thoroughly. Use a brush and some mild detergent to remove any buildup or grime. Take this time to also inspect the components for any damage, such as cracks or corrosion, that may be the cause of your sink's drainage issues.
Step 6: Reassemble the Drain
 Once everything is clean and dry, it's time to put the drain back together. Start with the drain assembly, followed by the P-trap, and then reconnect the water supply. Turn on the water and check for any leaks. If there are no leaks, your kitchen sink drain should be good as new.
Taking apart a kitchen sink drain may seem like a daunting task, but with the right tools and knowledge, it can be a straightforward process. Regular maintenance and cleaning can help prevent clogs and keep your sink functioning properly. However, if you encounter any major issues, it's best to call a professional plumber for assistance. With these steps, you can confidently take apart your kitchen sink drain and keep your kitchen running smoothly.
Once everything is clean and dry, it's time to put the drain back together. Start with the drain assembly, followed by the P-trap, and then reconnect the water supply. Turn on the water and check for any leaks. If there are no leaks, your kitchen sink drain should be good as new.
Taking apart a kitchen sink drain may seem like a daunting task, but with the right tools and knowledge, it can be a straightforward process. Regular maintenance and cleaning can help prevent clogs and keep your sink functioning properly. However, if you encounter any major issues, it's best to call a professional plumber for assistance. With these steps, you can confidently take apart your kitchen sink drain and keep your kitchen running smoothly.