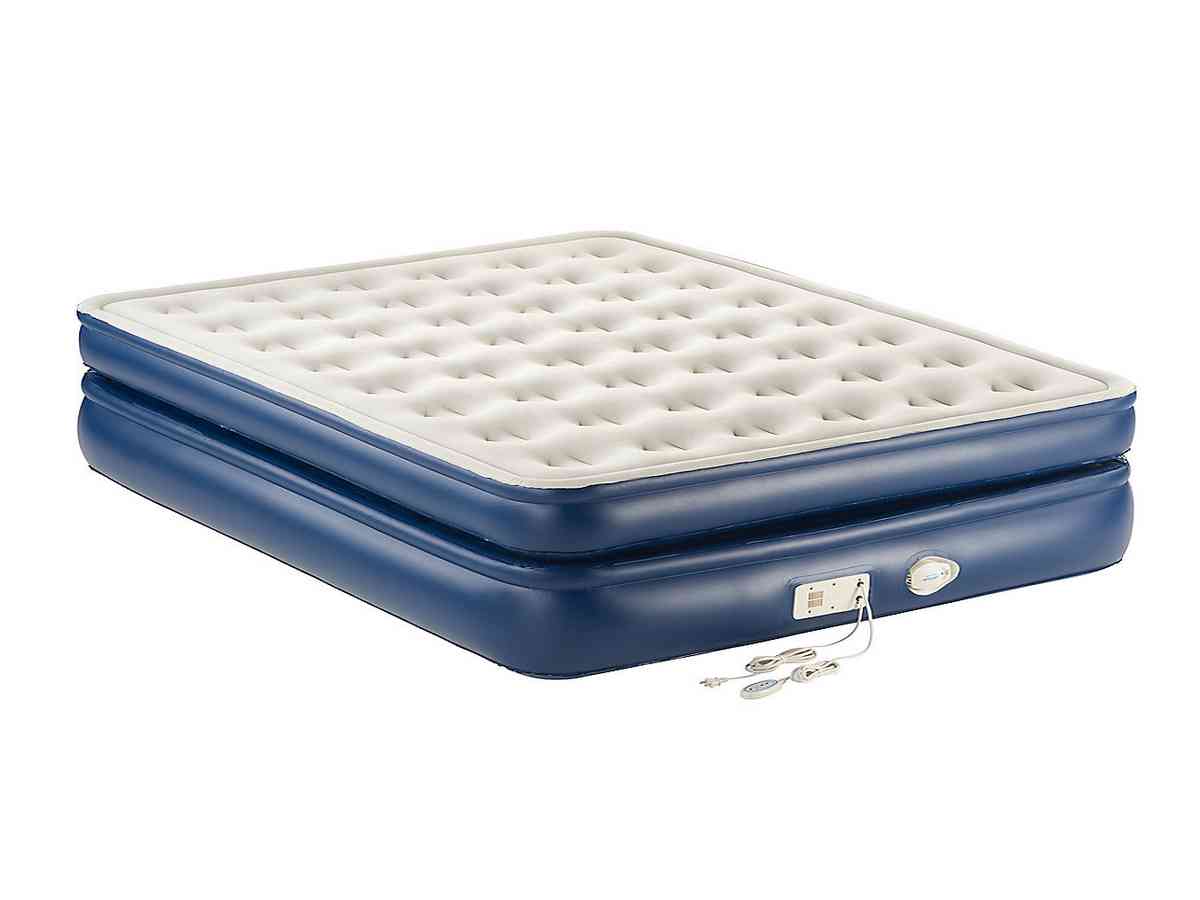
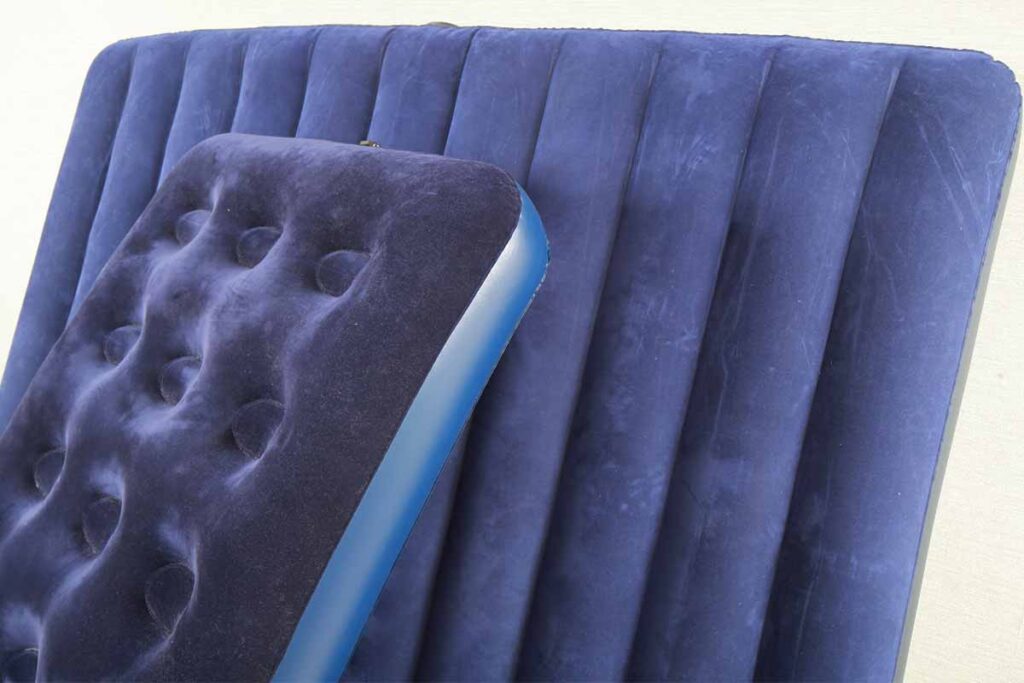
If you're an avid camper or have unexpected guests staying over, having an air mattress can be a lifesaver. But what happens when your trusty air mattress gets a hole or a tear? Don't worry, repairing it is easier than you think. In this article, we'll guide you through the top 10 methods for stitching an air mattress.How to Repair an Air Mattress


How to Repair an Air Mattress


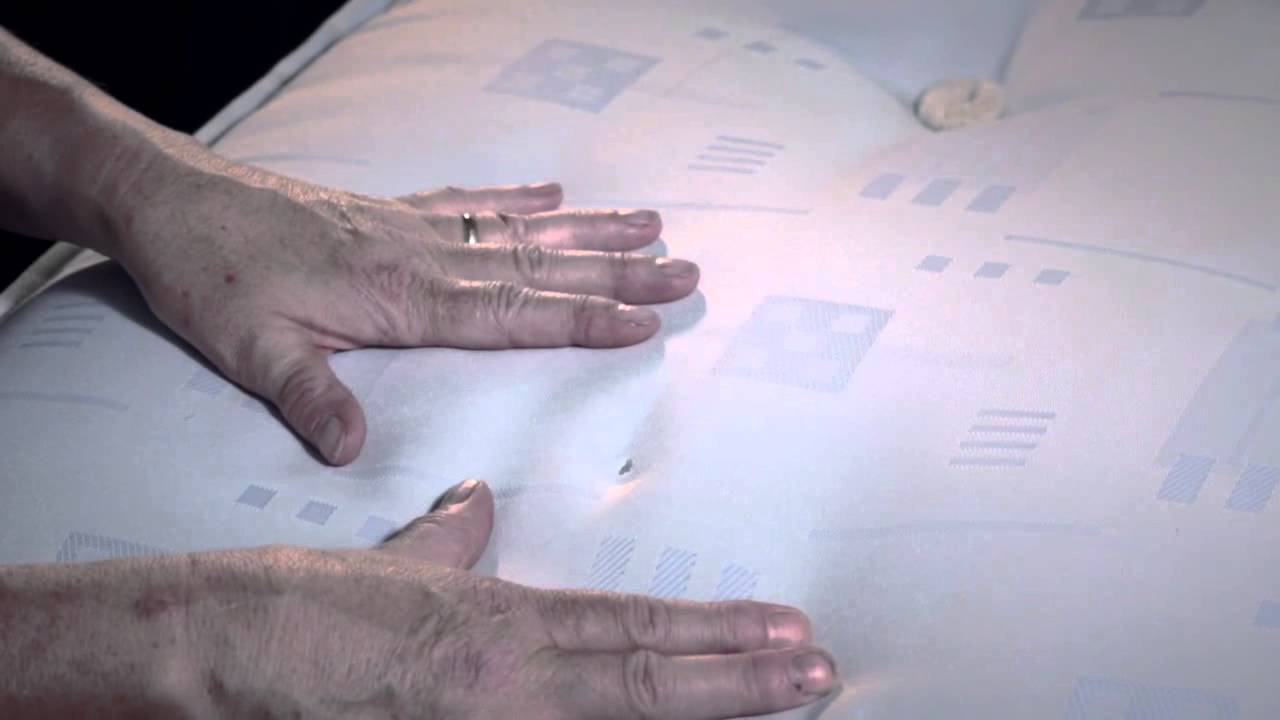
One of the most common reasons for needing to stitch an air mattress is due to a pesky hole. The good news is, this is a relatively easy fix. First, locate the hole by filling the mattress with air and listening for a hissing sound. Once you've located the hole, use a patch kit or duct tape to cover the hole. Pro tip: Apply the patch or tape on both sides of the mattress for added durability.How to Fix a Hole in an Air Mattress

How to Fix a Hole in an Air Mattress


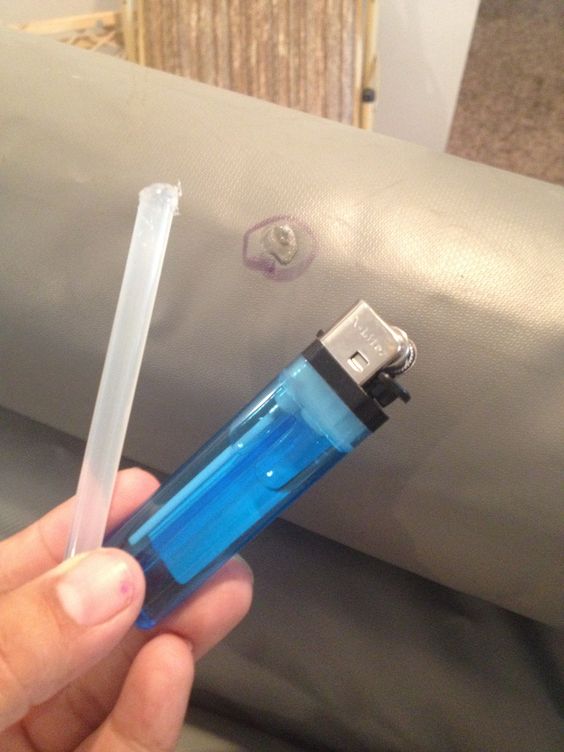
If you don't have a patch kit or duct tape on hand, don't worry. You can still repair your air mattress with items you likely have at home. One method is to use a piece of fabric or cloth and super glue to cover the hole. Another option is to use a hot glue gun to seal the hole. Just make sure to let the glue dry completely before using the mattress again.DIY Air Mattress Repair


DIY Air Mattress Repair


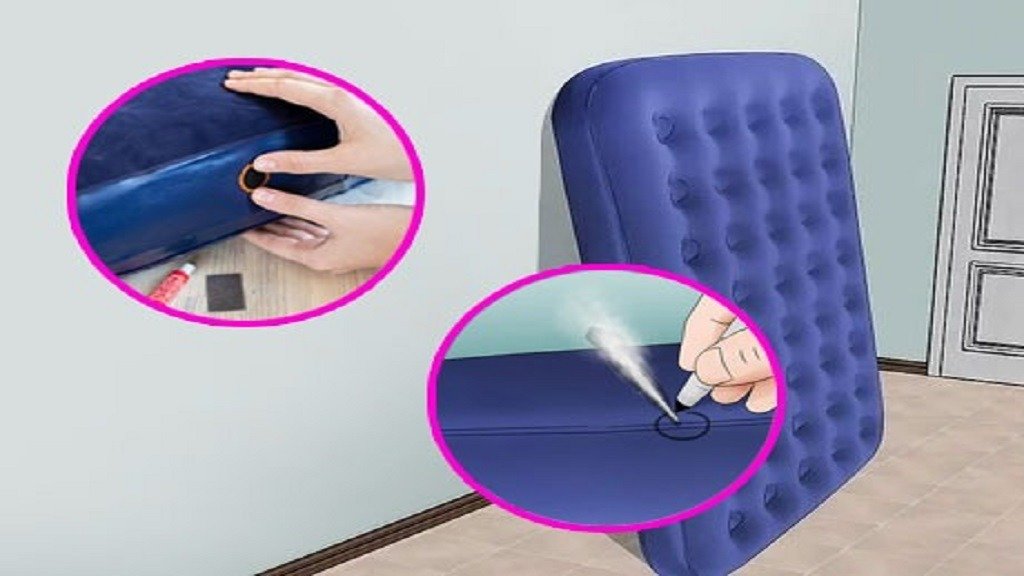
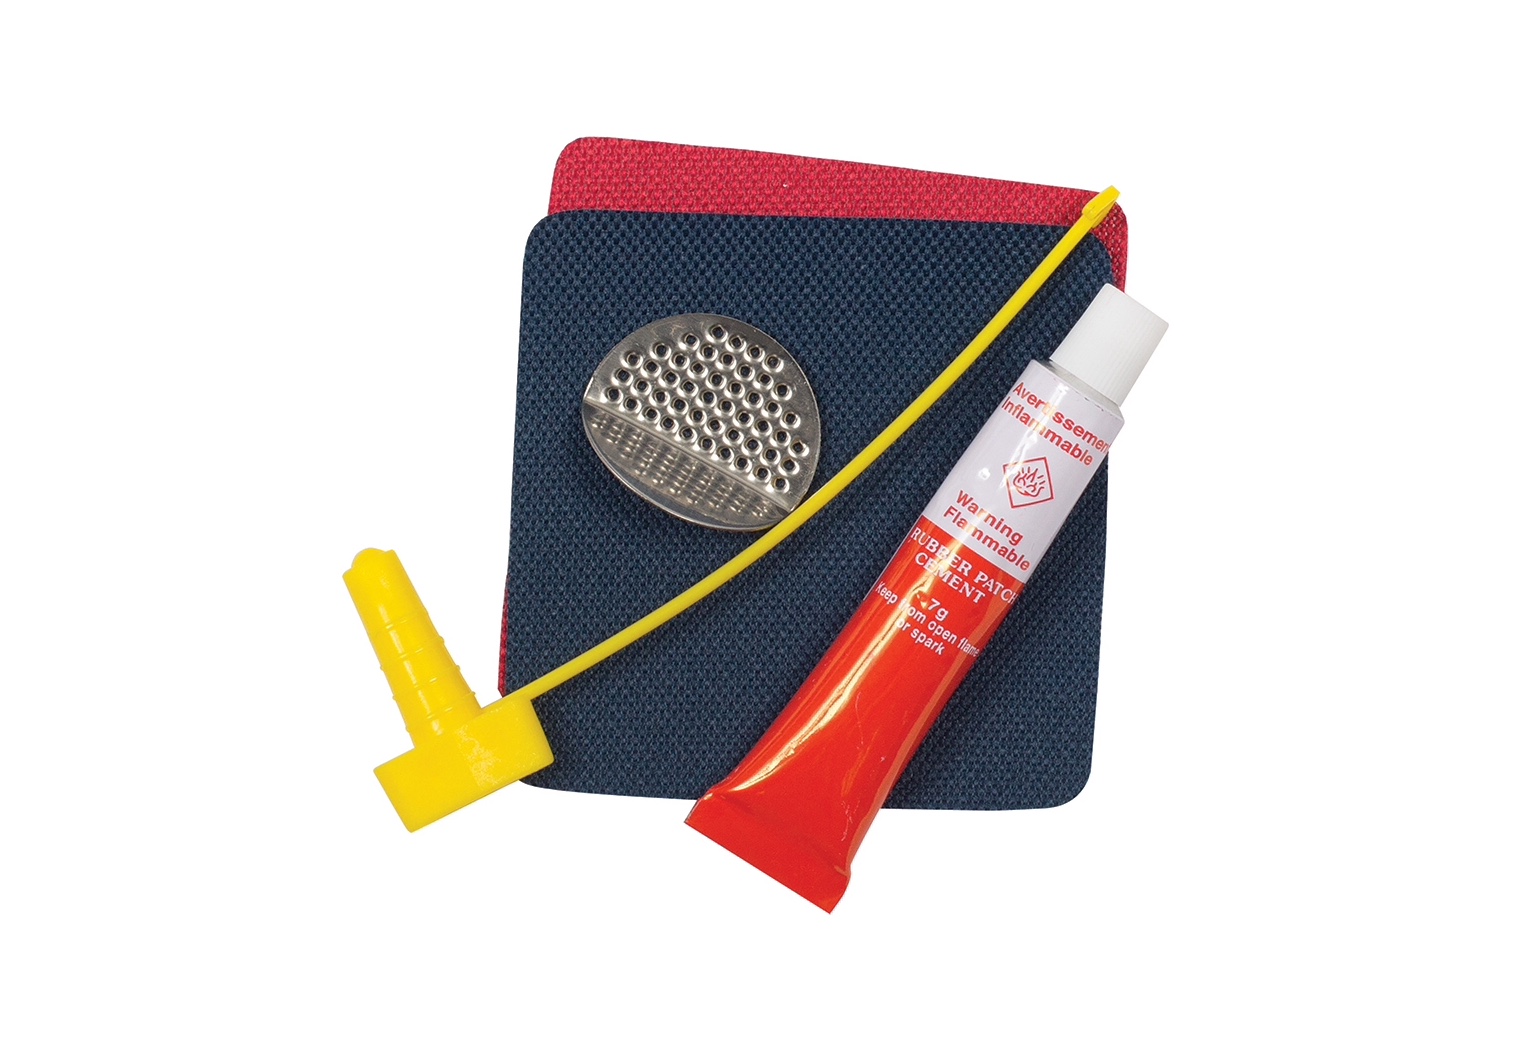
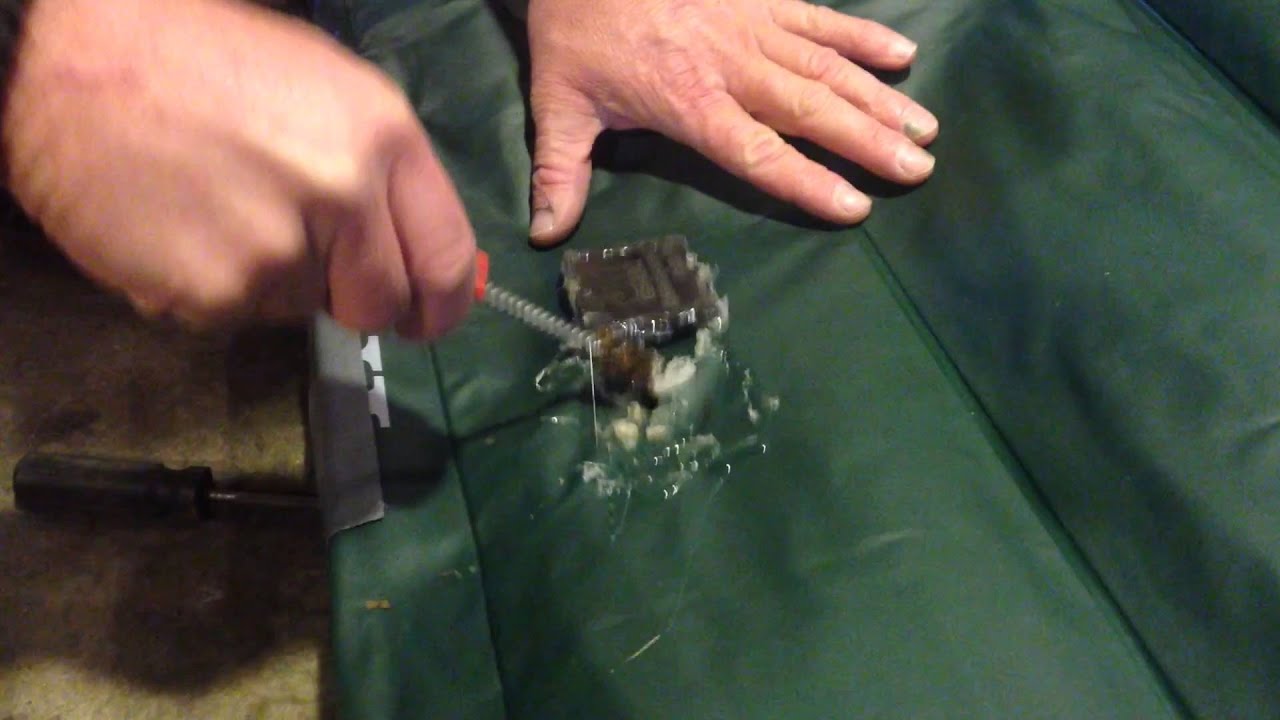
If your air mattress came with a patch kit, follow the instructions provided to patch up any holes or tears. Usually, this involves cutting a piece of vinyl or rubber from the kit and using a patch adhesive to stick it onto the damaged area. Make sure to smooth out any air bubbles and let the patch dry completely before using the mattress.How to Patch an Air Mattress


How to Patch an Air Mattress


:max_bytes(150000):strip_icc()/inflatable-mattress-in-an-empty-room-1165771286-cdef8878a02c456188562f33c8f66d5d.jpg)
Investing in an air mattress repair kit is a smart choice for anyone who frequently uses air mattresses. These kits often include all the necessary tools and materials, such as adhesives, patches, and sealing tape. Keep your kit stored with your air mattress for easy access in case of any repairs needed.Air Mattress Repair Kit

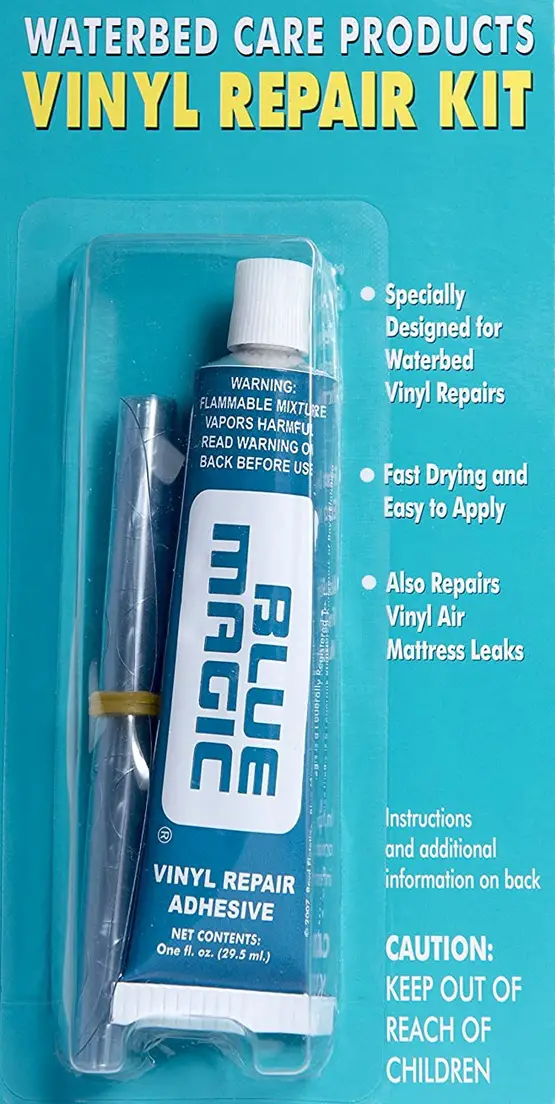
Air Mattress Repair Kit


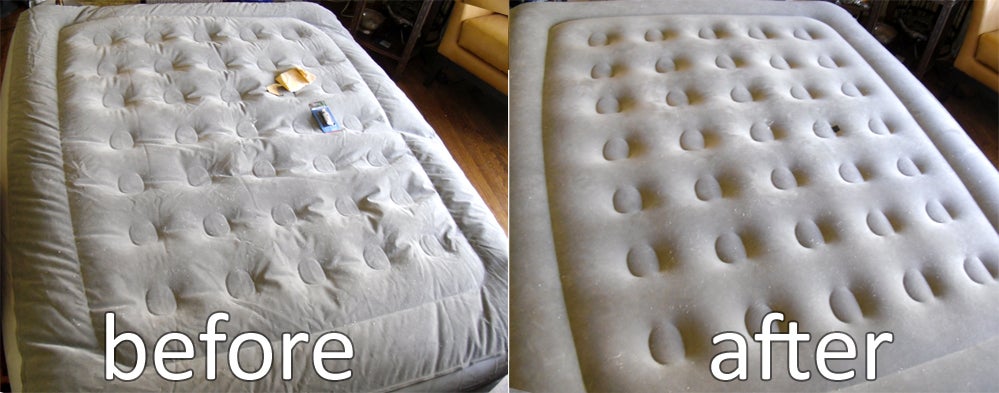


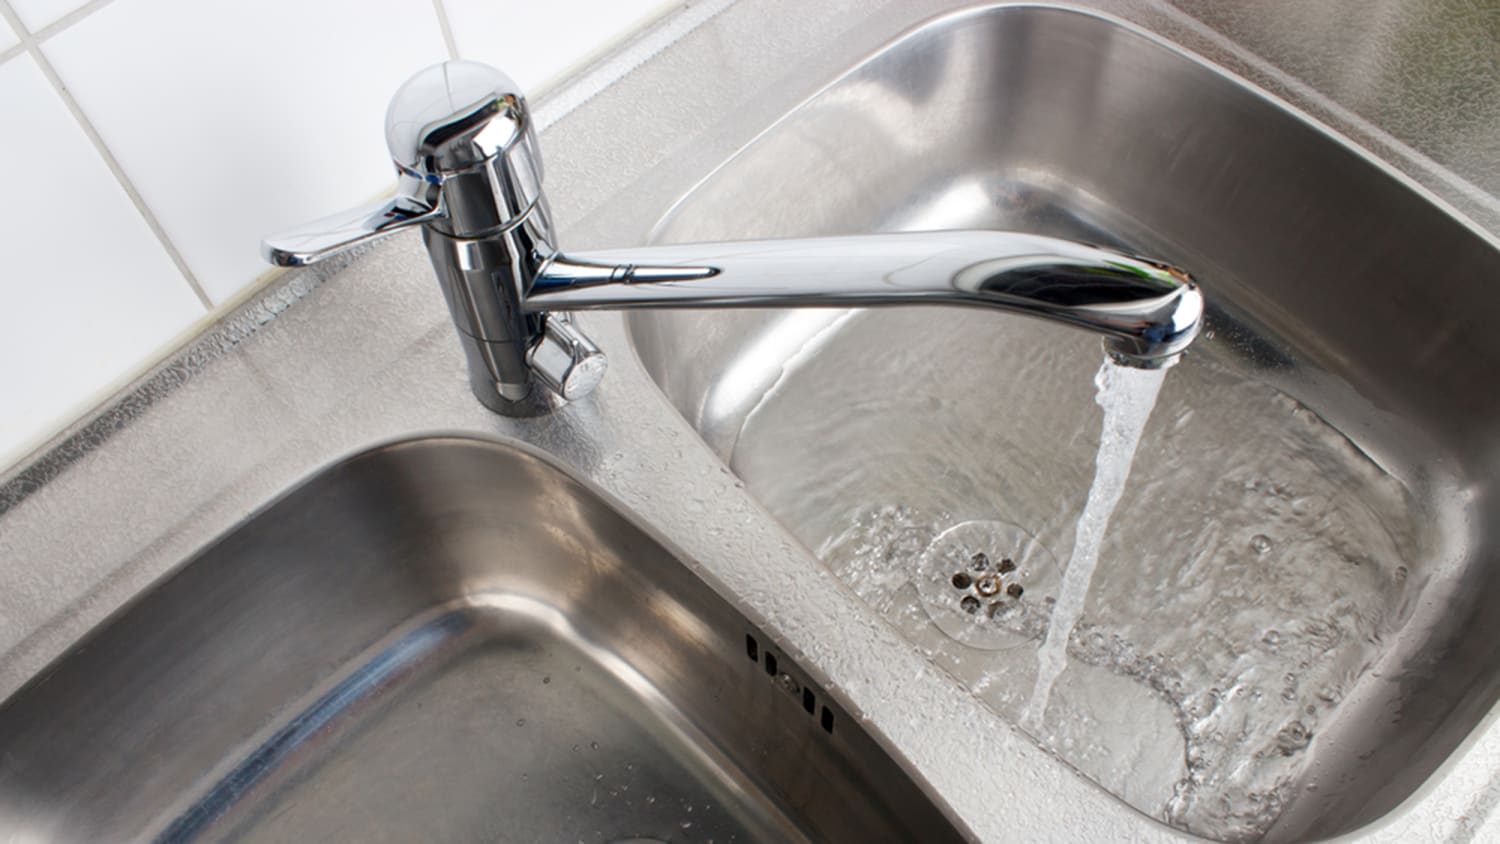
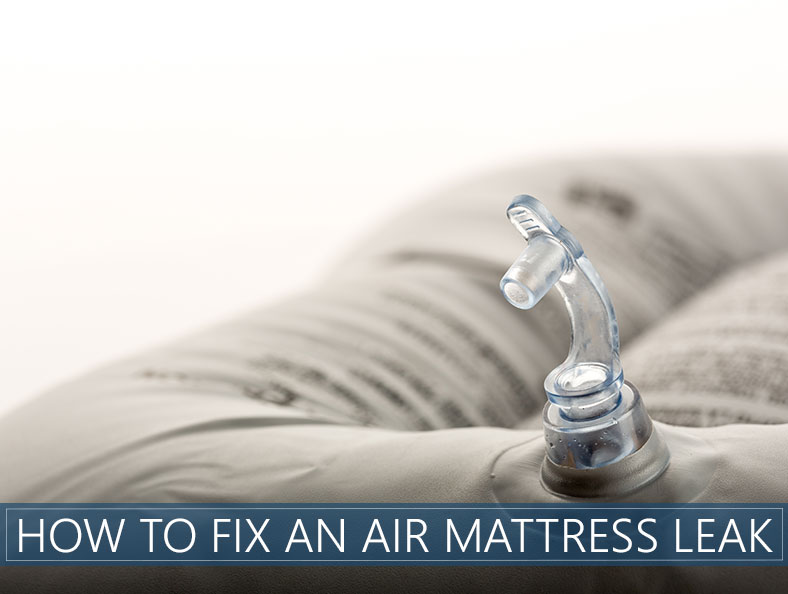
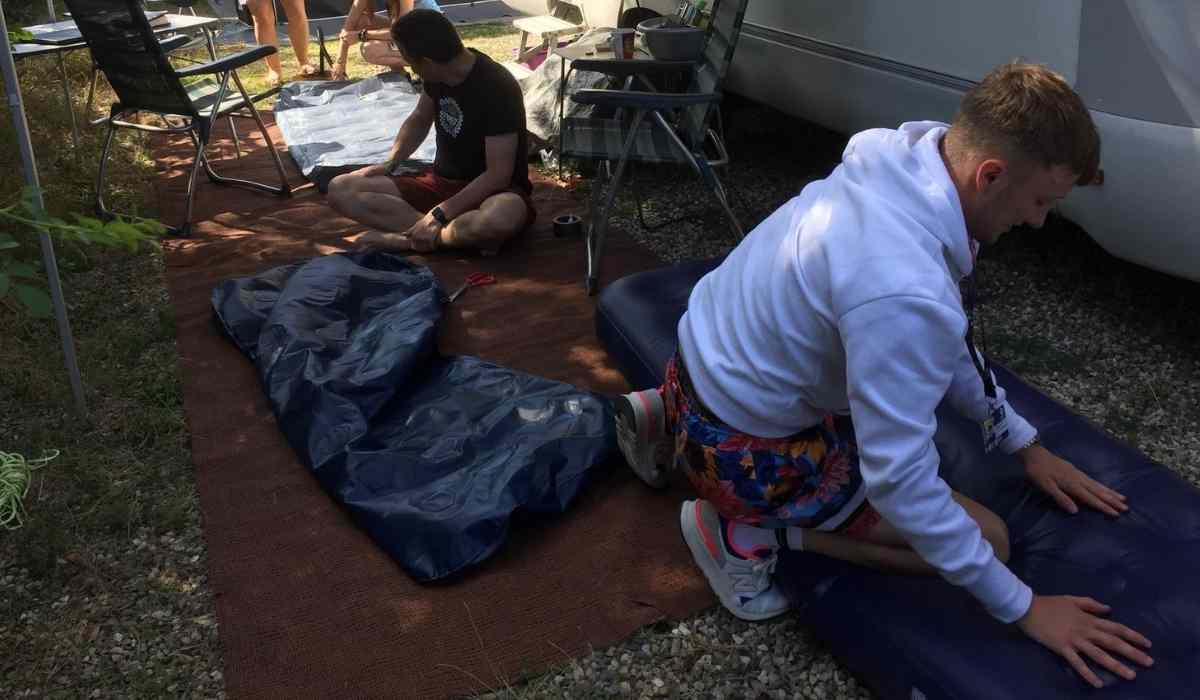
If your air mattress is losing air but you can't seem to find a hole or tear, the problem may be a leak. To find the source of the leak, submerge the mattress in water and look for bubbles. Once you've found the leak, you can use a patch or rubber cement to seal it. Pro tip: Make sure the mattress is completely dry before attempting to seal the leak.How to Fix a Leak in an Air Mattress


How to Fix a Leak in an Air Mattress


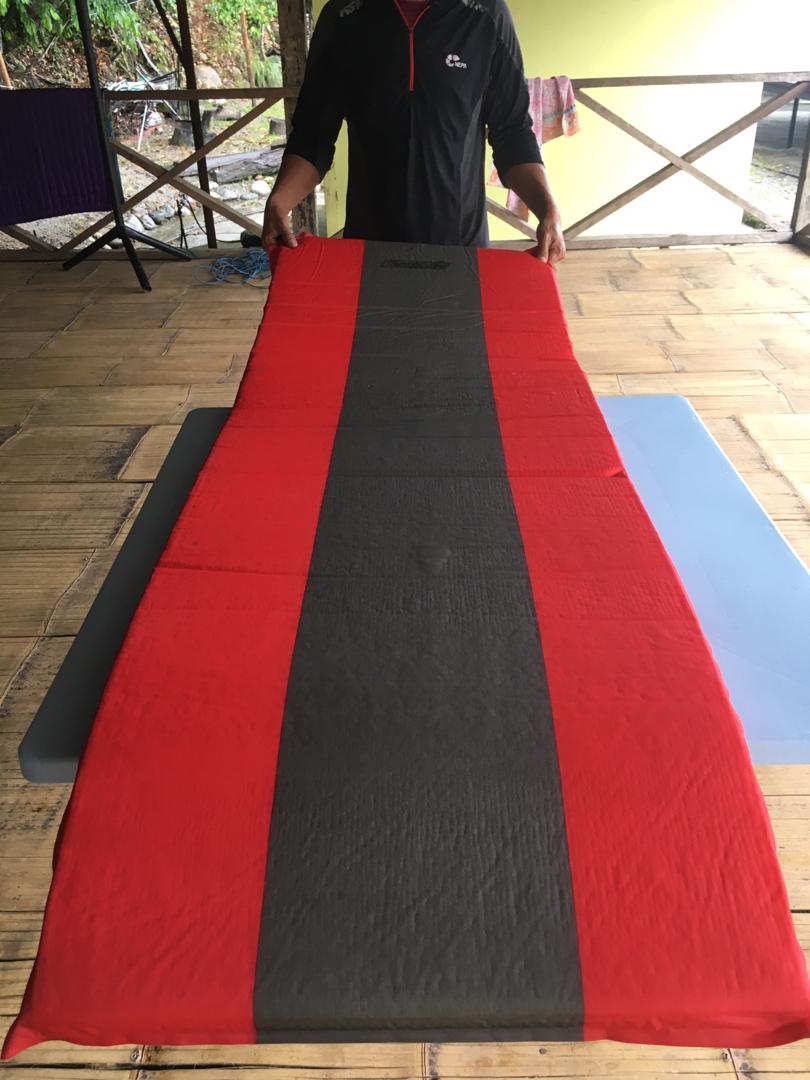
Prevention is key when it comes to keeping your air mattress in good condition. Always place the mattress on a clean, smooth surface and avoid dragging it across rough terrain. If using it outdoors, consider placing a tarp or ground cover underneath to protect it from rocks and debris. When storing it, make sure to properly deflate and fold it to avoid any damage.Air Mattress Repair Tips


Air Mattress Repair Tips


While most air mattresses are made with durable materials, they can still tear if not properly taken care of. If you have a tear on your air mattress, you can use a needle and thread to stitch it back together. Make sure to use a strong thread, such as nylon or polyester, and double-stitch the tear for added strength.How to Repair a Tear in an Air Mattress


How to Repair a Tear in an Air Mattress


If your air mattress has a bigger tear or a seam that has come undone, you may need to use a more advanced stitching technique. One method is to use a zigzag stitch, which provides more strength and durability. Another option is to use a backstitch, which is ideal for repairing seams. Pro tip: Use a thimble to protect your finger while stitching.Air Mattress Repair Techniques


Air Mattress Repair Techniques


Seams are one of the most common areas for air mattress damage, especially if the mattress has been over-inflated. To fix a seam, you can use a sewing machine or hand-sew the seam with a needle and thread. Make sure to use a strong and durable thread, and double-stitch the seam for added strength.How to Fix a Seam on an Air Mattress

How to Fix a Seam on an Air Mattress


How to Properly Stitch an Air Mattress for Optimal Comfort

The Importance of a Well-Stitched Air Mattress
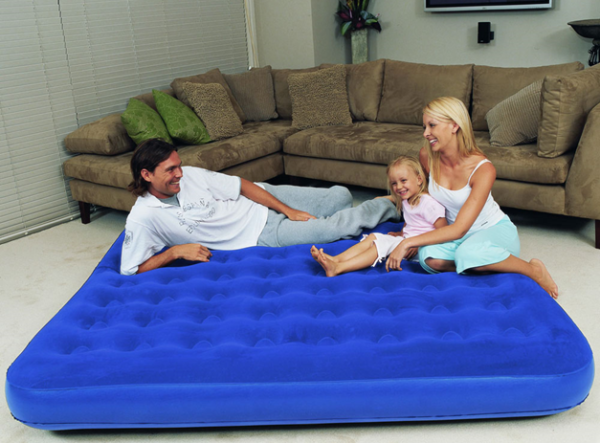
 Air mattresses have become a popular choice for those looking for a comfortable and portable bedding option. Whether you are camping, hosting guests, or need a temporary bed, an air mattress can provide a convenient solution. However, to ensure the maximum comfort and durability of your air mattress, it is important to properly stitch it. This not only prevents air leaks but also ensures the mattress maintains its shape and support. In this article, we will guide you through the steps of stitching an air mattress for optimal comfort.
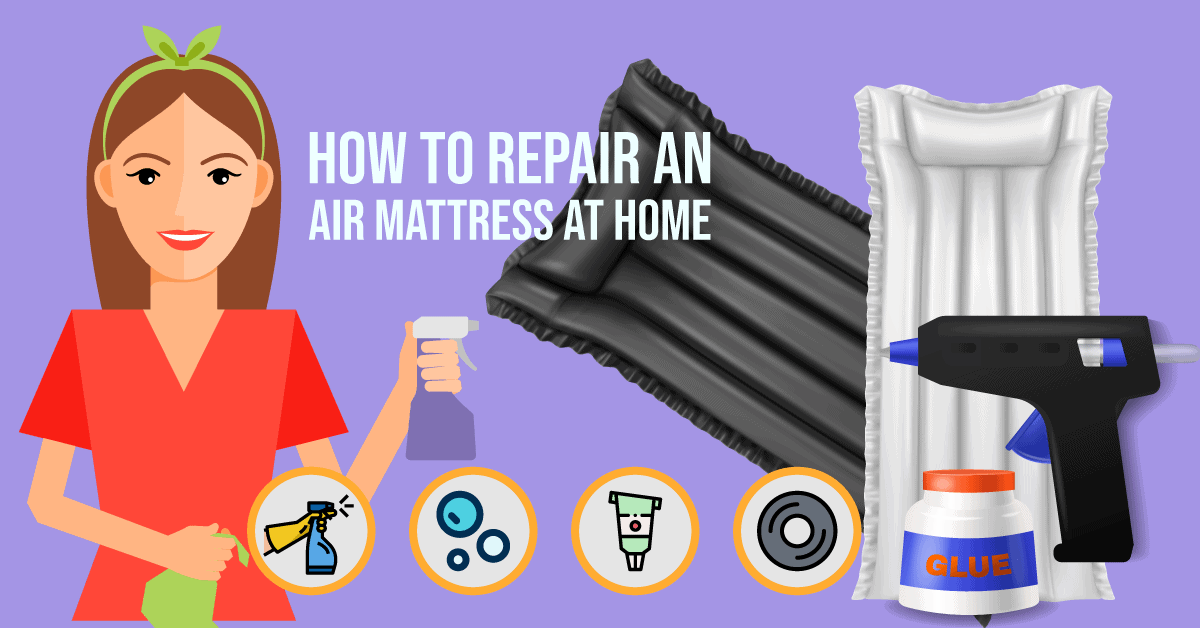
Materials Needed
 Before we dive into the stitching process, let's gather the necessary materials. To properly stitch an air mattress, you will need a
patch kit
,
scissors
,
adhesive
, and
rubbing alcohol
. It is important to use a patch kit specifically designed for air mattresses as it is made to withstand air pressure.
Before we dive into the stitching process, let's gather the necessary materials. To properly stitch an air mattress, you will need a
patch kit
,
scissors
,
adhesive
, and
rubbing alcohol
. It is important to use a patch kit specifically designed for air mattresses as it is made to withstand air pressure.
Step 1: Locate the Leak
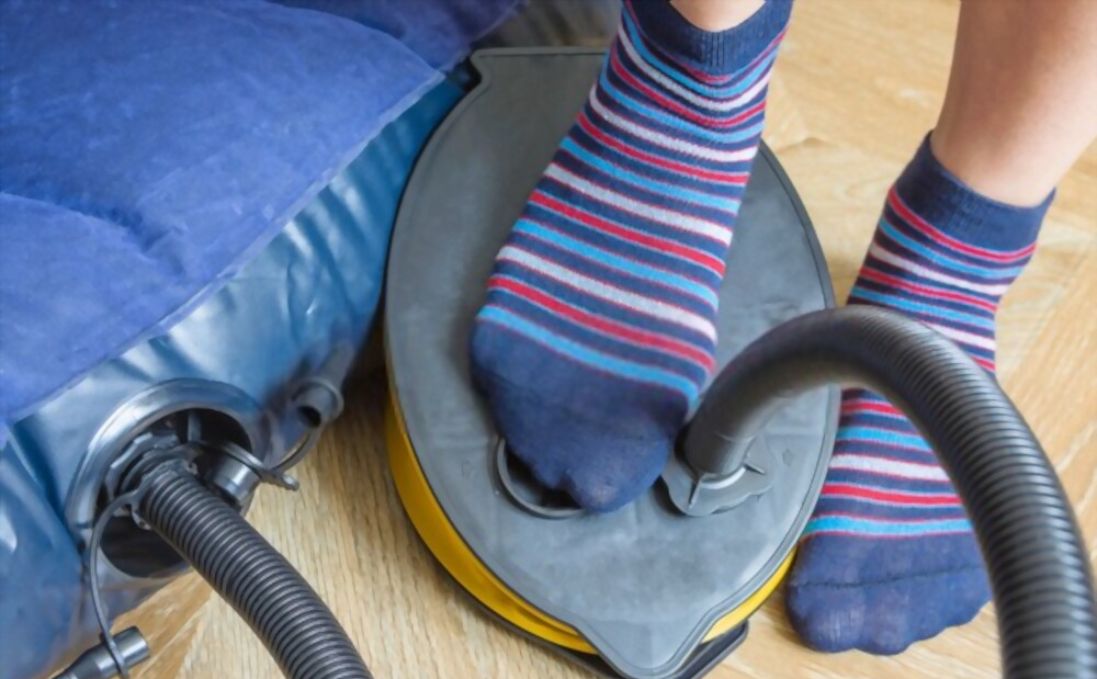
 The first step in stitching an air mattress is to locate the leak. Inflate the mattress and listen for any hissing sounds or feel for any escaping air. If you cannot find the leak, you can also use a mixture of soap and water to identify the area where bubbles form.
Step 2: Clean and Dry the Area
 Once you have located the leak, clean the area with rubbing alcohol to remove any dirt or debris. This will ensure the adhesive sticks properly. Make sure to dry the area completely before proceeding to the next step.
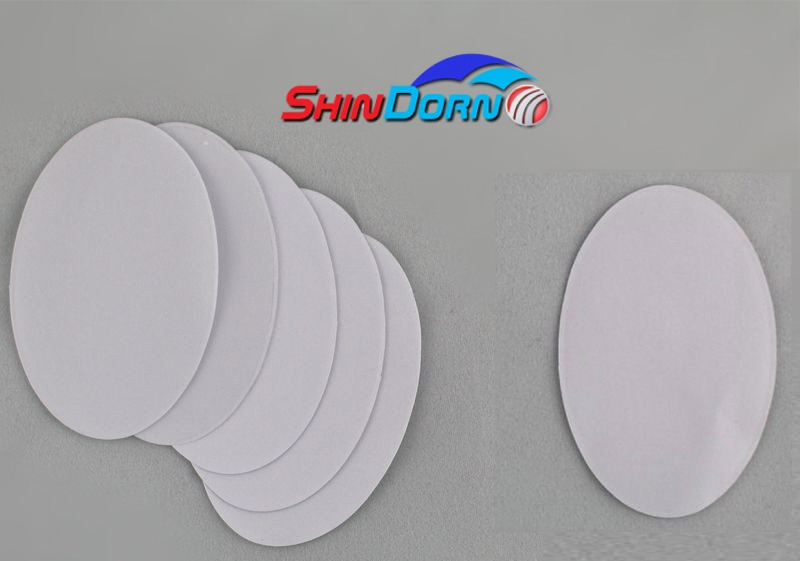
Step 3: Cut and Prep the Patch
 Using the scissors, cut a patch from the patch kit that is slightly larger than the hole. Round the corners of the patch to prevent any peeling. Apply a thin layer of adhesive to the patch, following the instructions on the kit.
Step 4: Apply the Patch
 Carefully place the patch over the hole, pressing down firmly to ensure a secure bond. Smooth out any wrinkles or bubbles. Let the adhesive dry completely before testing the mattress.
Step 5: Test the Mattress
 After the adhesive has dried, inflate the mattress and check for any leaks. If the patch is secure and there are no leaks, your air mattress is ready to use.
In Conclusion
 Stitching an air mattress may seem like a daunting task, but it is a simple process that can greatly improve the comfort and longevity of your mattress. By following these steps and using the proper materials, you can ensure a comfortable and restful night's sleep on your air mattress.