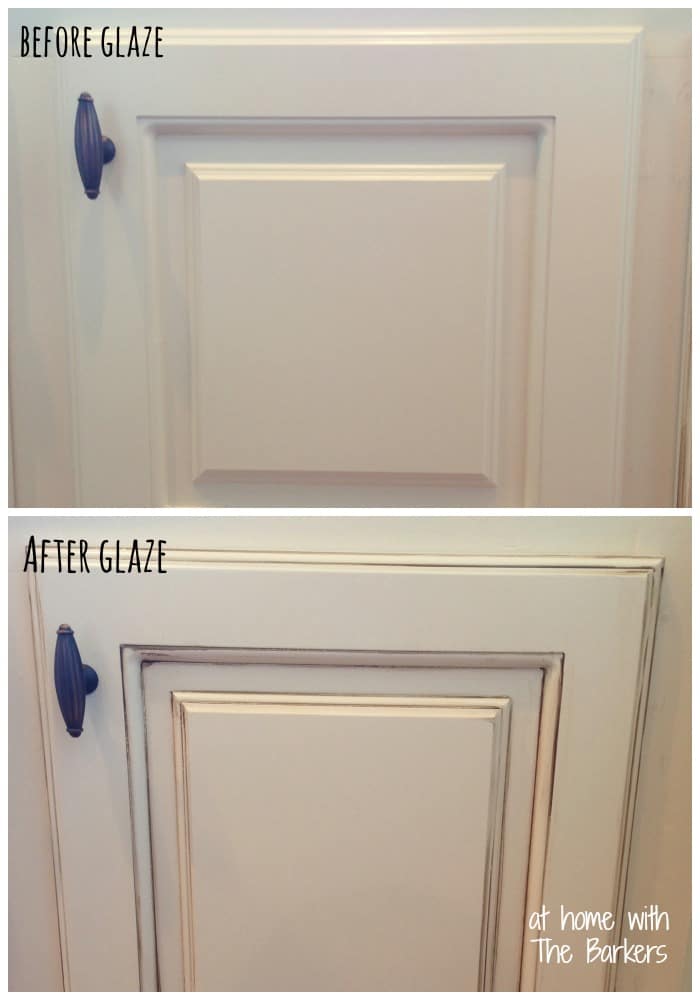
If you've recently given your kitchen table a fresh new look with Valspar Limewash Glaze, you may be wondering how to protect and seal it for long-lasting beauty. Luckily, sealing Valspar Limewash Glaze on a kitchen table is a simple process that can be done at home with a few key tools and materials. Here's a step-by-step guide on how to seal Valspar Limewash Glaze on your kitchen table.1. How to Seal Valspar Limewash Glaze on a Kitchen Table


1. How to Seal Valspar Limewash Glaze on a Kitchen Table


Before you begin the sealing process, it's important to keep a few tips in mind to ensure the best results. Firstly, make sure to clean your kitchen table thoroughly and remove any debris or residue. Secondly, consider using a sealant specifically designed for limewash glaze to ensure compatibility and the best finish. Lastly, use a clean, lint-free cloth or brush to apply the sealant in thin, even coats for a smooth and professional finish.2. Valspar Limewash Glaze Kitchen Table Sealing Tips


2. Valspar Limewash Glaze Kitchen Table Sealing Tips


Step 1: Prepare your workspace by covering the floor and surrounding surfaces with plastic or drop cloths to protect them from any spills or drips. Step 2: Clean your kitchen table with a mild soap and water solution, then rinse and allow it to dry completely. Step 3: Using a clean cloth or brush, apply a thin layer of the Valspar Limewash Glaze sealant in the direction of the wood grain. Make sure to cover the entire surface evenly. Step 4: Allow the first coat to dry completely, then lightly sand the surface with fine-grit sandpaper to smooth out any imperfections. Step 5: Apply a second coat of sealant and allow it to dry completely. If desired, a third coat can be applied for added protection.3. Step-by-Step Guide for Sealing Valspar Limewash Glaze on a Kitchen Table


3. Step-by-Step Guide for Sealing Valspar Limewash Glaze on a Kitchen Table


When it comes to choosing a sealant for your Valspar Limewash Glaze kitchen table, it's important to select one that is compatible with the limewash glaze formula. The Valspar Limewash Glaze Sealant is a great option as it is specifically designed for this type of finish and will provide long-lasting protection.4. Best Sealant for Valspar Limewash Glaze on a Kitchen Table


4. Best Sealant for Valspar Limewash Glaze on a Kitchen Table


If you're looking to give your kitchen table a fresh new look without breaking the bank, a DIY makeover with Valspar Limewash Glaze and a sealant is the perfect solution. Not only is this method budget-friendly, but it also allows you to customize the look of your table to fit your personal style and decor.5. DIY Kitchen Table Makeover with Valspar Limewash Glaze and Sealer


5. DIY Kitchen Table Makeover with Valspar Limewash Glaze and Sealer


Sealing your Valspar Limewash Glaze kitchen table not only adds a layer of protection, but it also helps to enhance the color and texture of the limewash glaze. The sealant helps to seal in the color and prevent it from fading or chipping, ensuring that your table retains its beautiful finish for years to come.6. How to Protect and Seal a Kitchen Table with Valspar Limewash Glaze

6. How to Protect and Seal a Kitchen Table with Valspar Limewash Glaze


When sealing Valspar Limewash Glaze on a wooden kitchen table, it's important to follow the same steps as mentioned above. Additionally, make sure to use a sealant that is suitable for use on wood and follow the manufacturer's instructions for the best results. It's also a good idea to test the sealant on a small, inconspicuous area of the table before applying it to the entire surface.7. Tips for Sealing Valspar Limewash Glaze on a Wooden Kitchen Table


7. Tips for Sealing Valspar Limewash Glaze on a Wooden Kitchen Table

While sealing Valspar Limewash Glaze is a relatively simple process, there are a few common mistakes that can affect the final result. These include using too much sealant, not allowing enough time for the sealant to dry between coats, and not properly preparing the surface before applying the sealant. Make sure to follow the instructions carefully and avoid these mistakes for the best outcome.8. Valspar Limewash Glaze Kitchen Table Sealing Mistakes to Avoid


8. Valspar Limewash Glaze Kitchen Table Sealing Mistakes to Avoid

In addition to protecting the surface of your kitchen table, sealing Valspar Limewash Glaze also helps to make it more durable and resistant to wear and tear. It also adds a beautiful sheen to the surface, enhancing the appearance of the limewash glaze and making it easier to clean and maintain.9. The Benefits of Sealing Valspar Limewash Glaze on a Kitchen Table

9. The Benefits of Sealing Valspar Limewash Glaze on a Kitchen Table


The frequency of sealing your Valspar Limewash Glaze kitchen table will depend on how often it is used and how much wear and tear it experiences. As a general rule, it's recommended to reapply the sealant every 1-2 years or as needed to maintain its protective qualities and keep your kitchen table looking its best.10. How Often Should You Seal Valspar Limewash Glaze on a Kitchen Table?
10. How Often Should You Seal Valspar Limewash Glaze on a Kitchen Table?


Why Sealing Valspar Limewash Glaze on Kitchen Table is a Great Design Choice
When it comes to designing your home, the kitchen is often considered the heart of the house. It's where we gather, cook, and create memories with our loved ones. Therefore, it's important to not only choose functional and stylish elements for your kitchen, but also durable ones that can withstand the wear and tear of daily use. This is where sealing Valspar Limewash Glaze on your kitchen table comes in.
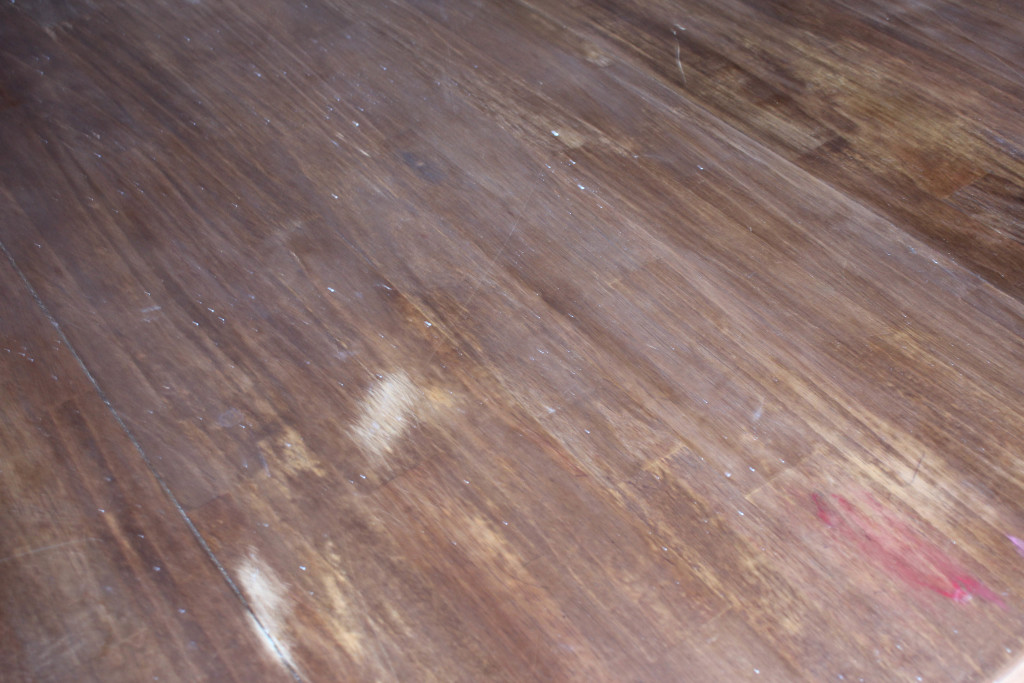
The Beauty of Valspar Limewash Glaze

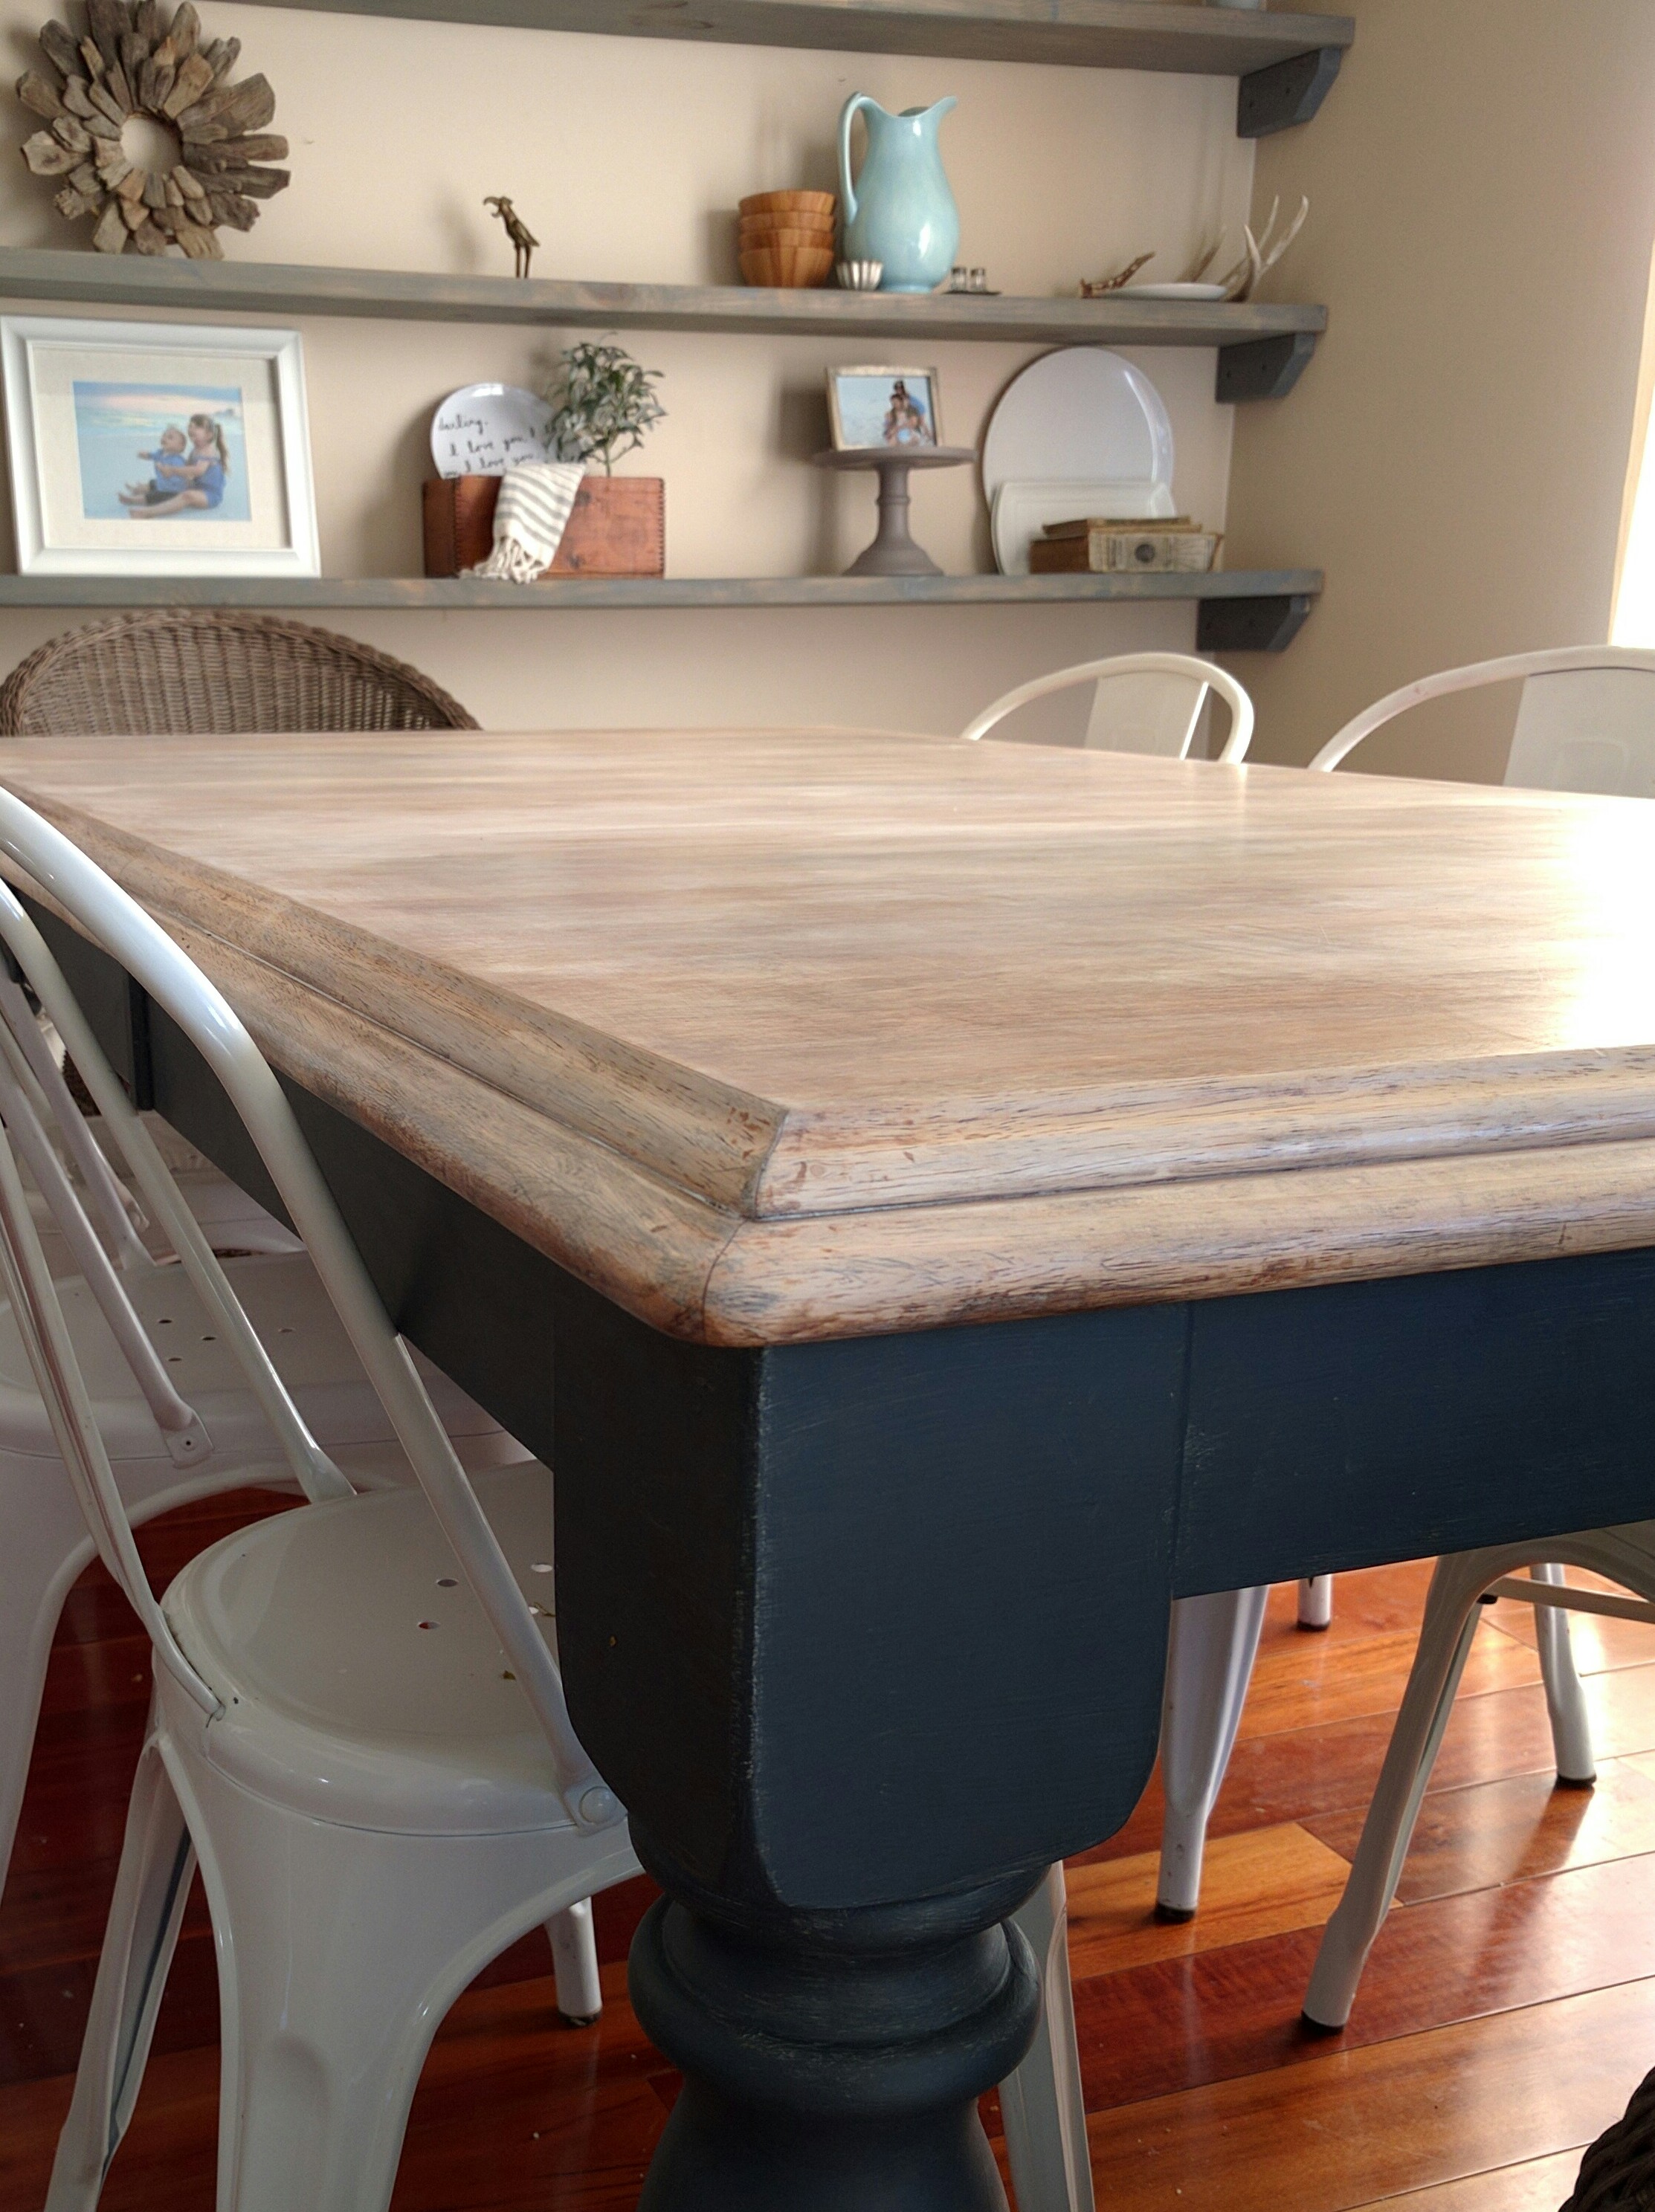
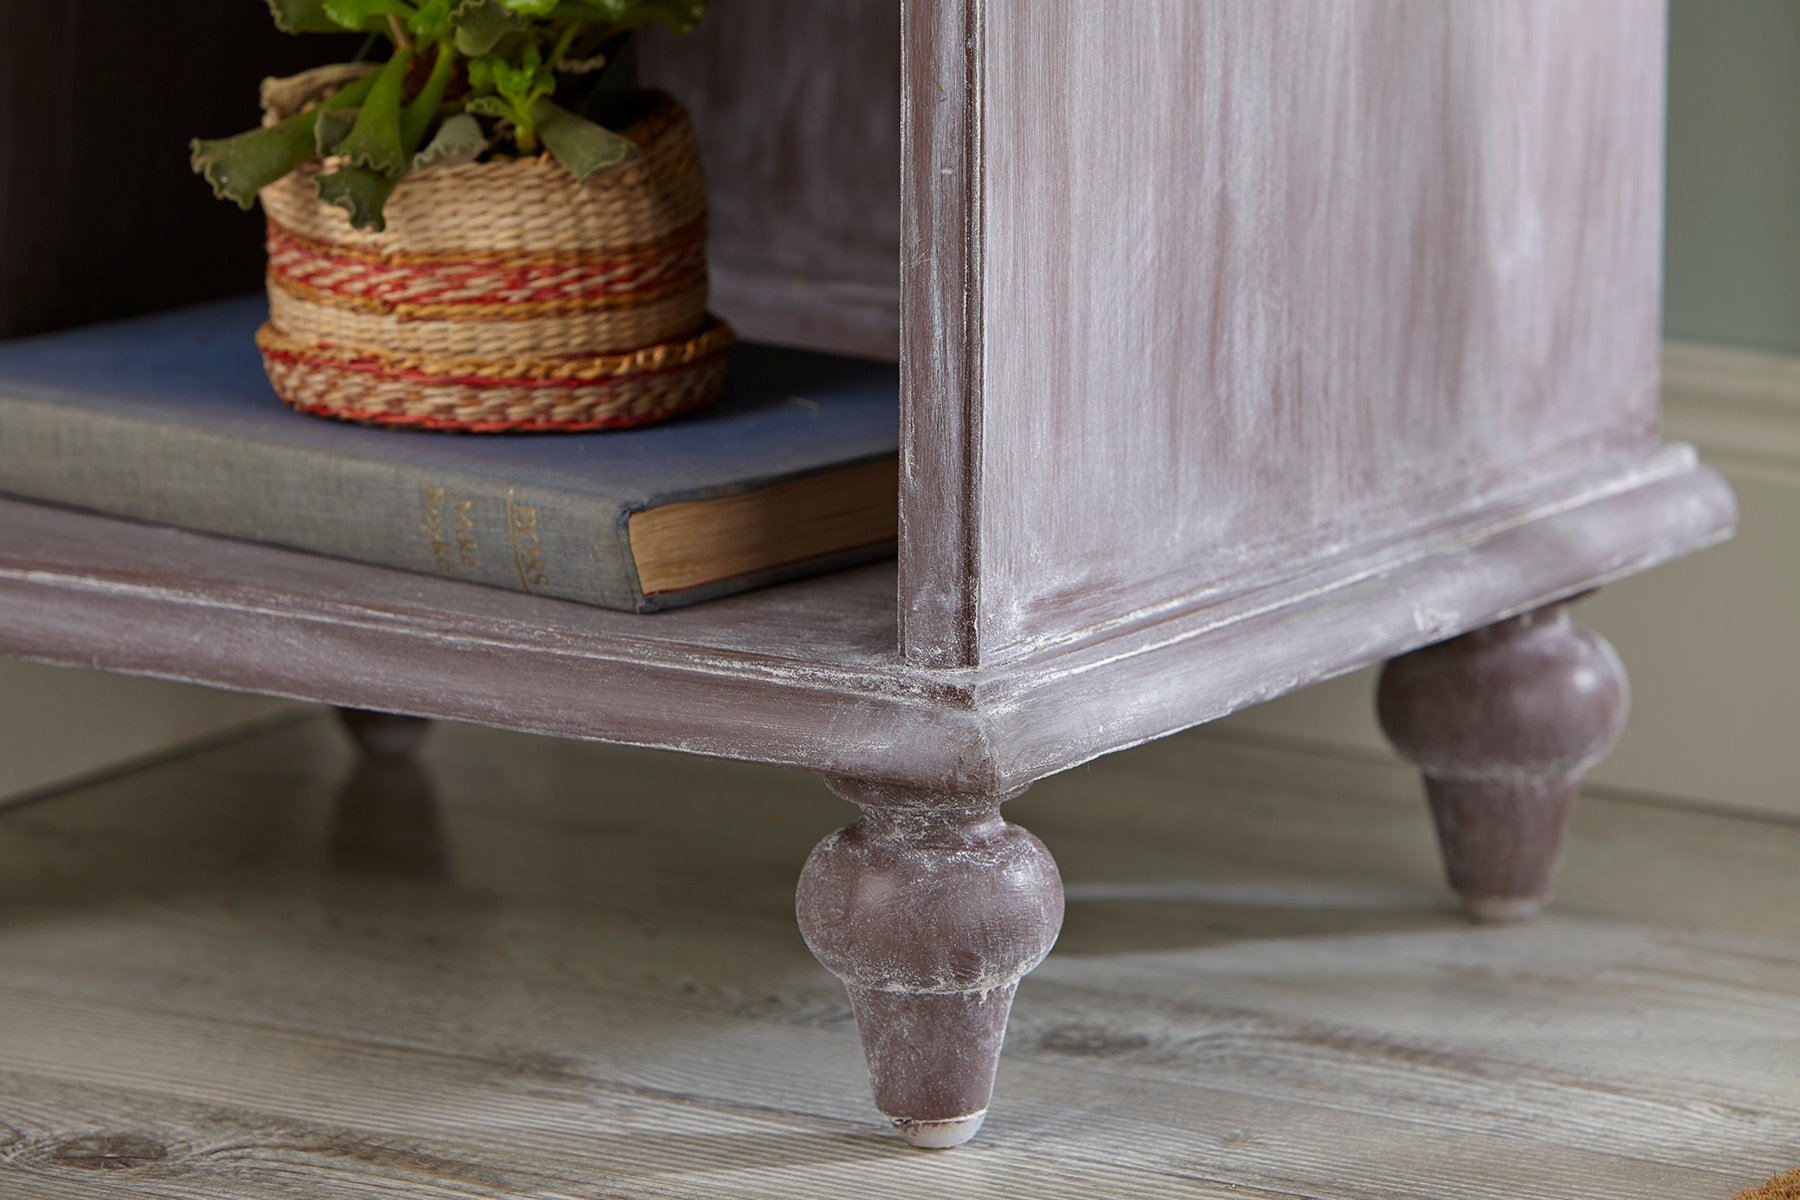
Valspar Limewash Glaze is a unique product that adds character and charm to any surface it's applied on. It's a water-based acrylic glaze that mimics the look of traditional lime-based finishes, giving your kitchen table a beautiful rustic and aged appearance. The glaze comes in a variety of colors, allowing you to choose the perfect shade to complement your kitchen's design.
Why Seal the Glaze on Your Kitchen Table

While the Valspar Limewash Glaze is stunning on its own, sealing it is crucial for ensuring its longevity and protecting your kitchen table from stains, scratches, and spills. The sealant creates a barrier on the surface, making it easier to clean and maintain. It also enhances the glaze's color and sheen, giving your kitchen table a polished and professional look.
How to Seal Valspar Limewash Glaze on Your Kitchen Table
The process of sealing Valspar Limewash Glaze on your kitchen table is simple and can be done in just a few steps. First, make sure your table is clean and dry. Then, using a foam brush or roller, apply a thin layer of sealant over the entire surface, following the direction of the wood grain. Allow the sealant to dry completely before applying a second coat. Once the second coat dries, your kitchen table will be ready to use.
Final Thoughts

Sealing Valspar Limewash Glaze on your kitchen table is a great design choice that not only adds beauty and character to your space, but also protects your table from daily wear and tear. With its ease of application and durability, it's the perfect solution for a functional and stylish kitchen table. So why not give it a try and see the difference it can make in your home?
HTML Code:

<h2>Why Sealing Valspar Limewash Glaze on Kitchen Table is a Great Design Choice</h2> <p>When it comes to designing your home, the kitchen is often considered the heart of the house. It's where we gather, cook, and create memories with our loved ones. Therefore, it's important to not only choose functional and stylish elements for your kitchen, but also durable ones that can withstand the wear and tear of daily use. This is where <b> sealing Valspar Limewash Glaze </b> comes in.</p> <h3>The Beauty of Valspar Limewash Glaze</h3> <p><b>Valspar Limewash Glaze</b> is a unique product that adds character and charm to any surface it's applied on. It's a water-based acrylic glaze that mimics the look of traditional lime-based finishes, giving your kitchen table a beautiful rustic and aged appearance. The glaze comes in a variety of colors, allowing you to choose the perfect shade to complement your kitchen's design.</p> <h3>Why Seal the Glaze on Your Kitchen Table</h3> <p>While the Valspar Limewash Glaze is stunning on its own, <b>sealing it</b> is crucial for ensuring its longevity and protecting your kitchen table from stains, scratches, and spills. The sealant creates a barrier on the surface, making it easier to clean and maintain. It also enhances the glaze's color and sheen, giving your kitchen table a polished and professional look.</p> <h3>How to Seal Valspar Limewash Glaze on Your Kitchen Table</h3> <p>The process of <b>sealing Valspar Limewash Glaze</b>