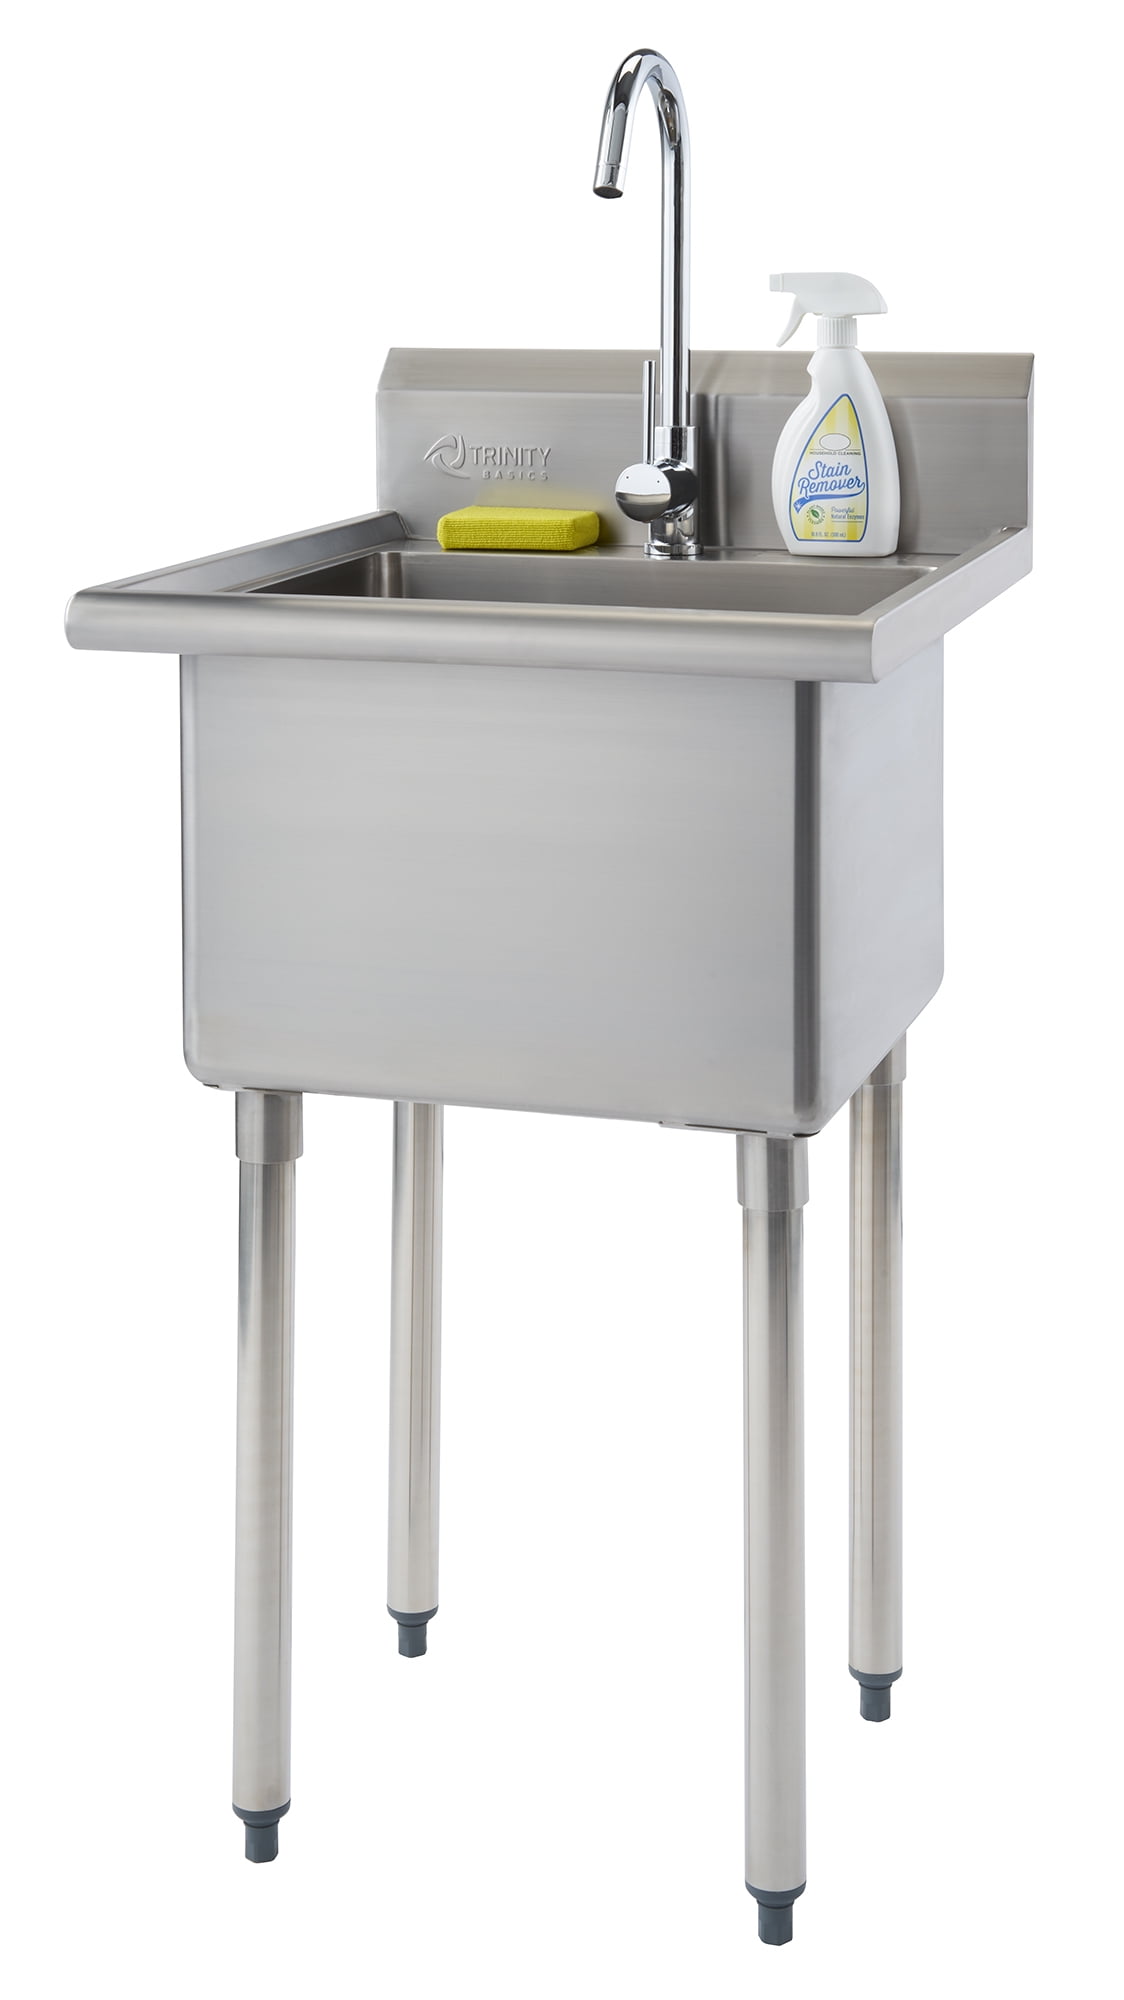
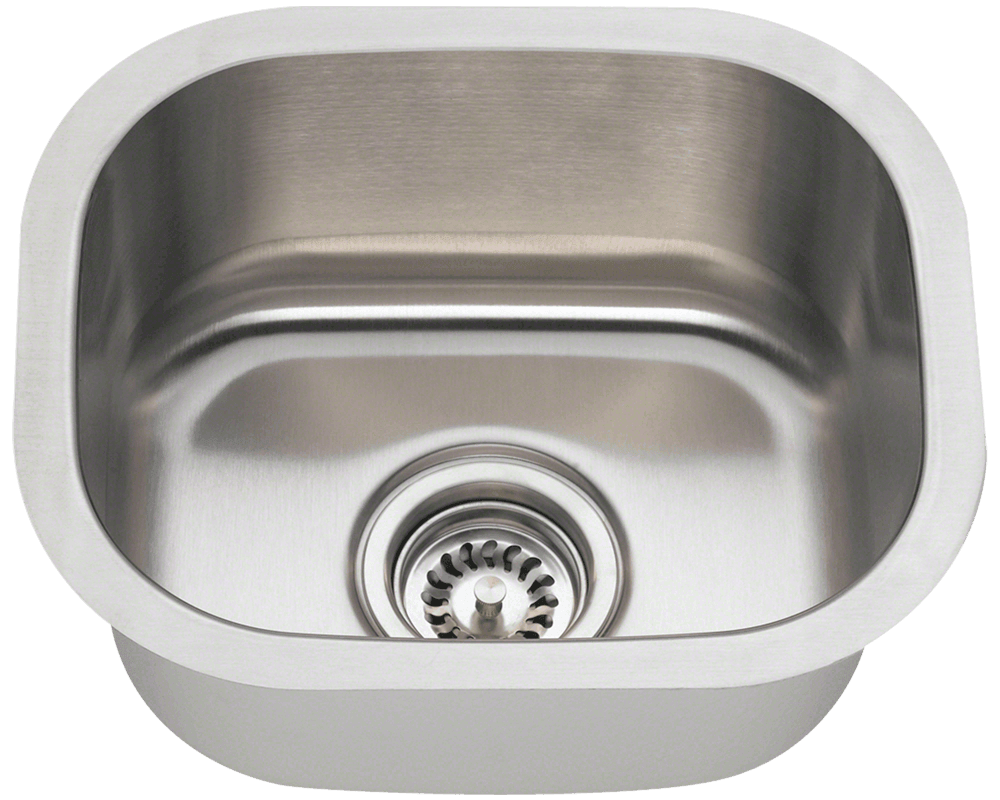
If you have a stainless steel kitchen sink, it is important to properly seal it to prevent any water damage or stains. The process of sealing a stainless steel sink may seem daunting, but with the right tools and techniques, you can easily do it yourself. First, clean your sink thoroughly with a mild soap and warm water. Make sure to dry it completely before moving on to the sealing process. Any remaining residue or moisture can affect the effectiveness of the sealant. Next, choose a high-quality sealant that is specifically designed for stainless steel sinks. Look for sealants that are water-resistant, heat-resistant, and can protect against stains and scratches. Rust-Oleum Stainless Steel Sink Sealer and Silicone Kitchen and Bath Sealant are popular options that offer long-lasting protection. Once you have your sealant, apply a thin and even layer on the entire surface of the sink using a clean cloth or brush. Be sure to cover all corners, edges, and seams to ensure complete coverage. After applying the sealant, let it dry for the recommended time on the product label. This can typically range from 2-4 hours, but it's best to wait overnight for optimal results. Finally, buff the sink with a soft cloth to remove any excess sealant and give it a polished finish. Your stainless steel kitchen sink is now sealed and ready to withstand daily wear and tear.1. How to Seal a Stainless Steel Kitchen Sink


1. How to Seal a Stainless Steel Kitchen Sink


When it comes to sealing a stainless steel kitchen sink, not all sealants are created equal. It is important to choose a sealant that is specifically designed for stainless steel surfaces to ensure maximum protection and longevity. The Rust-Oleum Stainless Steel Sink Sealer is a popular choice among homeowners and professionals alike. This sealant is water-resistant, heat-resistant, and can protect against scratches and stains. It also has a clear finish, so it won't alter the appearance of your sink. Another great option is the Silicone Kitchen and Bath Sealant. This sealant is also water-resistant and heat-resistant, but it has the added benefit of being mold and mildew resistant. This is especially useful for kitchen sinks, as they are constantly exposed to moisture and humidity. Whichever sealant you choose, make sure to read the product label and follow the instructions carefully for best results. Remember to clean and dry your sink before application and allow for proper drying time before using the sink again.2. Best Sealant for Stainless Steel Sinks

2. Best Sealant for Stainless Steel Sinks


Sealing a stainless steel kitchen sink can be done easily at home with a few simple steps and the right tools. By following this DIY guide, you can save money and ensure that your sink is properly protected. Start by cleaning your sink thoroughly with a mild soap and warm water. Make sure to remove any dirt, grime, or residue from the surface. Dry the sink completely before moving on to the sealing process. Next, choose a sealant that is specifically designed for stainless steel surfaces. Rust-Oleum Stainless Steel Sink Sealer and Silicone Kitchen and Bath Sealant are both great options that offer long-lasting protection. Apply a thin and even layer of the sealant on the entire surface of the sink using a clean cloth or brush. Be sure to cover all corners, edges, and seams for complete coverage. Allow the sealant to dry for the recommended time on the product label. This can take anywhere from 2-4 hours, but for best results, wait overnight before using the sink again. Once the sealant is dry, buff the sink with a soft cloth to remove any excess and give it a polished finish. Your stainless steel kitchen sink is now sealed and ready to withstand daily use.3. DIY Guide for Sealing a Stainless Steel Sink


3. DIY Guide for Sealing a Stainless Steel Sink


Sealing a stainless steel kitchen sink is an important step in maintaining its appearance and durability. Here are some helpful tips to keep in mind when sealing your kitchen sink. Tip 1: Clean and dry the sink thoroughly before sealing to ensure maximum adhesion. Tip 2: Use a sealant that is specifically designed for stainless steel surfaces. Tip 3: Apply the sealant in a thin and even layer for complete coverage. Tip 4: Allow for proper drying time before using the sink again. Tip 5: Buff the sink with a soft cloth to remove any excess sealant and give it a polished finish. By following these tips, you can ensure that your stainless steel kitchen sink is properly sealed and protected for years to come.4. Tips for Sealing a Kitchen Sink Made of Stainless Steel


4. Tips for Sealing a Kitchen Sink Made of Stainless Steel


Many homeowners may wonder if sealing a stainless steel kitchen sink is really necessary. The answer is yes, sealing your sink is an important step in maintaining its appearance and durability. A proper sealant can protect your sink from water damage, stains, scratches, and heat. It also makes cleaning and maintaining your sink much easier. By sealing your sink, you can ensure that it stays looking like new for longer. Additionally, sealing your sink can also prevent any potential bacteria growth or mold and mildew build-up. This is especially important in the kitchen, where sinks are constantly exposed to moisture and food particles. By sealing your sink, you can create a hygienic environment for food preparation and dishwashing.5. Importance of Sealing a Stainless Steel Kitchen Sink


5. Importance of Sealing a Stainless Steel Kitchen Sink


Sealing a stainless steel kitchen sink may seem like a daunting task, but with the right tools and techniques, it can be done easily at home. Here is a step-by-step process for sealing your sink. Step 1: Clean your sink thoroughly with a mild soap and warm water. Step 2: Dry the sink completely before applying the sealant. Step 3: Choose a sealant that is specifically designed for stainless steel surfaces. Step 4: Apply a thin and even layer of the sealant on the entire surface of the sink. Step 5: Allow the sealant to dry for the recommended time on the product label. Step 6: Buff the sink with a soft cloth to remove any excess sealant and give it a polished finish. By following these steps, you can successfully seal your stainless steel kitchen sink and protect it from daily wear and tear.6. Step-by-Step Process for Sealing a Stainless Steel Sink


6. Step-by-Step Process for Sealing a Stainless Steel Sink


When it comes to sealing a stainless steel kitchen sink, it is important to choose a high-quality sealant that is specifically designed for this type of surface. Here are some recommended products that offer long-lasting protection. Rust-Oleum Stainless Steel Sink Sealer - This sealant is water-resistant, heat-resistant, and can protect against scratches and stains. It has a clear finish and is easy to apply. Silicone Kitchen and Bath Sealant - This sealant is also water-resistant and heat-resistant, but it also has the added benefit of being mold and mildew resistant. It is perfect for kitchen sinks that are constantly exposed to moisture. Whichever product you choose, make sure to read the instructions carefully and follow the recommended drying time for best results.7. Recommended Products for Sealing a Stainless Steel Kitchen Sink


7. Recommended Products for Sealing a Stainless Steel Kitchen Sink


Sealing a stainless steel kitchen sink may seem like a simple task, but there are some common mistakes that can affect the effectiveness of the sealant. Here are some mistakes to avoid when sealing your sink. Mistake 1: Not cleaning and drying the sink properly before sealing. Mistake 2: Using a sealant that is not specifically designed for stainless steel surfaces. Mistake 3: Not covering all corners, edges, and seams with the sealant. Mistake 4: Not allowing for proper drying time before using the sink again. Mistake 5: Applying too much sealant, which can lead to a messy and uneven finish. By avoiding these common mistakes, you can ensure that your stainless steel kitchen sink is properly sealed and protected.8. Common Mistakes to Avoid When Sealing a Stainless Steel Sink


8. Common Mistakes to Avoid When Sealing a Stainless Steel Sink


Sealing a stainless steel kitchen sink offers many benefits that can make your daily life easier and more convenient. Here are some of the top benefits of sealing your sink. Benefit 1: Protection against water damage, stains, and scratches. Benefit 2: Easy maintenance and cleaning. Benefit 3: Prevention of bacteria growth and mold and mildew build-up. Benefit 4: Enhanced appearance and longevity of your sink. Benefit 5: A hygienic environment for food preparation and dishwashing. By sealing your sink, you can enjoy these benefits and have peace of mind knowing that your stainless steel sink is properly protected.9. Benefits of Sealing a Stainless Steel Kitchen Sink


9. Benefits of Sealing a Stainless Steel Kitchen Sink

If you are not confident in sealing your stainless steel kitchen sink yourself, there are professional services available that can do it for you. These services have the expertise and equipment to properly seal your sink and ensure its longevity. In addition to sealing, professional services may also offer cleaning and maintenance packages for your sink. This can save you time and effort in the long run and keep your sink looking like new. However, if you decide to hire a professional, make sure to do your research and choose a reputable and experienced company for the best results. In conclusion, sealing a stainless steel kitchen sink is an important step in maintaining its appearance and durability. By following the right techniques and using the recommended products, you can easily seal your sink yourself or hire a professional service for added convenience. With a properly sealed sink, you can enjoy a hygienic and long-lasting kitchen sink for years to come.10. Professional Services for Sealing a Stainless Steel Sink


10. Professional Services for Sealing a Stainless Steel Sink

Why Sealing Your Stainless Steel Kitchen Sink is Essential for a Beautiful and Functional Kitchen

The Advantages of Sealing a Stainless Steel Kitchen Sink
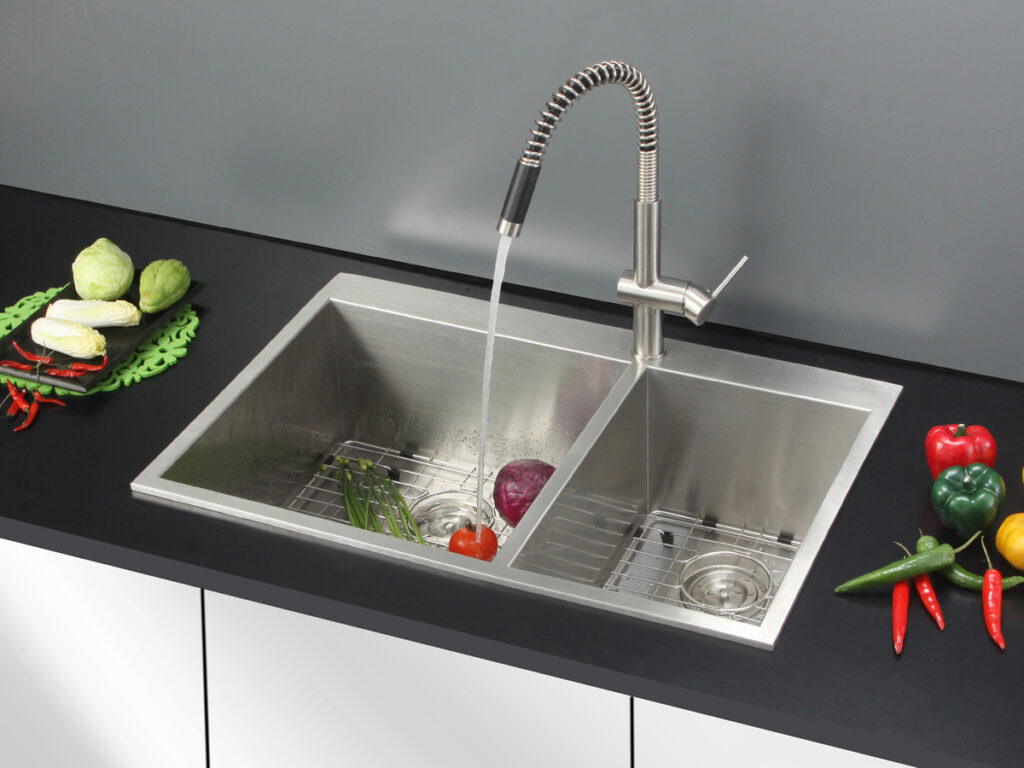
 When it comes to designing a kitchen, choosing the right materials is key to achieving a beautiful and functional space. Stainless steel sinks have become a popular choice among homeowners for their sleek and modern look. However, to maintain the beauty and functionality of your stainless steel sink, it is essential to seal it properly.
Sealing your stainless steel kitchen sink has many advantages. First and foremost, it helps to protect the sink from stains, scratches, and other damages caused by everyday use. This is especially important for busy kitchens where the sink is constantly in use. The sealant creates a protective layer on the surface of the sink, making it easier to clean and maintain.
In addition, sealing your stainless steel sink can also help to prevent the growth of bacteria and mold. Without proper sealing, the tiny pores on the surface of the sink can trap food particles and moisture, creating the perfect breeding ground for bacteria. This not only poses a health risk but can also cause unpleasant odors in your kitchen.
When it comes to designing a kitchen, choosing the right materials is key to achieving a beautiful and functional space. Stainless steel sinks have become a popular choice among homeowners for their sleek and modern look. However, to maintain the beauty and functionality of your stainless steel sink, it is essential to seal it properly.
Sealing your stainless steel kitchen sink has many advantages. First and foremost, it helps to protect the sink from stains, scratches, and other damages caused by everyday use. This is especially important for busy kitchens where the sink is constantly in use. The sealant creates a protective layer on the surface of the sink, making it easier to clean and maintain.
In addition, sealing your stainless steel sink can also help to prevent the growth of bacteria and mold. Without proper sealing, the tiny pores on the surface of the sink can trap food particles and moisture, creating the perfect breeding ground for bacteria. This not only poses a health risk but can also cause unpleasant odors in your kitchen.
The Importance of Regular Maintenance for Your Stainless Steel Kitchen Sink
 Sealing your stainless steel sink is not a one-time task. It is important to regularly maintain the sealant to ensure its effectiveness. Depending on the type of sealant used, you may need to reapply it every few months or once a year. This will not only prolong the lifespan of your sink but also keep it looking as good as new.
Moreover, regular maintenance also involves proper cleaning of your stainless steel sink. While the sealant provides protection, it is still important to use gentle cleaning products and avoid harsh chemicals that can damage the sealant. This will ensure that your sink stays shiny and free from any scratches or stains.
Sealing your stainless steel sink is not a one-time task. It is important to regularly maintain the sealant to ensure its effectiveness. Depending on the type of sealant used, you may need to reapply it every few months or once a year. This will not only prolong the lifespan of your sink but also keep it looking as good as new.
Moreover, regular maintenance also involves proper cleaning of your stainless steel sink. While the sealant provides protection, it is still important to use gentle cleaning products and avoid harsh chemicals that can damage the sealant. This will ensure that your sink stays shiny and free from any scratches or stains.
How to Seal Your Stainless Steel Kitchen Sink
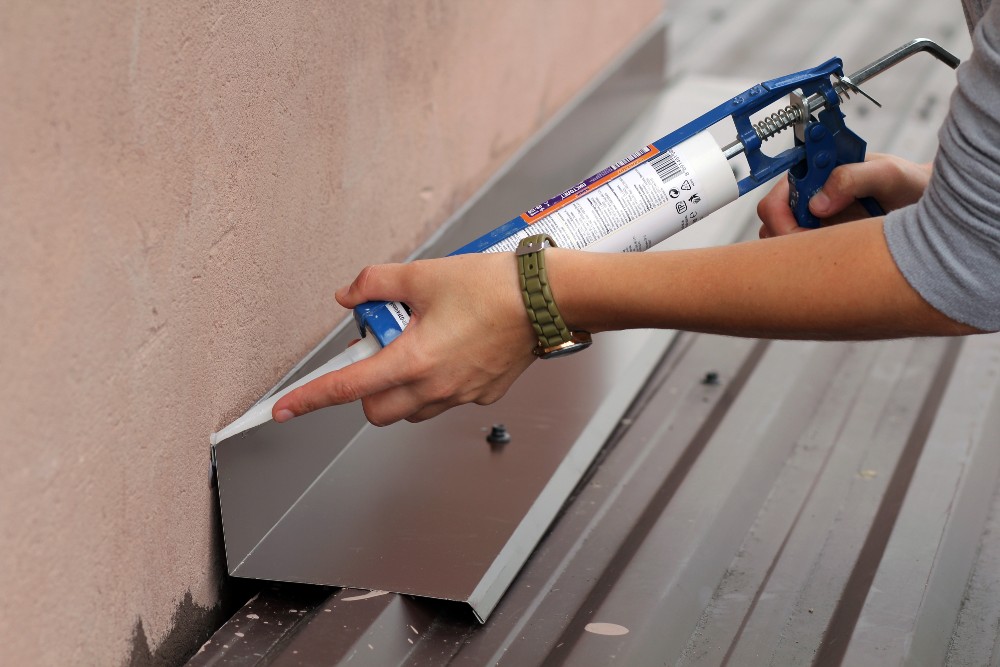
 Sealing a stainless steel kitchen sink is a simple process that can be done by homeowners themselves. The first step is to thoroughly clean and dry the sink. Next, apply the sealant evenly on the surface of the sink using a clean cloth or sponge. Allow the sealant to dry completely before using the sink again.
In conclusion, sealing your stainless steel kitchen sink is essential for both its aesthetics and functionality. Regular maintenance and proper cleaning will ensure that your sink stays in top condition for many years to come. So if you want a beautiful and functional kitchen, don't forget to seal your stainless steel sink!
Sealing a stainless steel kitchen sink is a simple process that can be done by homeowners themselves. The first step is to thoroughly clean and dry the sink. Next, apply the sealant evenly on the surface of the sink using a clean cloth or sponge. Allow the sealant to dry completely before using the sink again.
In conclusion, sealing your stainless steel kitchen sink is essential for both its aesthetics and functionality. Regular maintenance and proper cleaning will ensure that your sink stays in top condition for many years to come. So if you want a beautiful and functional kitchen, don't forget to seal your stainless steel sink!