Sealing a kitchen faucet to a sink is an essential step in the installation process. It ensures that the faucet is securely attached to the sink and prevents any leaks or water damage. However, many people are unsure of how to properly seal a kitchen faucet to a sink. In this article, we will provide a step-by-step guide on how to seal a kitchen faucet to a sink and also share some tips and tricks to make the process easier.How to Seal a Kitchen Faucet to a Sink


How to Seal a Kitchen Faucet to a Sink


Before we dive into the steps to seal a kitchen faucet to a sink, let's discuss the best way to do it. The most effective way to seal a kitchen faucet to a sink is by using a silicone caulk. Silicone caulk is waterproof and flexible, making it perfect for sealing any gaps or spaces between the faucet and sink.Best Way to Seal a Kitchen Faucet to a Sink


Best Way to Seal a Kitchen Faucet to a Sink


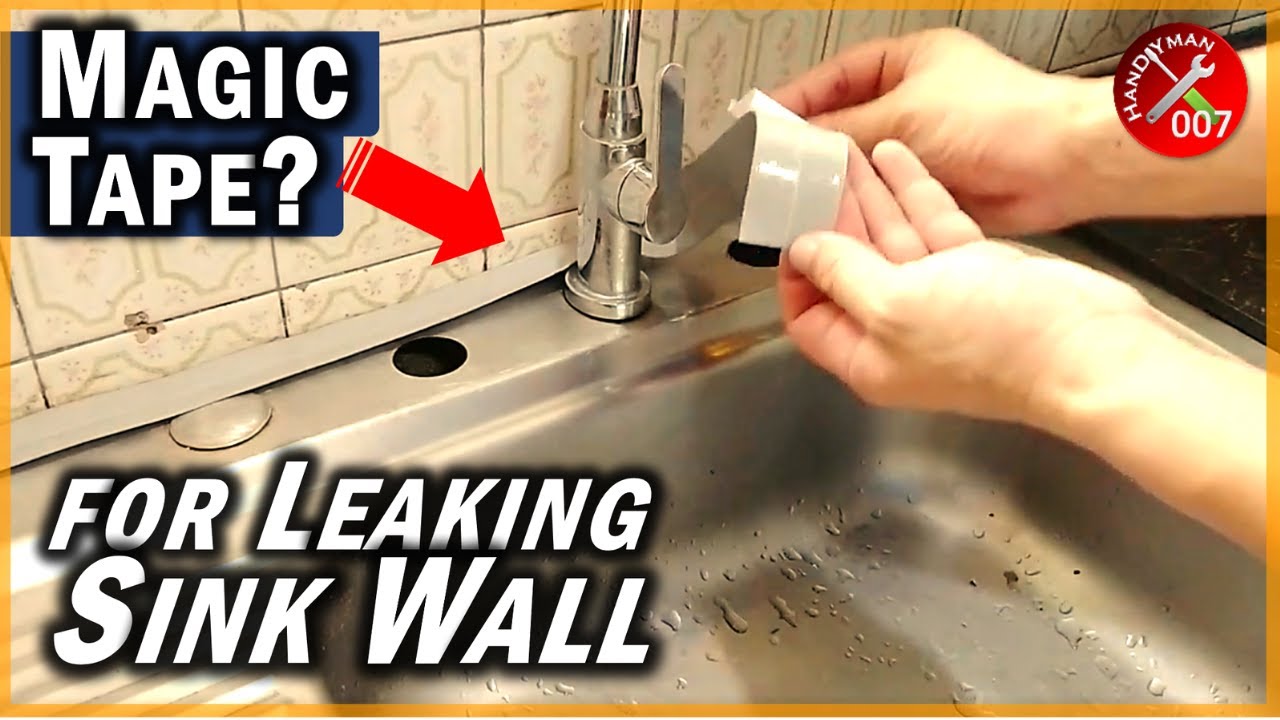
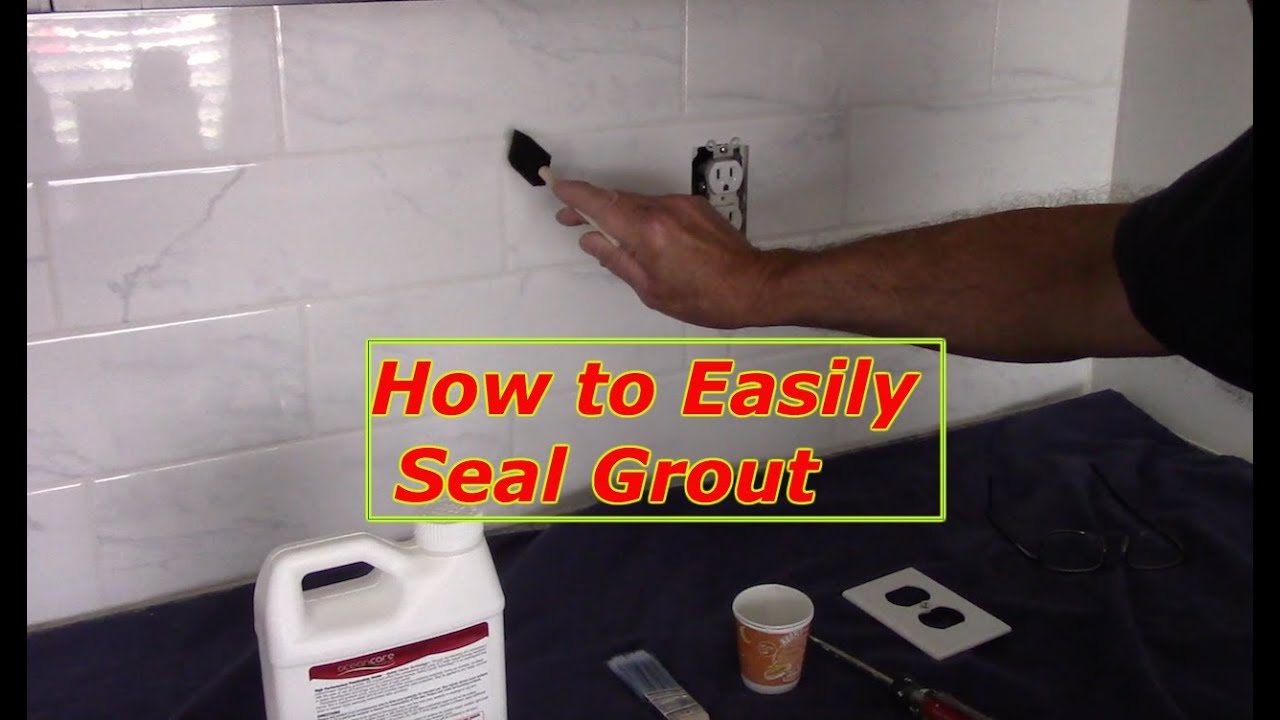
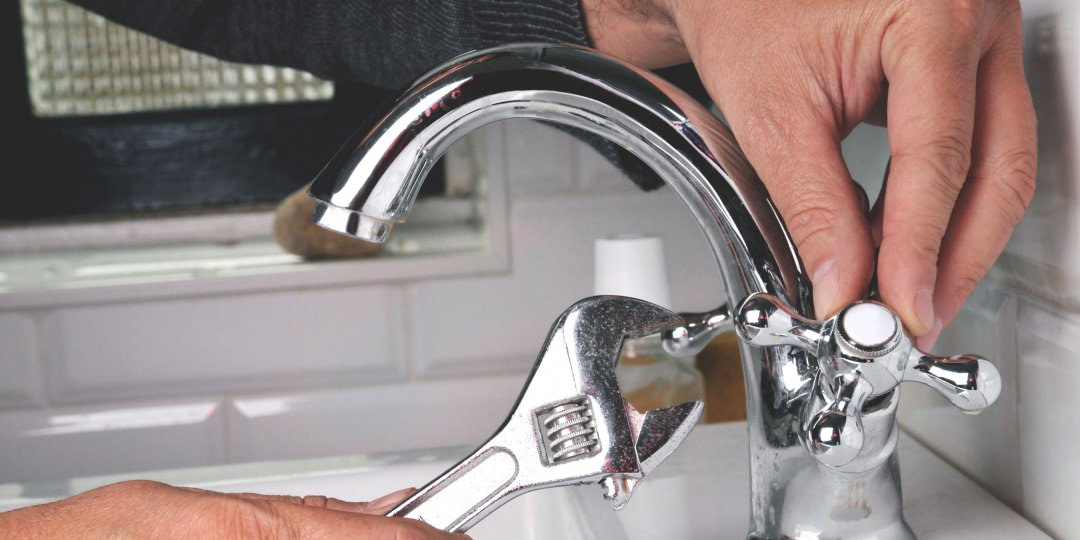
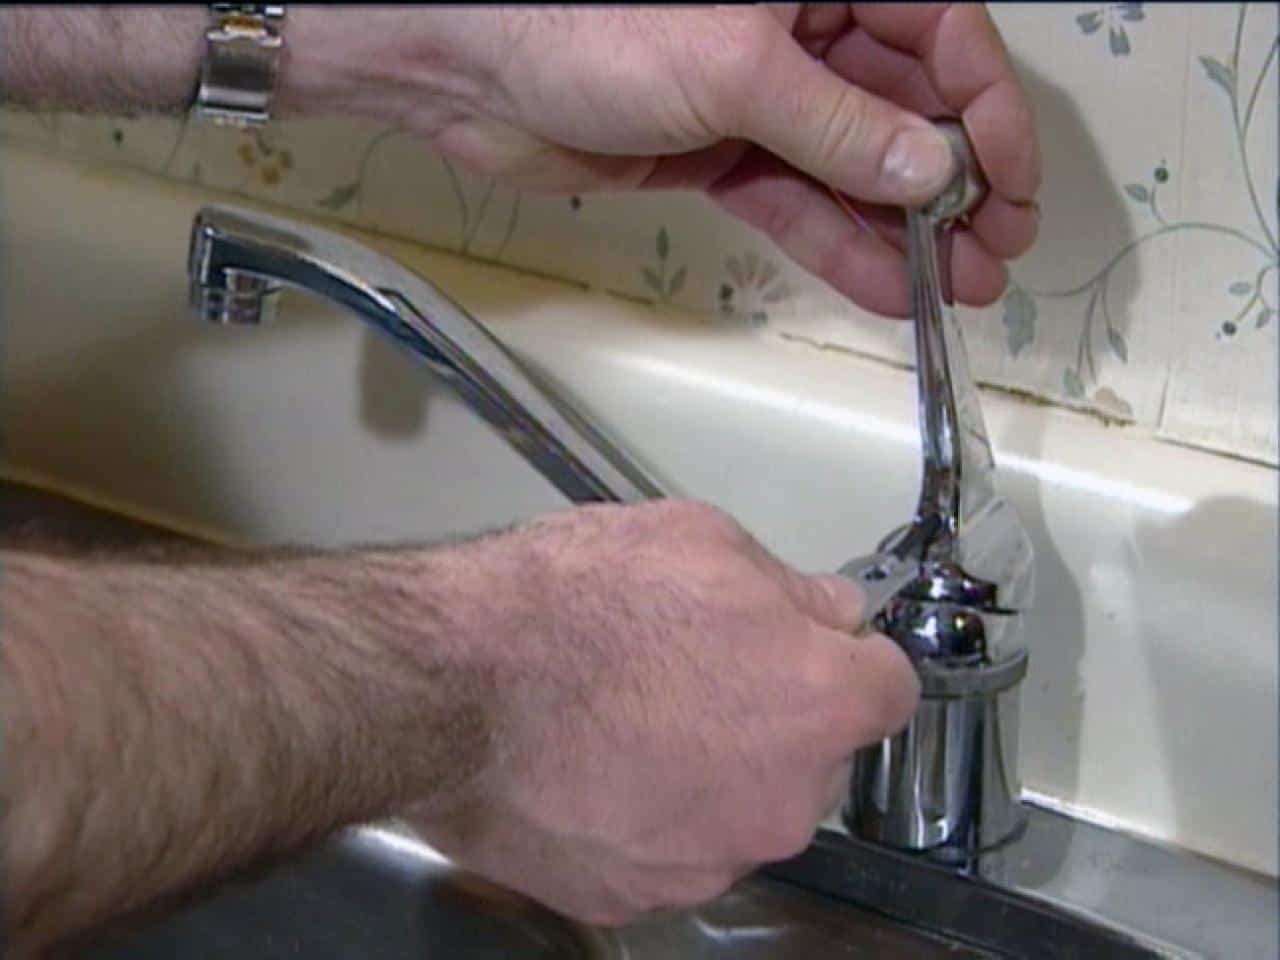
Now, let's get into the step-by-step guide on how to seal a kitchen faucet to a sink. Step 1: Clean the Sink and Faucet Start by cleaning the sink and faucet thoroughly. Use a mild cleaner and a soft cloth to remove any dirt, grime, or debris from the surface. Make sure to dry the sink and faucet completely before moving on to the next step. Step 2: Apply Silicone Caulk Take your silicone caulk and cut the tip to create a small opening. Apply a thin and even layer of caulk around the base of the faucet where it meets the sink. You can use your finger or a caulk smoothing tool to smooth out the caulk and remove any excess. Step 3: Attach the Faucet to the Sink Once you have applied the caulk, carefully place the faucet onto the sink and press down firmly. Make sure that the faucet is aligned properly and level. Allow the caulk to dry for at least 24 hours before using the faucet. Step 4: Reattach Water Supply Lines After the caulk has dried, reattach the water supply lines to the faucet. Turn on the water and check for any leaks. If there are any leaks, you may need to reapply caulk to the affected area.Sealing a Kitchen Faucet to a Sink: Step-by-Step Guide


Sealing a Kitchen Faucet to a Sink: Step-by-Step Guide


Sealing a kitchen faucet to a sink can easily be done as a DIY project. With the right tools and materials, anyone can successfully seal a kitchen faucet to a sink. Just follow the steps outlined above, and you'll have a secure and leak-free faucet in no time.DIY: How to Seal a Kitchen Faucet to a Sink


DIY: How to Seal a Kitchen Faucet to a Sink


Here are a few tips and tricks to keep in mind when sealing a kitchen faucet to a sink: Tip 1: Use a high-quality silicone caulk for better results. Tip 2: Make sure to clean and dry the sink and faucet before applying caulk. Tip 3: Apply a thin and even layer of caulk for a neater finish. Tip 4: If the faucet is not level, use shims to adjust it before applying caulk.Sealing a Kitchen Faucet to a Sink: Tips and Tricks


Sealing a Kitchen Faucet to a Sink: Tips and Tricks
:max_bytes(150000):strip_icc()/utility-sink-faucet-2718831-hero-85feab9ab9fc4c8498483e418fd8c82c.jpg)


While sealing a kitchen faucet to a sink may seem like a simple task, there are a few common mistakes that people make. Here are some mistakes to avoid when sealing a kitchen faucet to a sink: Mistake: Not cleaning the sink and faucet before applying caulk. Mistake: Using too much caulk, which can result in a messy finish. Mistake: Not allowing the caulk to dry completely before using the faucet.Sealing a Kitchen Faucet to a Sink: Common Mistakes to Avoid

Sealing a Kitchen Faucet to a Sink: Common Mistakes to Avoid


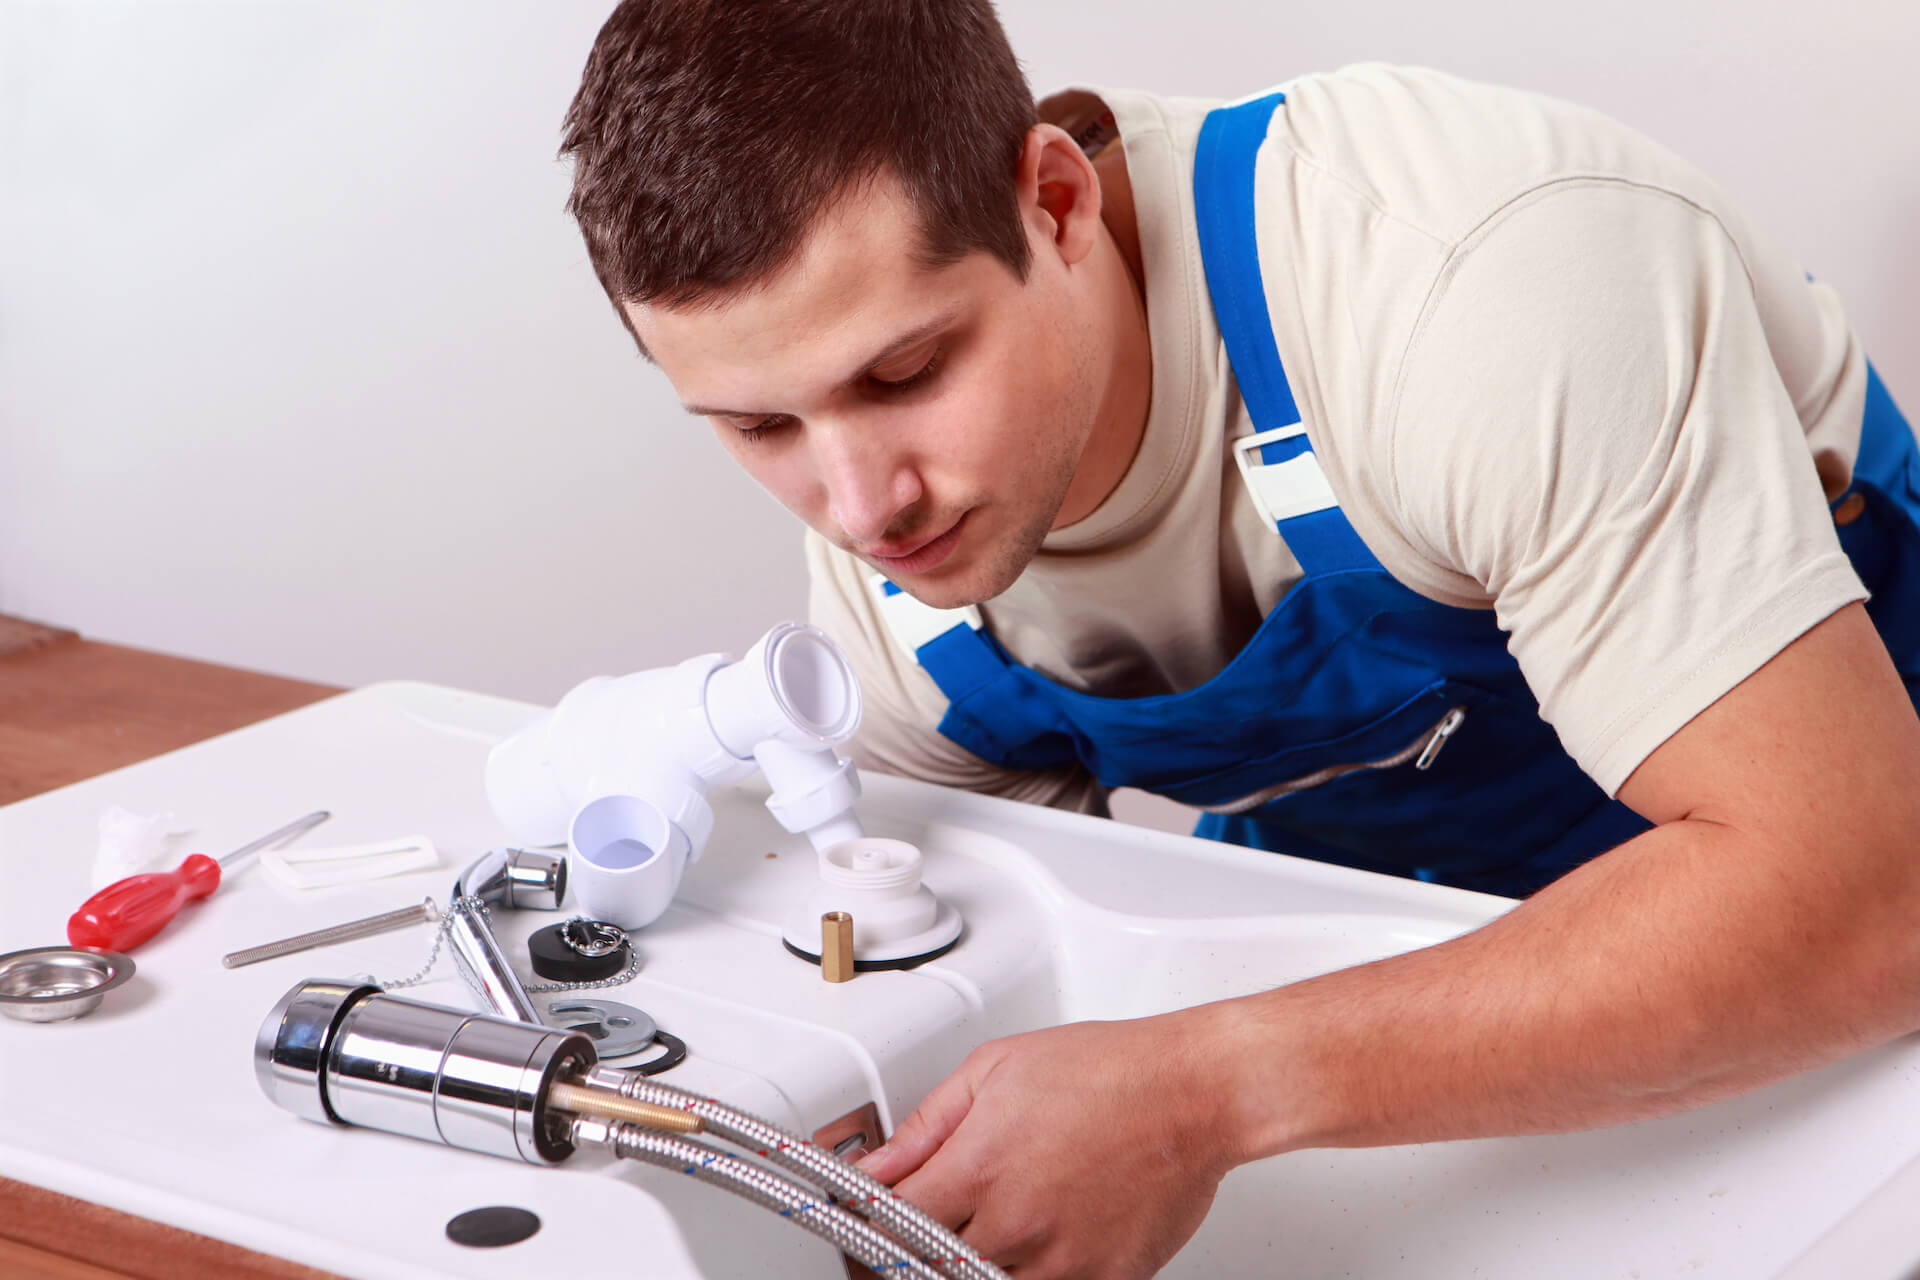
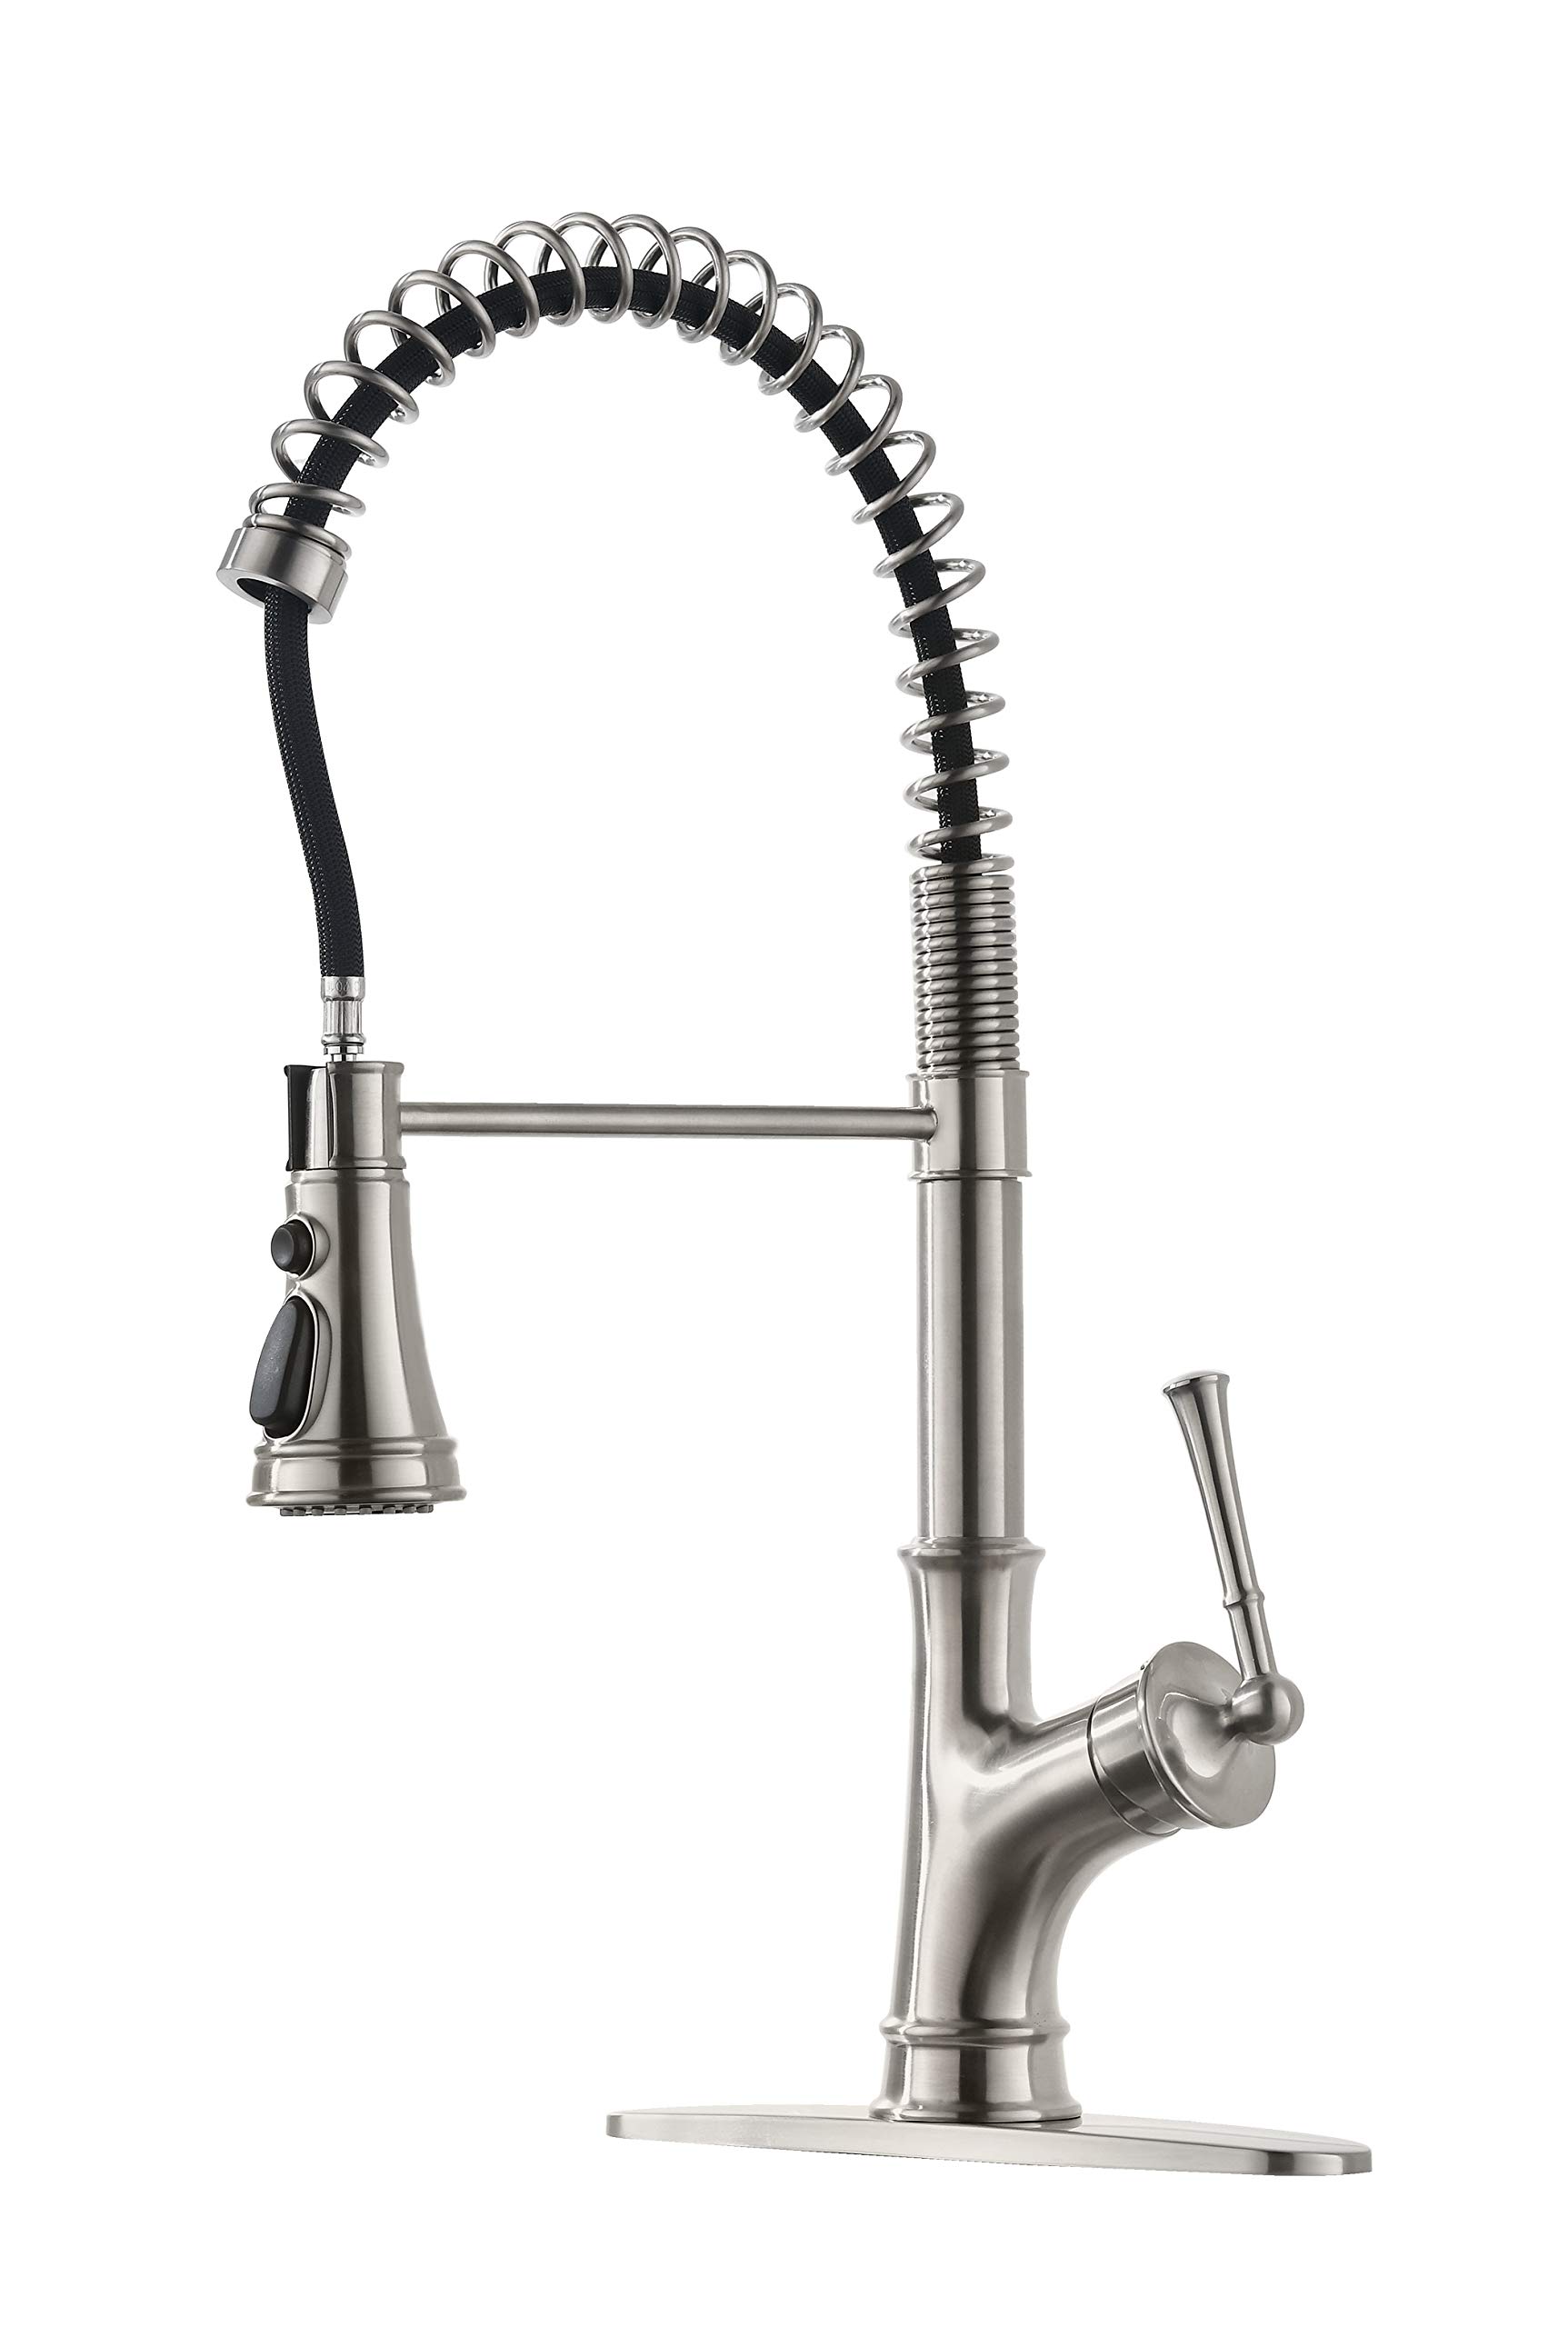
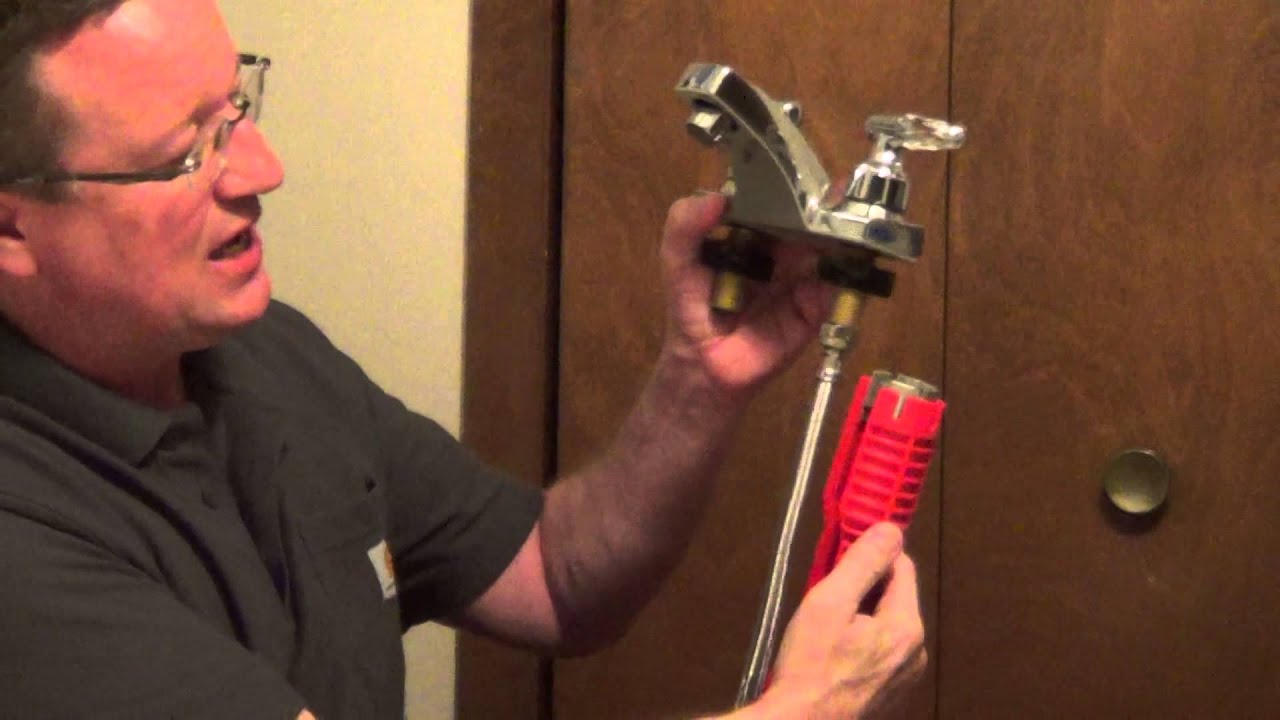
To seal a kitchen faucet to a sink, you will need the following tools and materials: Tools: Silicone caulk, caulk gun, caulk smoothing tool, mild cleaner, soft cloth, shims (if needed). Materials: Water supply lines (if needed).Tools and Materials Needed to Seal a Kitchen Faucet to a Sink


Tools and Materials Needed to Seal a Kitchen Faucet to a Sink


It is recommended to seal a kitchen faucet to a sink every 1-2 years. However, if you notice any leaks or gaps, it may be necessary to reseal the faucet sooner.How Often Should You Seal a Kitchen Faucet to a Sink?

How Often Should You Seal a Kitchen Faucet to a Sink?


While sealing a kitchen faucet to a sink can easily be done as a DIY project, some people may prefer to hire a professional. Hiring a professional can ensure that the seal is done correctly and may save time and effort for those who are not experienced in DIY projects.Sealing a Kitchen Faucet to a Sink: Professional vs. DIY

Sealing a Kitchen Faucet to a Sink: Professional vs. DIY


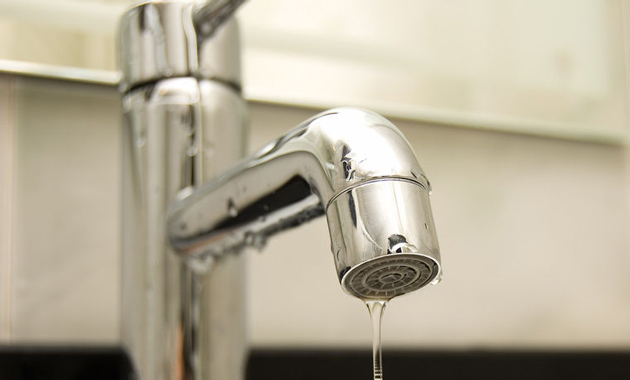
If you notice any leaks around the base of your kitchen faucet, it may be due to an improper seal. Follow the steps below to fix a leaky kitchen faucet seal to a sink: Step 1: Turn off the water supply to the faucet. Step 2: Remove the faucet and clean the area thoroughly. Step 3: Reapply silicone caulk and reattach the faucet. Step 4: Turn the water supply back on and check for any leaks.Troubleshooting: How to Fix a Leaky Kitchen Faucet Seal to a Sink


Troubleshooting: How to Fix a Leaky Kitchen Faucet Seal to a Sink


Why It's Important to Seal Your Kitchen Faucet to Your Sink

The Importance of Properly Sealing Your Kitchen Faucet
 When it comes to designing your dream kitchen, every little detail matters. From choosing the perfect countertops to selecting the most stylish cabinets, every decision plays a role in creating a functional and visually appealing space. However, one often overlooked aspect of kitchen design is the proper sealing of your kitchen faucet to your sink. While it may seem like a small detail, it can have a big impact on the overall functionality and aesthetics of your kitchen.
Properly sealing your kitchen faucet to your sink is crucial for preventing leaks and ensuring a long-lasting faucet.
Over time, water and moisture can cause damage to your sink and faucet, leading to expensive repairs or replacements. By taking the time to properly seal your kitchen faucet, you can save yourself the hassle and expense of dealing with leaks and damage in the future.
When it comes to designing your dream kitchen, every little detail matters. From choosing the perfect countertops to selecting the most stylish cabinets, every decision plays a role in creating a functional and visually appealing space. However, one often overlooked aspect of kitchen design is the proper sealing of your kitchen faucet to your sink. While it may seem like a small detail, it can have a big impact on the overall functionality and aesthetics of your kitchen.
Properly sealing your kitchen faucet to your sink is crucial for preventing leaks and ensuring a long-lasting faucet.
Over time, water and moisture can cause damage to your sink and faucet, leading to expensive repairs or replacements. By taking the time to properly seal your kitchen faucet, you can save yourself the hassle and expense of dealing with leaks and damage in the future.
The Process of Sealing Your Kitchen Faucet to Your Sink
 Sealing your kitchen faucet to your sink may seem like a daunting task, but it is actually quite simple.
The first step is to ensure that your sink and faucet are clean and dry.
Any residue or moisture left on the surface can prevent the sealant from adhering properly. Next, apply a bead of silicone sealant around the base of your faucet where it meets the sink. Use a damp cloth or your finger to smooth out the sealant and create a tight seal.
Be sure to use a high-quality silicone sealant that is specifically designed for use in kitchens and bathrooms.
Once the sealant is applied, allow it to dry completely before using your faucet.
This will usually take anywhere from 24-48 hours.
During this time, avoid moving or using the faucet to ensure that the sealant sets properly. Once the sealant is dry, turn on your faucet and check for any leaks. If there are no leaks, you have successfully sealed your kitchen faucet to your sink.
Sealing your kitchen faucet to your sink may seem like a daunting task, but it is actually quite simple.
The first step is to ensure that your sink and faucet are clean and dry.
Any residue or moisture left on the surface can prevent the sealant from adhering properly. Next, apply a bead of silicone sealant around the base of your faucet where it meets the sink. Use a damp cloth or your finger to smooth out the sealant and create a tight seal.
Be sure to use a high-quality silicone sealant that is specifically designed for use in kitchens and bathrooms.
Once the sealant is applied, allow it to dry completely before using your faucet.
This will usually take anywhere from 24-48 hours.
During this time, avoid moving or using the faucet to ensure that the sealant sets properly. Once the sealant is dry, turn on your faucet and check for any leaks. If there are no leaks, you have successfully sealed your kitchen faucet to your sink.
Additional Tips for a Well-Sealed Kitchen Faucet
 In addition to properly sealing your kitchen faucet to your sink, there are a few other tips that can help ensure a well-sealed and long-lasting faucet.
Regularly cleaning and maintaining your faucet can help prevent any buildup or damage that could compromise the seal.
Additionally,
choosing a high-quality faucet that is specifically designed to withstand the rigors of daily use in a kitchen
can also make a big difference in the longevity and functionality of your faucet.
In conclusion,
sealing your kitchen faucet to your sink is an important step in creating a functional and durable kitchen.
By following the proper steps and using high-quality materials, you can ensure that your faucet will last for years to come without any leaks or damage. Take the time to properly seal your kitchen faucet and enjoy a beautiful and functional kitchen for years to come.
In addition to properly sealing your kitchen faucet to your sink, there are a few other tips that can help ensure a well-sealed and long-lasting faucet.
Regularly cleaning and maintaining your faucet can help prevent any buildup or damage that could compromise the seal.
Additionally,
choosing a high-quality faucet that is specifically designed to withstand the rigors of daily use in a kitchen
can also make a big difference in the longevity and functionality of your faucet.
In conclusion,
sealing your kitchen faucet to your sink is an important step in creating a functional and durable kitchen.
By following the proper steps and using high-quality materials, you can ensure that your faucet will last for years to come without any leaks or damage. Take the time to properly seal your kitchen faucet and enjoy a beautiful and functional kitchen for years to come.