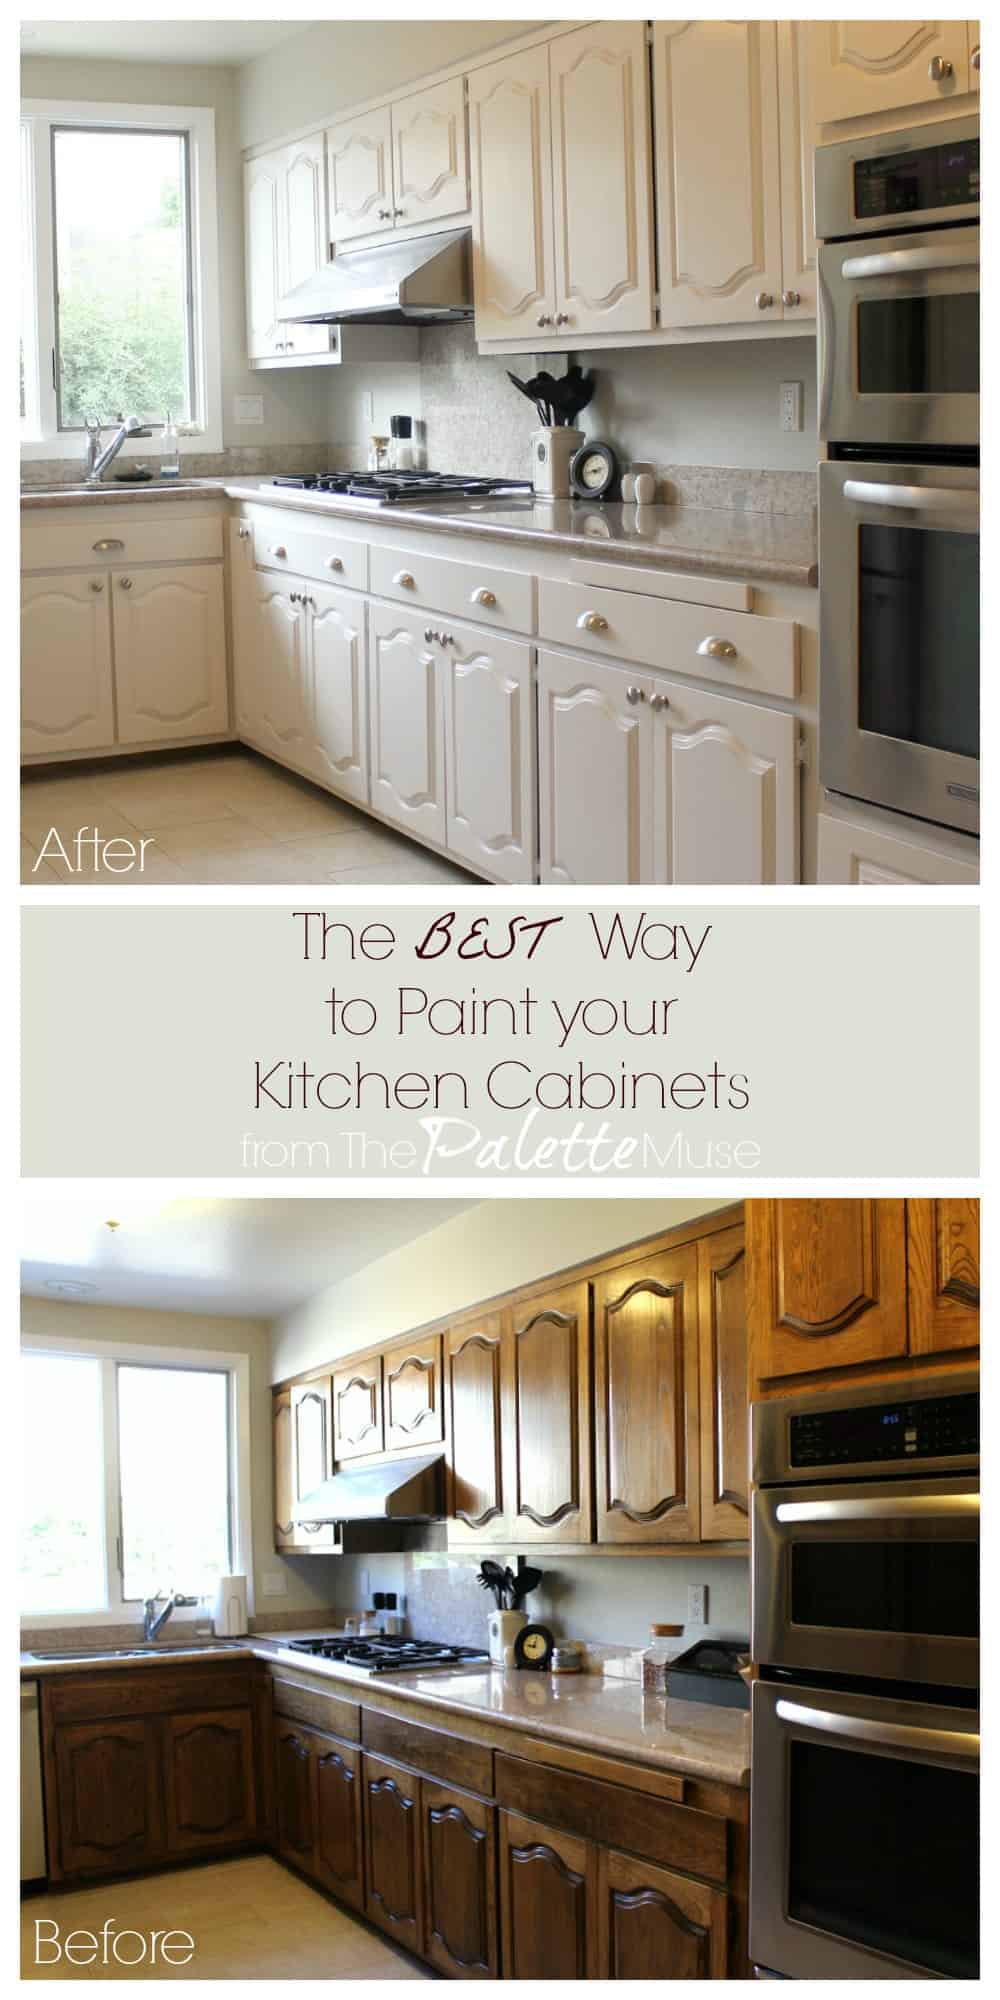
If you're looking to update the look of your kitchen, sanding and painting the walls can make a huge difference. But before you can start painting, you'll need to properly sand your kitchen walls. Here's a step-by-step guide to help you get the job done right.1. Sanding Kitchen Wall: A Step-by-Step Guide

1. Sanding Kitchen Wall: A Step-by-Step Guide


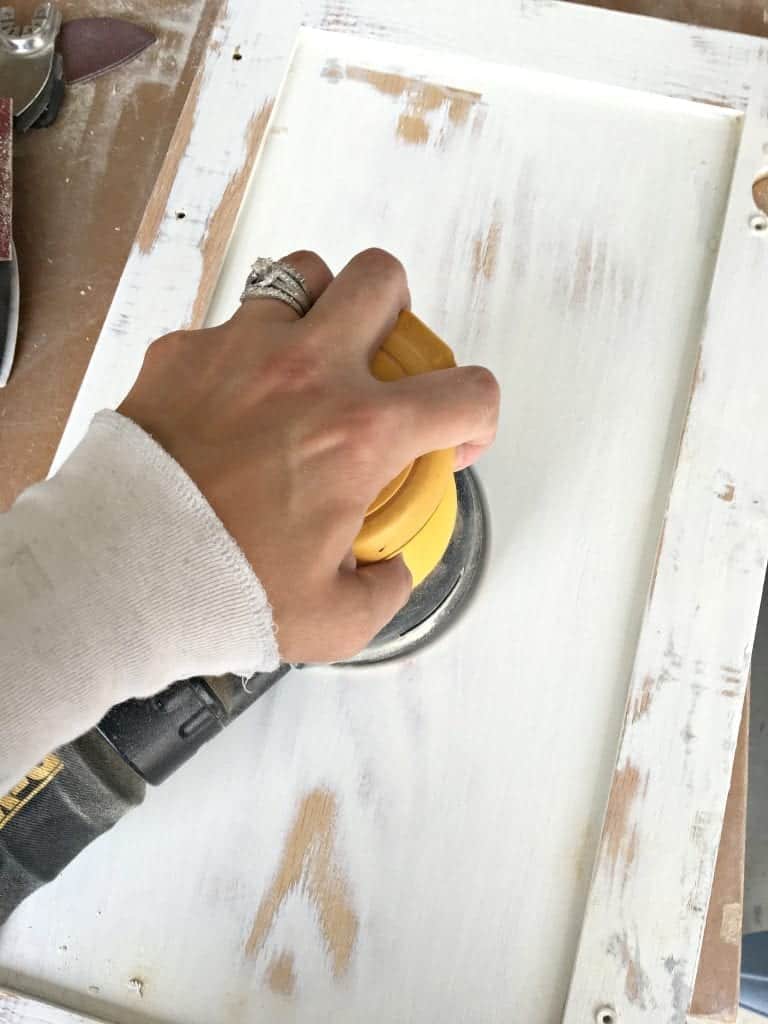
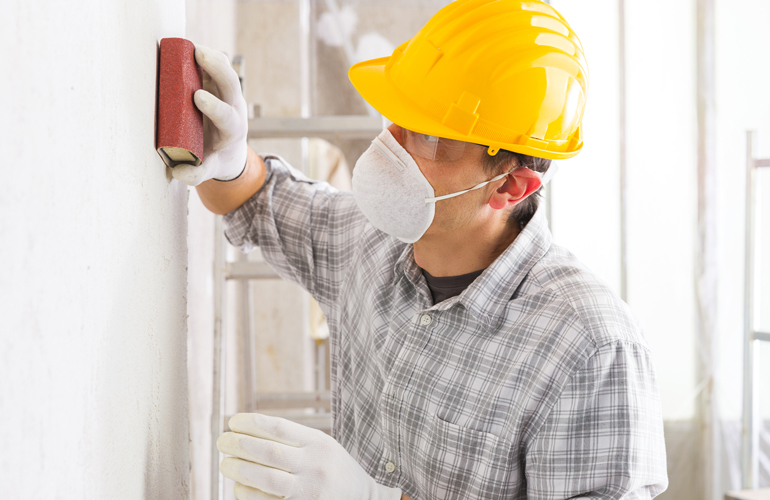
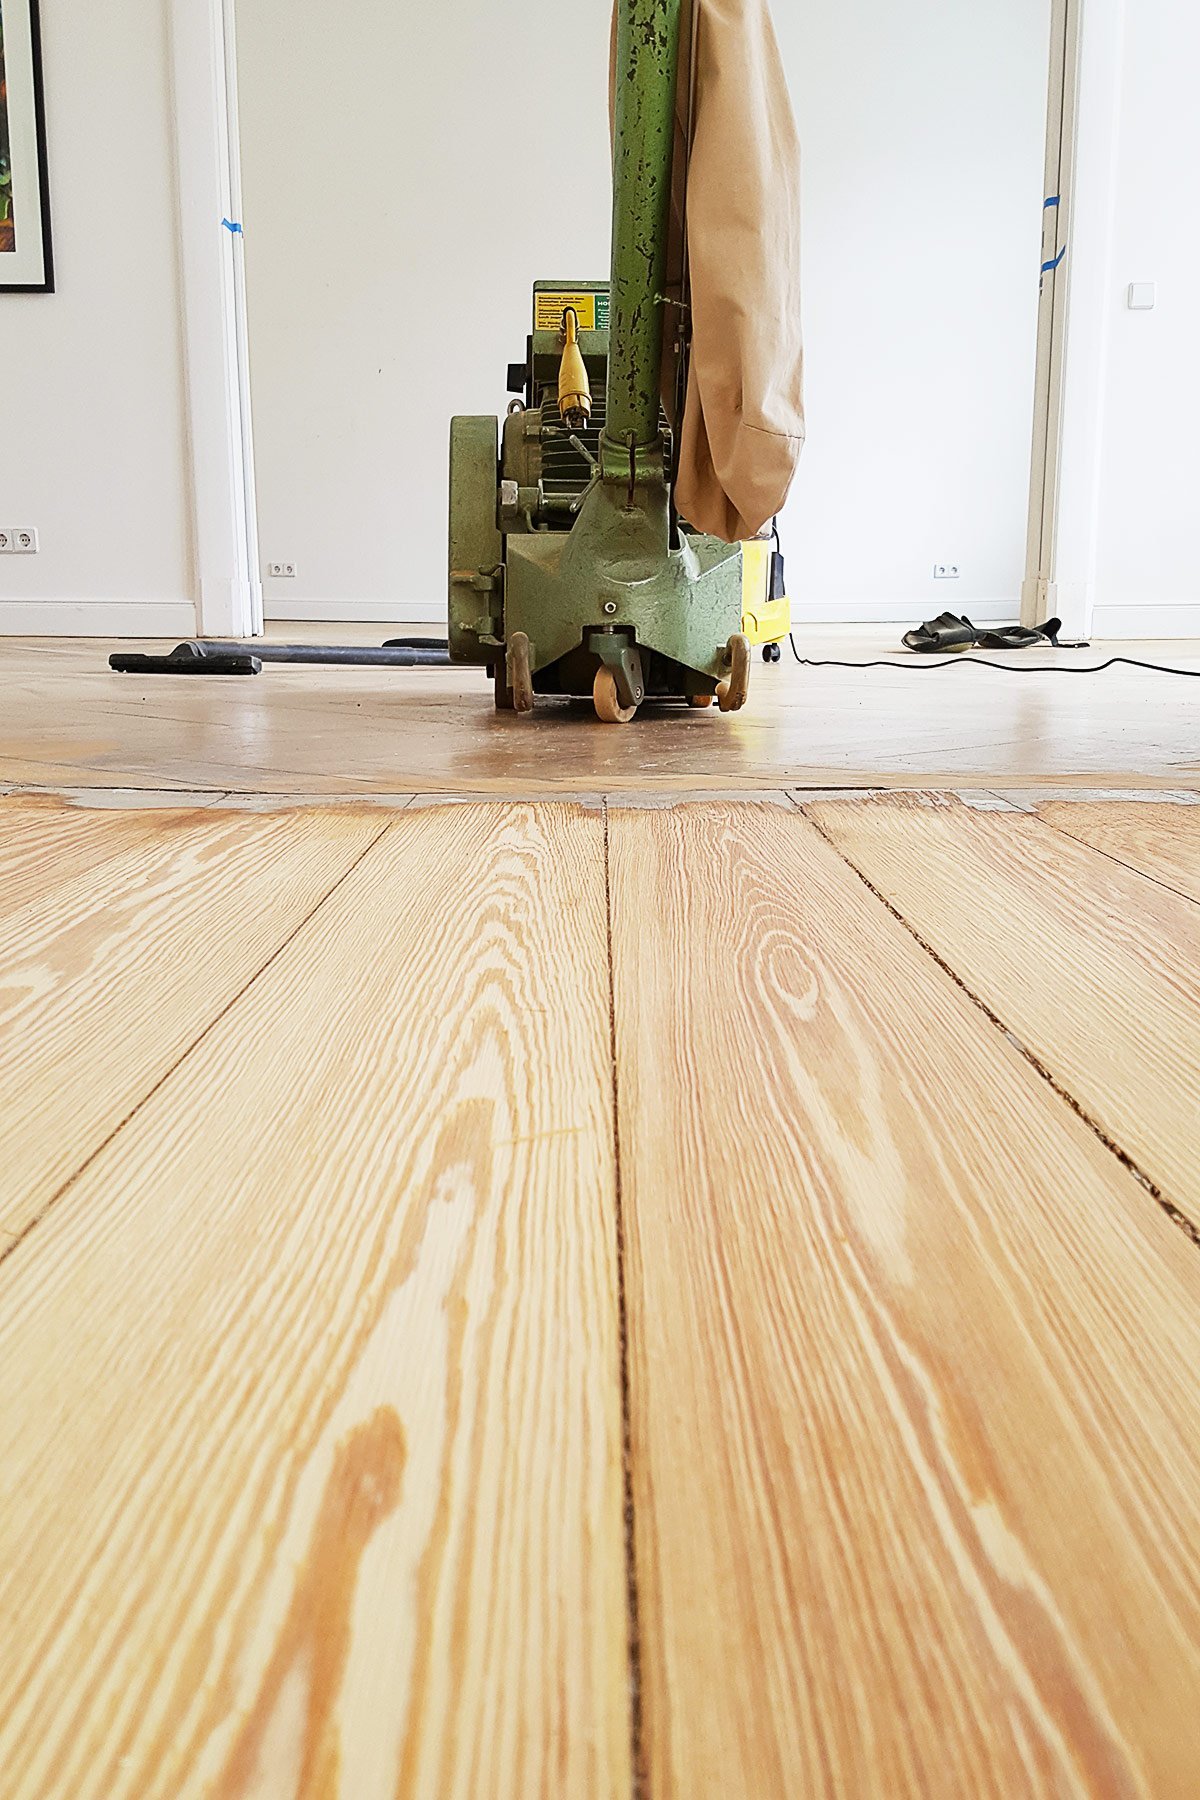
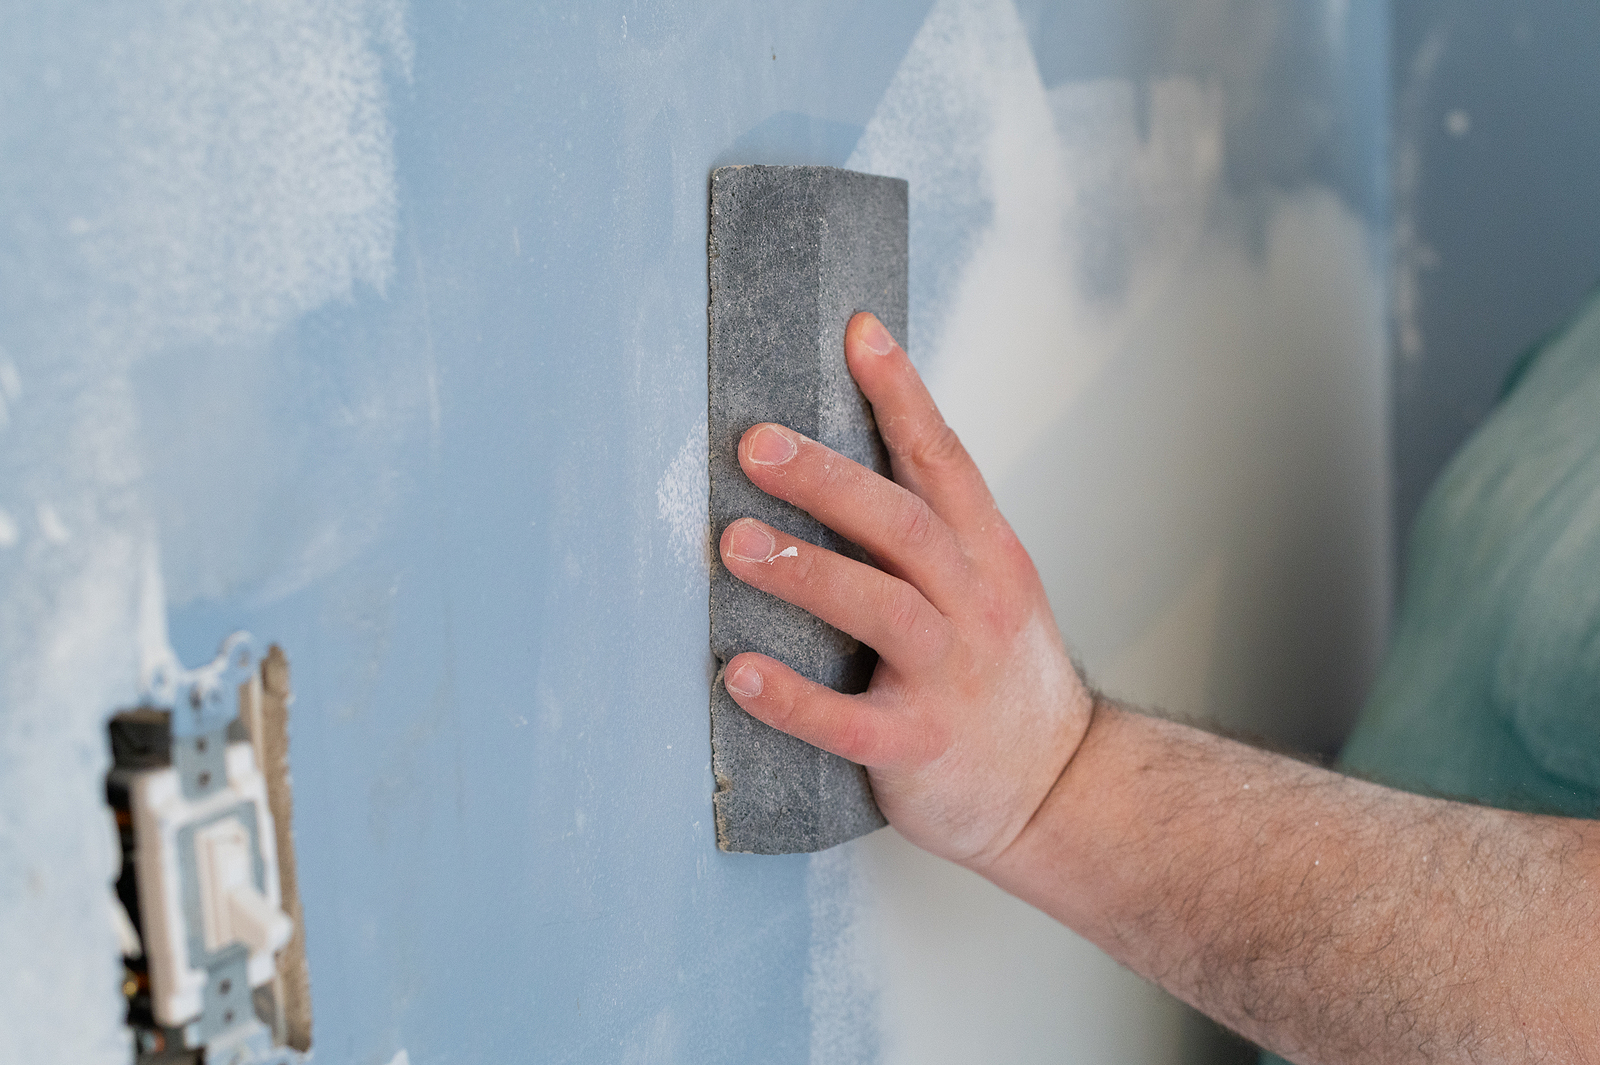
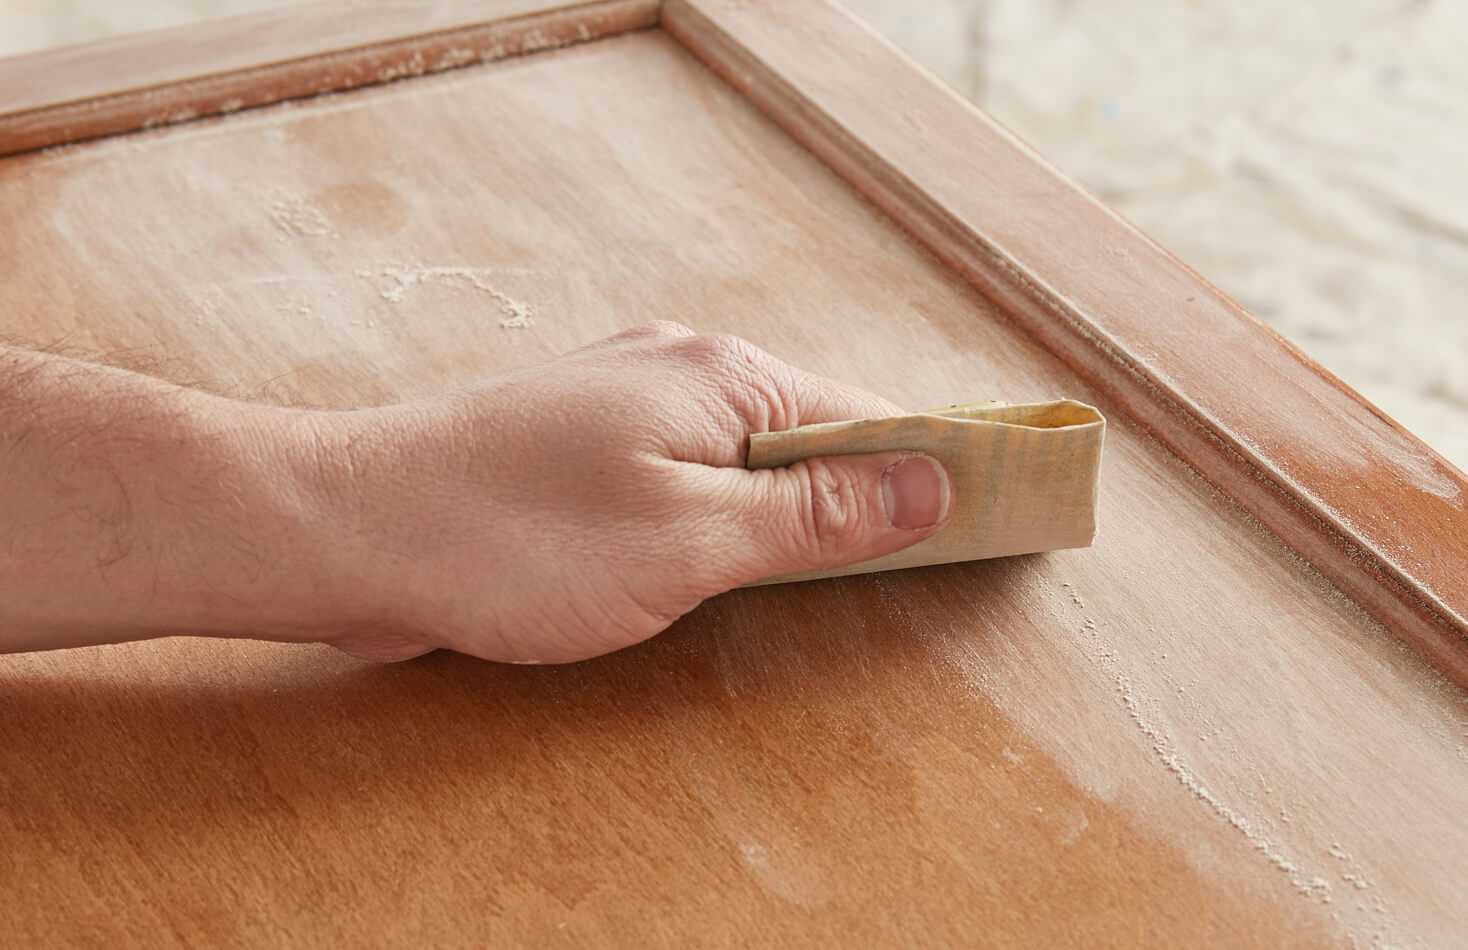
Sanding and painting your kitchen walls can be a daunting task, but with the right tools and techniques, you can achieve a professional-looking finish. Start by removing any hardware, outlet covers, and switch plates from the walls. Next, use a medium-grit sandpaper to sand the walls in a circular motion, focusing on any rough or uneven areas. Once the walls are smooth, wipe them down with a damp cloth to remove any dust and debris. Now you're ready to start painting!2. How to Sand and Paint Kitchen Walls


2. How to Sand and Paint Kitchen Walls


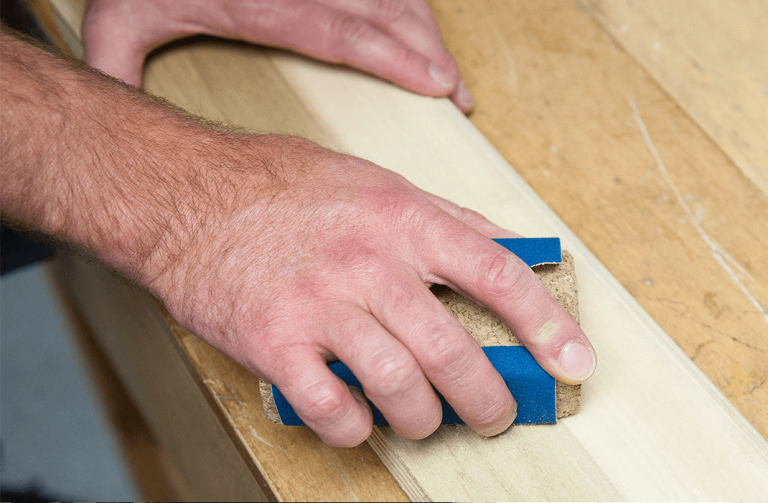
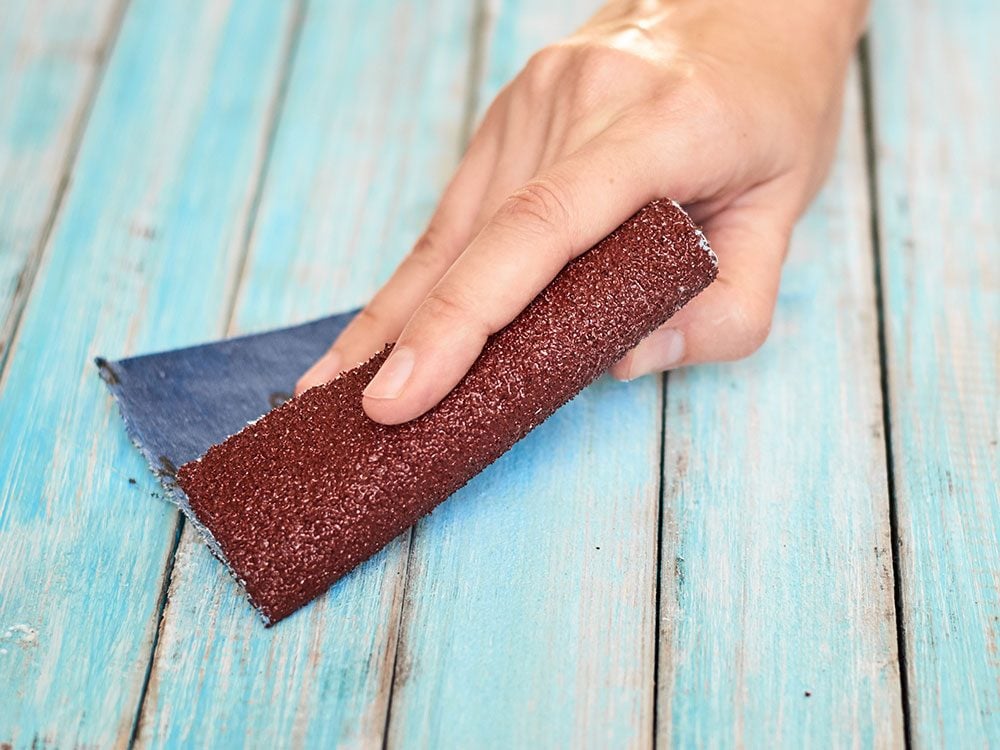
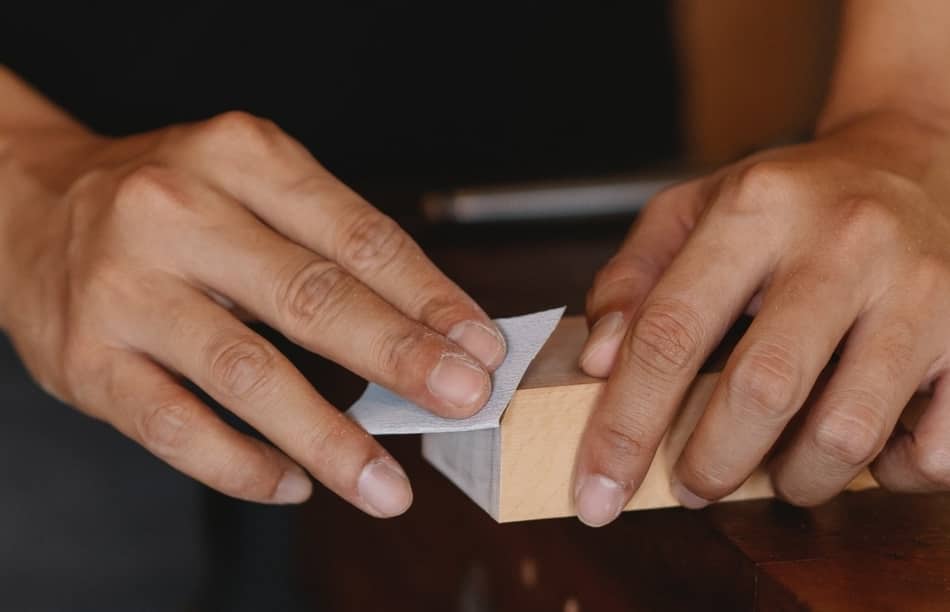
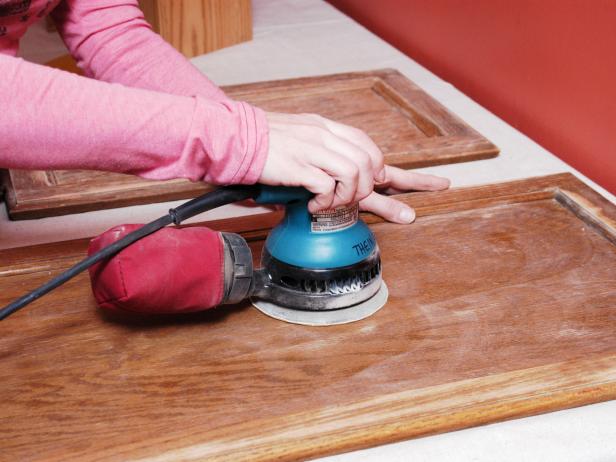
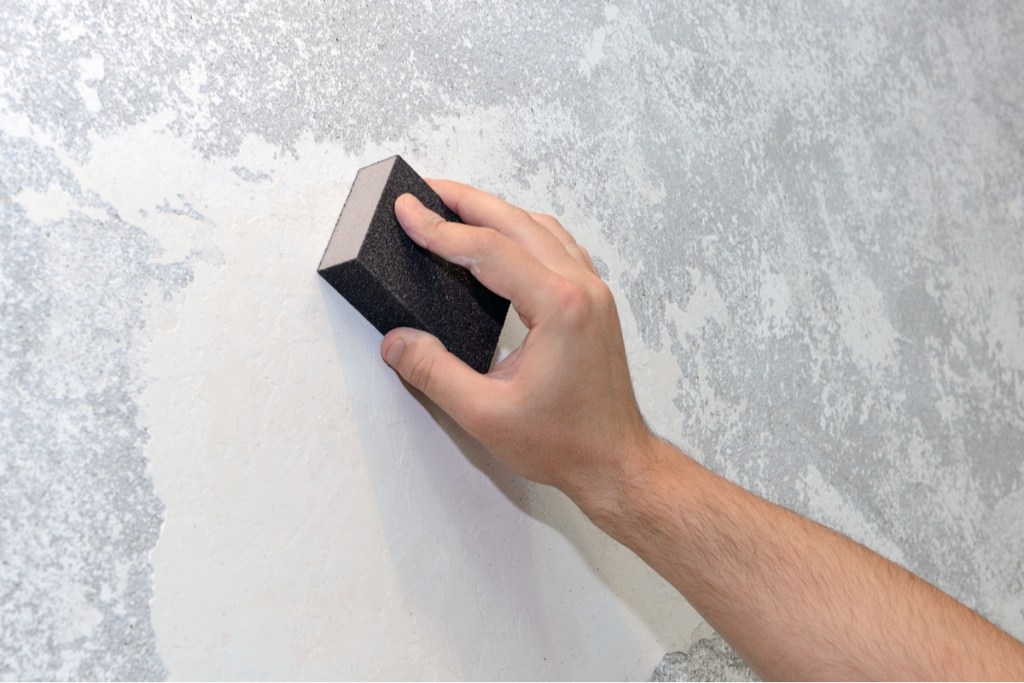
When it comes to sanding kitchen walls, the type of sandpaper you use is important. For a smooth finish, opt for a medium-grit sandpaper (around 120-150 grit). This will effectively remove any imperfections without damaging the wall. You can also use a sanding sponge for hard-to-reach areas or a fine-grit sandpaper (around 220 grit) for a final sanding before painting.3. The Best Sandpaper for Sanding Kitchen Walls


3. The Best Sandpaper for Sanding Kitchen Walls
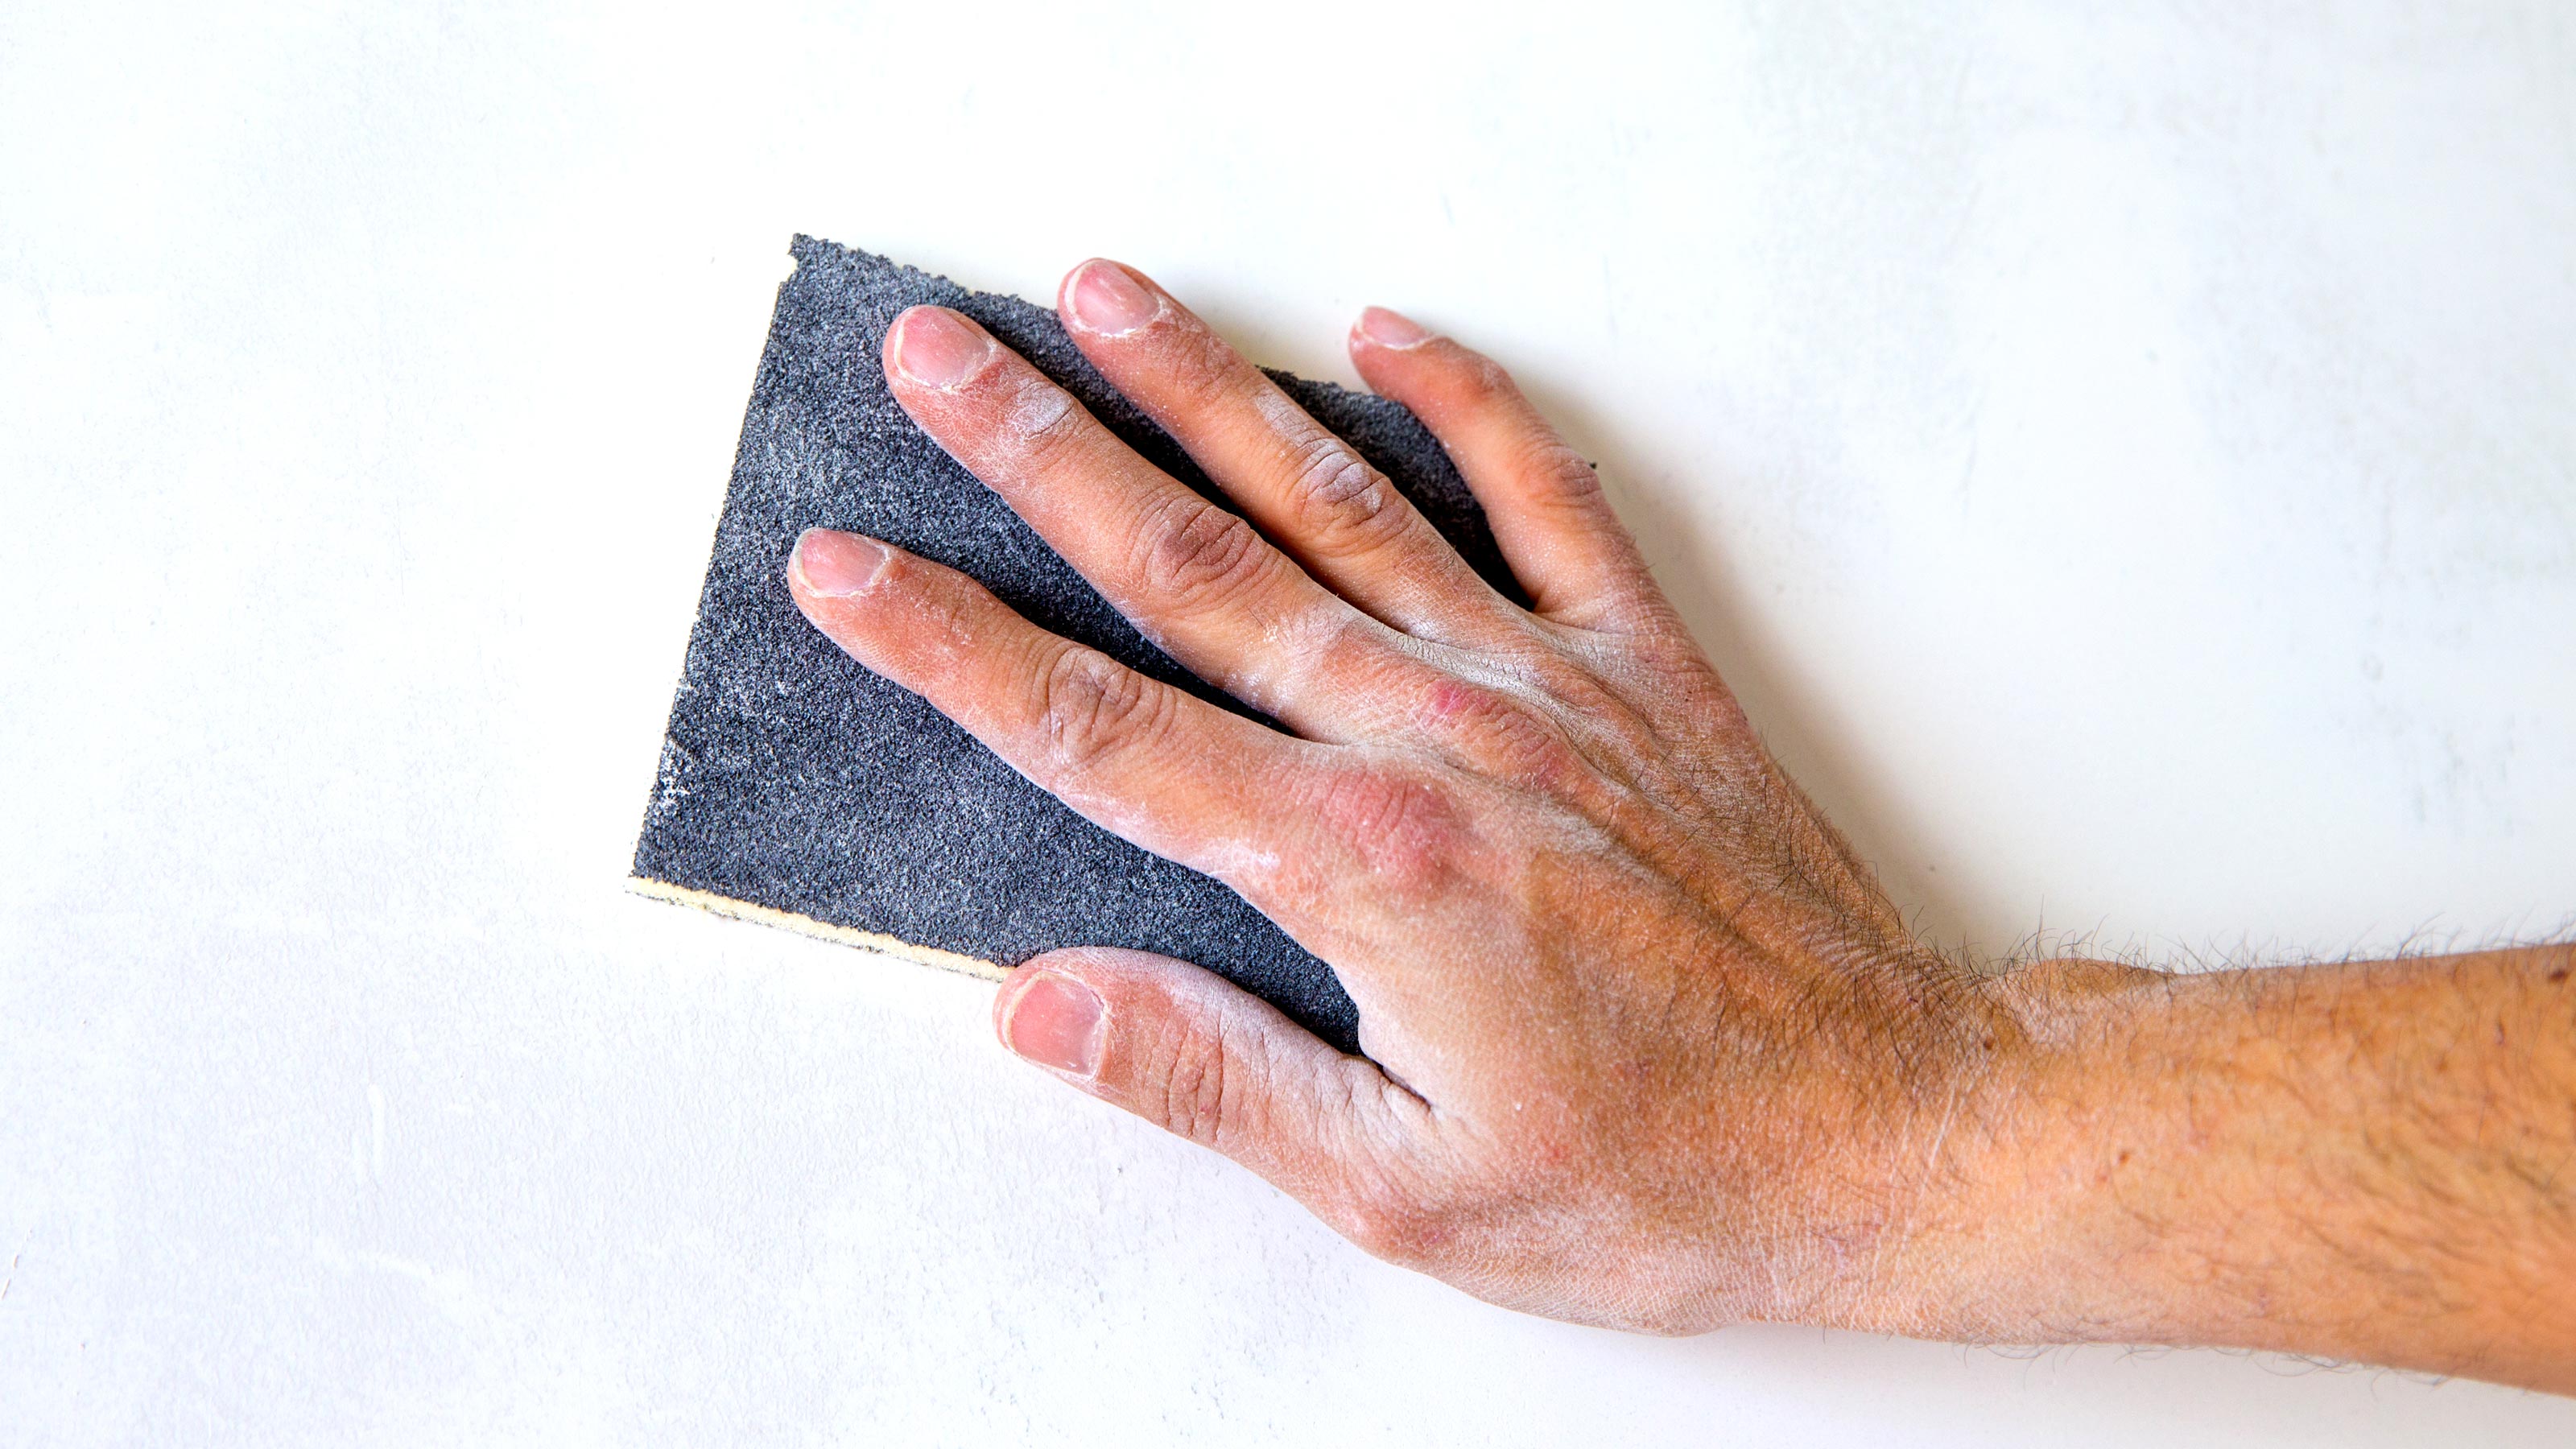


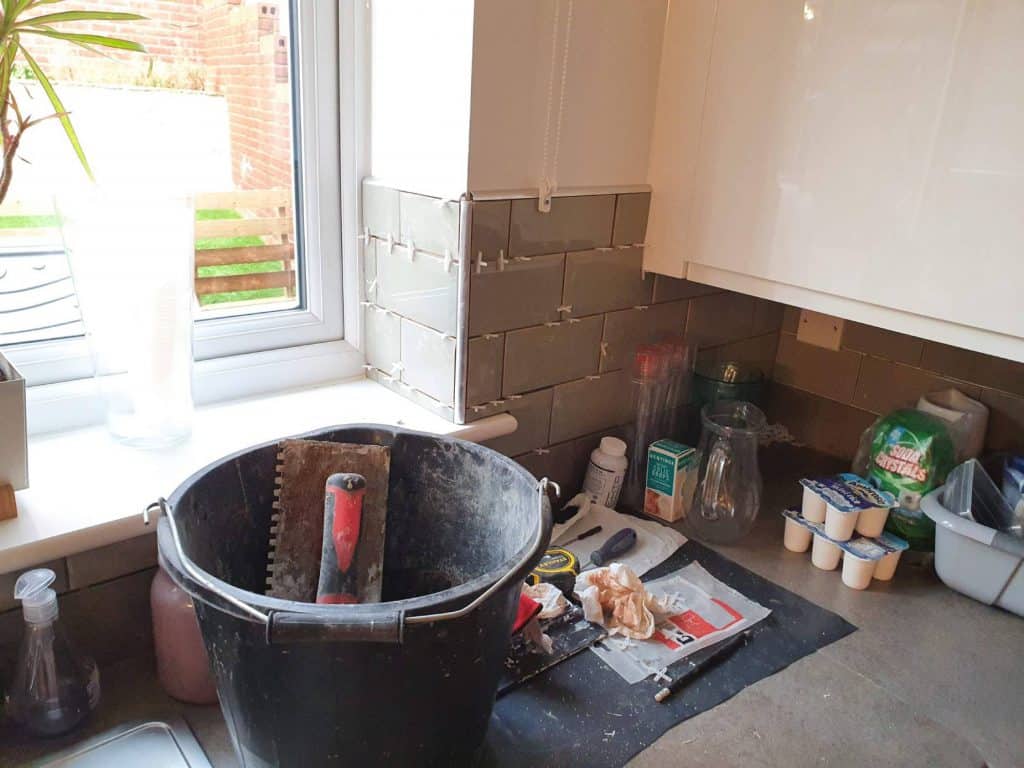
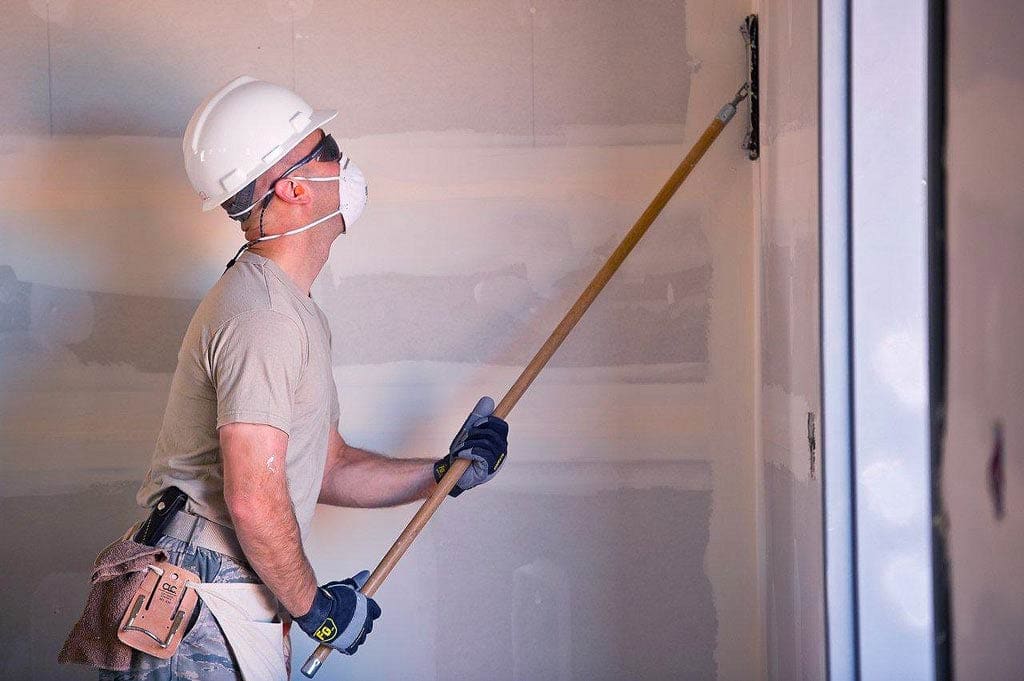
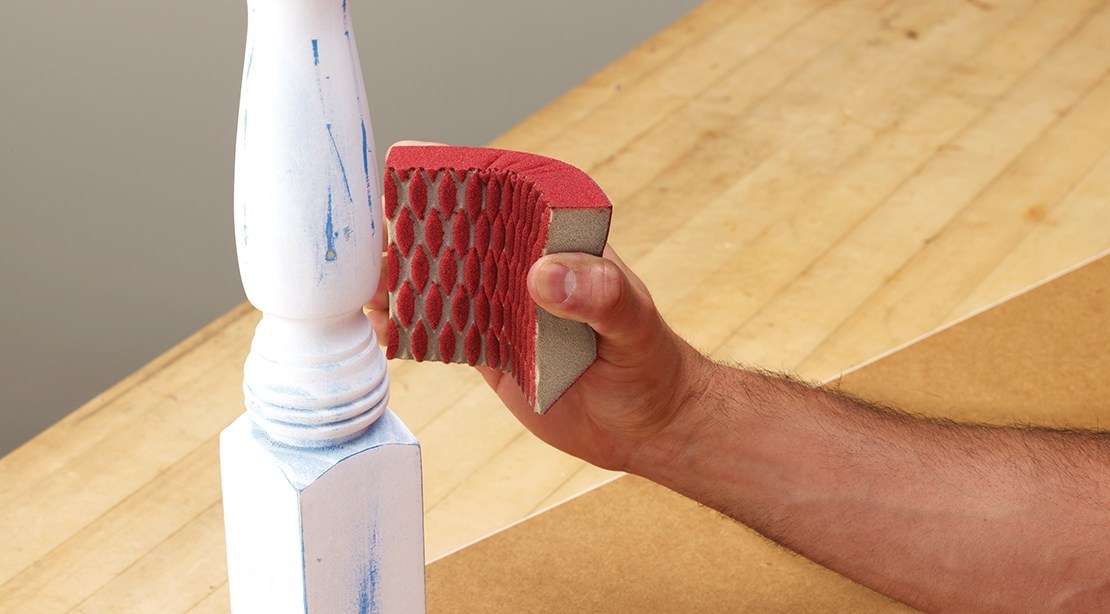
If your kitchen cabinets are close to the walls, it's important to take extra precautions when sanding to avoid damaging them. Use painter's tape to protect the edges of the cabinets, and be sure to sand in a gentle, circular motion. You can also use a sanding block or sponge to carefully sand around the edges of the cabinets.4. Tips for Sanding Kitchen Walls Without Damaging Cabinets


4. Tips for Sanding Kitchen Walls Without Damaging Cabinets


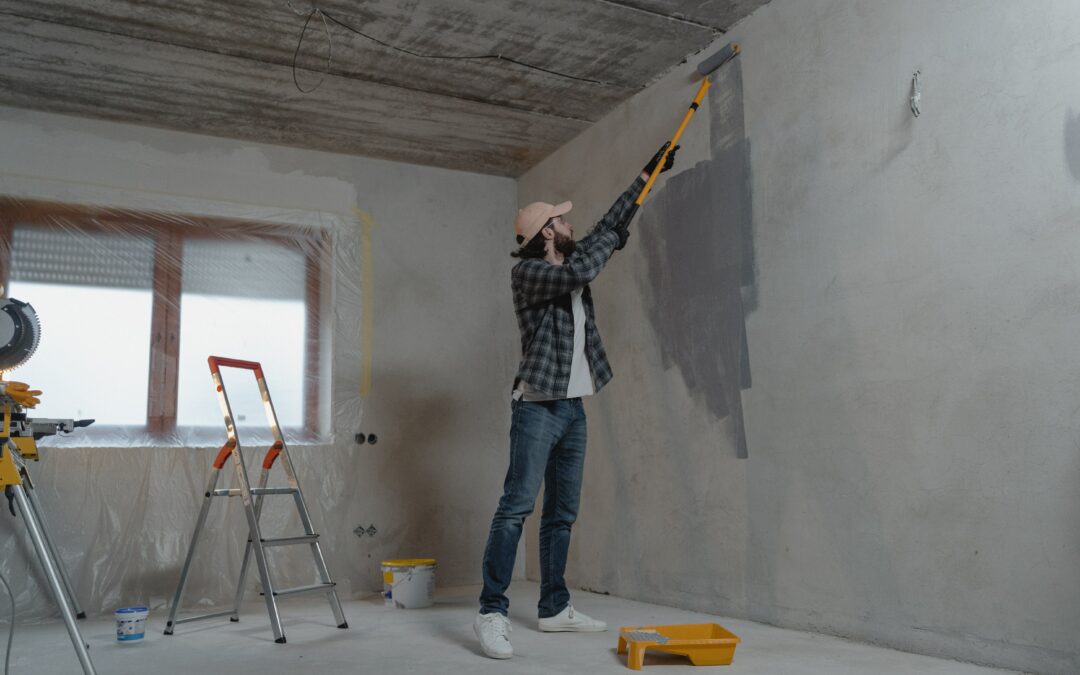
When it comes to preparing your kitchen walls for painting, the order of sanding and priming can be confusing. The general rule is to sand first, then prime. Sanding helps to smooth out imperfections and create a better surface for the primer to adhere to. This will ultimately result in a more even and long-lasting paint job.5. Sanding vs. Priming: Which Comes First for Kitchen Walls?


5. Sanding vs. Priming: Which Comes First for Kitchen Walls?


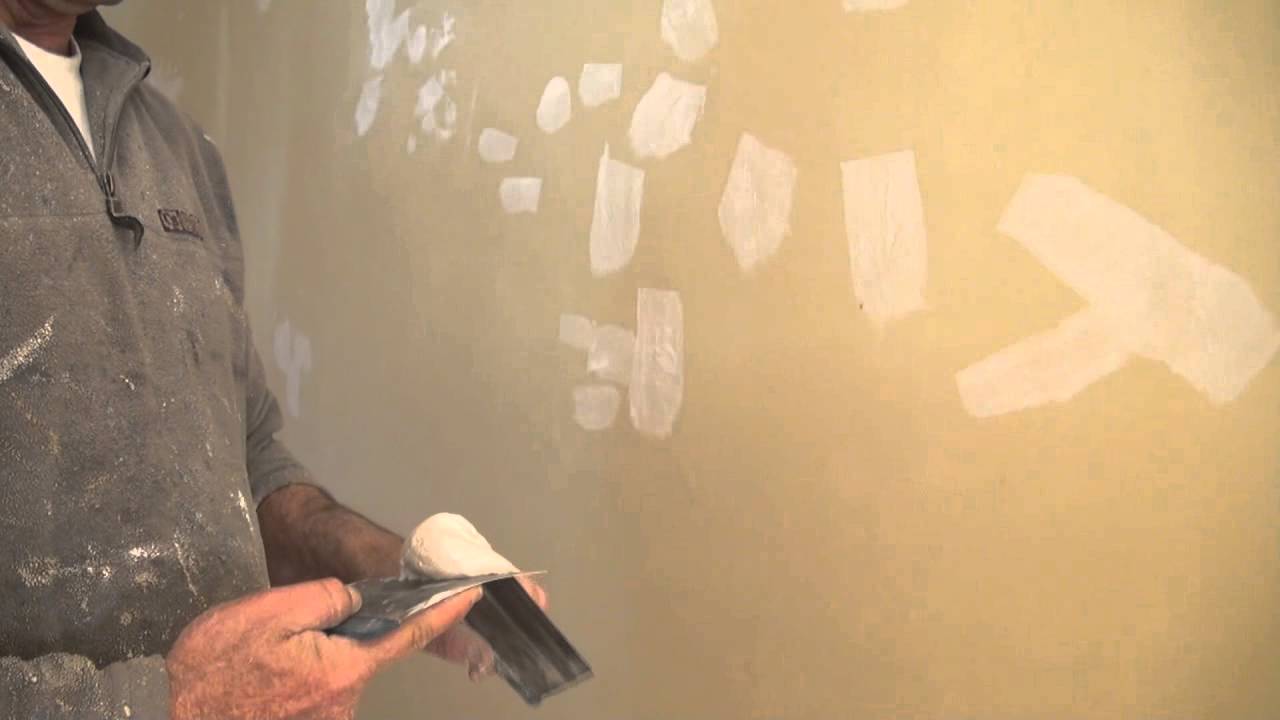
Before you start sanding your kitchen walls, it's important to properly prepare the area. Move any furniture or appliances away from the walls and cover them with plastic or drop cloths to protect them from dust and debris. You should also protect your floors with drop cloths or old sheets. This will make clean-up much easier once you're finished sanding and painting.6. How to Prep Kitchen Walls for Sanding and Painting

6. How to Prep Kitchen Walls for Sanding and Painting


Sanding your kitchen walls may seem like an extra step, but it's well worth the effort. By removing imperfections and creating a smooth surface, sanding ensures that your paint will go on evenly and adhere properly. This will result in a professional-looking finish that will last for years to come.7. The Benefits of Sanding Kitchen Walls Before Painting


7. The Benefits of Sanding Kitchen Walls Before Painting


When sanding kitchen walls, there are a few mistakes that are commonly made. Avoid using too much pressure, as this can damage the wall or create uneven spots. It's also important to sand in a circular motion rather than back and forth. And be sure to thoroughly wipe down the walls after sanding to remove any dust and debris before painting.8. Sanding Kitchen Walls: Common Mistakes to Avoid


8. Sanding Kitchen Walls: Common Mistakes to Avoid


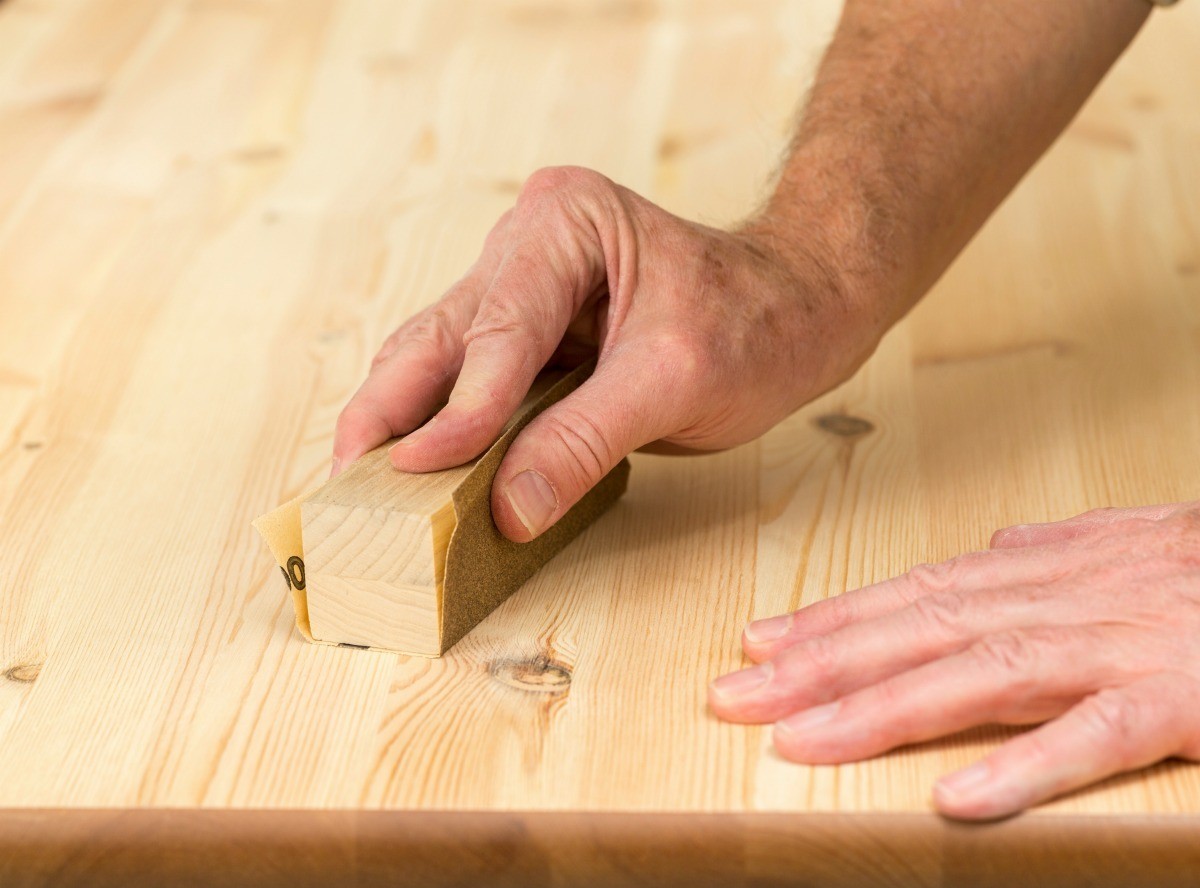
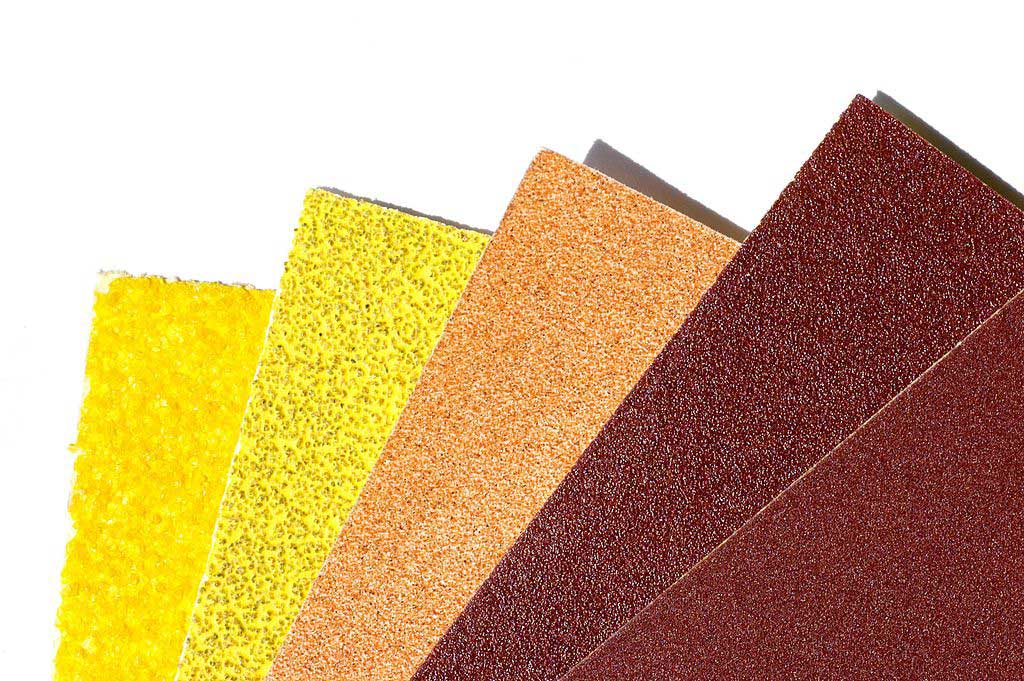
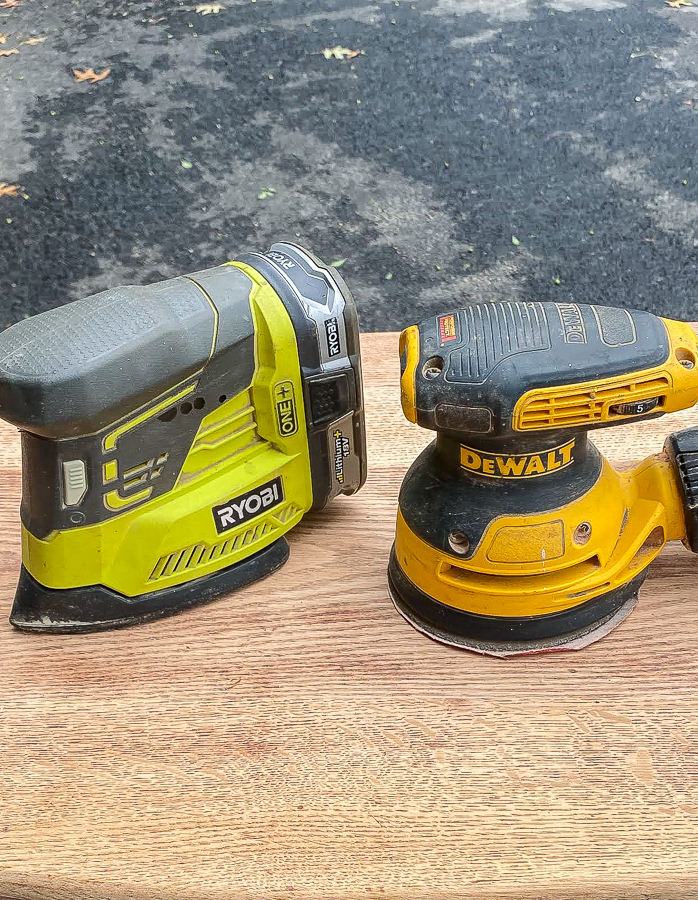
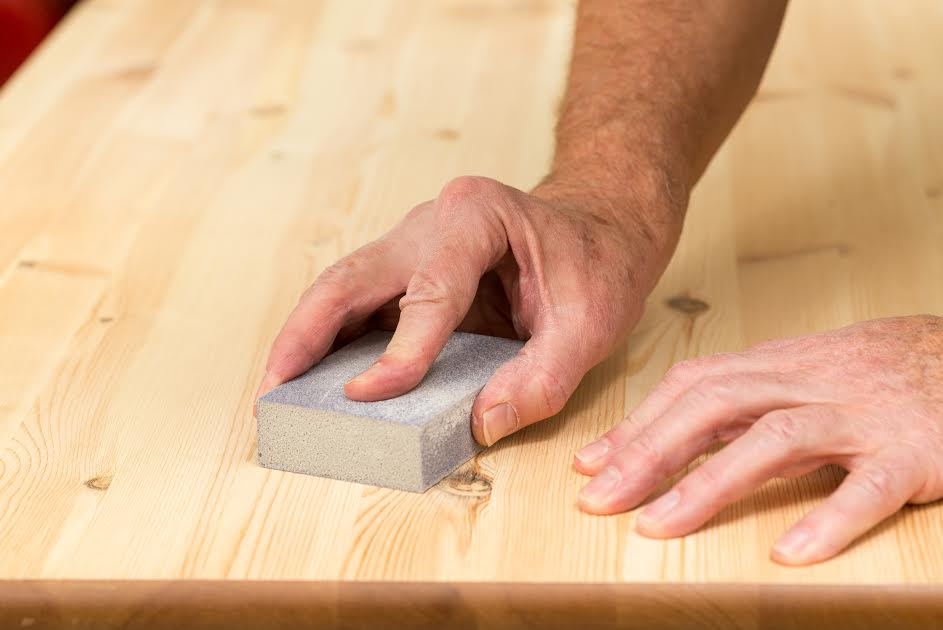
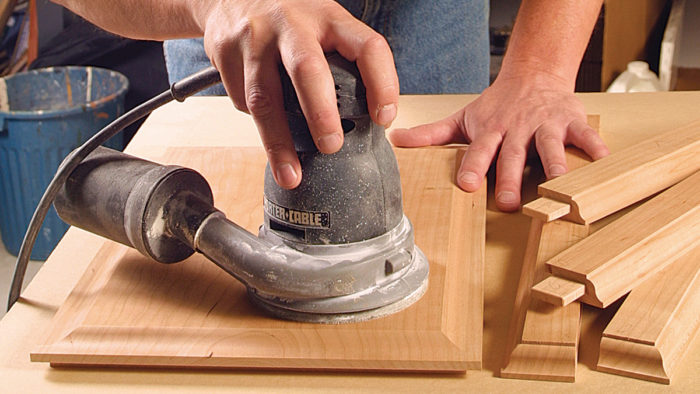
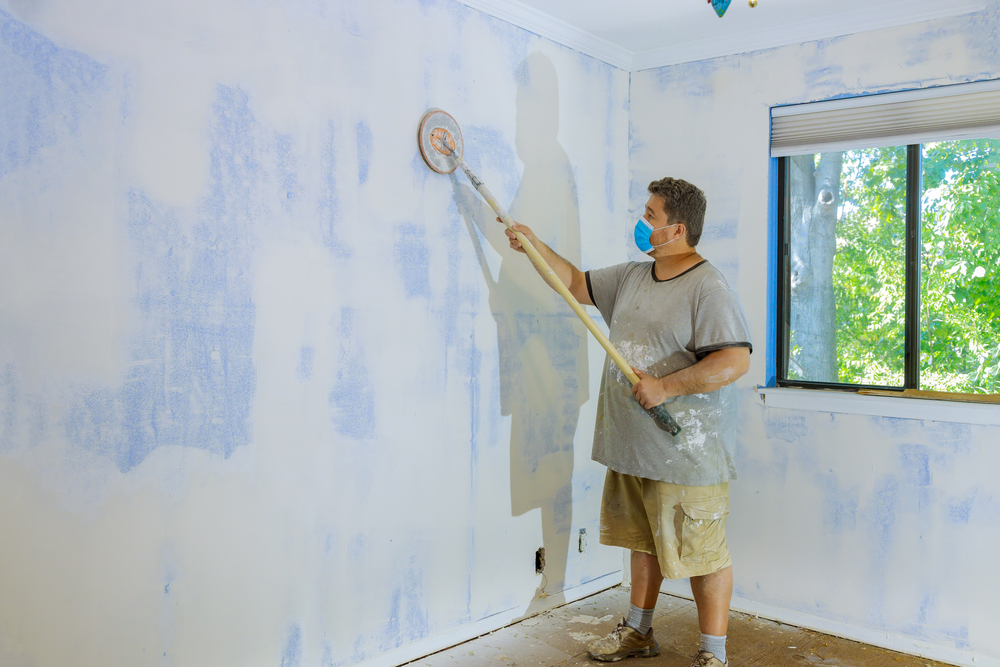
Choosing the right sanding tools for your kitchen walls will make the job much easier and more effective. Sanding sponges are great for hard-to-reach areas and corners, while sanding blocks can provide more control and pressure for larger areas. You can also use a hand sander for larger and more stubborn imperfections.9. How to Choose the Right Sanding Tools for Kitchen Walls


9. How to Choose the Right Sanding Tools for Kitchen Walls


While sanding and painting kitchen walls can be a DIY project, it may be worth considering hiring a professional for a more precise and efficient job. A professional will have the right tools and experience to ensure a smooth and even finish. However, if you have the time and patience, DIY sanding can save you some money and give you a sense of accomplishment.10. Sanding Kitchen Walls: Pros and Cons of DIY vs. Hiring a Professional


10. Sanding Kitchen Walls: Pros and Cons of DIY vs. Hiring a Professional


The Importance of Sanding Your Kitchen Walls

Why Sanding is Necessary for Kitchen Walls
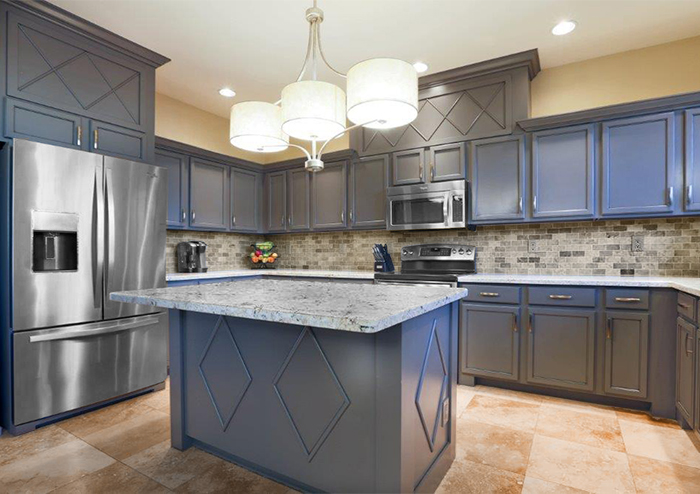
 When it comes to designing a house, the kitchen is often considered the heart of the home. It's where meals are prepared and memories are made. As such, it's important to keep this space looking clean and fresh. One way to achieve this is by sanding your kitchen walls. Sanding involves using a fine-grit sandpaper to smooth out any imperfections on the surface of the walls. This process not only helps to create a smooth and even finish, but it also prepares the walls for painting or wallpapering.
Sanding
is an essential step in any kitchen renovation project and should not be overlooked.
When it comes to designing a house, the kitchen is often considered the heart of the home. It's where meals are prepared and memories are made. As such, it's important to keep this space looking clean and fresh. One way to achieve this is by sanding your kitchen walls. Sanding involves using a fine-grit sandpaper to smooth out any imperfections on the surface of the walls. This process not only helps to create a smooth and even finish, but it also prepares the walls for painting or wallpapering.
Sanding
is an essential step in any kitchen renovation project and should not be overlooked.
Benefits of Sanding Your Kitchen Walls
 Sanding your kitchen walls offers many benefits, both aesthetically and practically. Firstly, it helps to remove any bumps, scratches, or dents on the wall, creating a smoother and more visually appealing surface. This is especially important if you plan on painting or adding wallpaper, as a smooth surface will result in a more professional and polished look. Additionally,
sanding
also helps to remove any old paint or residue, creating a clean canvas for your new kitchen design.
Moreover,
sanding
allows for better adhesion of paint or wallpaper. By removing any imperfections and creating a slightly rough surface, the new coat of paint or wallpaper will have something to grip onto, ensuring a long-lasting finish. This is particularly important in high-traffic areas like the kitchen, where walls are prone to wear and tear. Sanding also helps to level out any uneven areas on the wall, creating a more seamless and professional appearance.
Sanding your kitchen walls offers many benefits, both aesthetically and practically. Firstly, it helps to remove any bumps, scratches, or dents on the wall, creating a smoother and more visually appealing surface. This is especially important if you plan on painting or adding wallpaper, as a smooth surface will result in a more professional and polished look. Additionally,
sanding
also helps to remove any old paint or residue, creating a clean canvas for your new kitchen design.
Moreover,
sanding
allows for better adhesion of paint or wallpaper. By removing any imperfections and creating a slightly rough surface, the new coat of paint or wallpaper will have something to grip onto, ensuring a long-lasting finish. This is particularly important in high-traffic areas like the kitchen, where walls are prone to wear and tear. Sanding also helps to level out any uneven areas on the wall, creating a more seamless and professional appearance.
How to Properly Sand Your Kitchen Walls
 To achieve the best results, it's important to follow the proper steps for sanding your kitchen walls. First, gather all necessary materials, including sandpaper, a sanding block, putty knife, and a vacuum or damp cloth for cleaning up. Begin by sanding in a circular motion, focusing on any rough or uneven areas. Use a finer grit sandpaper for a smoother finish. Once the walls are evenly sanded, use a putty knife to fill in any holes or cracks with putty. Sand over the putty once it has dried to create a seamless surface. Finally, clean up any dust or debris with a vacuum or damp cloth.
Conclusion
 In conclusion,
sanding
your kitchen walls is an important step in any house design project. It helps to create a smooth and even surface for painting or wallpapering, as well as providing better adhesion and a more professional finish. By following the proper steps and techniques, you can achieve a beautifully designed kitchen that will be the heart of your home for years to come. So don't overlook the importance of
sanding
, and make it a part of your next kitchen renovation project.
In conclusion,
sanding
your kitchen walls is an important step in any house design project. It helps to create a smooth and even surface for painting or wallpapering, as well as providing better adhesion and a more professional finish. By following the proper steps and techniques, you can achieve a beautifully designed kitchen that will be the heart of your home for years to come. So don't overlook the importance of
sanding
, and make it a part of your next kitchen renovation project.