Removing a bathroom sink drain may seem like a daunting task, but with the right tools and techniques, it can be a simple DIY project. Whether you're looking to replace an old drain or fix a clog, removing a bathroom sink drain is a necessary skill for any homeowner. Follow these step-by-step instructions to learn how to remove a bathroom sink drain with ease. How to Remove a Bathroom Sink Drain


How to Remove a Bathroom Sink Drain


Before you begin, make sure to gather all necessary tools and materials. You will need a pair of pliers, a drain wrench, a flathead screwdriver, and a bucket or towel to catch any water that may spill out. It is also helpful to have a flashlight and some baking soda and vinegar on hand for cleaning. Removing a Bathroom Sink Drain


Removing a Bathroom Sink Drain


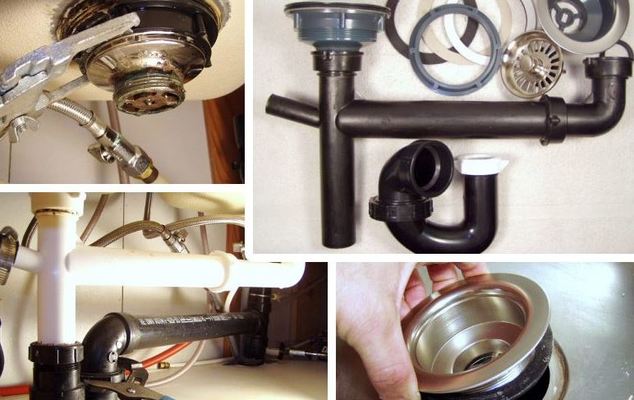
To start, locate the drain pipes under your sink. The drain pipe is the curved pipe that connects the sink to the main drain line. The drain pipe is typically connected to the sink by a slip nut, which can be loosened with pliers. Once the slip nut is loosened, use a drain wrench to loosen and remove the drain from the sink. DIY Bathroom Sink Drain Removal


DIY Bathroom Sink Drain Removal


Next, you will need to remove the drain stopper. This can be done by unscrewing the top of the stopper or by pulling it out with pliers. Once the stopper is removed, use a flathead screwdriver to loosen and remove the drain flange. This may require some force, so be careful not to damage the sink or drain pipe. Step-by-Step Guide for Removing a Bathroom Sink Drain


Step-by-Step Guide for Removing a Bathroom Sink Drain


After removing the drain flange, use a rag to clean any debris or buildup from the inside of the drain. You can also use a mixture of baking soda and vinegar to help remove any stubborn clogs. Once the drain is cleaned, you can reattach the drain flange and stopper. Tools Needed for Removing a Bathroom Sink Drain

Tools Needed for Removing a Bathroom Sink Drain


If you encounter any difficulties during the removal process, try using a lubricant such as WD-40 to help loosen any stuck parts. You can also use a hairdryer to heat up the metal parts, which can make them easier to remove. If all else fails, it may be necessary to call a professional plumber for assistance. Tips for Removing a Stubborn Bathroom Sink Drain


Tips for Removing a Stubborn Bathroom Sink Drain


When removing a bathroom sink drain, it is important to avoid damaging the sink or drain pipes. Be careful not to use too much force when removing parts, as this can cause cracks or leaks. It is also important to properly clean and maintain your drain to prevent clogs in the future. Common Mistakes to Avoid When Removing a Bathroom Sink Drain


Common Mistakes to Avoid When Removing a Bathroom Sink Drain


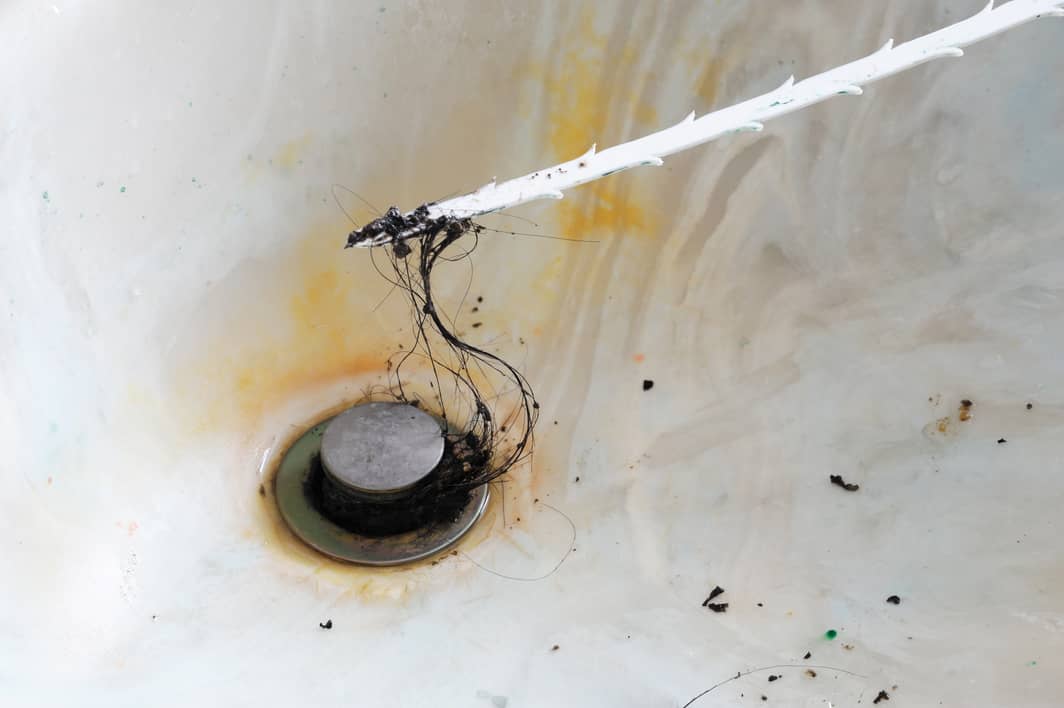
Once you have successfully removed the drain, you may need to replace it with a new one. This can be done by following the same steps in reverse order. Make sure to tighten all slip nuts and connections to prevent any leaks. If you are replacing the drain due to a clog, it may be beneficial to use a drain cover or hair catcher to prevent future clogs. How to Replace a Bathroom Sink Drain After Removal


How to Replace a Bathroom Sink Drain After Removal


If you encounter any problems during the removal process, it is important to troubleshoot and address them as soon as possible. Common issues may include stuck parts, leaks, or damage to the sink or pipes. If you are unsure of how to handle a specific issue, it is best to seek the help of a professional plumber. Troubleshooting Common Issues with Removing a Bathroom Sink Drain


Troubleshooting Common Issues with Removing a Bathroom Sink Drain

/bathroom-sink-drain-installation-2718843-01-4955fe1f576b447a91abe51c126d220b.jpg)

Deciding whether to hire a professional plumber or attempt a DIY bathroom sink drain removal depends on your skill level and the complexity of the task. While some may feel comfortable tackling this project on their own, others may prefer the peace of mind that comes with hiring a professional. If you are unsure, it is always best to seek the advice of a trusted plumber. Professional vs. DIY Bathroom Sink Drain Removal


Professional vs. DIY Bathroom Sink Drain Removal

How to Remove a Bathroom Sink Drain and Upgrade Your House Design

Why Upgrade Your Bathroom Sink Drain?
:max_bytes(150000):strip_icc()/bathroom-sink-drain-installation-2718843-02-61e5ecbee1e949be8d8f45ac4f5a6797.jpg) When it comes to house design, the bathroom is often overlooked. However, small changes such as upgrading your bathroom sink drain can make a big impact on the overall aesthetic and functionality of your space. Not only does a new sink drain improve the look of your bathroom, but it can also prevent clogs and improve water flow. If you're looking to give your bathroom a quick and easy upgrade, removing and replacing your sink drain is the perfect project.
When it comes to house design, the bathroom is often overlooked. However, small changes such as upgrading your bathroom sink drain can make a big impact on the overall aesthetic and functionality of your space. Not only does a new sink drain improve the look of your bathroom, but it can also prevent clogs and improve water flow. If you're looking to give your bathroom a quick and easy upgrade, removing and replacing your sink drain is the perfect project.
The Tools You'll Need
 Before you begin, make sure you have the necessary tools on hand. You will need a pair of pliers, a pipe wrench, a bucket, and a new sink drain assembly. It's also a good idea to have some towels or rags nearby to clean up any spills.
Step 1: Turn Off the Water Supply
 Before you start removing your old sink drain, make sure to turn off the water supply. This can usually be done by turning the shut-off valves under the sink in a clockwise direction. If you don't have shut-off valves, you will need to turn off the main water supply to your house.
Step 2: Remove the Old Drain
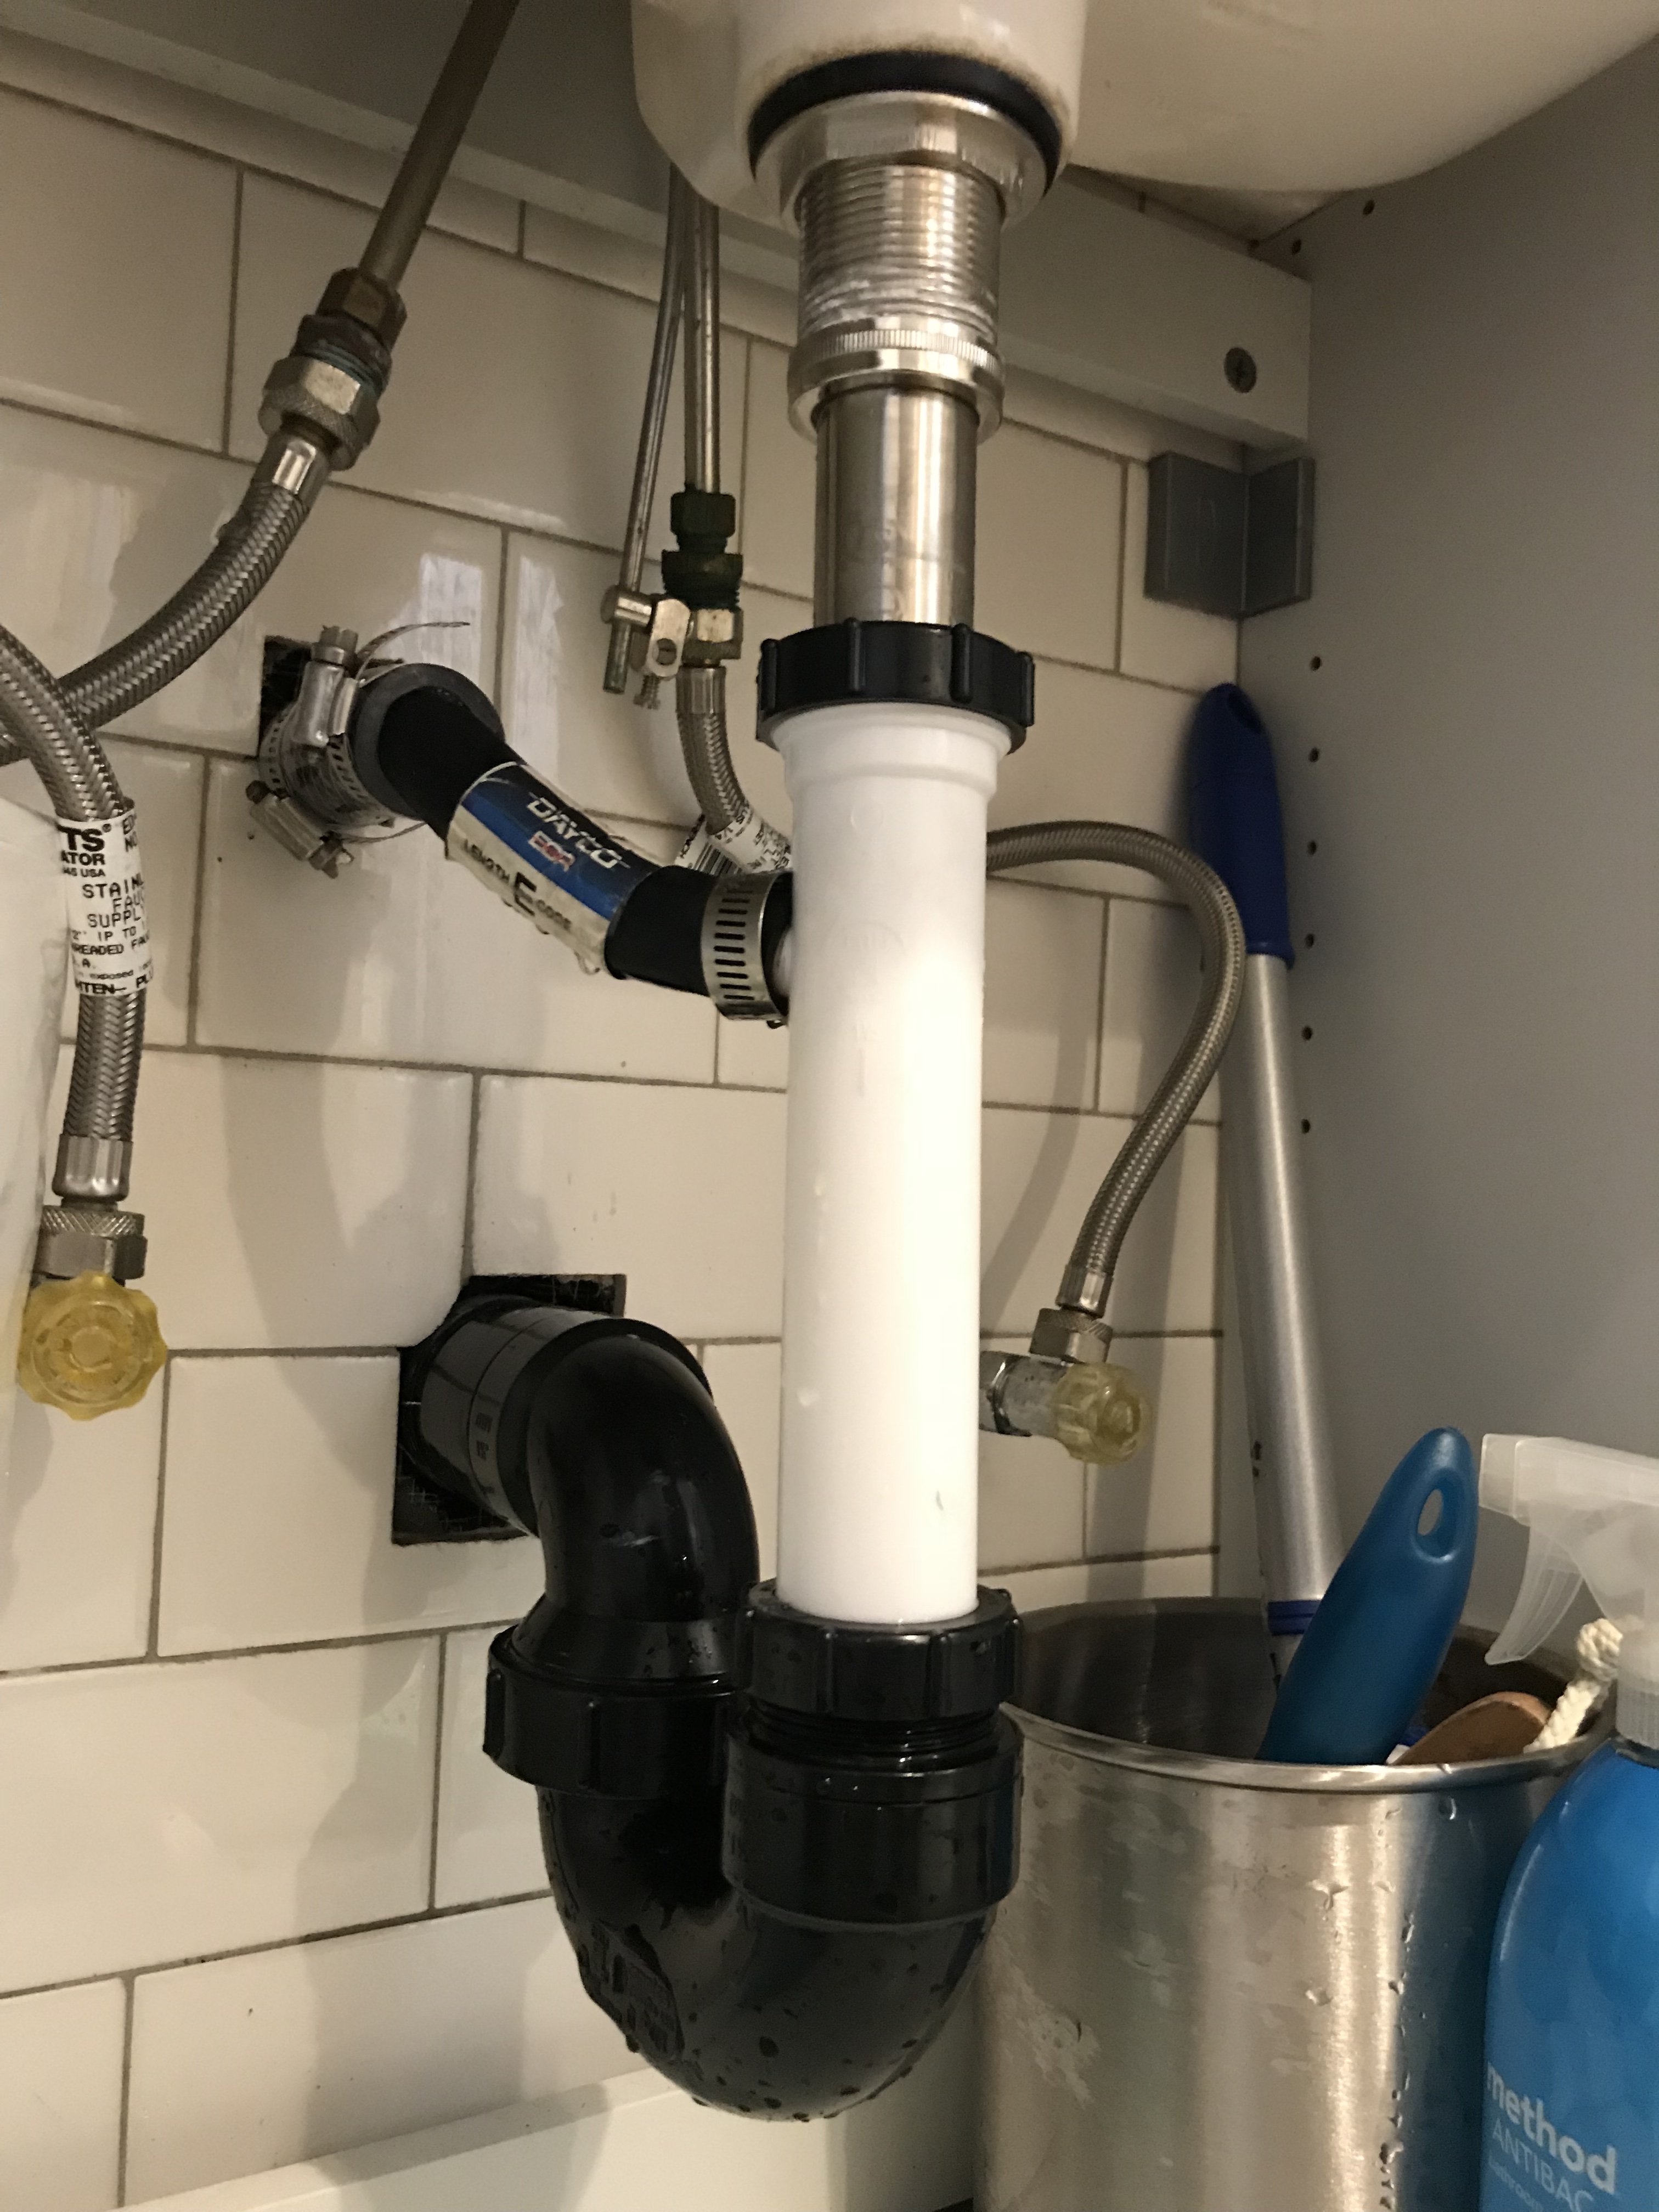
 Using your pliers or a pipe wrench, loosen and remove the slip nuts that hold the pipes in place. Place a bucket under the pipes to catch any water that may spill out. Once the slip nuts are removed, you should be able to easily lift the old drain out of the sink.
Step 3: Clean the Sink and Drain
 After removing the old drain, use a cloth or brush to clean any debris or buildup from the sink and the surrounding area. This will ensure a smooth installation of the new drain.
Step 4: Install the New Drain
 Take your new sink drain assembly and screw the top piece into the bottom piece. Apply plumber's putty around the edges of the drain and insert it into the sink hole. From underneath the sink, screw on the drain flange and tighten with pliers.
Step 5: Reconnect the Pipes
:max_bytes(150000):strip_icc()/SPR-HOME-v2-8-best-drain-openers-4177167-8e4b5c1d411f4b888b7b67f53252aa86.jpg) Using your pliers, reattach the slip nuts and pipes to the new drain. Make sure they are tightened securely to prevent any leaks.
Using your pliers, reattach the slip nuts and pipes to the new drain. Make sure they are tightened securely to prevent any leaks.
Step 6: Turn the Water Supply Back On
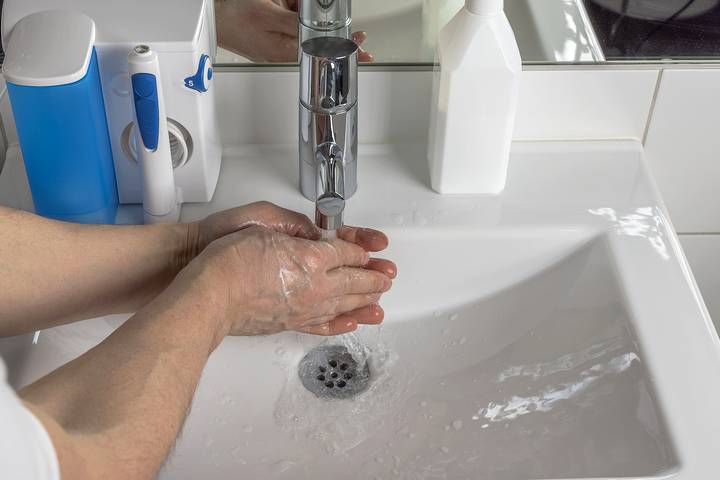
 Once the new drain is installed, turn the water supply back on and check for any leaks. If everything looks good, you're all set! Your bathroom sink now has a brand new, upgraded drain that will not only improve the look of your space but also prevent clogs and improve water flow.
Whether you're looking to sell your house or simply want to give your bathroom a fresh look, removing and replacing your bathroom sink drain is an easy and affordable way to upgrade your house design. With just a few tools and a little bit of time, you can transform your bathroom into a more functional and stylish space.
So go ahead and give your bathroom the attention it deserves by removing your old, worn-out sink drain and replacing it with a shiny new one. Your guests will surely notice the difference and you'll be proud to show off your upgraded house design.
Once the new drain is installed, turn the water supply back on and check for any leaks. If everything looks good, you're all set! Your bathroom sink now has a brand new, upgraded drain that will not only improve the look of your space but also prevent clogs and improve water flow.
Whether you're looking to sell your house or simply want to give your bathroom a fresh look, removing and replacing your bathroom sink drain is an easy and affordable way to upgrade your house design. With just a few tools and a little bit of time, you can transform your bathroom into a more functional and stylish space.
So go ahead and give your bathroom the attention it deserves by removing your old, worn-out sink drain and replacing it with a shiny new one. Your guests will surely notice the difference and you'll be proud to show off your upgraded house design.