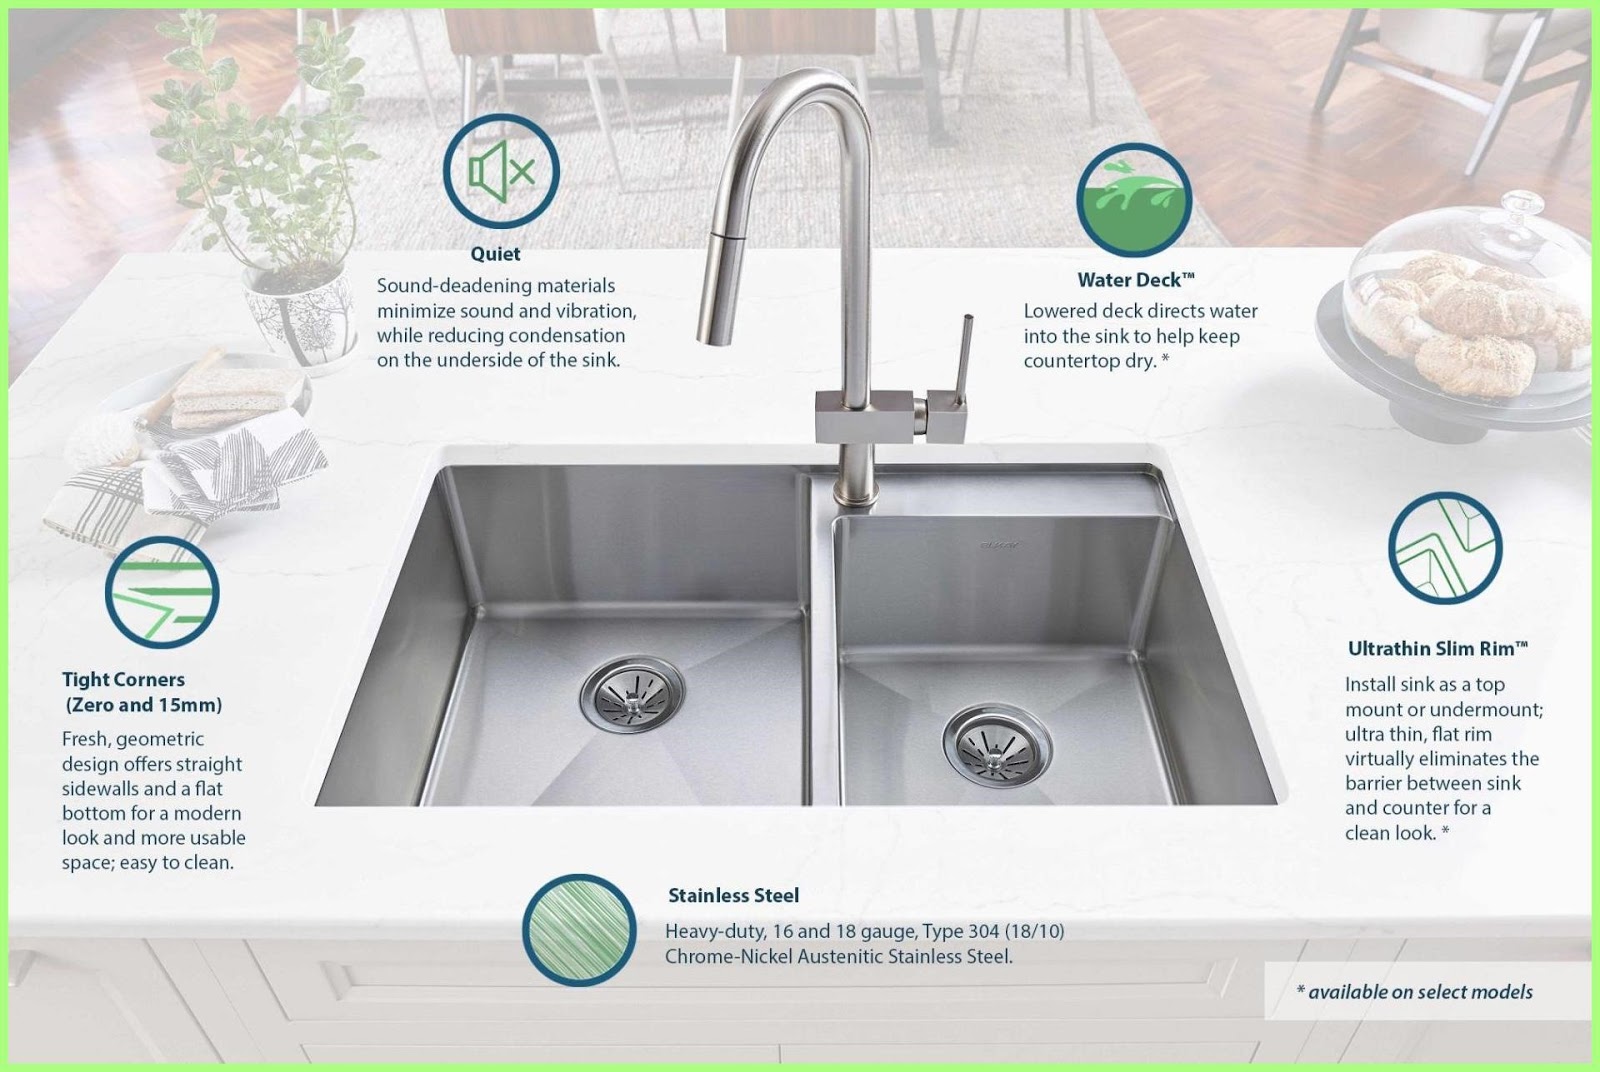
If you notice a foul odor coming from your kitchen sink or a slow draining sink, it may be time to replace the P-trap. The P-trap is a curved piece of pipe located under the sink that traps debris and prevents it from clogging up your plumbing system. Over time, the P-trap can become corroded or clogged, causing issues with your sink's drainage. Fortunately, replacing a P-trap in a kitchen sink is a fairly straightforward DIY project. In this article, we will guide you through the process of replacing a P-trap in a kitchen sink.How to Replace a P-Trap in a Kitchen Sink


How to Replace a P-Trap in a Kitchen Sink
/sink-drain-trap-185105402-5797c5f13df78ceb869154b5.jpg)


Before you begin, make sure to gather all the necessary tools and materials. You will need a new P-trap, plumber's tape, an adjustable wrench, a bucket, and a towel. Step 1: Turn off the water supply to the sink by shutting off the valves under the sink. If your sink does not have individual valves, you will need to shut off the main water supply to your home. Step 2: Place a bucket under the P-trap to catch any water that may drain out when you remove it. Step 3: Use an adjustable wrench to loosen the slip nuts on both ends of the P-trap. Carefully remove the P-trap and set it aside. Step 4: Inspect the old P-trap for any signs of damage or corrosion. If it is in good condition, you can reuse it. However, if it is damaged, it is best to replace it with a new one. Step 5: Install the new P-trap by sliding it into place between the drain and the wall outlet. Make sure to use plumber's tape on the threads of the slip nuts to prevent leaks. Step 6: Tighten the slip nuts with an adjustable wrench, making sure they are secure but not too tight. Step 7: Turn the water supply back on and check for any leaks. If there are no leaks, your new P-trap is installed successfully.Replacing a P-Trap in a Kitchen Sink: Step-by-Step Guide


Replacing a P-Trap in a Kitchen Sink: Step-by-Step Guide

:max_bytes(150000):strip_icc()/replacing-a-sink-p-trap-2718773-hero-f3f65fbc400e41438c4d8280de025fc6.jpg)


To replace a P-trap in a kitchen sink, you will need the following tools and materials: - New P-trap (either plastic or metal) - Plumber's tape - Adjustable wrench - Bucket - TowelReplacing a P-Trap in a Kitchen Sink: Tools and Materials Needed


DIY: Replacing a P-Trap in a Kitchen Sink


Now, let's dive into the step-by-step guide for replacing a P-trap in a kitchen sink. Step 1: Turn off the water supply to the sink by shutting off the valves under the sink. If your sink does not have individual valves, you will need to shut off the main water supply to your home. Step 2: Place a bucket under the P-trap to catch any water that may drain out when you remove it. Step 3: Use an adjustable wrench to loosen the slip nuts on both ends of the P-trap. Carefully remove the P-trap and set it aside. Step 4: Inspect the old P-trap for any signs of damage or corrosion. If it is in good condition, you can reuse it. However, if it is damaged, it is best to replace it with a new one. Step 5: Install the new P-trap by sliding it into place between the drain and the wall outlet. Make sure to use plumber's tape on the threads of the slip nuts to prevent leaks. Step 6: Tighten the slip nuts with an adjustable wrench, making sure they are secure but not too tight. Step 7: Turn the water supply back on and check for any leaks. If there are no leaks, your new P-trap is installed successfully.Step-by-Step Guide for Replacing a P-Trap in a Kitchen Sink


Replacing a P-Trap in a Kitchen Sink: Tools and Materials Needed


:max_bytes(150000):strip_icc()/sink-drain-trap-185105402-5797c5f13df78ceb869154b5.jpg)
While replacing a P-trap in a kitchen sink is a simple task, there are a few common mistakes that you should avoid to ensure a successful replacement. Mistake #1: Not turning off the water supply before starting the replacement. This can result in a messy and potentially damaging situation. Mistake #2: Tightening the slip nuts too much, which can cause them to crack and lead to leaks. Mistake #3: Not using plumber's tape on the slip nut threads, which can also result in leaks.Replacing a P-Trap in a Kitchen Sink: Common Mistakes to Avoid


Step-by-Step Guide for Replacing a P-Trap in a Kitchen Sink

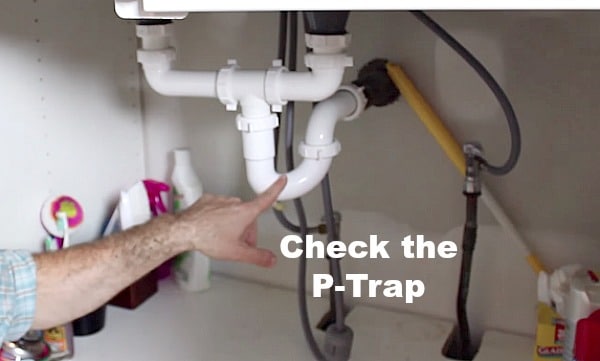
There are a few signs that indicate it's time to replace your P-trap: - Foul odor coming from the sink - Slow draining sink - Leaks around the P-trap If you notice any of these signs, it's best to replace the P-trap sooner rather than later to prevent further issues.How to Know When to Replace a P-Trap in a Kitchen Sink

Replacing a P-Trap in a Kitchen Sink: Common Mistakes to Avoid
Here are a few tips and tricks to keep in mind when replacing a P-trap in a kitchen sink: - Use plumber's tape on the slip nut threads to prevent leaks - Tighten the slip nuts just enough to create a secure seal - Inspect the P-trap regularly for any signs of damage or corrosionReplacing a P-Trap in a Kitchen Sink: Tips and Tricks


How to Know When to Replace a P-Trap in a Kitchen Sink

Replacing a P-trap in a kitchen sink is a simple DIY project that can save you time and money. By following the steps outlined in this article, you can easily replace your P-trap and keep your kitchen sink functioning properly.DIY: How to Replace a P-Trap in a Kitchen Sink

Replacing a P-Trap in a Kitchen Sink: Tips and Tricks
If you encounter any issues while replacing a P-trap in a kitchen sink, here are a few troubleshooting tips: - If the slip nuts are too tight or corroded, use a pair of pliers to loosen them - If the P-trap is too damaged to reuse, make sure to purchase a new one before starting the replacement - If leaks persist after installation, double-check that the slip nuts are tightened properly and that you have used plumber's tape By following these tips, you should be able to successfully replace a P-trap in a kitchen sink without any major issues.Replacing a P-Trap in a Kitchen Sink: Troubleshooting Common Issues
DIY: How to Replace a P-Trap in a Kitchen Sink

Why Replacing P-Trap in Kitchen Sink is Important for Your House Design
/sink-drain-trap-185105402-5797c5f13df78ceb869154b5.jpg)
The Importance of a Functional P-Trap
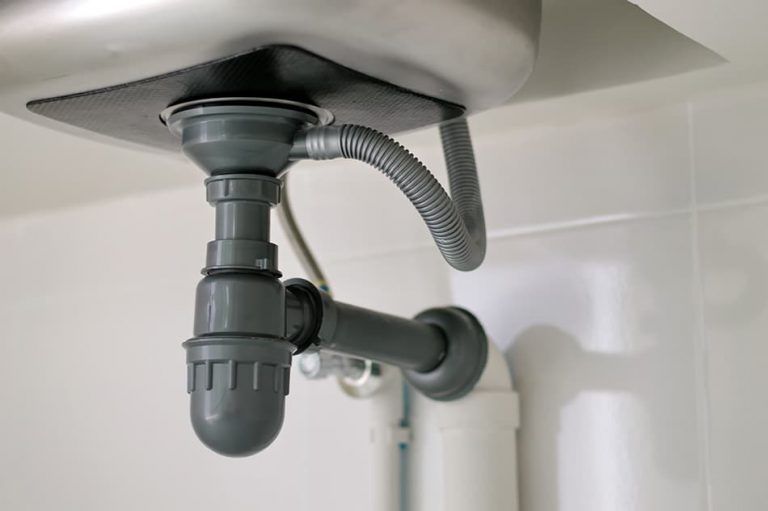
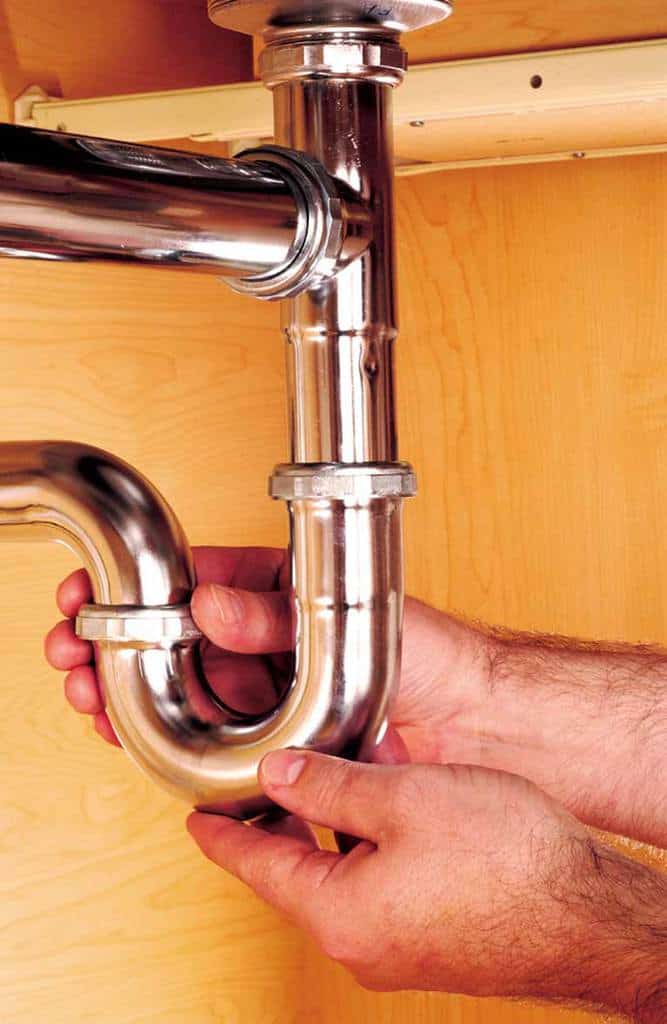
 The P-trap, also known as the sink trap, is a vital component of your kitchen sink plumbing. It is a curved pipe that connects the drain of your sink to the main sewage line. The P-trap is shaped like a "P" and is designed to prevent sewer gas from entering your home, while also creating a water barrier to prevent clogs and blockages. Over time, the P-trap can become damaged or clogged, which can lead to unpleasant odors, slow draining water, and even leaks. That's why it is important to regularly inspect and replace your P-trap to ensure the functionality and longevity of your kitchen sink.
The Benefits of Replacing Your P-Trap
 Replacing your P-trap can have several benefits for your house design. First and foremost, it ensures that your kitchen sink is functioning properly. A faulty P-trap can lead to clogs, leaks, and foul odors, which can be a major inconvenience and health hazard. By replacing your P-trap, you can avoid these issues and maintain a clean and functional kitchen sink.
Additionally, replacing your P-trap can also improve the overall aesthetic of your kitchen. A damaged or rusty P-trap can be an eyesore and take away from the overall design of your kitchen. By replacing it with a new and polished P-trap, you can enhance the visual appeal of your sink and create a more cohesive look in your kitchen.
Replacing your P-trap can have several benefits for your house design. First and foremost, it ensures that your kitchen sink is functioning properly. A faulty P-trap can lead to clogs, leaks, and foul odors, which can be a major inconvenience and health hazard. By replacing your P-trap, you can avoid these issues and maintain a clean and functional kitchen sink.
Additionally, replacing your P-trap can also improve the overall aesthetic of your kitchen. A damaged or rusty P-trap can be an eyesore and take away from the overall design of your kitchen. By replacing it with a new and polished P-trap, you can enhance the visual appeal of your sink and create a more cohesive look in your kitchen.
How to Replace Your P-Trap
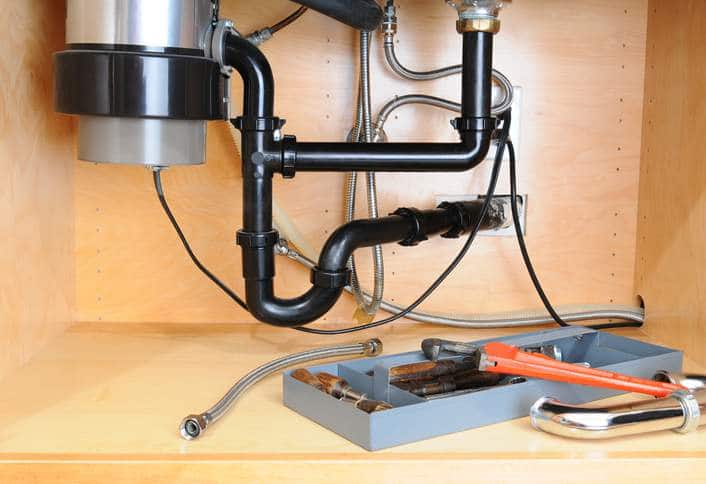
 Replacing a P-trap may seem like a daunting task, but it can be easily done with the right tools and knowledge. The first step is to turn off the water supply to your sink and place a bucket or container under the P-trap to catch any water that may spill out. Then, use a wrench to loosen the nuts that connect the P-trap to the drain and the main sewage line. Once the P-trap is disconnected, you can remove it and replace it with a new one. Make sure to properly tighten the nuts and turn the water supply back on to test for any leaks.
Conclusion
 In conclusion, the P-trap is an essential component of your kitchen sink plumbing and plays a crucial role in maintaining a functional and aesthetically pleasing kitchen. By regularly inspecting and replacing your P-trap, you can avoid any potential issues and improve the overall design of your house. So, don't neglect your kitchen sink's P-trap and make sure to replace it when needed for a happy and healthy home.