Are you tired of constantly dealing with a leaky kitchen sink? It might be time to replace your kitchen sink strainer. This simple DIY project can save you time, money, and frustration. Here's a step-by-step guide on how to replace your kitchen sink strainer and get your sink back in working order.How to Replace a Kitchen Sink Strainer


How to Replace a Kitchen Sink Strainer


:max_bytes(150000):strip_icc()/how-to-install-a-sink-drain-2718789-04-5715d67f5b7d41429d42bf705bb70e2c.jpg)
Before you begin, make sure you have all the necessary tools and supplies. You'll need a new kitchen sink strainer, a screwdriver, plumber's putty, and a pair of pliers. Once you have everything you need, follow these steps to install your new kitchen sink strainer:How to Install a Kitchen Sink Strainer

How to Install a Kitchen Sink Strainer


If you're feeling confident in your DIY skills, replacing a kitchen sink strainer can easily be done on your own. It's a simple project that can save you the cost of hiring a plumber. Just be sure to follow the steps above and have all the necessary tools before starting.DIY Kitchen Sink Strainer Replacement


DIY Kitchen Sink Strainer Replacement


Replacing a kitchen sink strainer can seem intimidating, but it's actually a straightforward process. Here's a step-by-step guide to help you through the process:Step-by-Step Guide for Replacing a Kitchen Sink Strainer


Step-by-Step Guide for Replacing a Kitchen Sink Strainer


Here are a few tips and tricks to keep in mind when replacing a kitchen sink strainer:Replacing a Kitchen Sink Strainer: Tips and Tricks


Replacing a Kitchen Sink Strainer: Tips and Tricks


Having the right tools for the job can make all the difference when replacing a kitchen sink strainer. Here's a list of the tools you'll need:Tools You'll Need for Replacing a Kitchen Sink Strainer


Tools You'll Need for Replacing a Kitchen Sink Strainer


Replacing a kitchen sink strainer may seem like a simple task, but there are a few common mistakes that can be easily avoided:Common Mistakes to Avoid When Replacing a Kitchen Sink Strainer


Common Mistakes to Avoid When Replacing a Kitchen Sink Strainer


When it comes to choosing a kitchen sink strainer, there are a few factors to consider:How to Choose the Right Kitchen Sink Strainer for Your Needs


How to Choose the Right Kitchen Sink Strainer for Your Needs


If you're new to DIY projects, replacing a kitchen sink strainer is a great place to start. It's a simple project that doesn't require any special skills or tools. Just follow the steps above and you'll have a new strainer installed in no time.Replacing a Kitchen Sink Strainer: A Beginner's Guide


Replacing a Kitchen Sink Strainer: A Beginner's Guide


For those who have more experience with DIY projects, here are a few expert tips for replacing a kitchen sink strainer:Expert Tips for Replacing a Kitchen Sink Strainer


Expert Tips for Replacing a Kitchen Sink Strainer
Additional Tips for Replacing a Kitchen Sink Strainer

1. Choose the Right Strainer
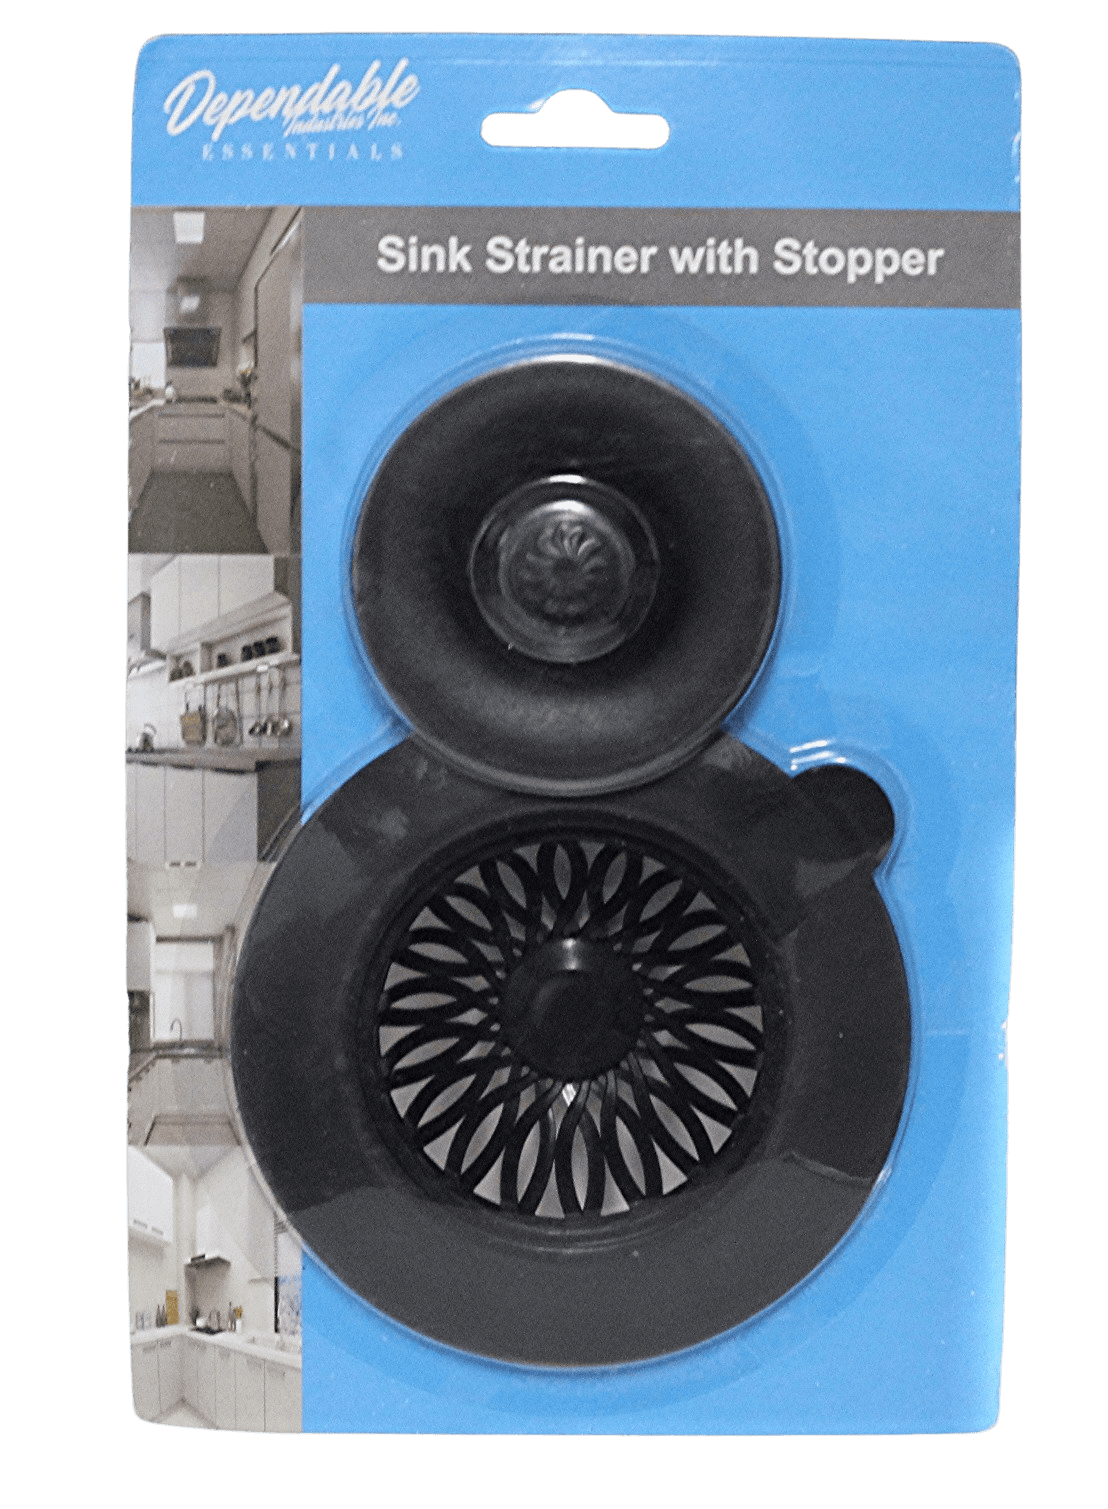
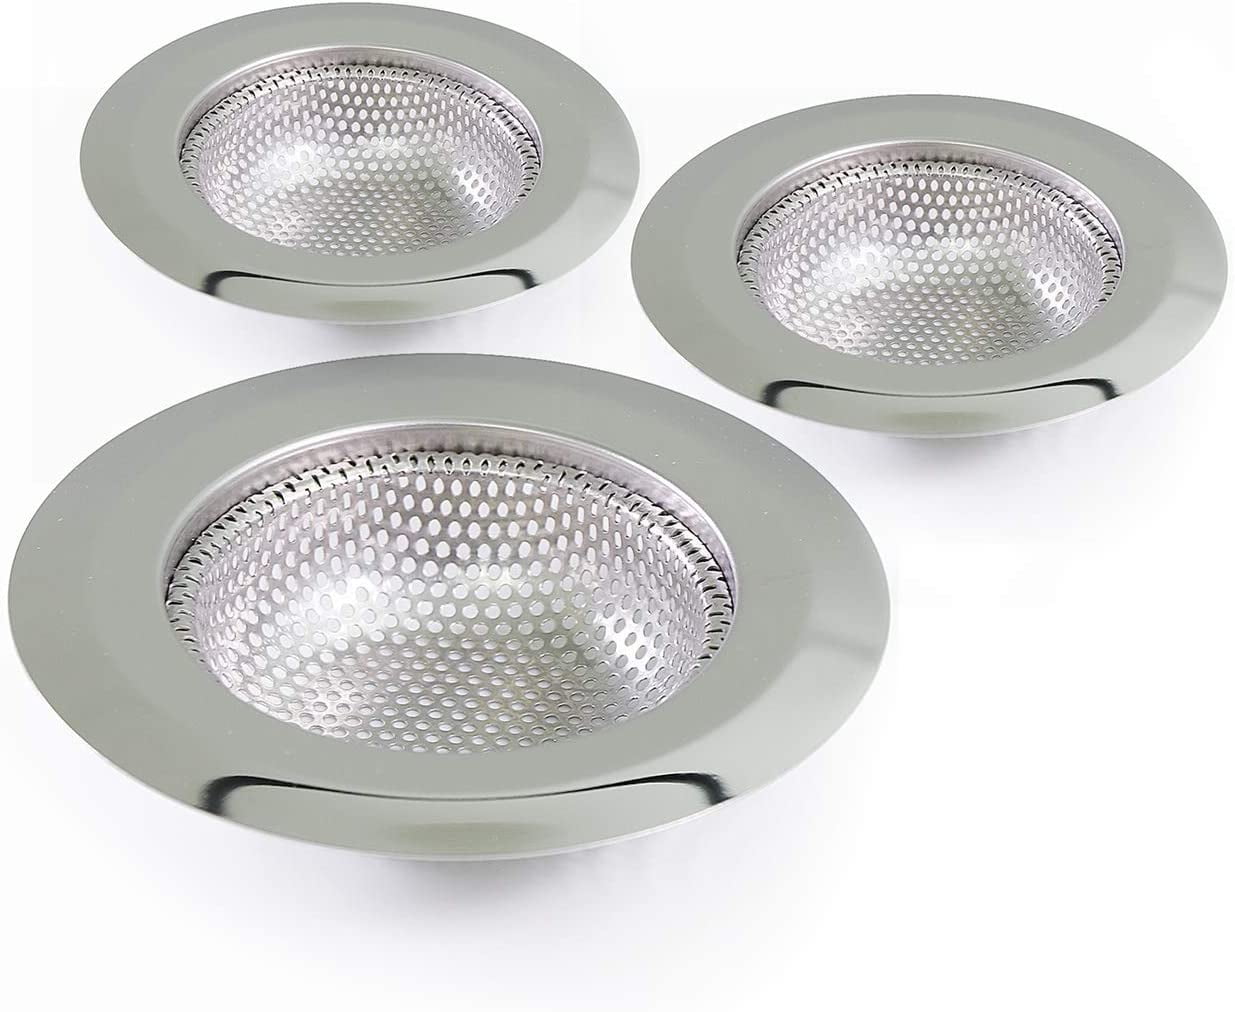
 When it comes to replacing a kitchen sink strainer, it's important to choose the right one for your sink.
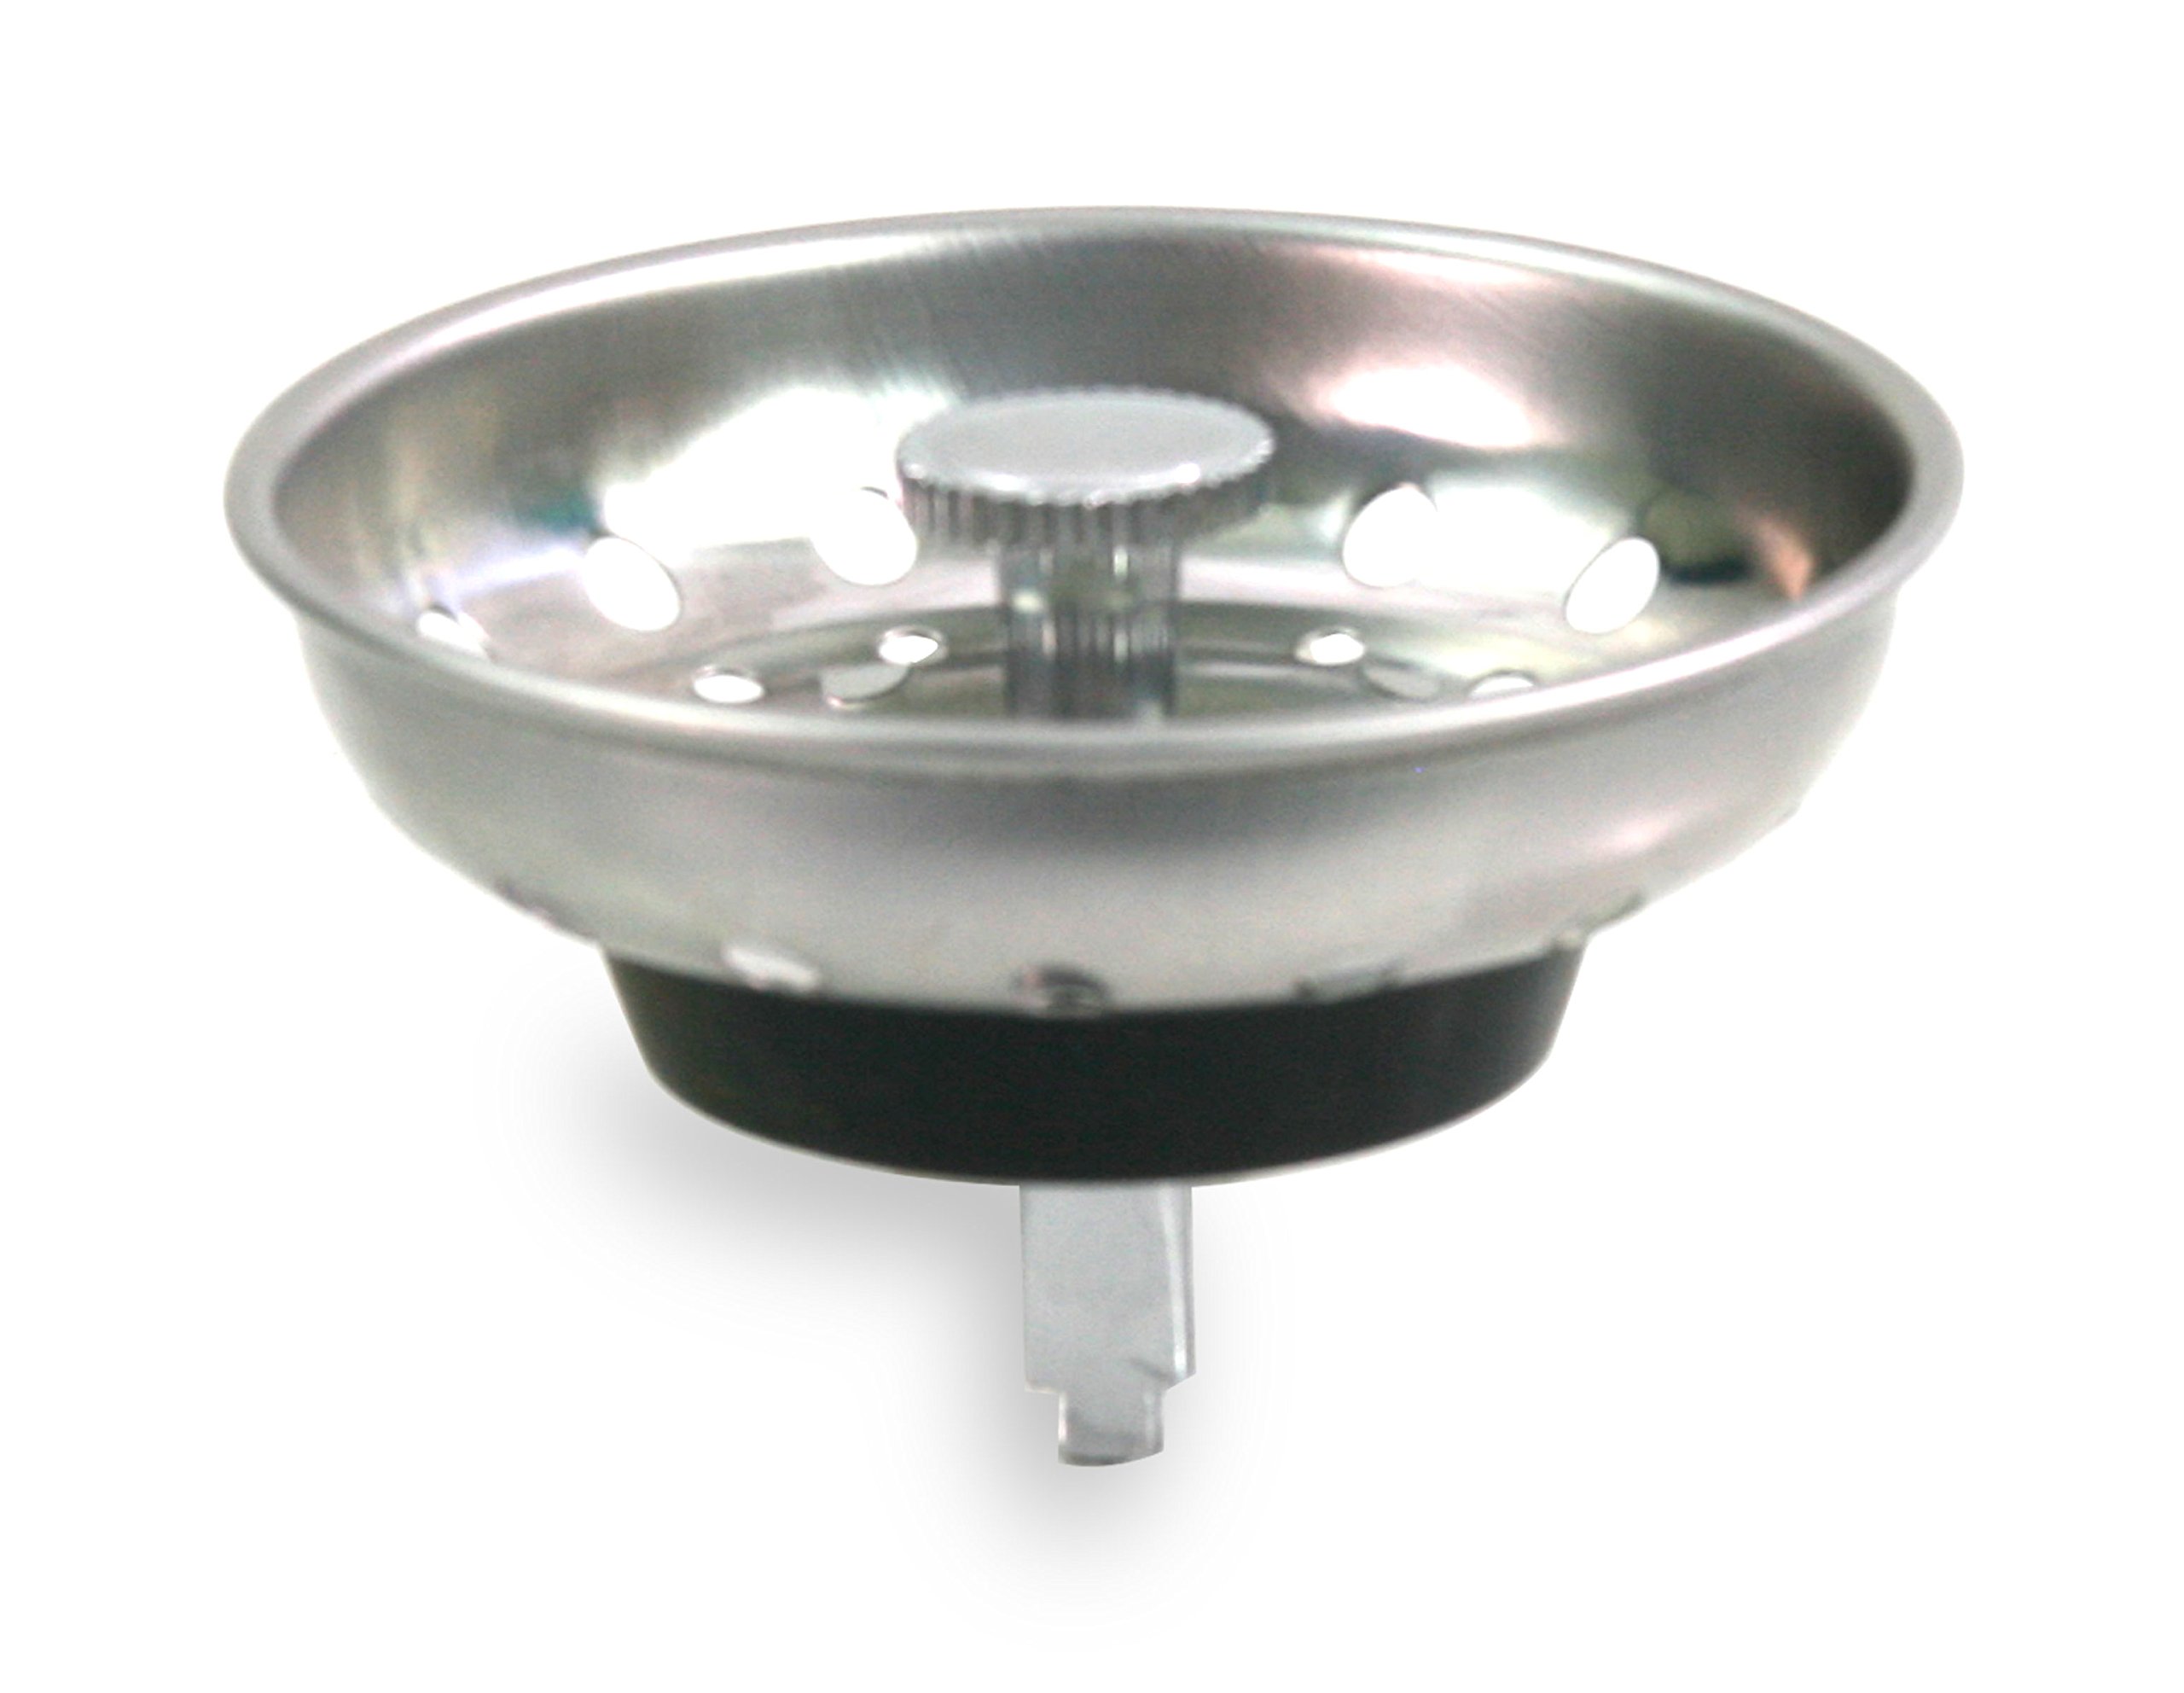
Stainless steel strainers
are a popular choice as they are durable and resistant to corrosion. You should also consider the size and shape of your sink when selecting a strainer.
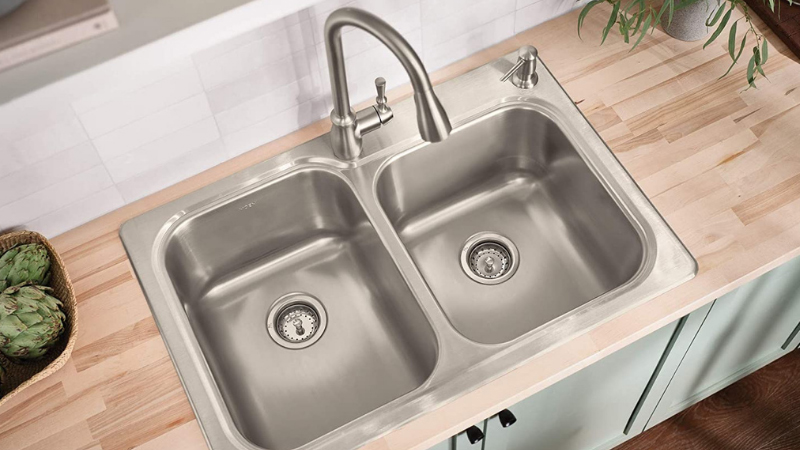
Double-bowl sinks
will require a strainer with a larger diameter, while
deep sinks
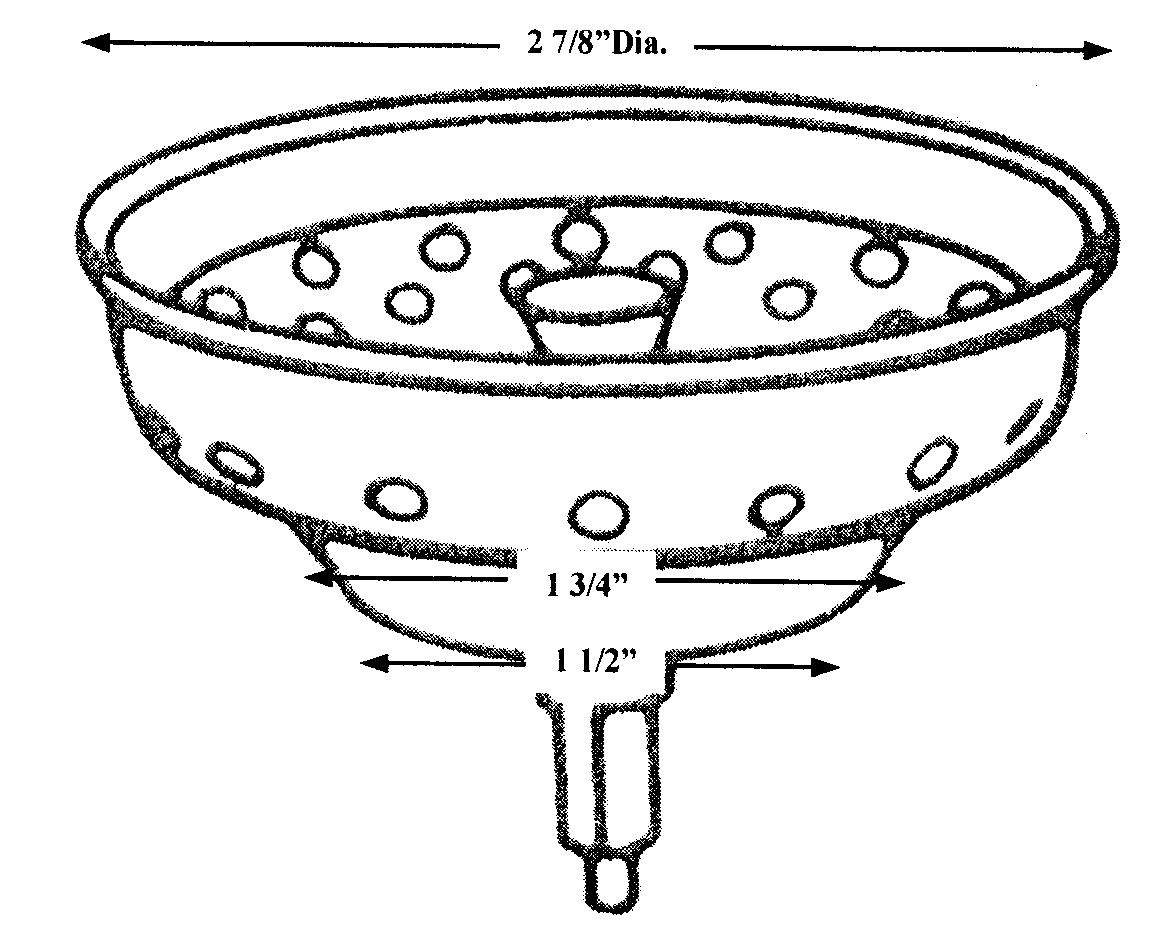
may need a deeper strainer. Take measurements of your sink beforehand to ensure you get the right fit.
When it comes to replacing a kitchen sink strainer, it's important to choose the right one for your sink.
Stainless steel strainers
are a popular choice as they are durable and resistant to corrosion. You should also consider the size and shape of your sink when selecting a strainer.
Double-bowl sinks
will require a strainer with a larger diameter, while
deep sinks
may need a deeper strainer. Take measurements of your sink beforehand to ensure you get the right fit.
2. Gather Your Tools
 Before starting the replacement process, make sure you have all the necessary tools on hand. These may include a
screwdriver, pliers, plumber's putty, and a basket strainer wrench
. It's also a good idea to have a
bowl or bucket
nearby to catch any excess water that may spill out during the process.
Before starting the replacement process, make sure you have all the necessary tools on hand. These may include a
screwdriver, pliers, plumber's putty, and a basket strainer wrench
. It's also a good idea to have a
bowl or bucket
nearby to catch any excess water that may spill out during the process.
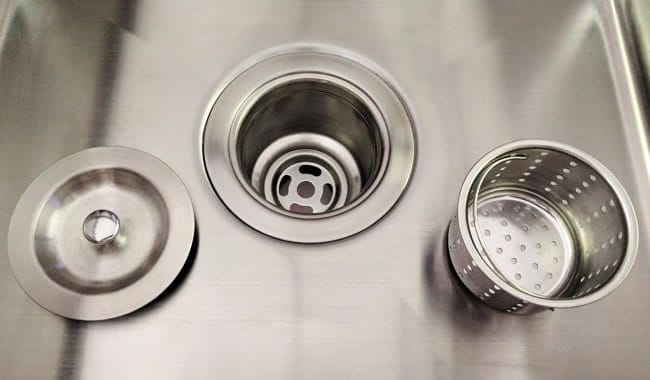
3. Follow Proper Installation Techniques
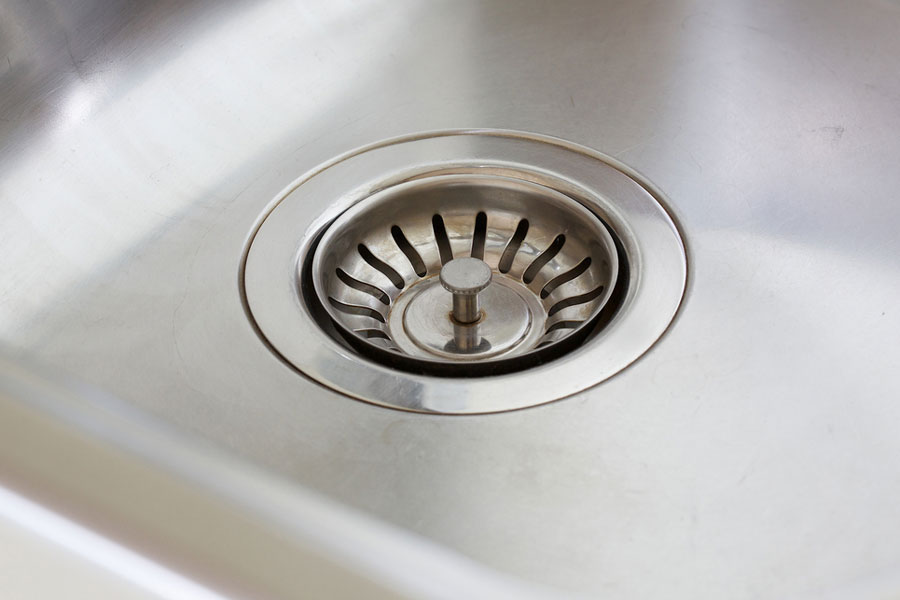
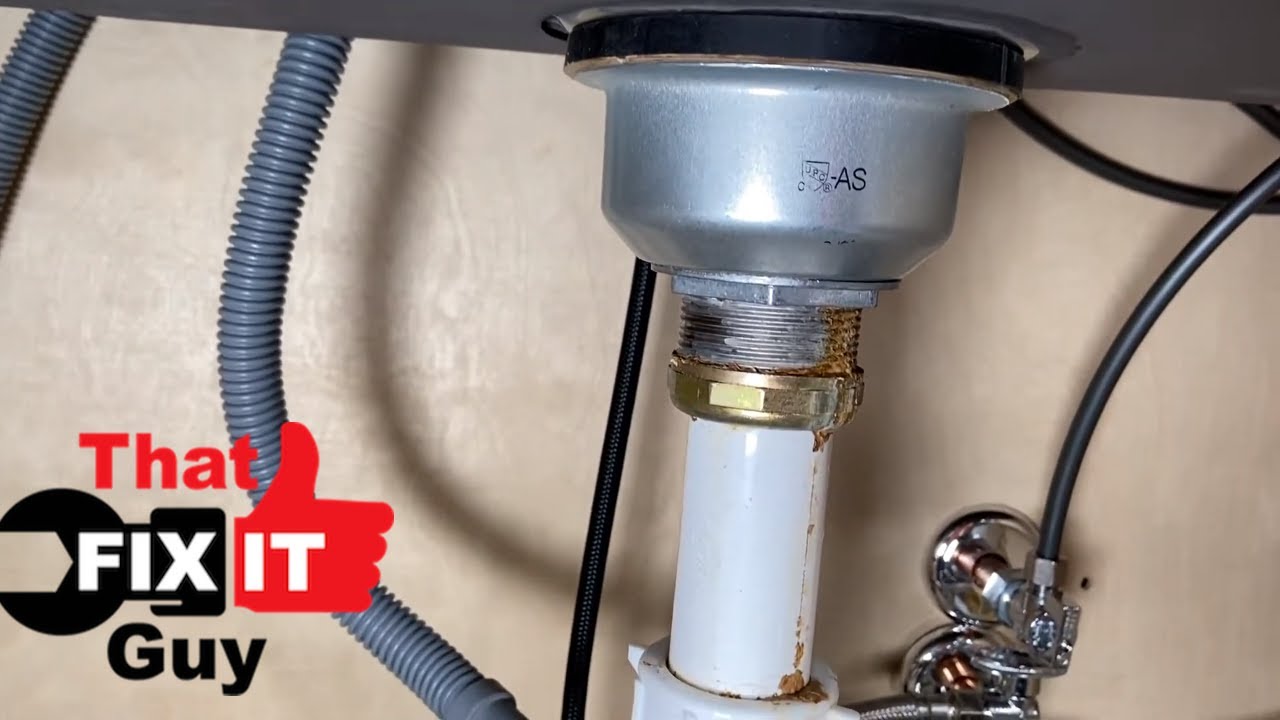
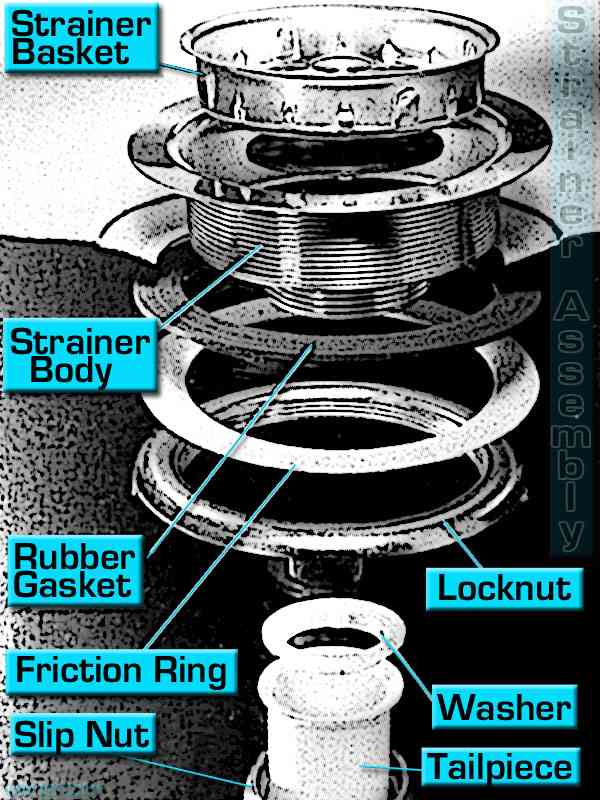
 To ensure a secure and leak-free installation, it's important to follow proper techniques. Start by removing the old strainer by loosening the
locknut
and
basket nut
underneath the sink. Then, clean the area around the drain and apply a thin layer of plumber's putty to the underside of the new strainer. Place the strainer into the drain and secure it with the basket nut and locknut. Finally, use a basket strainer wrench to tighten the strainer into place.
To ensure a secure and leak-free installation, it's important to follow proper techniques. Start by removing the old strainer by loosening the
locknut
and
basket nut
underneath the sink. Then, clean the area around the drain and apply a thin layer of plumber's putty to the underside of the new strainer. Place the strainer into the drain and secure it with the basket nut and locknut. Finally, use a basket strainer wrench to tighten the strainer into place.
4. Test for Leaks
 Once you have installed the new strainer, it's important to test for any leaks. Fill the sink with water and let it drain out, checking for any water leaking from the strainer. If you notice any leaks, use the basket strainer wrench to tighten the strainer further.
Replacing a kitchen sink strainer may seem like a daunting task, but with the right tools and techniques, it can be a simple and satisfying DIY project. By following these tips, you can ensure a successful and long-lasting installation. Remember to also properly dispose of the old strainer and any excess materials to keep your kitchen clean and organized. With a new strainer in place, your sink will not only function better, but it will also add a fresh and updated look to your kitchen.
Once you have installed the new strainer, it's important to test for any leaks. Fill the sink with water and let it drain out, checking for any water leaking from the strainer. If you notice any leaks, use the basket strainer wrench to tighten the strainer further.
Replacing a kitchen sink strainer may seem like a daunting task, but with the right tools and techniques, it can be a simple and satisfying DIY project. By following these tips, you can ensure a successful and long-lasting installation. Remember to also properly dispose of the old strainer and any excess materials to keep your kitchen clean and organized. With a new strainer in place, your sink will not only function better, but it will also add a fresh and updated look to your kitchen.