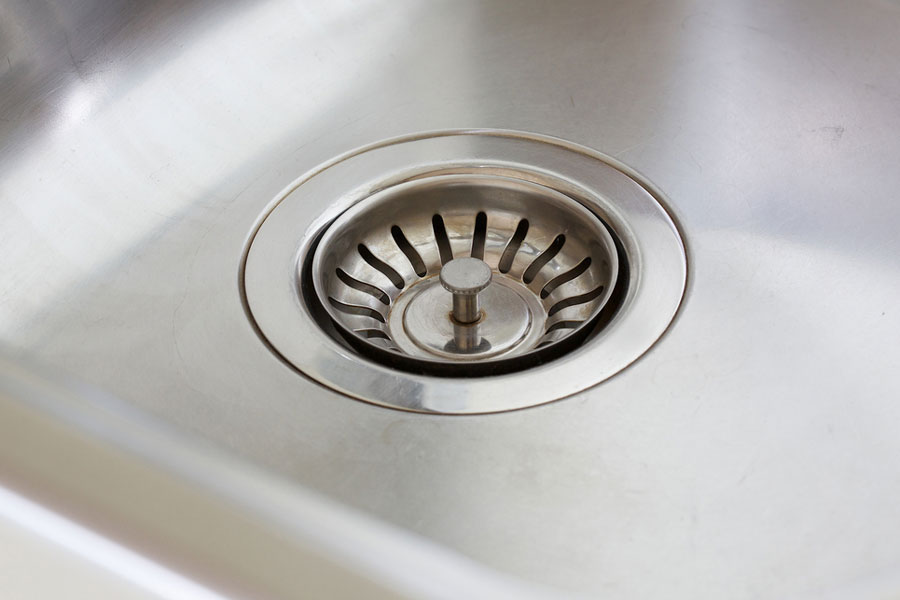
If you've noticed a leak or damage in your kitchen sink strainer, it may be time to replace it. While the task may seem daunting, it is actually a fairly simple process that you can do yourself. Follow these steps to successfully replace your old ceramic kitchen sink strainer with a new one.How to Replace a Kitchen Sink Strainer


How to Replace a Kitchen Sink Strainer


:max_bytes(150000):strip_icc()/how-to-install-a-sink-drain-2718789-04-5715d67f5b7d41429d42bf705bb70e2c.jpg)

Replacing a ceramic kitchen sink strainer may seem intimidating, but with the right tools and techniques, you can easily do it on your own. Here's a step-by-step guide on how to replace your old ceramic kitchen sink strainer with a new one.How to Replace a Ceramic Kitchen Sink Strainer


How to Replace a Ceramic Kitchen Sink Strainer
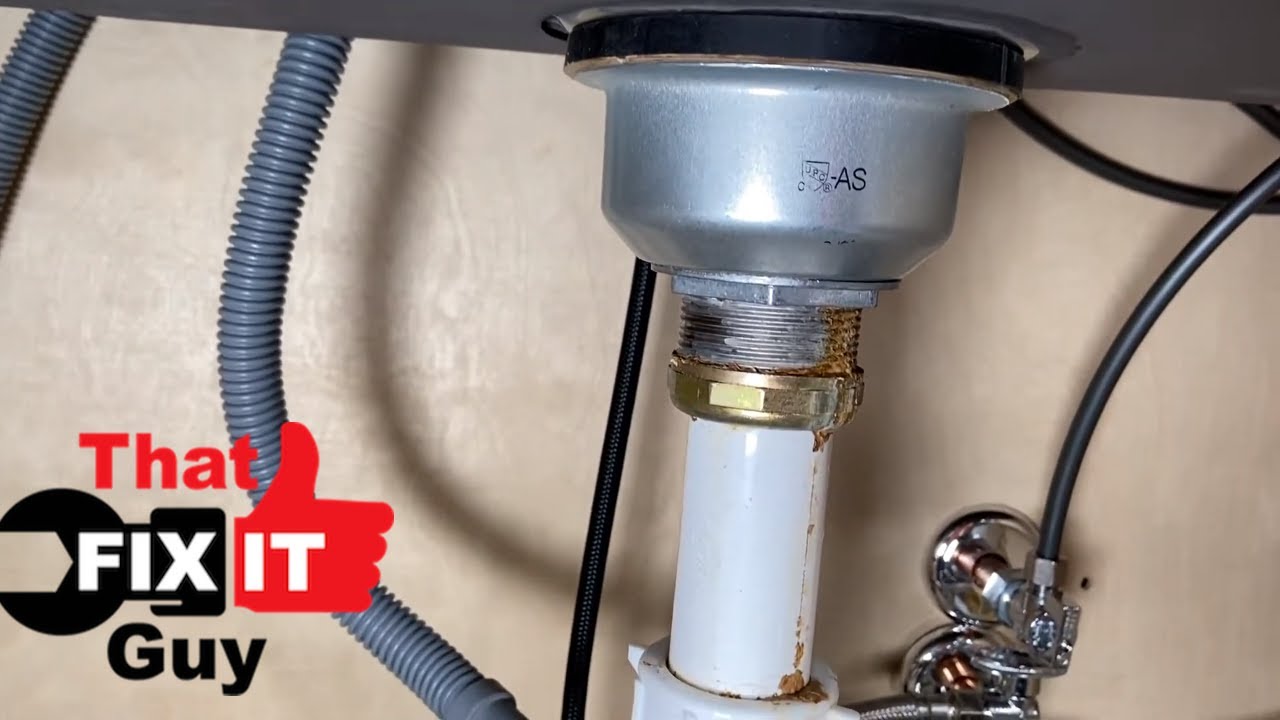
/water-pipe-under-kitchen-sink-980755656-3ec7719515ab4e269908381b760f7366.jpg)

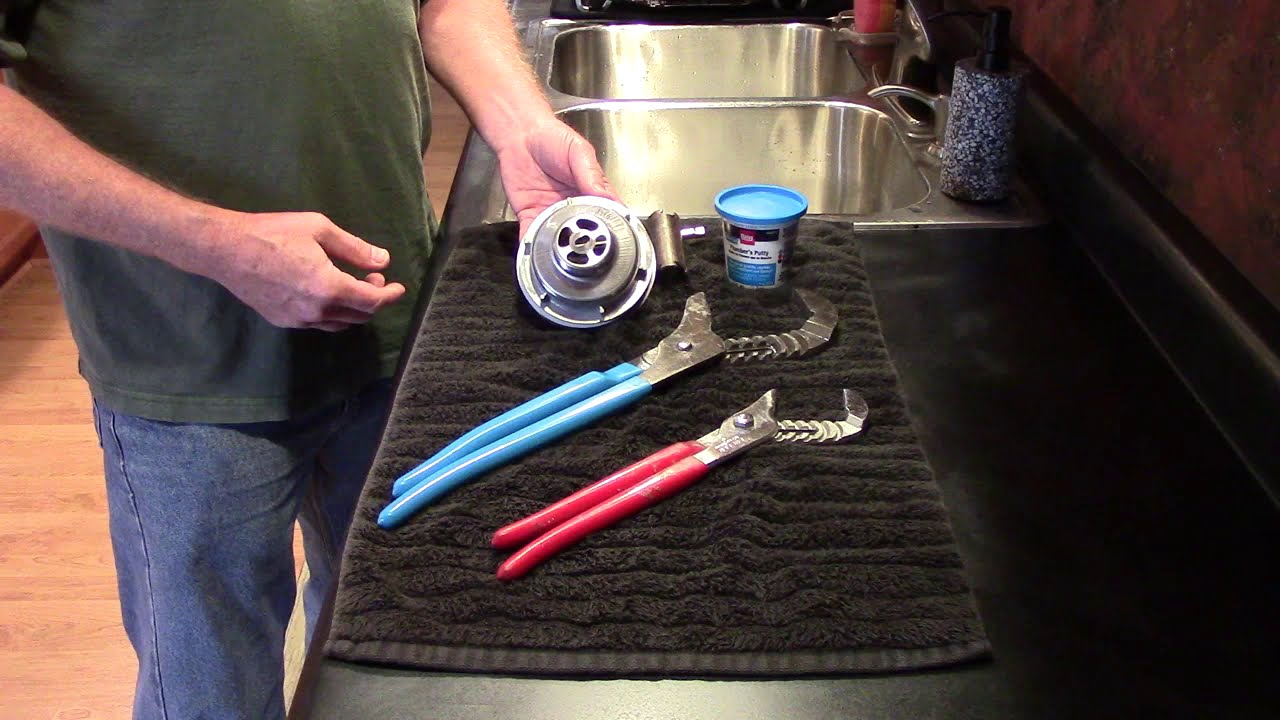
Step 1: Gather the necessary tools. You will need a pair of pliers, a putty knife, a screwdriver, and a new ceramic kitchen sink strainer. Step 2: Turn off the water supply to your sink. This is usually done by turning the shut-off valves under the sink to the off position. If you can't find the shut-off valves, turn off the main water supply to your house. Step 3: Place a bucket or bowl under the sink to catch any water that may spill out. Step 4: Using your pliers, loosen the slip nuts that hold the P-trap in place. Once the P-trap is removed, you will have more room to work on the sink strainer. Step 5: Using your putty knife, scrape away any old plumbers putty or silicone that may be holding the sink strainer in place. Step 6: Underneath the sink, locate the locknut that holds the sink strainer in place. Use your pliers to loosen and remove it. Step 7: Once the locknut is removed, the old sink strainer should be able to be lifted out from the top of the sink. Step 8: Clean the area around the sink drain with a mild cleaner and a rag. Step 9: Apply a thin layer of plumbers putty or silicone around the bottom of the new sink strainer. Step 10: Place the new sink strainer into the sink and secure it from underneath with the locknut. Step 11: Wipe away any excess putty or silicone from around the sink strainer. Step 12: Reattach the P-trap and tighten the slip nuts. Step 13: Turn the water supply back on and check for any leaks. Step 14: Voila! You have successfully replaced your ceramic kitchen sink strainer.Step-by-Step Guide for Replacing a Ceramic Kitchen Sink Strainer


Step-by-Step Guide for Replacing a Ceramic Kitchen Sink Strainer


Replacing a ceramic kitchen sink strainer is a task that you can easily do yourself with the right tools and knowledge. Follow these steps and save yourself the time and money of hiring a professional plumber.DIY: Replacing a Ceramic Kitchen Sink Strainer

DIY: Replacing a Ceramic Kitchen Sink Strainer


- Before starting the replacement process, make sure to turn off the water supply to your sink to avoid any flooding or accidents. - Use a bucket or bowl to catch any water that may spill out during the process. - Clean the area around the sink drain thoroughly before installing the new sink strainer. - Apply a thin layer of plumbers putty or silicone around the bottom of the new sink strainer for a secure seal. - Make sure to check for any leaks after turning the water supply back on.Replacing a Ceramic Kitchen Sink Strainer: Tips and Tricks


Replacing a Ceramic Kitchen Sink Strainer: Tips and Tricks


- Pliers - Putty knife - Screwdriver - New ceramic kitchen sink strainerTools You'll Need for Replacing a Ceramic Kitchen Sink Strainer


Tools You'll Need for Replacing a Ceramic Kitchen Sink Strainer


- Forgetting to turn off the water supply before starting the replacement process. - Not using the proper tools for the job. - Not cleaning the area around the sink drain thoroughly before installing the new sink strainer. - Not checking for leaks after turning the water supply back on.Common Mistakes to Avoid When Replacing a Ceramic Kitchen Sink Strainer

Common Mistakes to Avoid When Replacing a Ceramic Kitchen Sink Strainer
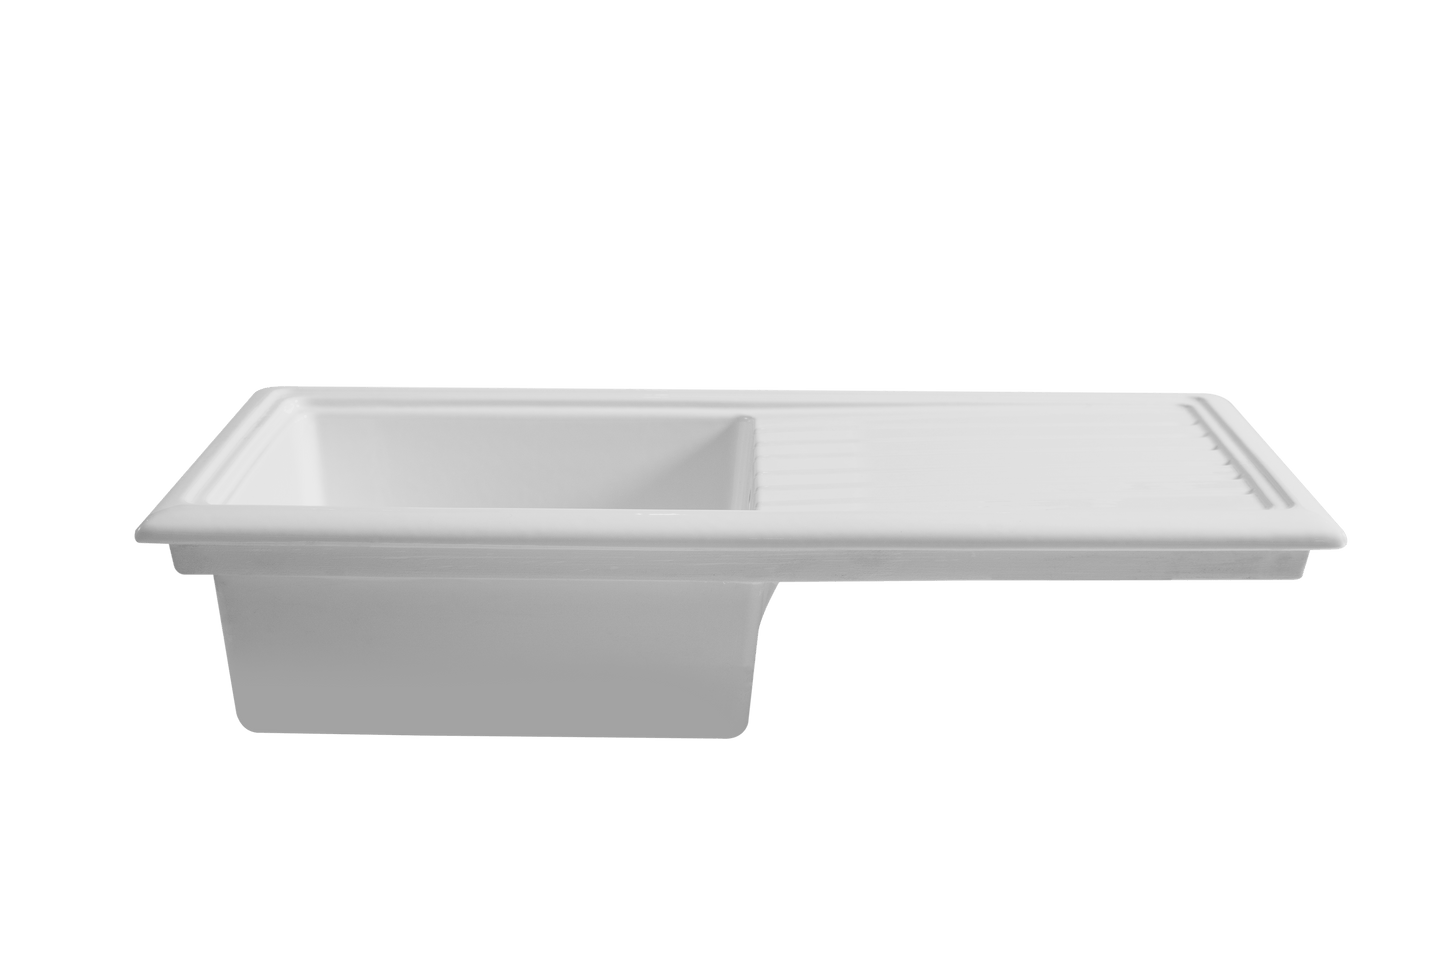
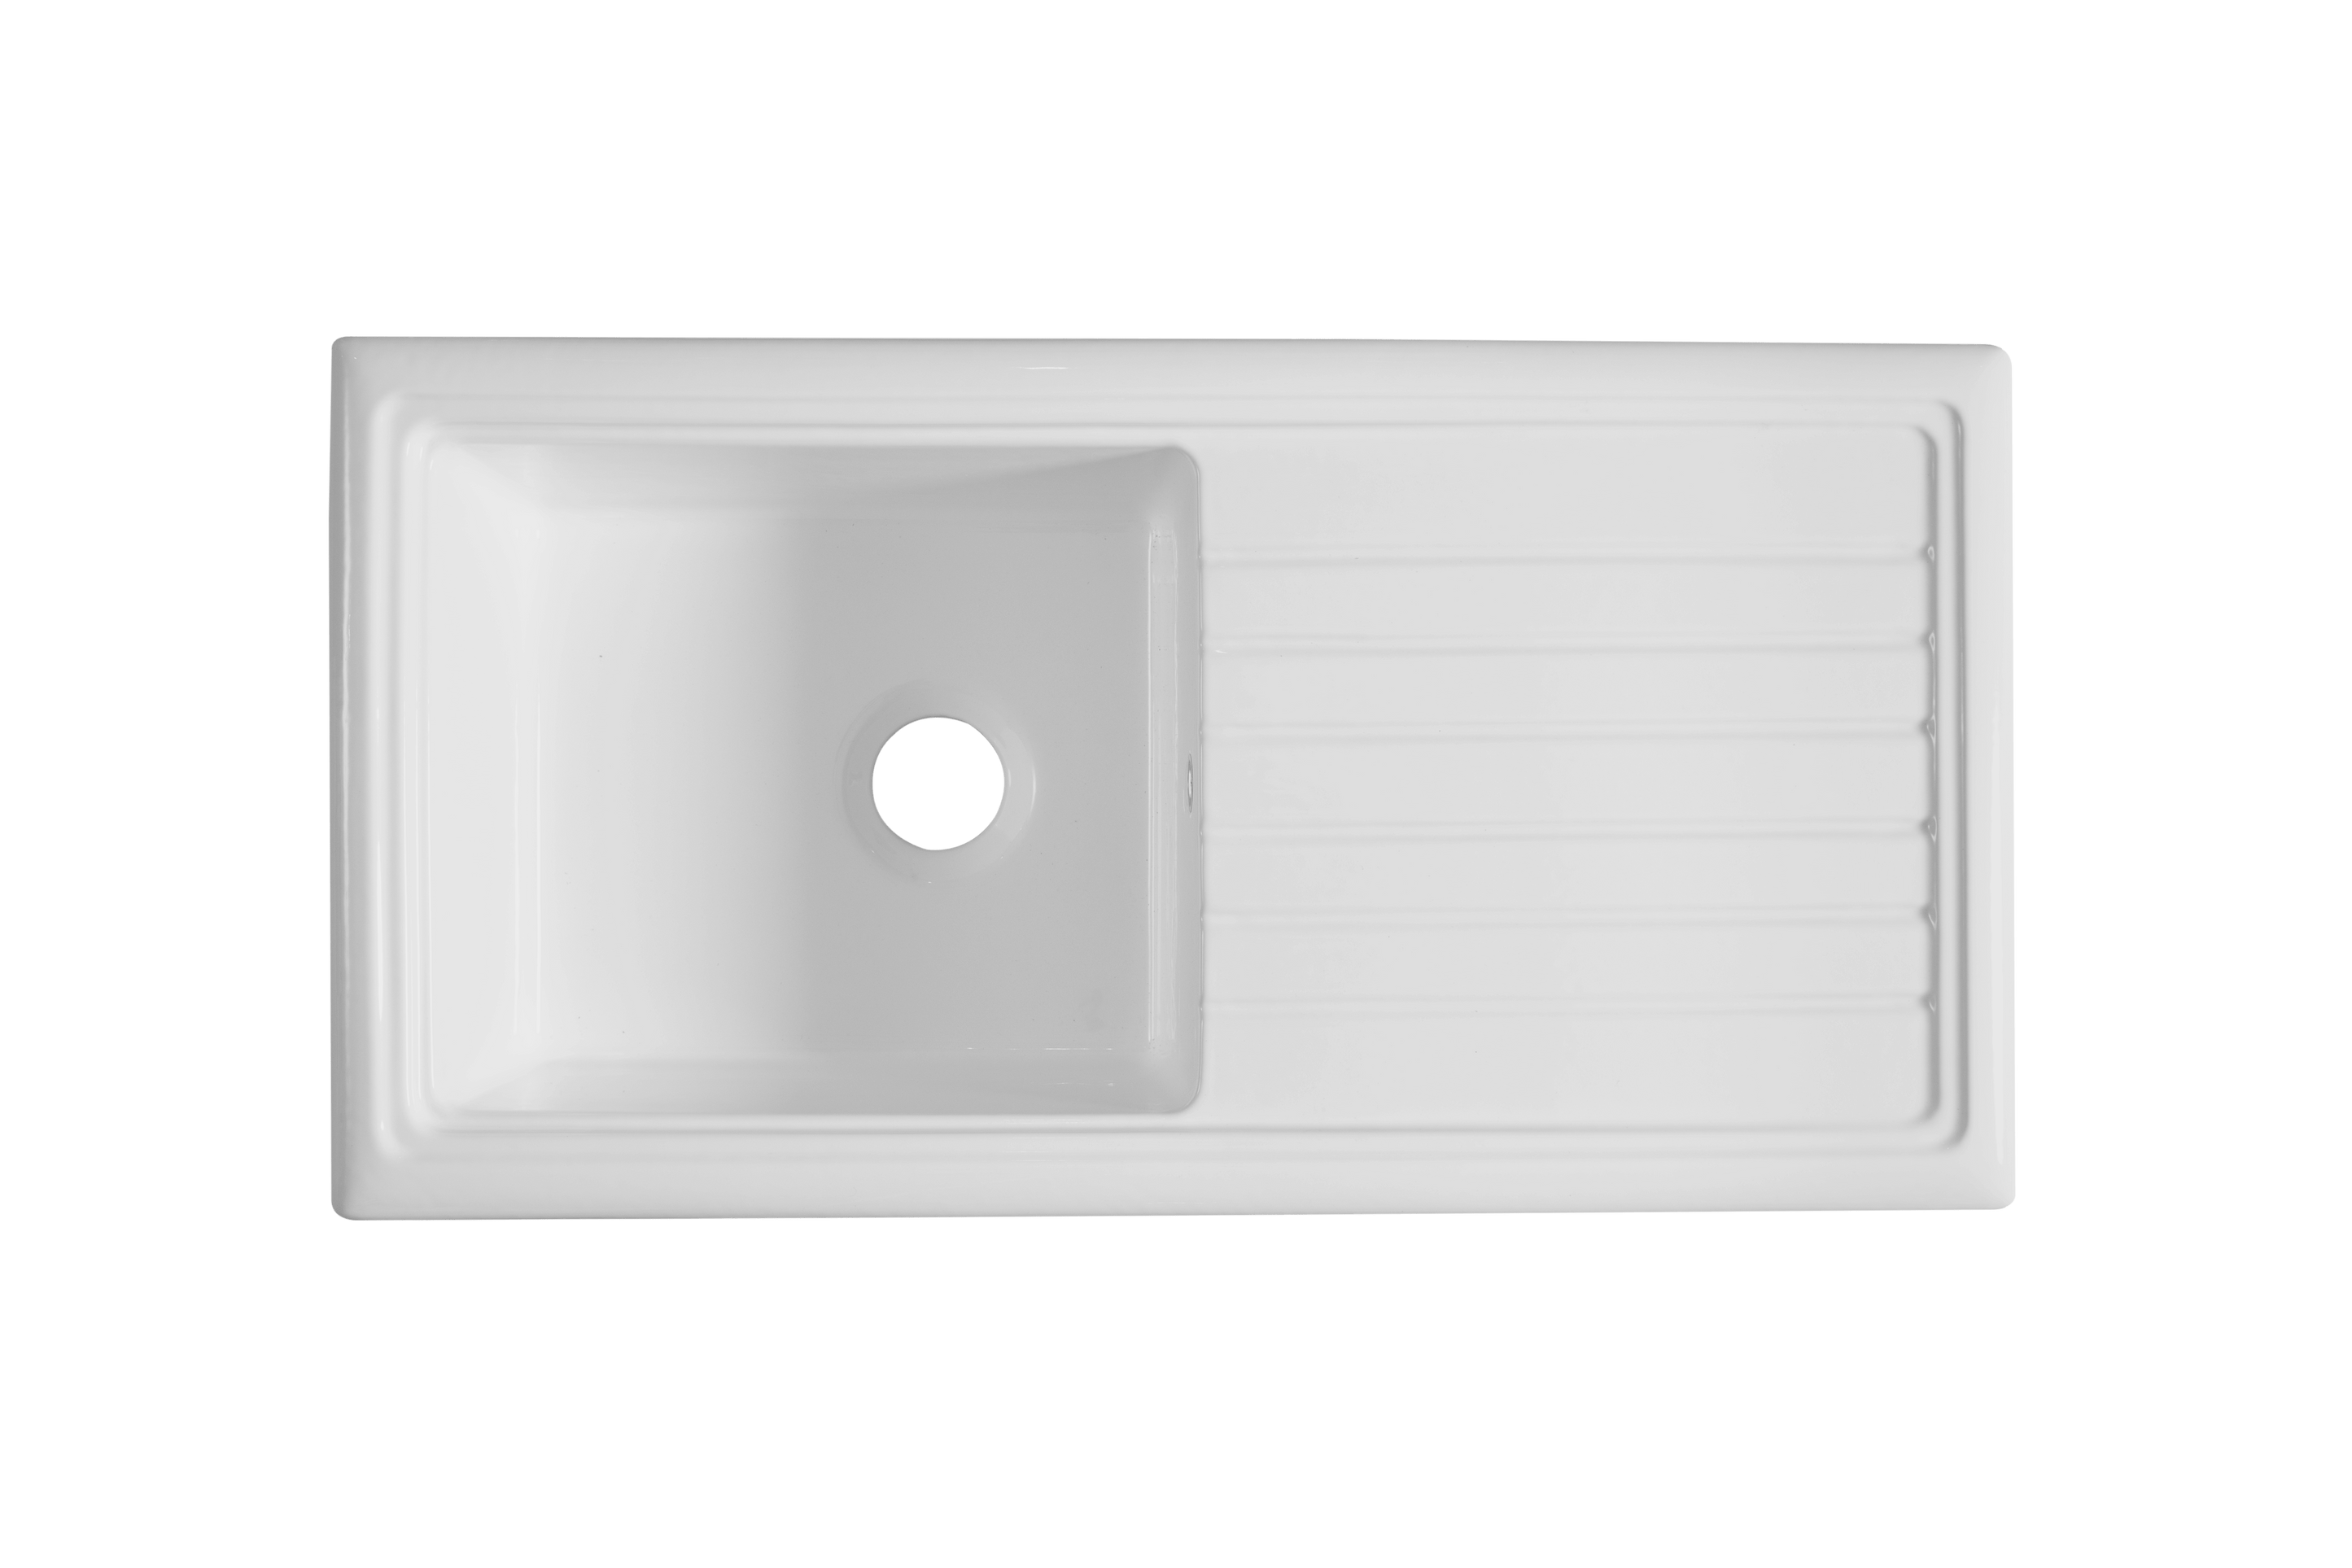


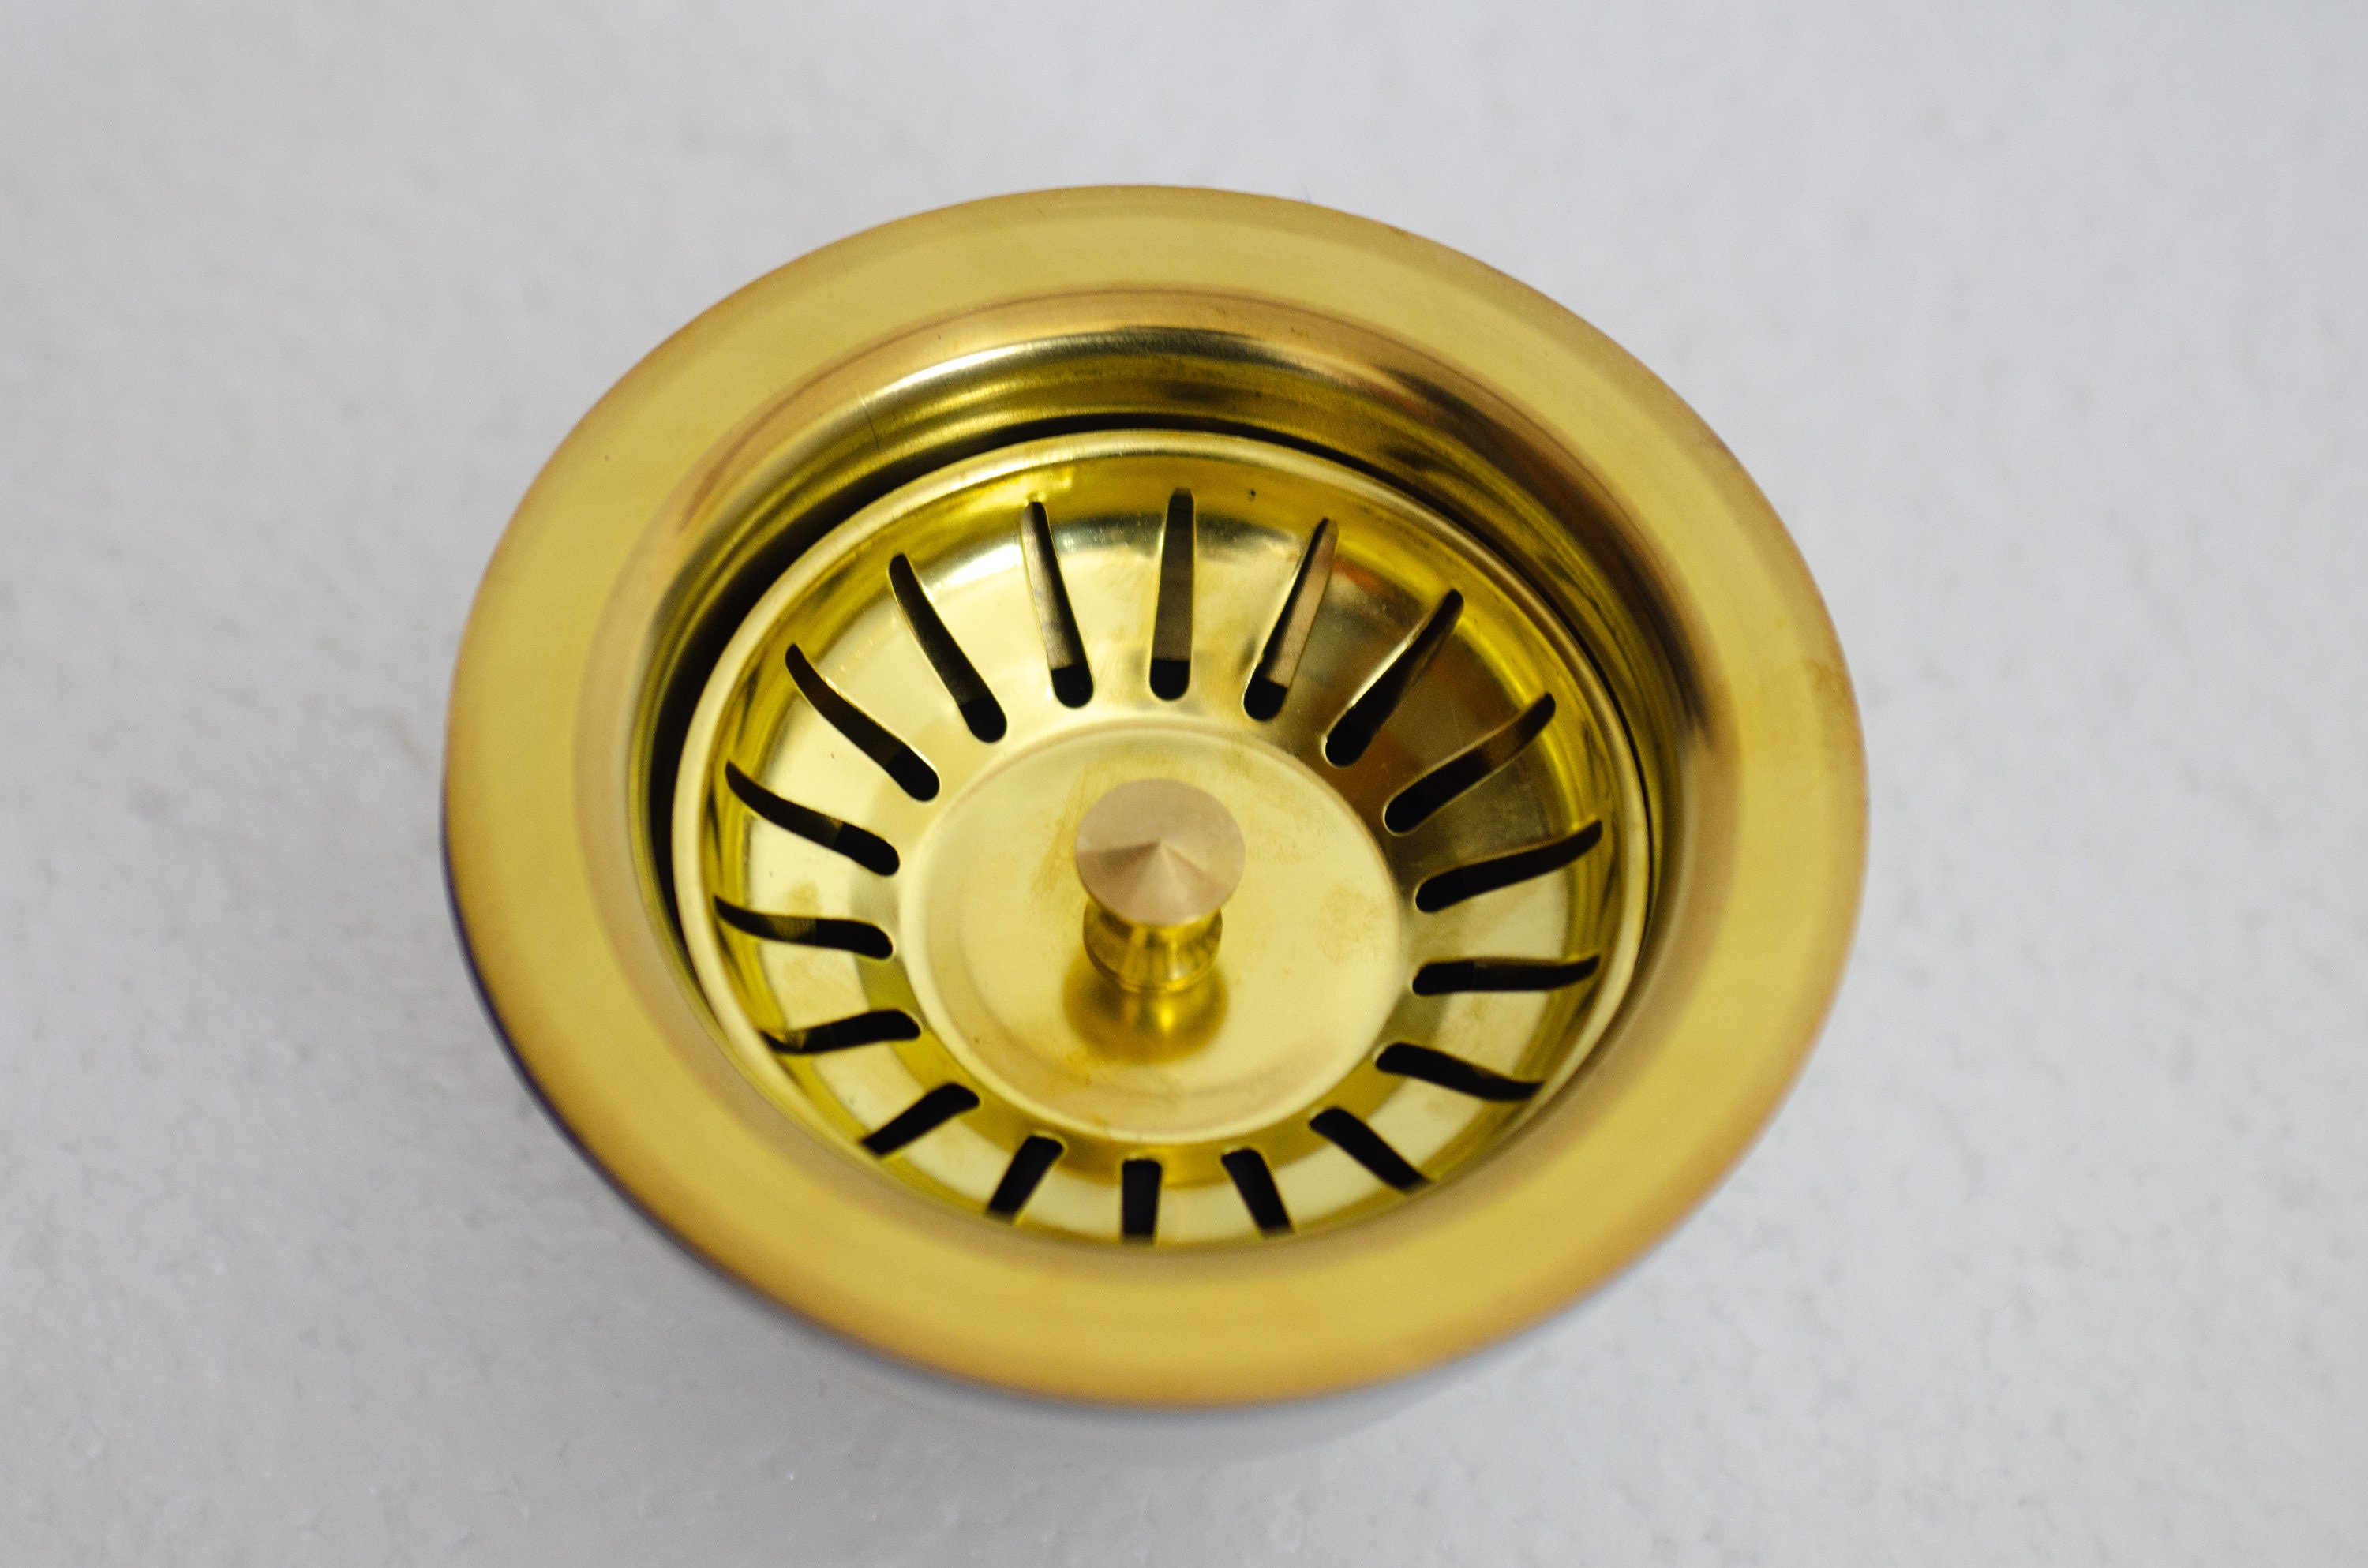
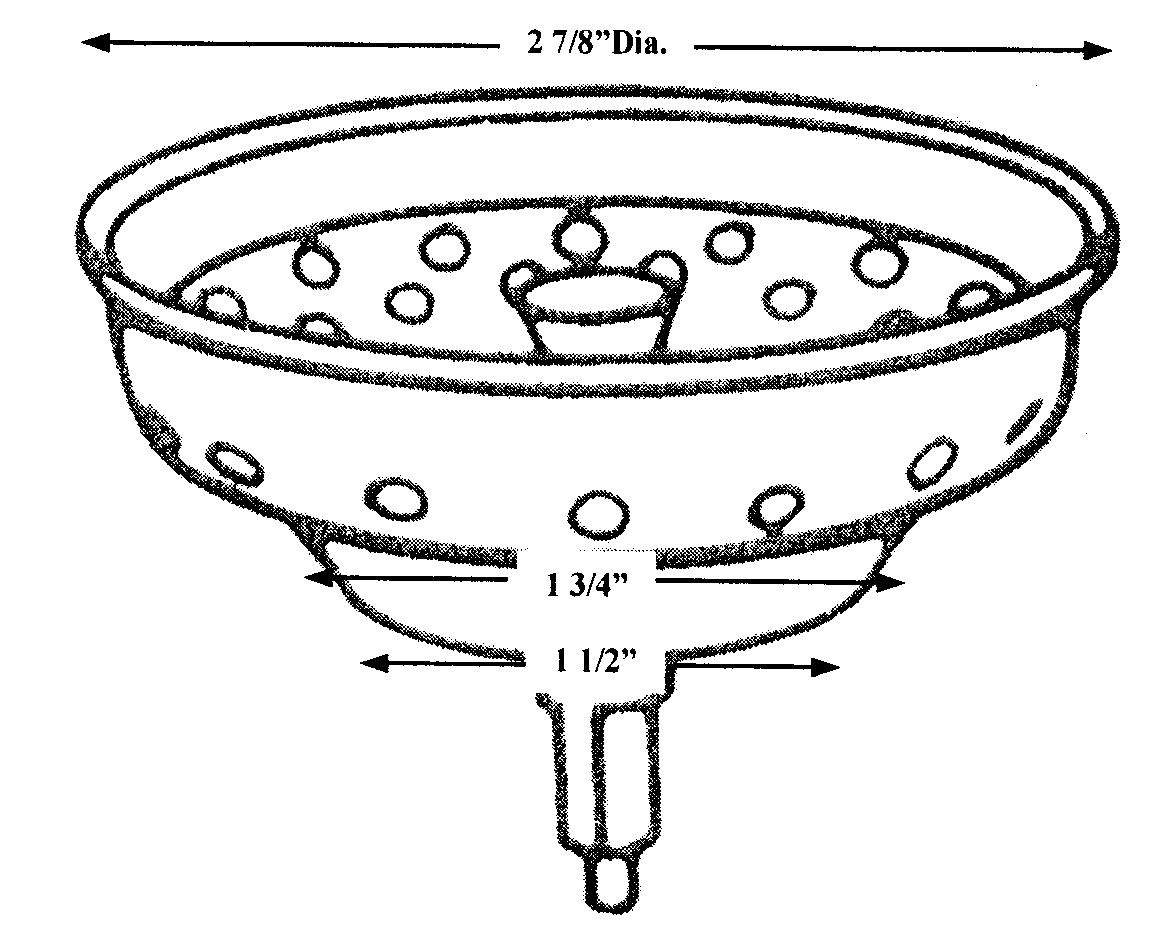
When choosing a replacement ceramic kitchen sink strainer, make sure to measure the diameter of your sink drain to ensure a proper fit. Additionally, opt for a high-quality strainer that is durable and will last for years to come.How to Choose the Right Replacement Ceramic Kitchen Sink Strainer

How to Choose the Right Replacement Ceramic Kitchen Sink Strainer


If you're new to DIY tasks, replacing a ceramic kitchen sink strainer may seem overwhelming. However, with the right tools and instructions, it is a simple task that anyone can do. Follow these steps and successfully replace your old strainer with a new one.Replacing a Ceramic Kitchen Sink Strainer: A Beginner's Guide


Replacing a Ceramic Kitchen Sink Strainer: A Beginner's Guide

- If you encounter any stubborn or rusted parts, use a lubricant such as WD-40 to loosen them. - Use a rag to protect the surface of your sink while using tools to avoid any scratches. - If your new sink strainer comes with a paper or rubber gasket, make sure to use it for a proper seal.Expert Tips for Replacing a Ceramic Kitchen Sink Strainer


Expert Tips for Replacing a Ceramic Kitchen Sink Strainer
Replacing a Ceramic Kitchen Sink Strainer: A Simple and Effective Upgrade for Your Home

Introduction
The Benefits of a Ceramic Kitchen Sink Strainer
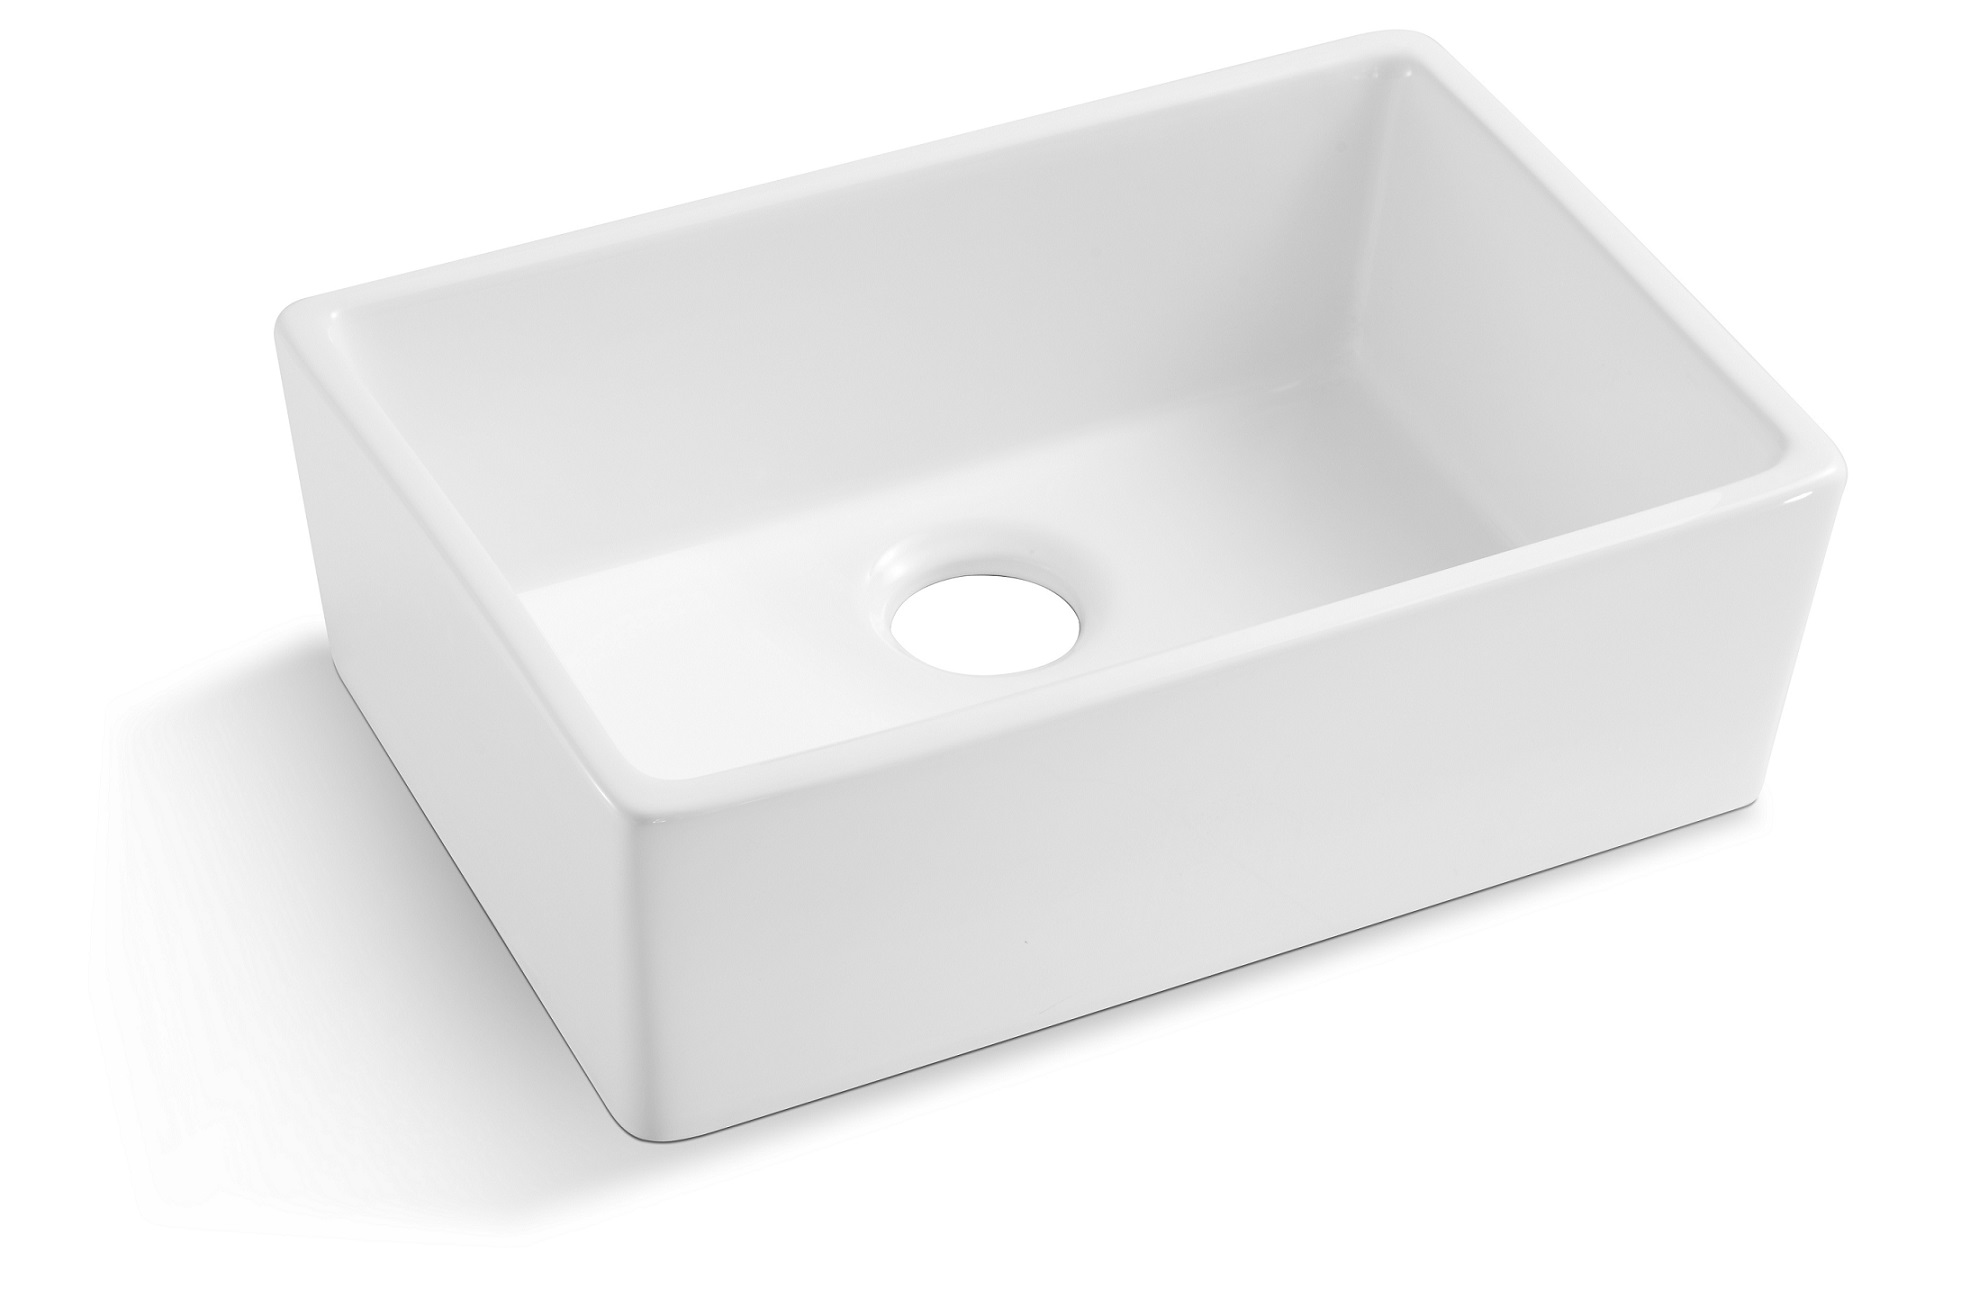
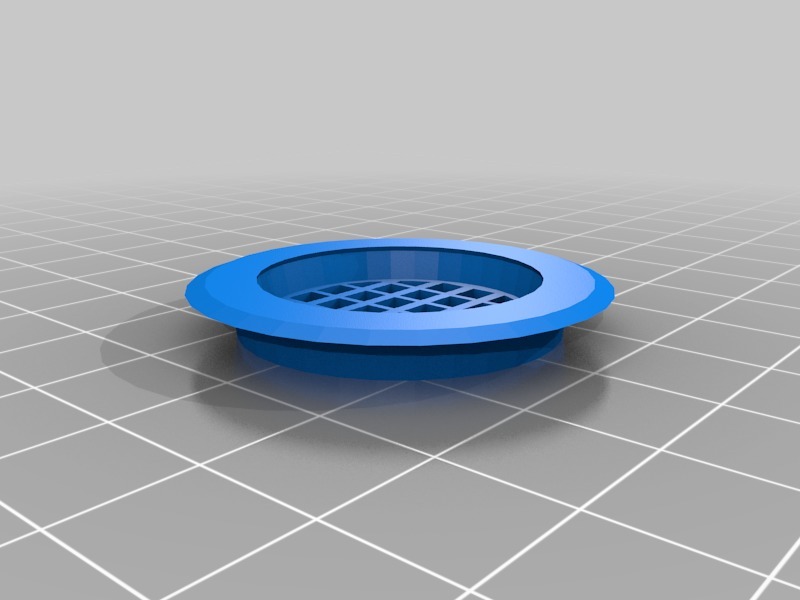
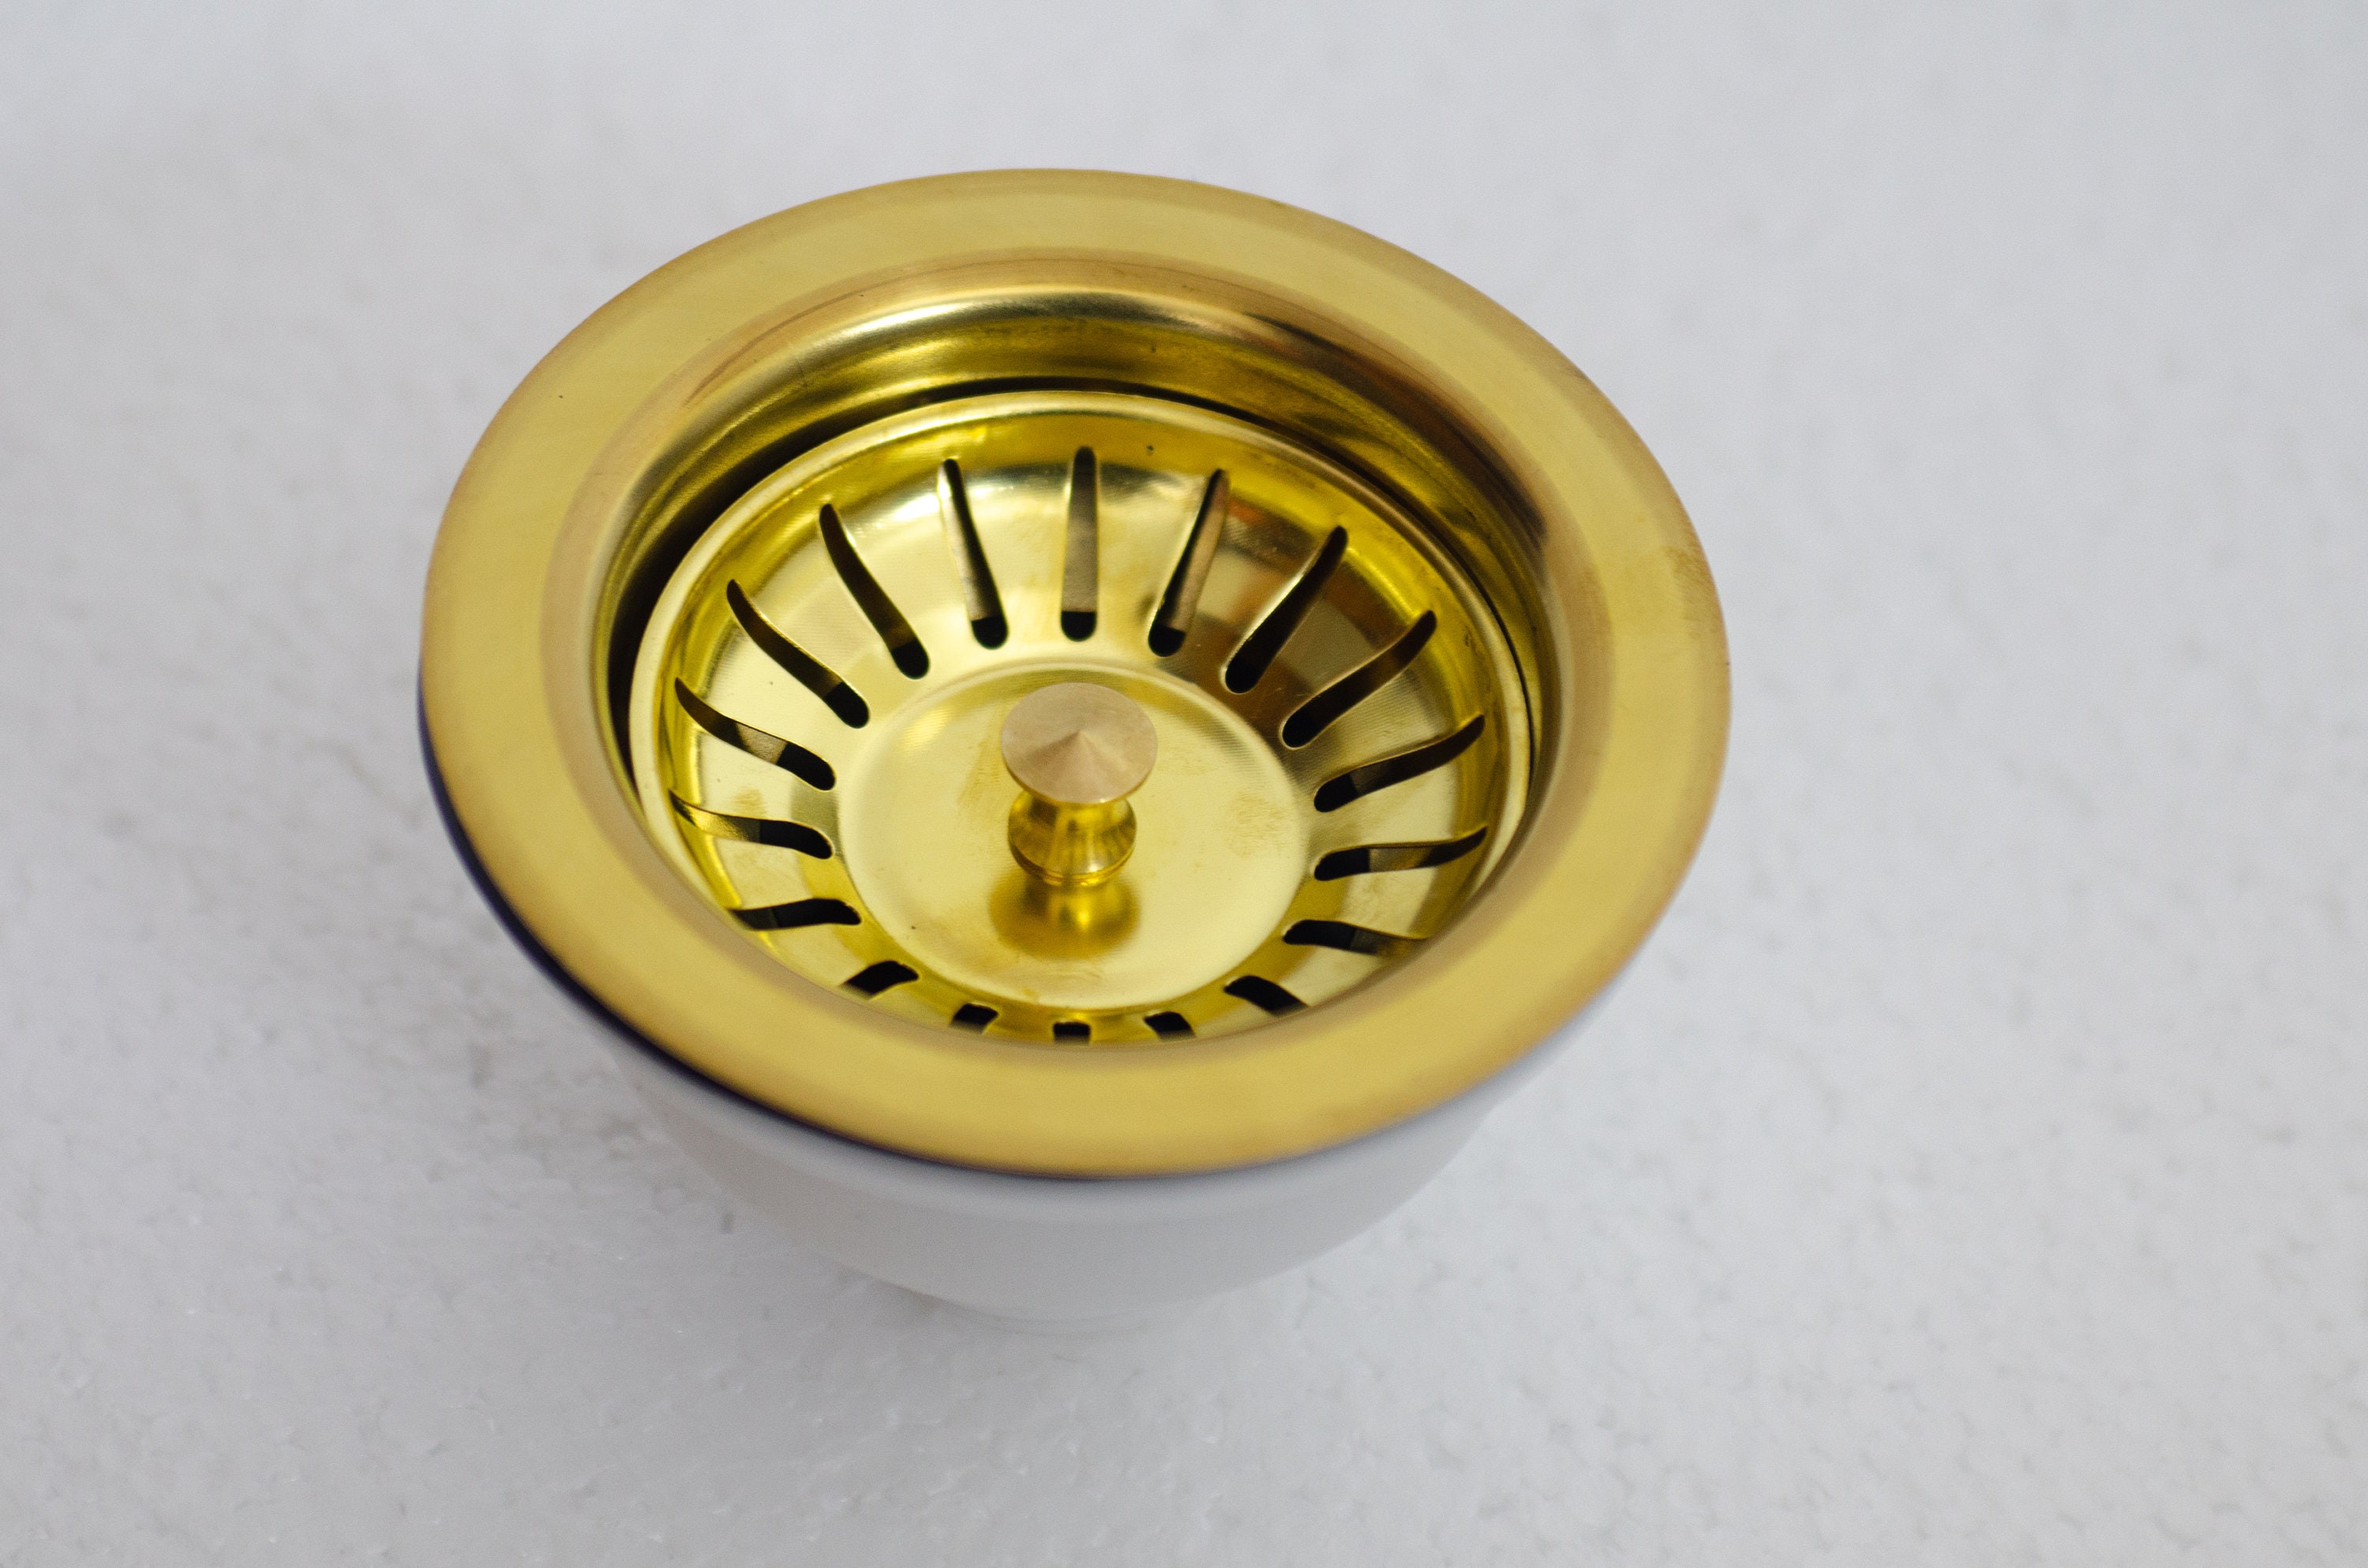
 A kitchen sink strainer is a vital part of your sink's drainage system. Its primary function is to prevent food scraps and other debris from clogging your pipes. While most strainers are made of metal, opting for a ceramic one can offer several benefits. First and foremost, a ceramic strainer is more durable and less prone to rust and corrosion than metal ones. This makes it a long-term and cost-effective investment for your kitchen. Additionally, ceramic is a non-porous material, which means it is resistant to stains and bacteria. This makes it a hygienic choice for your kitchen sink, ensuring that your dishes and utensils are clean and safe for use.
How to Replace a Ceramic Kitchen Sink Strainer
 Replacing a ceramic kitchen sink strainer is a relatively simple task that can be done on your own. All you need is a few tools and some basic DIY skills. Start by turning off the water supply to your sink and placing a bucket or bowl under the sink to catch any water that may spill out. Next, use a wrench to loosen the locknut that holds the strainer in place. Once the locknut is removed, you can easily lift out the old strainer.
Make sure to clean the area where the strainer sits before installing the new one.
Apply a thin layer of plumber's putty around the edge of the new strainer and place it into the sink's drain hole. Secure it in place with the locknut and wipe off any excess putty. Turn the water supply back on and test the new strainer by running some water through it.
Voila, you now have a brand new ceramic kitchen sink strainer in place!
Replacing a ceramic kitchen sink strainer is a relatively simple task that can be done on your own. All you need is a few tools and some basic DIY skills. Start by turning off the water supply to your sink and placing a bucket or bowl under the sink to catch any water that may spill out. Next, use a wrench to loosen the locknut that holds the strainer in place. Once the locknut is removed, you can easily lift out the old strainer.
Make sure to clean the area where the strainer sits before installing the new one.
Apply a thin layer of plumber's putty around the edge of the new strainer and place it into the sink's drain hole. Secure it in place with the locknut and wipe off any excess putty. Turn the water supply back on and test the new strainer by running some water through it.
Voila, you now have a brand new ceramic kitchen sink strainer in place!
Conclusion
 In conclusion, replacing your old kitchen sink strainer with a ceramic one is a simple and effective way to upgrade your home. Not only does it offer durability and hygiene, but it can also enhance the overall look of your kitchen. By following the steps mentioned above, you can easily replace the strainer yourself and enjoy the benefits it brings. So why wait? Give your kitchen sink a much-needed upgrade and enjoy a more functional and stylish space.