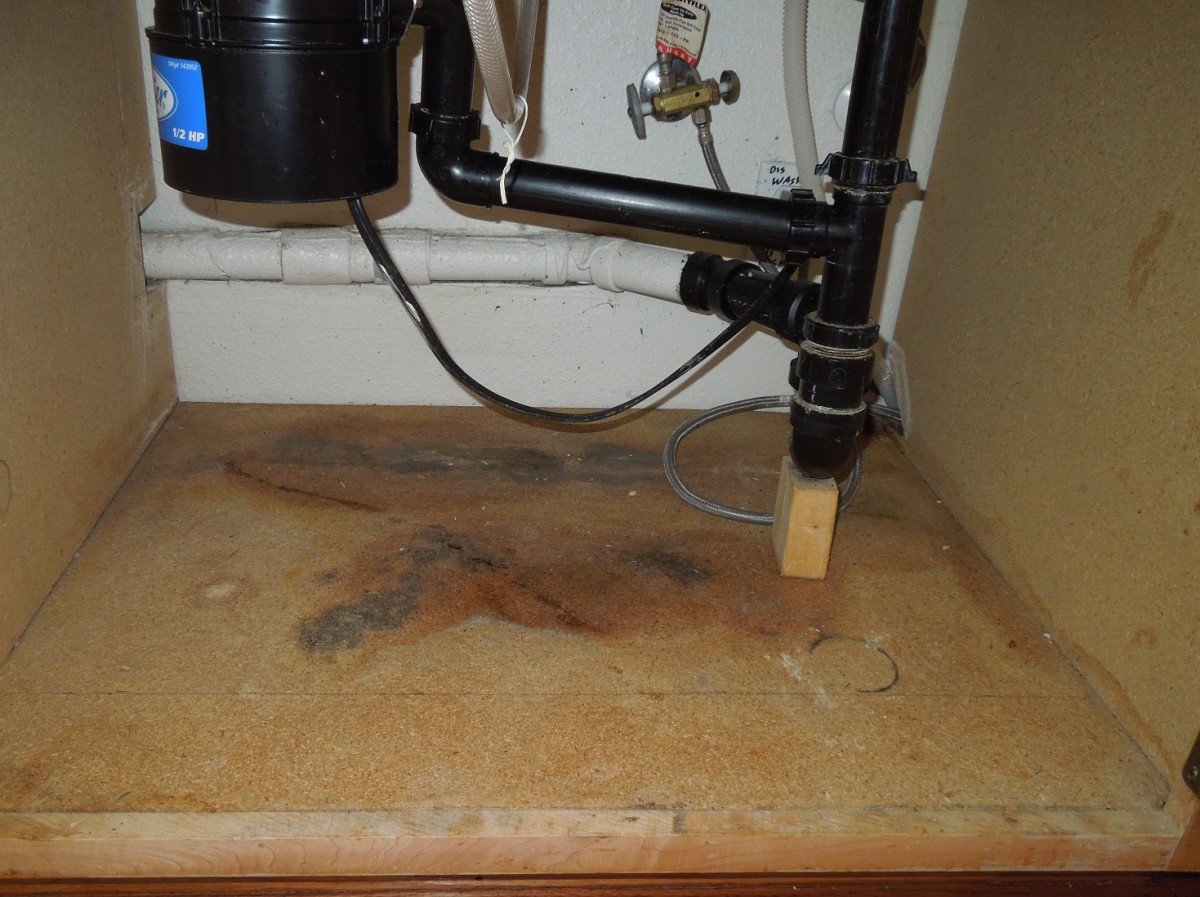
If you've noticed a musty smell or water damage under your kitchen sink, it may be time to replace the wood underneath. This essential step is often overlooked but can prevent further damage and keep your kitchen functioning properly. Here's everything you need to know about replacing the wood underneath your kitchen sink.Replacing the Wood Underneath Your Kitchen Sink


Replacing the Wood Underneath Your Kitchen Sink


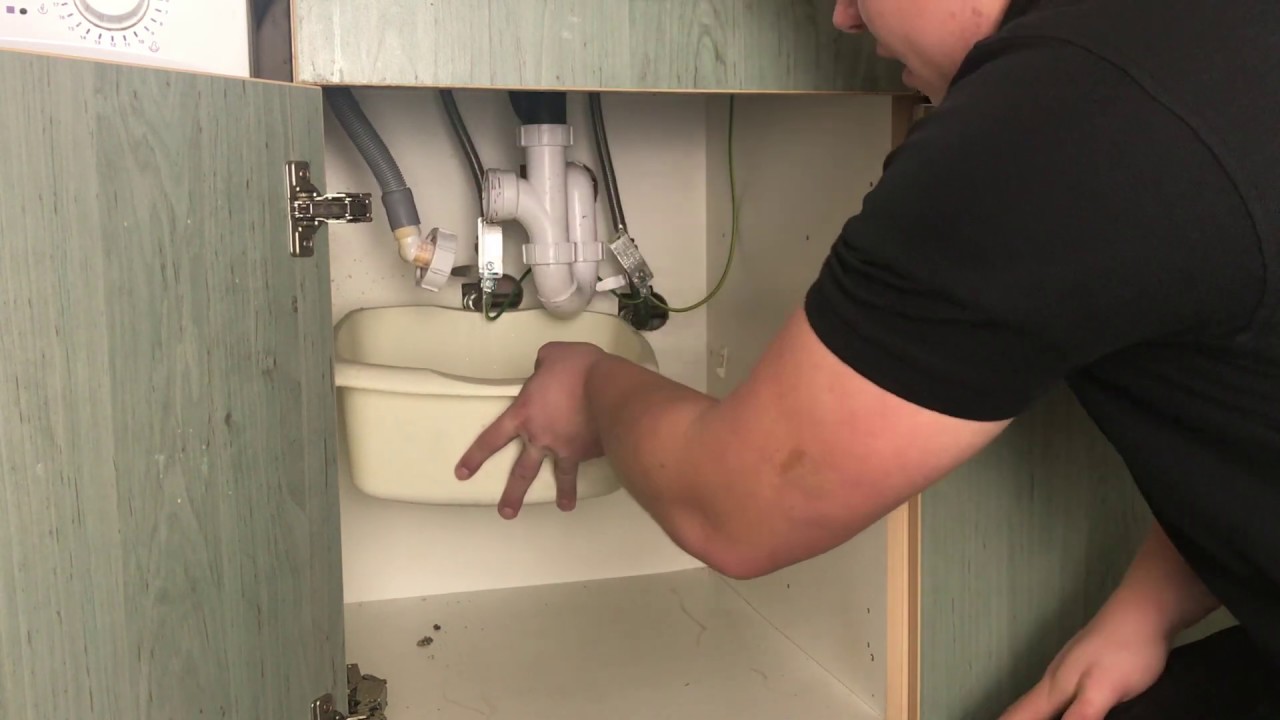
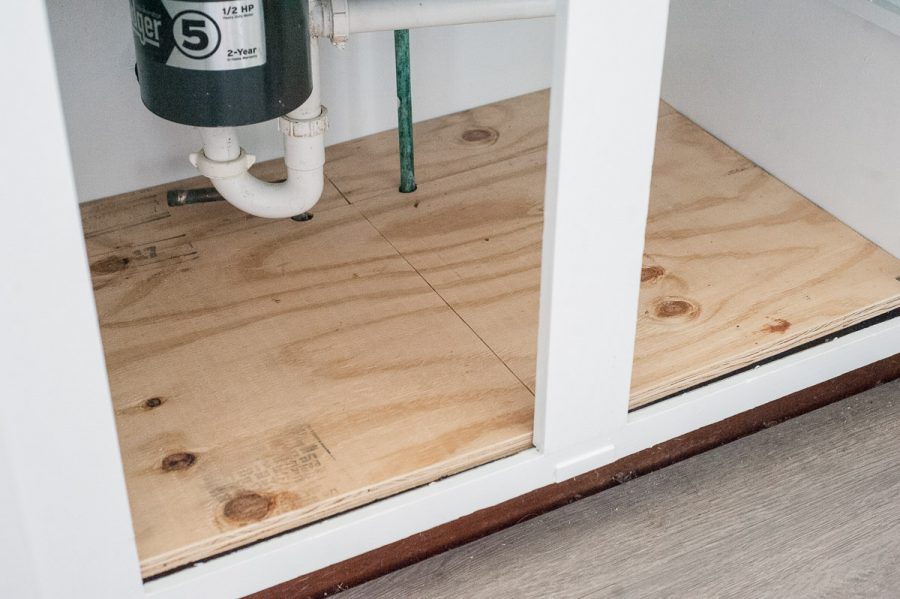
The first step in replacing the wood underneath your kitchen sink is to remove everything from the cabinet. This includes cleaning supplies, pipes, and any other items that may be stored there. Make sure to turn off the water supply and disconnect the plumbing before proceeding. Next, carefully remove the sink itself, being cautious not to damage the countertop or surrounding areas. Once the sink is removed, you can access the wood underneath and assess the damage. If the wood is rotten or damaged, it will need to be replaced.How to Replace the Wood Underneath Your Kitchen Sink


How to Replace the Wood Underneath Your Kitchen Sink


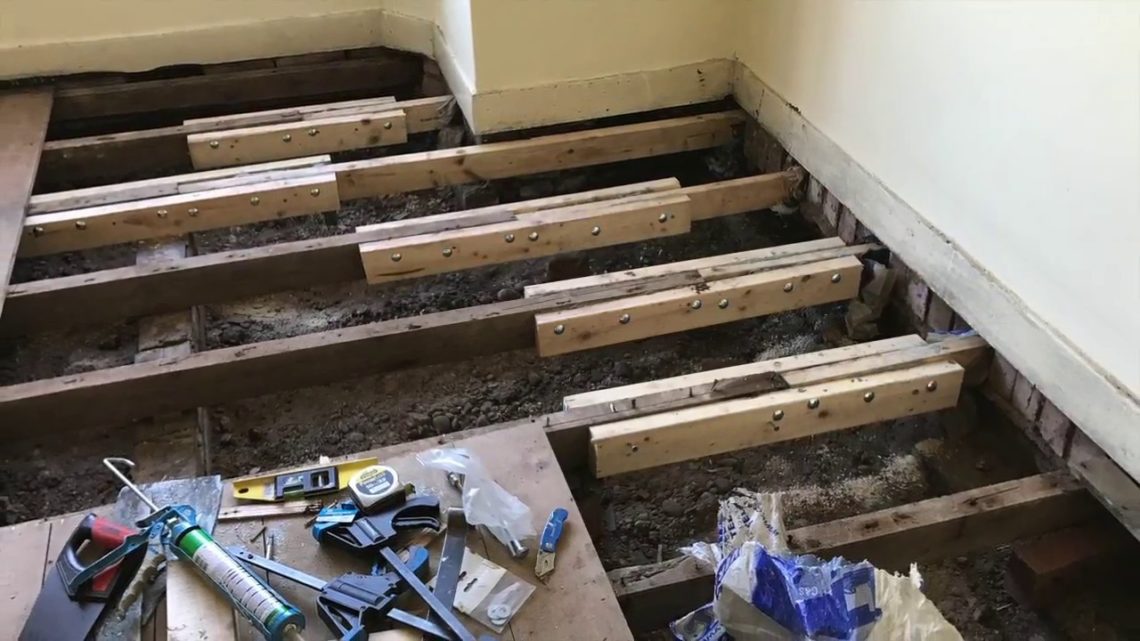
Replacing the wood underneath your kitchen sink is a relatively simple DIY project that can save you money and prevent further damage. Here's a step-by-step guide to help you through the process. Step 1: Remove the sink and clean out the cabinet. Step 2: Measure and cut a new piece of wood to fit the cabinet. Step 3: Remove any remaining nails or screws from the old wood. Step 4: Secure the new wood in place, using screws or nails. Step 5: Reinstall the sink and reconnect the plumbing. Step 6: Turn the water supply back on and check for any leaks.DIY Guide: Replacing the Wood Underneath Your Kitchen Sink


DIY Guide: Replacing the Wood Underneath Your Kitchen Sink


Replacing the wood underneath your kitchen sink may seem daunting, but with a clear plan in place, it can be a straightforward process. Here's a step-by-step guide to help you get the job done. Step 1: Prepare the area and gather your supplies. Step 2: Remove the sink and clean out the cabinet. Step 3: Assess the damage and determine the size and type of wood needed for replacement. Step 4: Cut the wood to fit the cabinet and sand down any rough edges. Step 5: Remove any remaining nails or screws from the old wood. Step 6: Attach the new wood with screws or nails, making sure it is level and secure. Step 7: Reinstall the sink and reconnect the plumbing. Step 8: Turn the water supply back on and check for any leaks.Step-by-Step Guide to Replacing the Wood Underneath Your Kitchen Sink


Step-by-Step Guide to Replacing the Wood Underneath Your Kitchen Sink


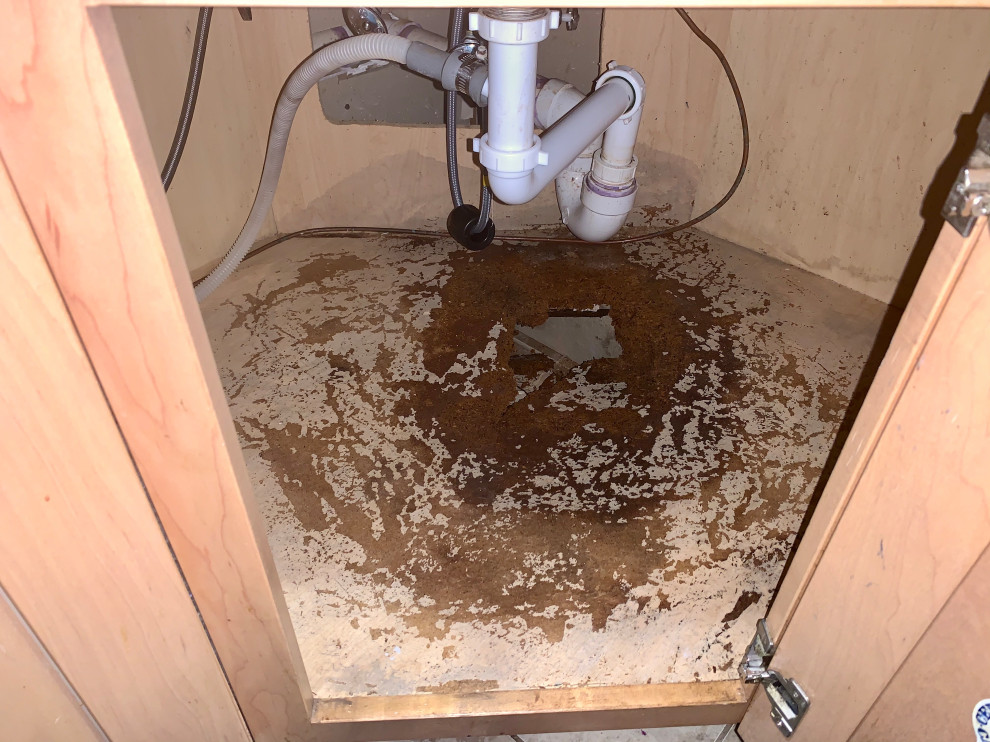
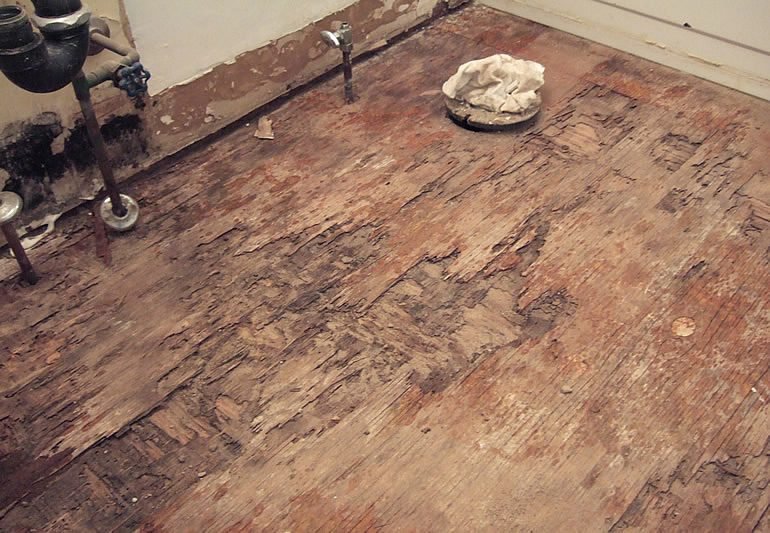
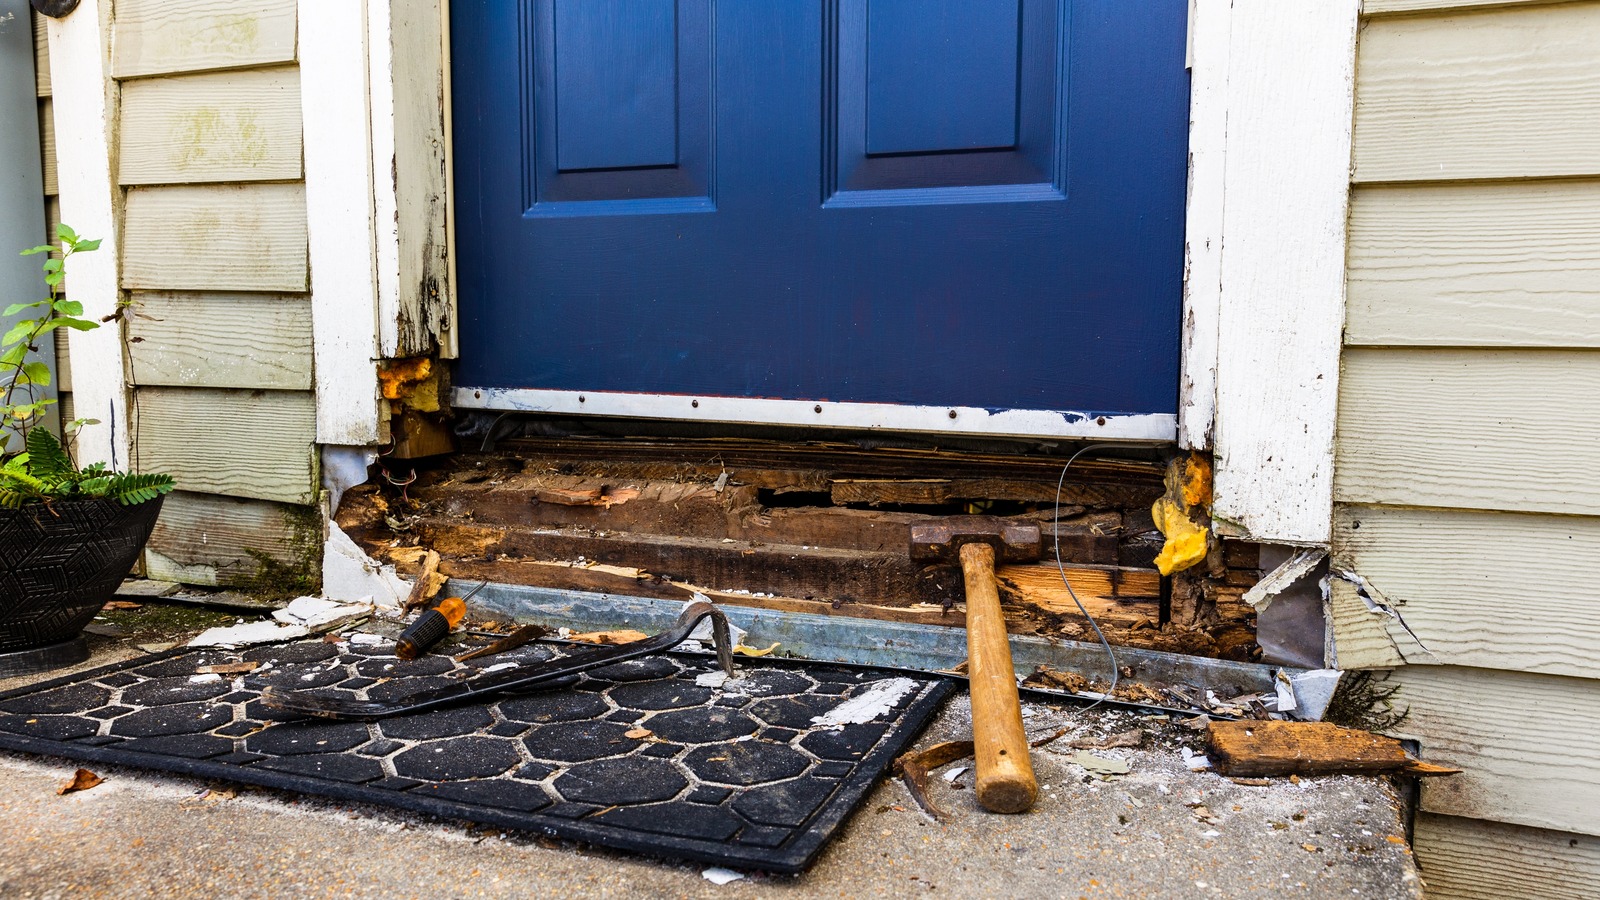
One of the most common reasons for replacing the wood underneath your kitchen sink is due to rot. This can be caused by leaks, moisture, or simply old age. It's essential to address rotting wood as soon as possible to prevent further damage and potential health hazards. If you notice any signs of rot, it's best to consult a professional for advice and assistance. They can help you determine the extent of the damage and the best course of action to take.Replacing the Rotten Wood Underneath Your Kitchen Sink


Replacing the Rotten Wood Underneath Your Kitchen Sink


Replacing the wood underneath your kitchen sink may not be the most glamorous task, but it's an essential one. Here are some tips to keep in mind to ensure the process goes smoothly. Tip 1: Use the proper tools and safety equipment when working with wood and power tools. Tip 2: Take accurate measurements and double-check before cutting the wood. Tip 3: Use a level to ensure the new wood is straight and properly aligned. Tip 4: Consider using pressure-treated or water-resistant wood for added durability.Tips for Replacing the Wood Underneath Your Kitchen Sink


Tips for Replacing the Wood Underneath Your Kitchen Sink


To replace the wood underneath your kitchen sink, you will need a few essential materials, including: Materials: New wood, screws or nails, saw, drill, sandpaper, level, and safety equipment.Materials Needed to Replace the Wood Underneath Your Kitchen Sink


Materials Needed to Replace the Wood Underneath Your Kitchen Sink
:max_bytes(150000):strip_icc()/Basic-kitchen-sink-types-1821207_color_rev-0b539306b9ef4236a136624ad2a89a4c.jpg)

The cost of replacing the wood underneath your kitchen sink will vary depending on the extent of the damage and the materials used. If you choose to hire a professional, the cost will also increase. However, the cost of replacement is significantly lower than the potential cost of further damage and repairs.Cost of Replacing the Wood Underneath Your Kitchen Sink

Cost of Replacing the Wood Underneath Your Kitchen Sink


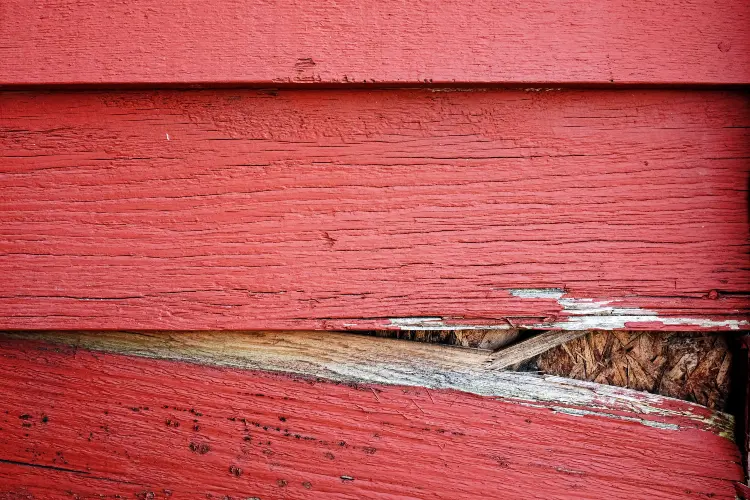
Prevention is always better than cure, and this applies to wood rot underneath your kitchen sink. Here are some tips to help prevent wood rot in the future: Tip 1: Regularly check for leaks and fix them immediately. Tip 2: Use a sealant or waterproofing agent on the wood to prevent moisture buildup. Tip 3: Keep the area underneath your sink clean and dry.How to Prevent Wood Rot Underneath Your Kitchen Sink

How to Prevent Wood Rot Underneath Your Kitchen Sink


If you're not confident in your DIY skills or the damage is extensive, it's best to hire a professional for the job. They have the experience, tools, and materials to get the job done correctly and efficiently. This will save you time, stress, and the potential for mistakes. Replacing the wood underneath your kitchen sink is a necessary task that can prevent further damage and keep your kitchen functioning properly. With these tips and guides, you can tackle the job yourself or hire a professional for assistance. Remember to regularly check for any signs of damage and address them promptly to avoid costly repairs in the future.Professional Services for Replacing the Wood Underneath Your Kitchen Sink

Professional Services for Replacing the Wood Underneath Your Kitchen Sink


Why Replacing the Wood Underneath Your Kitchen Sink is Essential for a Beautiful and Functional Home
The Importance of Maintaining the Foundation of Your Kitchen
 The kitchen is often considered the heart of a home, and for good reason. It's where families gather for meals, friends come over for dinner parties, and memories are made. As such, it's important to keep this space not only beautiful but also functional. One of the key components to a well-functioning kitchen is the foundation, particularly the wood underneath the sink. This may seem like a small detail, but it can make a big difference in the overall appearance and functionality of your kitchen.
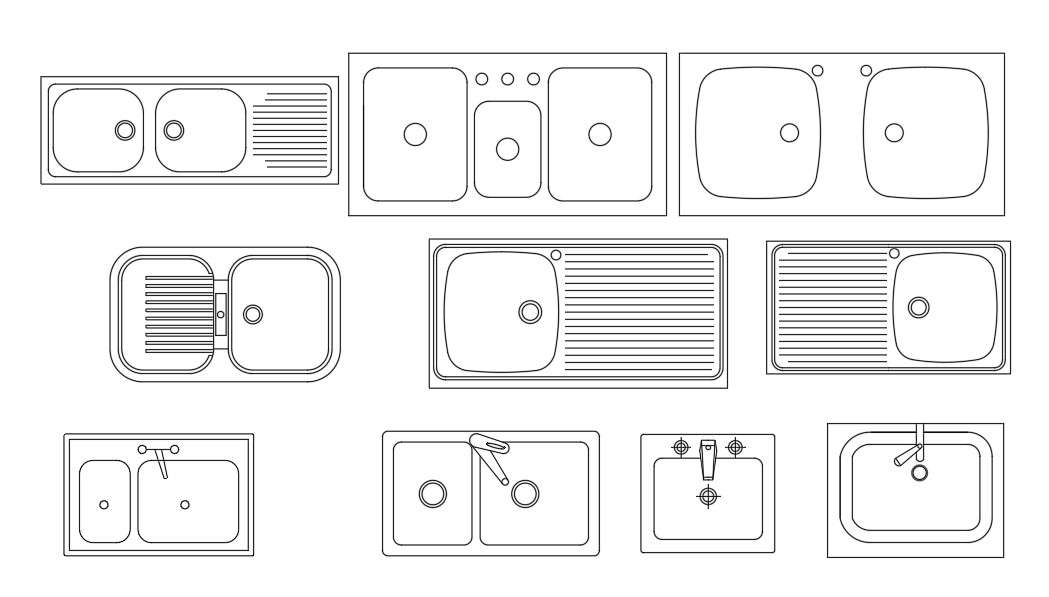
Why Wood is Used Underneath Kitchen Sinks
 The wood underneath the kitchen sink serves as a support system for the sink itself. It helps distribute the weight of the sink and its contents, such as dishes and pots, to the surrounding cabinet and base. This prevents the sink from sagging or breaking away from the surrounding counter and cabinets. Additionally, the wood also helps to protect the plumbing and pipes underneath the sink, ensuring that they are not damaged by any leaks or spills.
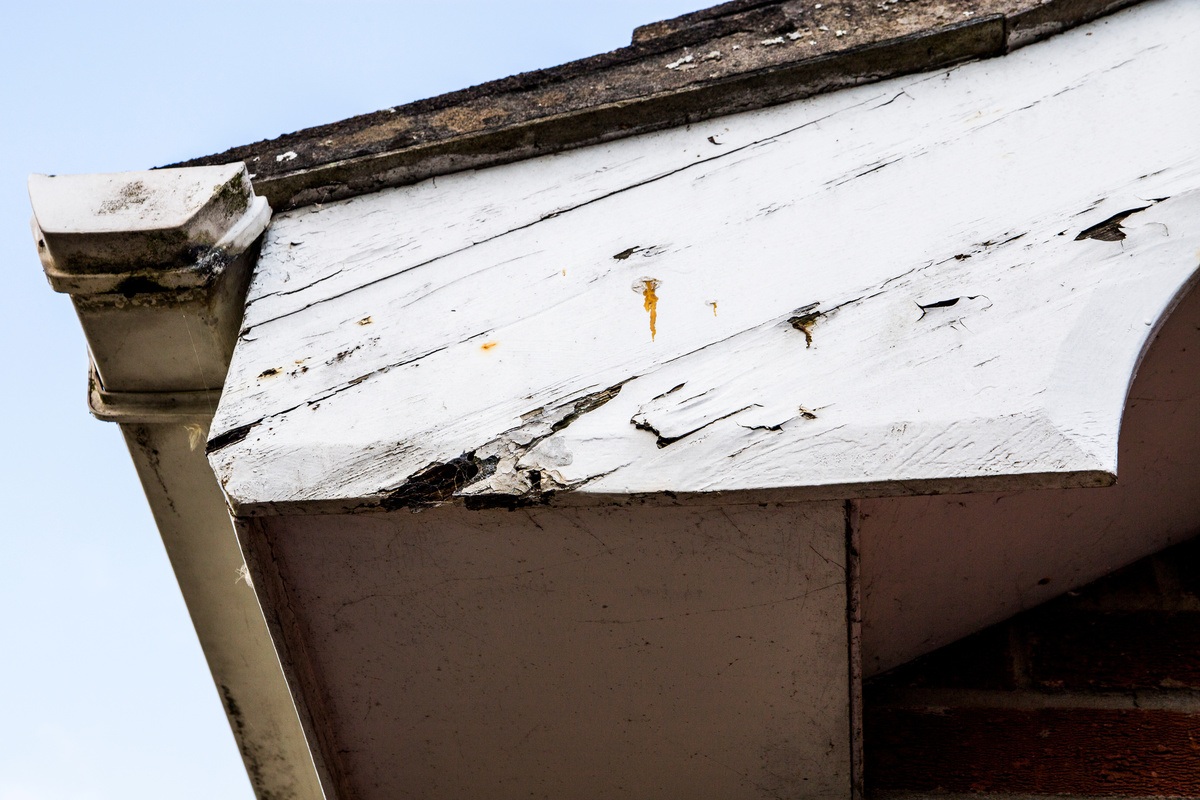
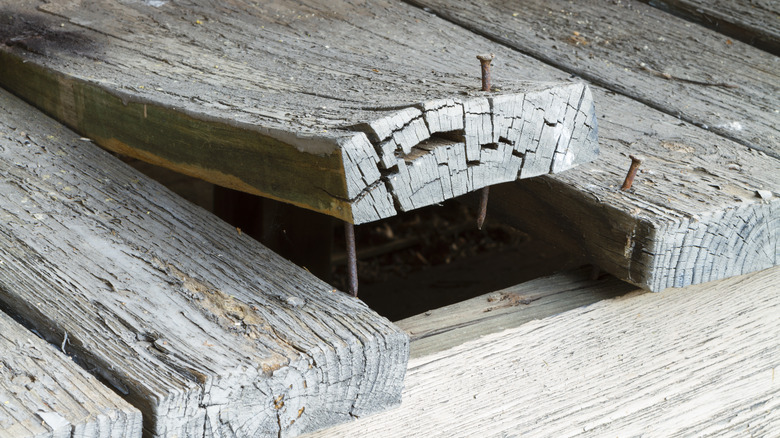
The Problems with Worn or Damaged Wood
 Over time, the wood underneath the kitchen sink can become worn or damaged due to constant exposure to water and moisture. This can lead to several issues, such as sagging sinks, water damage to surrounding cabinets, and even mold growth. These problems not only affect the functionality of your kitchen, but they can also be unsightly and decrease the value of your home.
Replacing the wood underneath your kitchen sink is a necessary step in maintaining the overall beauty and functionality of your home.
It ensures that your sink is properly supported and protected, preventing any potential damage or hazards. It also allows for a clean and polished look in your kitchen, making it a more inviting and enjoyable space for you and your guests.
Over time, the wood underneath the kitchen sink can become worn or damaged due to constant exposure to water and moisture. This can lead to several issues, such as sagging sinks, water damage to surrounding cabinets, and even mold growth. These problems not only affect the functionality of your kitchen, but they can also be unsightly and decrease the value of your home.
Replacing the wood underneath your kitchen sink is a necessary step in maintaining the overall beauty and functionality of your home.
It ensures that your sink is properly supported and protected, preventing any potential damage or hazards. It also allows for a clean and polished look in your kitchen, making it a more inviting and enjoyable space for you and your guests.
The Process of Replacing the Wood
 The process of replacing the wood underneath your kitchen sink may seem daunting, but it is actually a relatively simple task. First, you will need to remove the sink and any attached plumbing. Then, carefully remove the old wood and replace it with a new, sturdy piece. Once the new wood is in place, reattach the sink and plumbing, making sure everything is properly secured. This process can be done on your own or with the help of a professional contractor.
By taking the time to replace the wood underneath your kitchen sink, you are investing in the foundation of your kitchen and ultimately, your home.
Not only will it improve the functionality of your kitchen, but it will also add value and beauty to your space.
The process of replacing the wood underneath your kitchen sink may seem daunting, but it is actually a relatively simple task. First, you will need to remove the sink and any attached plumbing. Then, carefully remove the old wood and replace it with a new, sturdy piece. Once the new wood is in place, reattach the sink and plumbing, making sure everything is properly secured. This process can be done on your own or with the help of a professional contractor.
By taking the time to replace the wood underneath your kitchen sink, you are investing in the foundation of your kitchen and ultimately, your home.
Not only will it improve the functionality of your kitchen, but it will also add value and beauty to your space.
In Conclusion
 In conclusion, the wood underneath your kitchen sink is an essential component in maintaining a beautiful and functional home. It serves as a support system for your sink and protects your plumbing, and when it becomes worn or damaged, it can lead to various issues. Replacing the wood may seem like a small task, but it can have a big impact on the overall appearance and functionality of your kitchen.
Invest in the foundation of your home and ensure a beautiful and functional kitchen by replacing the wood underneath your sink.
In conclusion, the wood underneath your kitchen sink is an essential component in maintaining a beautiful and functional home. It serves as a support system for your sink and protects your plumbing, and when it becomes worn or damaged, it can lead to various issues. Replacing the wood may seem like a small task, but it can have a big impact on the overall appearance and functionality of your kitchen.
Invest in the foundation of your home and ensure a beautiful and functional kitchen by replacing the wood underneath your sink.