Is your kitchen sink basket looking worn out or starting to leak? It may be time to replace it. This may seem like a daunting task, but with the right tools and knowledge, you can easily replace your kitchen sink basket yourself. Follow these steps to get your sink back in top shape.How to Replace a Kitchen Sink Basket


How to Replace a Kitchen Sink Basket


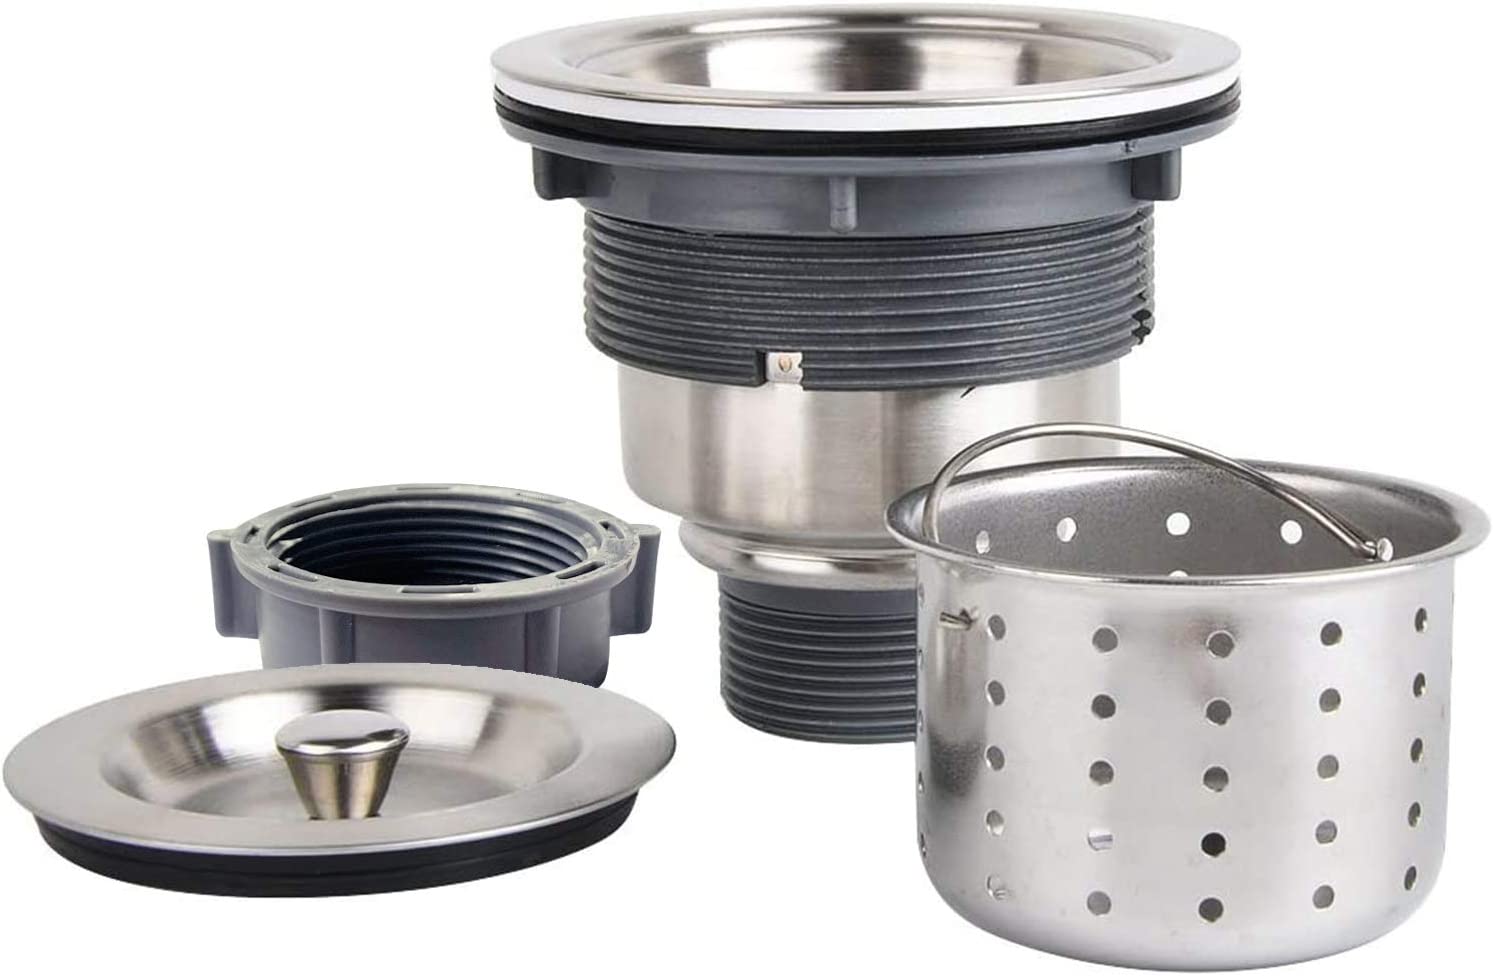
Step 1: Remove the old sink basket. Start by removing the drain pipe and any attachments connected to the sink basket. Then, using a wrench, loosen the locknut that holds the basket in place. Once the locknut is loose, you can easily remove the old sink basket. Step 2: Clean the sink area. After removing the old sink basket, you may notice some dirt or debris around the area. Take this opportunity to clean the sink and the surrounding area thoroughly. Step 3: Measure the new sink basket. Before installing the new sink basket, make sure it is the correct size. Measure the diameter of the sink hole and compare it to the new basket. If the new basket is larger, you can use a saw to trim it down to the correct size. Step 4: Apply plumber's putty. Roll out a small amount of plumber's putty and apply it to the underside of the sink basket. This will create a watertight seal between the sink and the basket. Step 5: Install the new sink basket. Place the new sink basket into the sink hole and secure it with the locknut. Make sure it is tight enough to prevent any leaks but not too tight to cause damage to the sink. Step 6: Reattach the drain pipe. Once the sink basket is securely in place, you can reattach the drain pipe and any other attachments that were removed earlier. Step 7: Test for leaks. Turn on the water and let it run for a few minutes to ensure there are no leaks. If you notice any leaks, tighten the locknut or reapply plumber's putty as needed.Replacing a Kitchen Sink Basket: A Step-by-Step Guide


Replacing a Kitchen Sink Basket: A Step-by-Step Guide

:no_upscale()/cdn.vox-cdn.com/uploads/chorus_asset/file/19495086/drain_0.jpg)


Replacing a kitchen sink basket can be a DIY project for those who are handy and have some basic plumbing knowledge. By following the steps above, you can successfully replace your sink basket and save money on hiring a professional.DIY: Replacing a Kitchen Sink Basket


DIY: Replacing a Kitchen Sink Basket


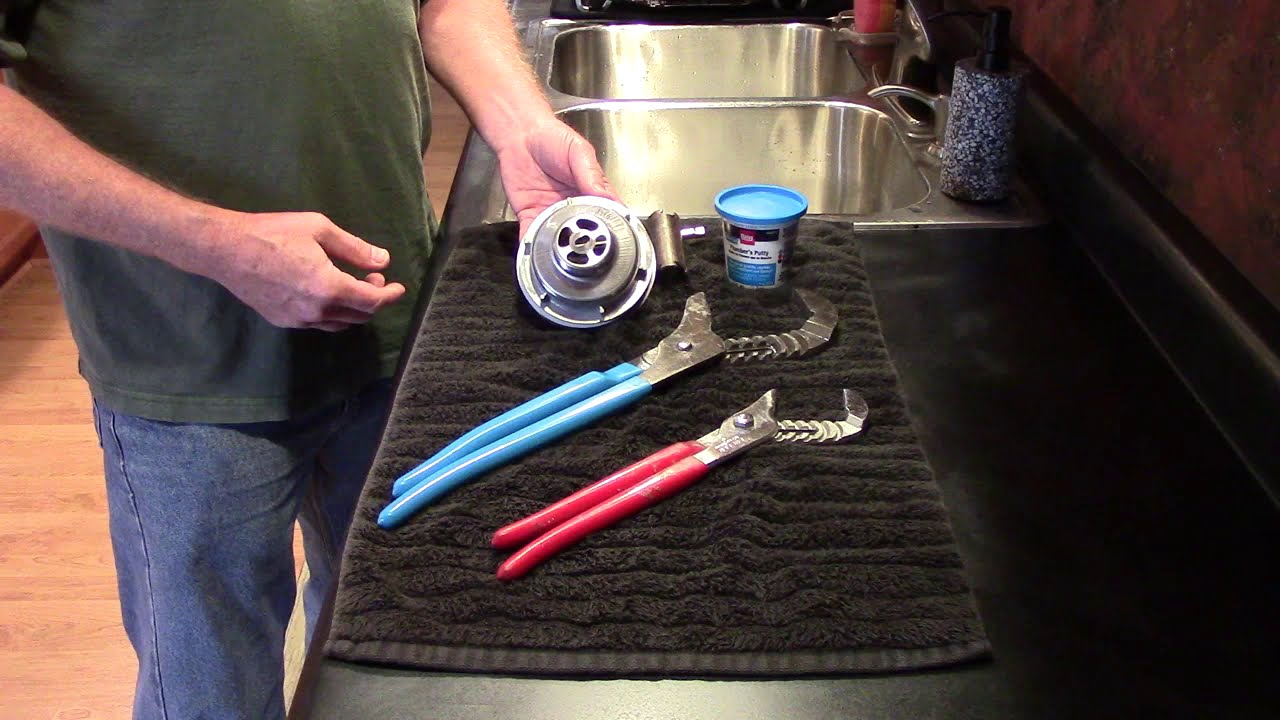
Tip: Use a basket strainer wrench to loosen the locknut. This tool is specifically designed for this task and will make it easier to remove the old sink basket. Trick: If the locknut is too tight, use a hammer and a flathead screwdriver to loosen it. Place the screwdriver against one of the notches on the locknut and gently tap it with the hammer to loosen it.Replacing a Kitchen Sink Basket: Tips and Tricks

Replacing a Kitchen Sink Basket: Tips and Tricks

Replacing a kitchen sink basket is important for maintaining the functionality and cleanliness of your sink. A worn-out or leaking sink basket can lead to water damage and mold growth, which can be costly to repair.The Importance of Replacing a Kitchen Sink Basket

The Importance of Replacing a Kitchen Sink Basket


One common mistake when replacing a kitchen sink basket is not using enough plumber's putty. This can lead to leaks and water damage. Make sure to apply enough putty to create a secure seal.Replacing a Kitchen Sink Basket: Common Mistakes to Avoid

Replacing a Kitchen Sink Basket: Common Mistakes to Avoid

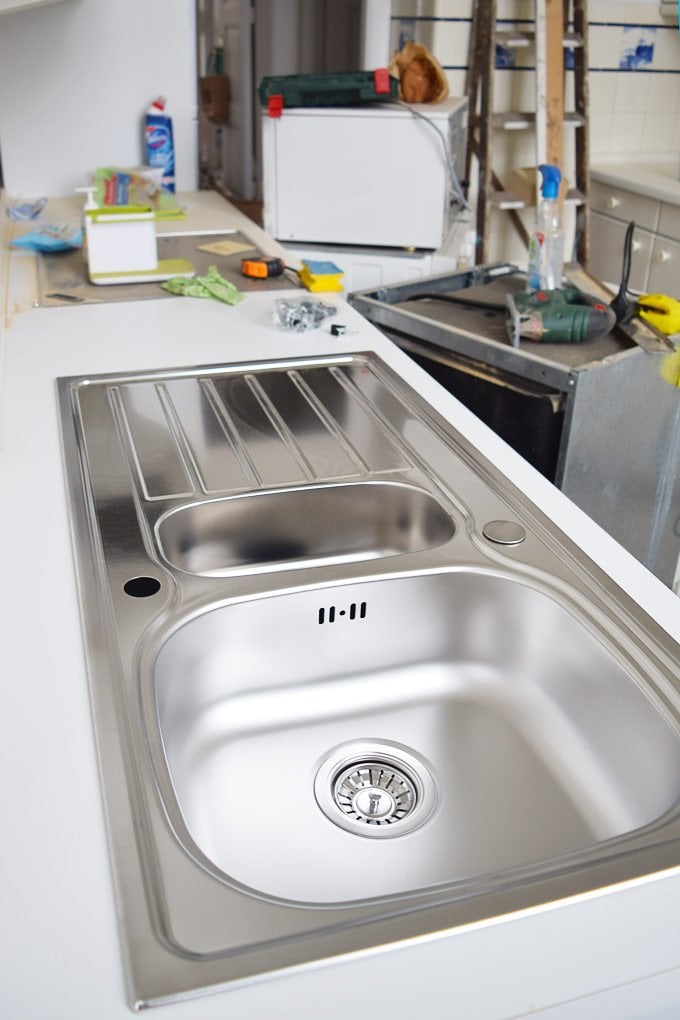
Tools:Tools You'll Need to Replace a Kitchen Sink Basket


Tools You'll Need to Replace a Kitchen Sink Basket


If you are unsure about replacing your kitchen sink basket, it's always best to consult a professional plumber. They have the knowledge and experience to complete the task efficiently and effectively.Replacing a Kitchen Sink Basket: What You Need to Know


Replacing a Kitchen Sink Basket: What You Need to Know

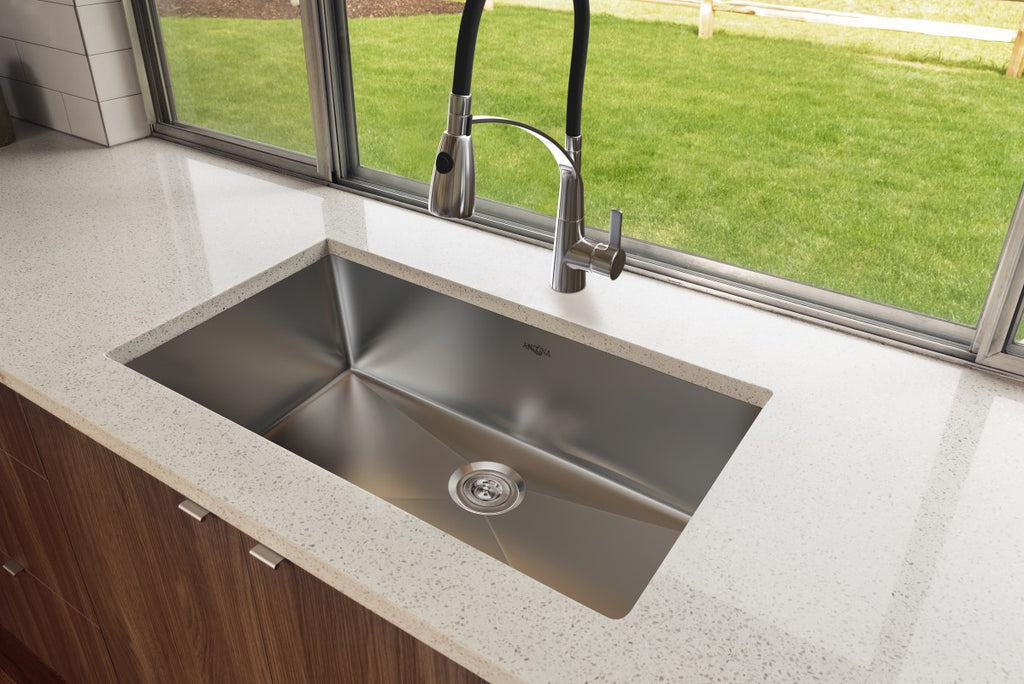
Follow these steps for a quick and easy guide to replacing your kitchen sink basket:Step-by-Step Guide to Replacing a Kitchen Sink Basket


Step-by-Step Guide to Replacing a Kitchen Sink Basket


Issue: The new sink basket is too big for the sink hole. Solution: Use a saw to trim the basket down to the correct size. Issue: There are leaks after installing the new sink basket. Solution: Tighten the locknut or reapply plumber's putty as needed.Replacing a Kitchen Sink Basket: Troubleshooting Common Issues

Replacing a Kitchen Sink Basket: Troubleshooting Common Issues


How to Replace a Kitchen Sink Basket: A Guide for Homeowners

Why Replace Your Kitchen Sink Basket?
 Replacing your kitchen sink basket may not be the most glamorous home improvement project, but it is an essential maintenance task that can save you from bigger headaches down the line. Over time, the sink basket can become worn out, accumulate grime and debris, or even develop leaks. A faulty sink basket can lead to water damage and costly repairs, making it crucial to replace it as soon as you notice any issues. In this article, we will guide you through the process of replacing your kitchen sink basket, so you can keep your sink in top condition and avoid any potential disasters.
What You Will Need
 Before you begin the process of replacing your kitchen sink basket, make sure you have the following tools and materials on hand:
- A new sink basket
- A wrench
- Plumbers' putty
- A putty knife
- A screwdriver
- A bucket or basin
- A towel or rag
Before you begin the process of replacing your kitchen sink basket, make sure you have the following tools and materials on hand:
- A new sink basket
- A wrench
- Plumbers' putty
- A putty knife
- A screwdriver
- A bucket or basin
- A towel or rag
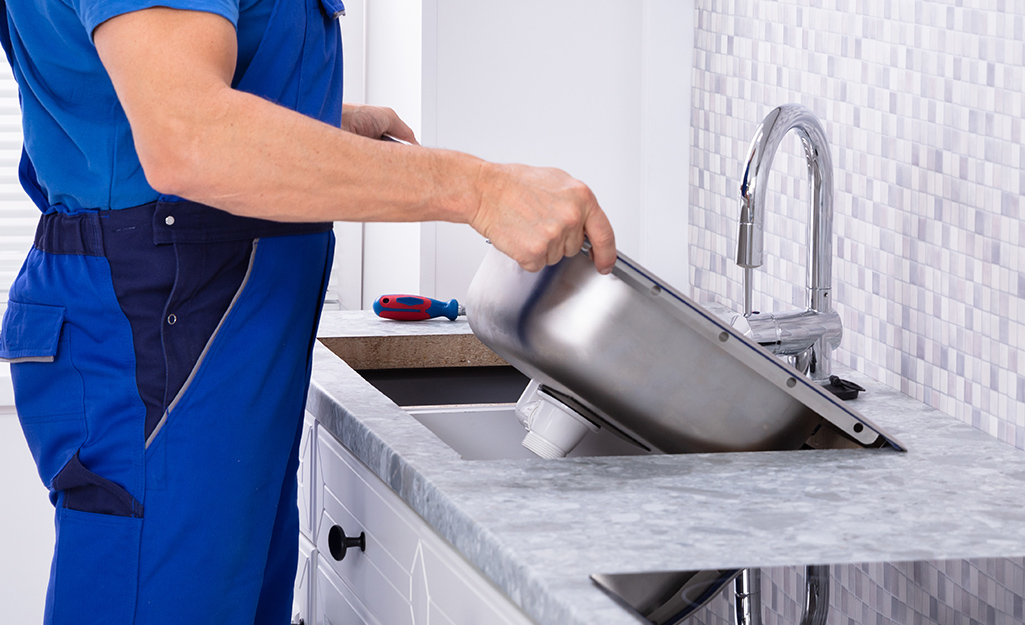
Step 1: Prepare Your Work Area
 Start by turning off the water supply to your sink. This can usually be done by turning off the water valves located under the sink. Then, place a towel or rag in the sink to catch any water that may drip down during the process. Next, use a wrench to loosen and remove the nuts that hold the sink basket in place. Once the nuts are removed, you should be able to pull out the old sink basket.
Step 2: Clean the Sink Surface
 After removing the old sink basket, use a putty knife to scrape off any remaining plumbers' putty from the sink surface. Wipe the area clean with a damp cloth and let it dry completely before moving on to the next step.
Step 3: Apply Plumbers' Putty
 Roll a small amount of plumbers' putty between your hands to create a long, thin strand. Then, apply the putty around the underside of the new sink basket. Make sure to cover the entire circumference of the basket.
Step 4: Install the New Sink Basket
 Place the new sink basket into the sink hole, making sure it fits securely. From underneath the sink, tightly screw on the mounting and lock nuts to hold the basket in place. Wipe off any excess putty that may have squeezed out during installation.
Step 5: Reconnect the Plumbing
 Once the new sink basket is securely in place, reconnect the plumbing. Use the bucket or basin to catch any water that may still be in the pipes. Tighten the nuts with a wrench to ensure a leak-proof connection.
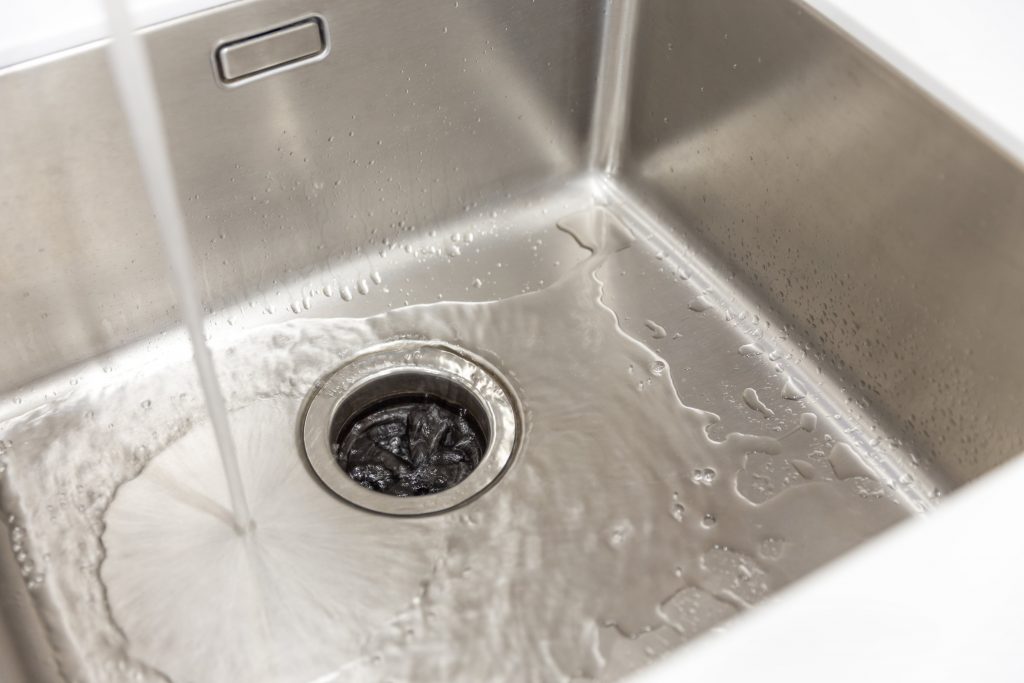
Step 6: Test for Leaks
 Before turning the water supply back on, do a final check for any leaks. Turn on the water and let it run for a few minutes. If there are no leaks, your new sink basket is successfully installed!
Keep Your Kitchen Sink in Top Shape
 Replacing your kitchen sink basket may seem like a daunting task, but with the right tools and a little bit of patience, it can be a simple and rewarding DIY project. Regular maintenance and upkeep of your sink can save you from costly repairs in the future and keep your kitchen looking its best. Remember to use high-quality materials and follow these steps carefully to ensure a successful replacement. Say goodbye to a leaky and worn-out sink basket and hello to a clean and functional kitchen sink!