Are you tired of seeing moldy, cracked caulk around your kitchen sink? It's time for a replacement! Here's a step-by-step guide on how to remove and replace the caulk around your kitchen sink to give it a fresh and clean look.How to Replace Caulk Around a Kitchen Sink


How to Replace Caulk Around a Kitchen Sink


Tools: Utility knife, caulk gun, putty knife, razor blade, sponge, and caulking tool Materials: Caulk remover, caulk, and cleaning solutionTools and Materials You Will Need


How to Remove and Replace Caulk Around a Kitchen Sink


Before starting the caulk replacement process, make sure the area around your sink is clean and dry. Remove any items that may obstruct your work and cover the surrounding surfaces with a drop cloth or newspaper to prevent any damage or mess.Step 1: Prepare the Area


DIY: How to Replace Caulk Around a Kitchen Sink


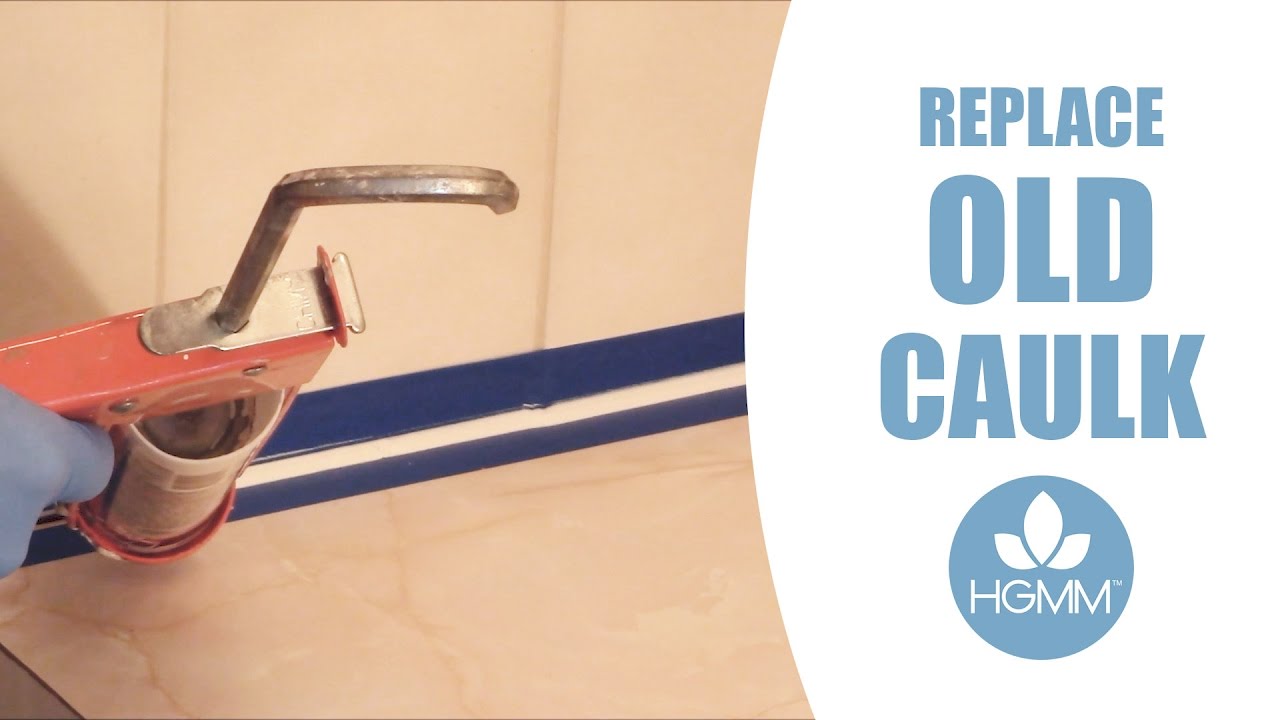
Using a utility knife, carefully cut and scrape away the old caulk. Be sure to remove all traces of caulk and clean the area with a caulk remover and sponge. This will ensure a smooth and clean surface for the new caulk to adhere to.Step 2: Remove the Old Caulk


Step-by-Step Guide to Replacing Caulk Around a Kitchen Sink


There are various types of caulk available in the market, but for a kitchen sink, it is best to use a waterproof and mold-resistant caulk. Silicone caulk is a popular choice as it is durable and flexible, making it perfect for areas that are prone to moisture and movement.Step 3: Choose the Right Caulk


Replacing Caulk Around a Kitchen Sink: Tips and Tricks


Insert the tube of caulk into the caulk gun and cut the nozzle at a 45-degree angle. Squeeze the trigger of the caulk gun to test the flow of caulk before applying it to the sink.Step 4: Load the Caulk Gun


Best Caulk for Kitchen Sink Replacement


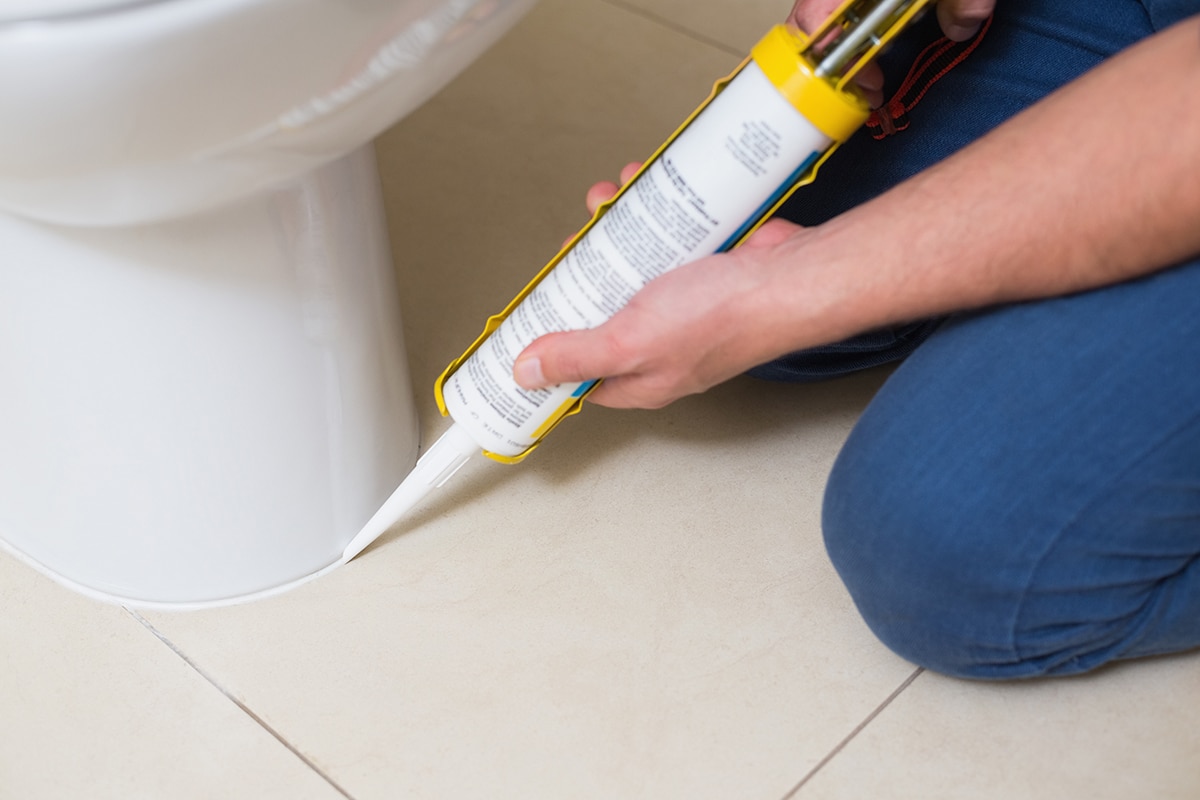
Boldly apply the caulk along the seam between the sink and the countertop, making sure to fill any gaps or cracks. Use a caulking tool or your finger to smooth out the caulk and create a neat and even line. Wipe away any excess caulk with a damp cloth.Step 5: Apply the Caulk

When to Replace Caulk Around a Kitchen Sink

Allow the caulk to dry completely before using the sink. Depending on the type of caulk used, this can take anywhere from a few hours to a full day. It is important to not use the sink during this time to avoid disrupting the caulk's drying process.Step 6: Let it Dry


How Often Should You Replace Caulk Around a Kitchen Sink?

It is recommended to replace the caulk around your kitchen sink every 1-2 years. However, if you notice any signs of damage or mold, it is best to replace it immediately to prevent any further damage or health hazards.When to Replace Caulk Around a Kitchen Sink

Common Mistakes to Avoid When Replacing Caulk Around a Kitchen Sink


When replacing caulk around a kitchen sink, there are a few common mistakes that people make. These include not properly cleaning the area before applying new caulk, using the wrong type of caulk, and not allowing enough time for the caulk to dry. To ensure a successful replacement, be sure to follow the steps mentioned above and avoid these mistakes.Common Mistakes to Avoid When Replacing Caulk Around a Kitchen Sink

Professional vs. DIY: Replacing Caulk Around a Kitchen Sink


Why It's Important to Replace Caulk in Your Kitchen Sink

Your kitchen sink is a central part of your home and gets a lot of use. Over time, the caulk around your sink can become worn out and start to crack or peel. Not only does this look unsightly, but it can also lead to water damage and mold growth. That's why it's important to regularly replace caulk in your kitchen sink to keep it looking and functioning its best.
The Benefits of Replacing Caulk

The primary purpose of caulk is to seal the gap between your sink and the countertop, preventing water from seeping in and causing damage. When caulk starts to deteriorate, it can no longer do its job effectively. This can lead to water getting into the gaps and causing damage to your cabinets and countertops. Replacing caulk also helps to prevent mold and mildew growth, which can be harmful to your health.
How Often Should You Replace Caulk?

It's recommended to replace caulk in your kitchen sink every 1-2 years. However, if you notice any signs of wear and tear, such as cracks or gaps, it's best to replace it sooner. This will help to prevent any potential water damage and keep your sink looking clean and well-maintained.
Steps to Replace Caulk in Your Kitchen Sink

Step 1: Begin by removing the old caulk using a putty knife or caulk remover tool. Be sure to clean the area thoroughly before applying new caulk.
Step 2: Choose a high-quality, waterproof caulk that is specifically designed for use in kitchens and bathrooms.
Step 3: Cut the tip of the caulk tube at a 45-degree angle and insert it into a caulk gun.
Step 4: Apply an even bead of caulk along the gap between your sink and countertop. Use your finger or a caulk smoothing tool to smooth out the caulk and remove any excess.
Step 5: Allow the caulk to dry completely according to the manufacturer's instructions before using your sink again.
By following these simple steps and replacing caulk regularly, you can ensure the longevity and cleanliness of your kitchen sink. It's a small task that can make a big difference in the overall appearance and functionality of your kitchen. Don't wait until it's too late, keep your kitchen sink well-maintained and enjoy a clean and healthy home.


/cloudfront-us-east-1.images.arcpublishing.com/dmn/ZDO7VMDFXRHK3CJEI5LVSVV6J4.JPG)

