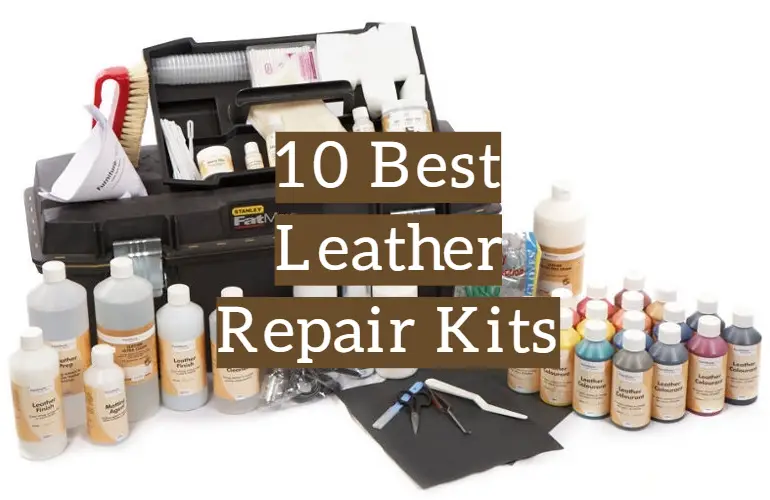
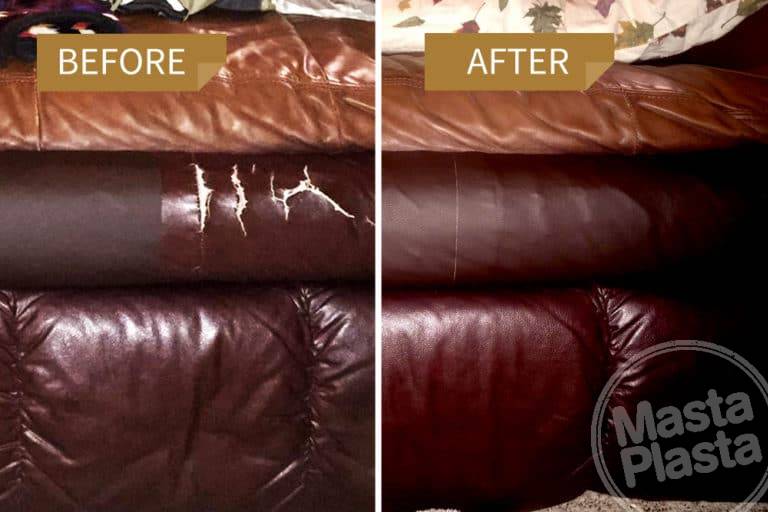
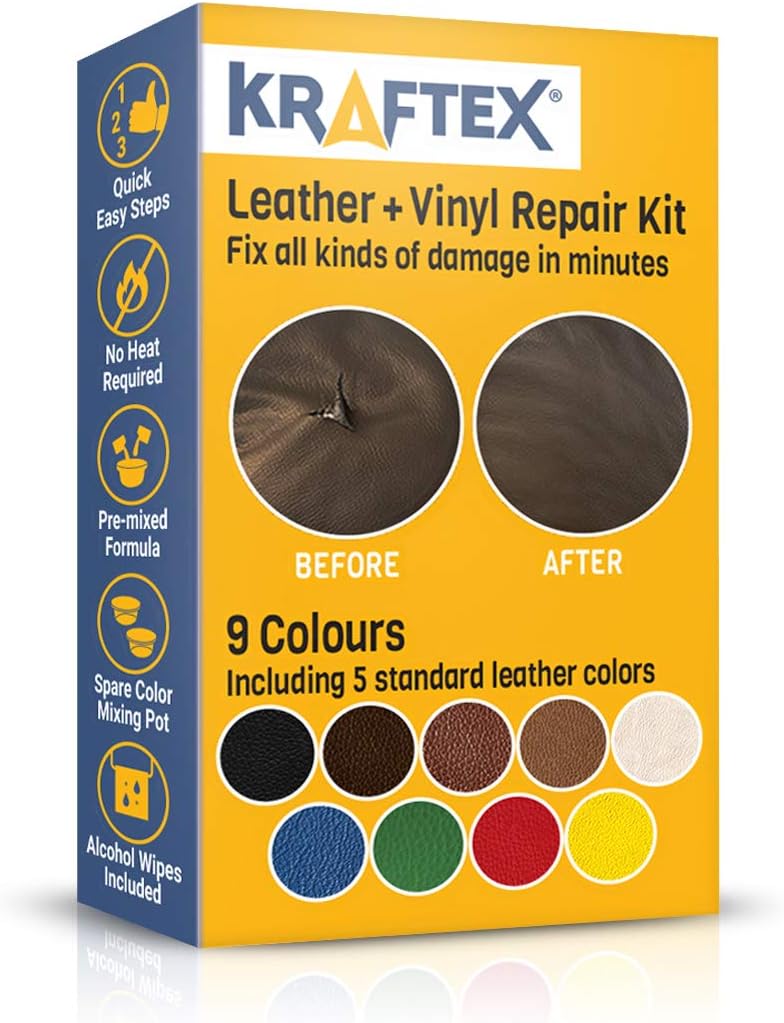
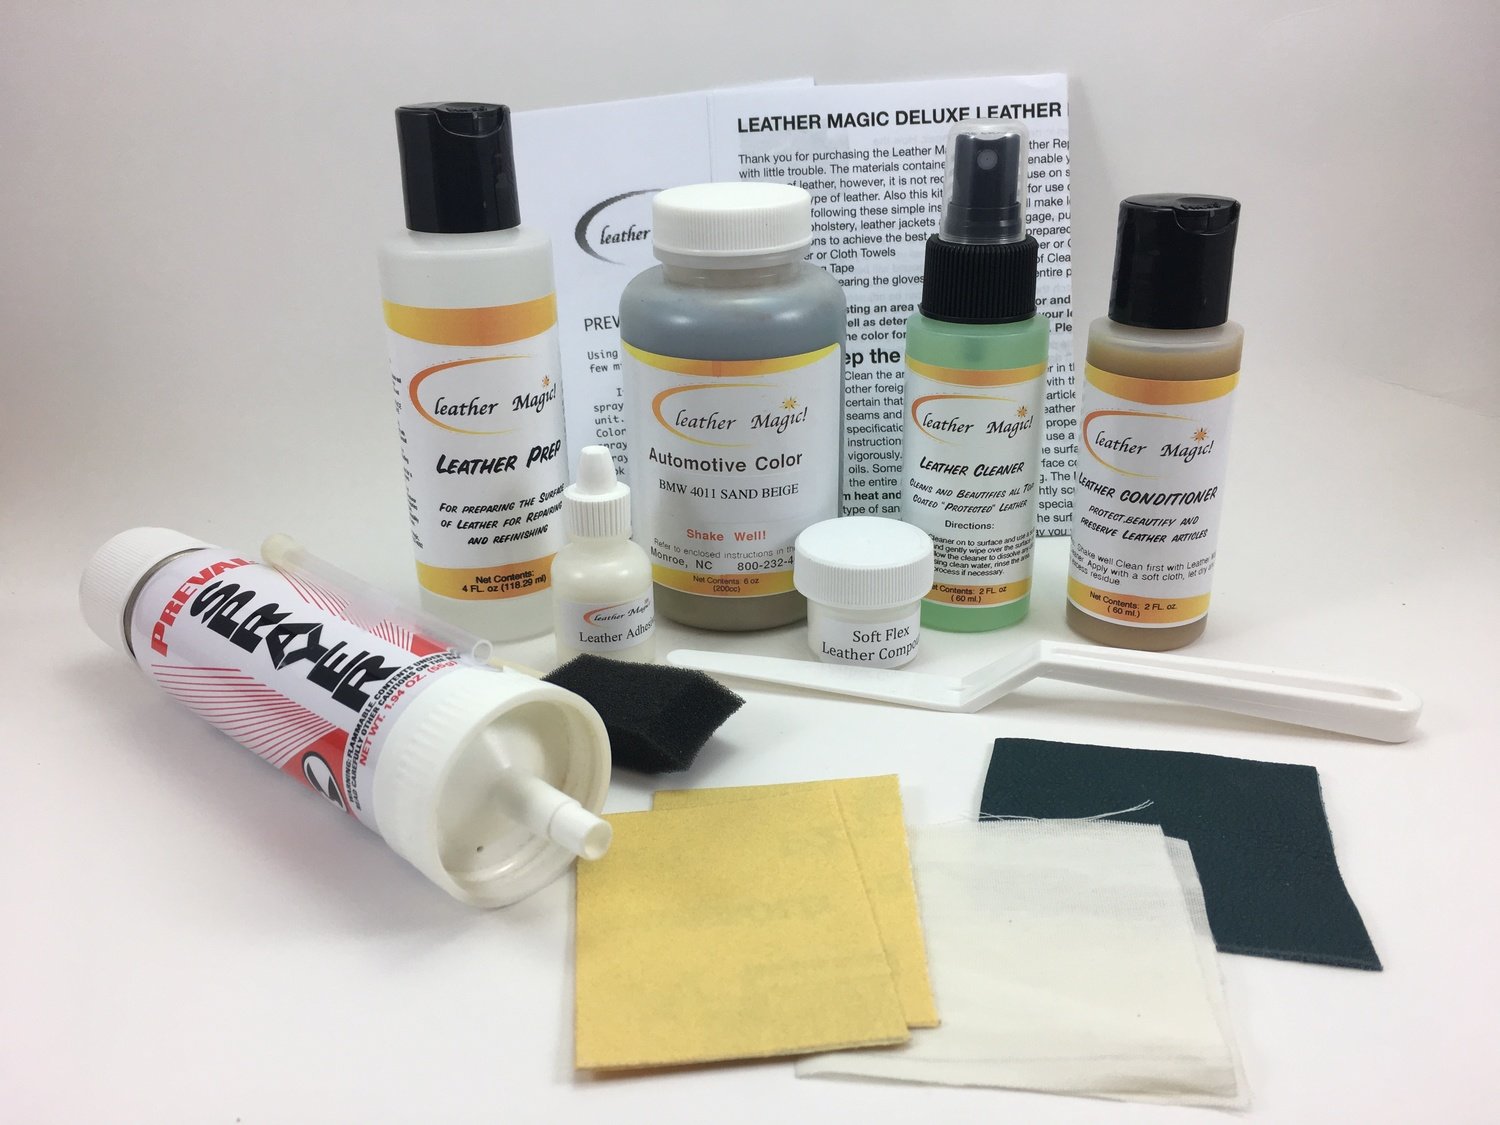
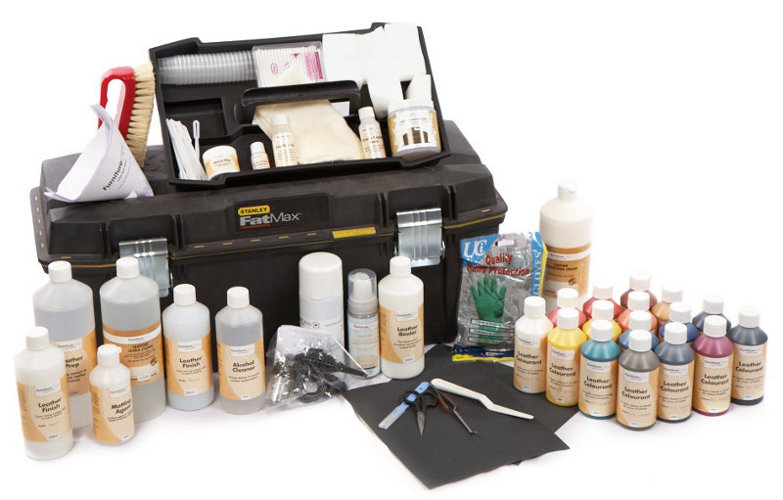
When it comes to repairing the leather at the bottom of your pullout sofa, it's important to choose the right leather repair kit. Look for a kit that includes all the necessary tools and materials, such as a leather repair patch, leather repair tape, leather repair glue, leather repair filler, and leather repair compound. Make sure to read reviews and choose a reputable brand to ensure the best results.1. Choose the Right Leather Repair Kit for Your Pullout Sofa


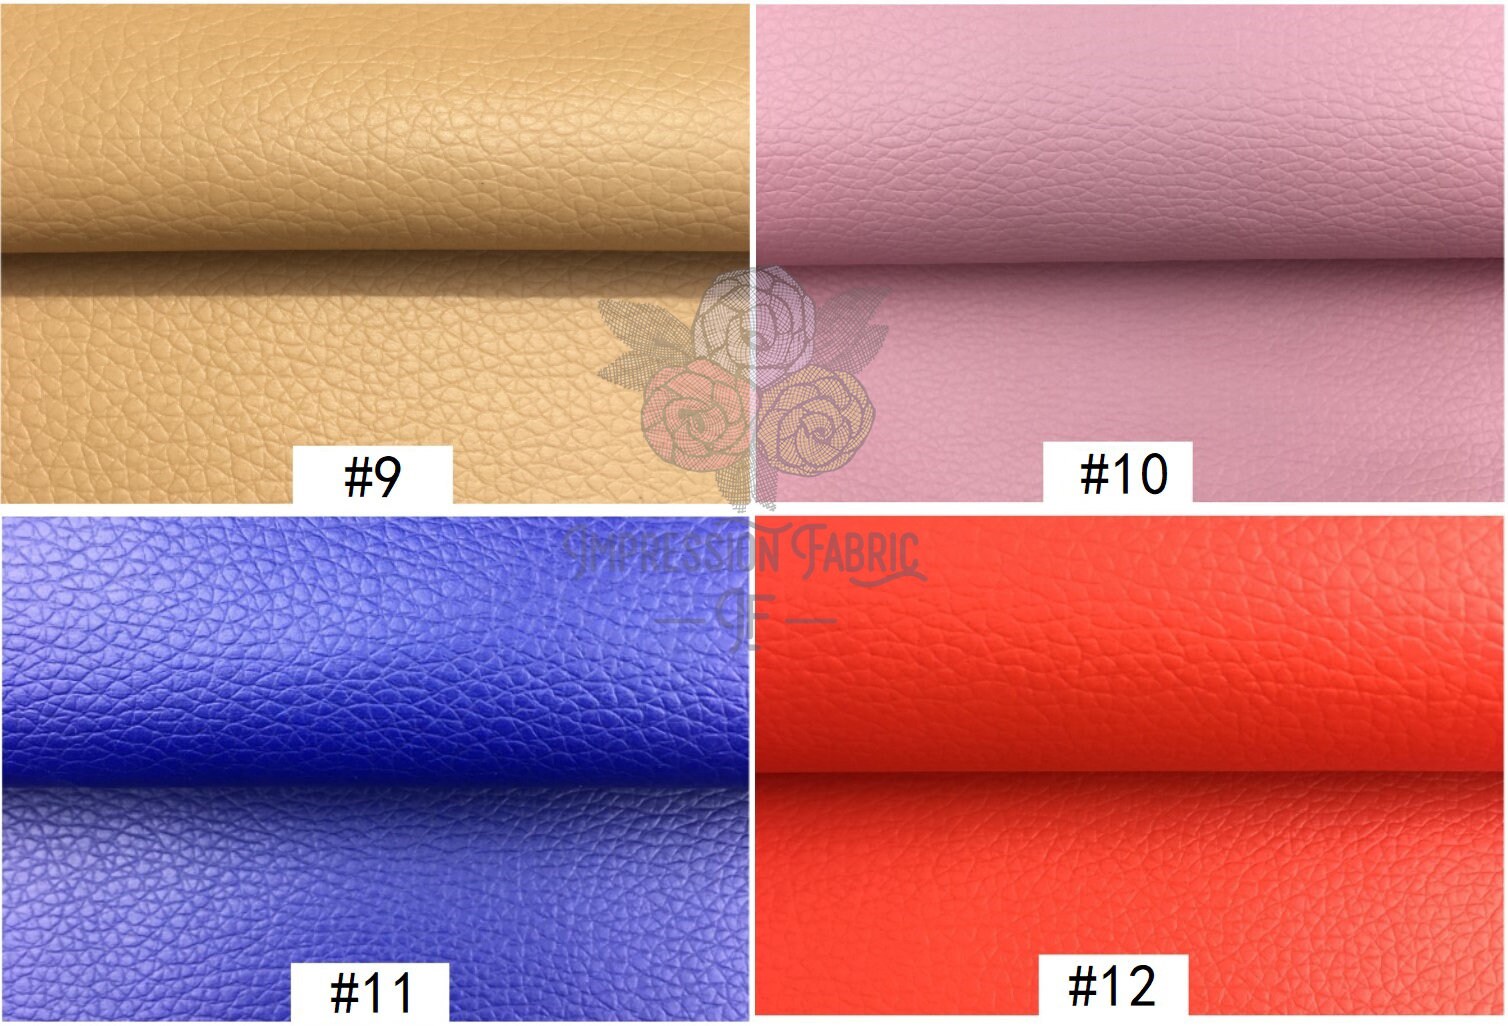
Leather Repair Kit for Sofa


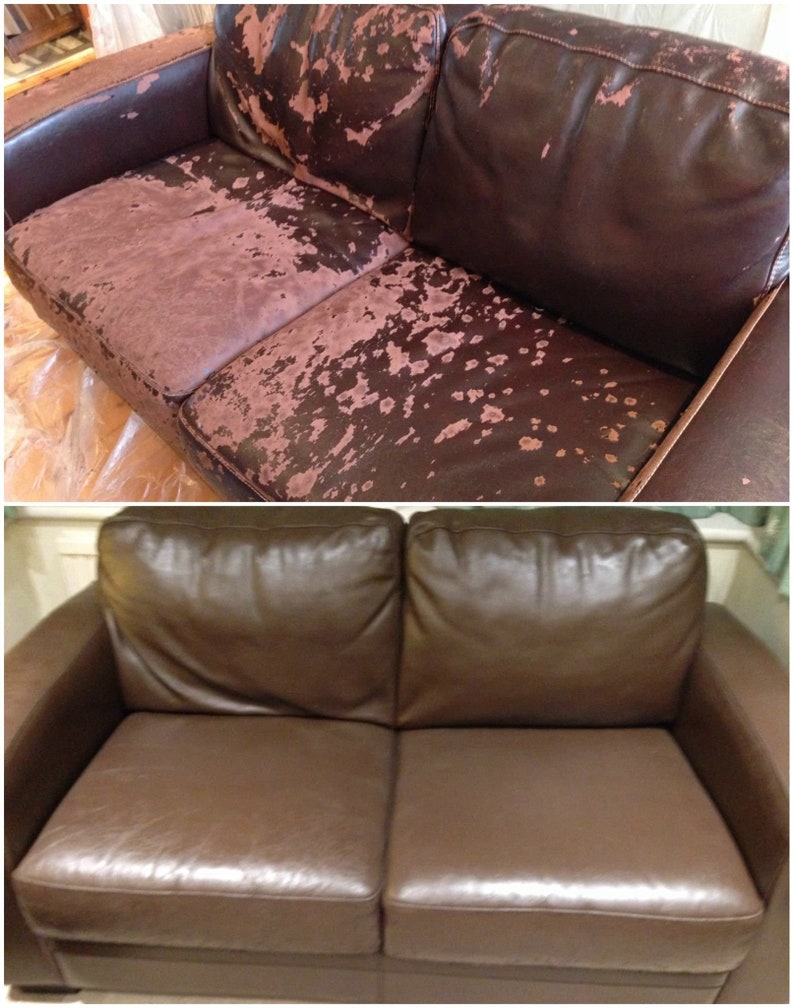
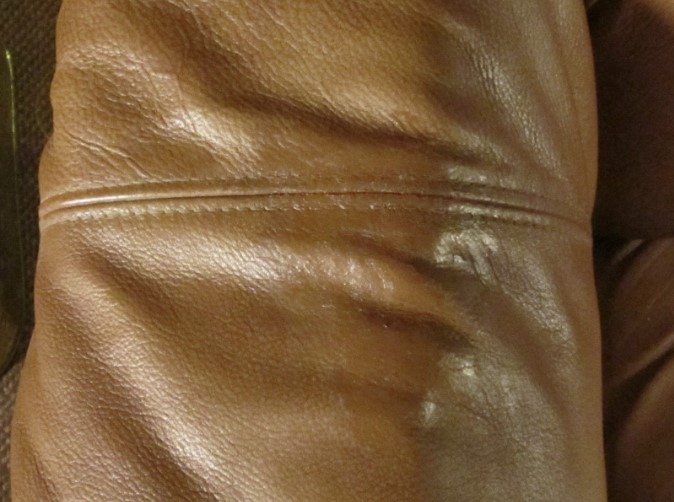
Before beginning any repairs, it's important to assess the damage to your pullout sofa. This will help you determine the best course of action and which tools and materials you will need. Is the leather torn, scratched, or just worn and faded? This will also help you determine if you need to replace the entire section of leather or if a patch will suffice.2. Assess the Damage to Your Pullout Sofa


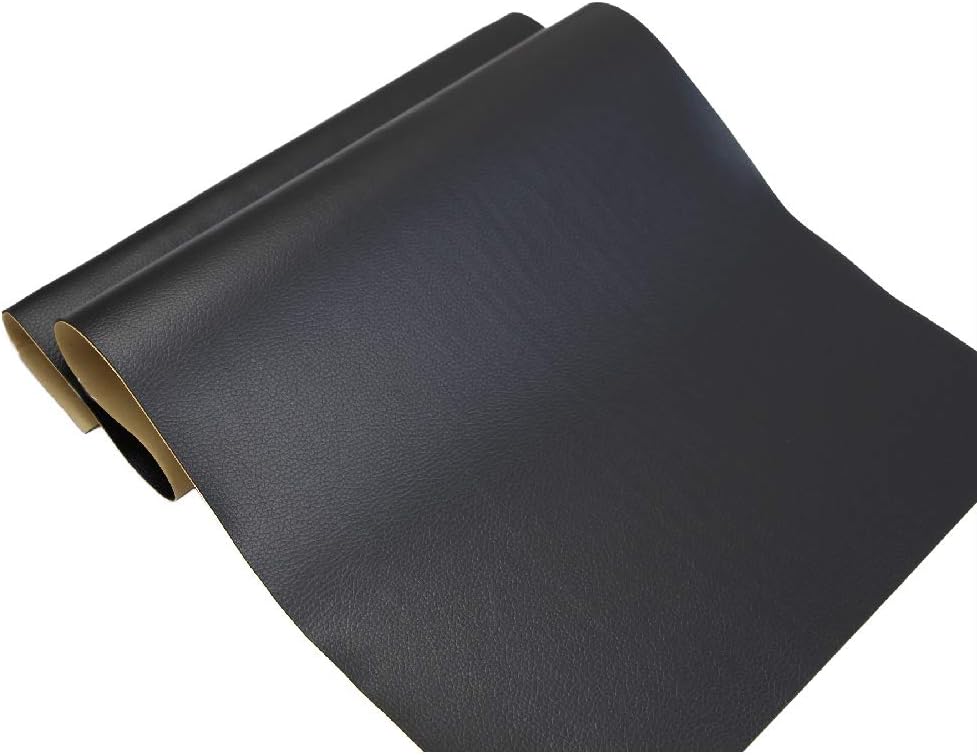
Leather Repair Patch

Before applying any repairs, make sure to clean the damaged area thoroughly. Use a gentle leather cleaner and a soft cloth to remove any dirt, debris, or oils that may affect the adhesion of the repair materials. This will ensure a smooth and long-lasting repair.3. Clean the Area Thoroughly

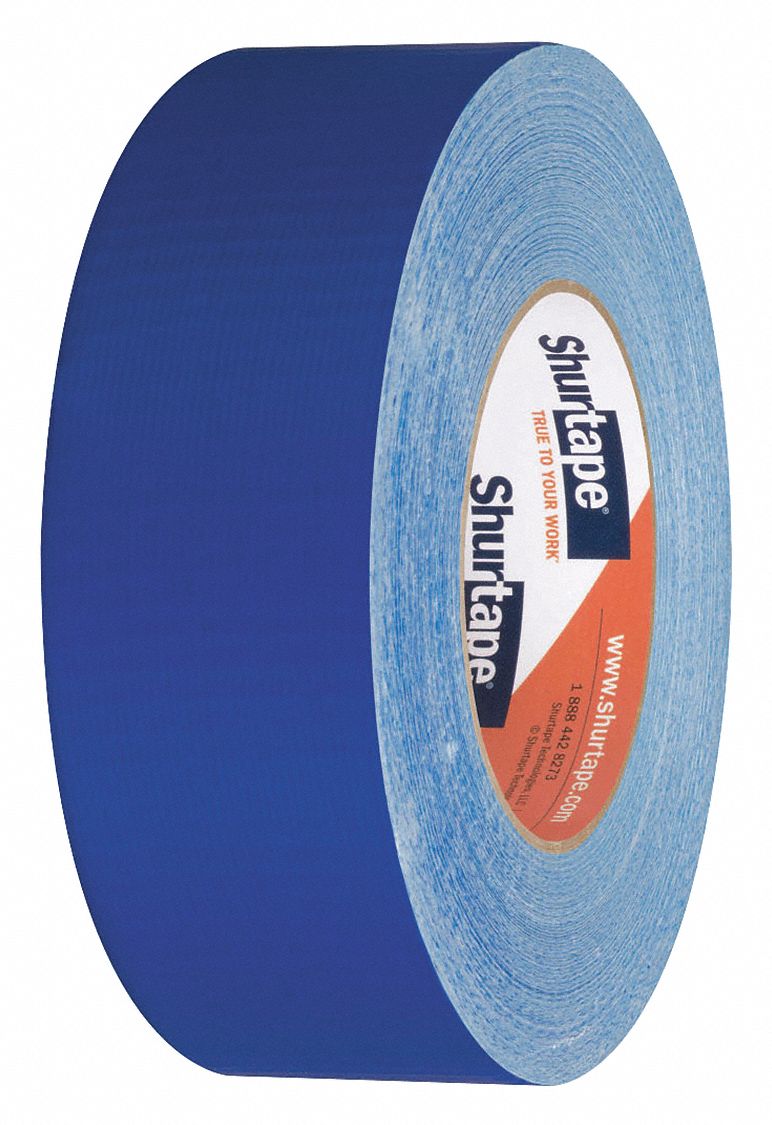
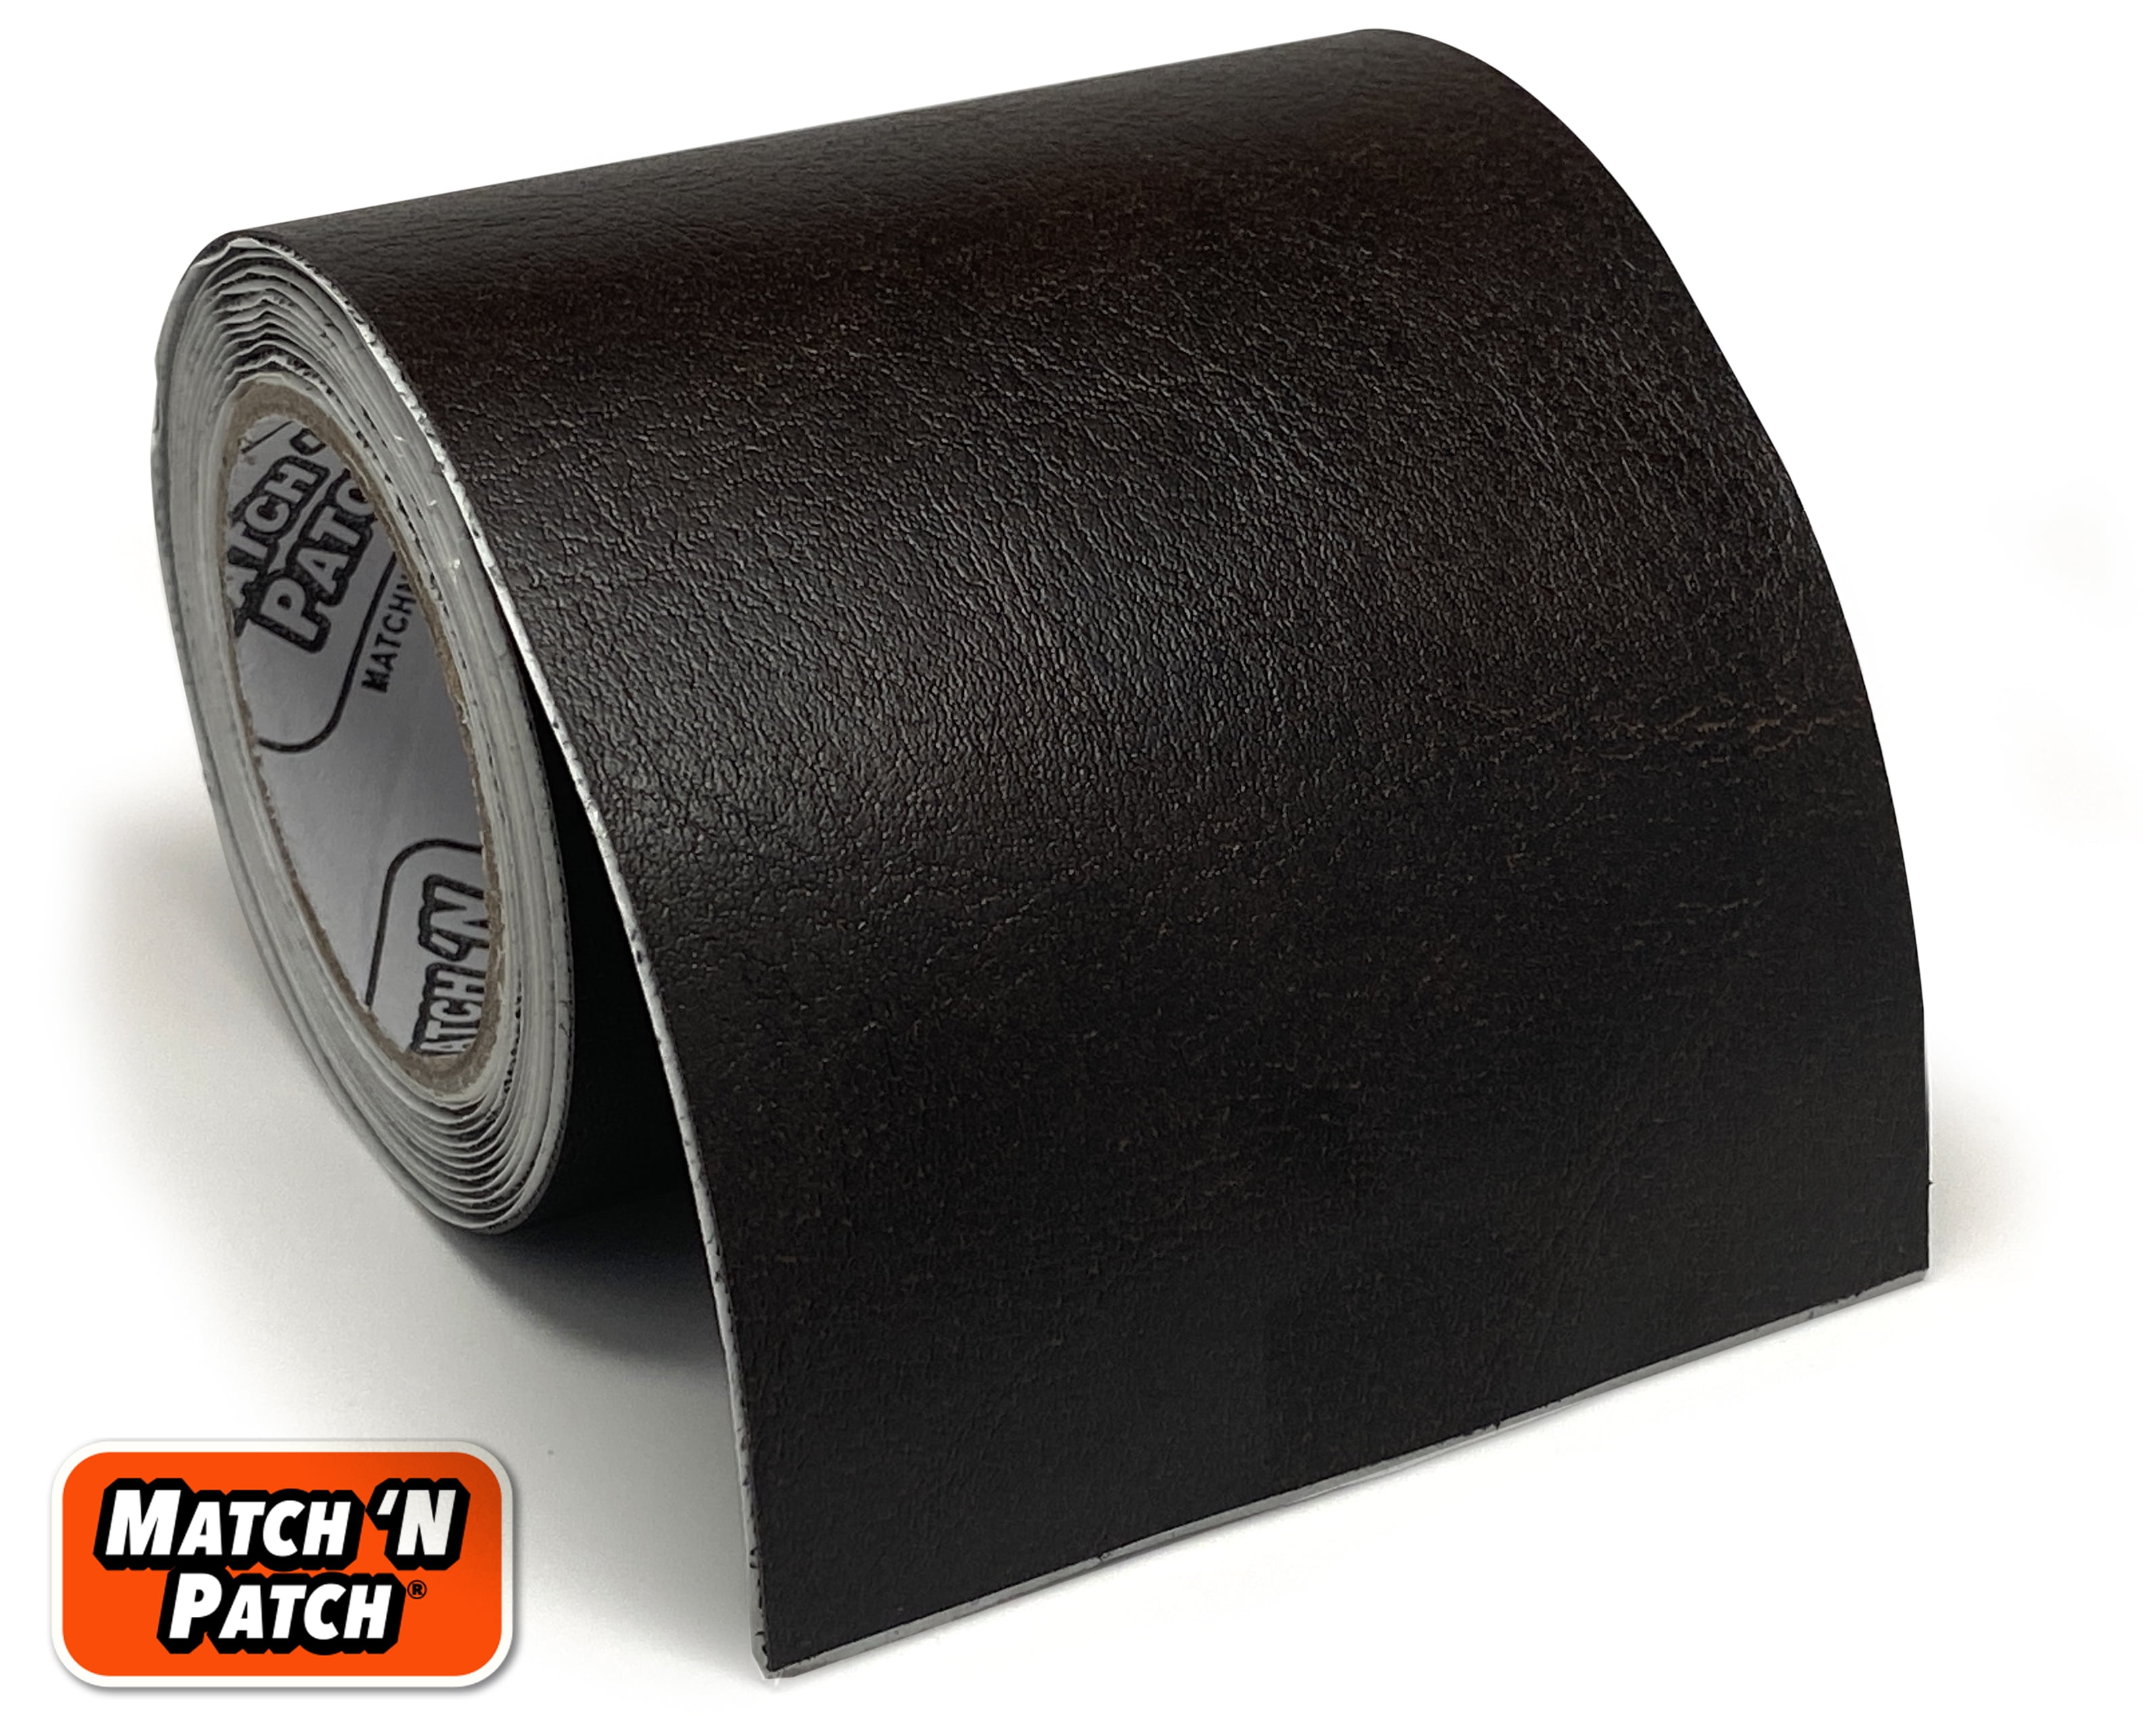
Leather Repair Tape


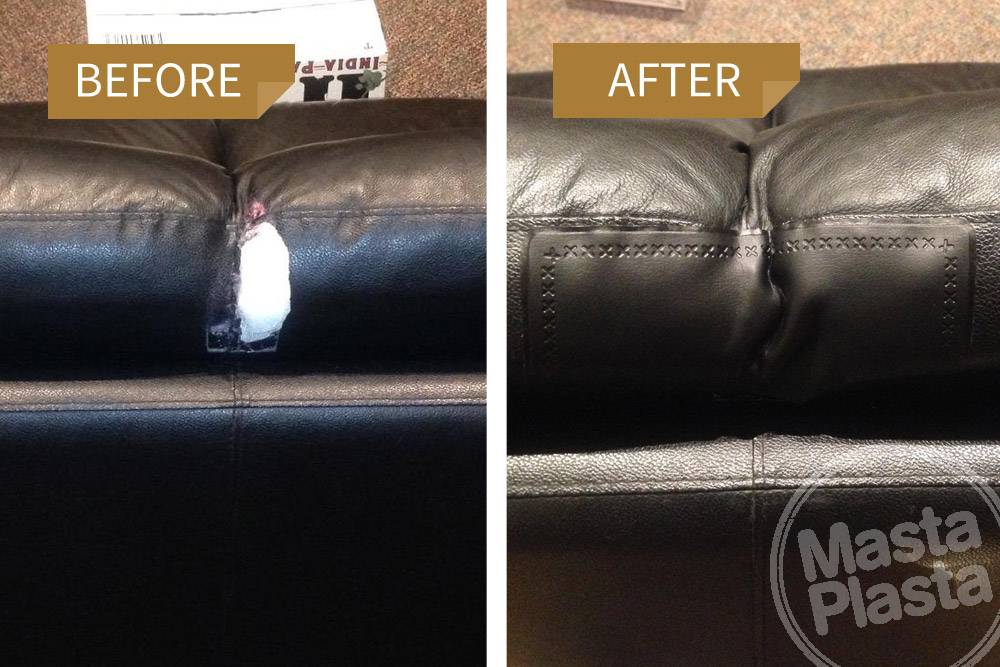
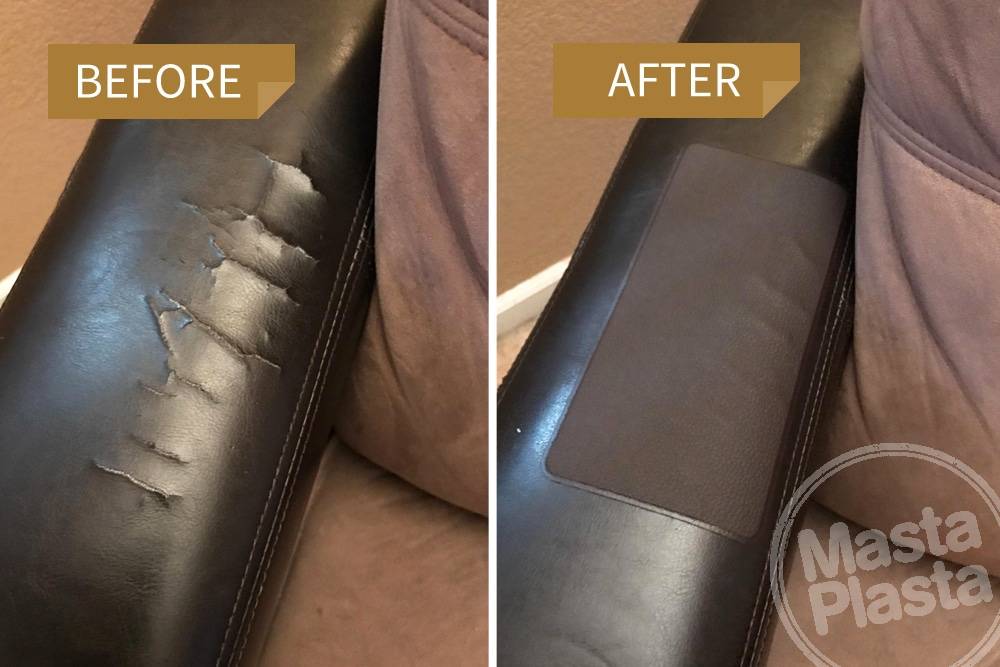
If the damage to your pullout sofa is a small tear or hole, a leather repair patch is the best option. These patches are specially designed to adhere to the leather and blend in seamlessly with the surrounding area. Make sure to choose a patch that matches the color and texture of your sofa's leather for the best results.4. Use a Leather Repair Patch for Small Tears and Holes


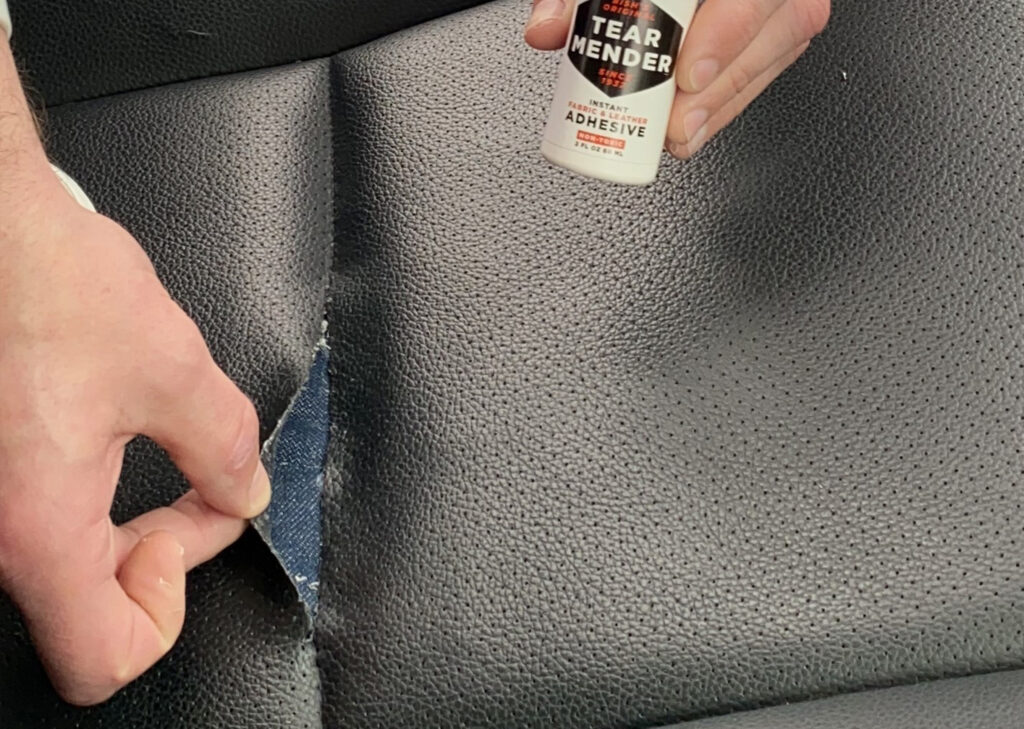
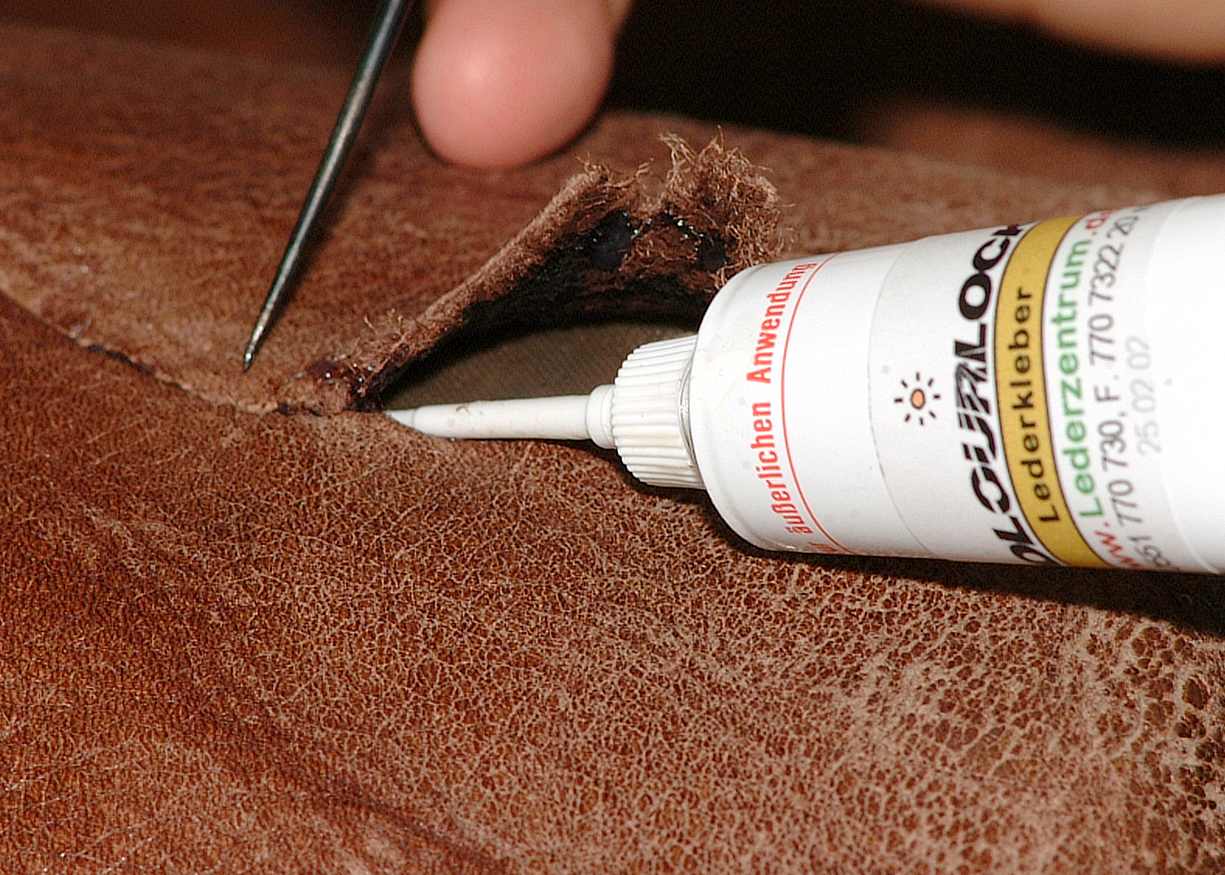
Leather Repair Glue


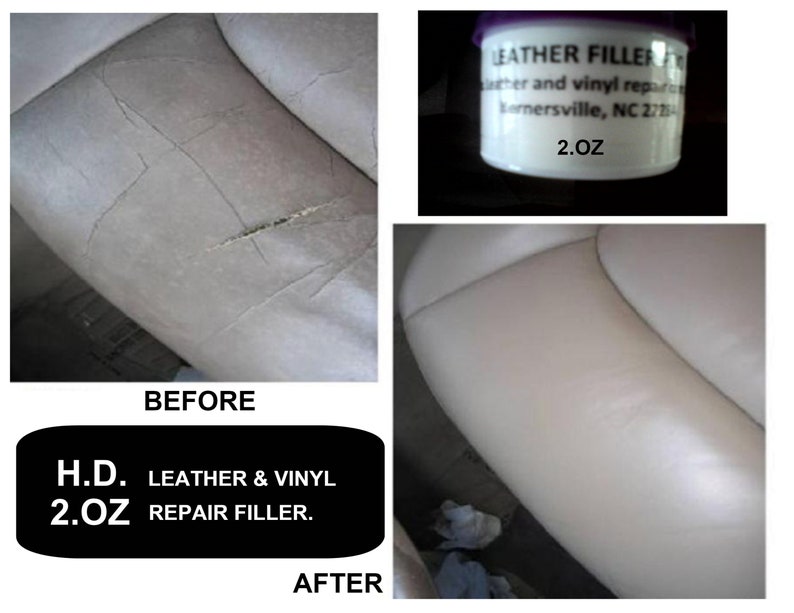
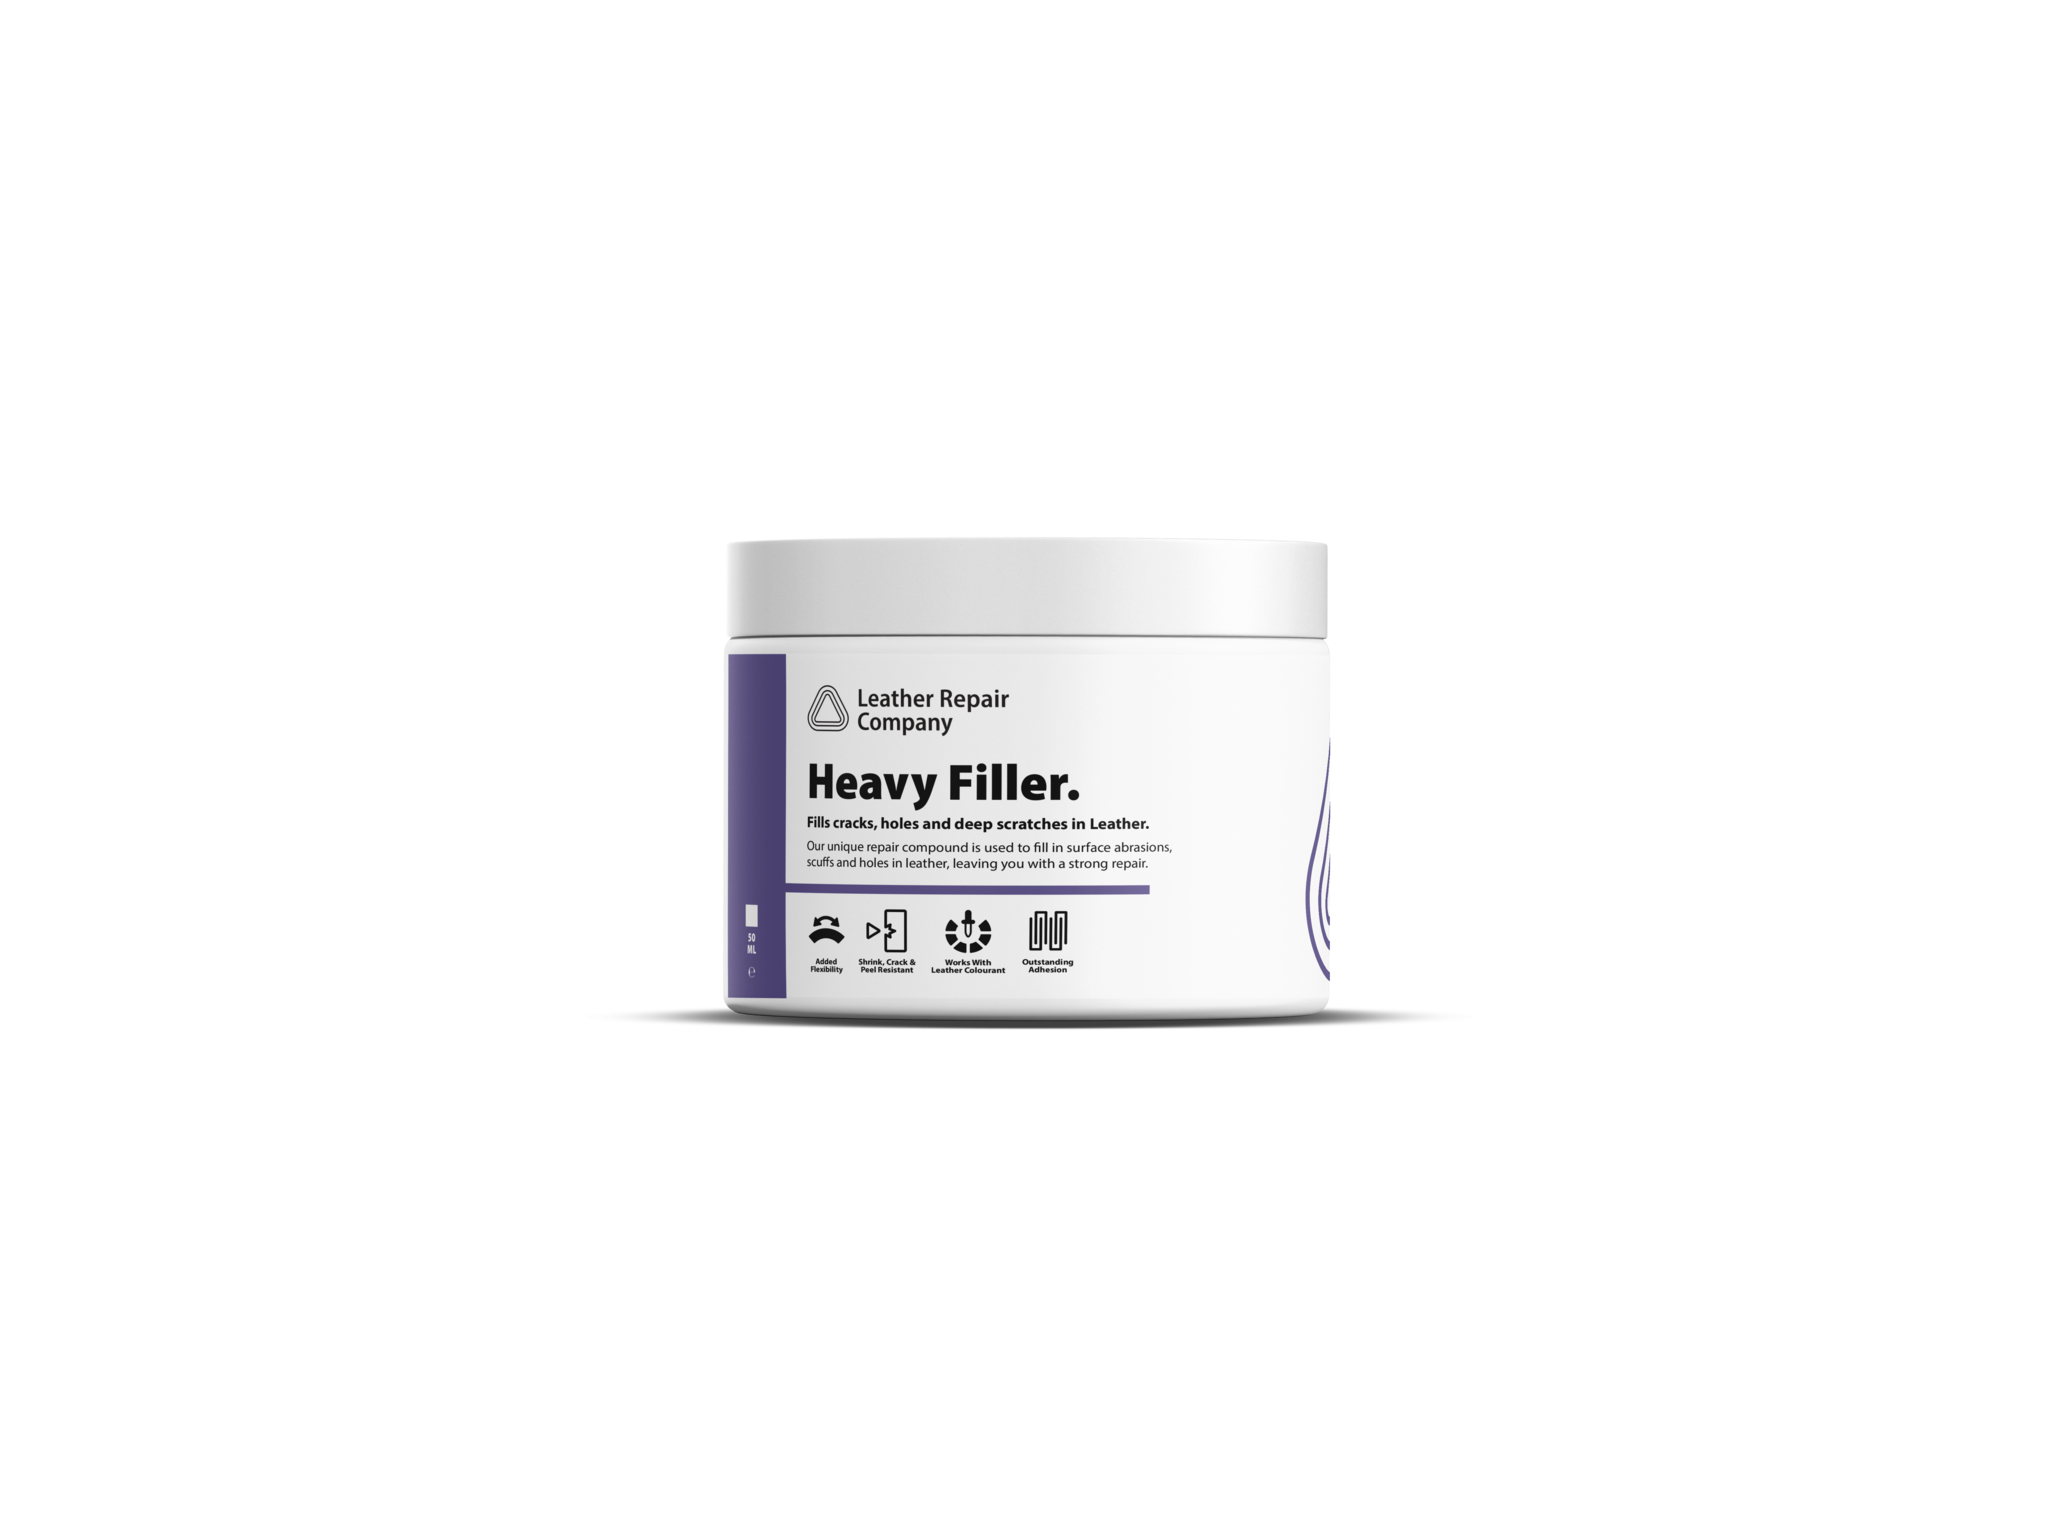
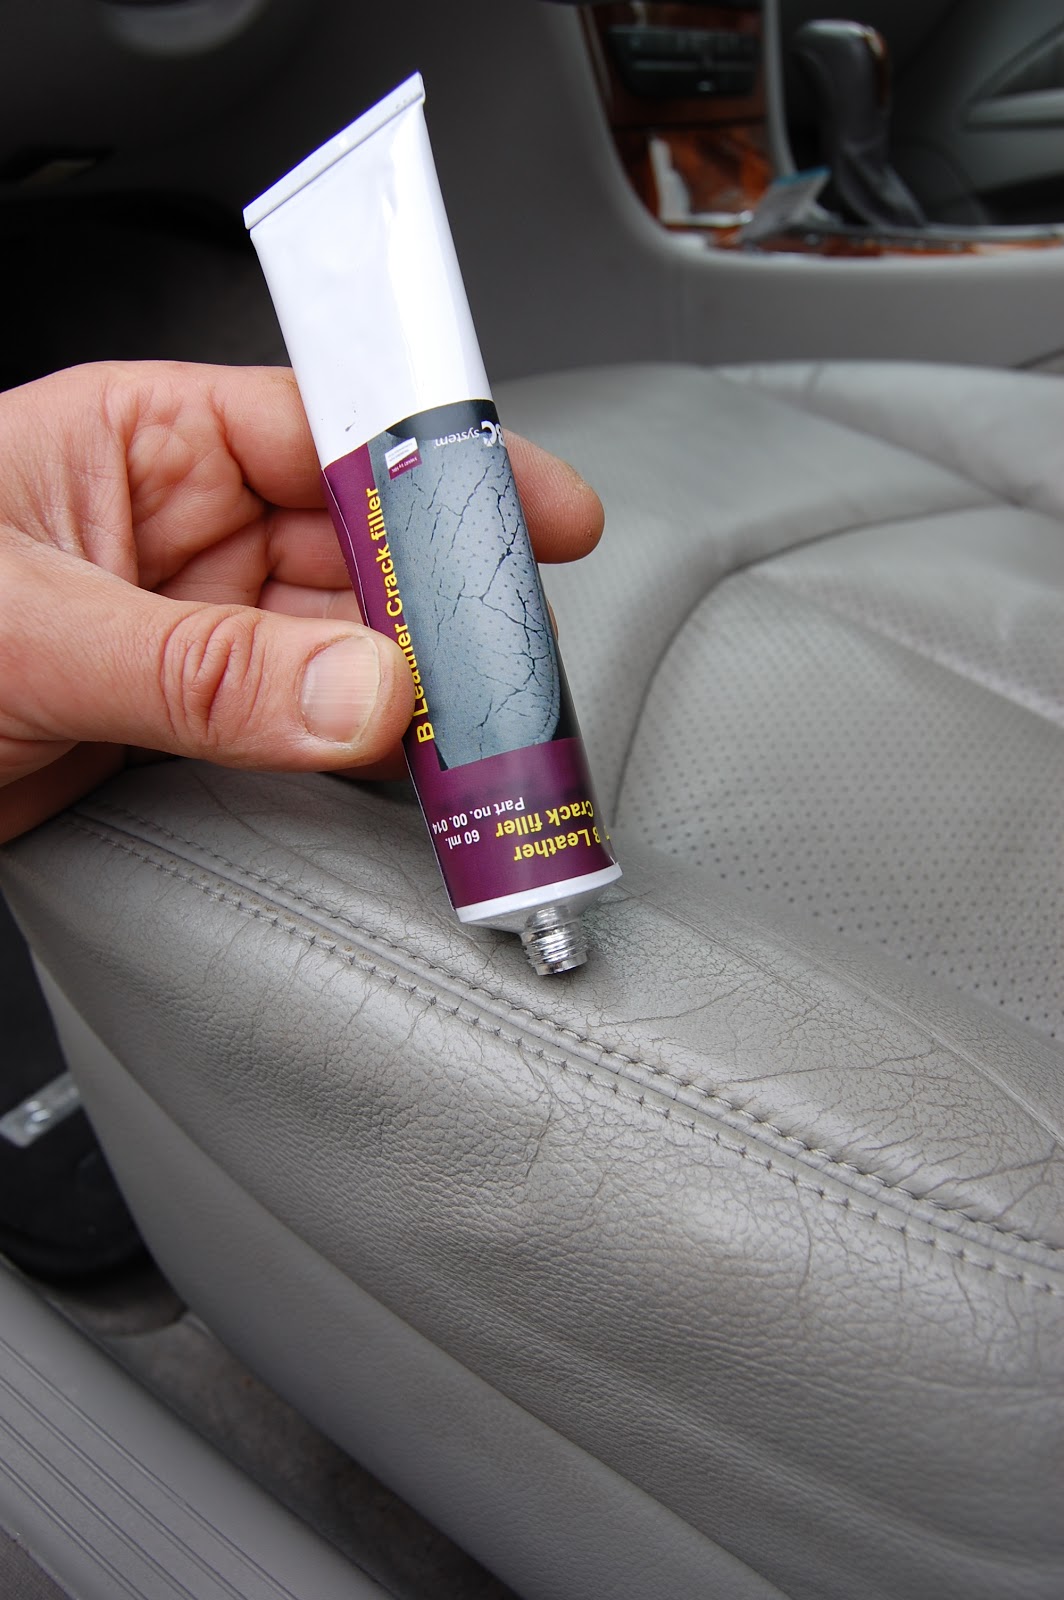
For deeper scratches or gouges, a leather repair filler can be used. This is a soft putty-like substance that can be molded and shaped to fill in the damaged area. Once it dries, it can be sanded and colored to match the surrounding leather, providing a smooth and seamless repair.5. Repair Deep Scratches with Leather Repair Filler


Leather Repair Filler


If the damage to your pullout sofa is a large tear or a damaged seam, leather repair tape can be a quick and effective solution. This self-adhesive tape is available in a variety of colors and can be easily cut to fit the size and shape of the damaged area. Make sure to smooth out any bubbles or wrinkles for a seamless repair.6. Use Leather Repair Tape for Large Tears or Damaged Seams

Leather Repair Compound


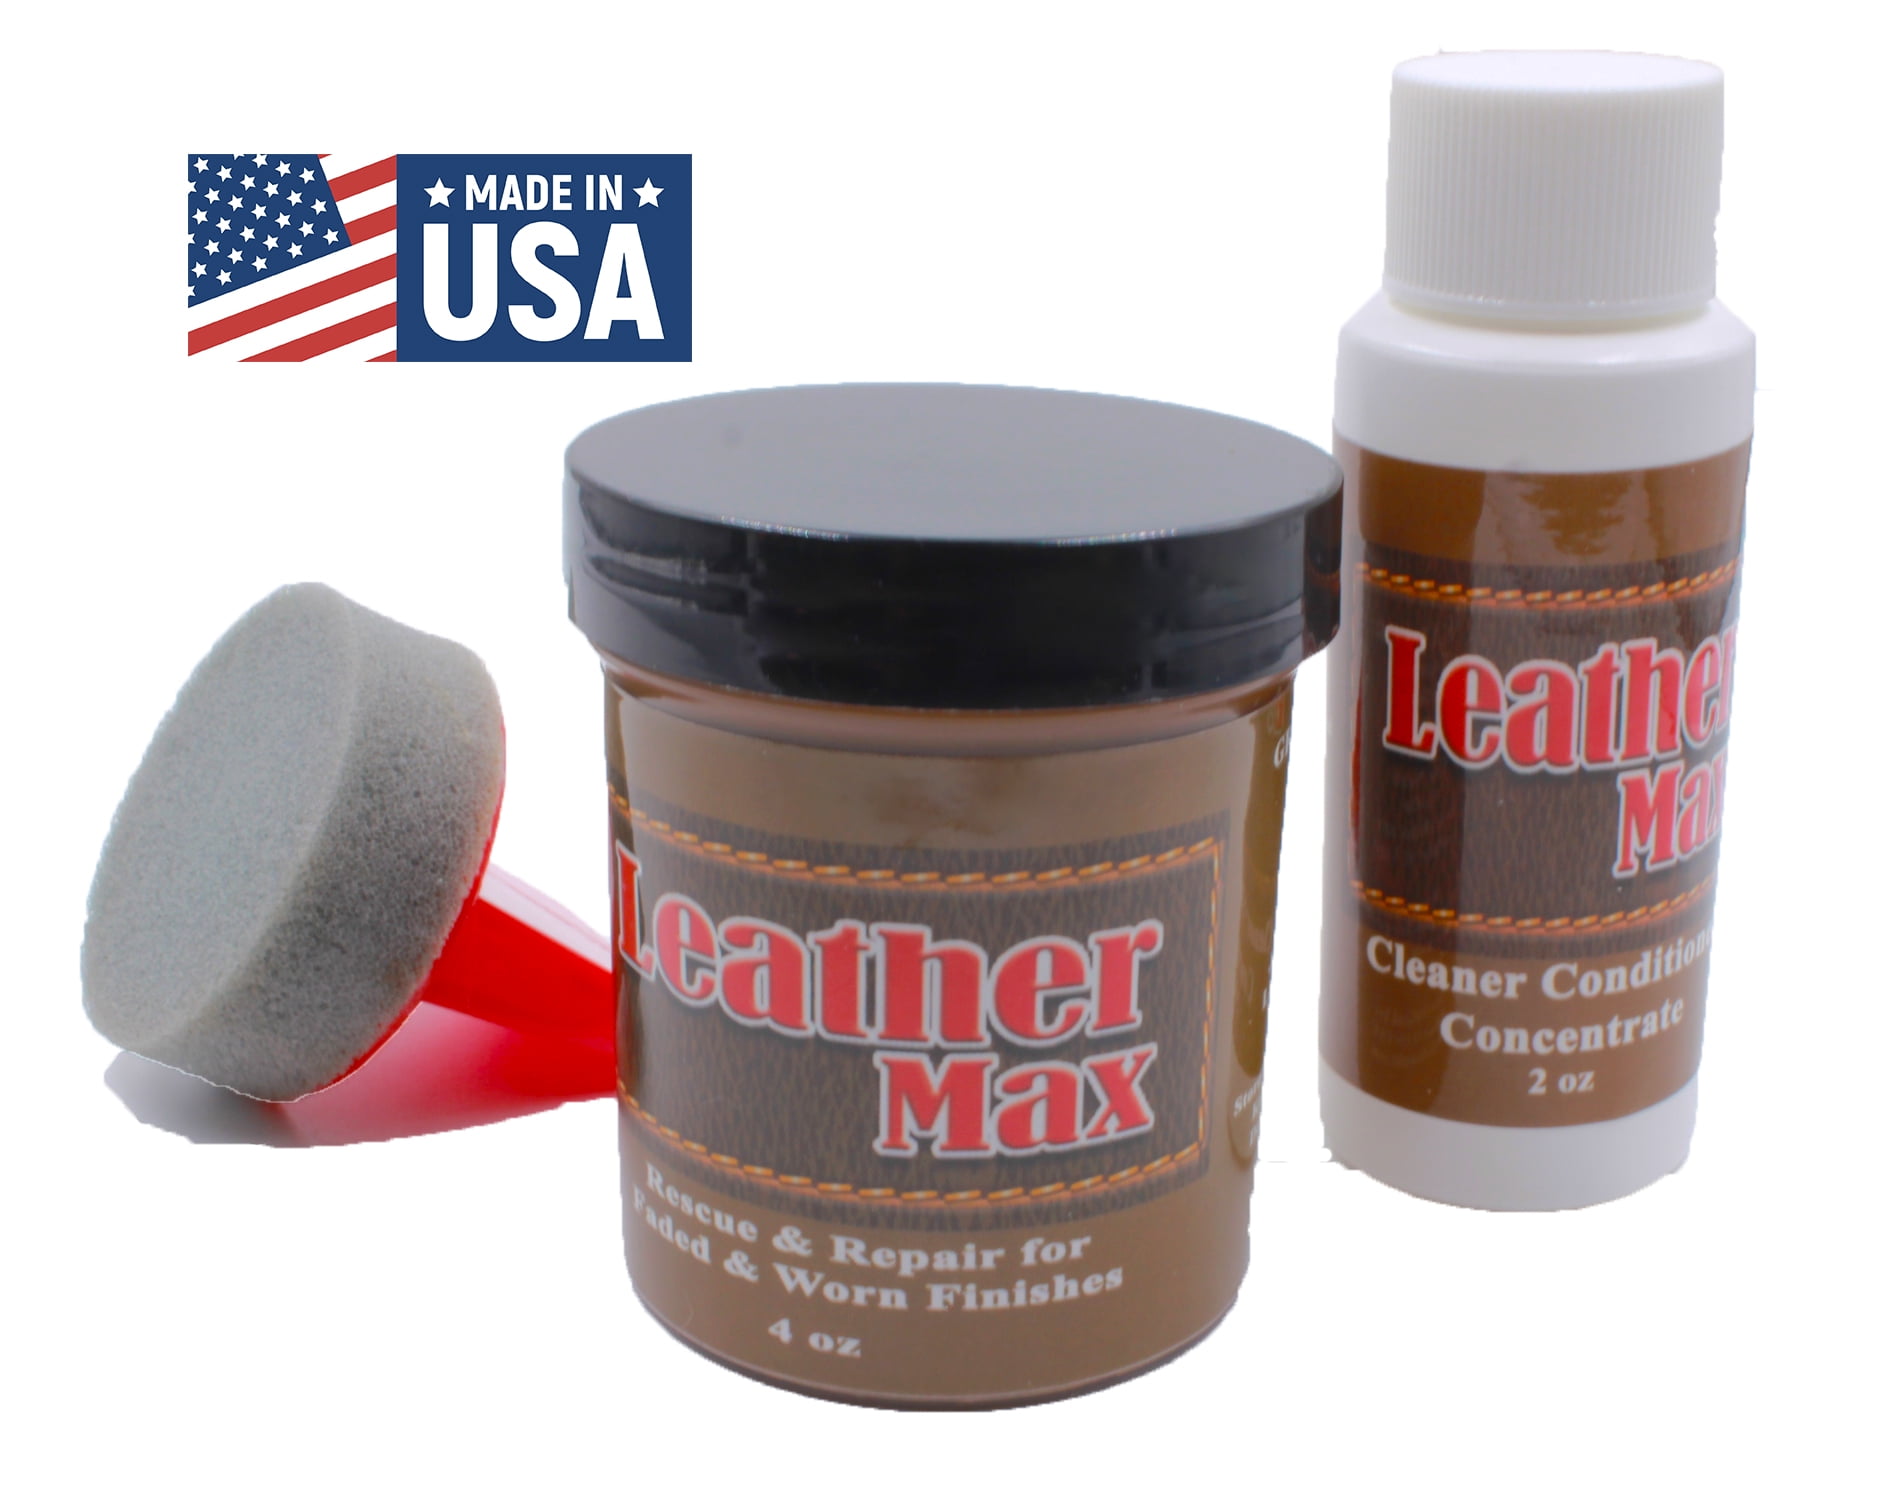
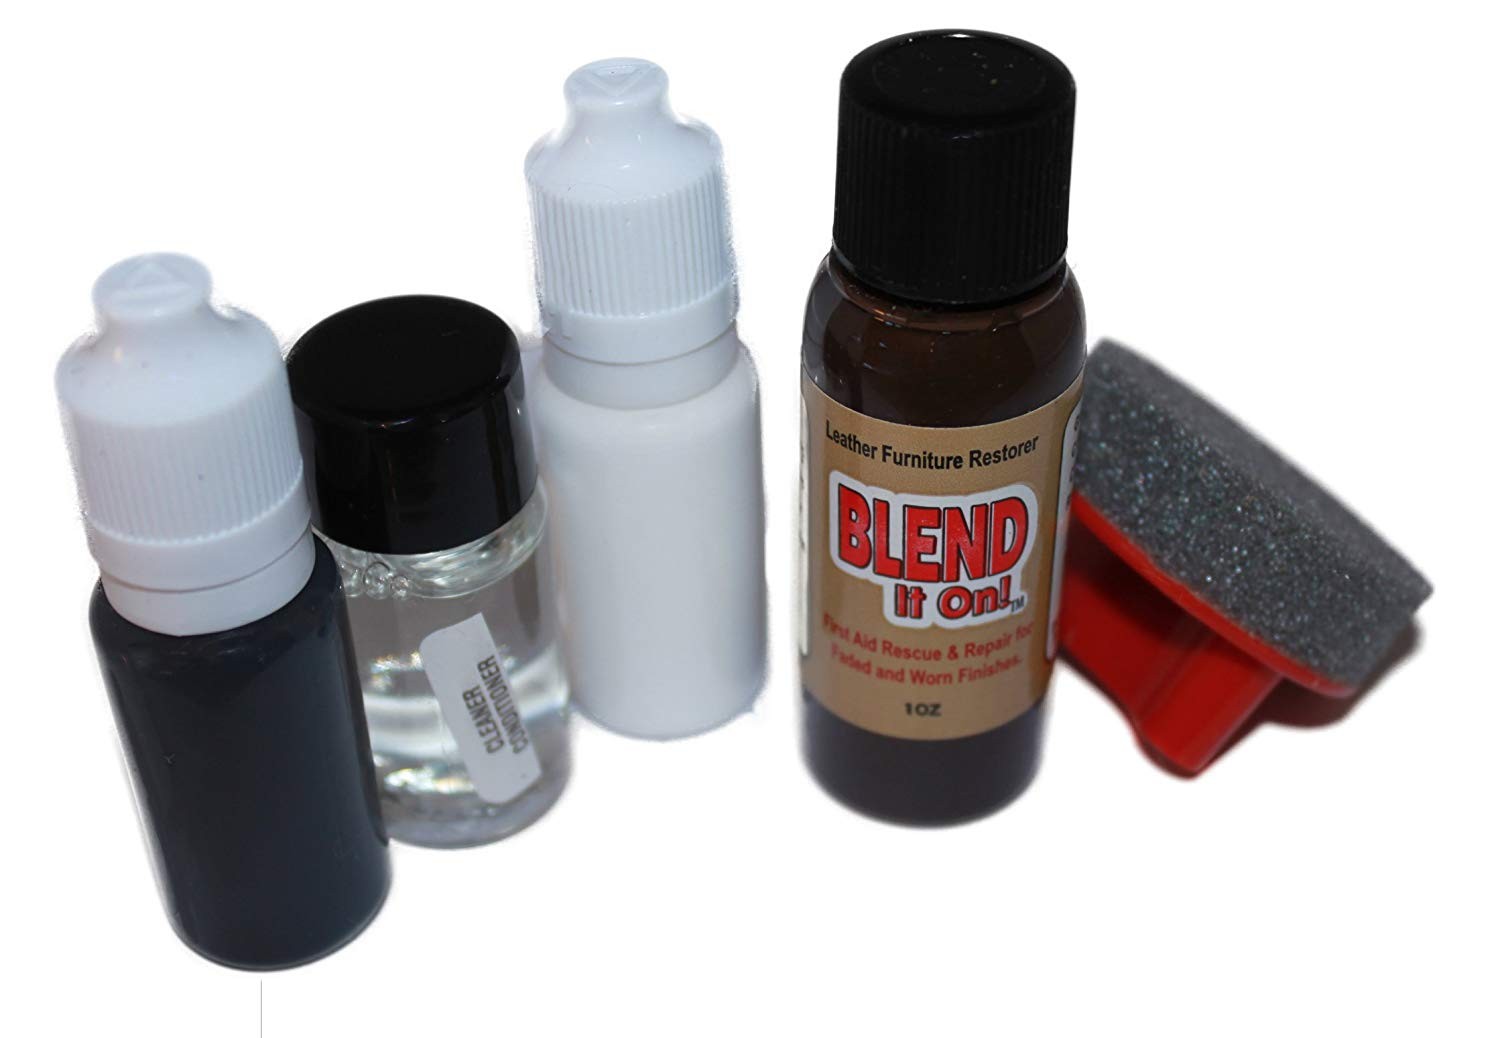
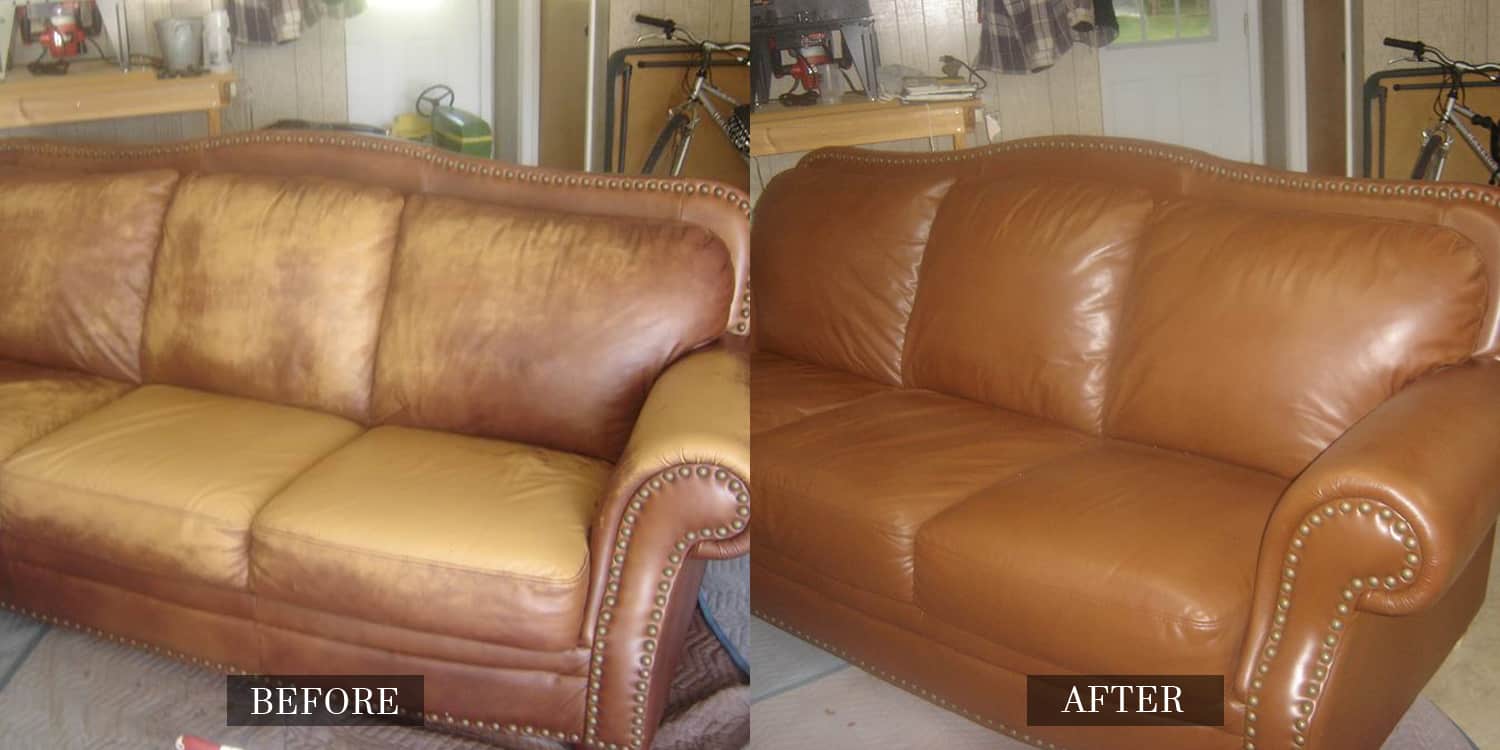
If the leather at the bottom of your pullout sofa is just worn or faded, a leather repair compound may be the best solution. This is a liquid or cream-like substance that can be applied to the leather and buffed in to restore color and shine. Make sure to choose a compound that matches the color of your sofa's leather for a natural finish.7. Consider Using Leather Repair Compound for Faded or Worn Areas


Leather Repair Adhesive


If you notice any loose seams or pieces of leather on your pullout sofa, leather repair glue can help secure them back in place. This strong adhesive is specially designed for use on leather and can provide a long-lasting hold. Make sure to follow the instructions carefully and allow the glue to fully dry before using the sofa.8. Apply Leather Repair Glue to Secure Loose Seams or Pieces

Leather Repair Patch Kit


If your pullout sofa is made of leather and is prone to wear and tear, it's a good idea to invest in a leather repair patch kit for future repairs. This will ensure that you have all the necessary tools and materials on hand whenever you need them. Plus, with proper care and maintenance, your sofa will stay looking new for years to come.9. Invest in a Leather Repair Patch Kit for Future Repairs


Leather Repair Patch Tape


If the damage to your pullout sofa is extensive or you are unsure of how to properly repair it yourself, it's always best to seek professional help. A leather repair specialist will have the expertise and tools needed to properly repair and restore your sofa. While it may be a bit more expensive, it will ensure the best results and the longevity of your furniture. In conclusion, repairing the leather at the bottom of your pullout sofa may seem like a daunting task, but with the right tools and techniques, it can be done effectively. Remember to choose the right leather repair kit, assess the damage, clean the area thoroughly, and use the appropriate repair method for the type of damage. Investing in a leather repair patch kit and seeking professional help for extensive damage can also help maintain the beauty and durability of your pullout sofa for years to come.10. Seek Professional Help for Extensive Damage

Leather Repair Patch Adhesive


How to Repair the Leather at the Bottom of Your Pullout Sofa
 If you have a pullout sofa in your home, chances are you have experienced some wear and tear on the leather at the bottom of the sofa. Whether it's from constant use or accidental spills, the leather can become damaged and unappealing. But fear not, with the right tools and techniques, you can easily repair the leather at the bottom of your pullout sofa and have it looking as good as new.
Assess the Damage
 Before you begin the repair process, it's important to assess the damage to the leather. Look for any tears, scratches, or discoloration. If the damage is minor, you may be able to fix it on your own. However, for more severe damage, it may be best to seek professional help.
Clean the Leather
 Before you can repair the leather, you need to make sure it's clean. Use a mild soap and water solution to gently clean the affected area. Make sure to remove any dirt, debris, or stains. Once the leather is clean, let it dry completely before moving on to the next step.
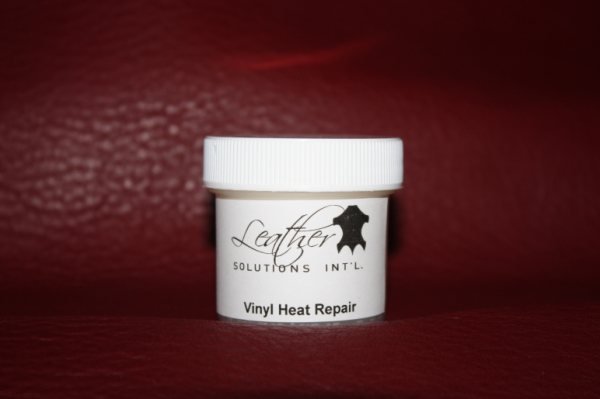
Choose the Right Repair Kit
 There are many leather repair kits on the market, but not all are created equal. It's important to choose a kit that is specifically designed for repairing leather furniture. Look for a kit that includes a filler, color-matching dye, and a sealer.
Apply the Filler
 Using the filler provided in the repair kit, fill in any cracks, tears, or holes in the leather. Make sure to follow the instructions carefully and apply the filler evenly. Allow the filler to dry completely before moving on to the next step.
Match the Color
 Once the filler is dry, use the color-matching dye to match the color of your leather. Apply the dye evenly using a sponge or brush. You may need to apply multiple coats to achieve the desired color. Let the dye dry completely before moving on to the final step.
Seal the Leather
 To protect your newly repaired leather, use the sealer provided in the repair kit. Apply a thin layer of sealer over the entire affected area, making sure to cover all of the repaired spots. This will help protect the leather from future damage and keep it looking like new.
With these easy steps, you can repair the leather at the bottom of your pullout sofa and restore it to its former glory. Remember to regularly clean and maintain your leather furniture to prevent future damage. Now sit back, relax, and enjoy your newly repaired sofa.
To protect your newly repaired leather, use the sealer provided in the repair kit. Apply a thin layer of sealer over the entire affected area, making sure to cover all of the repaired spots. This will help protect the leather from future damage and keep it looking like new.
With these easy steps, you can repair the leather at the bottom of your pullout sofa and restore it to its former glory. Remember to regularly clean and maintain your leather furniture to prevent future damage. Now sit back, relax, and enjoy your newly repaired sofa.