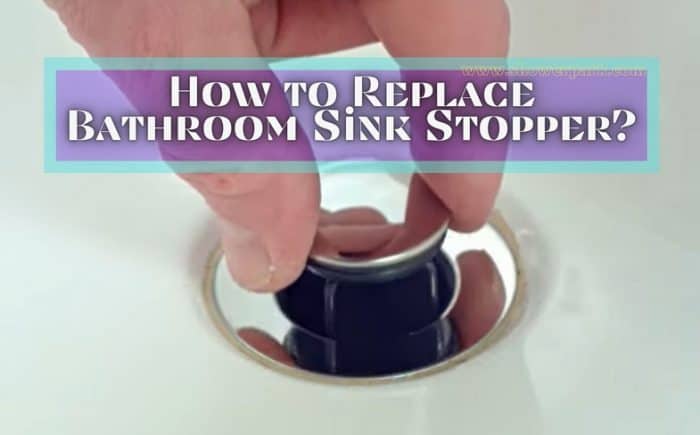
When it comes to fixing a clogged or broken bathroom sink, one of the first steps is often to remove the sink stopper. This can be a tricky task, especially if you're dealing with a Moen bathroom sink stopper. But don't worry, with the right tools and techniques, you can easily remove the stopper and get your sink working properly again. Here's a step-by-step guide on how to remove a Moen bathroom sink stopper. How to Remove a Moen Bathroom Sink Stopper

How to Remove a Moen Bathroom Sink Stopper


Before you begin, make sure you have all the necessary tools on hand. You will need a pair of pliers, a screwdriver, and a rag or towel. It's also a good idea to have some cleaning supplies nearby, just in case your sink stopper is dirty or clogged. Moen Bathroom Sink Stopper Removal

Moen Bathroom Sink Stopper Removal


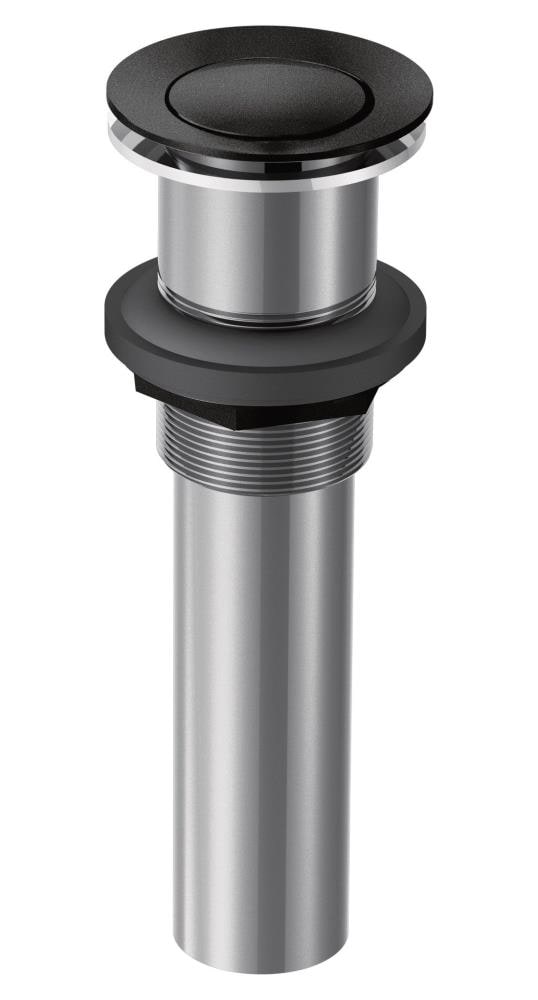
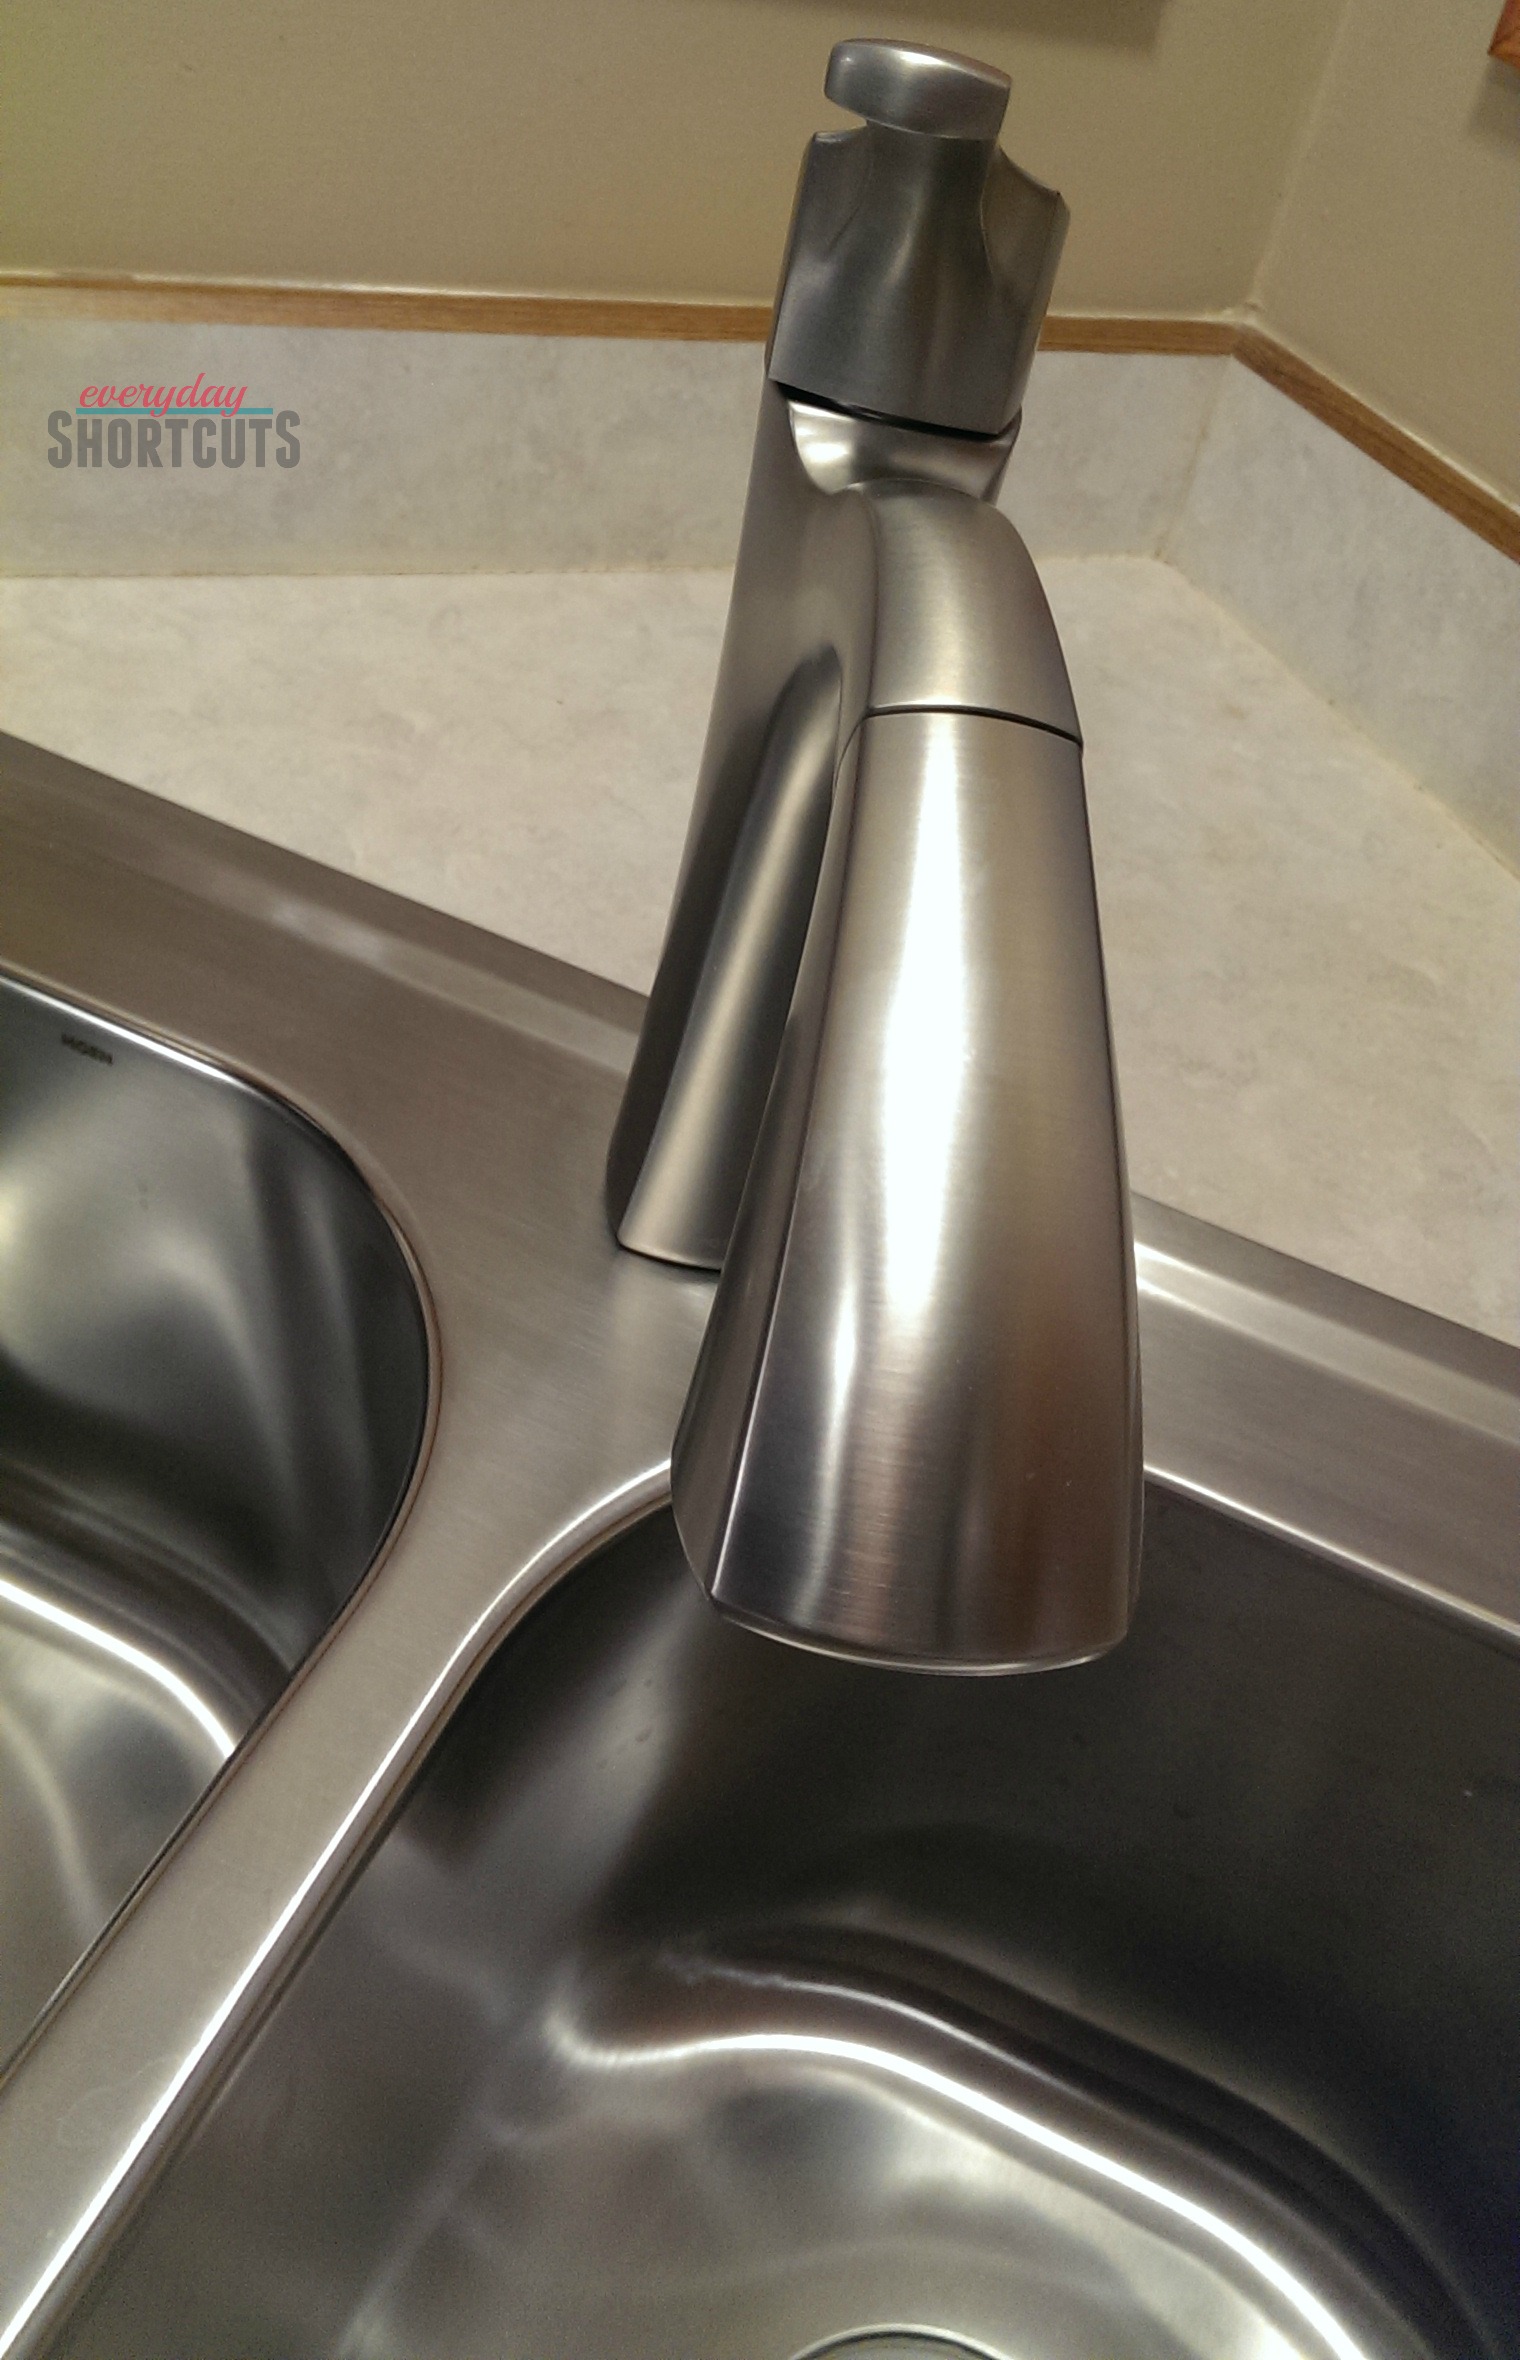
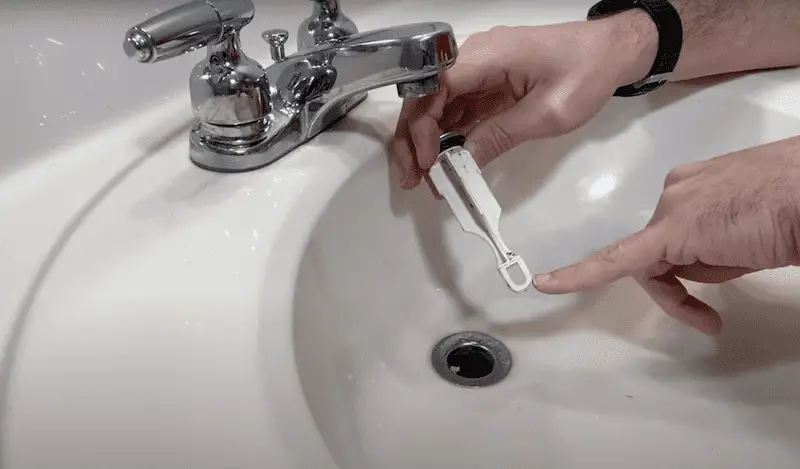
Step 1: Start by locating the pivot rod under your sink. This is the metal rod that connects the sink stopper to the drain. It should be located near the back of the sink, underneath the drain pipe. Step 2: Once you've located the pivot rod, use your pliers to loosen the nut that holds it in place. Turn the nut counterclockwise to loosen it. Step 3: Once the nut is loose, you should be able to pull the pivot rod out of the drain pipe. Keep pulling until the stopper comes out of the drain at the top of the sink. Step 4: If the stopper doesn't come out easily, you may need to use your pliers to gently wiggle it out. Be careful not to damage the stopper or the drain. If the stopper is stuck, you can also try using some WD-40 or a similar lubricant to help loosen it. Removing a Moen Bathroom Sink Stopper


Removing a Moen Bathroom Sink Stopper


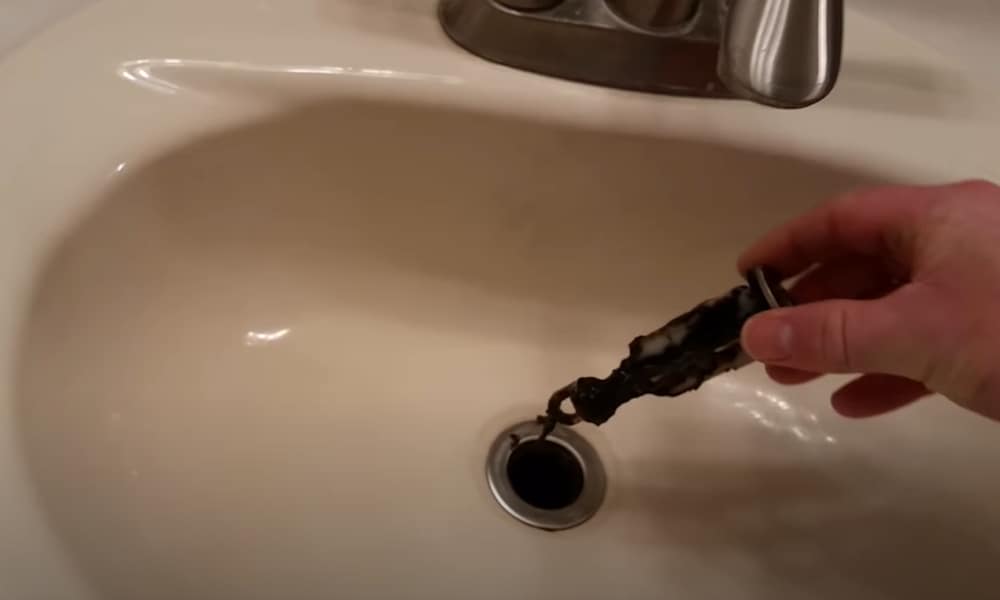
Congratulations, you have successfully removed the Moen bathroom sink stopper! Now it's time to clean it and the drain before putting everything back together. Step 5: Take the stopper and clean it thoroughly with soap and water. Use a toothbrush or small brush to scrub away any grime or debris. Rinse it off and dry it with a towel. Step 6: Next, use your rag or towel to clean out the drain pipe. You can use a cleaning solution or just hot water and soap. Make sure to remove any hair, soap scum, or other buildup that may be causing the clog. Moen Bathroom Sink Stopper Removal Guide

Moen Bathroom Sink Stopper Removal Guide


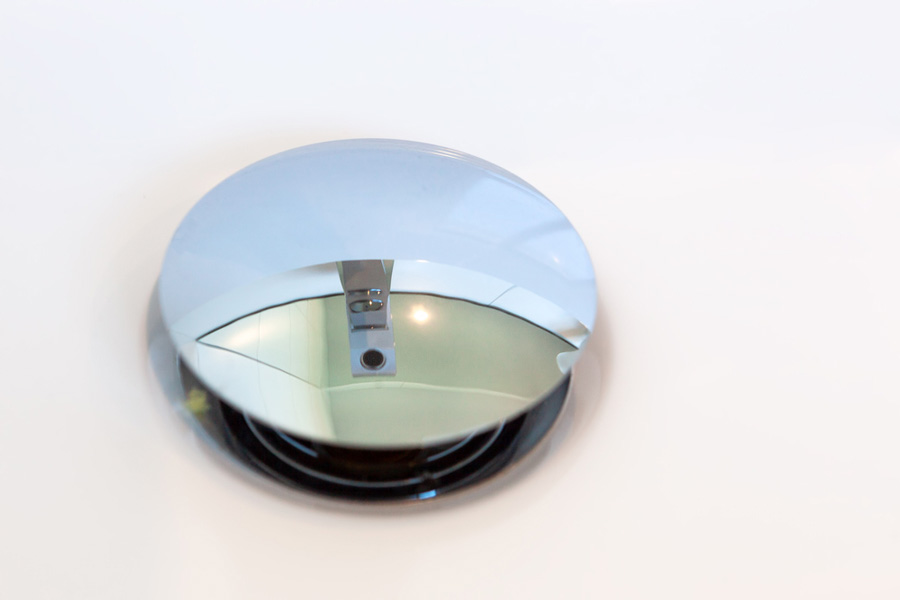
Once everything is clean and dry, it's time to put the stopper back in place. Follow these steps to reattach the stopper and pivot rod. Step 7: Insert the stopper back into the drain at the top of the sink. Make sure it is securely in place. Step 8: Take the pivot rod and insert it back into the drain pipe. Use your pliers to tighten the nut and secure the rod in place. Step 9: Test out the stopper by pulling it up and down a few times. It should move smoothly and create a proper seal in the drain. If it doesn't, you may need to adjust the pivot rod or clean the stopper and drain again. Step-by-Step Guide to Removing a Moen Bathroom Sink Stopper


Step-by-Step Guide to Removing a Moen Bathroom Sink Stopper


And there you have it! You have successfully removed and cleaned your Moen bathroom sink stopper. This task can be a bit tricky, but with the right tools and techniques, you can easily do it yourself. No need to call a plumber or spend money on expensive repairs. DIY: Removing a Moen Bathroom Sink Stopper

DIY: Removing a Moen Bathroom Sink Stopper


Remember to regularly clean your sink stopper and drain to prevent clogs and keep your sink functioning properly. And if you do encounter a clog, you now know how to remove the stopper and clean the drain. It's a quick and easy process that can save you time and money in the long run. Quick and Easy Way to Remove a Moen Bathroom Sink Stopper

Quick and Easy Way to Remove a Moen Bathroom Sink Stopper


Here are a few additional tips to help you successfully remove and clean your Moen bathroom sink stopper: - If the pivot rod is difficult to loosen, try using a pair of channel-lock pliers for extra grip. - If the stopper is still stuck after using lubricant, you may need to call a professional plumber for assistance. - Regularly cleaning your sink stopper and drain can help prevent clogs and keep your sink functioning properly. Moen Bathroom Sink Stopper Removal Tips


Moen Bathroom Sink Stopper Removal Tips

If you encounter any issues while removing your Moen bathroom sink stopper, don't panic. Take a step back and assess the situation. You may need to try a different technique or seek professional help. And remember, safety should always come first when working with plumbing tools and equipment. Troubleshooting: Removing a Moen Bathroom Sink Stopper


Troubleshooting: Removing a Moen Bathroom Sink Stopper


Finally, here are some common mistakes to avoid when removing a Moen bathroom sink stopper: - Using too much force when trying to remove the pivot rod or stopper, which can cause damage to the sink or drain. - Not cleaning the stopper and drain properly, which can lead to recurring clogs and other plumbing issues. - Not having all the necessary tools on hand, which can make the task more difficult and time-consuming. With these tips and tricks in mind, you should have no problem removing a Moen bathroom sink stopper and keeping your sink in top working condition. Happy fixing! Common Mistakes When Removing a Moen Bathroom Sink Stopper

Common Mistakes When Removing a Moen Bathroom Sink Stopper

How to Remove a Moen Bathroom Sink Stopper: A Simple Guide

The Importance of a Functioning Bathroom Sink Stopper
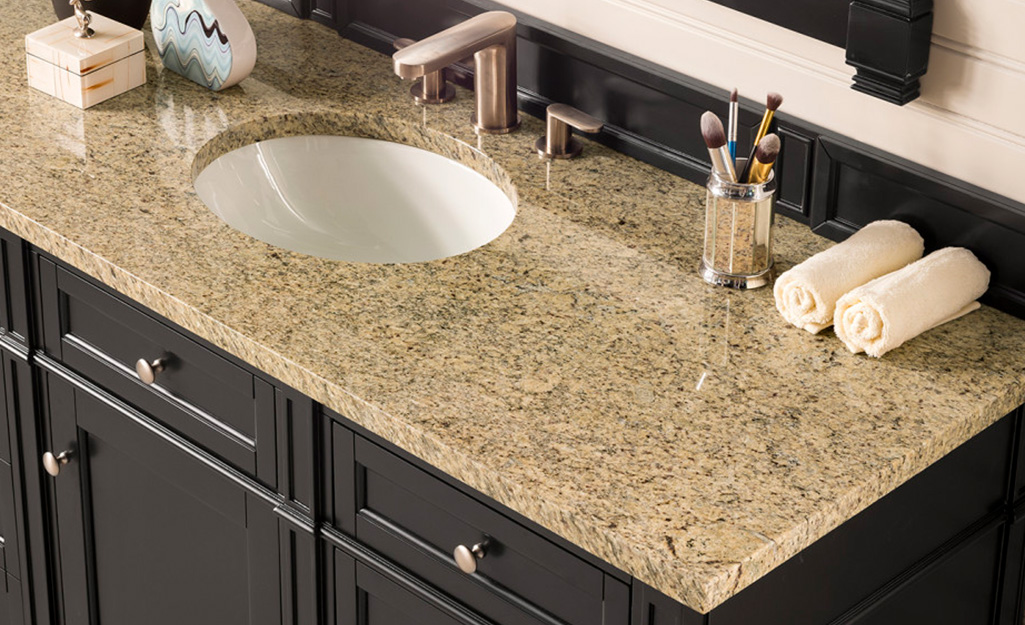
 A bathroom sink stopper is an essential component of any bathroom's design. It helps prevent water from draining out of the sink, allowing you to fill it up for various tasks like washing your face or brushing your teeth. However, over time, the stopper may become worn out or damaged, leading to issues with draining or even complete stoppage. In such cases, it becomes necessary to remove and replace the stopper to ensure your sink continues to function properly. In this article, we will guide you on how to remove a Moen bathroom sink stopper efficiently.
Step-by-Step Guide to Removing a Moen Bathroom Sink Stopper
 Step 1:
Prepare the necessary tools and materials.
Before you start, make sure you have all the required tools and materials for the job. These include a pair of pliers, a towel or cloth, and a new sink stopper (if needed).
Step 2:
Locate the stopper assembly.
The stopper assembly is typically located at the back of the sink, under the faucet. It is a long metal rod that connects the stopper to the handle at the top of the sink.
Step 3:
Remove the pivot rod.
Using your pliers, loosen and remove the nut that holds the pivot rod in place. Once the nut is removed, pull out the pivot rod from the back of the sink.
Step 4:
Remove the stopper.
With the pivot rod removed, you should be able to easily pull out the stopper from the sink. If the stopper is stuck, use your pliers to gently twist and loosen it before pulling it out.
Step 5:
Clean and replace.
Once the stopper is removed, clean it and the drain of any debris or buildup. You can also choose to replace the stopper entirely if it is damaged beyond repair. Simply insert the new stopper into the drain and attach the pivot rod and nut to hold it in place.
Step 1:
Prepare the necessary tools and materials.
Before you start, make sure you have all the required tools and materials for the job. These include a pair of pliers, a towel or cloth, and a new sink stopper (if needed).
Step 2:
Locate the stopper assembly.
The stopper assembly is typically located at the back of the sink, under the faucet. It is a long metal rod that connects the stopper to the handle at the top of the sink.
Step 3:
Remove the pivot rod.
Using your pliers, loosen and remove the nut that holds the pivot rod in place. Once the nut is removed, pull out the pivot rod from the back of the sink.
Step 4:
Remove the stopper.
With the pivot rod removed, you should be able to easily pull out the stopper from the sink. If the stopper is stuck, use your pliers to gently twist and loosen it before pulling it out.
Step 5:
Clean and replace.
Once the stopper is removed, clean it and the drain of any debris or buildup. You can also choose to replace the stopper entirely if it is damaged beyond repair. Simply insert the new stopper into the drain and attach the pivot rod and nut to hold it in place.
Final Thoughts
 Removing a Moen bathroom sink stopper may seem like a daunting task, but with the right tools and knowledge, it can be a simple and quick process. Regular maintenance and cleaning of your sink stopper can also help prevent any issues with draining. However, if you encounter any difficulties or issues, it is always best to seek professional help to ensure the proper functioning of your bathroom sink. Follow this guide, and you will have your Moen bathroom sink stopper removed and replaced in no time.