If you’ve ever tried removing caulking from a bathroom sink, you know how frustrating and time-consuming it can be. But fear not, we have compiled the top 10 methods for removing caulk from a bathroom sink to make this daunting task a breeze.How to Remove Caulking from a Bathroom Sink


How to Remove Caulking from a Bathroom Sink

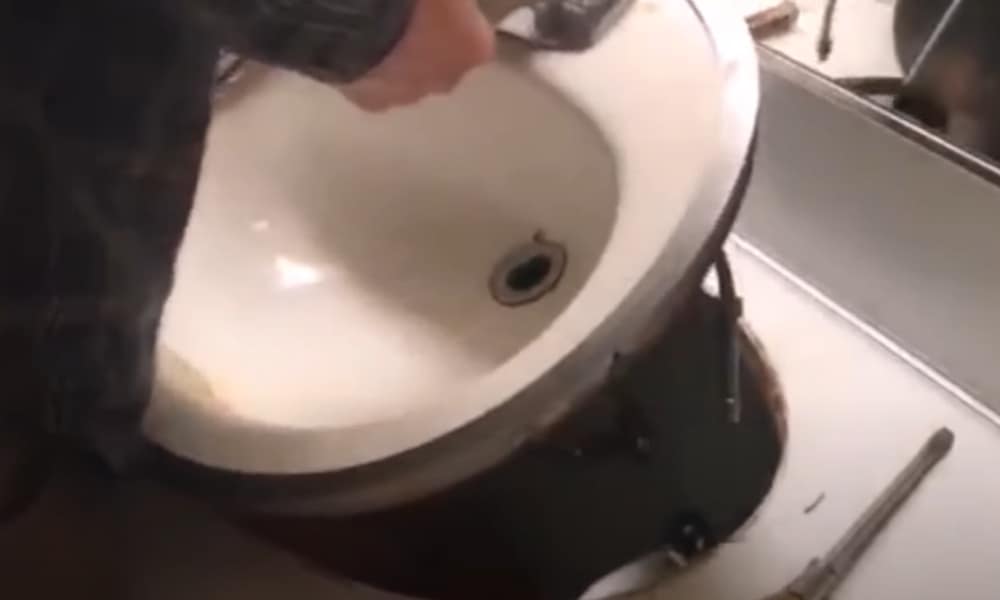


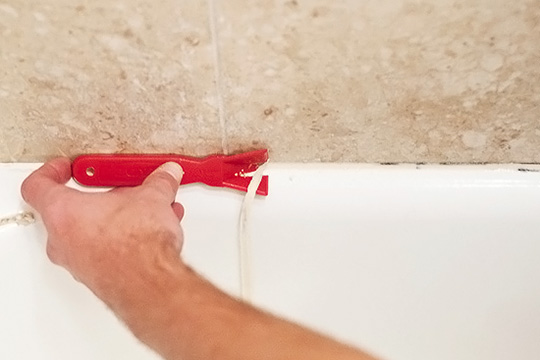
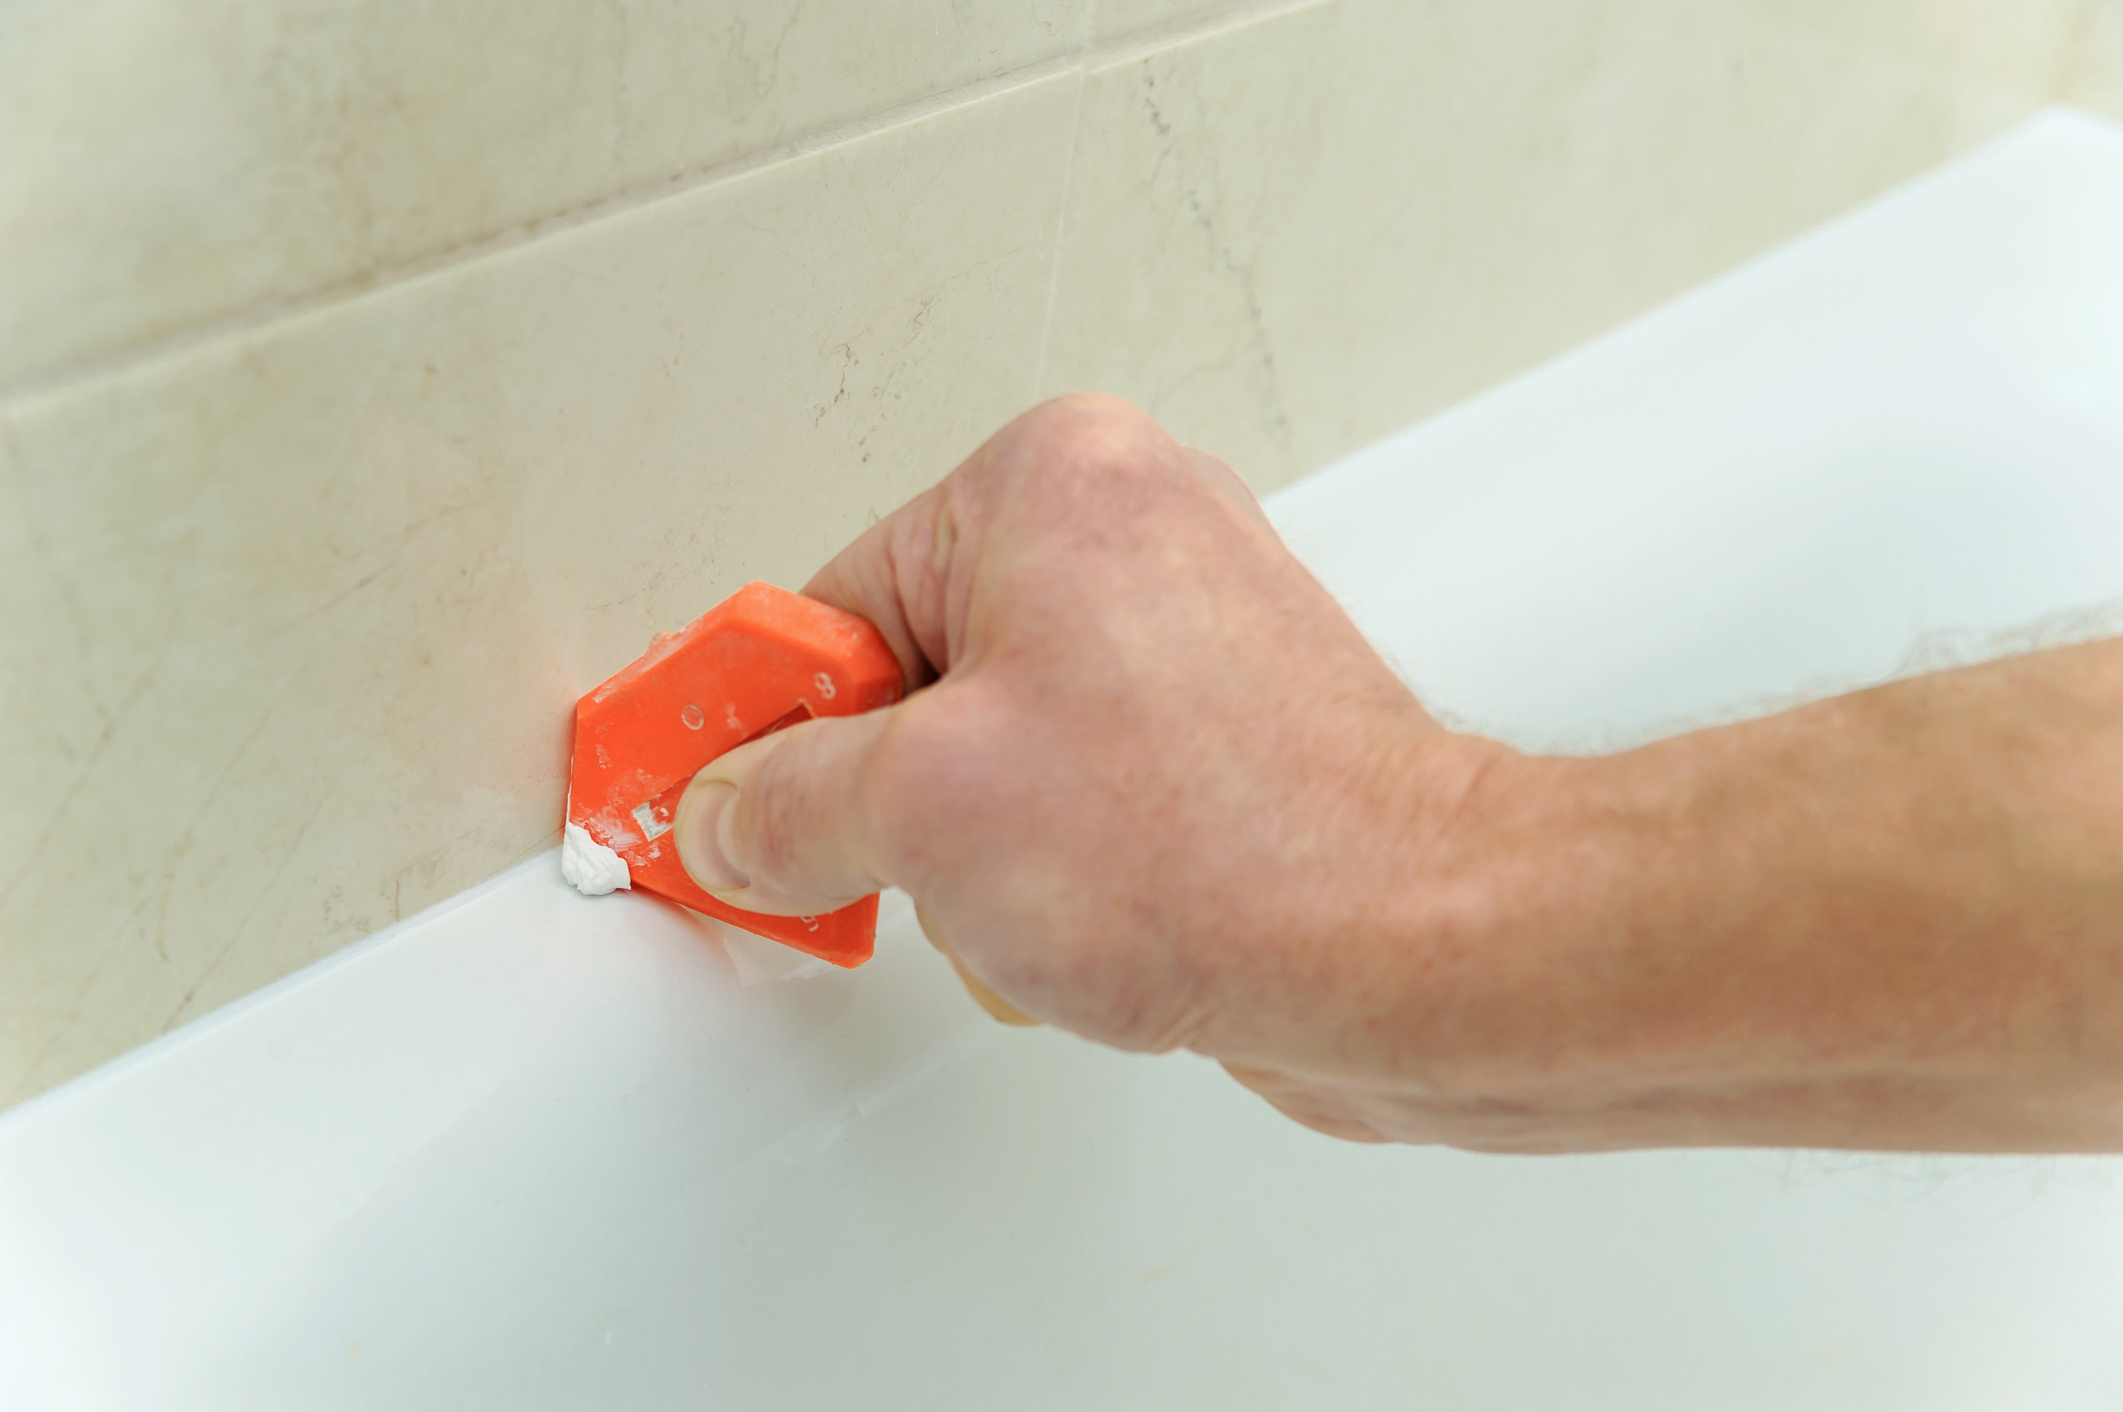
Before you can apply new caulk, you need to remove the old one first. One of the most effective ways to do this is by using a caulk removal tool. Simply slide the tool along the old caulk to loosen and remove it. You can also use a utility knife or razor blade, but be careful not to damage the sink.Removing Old Caulk from a Bathroom Sink


Removing Old Caulk from a Bathroom Sink
:max_bytes(150000):strip_icc()/caulk-removal-tool-56ec7f1b3df78ce5f83535fe.jpg)


If you’re on a budget and don’t want to invest in a caulk removal tool, you can make your own DIY solution. Mix equal parts of baking soda and water to create a paste. Apply the paste to the caulk and let it sit for a few hours. Then, use a putty knife or scrub brush to remove the caulk. This method is gentle on the sink and won’t cause any damage.DIY: Removing Caulk from a Bathroom Sink


DIY: Removing Caulk from a Bathroom Sink


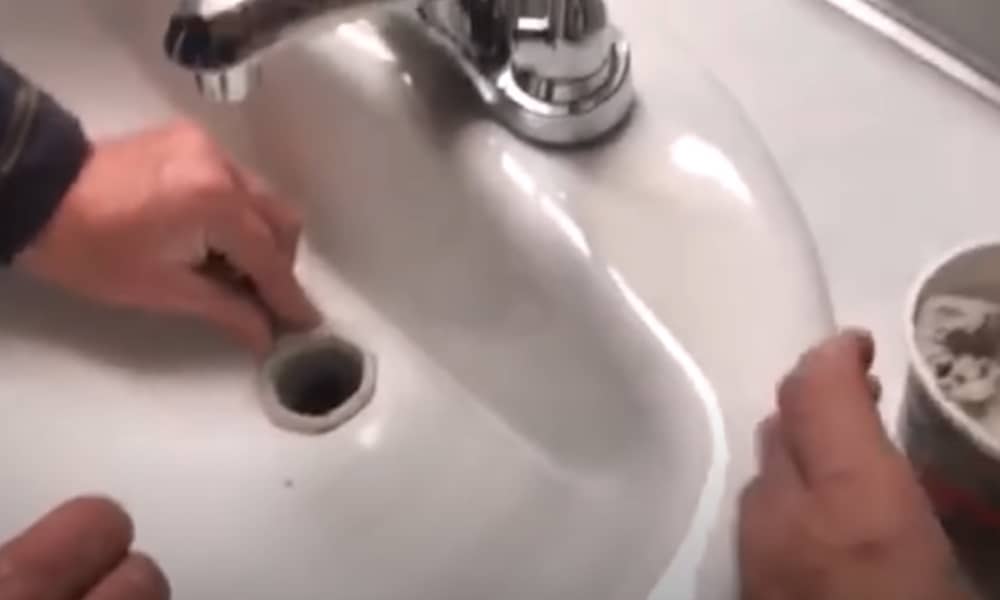
For a step-by-step guide to removing caulk from a bathroom sink, follow these simple instructions: 1. Gather your tools: You will need a caulk removal tool, utility knife, or razor blade, a putty knife, and a scrub brush. 2. Prep the area: Make sure the sink and surrounding area is clean and dry before starting the removal process. 3. Loosen the caulk: Use your chosen tool to loosen and remove the old caulk. Be careful not to scratch or damage the sink. 4. Clean the area: Once the caulk is removed, use a scrub brush and a mixture of water and dish soap to clean the area thoroughly. 5. Dry the area: Use a clean towel to dry the area completely before applying new caulk.Step-by-Step Guide to Removing Caulk from a Bathroom Sink


Step-by-Step Guide to Removing Caulk from a Bathroom Sink


Aside from using a caulk removal tool or a DIY solution, there are a few other methods that have proven to be effective in removing caulk from a bathroom sink. These include using a hairdryer to soften the caulk, applying vinegar or rubbing alcohol to the caulk, and using a caulk softener or solvent.Best Methods for Removing Caulk from a Bathroom Sink


Best Methods for Removing Caulk from a Bathroom Sink


To make the process of removing caulk from a bathroom sink even easier, here are some helpful tips and tricks: - Use a caulk softener: If the caulk is particularly stubborn, a caulk softener can help break it down and make it easier to remove. - Work from the outside in: Start removing the caulk from the edges and work your way towards the center. - Be patient: Removing caulk from a bathroom sink can take some time, so be patient and don’t rush the process.Removing Caulk from a Bathroom Sink: Tips and Tricks


Removing Caulk from a Bathroom Sink: Tips and Tricks

/caulk-removal-tool-56ec7f1b3df78ce5f83535fe.jpg)


If you want a hassle-free and easy way to remove caulk from a bathroom sink, consider using a caulk remover spray. These sprays are specifically designed to break down and loosen caulk, making it easier to remove without damaging the sink.The Easy Way to Remove Caulk from a Bathroom Sink


The Easy Way to Remove Caulk from a Bathroom Sink

Before you start removing caulk from a bathroom sink, there are a few things you need to know: - Safety first: Always wear protective gear such as gloves and safety glasses when removing caulk to avoid any injuries. - Don’t use too much force: If the caulk is not coming off easily, do not use excessive force as this can damage the sink. - Clean the area afterwards: After removing the caulk, make sure to clean the area thoroughly to remove any residue.Removing Caulk from a Bathroom Sink: What You Need to Know

Removing Caulk from a Bathroom Sink: What You Need to Know


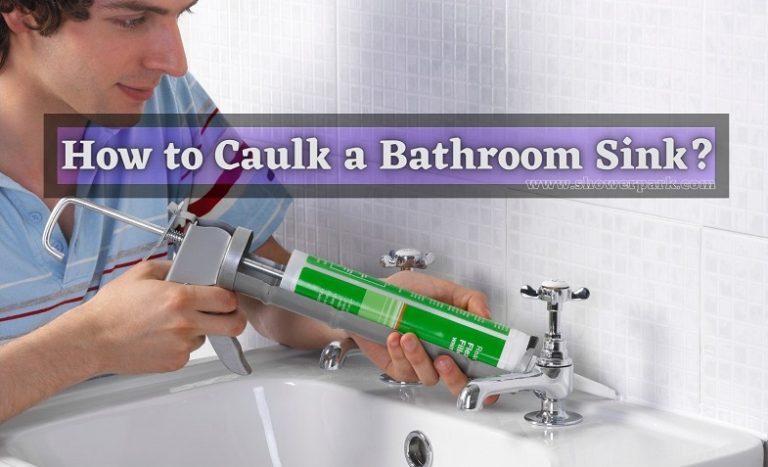
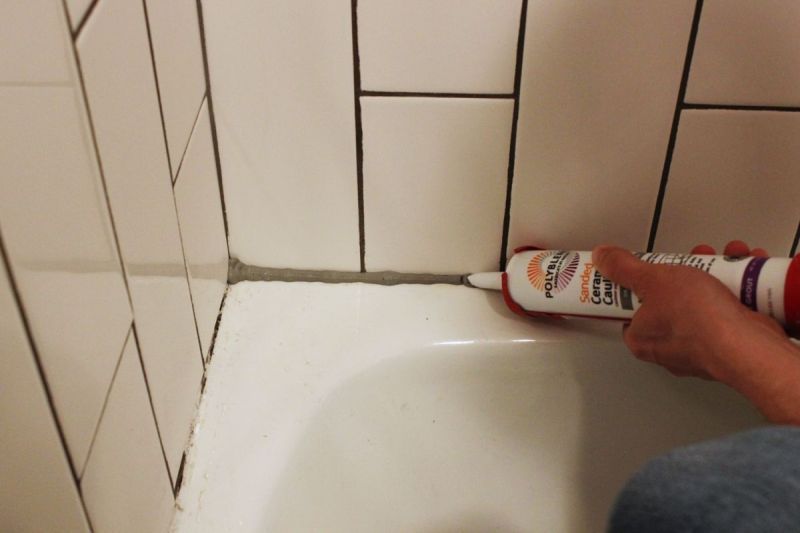
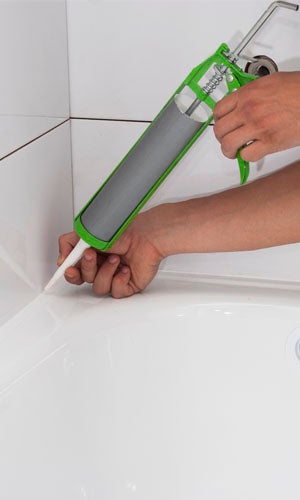
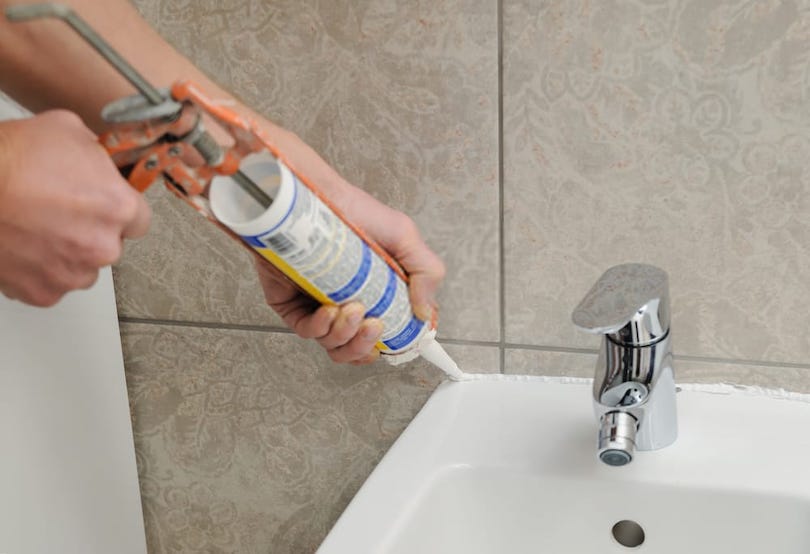
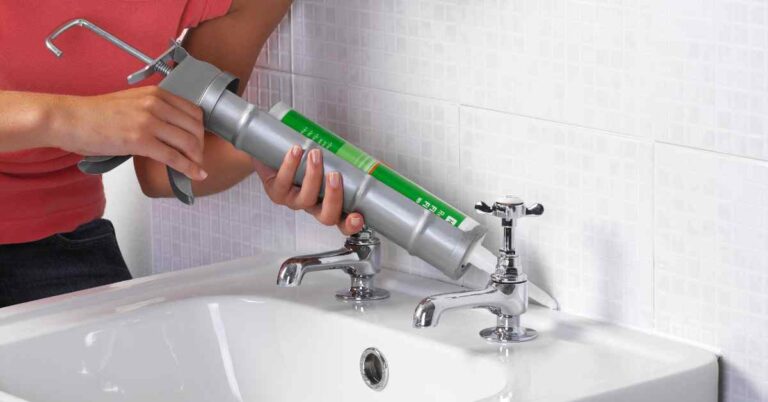
For expert tips on removing caulk from a bathroom sink, we consulted with professional contractors and caulk experts. Some of their top tips include: - Use a caulk smoothing tool: After removing the old caulk, use a caulk smoothing tool to create a smooth and professional finish. - Choose the right caulk: When applying new caulk, make sure to choose a caulk that is specifically designed for bathroom use. - Use a caulk gun: For a precise and even application, use a caulk gun instead of squeezing the caulk out by hand.Expert Tips for Removing Caulk from a Bathroom Sink


Expert Tips for Removing Caulk from a Bathroom Sink
While removing caulk from a bathroom sink may seem like a simple task, there are some common mistakes that people make which can cause damage to the sink or result in a messy finish. Some of these mistakes include using a sharp object to remove the caulk, not properly cleaning and drying the area before applying new caulk, and using the wrong type of caulk. Now that you know the top 10 methods for removing caulk from a bathroom sink, you can choose the one that works best for you. With the right tools and techniques, you can easily achieve a clean and professional finish without damaging your sink. Remember to always take your time and be patient, and you’ll have a perfectly caulked bathroom sink in no time.Removing Caulk from a Bathroom Sink: Common Mistakes to Avoid

Removing Caulk from a Bathroom Sink: Common Mistakes to Avoid
Why Removing Caulking from Bathroom Sink is Essential for a Well-Designed Home

Creating a Clean and Polished Look
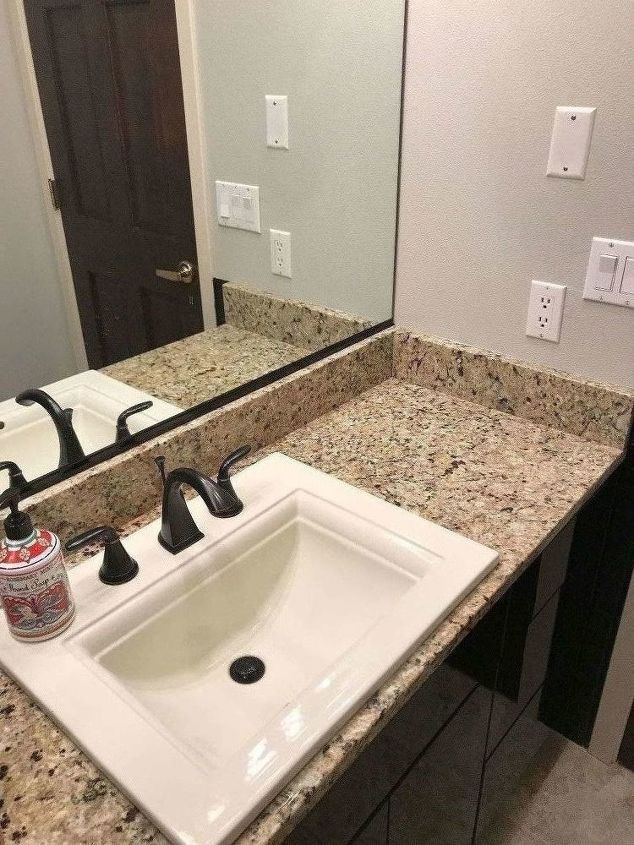
 When it comes to designing a home, every detail matters. From the color of the walls to the type of flooring, each element contributes to the overall aesthetic. However, one aspect that is often overlooked is the caulking around the bathroom sink. This small strip of material plays a crucial role in achieving a clean and polished look in your bathroom.
Removing caulking from your bathroom sink is a necessary step in creating a well-designed home.
When it comes to designing a home, every detail matters. From the color of the walls to the type of flooring, each element contributes to the overall aesthetic. However, one aspect that is often overlooked is the caulking around the bathroom sink. This small strip of material plays a crucial role in achieving a clean and polished look in your bathroom.
Removing caulking from your bathroom sink is a necessary step in creating a well-designed home.
Preventing Water Damage
 The primary purpose of caulking in a bathroom sink is to prevent water from seeping into the cracks and crevices between the sink and the countertop. Over time, this seal can become worn and damaged, allowing water to seep through and cause damage to the surrounding areas.
By removing old and worn caulking, you can prevent potential water damage and maintain the integrity of your bathroom design.
The primary purpose of caulking in a bathroom sink is to prevent water from seeping into the cracks and crevices between the sink and the countertop. Over time, this seal can become worn and damaged, allowing water to seep through and cause damage to the surrounding areas.
By removing old and worn caulking, you can prevent potential water damage and maintain the integrity of your bathroom design.
Improving Hygiene
:max_bytes(150000):strip_icc()/how-to-remove-old-caulk-1824827-01-3d0370c59e124dbbaa6560c68bab111c.jpg) Caulking around a bathroom sink can also accumulate dirt, grime, and mold over time, especially in areas prone to high humidity. This not only affects the appearance of your sink but also poses a health hazard. Mold and mildew can cause respiratory issues and other health problems.
Removing old caulking and properly sealing the sink will not only improve the overall cleanliness of your bathroom but also promote better hygiene.
Caulking around a bathroom sink can also accumulate dirt, grime, and mold over time, especially in areas prone to high humidity. This not only affects the appearance of your sink but also poses a health hazard. Mold and mildew can cause respiratory issues and other health problems.
Removing old caulking and properly sealing the sink will not only improve the overall cleanliness of your bathroom but also promote better hygiene.
Creating a Fresh Canvas for Design
 Removing caulking from your bathroom sink allows you to start with a clean slate and opens up opportunities for new design possibilities. You can choose a new color or type of caulk that complements your bathroom's design style. Additionally,
reapplying fresh caulking can give your sink a crisp and finished look, adding to the overall aesthetic of your home.
Removing caulking from your bathroom sink allows you to start with a clean slate and opens up opportunities for new design possibilities. You can choose a new color or type of caulk that complements your bathroom's design style. Additionally,
reapplying fresh caulking can give your sink a crisp and finished look, adding to the overall aesthetic of your home.
Conclusion
 In conclusion, removing caulking from your bathroom sink is a necessary step in achieving a well-designed home. It not only improves the appearance and hygiene of your bathroom but also prevents potential water damage and provides a fresh canvas for design. So, make sure to include this task in your regular home maintenance routine to keep your bathroom looking clean and polished.